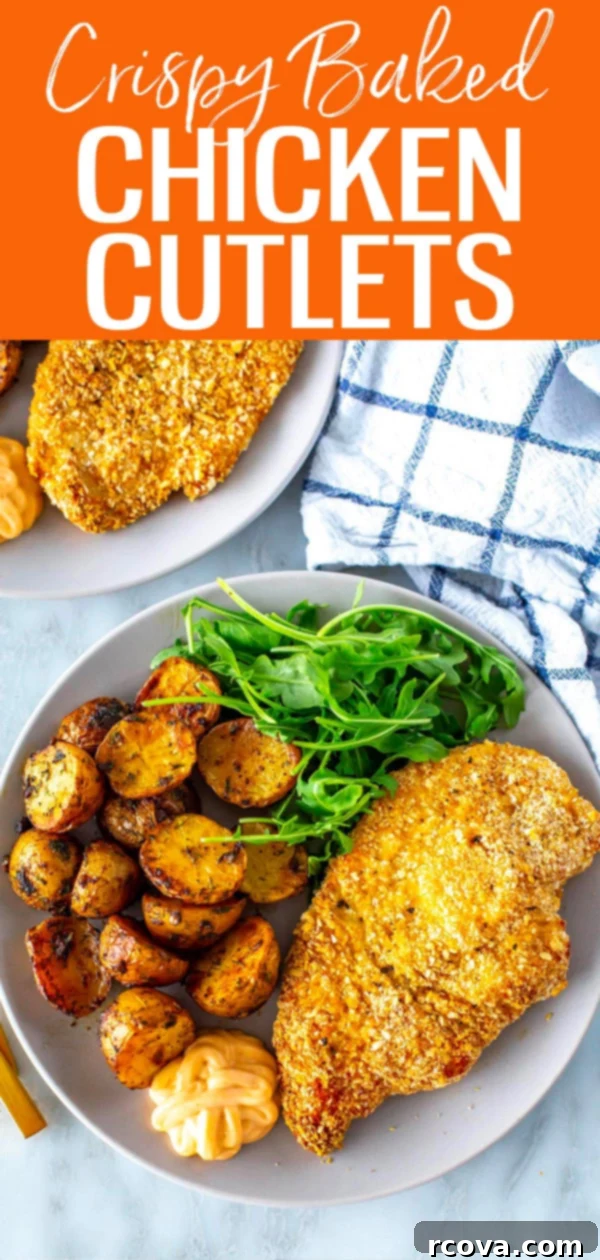
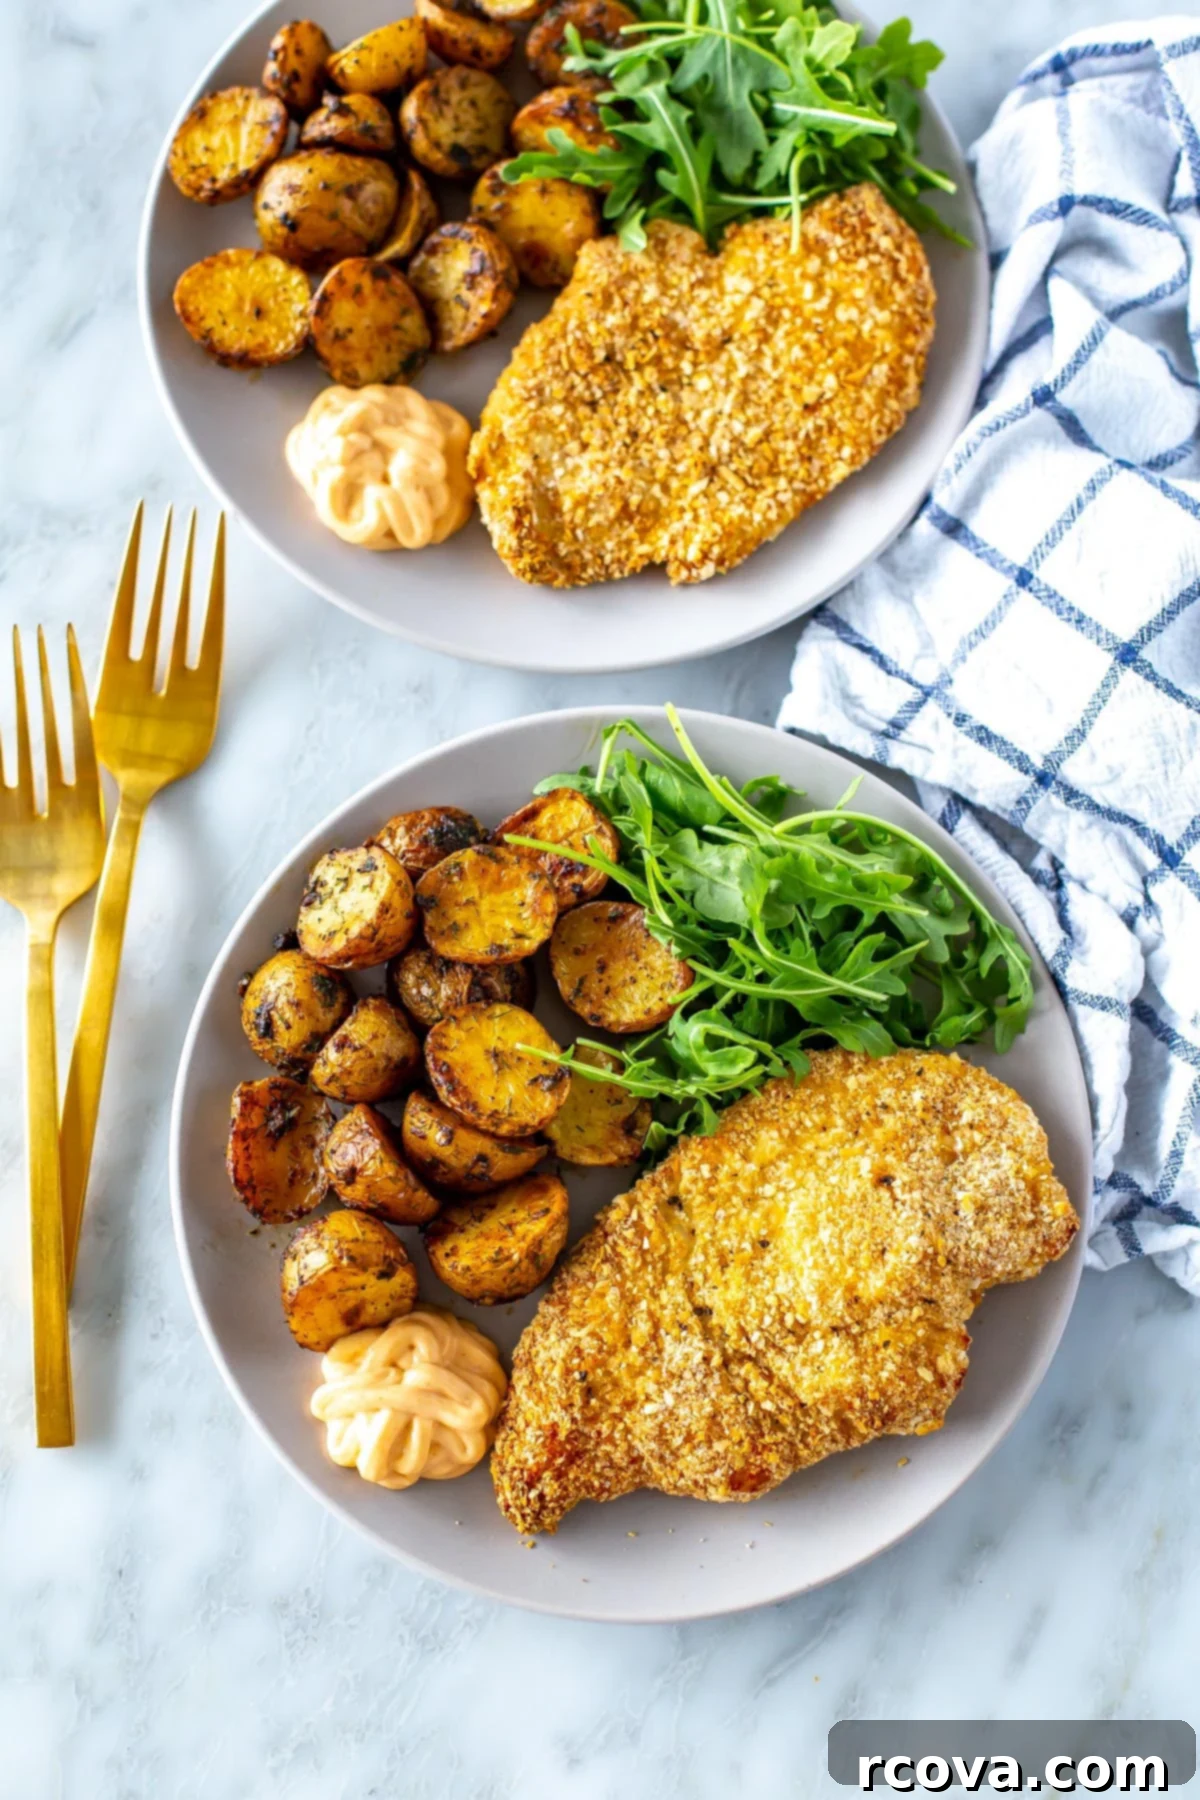
Crispy Oven-Baked Chicken Cutlets with Lemon Dill Potatoes: Your New Go-To Sheet Pan Meal
Prepare to delight your taste buds with these incredibly delicious and satisfying chicken cutlets! Perfectly crispy on the outside, yet wonderfully juicy and tender on the inside, these cutlets are a fantastic addition to any meal rotation. The best part? They’re baked to perfection on a single sheet pan, making cleanup a breeze. We’ve paired them with flavorful lemon dill potatoes, creating a complete and wholesome meal that’s both easy to prepare and bursting with fresh flavors. Whether you’re planning a quick weeknight dinner or meal prepping for a busy week ahead, this recipe offers a simple, healthy, and utterly delightful solution that the whole family will love.
FREE Budget-Friendly Meal Plan!
Save thousands of dollars on food every year with my free budget-friendly meal plan ebook.
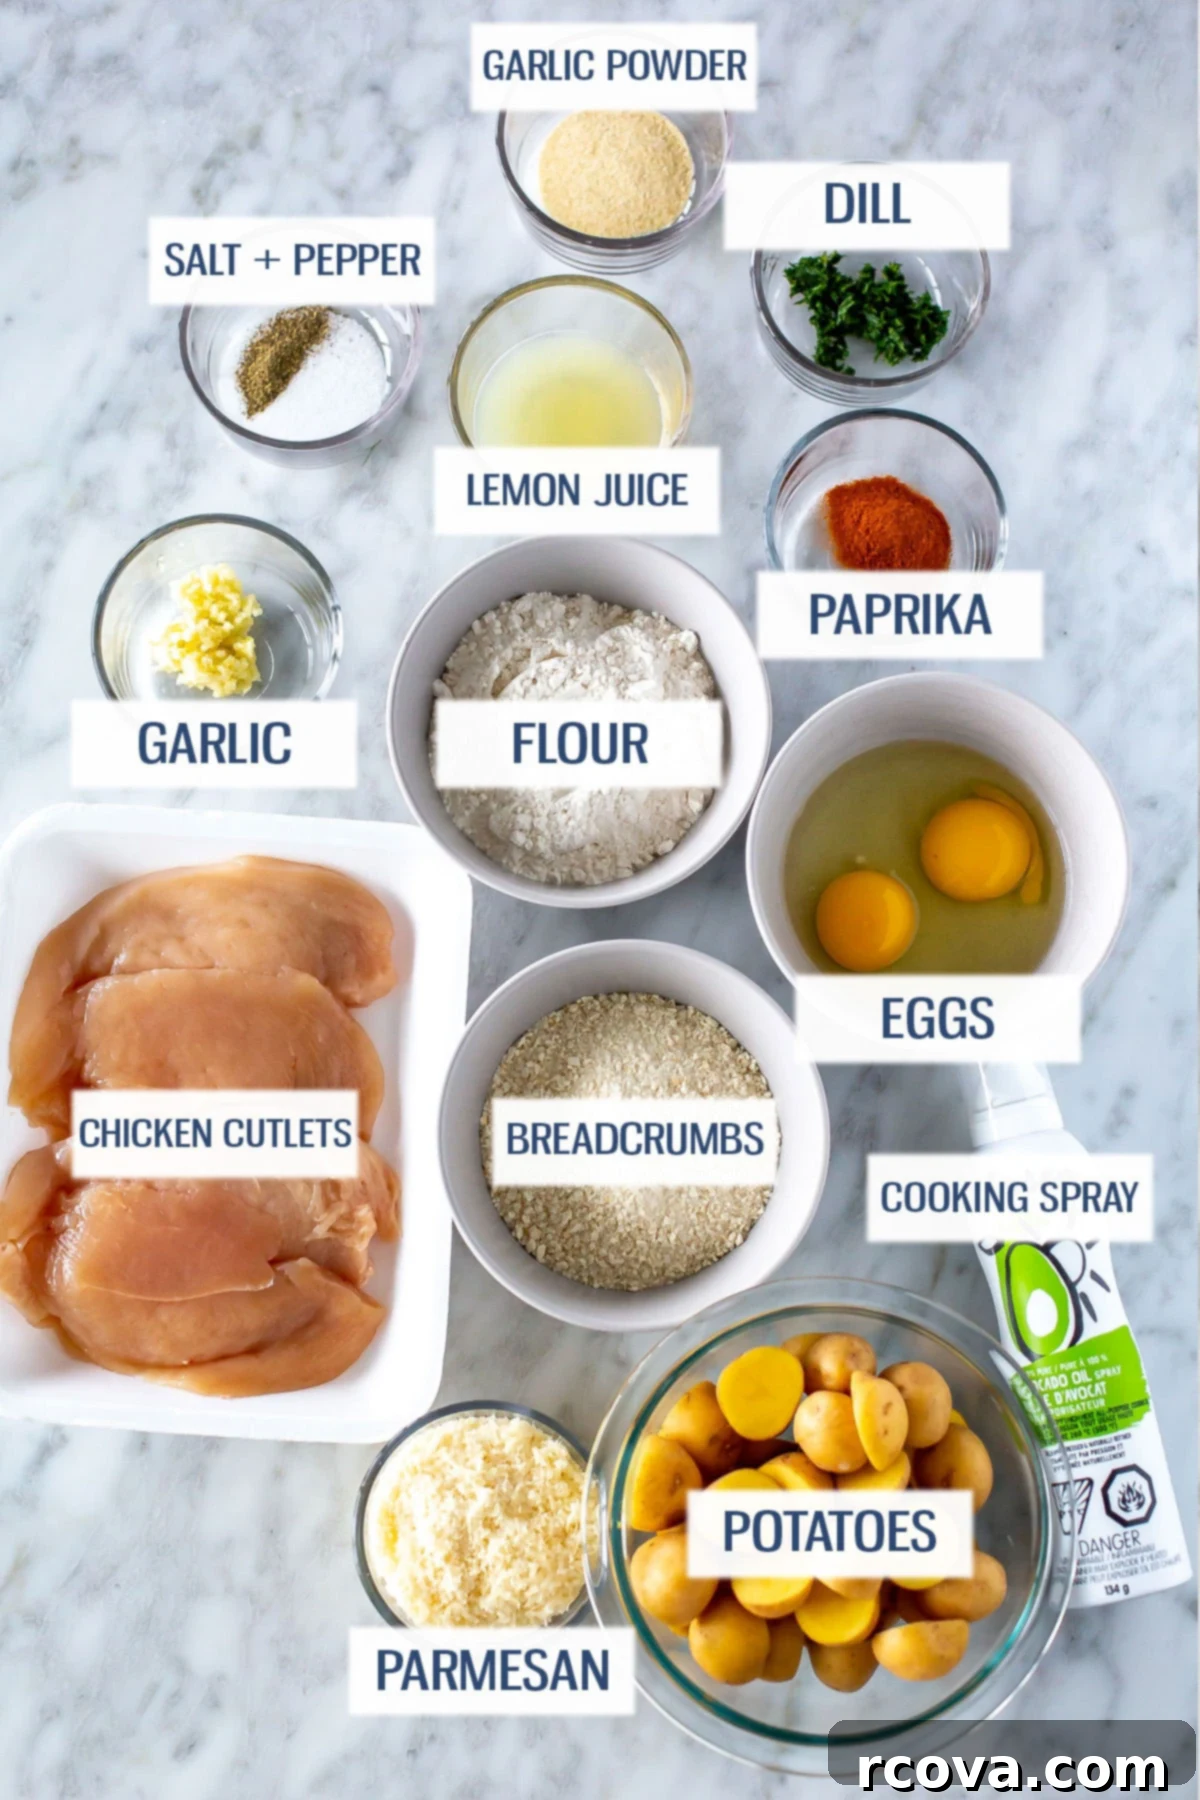
Essential Ingredients and Smart Substitutions for Chicken Cutlets
Crafting these delectable chicken cutlets requires a few key ingredients, but don’t worry if your pantry is missing something. We’ve got you covered with easy and effective substitutions that ensure your meal is just as fantastic!
- Breadcrumbs: For that ultimate crispy exterior, panko breadcrumbs are highly recommended due to their light and airy texture. If you need a gluten-free option, look for gluten-free breadcrumbs, or simply crush unsweetened corn flakes for a similar crunch.
- Grated Parmesan Cheese: This adds a wonderful savory, umami depth to the breading. For a dairy-free alternative, nutritional yeast makes an excellent substitute, offering a cheesy flavor profile.
- Garlic Powder: A staple for adding a foundational savory note. If you prefer fresh aromatics, you can mince a clove or two of fresh garlic and mix it into the breadcrumb mixture, or simply use garlic granules.
- Paprika: This spice contributes a mild, smoky flavor and a beautiful reddish hue to the coating. For a bit of heat, chili powder or cayenne pepper are fantastic alternatives, allowing you to customize the spice level.
- Chicken Cutlets: Thinly sliced boneless, skinless chicken breasts are ideal for quick cooking and maximum crispiness. If you can’t find pre-cut cutlets, don’t fret – you can easily make your own from regular boneless, skinless chicken breasts by slicing them in half lengthwise.
- Flour: This acts as the initial coating, helping the egg adhere to the chicken and creating a solid base for the breadcrumbs. Cornstarch or your favorite gluten-free flour, such as chickpea flour or all-purpose gluten-free blend, can be used for a gluten-friendly version.
- Eggs: Essential for binding the breading to the chicken. If you need an egg-free option, a mixture of cornstarch or potato starch with a small amount of water can create a slurry that effectively coats the cutlets.
- Cooking Spray: Used to help achieve that golden crispiness in the oven without excessive oil. Any neutral cooking oil, like avocado oil or grapeseed oil, can be lightly brushed onto the cutlets instead.
- Salt & Pepper: These fundamental seasonings are crucial for enhancing all the flavors in the dish. Adjust to your personal preference for perfect seasoning.
- Baby Arugula: A vibrant and peppery leafy green that adds a fresh contrast to the rich chicken and potatoes. Feel free to swap it with other leafy greens like fresh spinach, hearty kale, or even collard greens for variety.
For the Zesty Lemon Dill Potatoes:
These flavorful potatoes are the perfect complement to the crispy chicken. Here’s what you’ll need and how to adapt if necessary:
- Baby Potatoes: Small, tender baby potatoes are perfect for roasting as they cook quickly and have a creamy texture. You can use any type of potato you have on hand, just ensure they are cut into uniformly small pieces to ensure even cooking.
- Olive Oil: The base for roasting, providing flavor and helping the potatoes crisp up. Avocado oil or grapeseed oil are excellent neutral alternatives.
- Lemon Juice: Freshly squeezed lemon juice is best for its bright, tangy flavor that truly elevates the dill. Bottled lemon juice or even lime juice will work well in a pinch.
- Paprika: Adds a subtle warmth and color to the potatoes. Again, chili powder or a touch of cayenne can be used if you’re looking for a spicier kick.
- Salt & Pepper: Essential for seasoning the potatoes to perfection, bringing out their natural sweetness and the herbal notes.
- Garlic: Freshly minced garlic offers the most pungent and aromatic flavor, which pairs wonderfully with lemon and dill. Garlic powder can be used as a convenient alternative if fresh is unavailable.
- Fresh Dill: The star herb of the potatoes, providing a unique, fresh, and slightly anisy flavor. If fresh dill isn’t an option, tarragon or fennel can offer a similar aromatic profile, or you can simply omit it if you prefer.
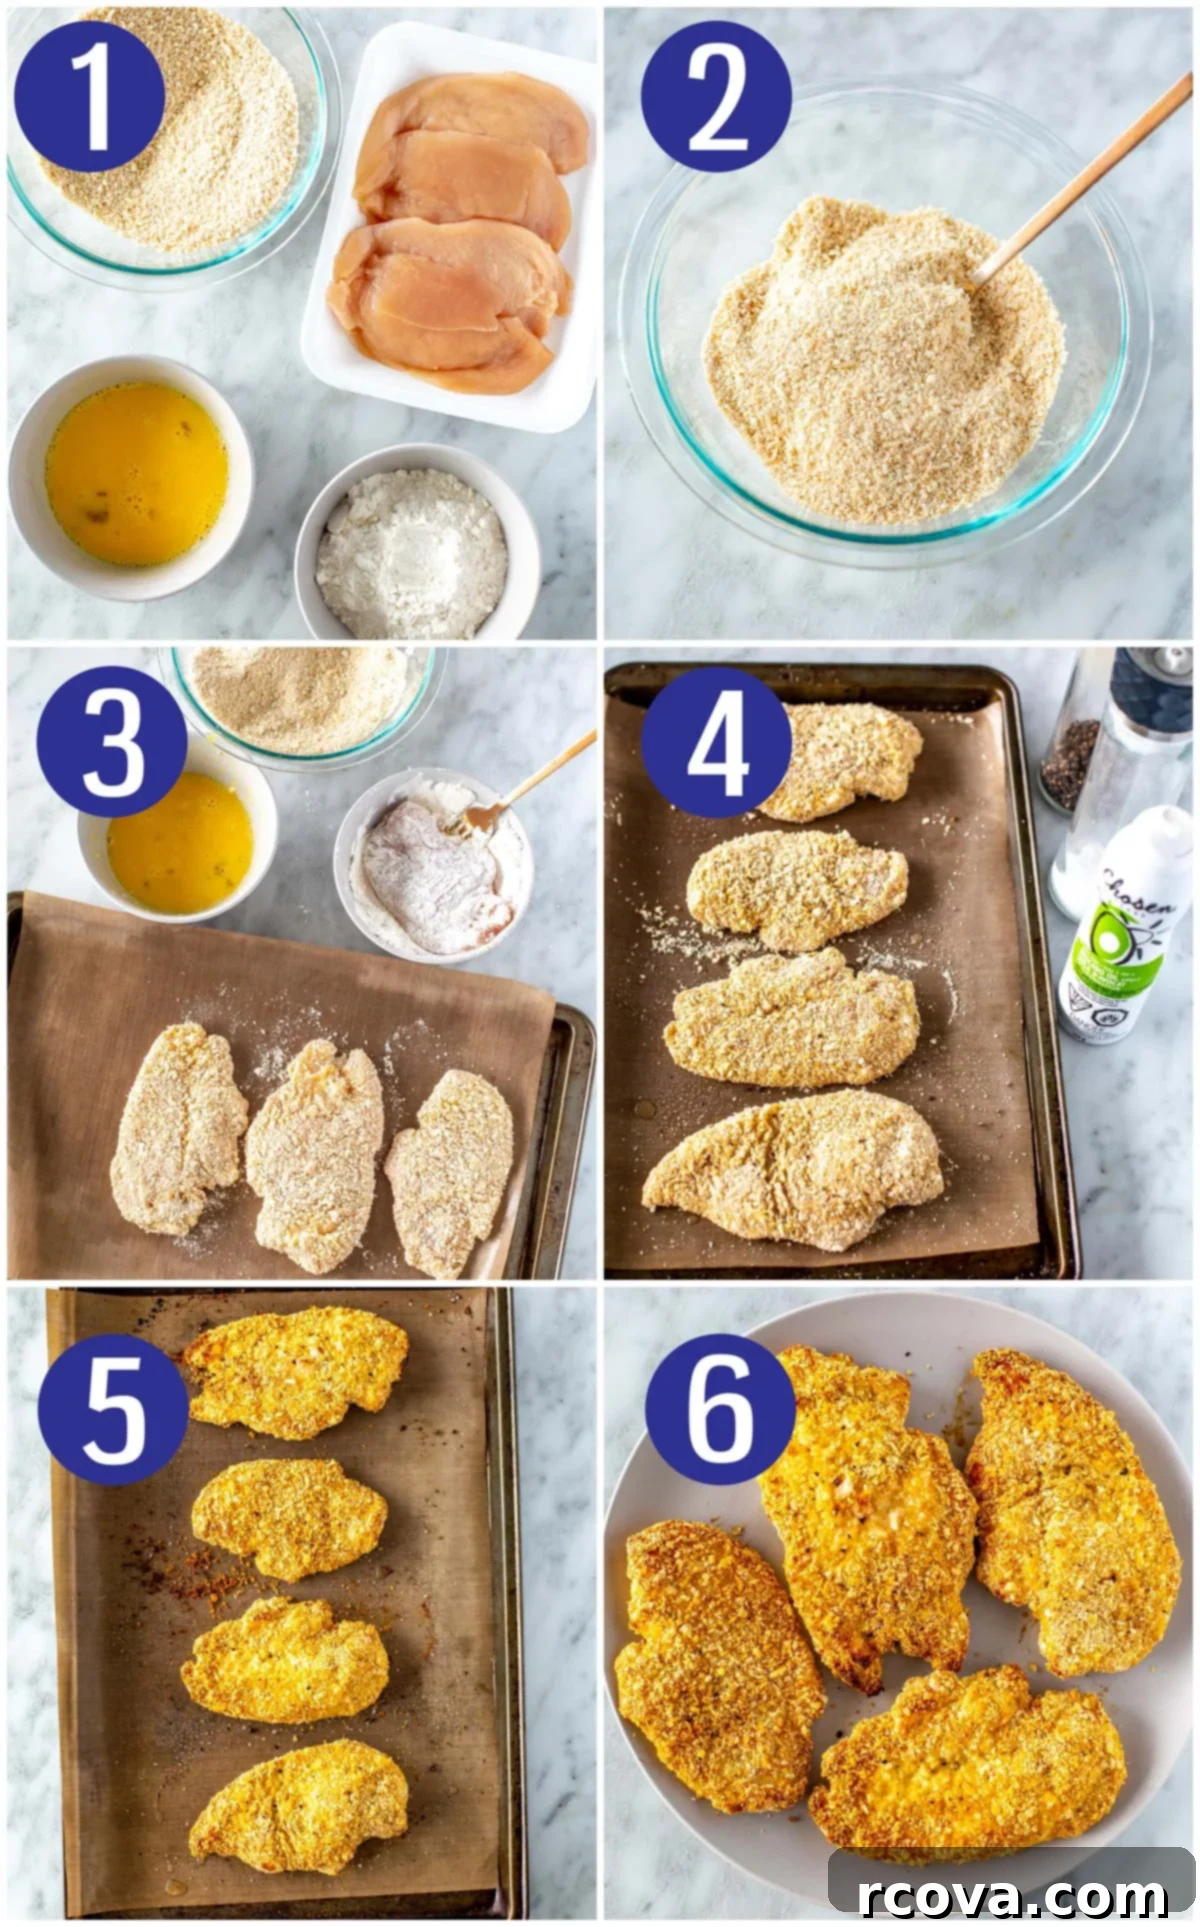
Step-by-Step Guide: How to Make Crispy Baked Chicken Cutlets
Achieving perfectly crispy and juicy chicken cutlets in the oven is simpler than you might think. Follow these easy steps for a delicious meal:
- Prepare Your Workspace and Ingredients (Mise en Place): Before you begin cooking, it’s essential to have all your ingredients measured, prepped, and ready. This ensures a smooth and efficient cooking process. Preheat your oven to 450°F (230°C) as directed in the recipe card below. For the lemon dill potatoes, combine all ingredients (except fresh dill) in a 9×13 inch baking dish, tossing thoroughly to coat each potato piece evenly.
- Craft the Flavorful Breading Mixture: In a large, shallow bowl, combine the breadcrumbs, grated parmesan cheese, garlic powder, and paprika. Mix these ingredients well to ensure an even distribution of flavor. This will be the key to your chicken’s crispy, golden coating. In a separate medium-sized bowl, place your flour. In another medium-sized bowl, whisk two eggs until well combined.
- Expertly Coat and Bread Each Cutlet: Line a baking sheet with parchment paper for easy cleanup. Take each chicken cutlet and first dredge it in the flour, ensuring both sides are fully coated, then gently shake off any excess. Next, dip the flour-coated cutlet into the whisked eggs, allowing any extra egg to drip off. Finally, press the egg-coated cutlet into the breadcrumb mixture, ensuring a generous and even coating on all sides. Repeat this process for all chicken cutlets.
- Season and Prepare for Baking: Carefully place each breaded chicken cutlet onto the prepared baking sheet, making sure they are not overcrowded. Lightly spray the tops of the cutlets with cooking spray – this helps them achieve that beautiful golden-brown crispness in the oven. Season both sides with salt and pepper to taste.
- Bake to Golden Perfection: Transfer the baking sheet with the chicken cutlets to your preheated oven. Bake for approximately 15 minutes. It’s crucial to check the internal temperature with a meat thermometer; the chicken should reach 165°F (74°C) to be safely cooked through. While the chicken bakes, your lemon dill potatoes will also be roasting alongside, developing their tender texture and aromatic flavors.
- Serve and Savor Your Delicious Meal: Once the chicken and potatoes are cooked, remove them from the oven. Stir the fresh dill into the roasted potatoes right before serving to maximize its vibrant flavor. Arrange the crispy chicken cutlets and lemon dill potatoes on plates, accompanied by a side of fresh baby arugula. This combination makes for a truly irresistible and well-balanced meal. Enjoy every bite!
Transforming Chicken Breasts into Perfect Cutlets at Home
Chicken cutlets, known for their thin profile and quick cooking time, can sometimes come with a higher price tag at the grocery store. The good news is, you can easily create your own chicken cutlets from standard boneless, skinless chicken breasts, saving money and customizing their thickness. For this recipe, which calls for four chicken cutlets, you’ll generally need two medium to large boneless, skinless chicken breasts.
Start by selecting chicken breasts that are relatively thin to begin with, if possible. Place one chicken breast on a cutting board. Carefully hold the breast steady with one hand on top, and with a sharp knife, slice it horizontally in half, from one side to the other, creating two thinner pieces. Repeat this process for the second chicken breast. You now have four chicken cutlets!
If any of your newly sliced cutlets still seem a bit too thick for your preference, or if you desire a more uniform thickness for even cooking and extra crispiness, a little pounding can work wonders. Place the chicken cutlet inside a Ziploc bag or between two sheets of plastic wrap. Using a meat mallet, the flat side of a heavy pan, or even a rolling pin, gently but firmly pound the chicken until it reaches your desired thickness, typically about 1/4 to 1/2 inch. This not only thins the chicken but also tenderizes it, ensuring a quick and even bake. Now you have perfectly prepared chicken cutlets at a fraction of the cost, ready for breading and baking!
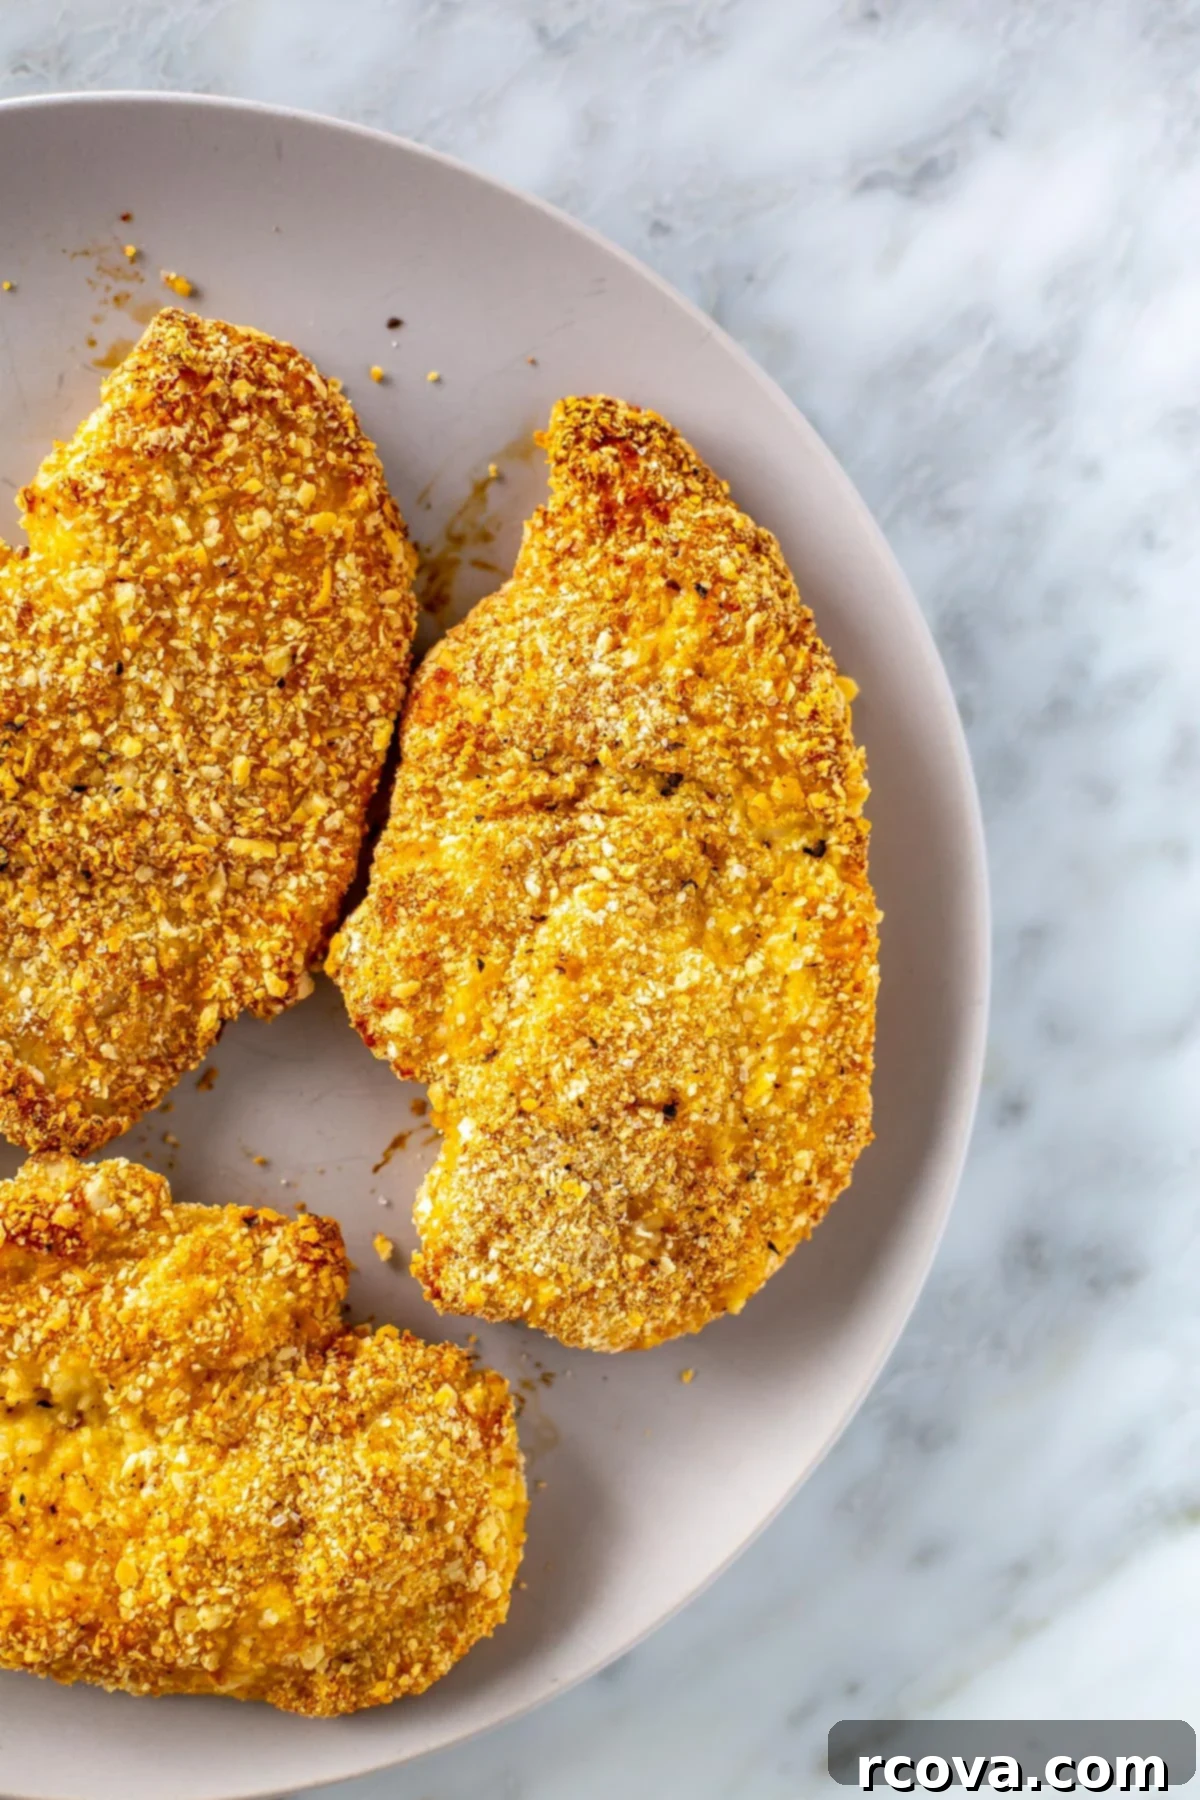
Frequently Asked Questions About Chicken Cutlets
A chicken cutlet refers to a boneless, skinless chicken breast that has been sliced horizontally into a thinner piece. This thinness allows for much faster cooking and helps achieve a desirable crispy exterior, especially when breaded. While you can purchase pre-cut chicken cutlets at most grocery stores, they often come at a premium price. To save money and control the thickness, it’s easy to make your own by simply slicing regular boneless, skinless chicken breasts lengthwise.
For this particular recipe, these crispy chicken cutlets cook remarkably quickly! You only need to bake them in a preheated oven at 450°F (230°C) for approximately 15 minutes. The most important thing is to ensure they reach an internal temperature of 165°F (74°C) for food safety. This fast cooking time makes them an ideal choice for a delicious and efficient weeknight dinner, getting a satisfying meal on the table in no time.
The secret to moist chicken cutlets lies in two main aspects: proper preparation and careful cooking. First, coating the chicken cutlets thoroughly in the egg wash and breadcrumb mixture creates a protective barrier that locks in their natural juices during baking. Second, and equally important, is to avoid overcooking. Always use a meat thermometer to ensure the chicken reaches exactly 165°F (74°C). Once it hits this temperature, remove it from the oven immediately. Remember that chicken will continue to cook slightly from residual heat after being removed from the oven, so pulling it out right at 165°F is key to maintaining its tenderness.
Absolutely! Making these chicken cutlets gluten-free is quite simple. Instead of regular breadcrumbs, opt for gluten-free panko breadcrumbs or even crush unsweetened gluten-free corn flakes for a fantastic crispy texture. For the flour, substitute with a gluten-free all-purpose flour blend, chickpea flour, or cornstarch. These alternatives will ensure you still achieve that delicious crispy coating while catering to dietary needs.
Storing and Reheating Your Crispy Chicken Cutlets and Potatoes
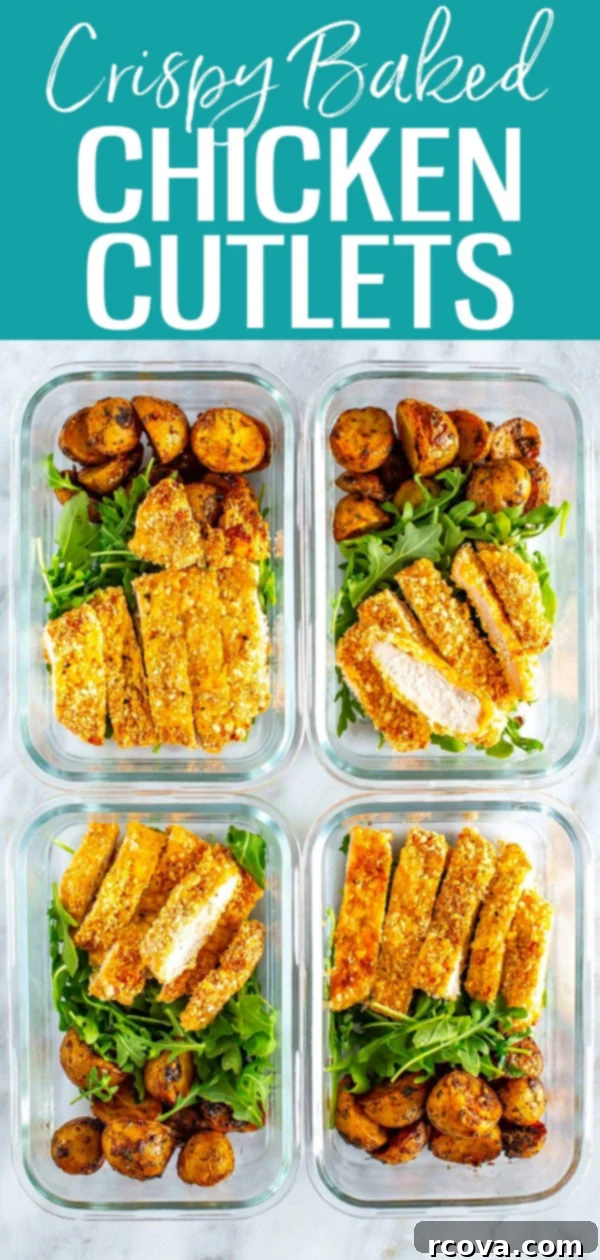
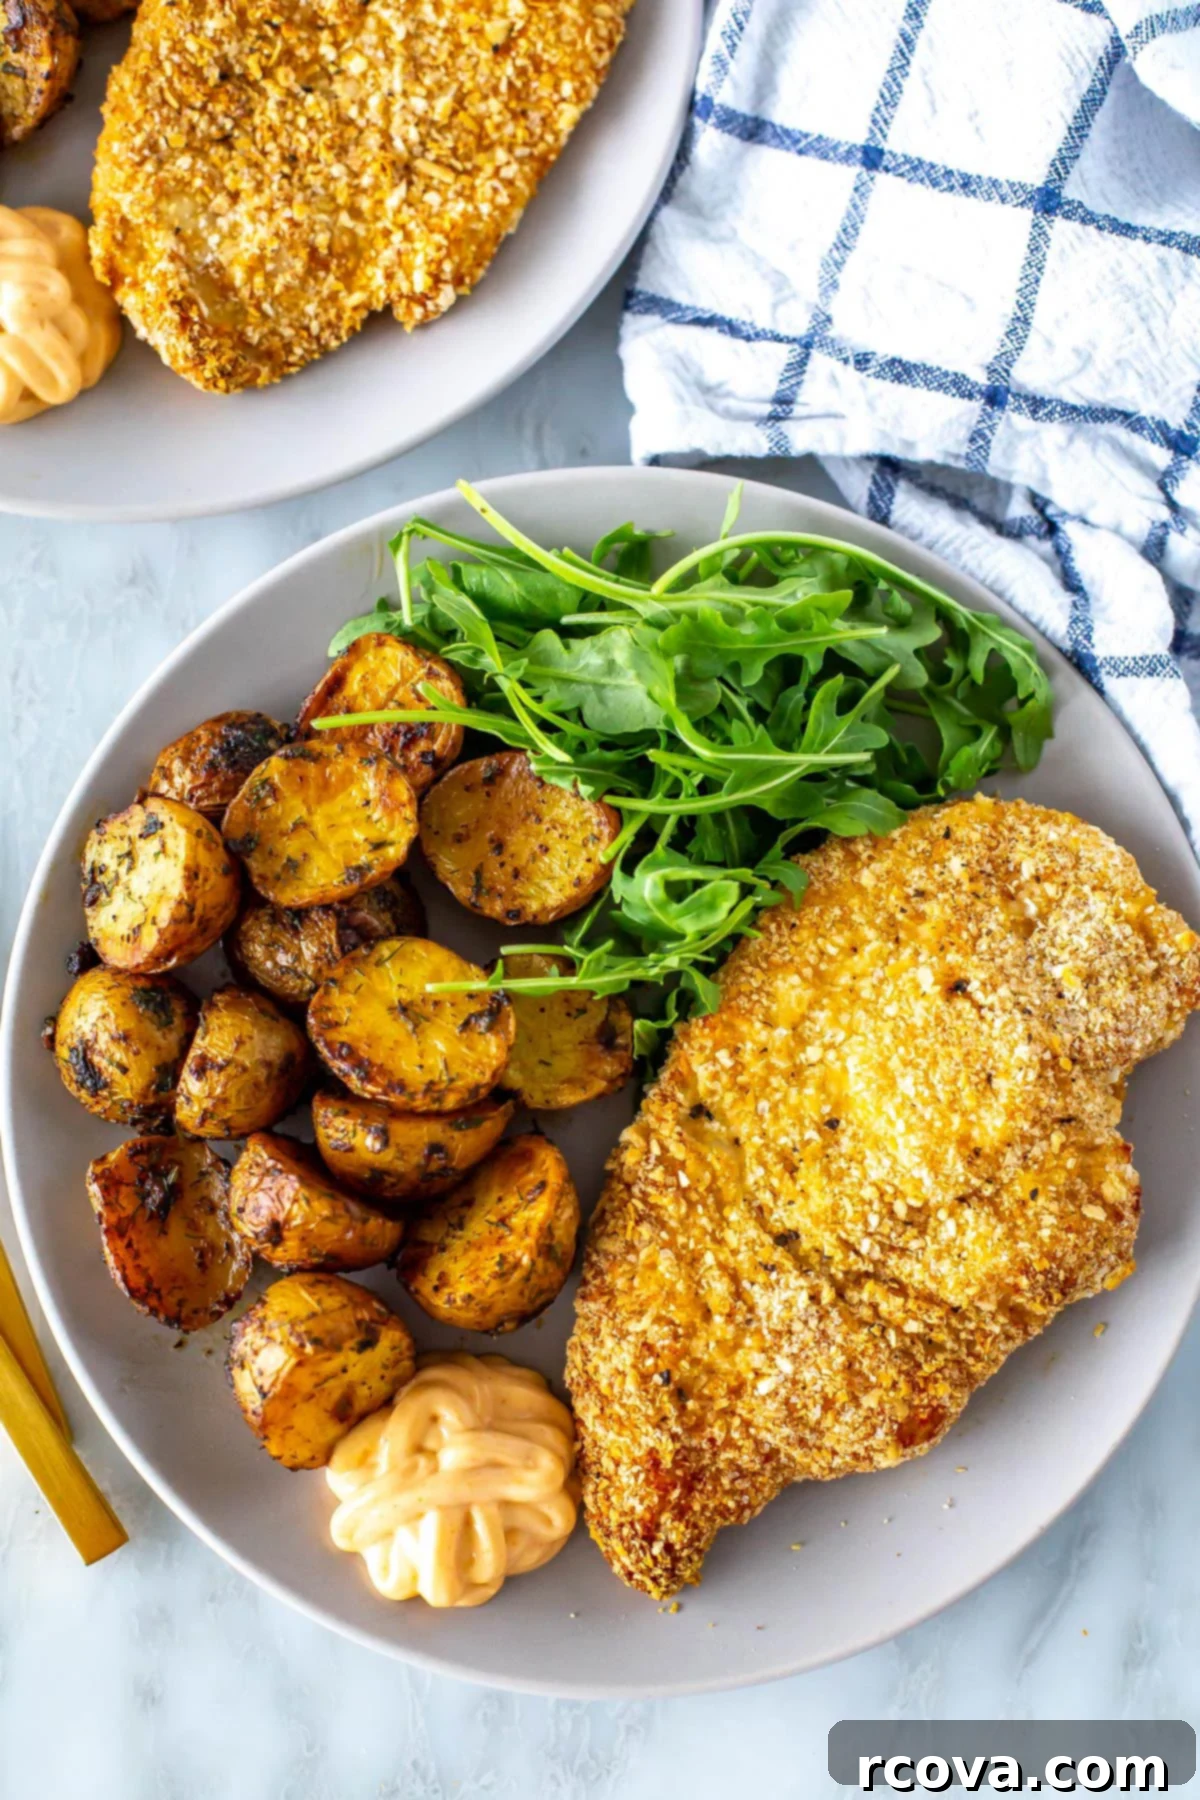
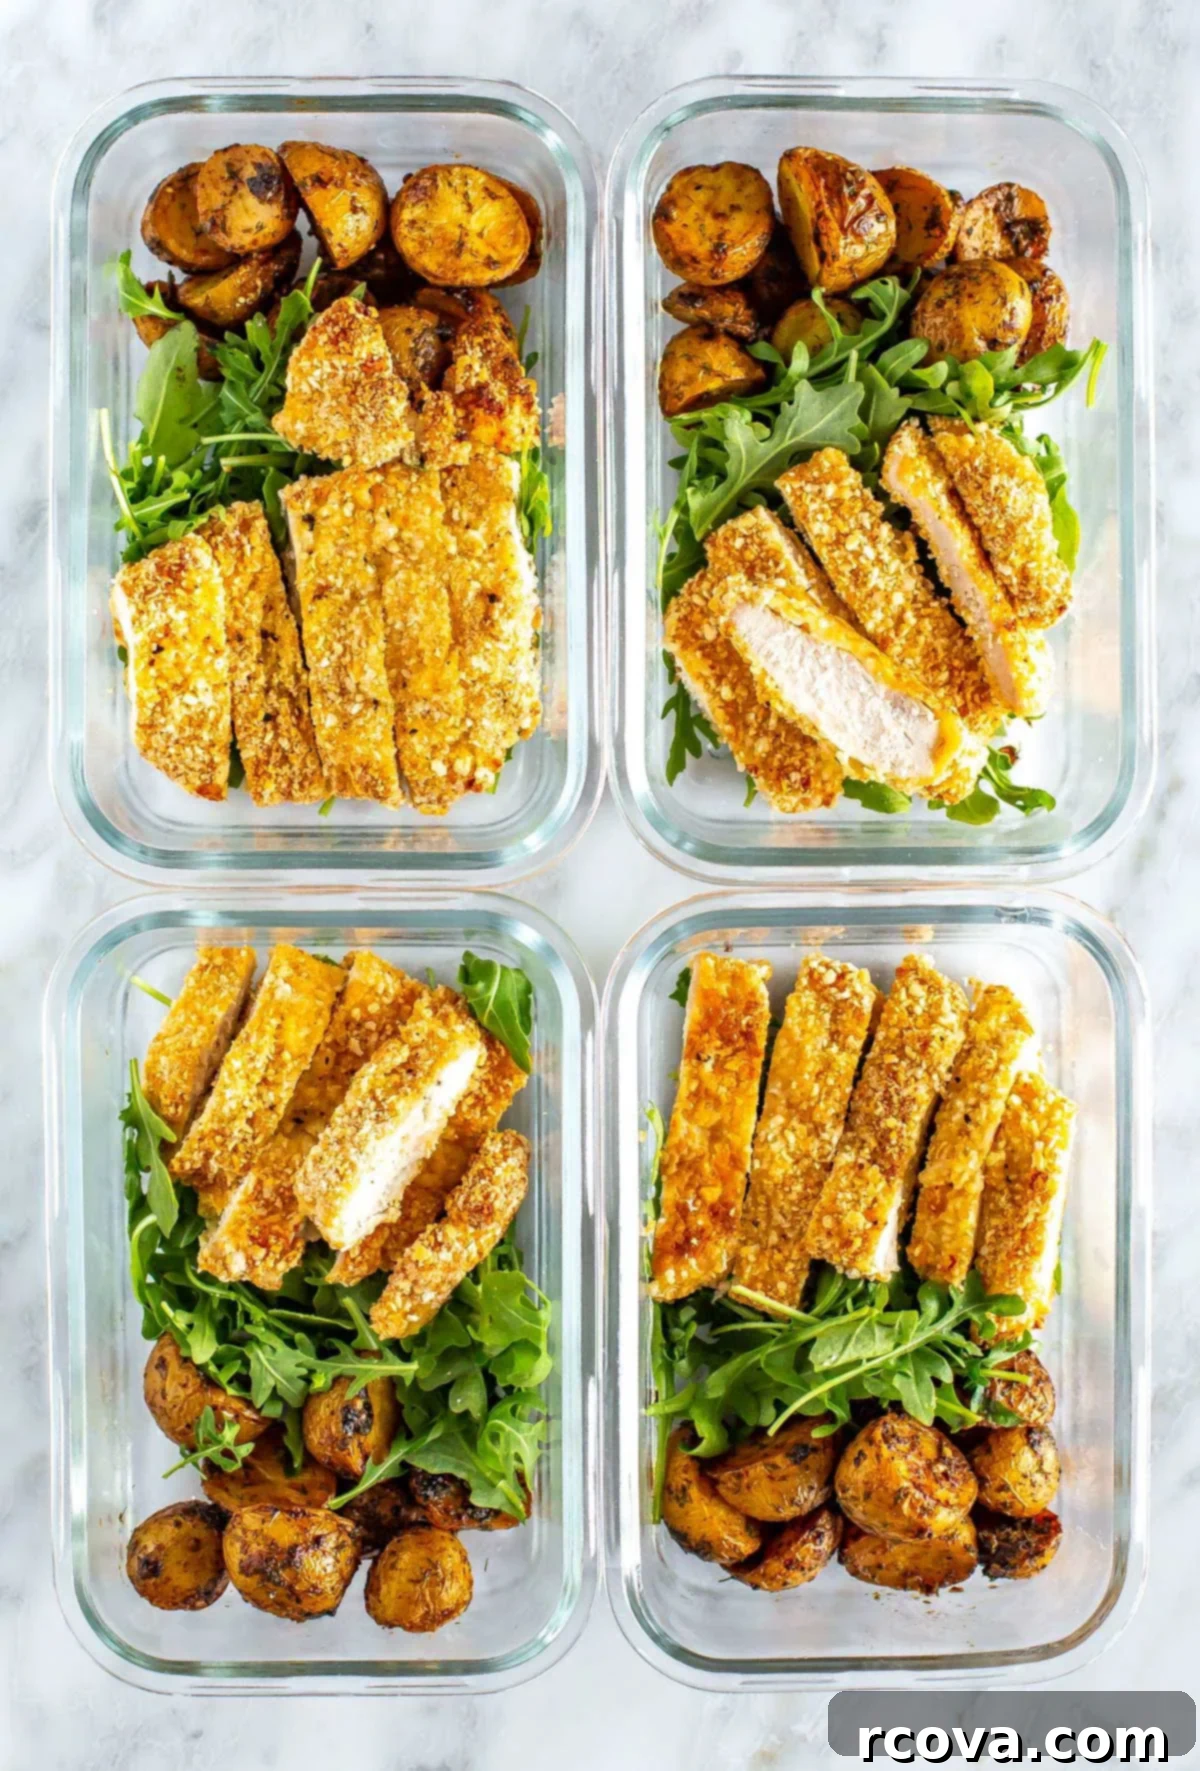
These oven-baked chicken cutlets and lemon dill potatoes are excellent for meal preparation, making them a perfect choice for healthy lunches or dinners throughout the week. To maintain their freshness and flavor, store any leftovers in airtight glass containers in the refrigerator for up to 5 days. When you’re ready to enjoy them again, the best way to reheat them is in the oven. This method helps preserve their crispy texture, which can be lost in a microwave. Lightly sprinkle a few drops of water over the chicken and potatoes (this creates steam and prevents drying), then place them in an oven preheated to 350°F (175°C) for about 10 minutes, or until thoroughly heated through and crispy. While microwaving is technically an option for convenience, be aware that it won’t yield the same delightful crispy texture.
Freezing This Recipe for Future Enjoyment
This recipe is incredibly freezer-friendly, allowing you to enjoy homemade chicken cutlets even on your busiest days. You have the flexibility to freeze the chicken cutlets either raw (after breading) or cooked. They will maintain their quality in the freezer for up to 3 months when stored properly in an airtight glass container or a freezer-safe Ziploc bag. For raw frozen cutlets, remember to place parchment paper between each cutlet to prevent them from sticking together. When you’re ready to cook, simply defrost the raw chicken in the fridge overnight. Once thawed, follow the baking instructions provided in the recipe card as normal. If you’re reheating cooked and frozen cutlets, you can place them directly into an oven preheated to 350°F (175°C) for about 10-15 minutes, or until hot and crispy, similar to the reheating method for refrigerated leftovers.
Discover More Delicious and Juicy Chicken Recipes
If you loved these crispy oven-baked chicken cutlets, you’ll definitely want to explore these other fantastic chicken dishes. Each recipe is designed to be flavorful, easy, and perfect for any meal:
- Perfect Juicy Baked Marinated Chicken Breast: Learn the secrets to a consistently tender and flavorful baked chicken breast every time.
- Southwest Chicken Foil Packets: An incredibly easy and delicious way to cook chicken and veggies together with a zesty Southwest kick.
- Sheet Pan Coconut Crusted Chicken: A tropical twist on crispy chicken, baked on a single sheet pan for minimal fuss.
- Cilantro Lime Chicken and Rice: Bright, zesty, and satisfying, this chicken and rice dish is a flavor explosion.
- Creamiest Marry Me Chicken: A rich and creamy chicken dish that’s so good, it might just inspire a proposal!
- More Easy & Healthy Chicken Recipes: Explore a wide variety of additional simple and nutritious chicken dinner ideas to keep your meal plans exciting.
Essential Meal Prep Tools for This Recipe
Having the right tools can make meal prep for recipes like these chicken cutlets even easier and more efficient. Here are some of our top recommendations:
- Grab some glass meal prep bowls if you plan on portioning these delicious chicken cutlets and lemon dill potatoes into your weekly lunches. Their airtight seal keeps food fresh longer.
- I get all my free-range chicken from Butcher Box, which offers high-quality meats conveniently delivered frozen right to your doorstep.
- Ensure your chicken is perfectly cooked and safe to eat with a reliable meat thermometer. This is indispensable for checking the internal temperature and preventing overcooking.
- For freezing this recipe, these glass microwave-safe bowls are perfect for storing individual portions for up to 3 months, making quick meals incredibly convenient.
Crispy + Juicy Chicken Cutlets {Oven Baked}
Print
Pin
Rate
SEND ME MY PLAN
Ingredients
- 1 cup breadcrumbs
- 1/2 cup grated parmesan cheese
- 1 tsp garlic powder
- 1 tsp paprika
- 4 chicken cutlets
- 1 cup flour
- 2 eggs
- Cooking spray
- Salt & pepper, to taste
- 2 cups baby arugula, to serve on the side
Lemon dill potatoes
- 2 lb baby potatoes, cut in half about 4 cups
- 1 tbsp olive oil
- 1 tbsp lemon juice
- 1/2 tsp paprika
- 1/2 tsp salt
- 1/4 tsp pepper
- 2 cloves garlic, minced
- 1 tbsp fresh dill, finely chopped
Instructions
-
Preheat oven to 450 F. Add all ingredients under the Lemon dill potatoes heading except for the fresh dill to a 9×13 baking dish, tossing well to coat. Bake for 40 minutes or until fork tender. Remove from the oven and stir in the dill before serving.
-
Meanwhile, mix breadcrumbs, parmesan cheese, garlic powder and paprika together in a large bowl. Add flour to another medium-sized bowl, and whisk eggs together in another medium-sized bowl.
-
Line a baking sheet with parchment paper, then dip each chicken cutlet in the bowl of flour, coating both sides. Once coated in flour, dip each cutlet in egg and then dip each cutlet in the breadcrumb mixture.
-
Add each cutlet to the baking sheet, then spray with cooking spray and season with salt and pepper. Bake cutlets for 15 minutes or until internal temperature reaches 165 F.
-
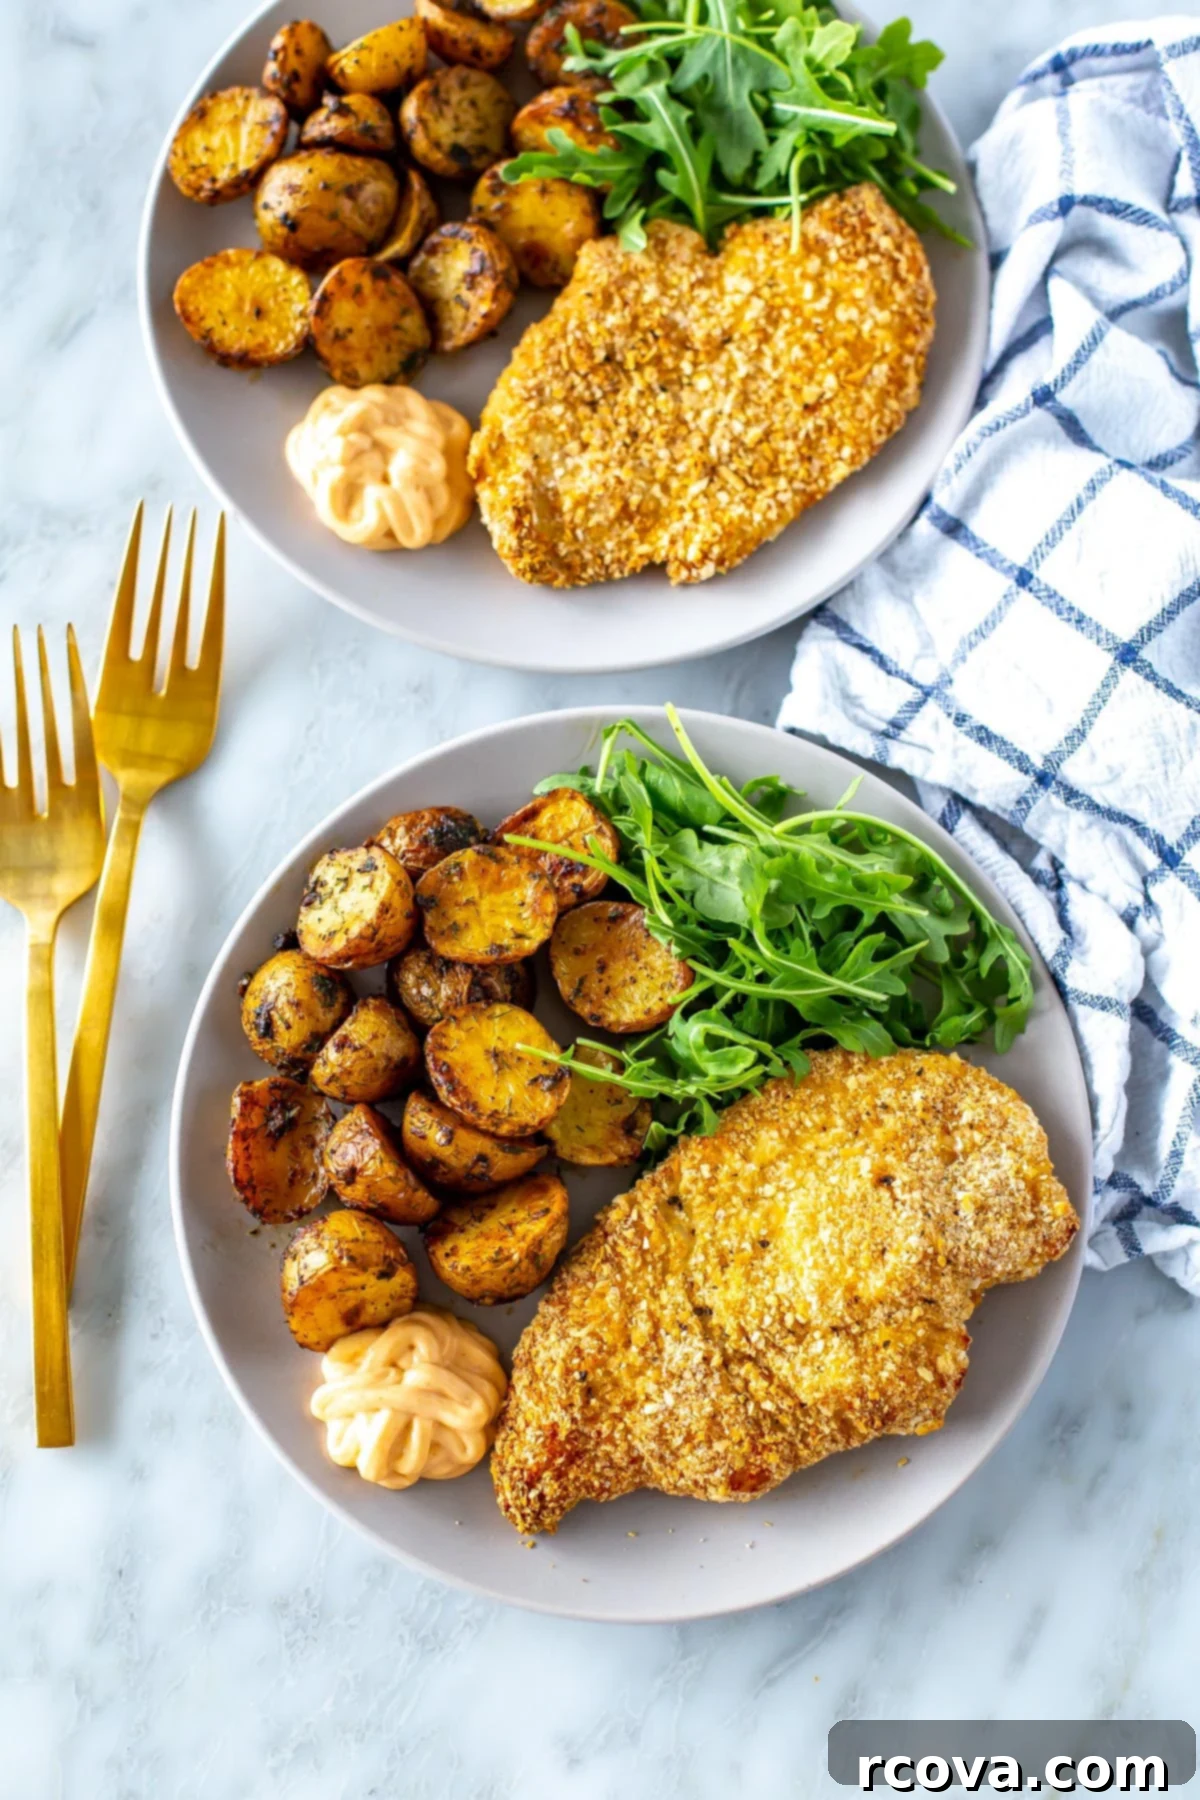
Serve chicken cutlets with lemon dill potatoes and a little bit of arugula on the side. You can serve a store bought salad dressing overtop of the arugula if desired, but I don’t find it necessary. Enjoy!
Notes
You can freeze the cooked chicken cutlets for up to 3 months.
You can freeze the raw chicken cutlets for up to 3 months as well then defrost in the fridge overnight before baking as per the instructions.
Nutrition
