Homemade Crispy Baked Kale Chips: Easy Recipe for 3 Delicious Flavors (Salt & Vinegar, Chili Lime, Ranch)
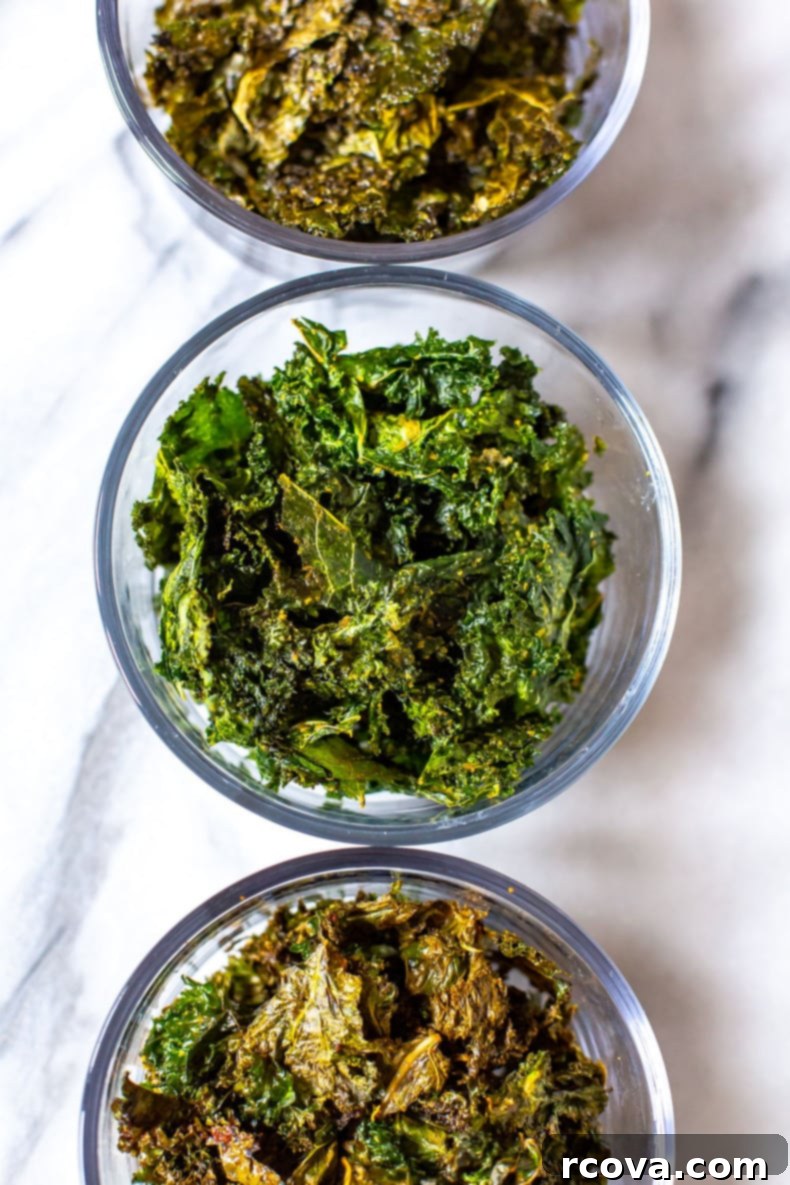
Discover the ultimate guide to making perfectly crispy baked kale chips right in your own oven. This simple recipe offers three incredibly delicious flavor variations – classic Salt & Vinegar, zesty Chili Lime, and savory Ranch – ensuring there’s a satisfying crunch for every palate. Forget store-bought snacks; with just a few basic ingredients and minimal effort, you can transform nutrient-dense kale into an irresistible, guilt-free treat that’s ready in under 30 minutes. Whether you’re seeking a healthy alternative to traditional potato chips or just a delightful new snack, these homemade kale chips are a fantastic choice, promising a delightful texture and a burst of flavor in every bite.
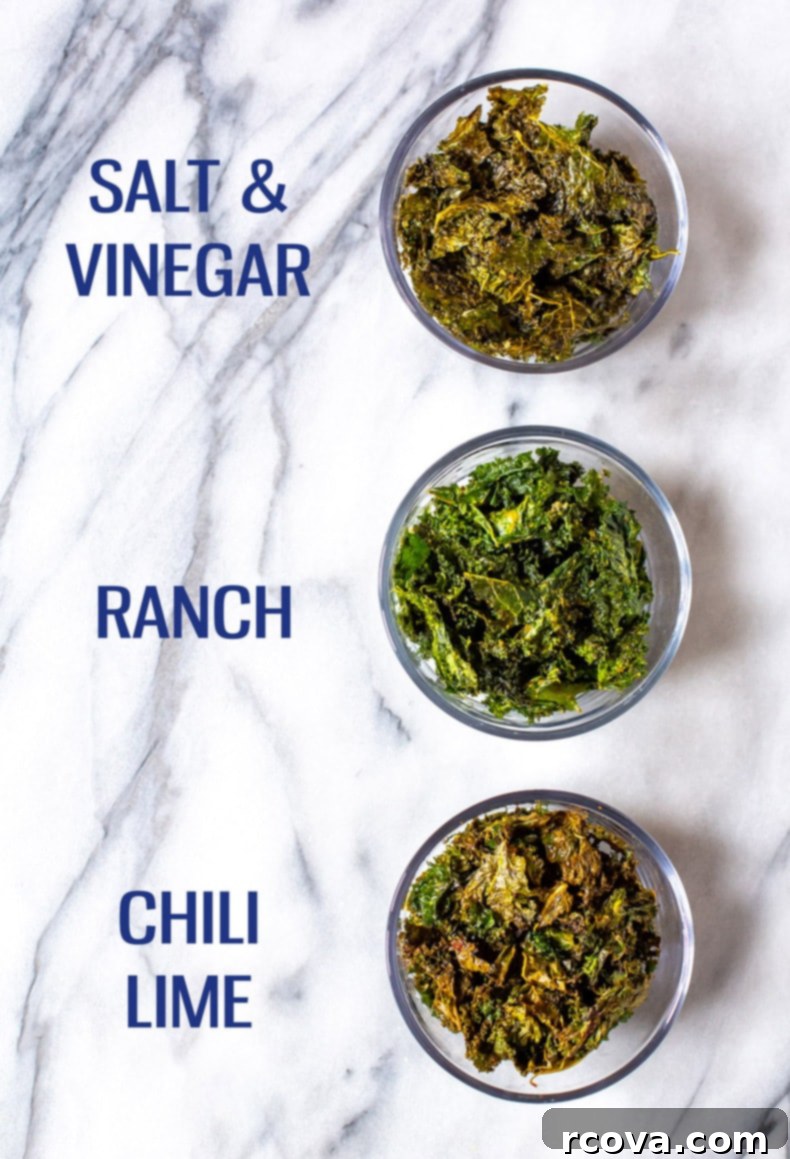
Craving something wonderfully tangy, deliciously spicy, or deeply savory? This comprehensive recipe ensures you can effortlessly whip up a batch of gourmet-quality kale chips that cater to your specific taste preferences. They are not only incredibly easy to make but also packed with nutrients, making them a smart and enjoyable addition to your snacking repertoire.
Why You’ll Fall in Love with This Crispy Kale Chip Recipe
- Healthy & nutritious: Unlike conventional fried chips, these oven-baked kale chips are a powerhouse of nutrition. Kale is renowned for being rich in vitamins K, A, and C, as well as essential minerals and powerful antioxidants. By baking them, we preserve these valuable nutrients while creating a deliciously crunchy snack that’s remarkably low in calories and fat. It’s the perfect way to enjoy a satisfying crunch without any guilt, fueling your body with wholesome goodness and supporting a healthy lifestyle.
- Effortlessly easy to make: You don’t need to be a gourmet chef to master this recipe. With a handful of straightforward ingredients and a cooking process that takes less than 30 minutes from start to finish, these crispy homemade kale chips are incredibly beginner-friendly. The simple steps involve washing, seasoning, and baking, making it an ideal recipe for a quick snack or a last-minute addition to any meal prep routine.
- The ultimate versatile snack: These baked kale chips aren’t just for casual snacking. Their crisp texture and vibrant flavors make them an excellent addition to various meals. Use them as a crunchy, nutrient-dense topping for salads or soups, pack them in lunchboxes for a healthy on-the-go treat, or serve them as a unique and flavorful side dish to complement your main courses. They’re also fantastic for meal prepping, allowing you to have healthy and delicious snacks ready throughout the week.
FREE Budget-Friendly Meal Plan!
Save thousands of dollars on food every year with my free budget-friendly meal plan ebook.

Essential Ingredients & Smart Substitutions for Your Kale Chips
Crafting the perfect batch of crispy baked kale chips starts with understanding your core ingredients and knowing when to make smart substitutions. This section will guide you through the essentials to ensure maximum flavor and crunch for your homemade kale chips.
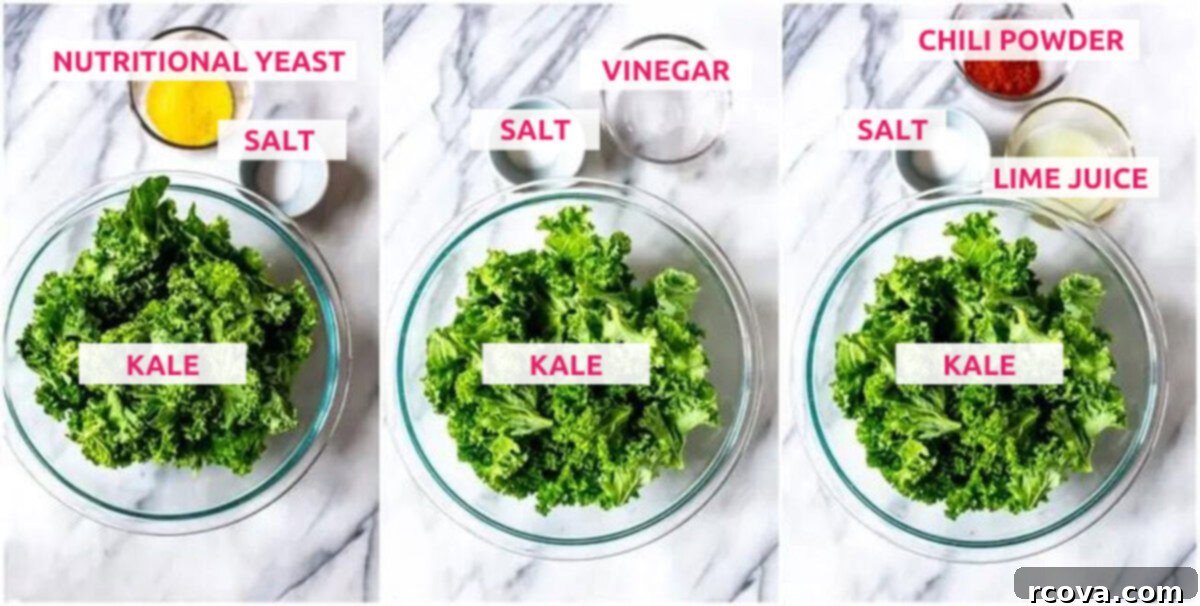
- Olive oil: A good quality olive oil is crucial for achieving that desirable crispiness and carrying the flavors. It helps in the dehydration process while adding a subtle richness. If you’re looking for alternatives, a neutral cooking oil like grapeseed oil or avocado oil works wonderfully, as they have high smoke points and won’t impart a strong flavor. Coconut oil can also be used, but be aware it might introduce a slight tropical note, which can be delightful with certain seasonings like chili lime.
- Kale: The star of our show! For the best crispy kale chips, choose kale with vibrant green, fresh-looking leaves. Avoid any bunches with yellowing or wilting leaves. While various types of kale can be used, curly kale is often considered superior for chips due to its textured, ruffled leaves that perfectly capture and hold seasoning, resulting in a more satisfying crunch. Lacinato (dinosaur) kale also works well, but its flatter leaves might require a bit more attention to ensure even seasoning and crisping. Always remember to remove the tough, fibrous stems as they won’t crisp up like the leaves.
For the Savory Ranch Kale Chips:
- Nutritional yeast: This is your secret weapon for creating a cheesy, umami-rich flavor profile in your vegan ranch kale chips without any dairy. Nutritional yeast is packed with B vitamins and offers a distinct savory depth. If you’re not vegan or prefer a different taste, grated parmesan cheese is an excellent substitute that delivers a similar savory punch, though it will naturally increase the calorie count and introduce dairy.
- Lemon juice: Freshly squeezed lemon juice is always recommended for its bright, zesty flavor that perfectly complements the ranch seasoning. However, if you’re in a pinch, bottled lemon juice can be used. Just be mindful of its slightly more concentrated flavor and adjust to taste.
For the Tangy Salt & Vinegar Kale Chips:
- Vinegar: White vinegar is the traditional choice for salt and vinegar chips, providing a sharp, clean tang. For a slightly different twist, you could experiment with apple cider vinegar, which offers a fruitier, milder acidity, or even malt vinegar for a more robust, malty flavor. Keep in mind that using different vinegars will alter the final taste significantly, so choose one that aligns with your preferred flavor intensity.
For the Zesty Chili Lime Kale Chips:
- Chili powder: This provides the warm, earthy spice characteristic of chili lime. If you don’t have pre-mixed chili powder, you can easily create your own blend using a combination of smoked paprika for depth, cumin for warmth, and a dash of cayenne pepper for an added kick. Adjust the ratios to suit your spice tolerance.
- Lime juice: Much like with the ranch seasoning, freshly squeezed lime juice is highly preferred here for its vibrant, aromatic zest that truly elevates the chili flavor. Bottled lime juice can be used as a convenient alternative, or even lemon juice if lime isn’t available, though the flavor profile will shift slightly towards a more generic citrus note.
Step-by-Step Guide: How to Make Perfect Crispy Kale Chips
Achieving perfectly crispy, flavorful homemade kale chips is incredibly simple when you follow these easy steps. The key is proper preparation and careful baking. Let’s get started and turn that fresh kale into an irresistible snack!
Step 1: Thoroughly Wash and Dry the Kale.
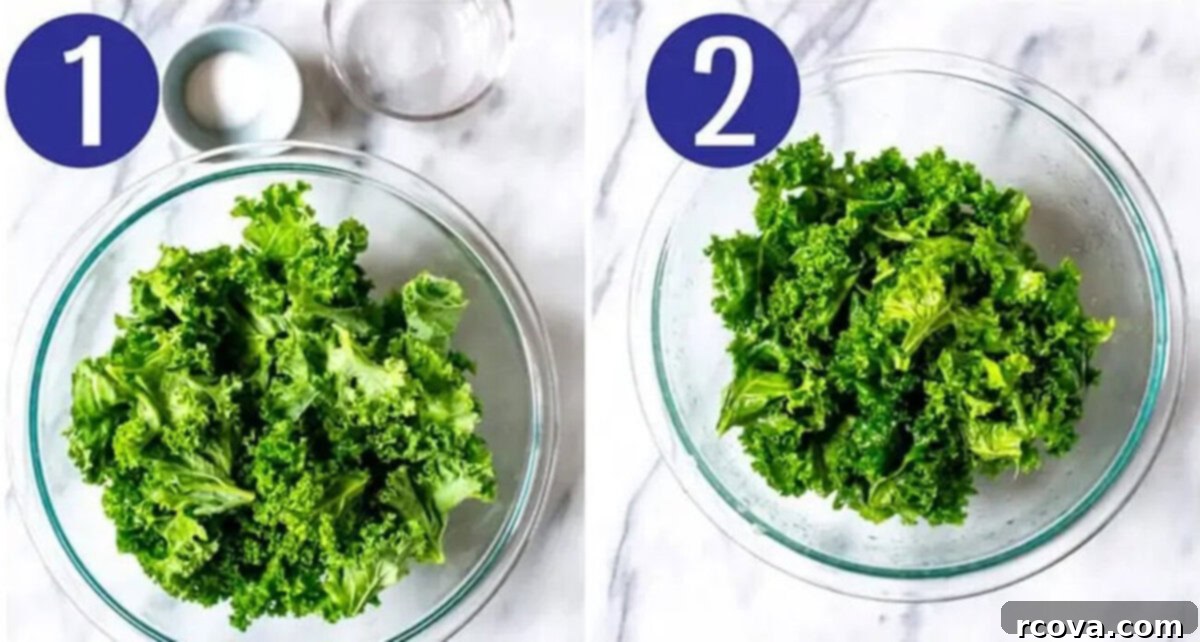
This is arguably the most crucial step for achieving truly crispy kale chips. Start by submerging your kale leaves in a large bowl of cold water, optionally with a tablespoon of baking soda, for about 5-10 minutes. This helps remove any dirt, grit, or residual pesticides. After soaking, rinse the kale thoroughly under cold running water. Once rinsed, it’s absolutely essential to dry the kale completely. Use a salad spinner to remove as much excess water as possible, then lay the leaves out on a clean kitchen towel or several layers of paper towels and gently pat them until they are bone dry. Any residual moisture will steam the kale instead of crisping it, leading to a disappointing, soggy result.
Step 2: Prepare the Kale by Tearing It into Bite-Sized Pieces.
Once your kale is perfectly dry, lay each leaf flat on a cutting board. Using your hands, carefully remove the tough, thick stems from the center of each leaf. These stems are fibrous, do not crisp up well, and can be unpleasant to eat. Discard them or save them for another use like juicing. Then, tear the remaining leafy parts into roughly 2-inch, chip-sized pieces. Aim for pieces that are as uniform in size as possible. This uniformity is vital for ensuring that all your kale chips bake evenly and become perfectly crispy at the same time, preventing some from burning while others remain undercooked.
Step 3: Gently Toss with Olive Oil and Your Chosen Seasoning.
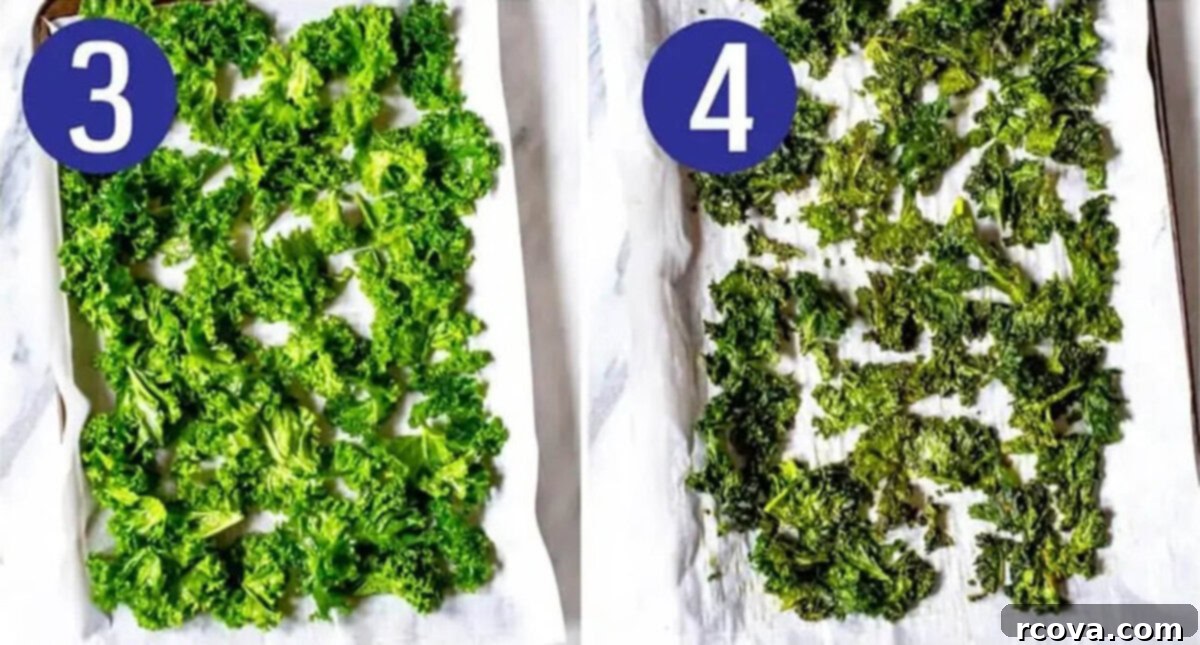
Transfer your dried and torn kale pieces into a large mixing bowl. Drizzle with a small amount of olive oil (or your chosen neutral oil) – remember, less is more here, as too much oil can make them greasy rather than crispy. Add your preferred seasoning blend (Salt & Vinegar, Chili Lime, or Ranch). Using your hands, gently massage the oil and seasoning into the kale leaves. This hands-on approach ensures every piece is lightly and evenly coated, guaranteeing that the flavors are distributed perfectly and that the oil adheres to the nooks and crannies of the kale, promoting maximum crispiness during baking.
Step 4: Bake in the Oven Until Perfectly Crisp.
Preheat your oven to a relatively low temperature, typically around 300°F (150°C). Line a large baking sheet with parchment paper to prevent sticking and aid in even cooking. Spread the seasoned kale in a single layer on the baking sheet, making sure not to overcrowd it. If necessary, use two baking sheets to avoid stacking, which would trap moisture and hinder crisping. Bake for about 15 minutes, then carefully rotate the baking sheet 180 degrees for even exposure to heat. Continue baking for another 8-10 minutes, or until the chips are dark green, very brittle, and perfectly crisp. Keep a vigilant eye on them during the last few minutes, as kale chips can go from perfectly done to burnt very quickly.
Step 5: Allow Them to Cool Completely.
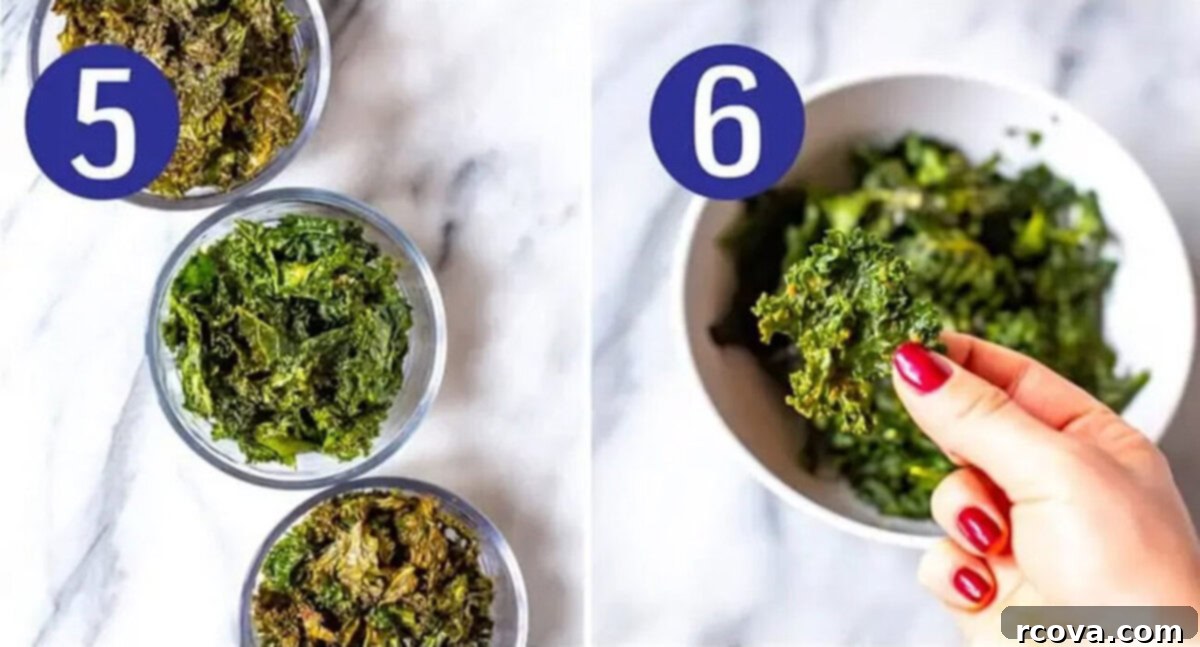
Once baked to perfection, immediately transfer the crispy kale chips from the hot baking sheet to a wire rack. Cooling on a wire rack is an essential step because it allows air to circulate around all sides of the chips. This crucial airflow prevents condensation from forming on the hot chips, which would otherwise make them soggy as they cool. Resist the urge to eat them directly from the oven while warm, as they will continue to crisp up and reach their optimal crunch as they come down to room temperature. Patience is key for that satisfying, irresistible crunch!
Step 6: Serve Immediately or Store for Later Enjoyment!
Now comes the most rewarding part: enjoying your freshly made, perfectly crispy baked kale chips! Munch and crunch to your heart’s content, savoring the healthy goodness and vibrant flavors. If, by some miracle, you have any leftovers, ensure they are completely cooled before storing them properly to maintain their crispiness. Enjoy them as a standalone snack, a crunchy topping, or a healthy side dish!
