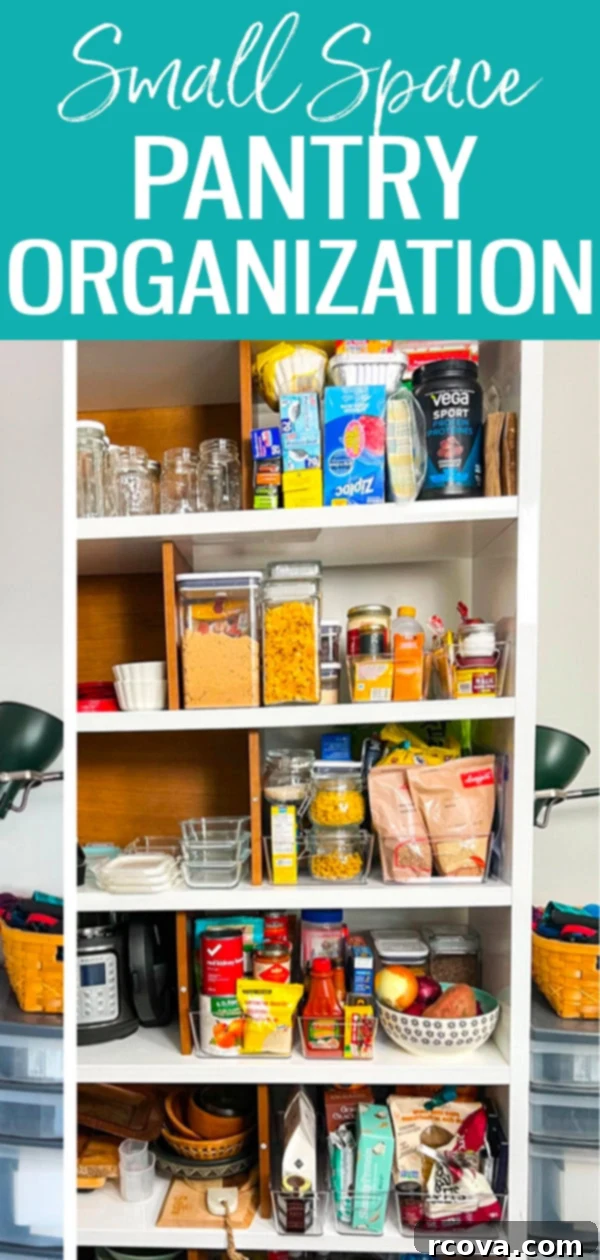
Ultimate Guide to Small Pantry Organization: Declutter, Maximize Space & Stay Organized on Any Budget
Is your pantry a chaotic mess? Do you struggle with limited storage space? This comprehensive guide will show you how to efficiently clean, organize, and maximize every inch of your pantry in 6 straightforward steps – regardless of its size or your budget. Transform your kitchen storage from overwhelming to perfectly functional and aesthetically pleasing!
FREE Budget-Friendly Meal Plan!
Take control of your grocery budget and eliminate food waste! Download my free budget-friendly meal plan ebook and discover strategies to save thousands of dollars on food every year. Start eating well without breaking the bank!
How to Clean and Organize Your Pantry in 6 Easy Steps
An organized pantry is a cornerstone of an efficient kitchen. It saves you time during meal prep, reduces food waste, and creates a more enjoyable cooking environment. Follow these six simple steps to transform your pantry into a functional and beautifully organized space.
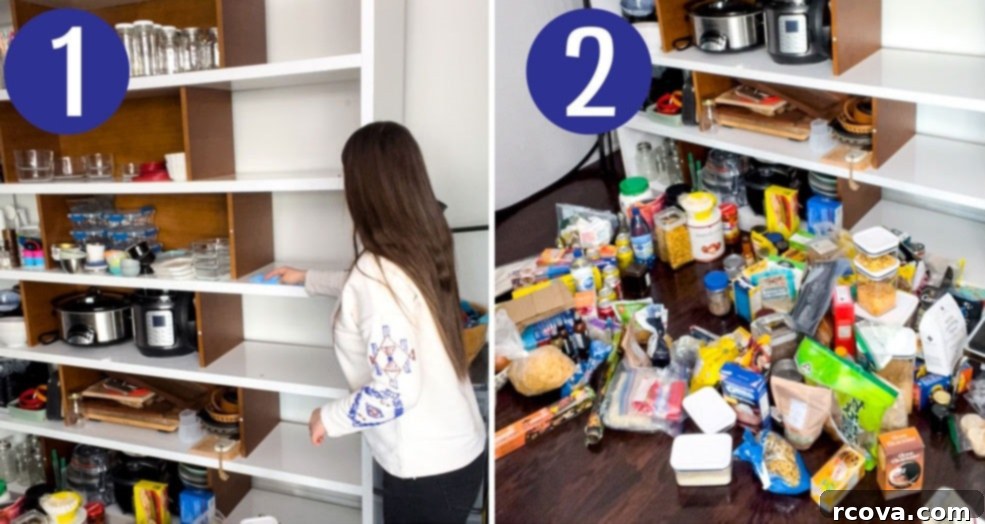
Step 1: Completely Empty and Clean Your Pantry Shelves
The first and most crucial step is to remove every single item from your pantry shelves. This allows you to see the true space you’re working with and ensures a thorough cleaning. Once everything is out, take the opportunity to wipe down all shelves, walls, and the floor of your pantry. Use an all-purpose cleaner or a simple solution of warm water and a little dish soap. This eliminates crumbs, spills, and any potential pests, providing a fresh, clean slate for your new organizational system.
Step 2: Declutter and Purge Unnecessary Items
With all items laid out, it’s time for a ruthless purge. Go through each item methodically. Throw out anything that has expired, is stale, or that your family simply doesn’t consume. Be honest with yourself about what you truly need and use. Check for duplicates and consider donating unopened, non-expired items you no longer want to a local food bank. The goal here is to eliminate clutter, creating more space and ensuring every item in your pantry serves a purpose.
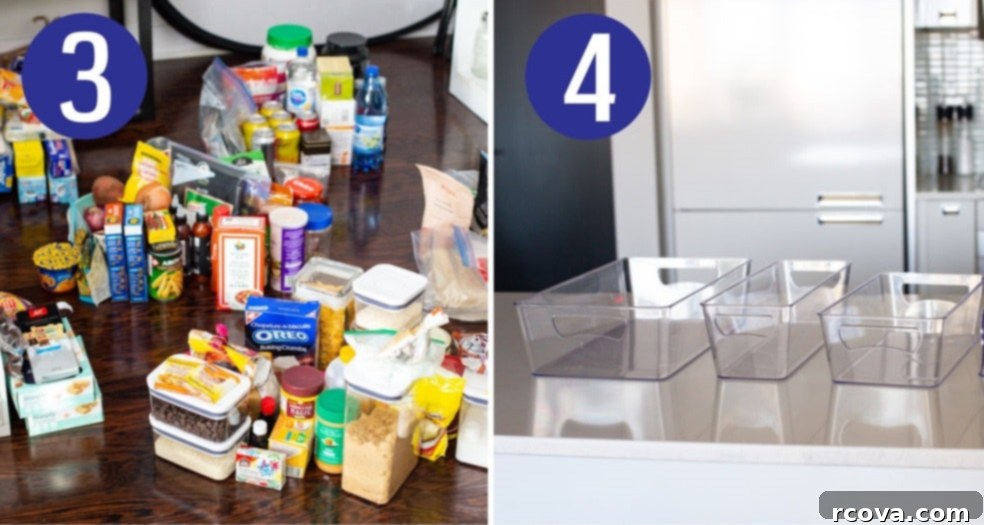
Step 3: Group Pantry Items into Logical Categories
Now that you’ve decluttered, group your remaining pantry items into logical categories. Think about how you use these items in your daily cooking. Common categories include: snacks, canned goods, dry baking ingredients (like flour, sugar, baking soda), condiments and sauces, breakfast cereals, beans and legumes, rice and grains, pasta, oils and vinegars, and spices. Grouping similar items together will make it incredibly easy to locate what you need quickly and return items to their proper place, maintaining order.
Step 4: Assess Your Storage Needs and Acquire Containers
Based on your newly formed categories, determine the types and quantities of storage containers and bins you’ll need. Clear containers are highly recommended as they allow you to easily see contents, preventing you from buying duplicates and ensuring you use items before they expire. Consider airtight containers for dry goods to maintain freshness. Measure your pantry shelves to ensure your chosen bins and containers will fit effectively, maximizing vertical and horizontal space. Once you have a clear plan, purchase your chosen storage solutions.
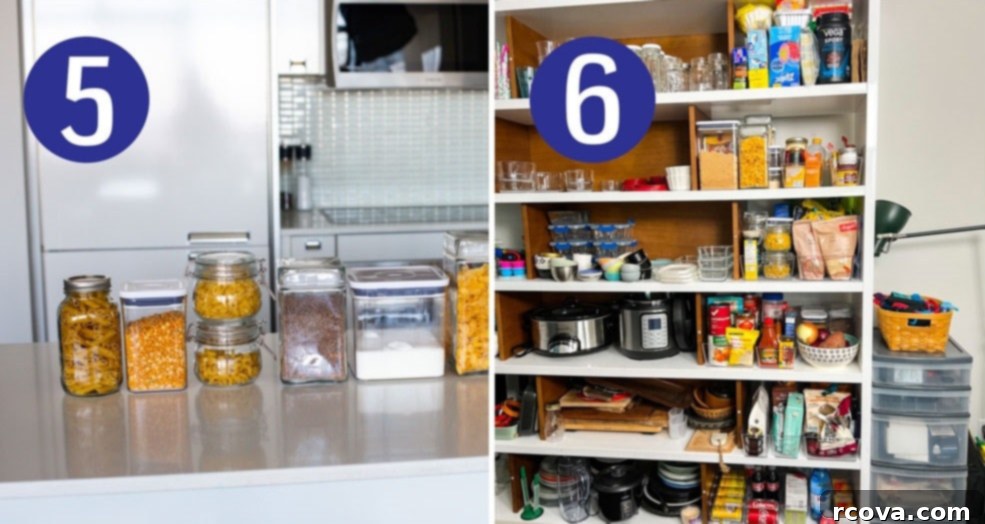
Step 5: Decant and Fill Your Chosen Containers
With your categories established and your containers ready, begin transferring items from their original packaging into the new storage solutions. Pour all your grains into one designated grain container, sort canned goods into a specific bin, and so on. This step helps create a uniform look, maximizes space by eliminating awkwardly shaped boxes, and allows you to better control portion sizes. Don’t forget to label your containers, especially for dry goods that may look similar or when using opaque bins.
Step 6: Strategically Place Items Back on Shelves
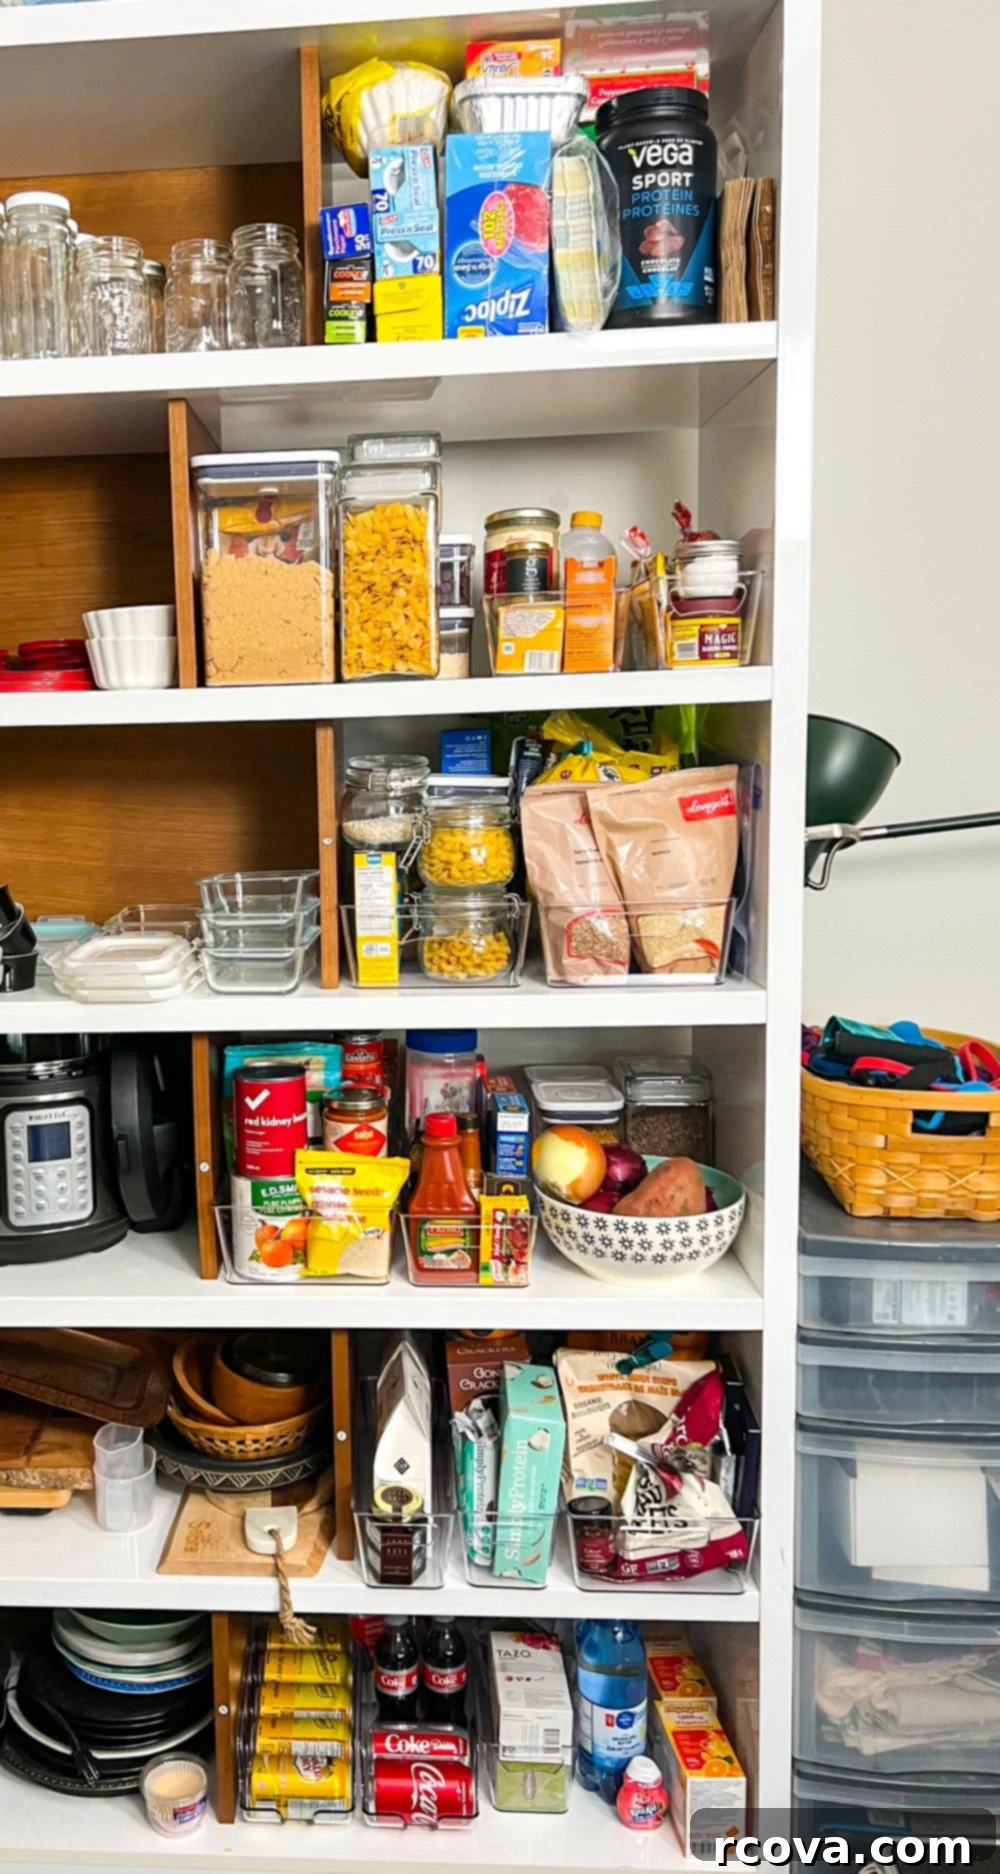
Finally, return your organized bins and containers to your now sparkling clean shelves. When arranging, think about accessibility. Place frequently used items at eye level. Heavier or bulkier items should go on lower shelves for safety and ease of access. Less frequently used items or overflow supplies can be stored on higher shelves. Arrange items by category, ensuring each bin has a designated spot. Step back and admire your beautifully organized pantry!

Mastering Small Pantry Organization: Tips & Tricks
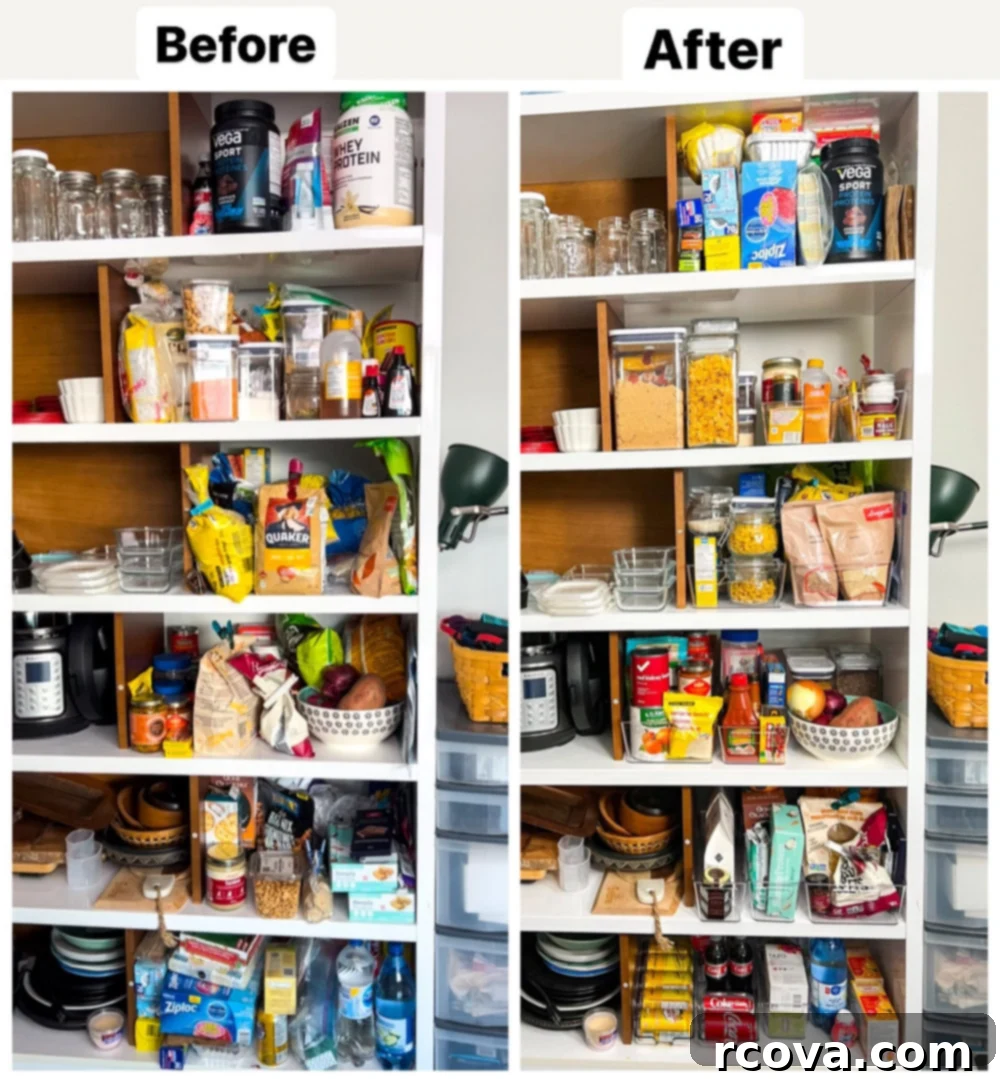
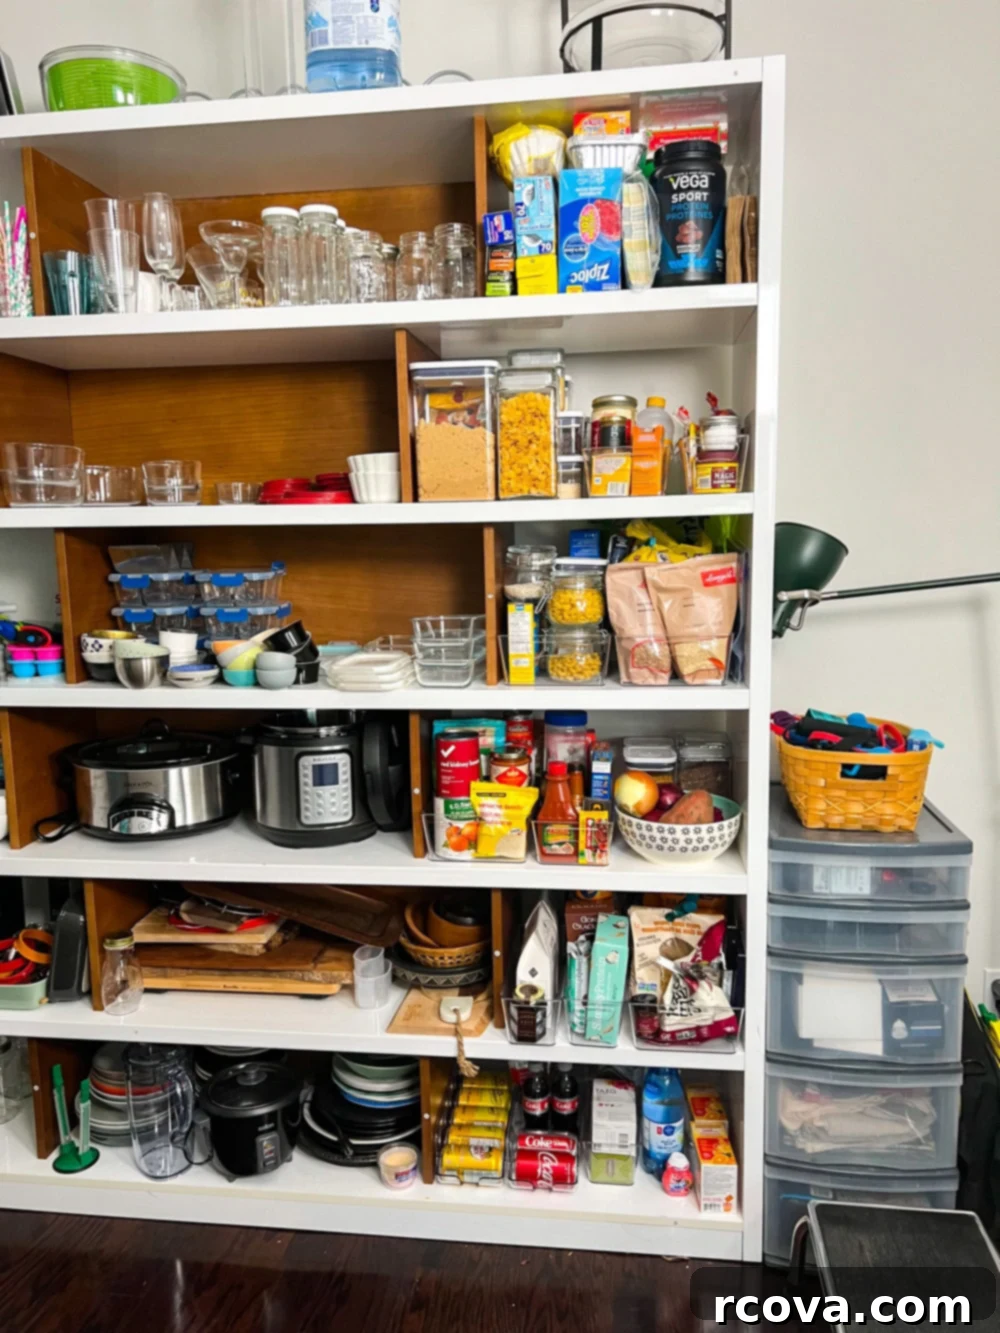
Having a small pantry doesn’t mean you have to sacrifice organization or efficiency. In fact, when you have limited storage space, organization becomes even more critical to ensure you’re maximizing every cubic inch available. For those without a built-in pantry, don’t despair! Creative solutions like installing open shelving, utilizing a tall bookshelf, or even repurposing a sturdy dresser in a corner of your kitchen or a nearby room can serve as a highly functional “pantry.” This is exactly what I did in my apartment, proving that a dedicated space isn’t always necessary for effective food storage.
The key to small pantry organization lies in creating dedicated sections and groupings. When everything has its own designated spot, you prevent the accumulation of a jumbled, unorganized mess. This structured approach helps you quickly find what you need, saves time, and significantly reduces food waste by keeping items visible and accessible. Beyond functionality, a well-organized small pantry, especially one without doors, contributes greatly to the overall aesthetic appeal of your kitchen. Neatly arranged clear containers and labeled bins look much more inviting than cluttered shelves.
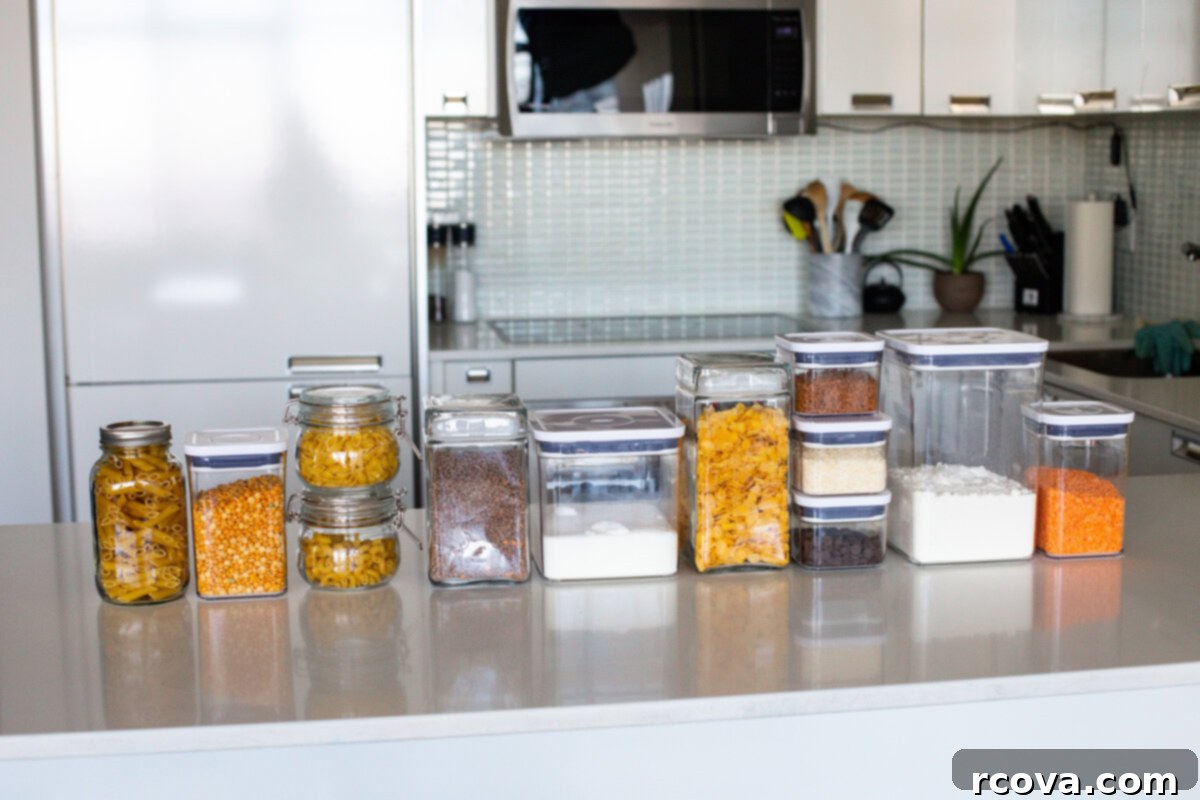
Essential Pantry Organization Bins
Bins are absolute game-changers for maintaining pantry organization, especially in compact spaces. Instead of letting loose items sprawl across your shelves, bins allow you to neatly group them. Imagine having all your legumes in one bin, your rice and quinoa in another, pasta in a third, and so on. This categorization not only looks tidy but also simplifies your grocery shopping list, as you can instantly see what needs restocking.
These versatile storage solutions become even more invaluable when dealing with deep pantry shelves. Instead of blindly rummaging around, struggling to reach items hidden at the back, you can simply pull out an entire bin to access its contents. This not only saves effort but also protects delicate items from getting crushed. I highly recommend investing in clear plastic bins because they offer immediate visibility of what’s inside, eliminating guesswork. For truly deep shelves, consider pairing your bins with pull-out organizers or drawers. These innovative tools allow you to slide entire sections of your pantry forward, making every item, even those tucked away at the very back, effortlessly reachable. Different bin sizes and shapes can also be strategically used to fit various shelf dimensions and item categories.
The Power of Pantry Organization Containers
Utilizing the right food storage containers can dramatically elevate your pantry’s organization and significantly help you maximize space. Say goodbye to the frustrating game of “pantry Tetris” – trying to fit an assortment of oddly shaped boxes, bags, and half-empty packages together. By decanting your dry goods, cereals, and other staples into dedicated, uniform food storage containers, you create a harmonious system where everything fits together seamlessly. This uniform approach not only looks better but also allows for more efficient stacking and utilization of vertical space.
As mentioned before, clear containers are my top recommendation because they provide instant visibility of contents, preventing you from overbuying or forgetting what you have. While high-end options like the OXO Good Grips Pop containers (which I personally splurged on for their excellent seal and modular design) are fantastic, there are numerous affordable alternatives available that perform just as well. The most crucial feature to look for in any container is an airtight seal. This is vital for extending the shelf life of your food items and protecting them from moisture, air, and pantry pests. There’s truly nothing more disappointing than discovering a fresh bag of flour or oats has gone bad because it wasn’t stored properly! Investing in quality, airtight containers will save you money in the long run by preserving your ingredients.
Here are a few of my favourite containers and bins for ultimate pantry efficiency:
- OXO Good Grips 5-piece Pop Container Set: My go-to for durability and excellent airtight sealing. Perfect for flour, sugar, and pasta.
- Clear Storage Containers: A versatile set of clear plastic containers for various dry goods, offering great value and visibility.
- Large Mason Jars: Excellent for bulk items, liquids, or even pickled vegetables. Plus, they look great!
Organizing on a Budget
You don’t need to spend a fortune to achieve a beautifully organized pantry. There are countless budget-friendly options available, allowing you to create a functional system without blowing your entire budget on expensive storage solutions. Smart shopping and a little DIY creativity can go a long way.
Mason jars are one of my all-time favorite budget-friendly pantry staples. They are incredibly versatile and perfect for storing nuts, seeds, dried fruits, legumes, rice, grains, and other dried goods. Not only are they super affordable, but their classic design also adds a touch of rustic charm to your pantry. For a truly zero-cost DIY alternative, consider repurposing old glass pasta sauce jars, pickle jars, or even clean Greek yogurt containers. Just ensure they are thoroughly washed and dried before use. If you’re using opaque containers or repurposed jars without clear labels, always make sure to label their contents clearly with a marker or sticker so you know exactly what’s inside at a glance.
What You Can Find at the Dollar Store for Pantry Organization
The dollar store is a treasure trove for pantry organizing essentials that won’t break the bank. You can find an astonishing variety of useful items there, including various sizes of mason jars, sturdy plastic bins, and stackable containers in all shapes and dimensions. These items often cost significantly less than what you would pay at a specialized storage solutions store or even larger retailers. While the quality might not always be top-tier, for many pantry items, dollar store finds offer excellent value and functionality. It’s a fantastic starting point for building your organizational system without a hefty investment.
Clever Ways to Organize a Collection of Spices
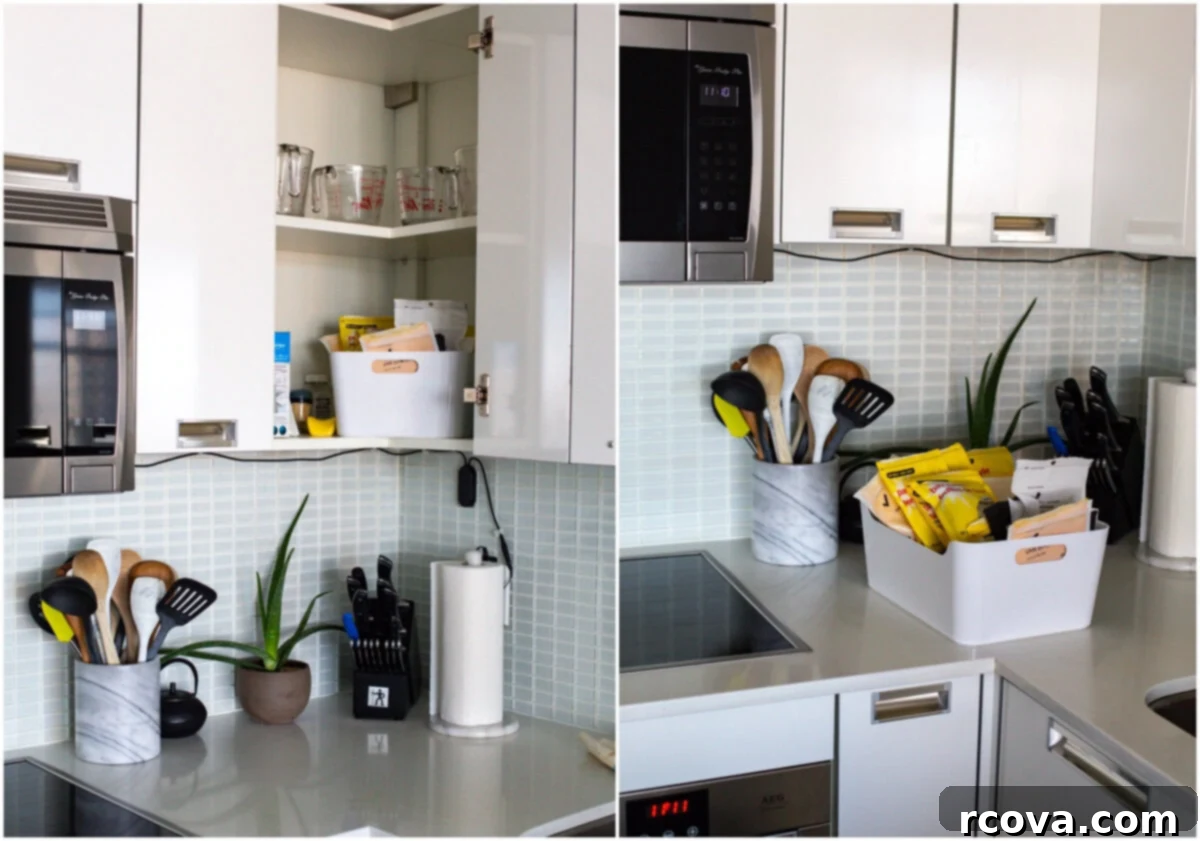
Managing a large collection of spices can be a challenge, but effective organization ensures you can always find that crucial ingredient. While you can certainly store your spices within your main pantry, I personally find it much more convenient to keep them in the kitchen itself, right where I do all my cooking. This way, I avoid having to run back and forth to the pantry, disrupting my cooking flow. I often store my spices in their original resealable packages, grouped together in a shallow bin, allowing me to easily flip through them and see each label clearly.
If your preference is to keep your spices in the pantry, there are several fantastic organization methods. Investing in a dedicated spice rack, a tiered shelf organizer, or a lazy susan turntable can make a world of difference. For optimal efficiency, consider decanting your spices into uniform, labeled containers (you can buy matching sets for a cohesive look). You can then organize them either by frequency of use (placing your most-used spices at the front) or alphabetically for easy searching. Some even opt for magnetic spice tins that can be affixed to the inside of a pantry door or a metal strip on a wall. The best method ultimately depends on your pantry layout, kitchen habits, and personal preference, so experiment to find what works perfectly for you!
Frequently Asked Questions About Pantry Organization
There’s no single “right” way to group items in your pantry; the most effective method is one that aligns with your cooking habits and preferences. A helpful starting point is to mimic how items are grouped in grocery store aisles. Think about categories like “pasta and rice,” “canned goods,” “baking supplies,” “condiments,” “snacks,” or “breakfast items.” Grouping ingredients that are often used together can also streamline your cooking process. For instance, keep all your baking essentials (flour, sugar, chocolate chips, baking powder) in one designated zone. The key is consistency, so everyone in your household knows where to find and return items.
The top shelf of your pantry is ideal for storing items that are used infrequently, large bulk items, or seasonal supplies. This might include specialty appliances, holiday baking ingredients, large bags of rice or pasta that serve as overflow, or even extra paper towels and cleaning supplies (if your pantry shares space for non-food items). Keep in mind that anything stored on the top shelf should be lightweight and easy to retrieve safely, or placed in sturdy bins that can be pulled down without risk. Reserve valuable eye-level and easy-to-reach space for your daily essentials.
Deep shelves can be challenging, but clear bins are your ultimate solution! By categorizing and organizing all your pantry items into various clear bins, you can significantly maximize the usable space and greatly improve accessibility. Instead of reaching deep into the dark recesses of the shelf, you can simply pull out the entire bin to access its contents, making it easy to find what you need without rummaging. Consider using pull-out drawers or shelf risers within the bins to create vertical layers, further enhancing visibility and preventing items from getting lost at the back. Labels on the front of the bins are also crucial to easily identify contents.
More meal prep resources
Looking for more ways to streamline your kitchen and meal prep routine? Explore these helpful resources for efficient cooking and storage.
-
Healthy Pantry Staples Every Kitchen Needs
-
26 Easy Pantry Meals {Healthy Dinner Ideas}
-
How To Organize Your Freezer: 6 Easy Steps
-
How to Meal Plan in 15 Minutes {Free Template}
-
How to Ingredient Prep in Just 1 Hour!
-
40+ Healthy Meal Prep Lunch Ideas for Work
