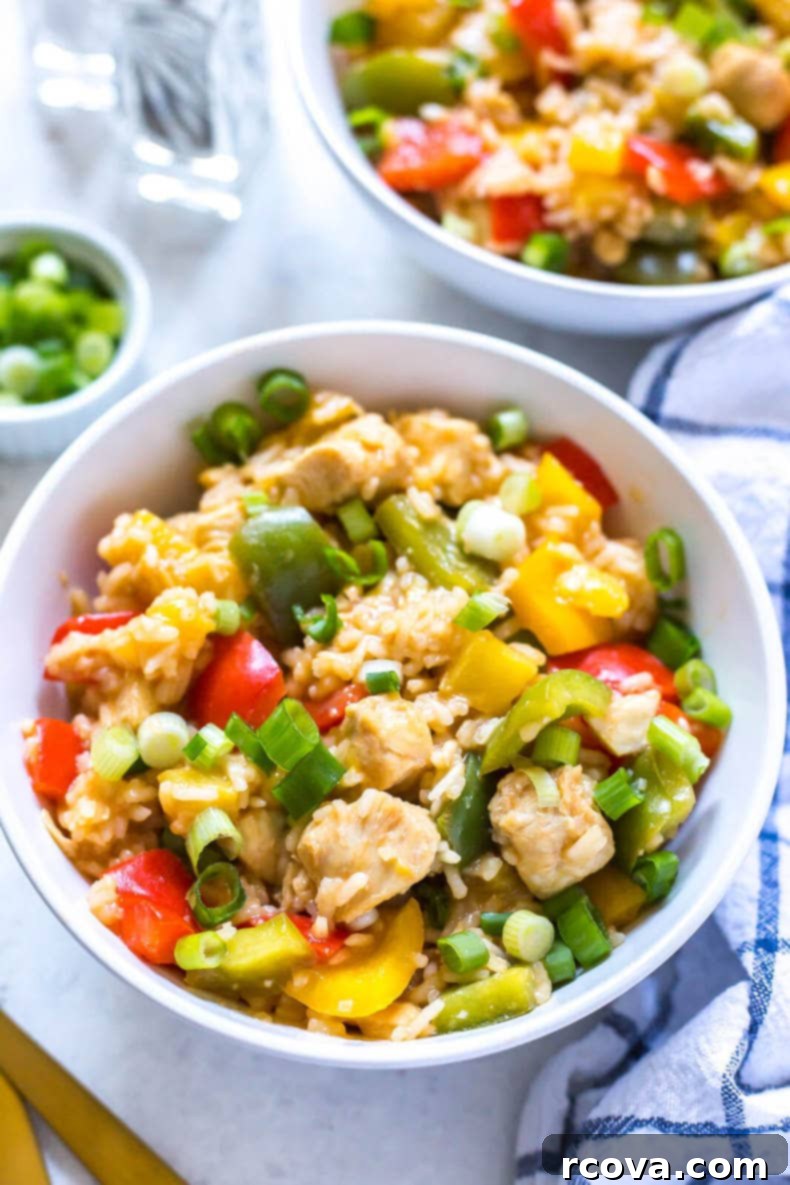
Effortless Instant Pot Sweet and Sour Pineapple Chicken: Your Ultimate One-Pot Weeknight Meal Solution
This Instant Pot Sweet and Sour Pineapple Chicken recipe delivers a vibrant, flavorful one-pot rice dish featuring an incredibly easy, five-ingredient sauce crafted from everyday pantry staples. It’s the perfect blend of sweet, tangy, and savory, making it an ideal choice for busy weeknights or whenever you crave a delicious, hassle-free meal.
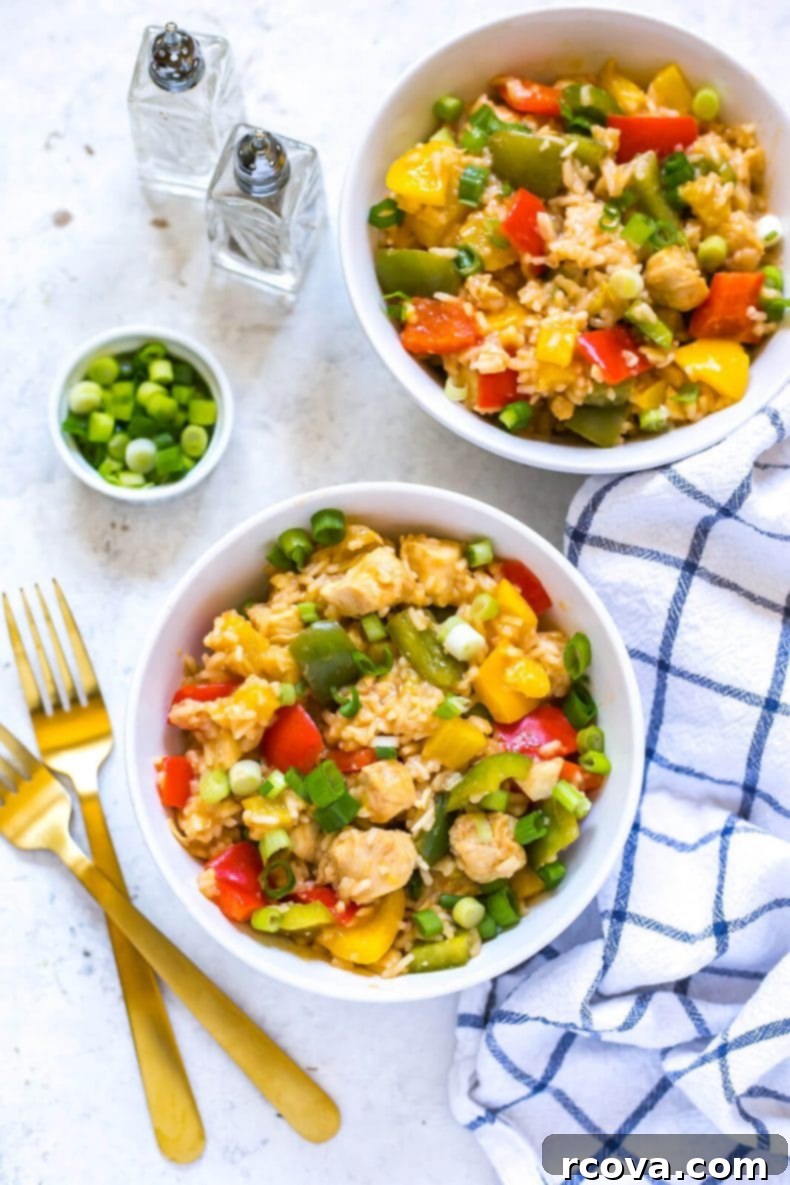
Are you looking for a quick, flavorful, and incredibly easy dinner that comes together in one pot? Look no further! This Instant Pot Sweet and Sour Pineapple Chicken with Rice is a true game-changer. It combines tender chicken pieces, fluffy rice, and a vibrant sweet and sour sauce bursting with the tropical flavor of pineapple and crisp bell peppers. The beauty of this recipe lies in its simplicity – with minimal ingredients and the magic of your Instant Pot, you can have a restaurant-quality meal on your table in under 30 minutes, with very little cleanup!
Sweet and sour chicken is a beloved classic in Asian cuisine, known for its irresistible balance of tangy, sweet, and savory notes. My Instant Pot rendition takes all the goodness of this traditional dish and streamlines it into a convenient, budget-friendly meal. Using common pantry items for the sauce means you likely already have most of what you need on hand. Plus, cooking everything in the Instant Pot ensures the chicken remains juicy, the rice cooks perfectly, and all the flavors meld together beautifully.
FREE Budget-Friendly Meal Plan!
Save thousands of dollars on food every year with my free budget-friendly meal plan ebook.

Ingredients and Smart Substitutions for Sweet and Sour Pineapple Chicken
Crafting this delicious Instant Pot Sweet and Sour Pineapple Chicken is incredibly simple, especially since the ingredient list relies on common kitchen staples. Here’s a breakdown of what you’ll need and some flexible substitutions to suit your preferences or what you have on hand:
- Olive oil: Any neutral cooking oil will work perfectly here. Options include avocado oil, canola oil, vegetable oil, or grapeseed oil. The goal is just to grease the pot and get things going without overpowering the other flavors.
- Chicken breasts: For this recipe, boneless, skinless chicken breasts are diced into 1-inch pieces, ensuring quick and even cooking. If you prefer a richer flavor and juicier texture, boneless, skinless chicken thighs are an excellent alternative. They hold up wonderfully under pressure cooking and offer a slightly different, equally delicious taste.
- Diced pineapple: Pineapple is the star of our sweet and sour sauce! You can use either fresh or canned pineapple. If opting for canned pineapple, be sure to choose varieties that are packed in juice or water, without any added sugar, to control the sweetness of the dish. Fresh pineapple adds a bright, tangy burst, while canned is convenient and still delivers fantastic flavor.
- Rice vinegar: This is a key component for the “sour” element of the sauce. If you don’t have rice vinegar, apple cider vinegar or white wine vinegar can be used as direct substitutes, offering a similar tanginess.
- Brown sugar: Essential for the “sweet” aspect of the sauce, brown sugar also adds a subtle caramel note. Great alternatives include coconut sugar for a less refined option, white granulated sugar if that’s all you have, or natural sweeteners like honey or maple syrup. Adjust the quantity slightly if using a liquid sweetener to maintain sauce consistency.
- Ketchup: Ketchup provides a base of tomato flavor and adds to the sauce’s characteristic sweetness and color. While it’s a staple, you can experiment with tomato paste for a deeper tomato flavor, though the overall taste will be less sweet and slightly different.
- Soy sauce: The primary source of umami and saltiness. For those avoiding gluten, coconut aminos or tamari are excellent 1:1 substitutes that maintain the savory depth of the dish without the gluten. Choose low-sodium soy sauce to better control the salt level.
- Garlic: Freshly minced garlic offers the most pungent and authentic flavor. However, for convenience, jarred minced garlic or garlic powder can be used. If using powder, remember that it’s more concentrated, so use about 1/2 teaspoon of powder for every clove of fresh garlic.
- Chicken broth: This liquid is crucial for cooking the rice and creating the sauce. Vegetable broth is the best substitute if you don’t have chicken broth or prefer a vegetarian base.
- White rice: Long-grain white rice varieties such as jasmine, basmati, or even regular white rice work perfectly. These cook evenly and absorb the sauce beautifully. While this recipe is optimized for white rice, you could try brown rice by doubling the chicken broth and increasing the cook time, usually to about 20-25 minutes with a natural pressure release.
- Bell peppers: We use a colorful mix of red, green, and yellow bell peppers for visual appeal and a fresh crunch. Feel free to substitute these with other quick-cooking vegetables like broccoli florets, snap peas, or even sliced carrots, adding them in at the same stage as the bell peppers.
- Green onions: Sliced green onions (scallions) are primarily a garnish, adding a fresh, mild onion flavor and vibrant color. If you’re not a fan, you can simply omit them without significantly impacting the core flavor of the dish.
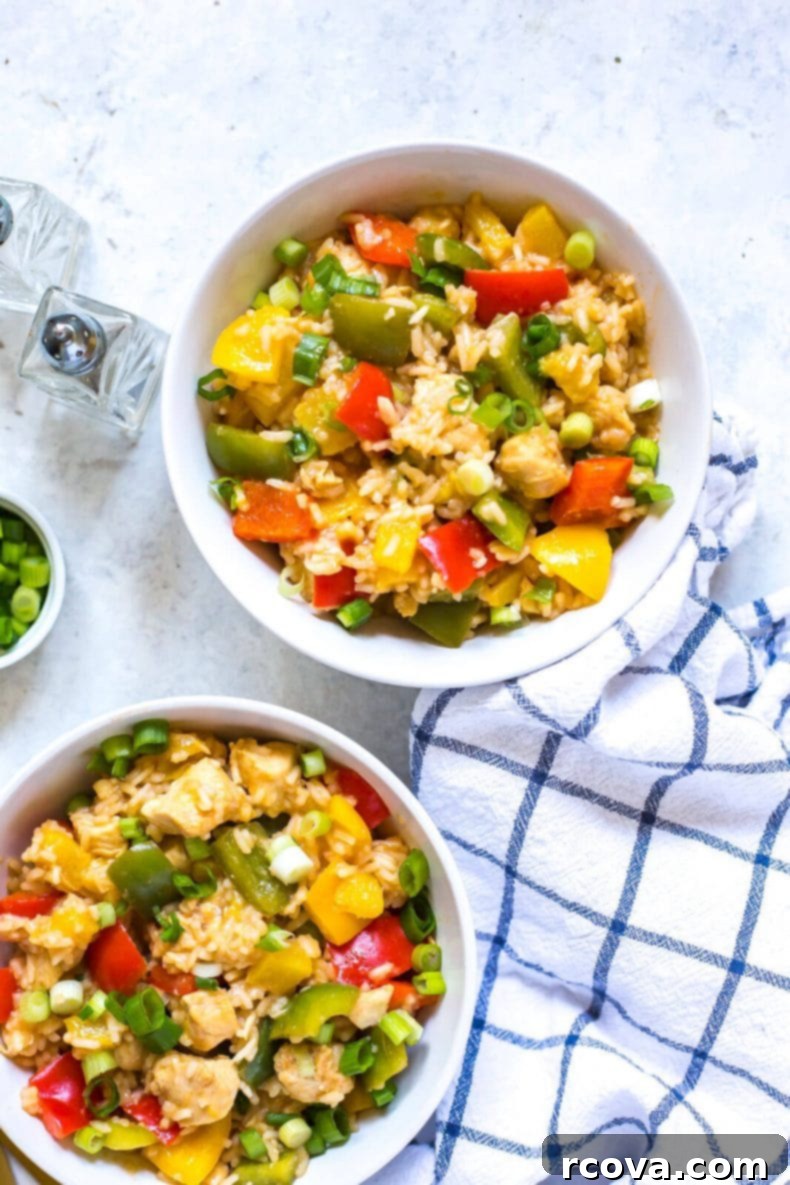
Simplified Steps: How to Make Instant Pot Sweet and Sour Pineapple Chicken
Making this delightful sweet and sour chicken in your Instant Pot is incredibly straightforward. Follow these simple steps for a perfect one-pot meal every time:
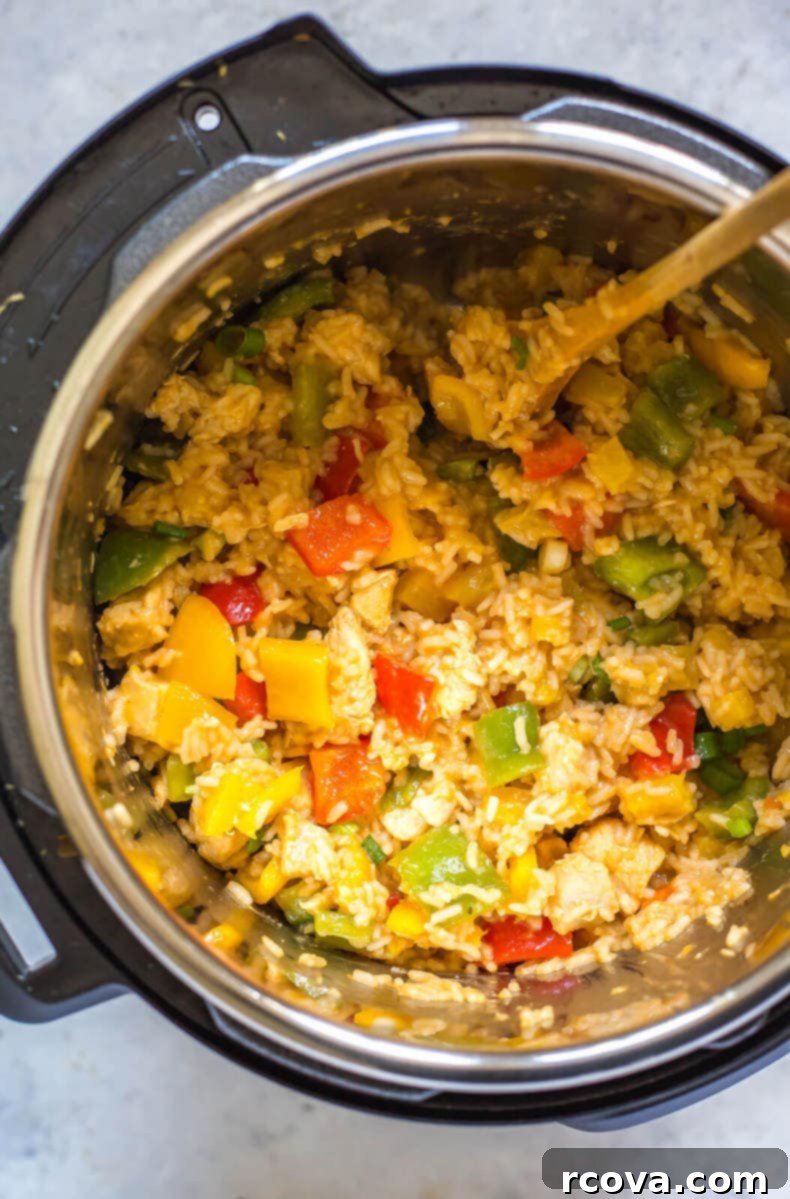
- Layer the Ingredients: Add the olive oil to the Instant Pot. Then, layer the chicken, pineapple, rice vinegar, brown sugar, ketchup, soy sauce, minced garlic, and chicken broth in that order. Crucially, gently add the dry white rice on top of the other ingredients without stirring. This layering helps prevent the “BURN” notice and allows the rice to cook properly as it steams and absorbs the liquid from above.
- Pressure Cook: Secure the lid on your Instant Pot, ensuring the vent is sealed. Set it to cook on high pressure for 5 minutes. The Instant Pot will take about 10 minutes to come to pressure before the cooking cycle begins.
- Quick Pressure Release: Once the 5-minute cooking time is complete, carefully perform a quick release of the pressure. This means manually moving the sealing valve to the venting position to rapidly release the steam. Be cautious of the hot steam. Remove the lid once the float valve drops and it’s safe to do so.
- Stir in Bell Peppers: At this point, the rice might look a little firm or crunchy, and there may be some liquid remaining. Don’t worry, this is expected! Promptly stir in your chopped bell peppers. The residual heat and steam will continue to cook the rice and slightly soften the peppers.
- Rest for Perfection: Replace the lid on the Instant Pot (you don’t need to seal it again) and let the dish sit for an additional 5-10 minutes. This critical resting period allows the rice to fully absorb any remaining liquid and steam to tender perfection, and the bell peppers to achieve that ideal crisp-tender texture. I promise, the rice will be perfectly cooked after this short rest!
- Garnish and Serve: Finally, remove the lid, give everything a good stir, and divide the flavorful sweet and sour pineapple chicken and rice among four bowls. Garnish generously with sliced green onions for a fresh, aromatic finish. Serve immediately and enjoy your effortless homemade meal!
Making Sweet and Sour Pineapple Chicken on the Stovetop
No Instant Pot? No problem! You can absolutely make this delicious sweet and sour pineapple chicken on your stovetop. It might take a little more active attention, but the results are just as satisfying. However, I do not recommend using a slow cooker for this specific recipe, as the rice tends to get mushy and the chicken can become overcooked and dry over a long period.
- Combine & Simmer: In a large, heavy-bottomed pot or Dutch oven, combine all the ingredients from the recipe (chicken, pineapple, rice vinegar, brown sugar, ketchup, soy sauce, garlic, broth, and uncooked rice), with the exception of the bell peppers and green onions. Give everything a good stir to ensure the rice is submerged in the liquid.
- Boil & Reduce Heat: Bring the mixture to a rolling boil over medium-high heat. Once boiling, reduce the heat to low, cover the pot tightly with a lid, and let it simmer for approximately 20-25 minutes. The exact cooking time will depend on your stove and the type of rice, so keep an eye on it. The goal is for the rice to absorb almost all the liquid and become tender.
- Add Peppers & Finish: After the rice is mostly cooked and the liquid is absorbed, stir in the chopped bell peppers. Re-cover the pot and continue to cook for another 5-7 minutes, stirring occasionally. This will allow the peppers to become crisp-tender and finish cooking the rice.
- Garnish and Serve: Once the rice is fully cooked and fluffy, and the sauce has thickened, remove the pot from the heat. Let it rest for a few minutes before serving. Garnish generously with fresh green onions for a pop of color and flavor. Serve hot and enjoy your homemade sweet and sour pineapple chicken!

Frequently Asked Questions About Sweet and Sour Pineapple Chicken
Pineapple chicken is a delightful Asian-inspired dish, celebrated for its unique balance of sweet and tangy flavors. Typically, it features tender chicken pieces, often combined with rice and colorful vegetables, all coated in a rich sweet and sour sauce. My Instant Pot version makes it even easier to prepare, as everything cooks together in one pot, minimizing cleanup and maximizing convenience. It’s a complete meal that’s both satisfying and bursting with tropical zest.
This Instant Pot Sweet and Sour Pineapple Chicken is designed to be a complete meal on its own, with chicken, rice, and veggies all in one dish. However, if you’re looking to round out your meal or add some extra freshness, a simple side salad with a light vinaigrette or a serving of steamed green vegetables like broccoli, asparagus, or green beans would be perfect complements. For an added touch of luxury, consider a sprinkle of toasted sesame seeds or a dash of sriracha for a bit of heat.
Based on the nutritional information provided for this recipe, each serving of Instant Pot Sweet and Sour Pineapple Chicken contains approximately 409 calories. This makes it a satisfying and relatively balanced meal option.
For best results and food safety, it is always recommended to use thawed chicken breasts for Instant Pot recipes that include rice, as frozen chicken can release too much water and affect the rice cooking time and texture. If you must use frozen chicken, consider increasing the pressure cook time by 2-3 minutes, but be aware that it might alter the rice consistency slightly.
If you prefer a thicker sauce, you can easily achieve this after the main cooking process. Once you’ve added the bell peppers and let the dish rest, remove the chicken and rice from the Instant Pot. Then, in the same pot, create a slurry by mixing 1 tablespoon of cornstarch with 2 tablespoons of cold water. Add this mixture to the remaining liquid in the pot, and simmer on the “Sauté” function (low setting) until the sauce reaches your desired consistency. Then combine everything back together.
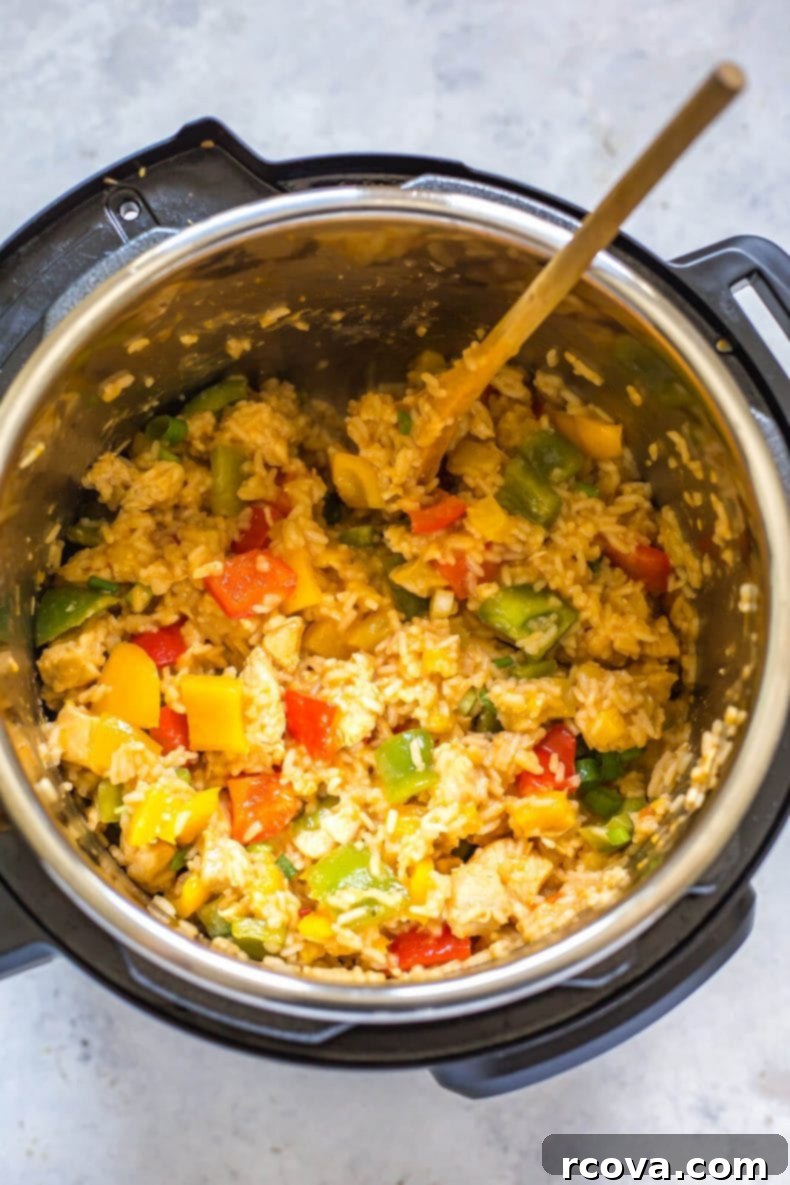
Storing and Reheating Your Pineapple Chicken
This Instant Pot Sweet and Sour Pineapple Chicken is fantastic for meal prep! Its flavors develop even further overnight, making it a delicious option for lunches or quick dinners throughout the week. Properly stored, leftovers will maintain their quality and taste in the fridge for up to 5 days.
To reheat, sprinkle a tablespoon or two of water over the chicken and rice before warming. This crucial step helps prevent the chicken and rice from drying out, ensuring it remains moist and flavorful. You can reheat individual portions in the microwave for 2-3 minutes, stirring halfway through to ensure even heating. Alternatively, for a stovetop refresh, simply heat the dish in a skillet over medium heat, adding a splash of water or broth, until warmed through.
Can You Freeze Sweet and Sour Pineapple Chicken?
Absolutely, this recipe is incredibly freezer-friendly, making it a perfect candidate for batch cooking and future meal planning! To freeze, allow the pineapple chicken to cool completely after cooking. Divide it into individual portions and store in airtight, freezer-safe containers, such as glass bowls, for up to 3 months. This way, you have convenient, ready-to-eat meals whenever you need them.
When you’re ready to enjoy, you have a couple of options for reheating. You can defrost the dish in the fridge overnight, then reheat as directed above (microwave or stovetop). For a quicker option, you can reheat directly from frozen in the microwave. Add a sprinkle of water over the top, cover loosely, and microwave for 6-7 minutes, stirring occasionally throughout the cooking process, until it’s heated through and steaming hot. The added water helps rehydrate the rice and keeps the chicken tender during reheating.
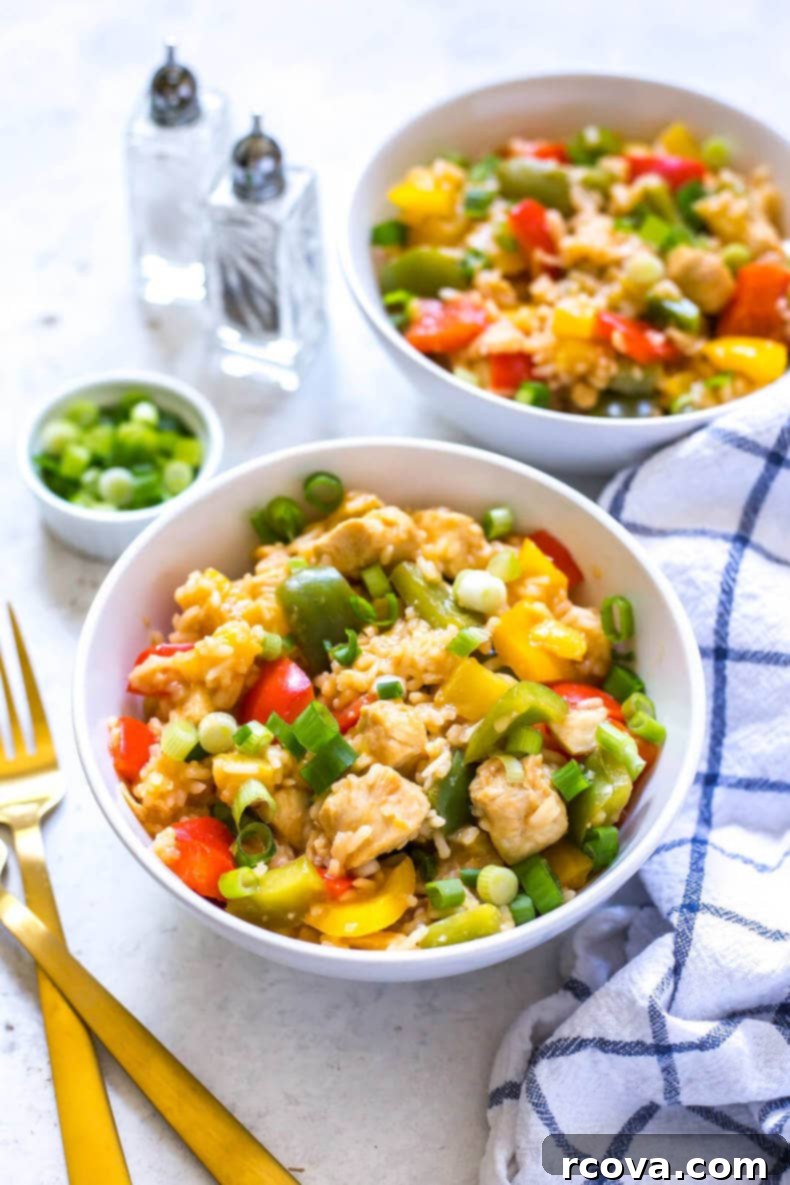
Tips for the Perfect Instant Pot Sweet and Sour Pineapple Chicken
Achieving restaurant-quality results at home is easy with a few simple tips:
- Layering is Key: As mentioned in the instructions, adding the rice last and gently spreading it over the other ingredients without stirring is important. This prevents the rice from settling at the bottom and potentially causing a “BURN” notice, and ensures it cooks perfectly.
- Don’t Skip the Rest: The 5-10 minute resting period after the quick pressure release is vital. It allows the rice to finish absorbing moisture and steam, resulting in perfectly cooked, fluffy grains and tender bell peppers.
- Adjust Sweetness/Sourness: Taste the sauce before cooking and adjust to your preference. If you like it tangier, add a bit more rice vinegar. For extra sweetness, a touch more brown sugar will do the trick.
- For Added Heat: If you enjoy a little spice, a pinch of red pepper flakes or a dash of sriracha mixed into the sauce or drizzled on top before serving will add a pleasant kick.
- Freshness Factor: While canned pineapple works, fresh pineapple will give your dish an even brighter, more vibrant flavor.
More Delicious Asian-Inspired Instant Pot Recipes
If you love the convenience and flavor of this Instant Pot Sweet and Sour Pineapple Chicken, you’ll definitely want to try these other Asian-inspired Instant Pot recipes that make weeknight cooking a breeze:
- Instant Pot Beef & Broccoli with Rice: A classic takeout favorite, made healthier and faster in your pressure cooker, complete with tender beef, crisp broccoli, and perfectly cooked rice.
- Instant Pot Pad Thai: Recreate the complex flavors of this beloved Thai noodle dish with surprising ease using your Instant Pot, for a quick and satisfying meal.
- Instant Pot Egg Roll in a Bowl: All the delicious flavors of an egg roll, deconstructed into a healthy, low-carb bowl that cooks up in minutes.
Essential Meal Prep Tools for This Recipe
Having the right tools can make all the difference in preparing and enjoying your Instant Pot Sweet and Sour Pineapple Chicken. Here are some of my top recommendations:
- The Instant Pot DUO Plus 60 is the exact version I use for this and many other recipes, providing consistent, reliable results.
- To efficiently pack this delicious sweet and sour chicken for lunches or future meals, grab some durable glass meal prep bowls. They are perfect for storing and reheating, and often come with airtight lids to keep your food fresh.
- For high-quality, free-range chicken breasts that taste amazing in this dish, I source all my poultry from Butcher Box. Their commitment to quality ensures your meals are always top-notch.

Instant Pot Sweet and Sour Pineapple Chicken
Print
Pin
Rate
SEND ME MY PLAN
Ingredients
- 1 tbsp olive oil
- 1 lb chicken breasts, diced into 1 inch pieces
- 1 cup diced pineapple (fresh or from a can; I used fresh)
- 3 tbsp rice vinegar
- 3 tbsp brown sugar
- 2 tbsp ketchup
- 2 tbsp low sodium soy sauce or tamari if gluten-free
- 2 cloves garlic minced
- 1 1/4 cups chicken broth
- 1 cup dry white or jasmine rice
- 1 each red, green and yellow bell pepper, chopped
- 4 green onions, sliced
Instructions
-
Add olive oil, diced chicken, pineapple, rice vinegar, brown sugar, ketchup, soy sauce, minced garlic, chicken broth, and uncooked rice to your Instant Pot. It’s important to add the ingredients in this order, leaving the rice to float on top without stirring. Secure the lid and ensure the venting knob is set to ‘Sealing’.
-
Cook on high pressure for 5 minutes. The Instant Pot will typically take about 10 minutes to reach full pressure before the cooking countdown begins. Once the cooking cycle is complete, carefully perform a quick pressure release (QR) by turning the venting knob to ‘Venting’ (use a kitchen towel or oven mitt to protect your hand from the steam). When the float valve drops, it’s safe to remove the lid. Don’t be alarmed if the rice appears slightly crunchy or there’s some liquid remaining – this is part of the process! Immediately stir in the chopped bell peppers.
-
Replace the lid (no need to seal again) and let the dish sit undisturbed for another 5-10 minutes. This crucial resting time allows the rice to fully absorb any remaining liquid and steam to tender perfection, and the bell peppers to soften to a crisp-tender texture. The rice *will* get fully cooked after sitting for a bit, I promise! After resting, remove the lid, give it a final stir, then divide among four bowls. Top generously with sliced green onions, then serve and enjoy this effortless Instant Pot meal!
Video
Notes
For a richer flavor and juicier texture, feel free to swap out the chicken breasts for boneless, skinless chicken thighs. They hold up wonderfully in the Instant Pot.
You can easily make this recipe on the stovetop if you don’t have an Instant Pot; simply follow the stovetop instructions outlined in the post.
Store any leftover pineapple chicken in an airtight container in the fridge for up to 5 days. For best results when reheating, sprinkle a little water over the top to keep it from drying out.
This dish freezes beautifully! Portion it into freezer-safe containers and store for up to 3 months. Defrost in the fridge overnight or reheat directly from frozen in the microwave with a splash of water and stirring halfway through.
Nutrition


