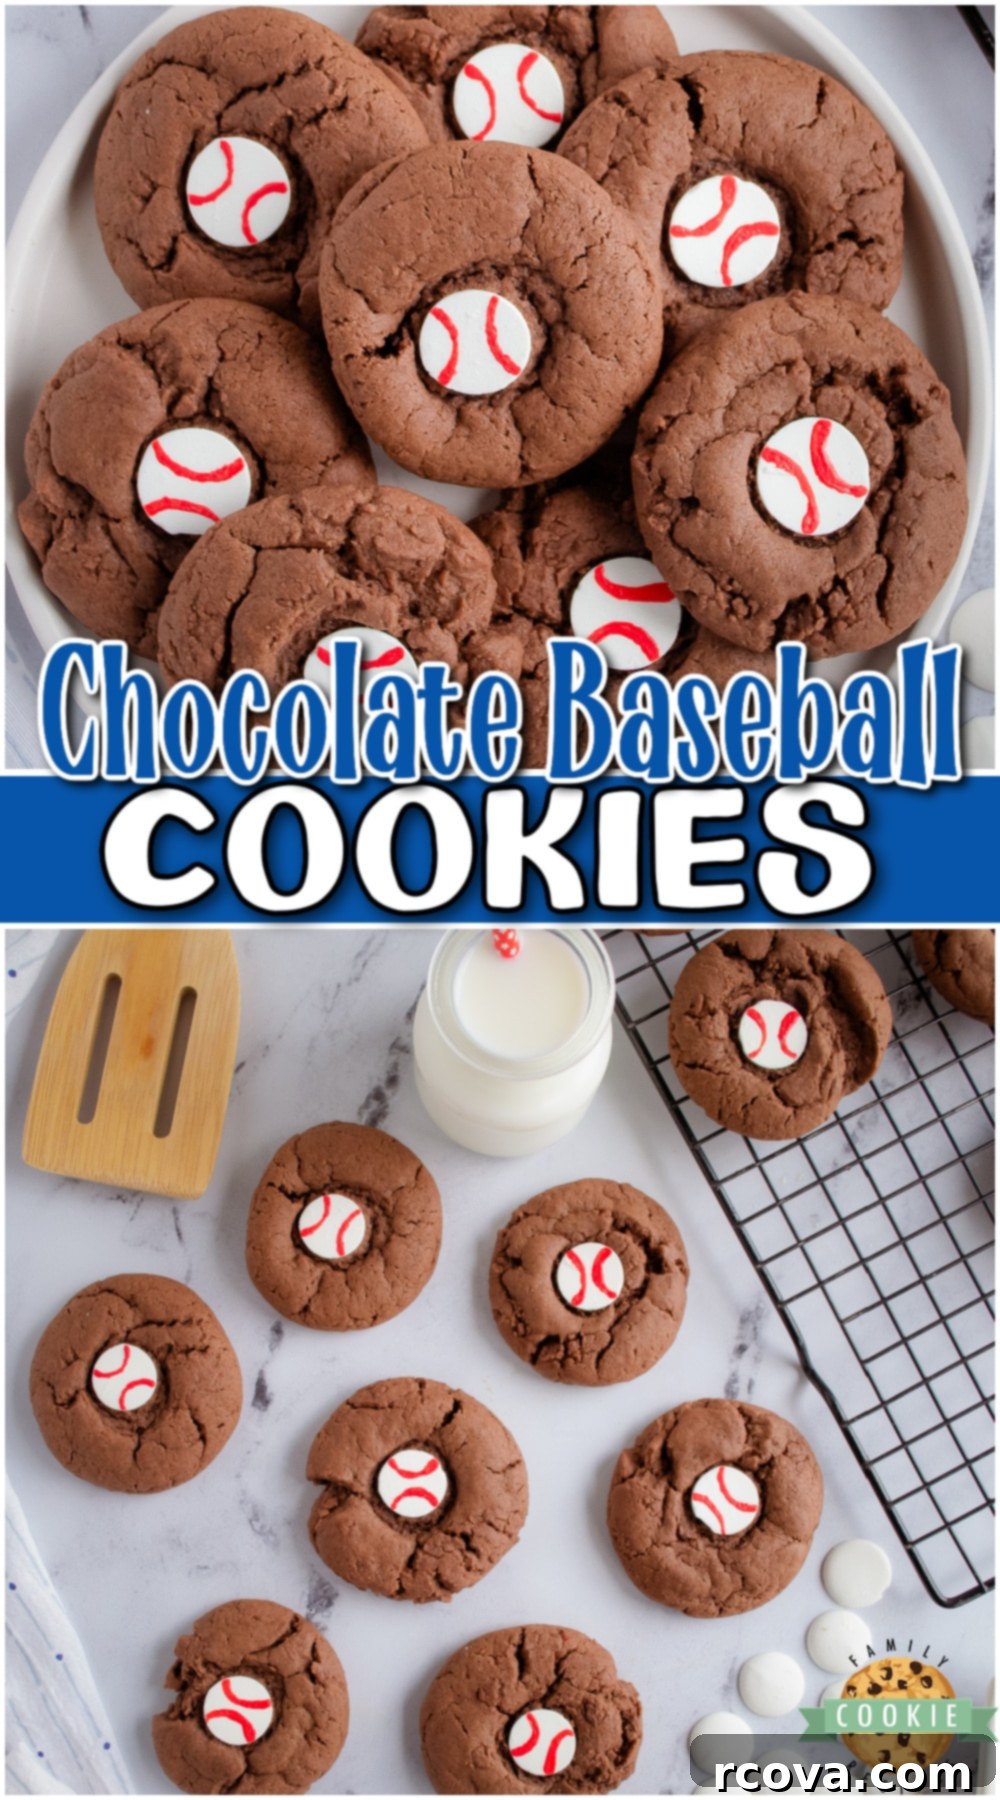
Score a Home Run with Delicious Chocolate Baseball Cookies: Your Ultimate Game Day Treat!
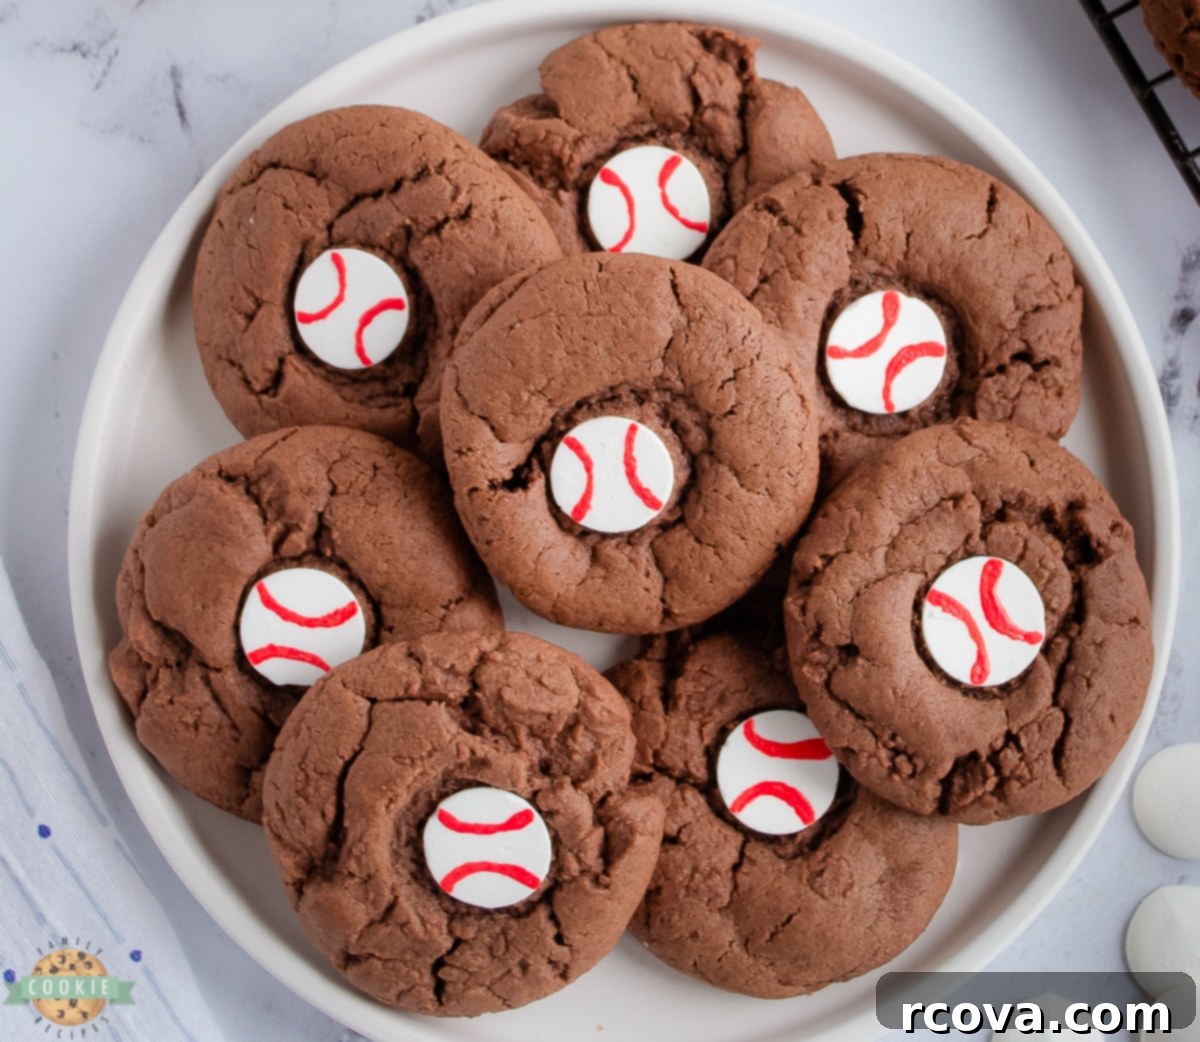
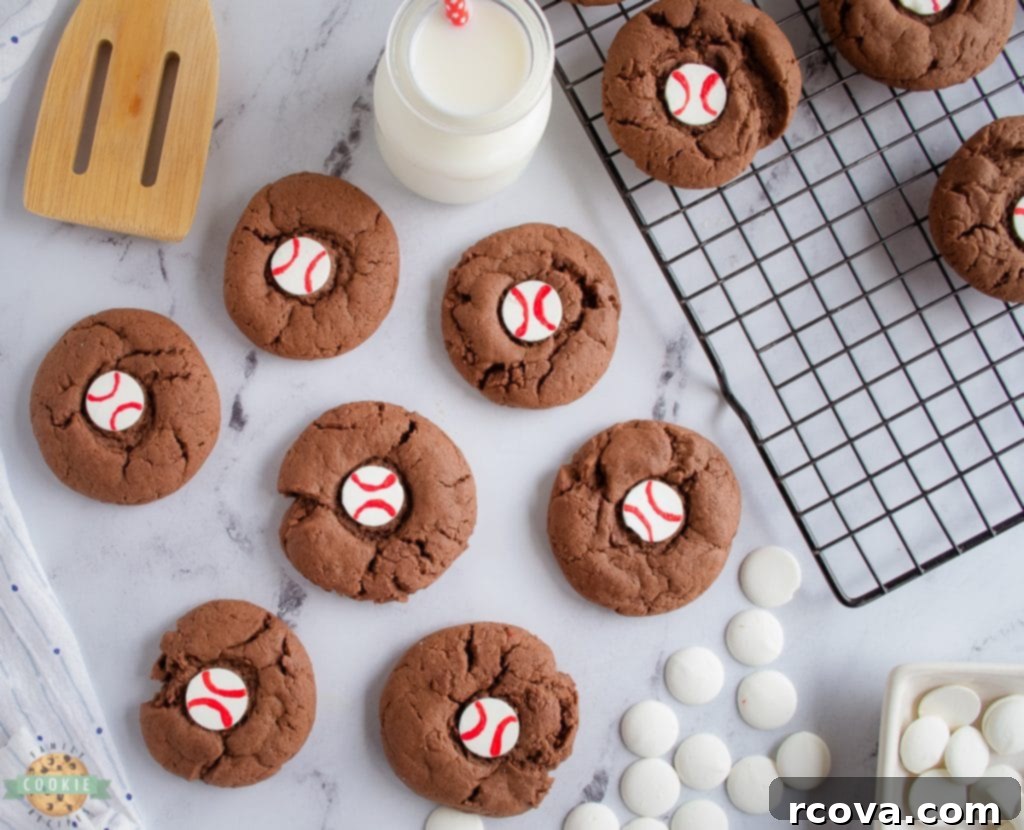
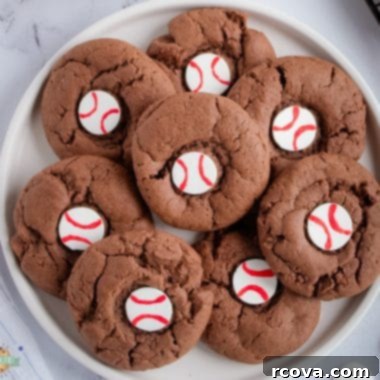
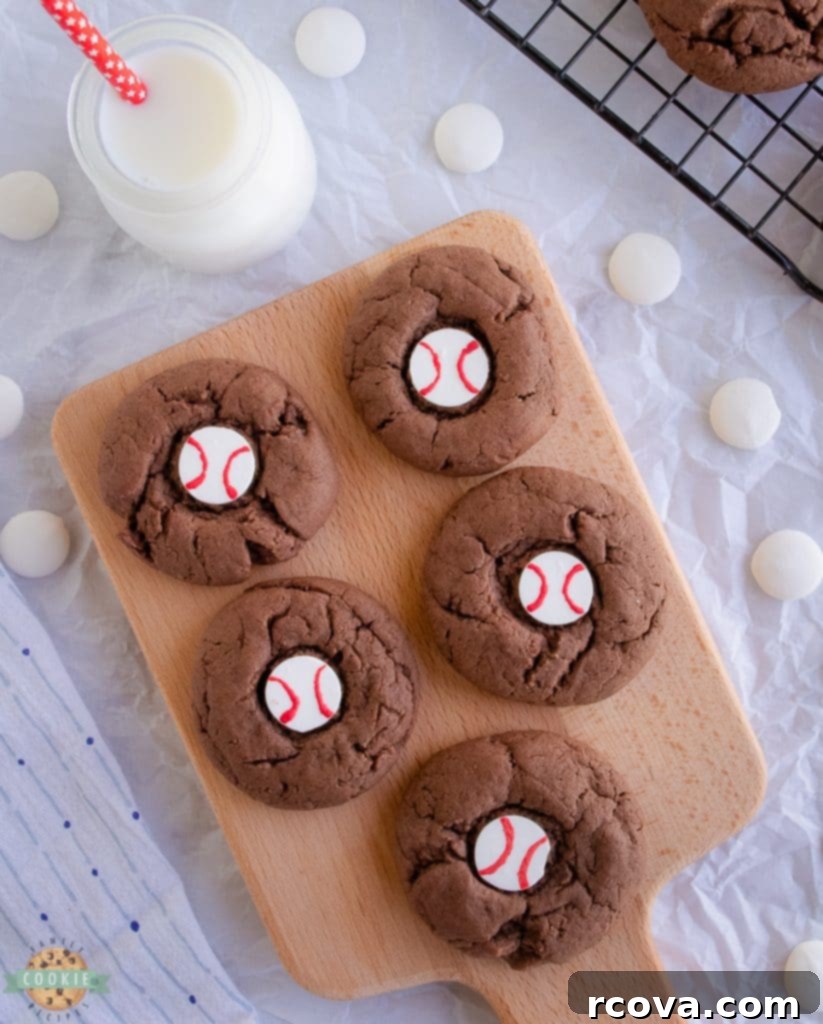
Step up to the plate and hit a culinary home run with these delightful Chocolate Baseball Cookies! Perfect for any sports enthusiast, these festive treats are sure to be a grand slam at your next gathering. Whether it’s the start of baseball season, a championship game, or a team celebration, these baseball themed cookies are not only incredibly fun to make but also irresistibly delicious. Imagine a rich, chewy chocolate cookie base, topped with a smooth candy melt “baseball,” artfully decorated with iconic red stitching. These charming homemade cookies are designed to bring joy and team spirit to every bite, making them a crowd-pleaser for fans of all ages.
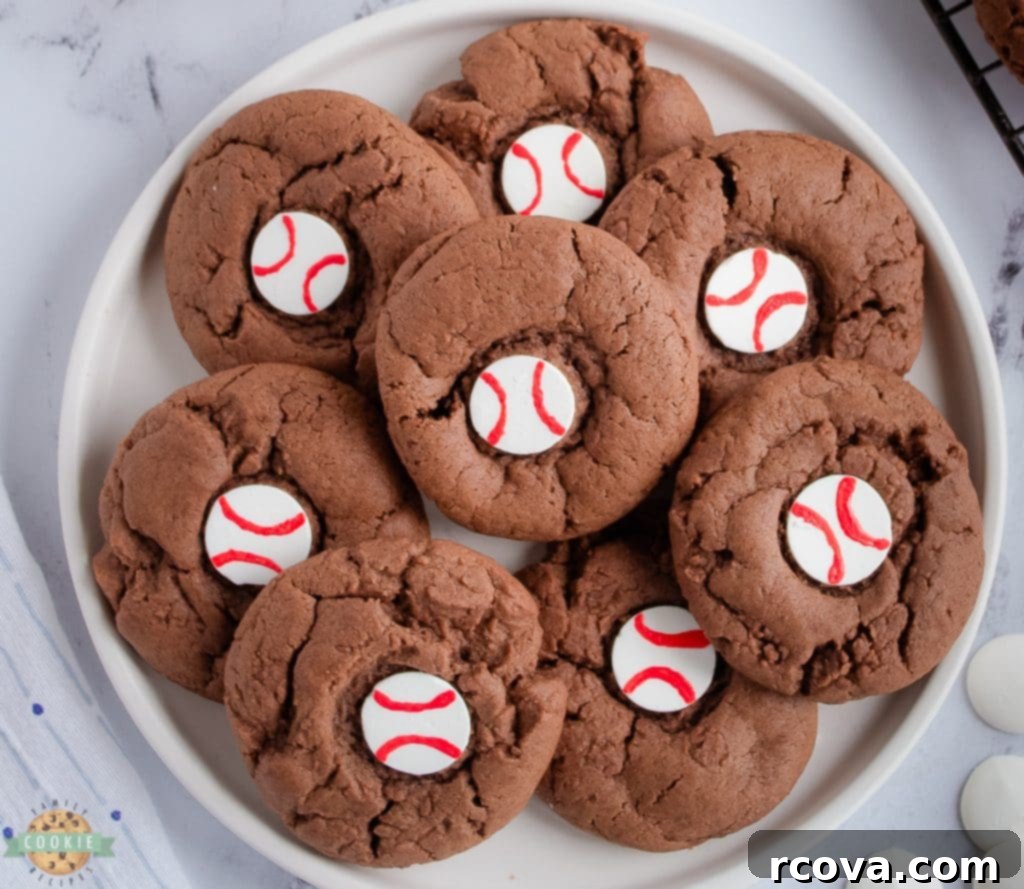
Crafting these adorable baseball cookies is surprisingly simple, requiring only a few common pantry ingredients that you likely already have on hand. Beyond their undeniable visual appeal, these chocolate cookies boast a fantastic flavor profile that perfectly balances sweet cocoa with subtle notes of vanilla. They are the ideal treat to impress your guests, celebrate a special occasion, or simply enjoy a fun baking project with family. Get ready to create a batch of cookies that are as much a centerpiece as they are a dessert!
Celebrate with Baseball Themed Chocolate Cookies
There’s something truly special about combining a love for sports with the joy of baking. These festive cookies are an absolute must-make if your family consists of avid baseball lovers or if you have a child actively participating in a baseball league. They serve as a wonderful way to commemorate milestones throughout the season, from the exciting kick-off party to the bittersweet end-of-season banquet. Imagine the smiles when you present a platter of these perfectly themed treats at a team potluck or a birthday celebration for a young athlete.
Beyond organized events, these cookies are also a fantastic option for the sports enthusiast in your life, offering a thoughtful and personalized treat for any occasion. They’re perfect for cheering on your favorite team from the comfort of your home, adding a touch of playful celebration to game day gatherings, or simply surprising someone with a sweet reminder of their favorite sport. No matter the reason or the setting, these charmingly decorated cookies are guaranteed to be a home run hit at any party or event, sparking conversations and spreading cheer with their unique design and delicious taste.
Why You’ll Love This Chocolate Baseball Cookie Recipe
If you’re still on the fence about whipping up a batch of these incredible cookies, here are a few compelling reasons why you should absolutely give this recipe a try today!
- Minimal Ingredients, Maximum Flavor: You’ll only need 10 essential ingredients to create both the delectable chocolate cookie base and its iconic baseball decoration. This means less shopping, less fuss, and more time enjoying the incredible depth of flavor that comes from perfectly balanced cocoa and sweet notes. Despite the simple list, the resulting cookies are rich, chewy, and utterly satisfying.
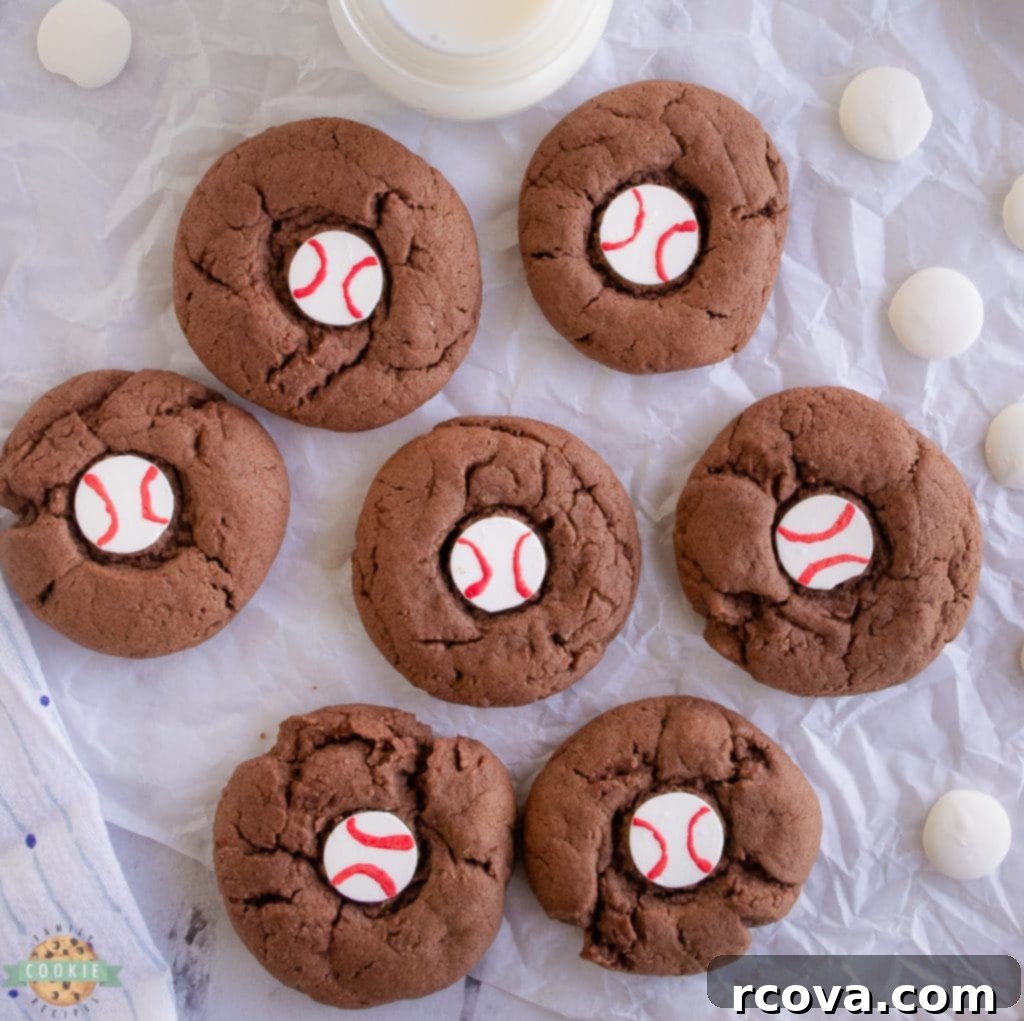
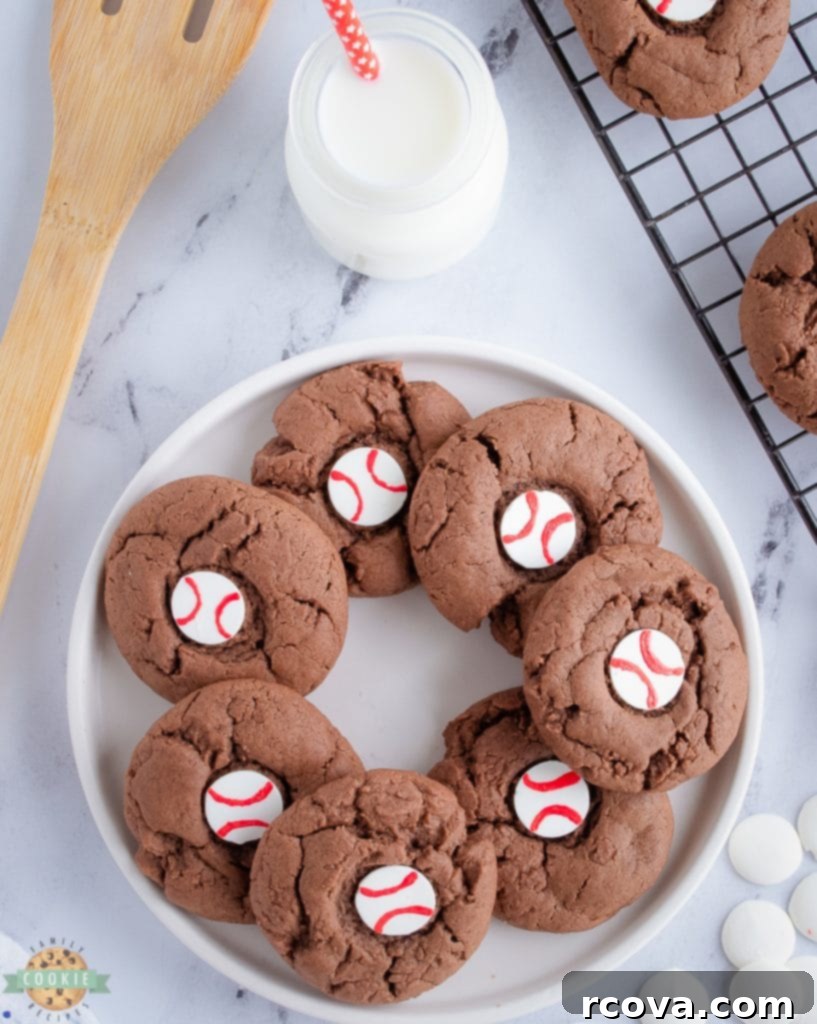
- Irresistibly Cute and Festive Presentation: These cookies are far more than just a tasty dessert; they are a visual delight! Their charming baseball design makes them an instant showstopper on any sports-themed dessert table. The contrast of the dark chocolate cookie with the bright white candy melt and vibrant red stitching creates a simple yet stunning presentation that will capture everyone’s attention and spark joyful conversation.
- Effortless to Create: Don’t let their intricate appearance fool you! Making these cookies is remarkably straightforward. The chocolate cookie dough comes together quickly with basic mixing steps, and the decoration, while looking impressive, is surprisingly easy to execute. We’ll show you several simple methods to add that classic baseball stitching, ensuring that even novice bakers can achieve a professional-looking finish.
Essential Ingredients for Your Baseball Cookies
Gathering your ingredients is the first step to creating these memorable treats. Here’s a detailed look at what you’ll need:
- Butter: For a wonderfully rich, tender, and flavorful cookie, you’ll need ½ cup of unsalted butter, softened to room temperature. Softened butter creams beautifully with sugar, creating a light and airy base for your dough.
- Vanilla Extract: Add 1 teaspoon of pure vanilla extract to elevate and enhance all the wonderful chocolate flavors in this recipe. Vanilla is a magical ingredient that brings warmth and depth to nearly any baked good.
- Brown Sugar: A full cup of packed brown sugar is crucial for giving these cookies their incredible chewiness and a deeper, more complex molasses flavor that complements the cocoa perfectly.
- Egg: Just one large egg acts as a binder, helping to hold all the ingredients together and contributing to the cookie’s final texture and structure.
- All-Purpose Flour: You’ll need 2 cups of all-purpose flour, the foundation of our cookie dough, providing the necessary structure and body.
- Unsweetened Cocoa Powder: For that rich, decadent chocolate flavor in every single bite, incorporate ⅓ cup of unsweetened cocoa powder. Choose a good quality cocoa for the best results.
- Salt: A mere ¼ teaspoon of salt is vital for balancing the sweetness and intensifying the chocolate flavor, preventing the cookies from tasting overly sugary.
- Baking Powder: Using 1 teaspoon of baking powder ensures that your cookies rise nicely and achieve a soft, slightly puffy texture as they bake.
- White Candy Melt Discs: These are the stars of our decoration! You will need 20 white candy melt discs, which will be pressed into the cookies to form the smooth, white “baseballs.”
- Red Icing or Candy Melts for Decoration: To create the iconic red stitching on your baseballs, you’ll need 2 tablespoons of red cookie icing with a fine tip, or you can use melted white candy melt discs colored with red food coloring. Gel food coloring works best for vibrant results.
Step-by-Step Guide: Crafting Your Chocolate Baseball Cookies
Prep Work
Before you begin mixing, preheat your oven to 350°F (175°C). Line your baking sheets with parchment paper. This simple step is crucial for preventing sticking and ensures easy cleanup, making the baking process much more enjoyable.
Crafting the Cookie Dough
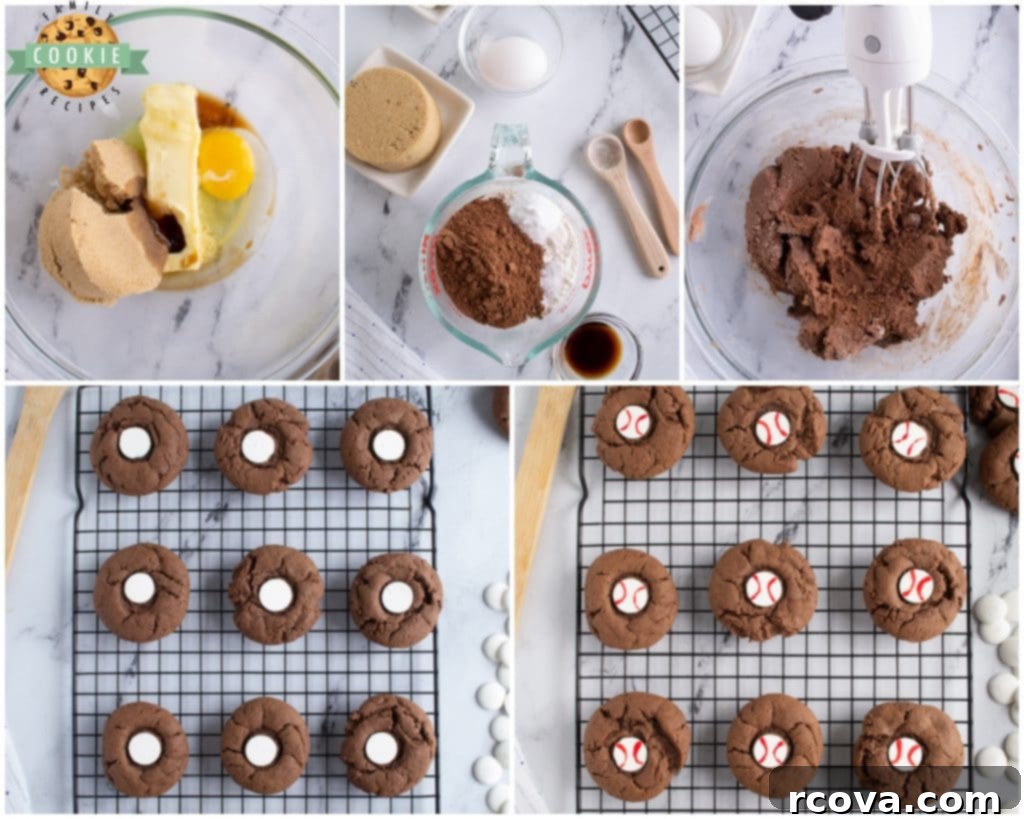
- In a medium-sized mixing bowl, begin by creaming together the softened butter, brown sugar, and vanilla extract. Beat these ingredients until the mixture is light, fluffy, and well combined. This process incorporates air, contributing to a tender cookie.
- In a separate, smaller bowl, whisk together the dry ingredients: all-purpose flour, baking powder, salt, and cocoa powder. Ensuring these are thoroughly mixed prevents clumps and ensures even distribution throughout the dough.
- Gradually add the dry ingredient mixture into the wet butter mixture, mixing on low speed until just blended. Be careful not to overmix, as this can lead to tough cookies. Stop as soon as no streaks of flour are visible.
- Once your dough is ready, begin to form it into uniform 1-inch balls. Place these dough balls evenly spaced on your parchment paper-lined baking sheet. Consistency in size helps them bake evenly.
- Next, gently press one white candy melt disc into the center of each cookie dough ball. Make sure the disc is placed upside down, so the flat, smooth side is facing upwards, creating a perfect canvas for your baseball design.
Baking to Perfection
Place your prepared baking sheet into the preheated oven and bake for approximately 10 minutes. Keep an eye on them; the edges should be set, but the centers will still look soft. Once baked, remove the cookies from the oven and transfer them to a wire rack to cool completely. This cooling step is absolutely essential before you attempt any decoration, as warm cookies will cause your decorations to melt or smear.
Creative Edible Baseball Decorations
Here are several fun and easy methods to add the iconic baseball stitches to your cooled candy melts:
-
Option 1: The Faster Method (Baking without Melts): If you’re short on time and want to streamline the process, you can slightly flatten your cookie dough balls before baking them *without* the white candy melts. Bake as directed. Once the cookies have cooled for about 10 minutes (still slightly warm but firm), press the white candy melt discs into the center. The residual heat will help them adhere. Then, allow them to cool completely before decorating.
-
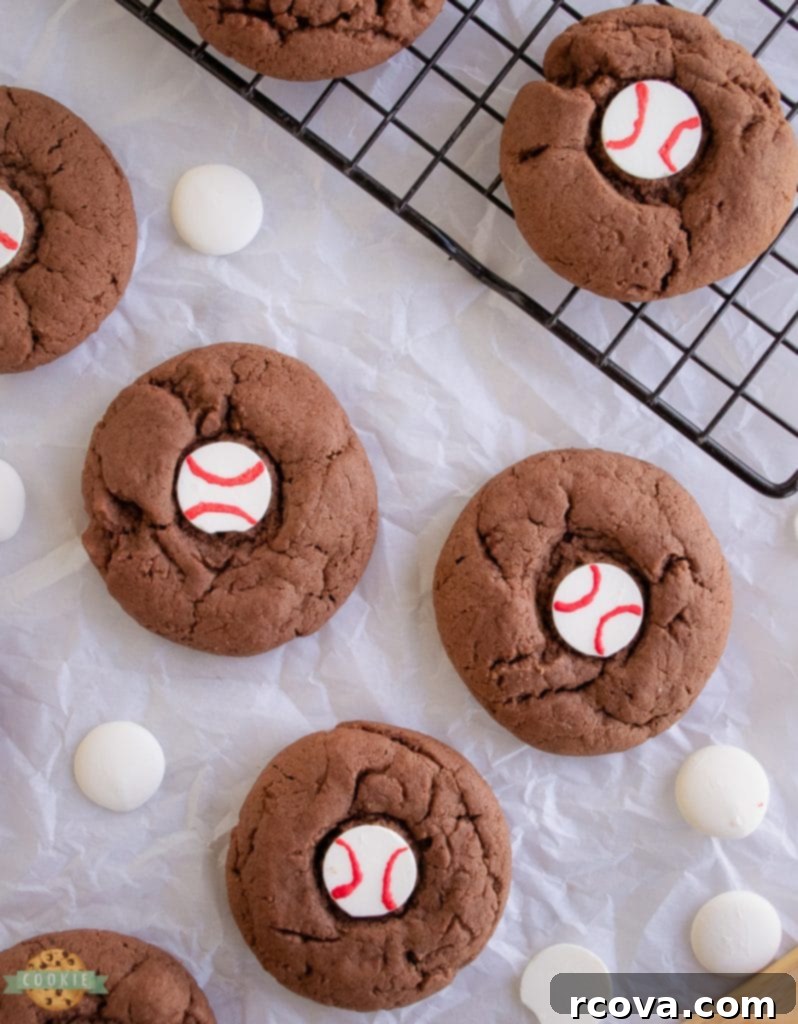
Option 2: Decorating with Store-Bought Frosting: Once your chocolate cookies and embedded candy melts are entirely cool, you’re ready to transform them into miniature baseballs. Grab a tube of red store-bought cookie icing, ideally one with a fine-tip applicator. Carefully draw two gentle, curved half-circle lines on each white candy melt disc to mimic the classic baseball stitching. This method is quick and yields clean, consistent results.
-
Option 3: Decorating with Melted Candy Melts: For a more custom feel, you can use candy melts for your red stitching. Place two tablespoons of white candy melts (or red, if you prefer a solid red design) into a microwave-safe bowl. Microwave in two 12-second increments, stirring well after each interval, until the candy melts are smooth and fully liquefied. If using white melts, stir in a few drops of red gel food coloring until you achieve your desired vibrant red hue. Dip a clean toothpick into the melted red candy and carefully draw the half-circle lines and small ‘V’ shapes for the stitches on each white candy melt. Alternatively, for greater precision, transfer the melted red candy to a small zip-top bag, snip a tiny corner off, and pipe the lines directly onto the baseballs.
-
Option 4: The Simplest Method – Red Food Marker: For the ultimate in ease and a kid-friendly decorating option, a red food-safe marker is your best friend! Once the cookies are completely cool and the white candy melt discs are firm, simply use the red food marker to draw the baseball lines and stitches directly onto the candy surface. This method is mess-free and perfect for involving little ones in the decorating fun!
Chocolate Baseball Cookies
Print
Pin
Rate
Ingredients
- ½ cup Unsalted Butter softened
- 1 tsp Pure Vanilla extract
- 1 cup Packed Brown sugar
- 1 Large Egg
- 2 cups All-purpose Flour
- ⅓ cup Unsweetened Cocoa powder
- ¼ tsp Salt
- 1 tsp Baking powder
- 20 White candy melt discs
- 2 tbsp Red Icing: You need 2 tablespoons of red cookie icing (with fine tip) or melted white candy melt discs with red food coloring.
Instructions
-
Preparation: Preheat your oven to 350°F (175°C). Line a large baking sheet with parchment paper to prevent sticking and for easy removal of cookies.
-
Cookie Dough Assembly:
-
In a medium-sized mixing bowl, combine the softened butter, brown sugar, and vanilla extract. Beat with an electric mixer on medium speed until the mixture is light, fluffy, and thoroughly creamed, about 2-3 minutes.
-
In a separate small bowl, whisk together the flour, baking powder, salt, and cocoa powder until well combined. This ensures the leavening and flavor are evenly distributed.
-
Gradually add the dry ingredients into the butter mixture, mixing on low speed until the dough just comes together and no streaks of flour remain. Be careful not to overmix the dough.
-
Roll the cookie dough into uniform 1-inch balls. Arrange them evenly on your prepared baking sheet, leaving some space between each cookie. Gently press one white candy melt disc into the center of each cookie dough ball, ensuring the flat side of the candy melt faces upwards.
-
Baking: Bake the cookies in the preheated oven for 10 minutes. The edges should be set, and the centers will appear soft.
-
Remove the cookies from the oven and carefully transfer them to a wire rack to cool completely. It’s crucial that the cookies are fully cooled before proceeding with the decorations.
-
Decoration Tip (Faster Method): If you’re pressed for time, you can bake the cookie dough balls slightly pressed down *without* the white candy melts initially. Once baked, let them cool for 10 minutes, then press the candy melts into the still-warm centers. Allow to cool completely before decorating the melts.
-
Decorating with Frosting: Once the cookies are entirely cool, use red store-bought cookie icing with a fine tip to draw two curved half-circle lines on each white candy melt disc, resembling baseball stitches.
-
Decorating with Melted Candy Melts: For a DIY approach, place two tablespoons of white (or red) candy melts in a microwave-safe bowl. Microwave in two 12-second intervals, stirring until smooth. If using white melts, add red food coloring until desired shade is achieved. Use a toothpick to scoop up the colored melt and draw the half-circle lines and small ‘V’ stitches. Alternatively, transfer the mixture to a small baggie, snip a tiny corner, and pipe the red lines.
-
Decorating with a Food Marker (Easiest Method): For the simplest method, use a red food-safe marker to draw the lines directly onto the completely cooled white candy melt discs. This is perfect for involving kids!
Notes
Nutrition
How Long Do These Delicious Cookies Stay Fresh?
Once baked and decorated, these delectable chocolate baseball cookies can be stored in an airtight container at room temperature for up to 3-5 days. To maintain their wonderful chewy texture and ensure they stay fresh longer, we highly recommend storing them in the refrigerator. If refrigerating, consider placing a piece of parchment paper between layers of cookies to prevent any potential sticking or smudging of the delicate decorations.
Can You Freeze Frosted Baseball Cookies?
Absolutely, you can! These cookies freeze beautifully, allowing you to prepare them in advance or save extras for future enjoyment. When properly frozen, they can last for up to 3 months without compromising flavor or texture. To freeze them effectively, arrange your fully frosted and decorated cookies in a single layer on a baking sheet. Place the baking sheet in the freezer for about 2 hours, or until the frosting and candy melts are completely solid. This initial freezing step, often called “flash freezing,” prevents the decorations from sticking together.
Once solid, transfer the flash-frozen cookies to an airtight freezer-safe container. For added protection against sticking and to preserve their perfect baseball appearance, place a piece of parchment paper or wax paper between each layer of cookies. For ultimate convenience and quick access to a sweet treat on demand, you can also wrap each individual cookie in plastic wrap after flash freezing, then store them all in a large freezer bag. When you’re ready to enjoy, simply remove them from the freezer and let them thaw at room temperature for about 30 minutes to an hour.

In our household, sports are practically a year-round affair, especially football! From flag football to tackle, then grueling 7-on-7 tournaments, it keeps us on our toes and creates countless cherished memories. Our youngest, who’s 8, has been a fantastic quarterback for the past year and a half, leading his team with enthusiasm and skill. He’s grown so much on the field, though sometimes he still moves with the gangly grace of a baby giraffe!
No matter how spectacular his throws or how thrilling the game, his absolute favorite part of any sporting event remains the same: the delicious snack waiting for him afterward! It’s moments like these – sharing a treat after a hard-played game – that truly cement the joy of family and sports. These Chocolate Baseball Cookies are perfect for those very occasions, celebrating effort and making sweet memories off the field.

Explore More of Our Favorite Chocolate Cookie Recipes!
- CHEWY CHOCOLATE CHIP COOKIES
- BUTTER PECAN CHOCOLATE CHIP COOKIES
- COCONUT CHOCOLATE CHIP COOKIES
- PUMPKIN OATMEAL CHOCOLATE CHIP COOKIES
- BEST BROWN BUTTER CHOCOLATE CHIP COOKIES
- MARBLED CHOCOLATE CHIP COOKIES
- BIG FAT MINT CHOCOLATE CHIP COOKIES
- PEPPERMINT FUDGE SUGAR COOKIES
- DOUBLE CHOCOLATE CHIP COOKIES
- CHOCOLATE CARAMEL LINZER COOKIES
- CHOCOLATE SUGAR COOKIES
These Chocolate Baseball Cookies are truly a delightful sports-themed dessert that promises to be a huge hit with any crowd. Combining a rich, chewy chocolate cookie base with a smooth candy melt center, expertly decorated to resemble a classic baseball, they are as fun to make as they are to eat. Whether you’re celebrating a big win, a birthday, or just the joy of the game, these charming baseball themed cookies are guaranteed to bring smiles and deliciousness to your table. Bake a batch today and enjoy a treat that hits it out of the park!
