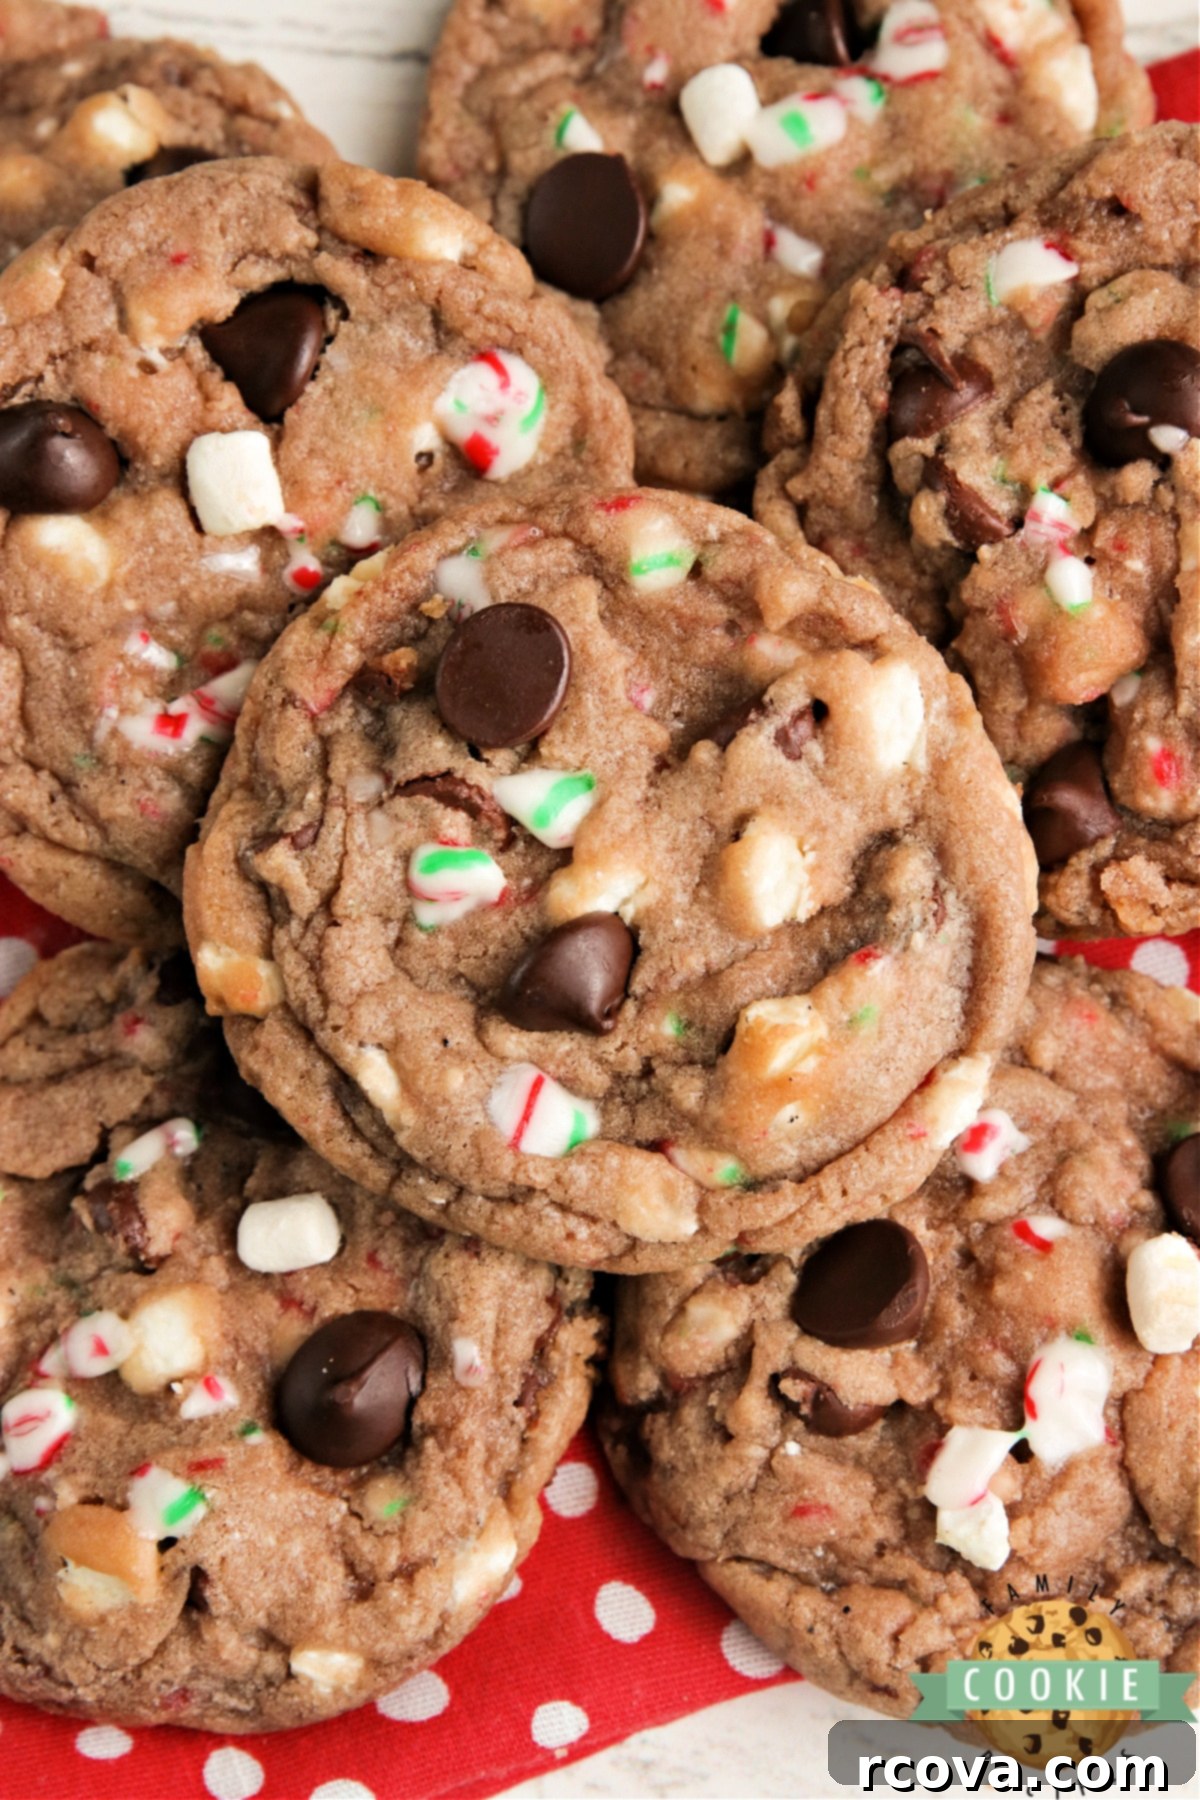
Indulge in Winter Warmth: The Ultimate Hot Cocoa Cookies Recipe
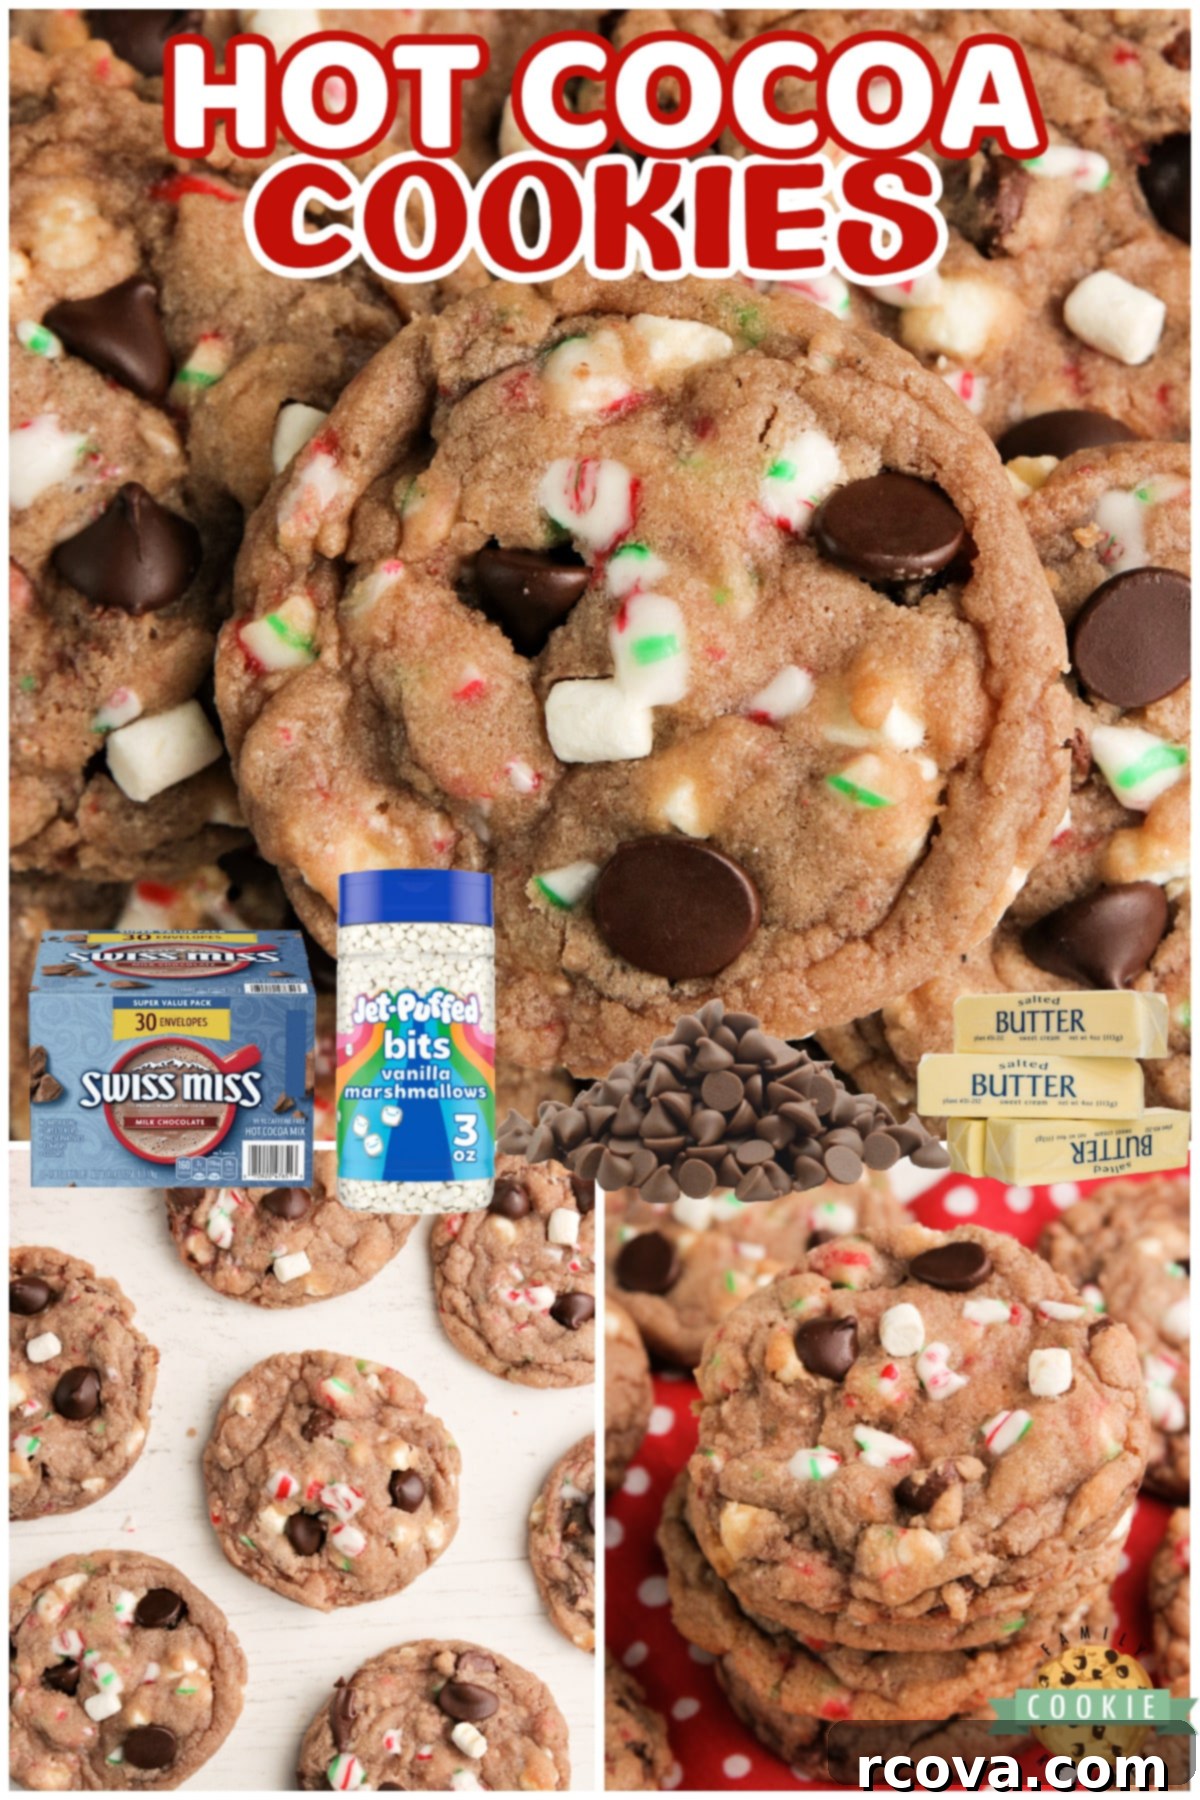
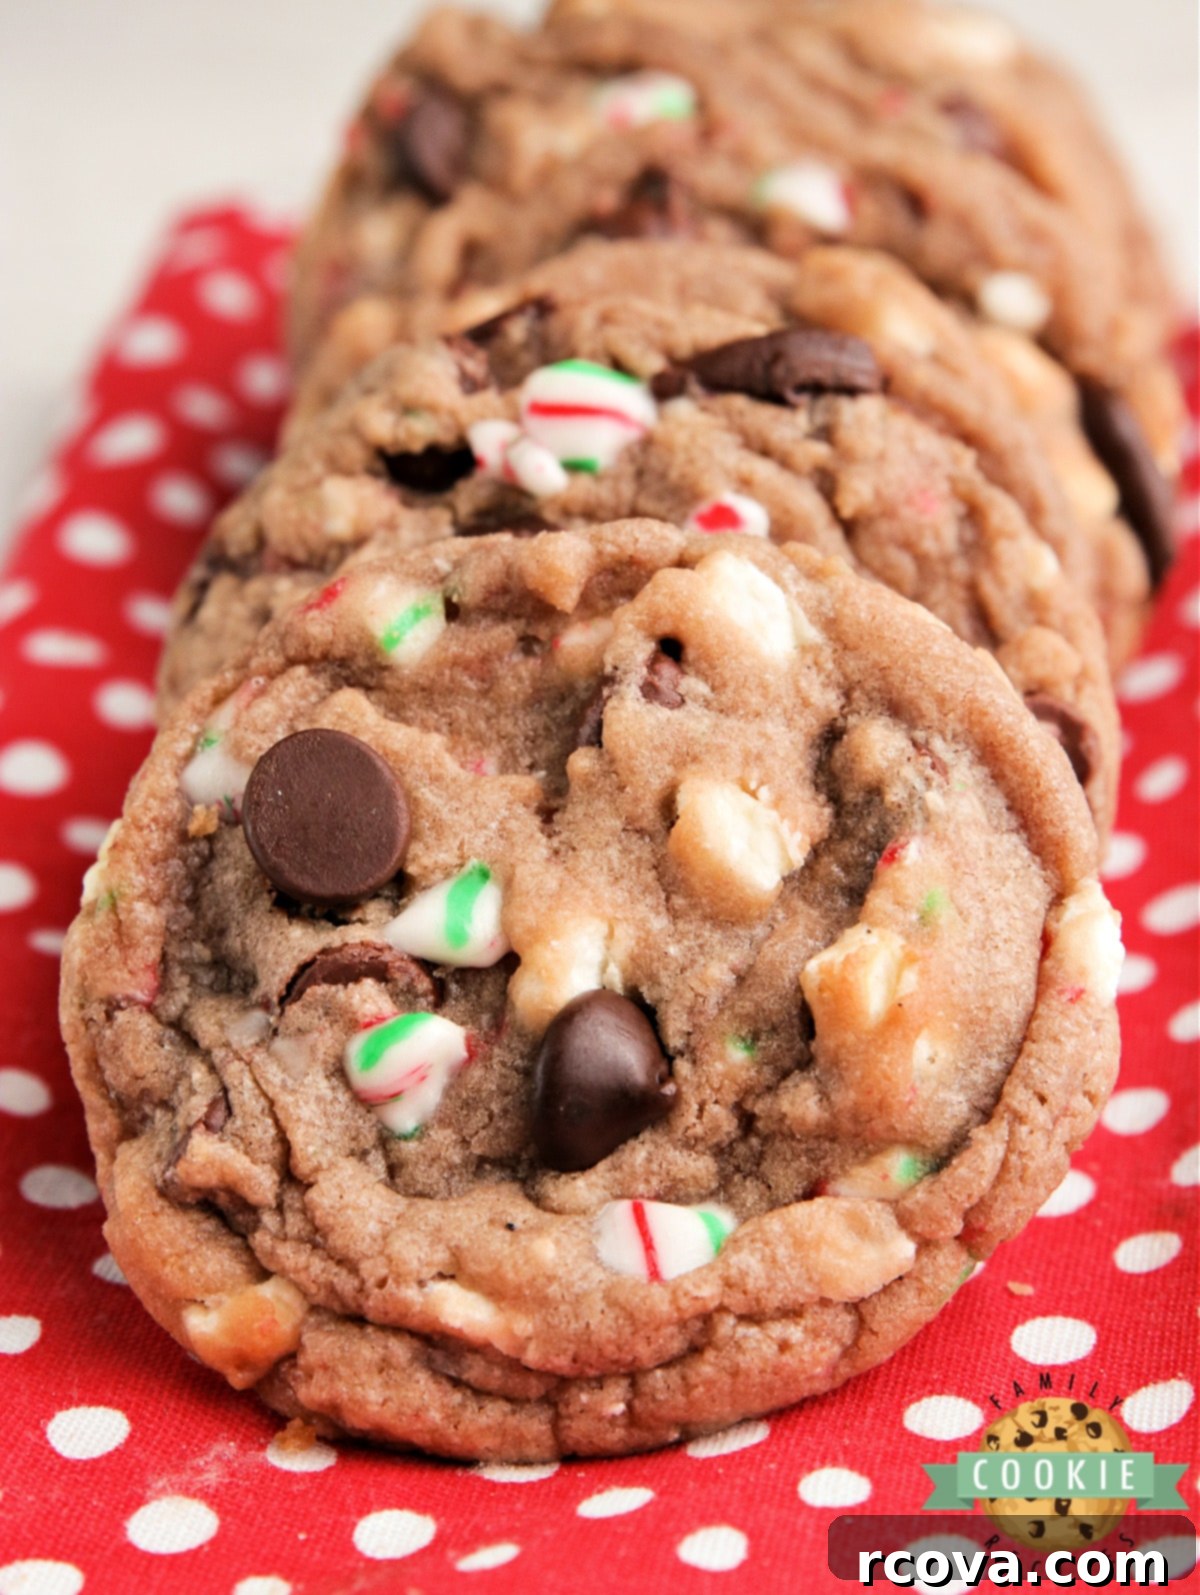
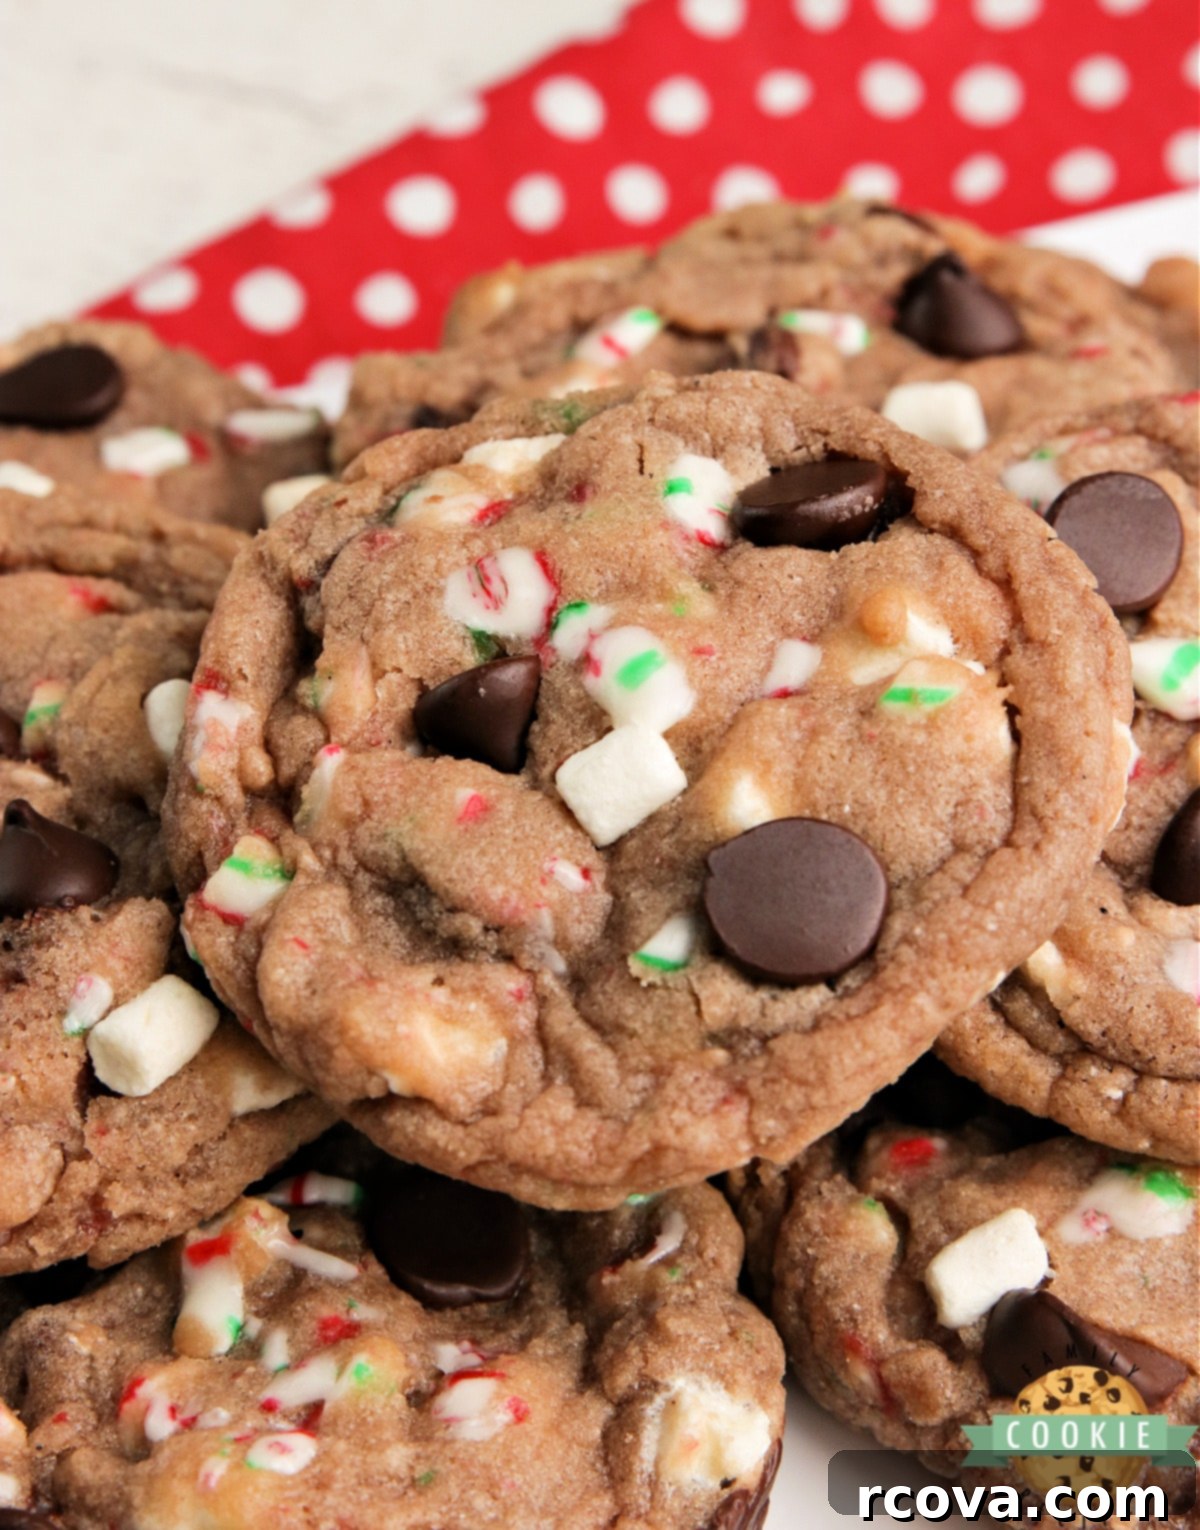
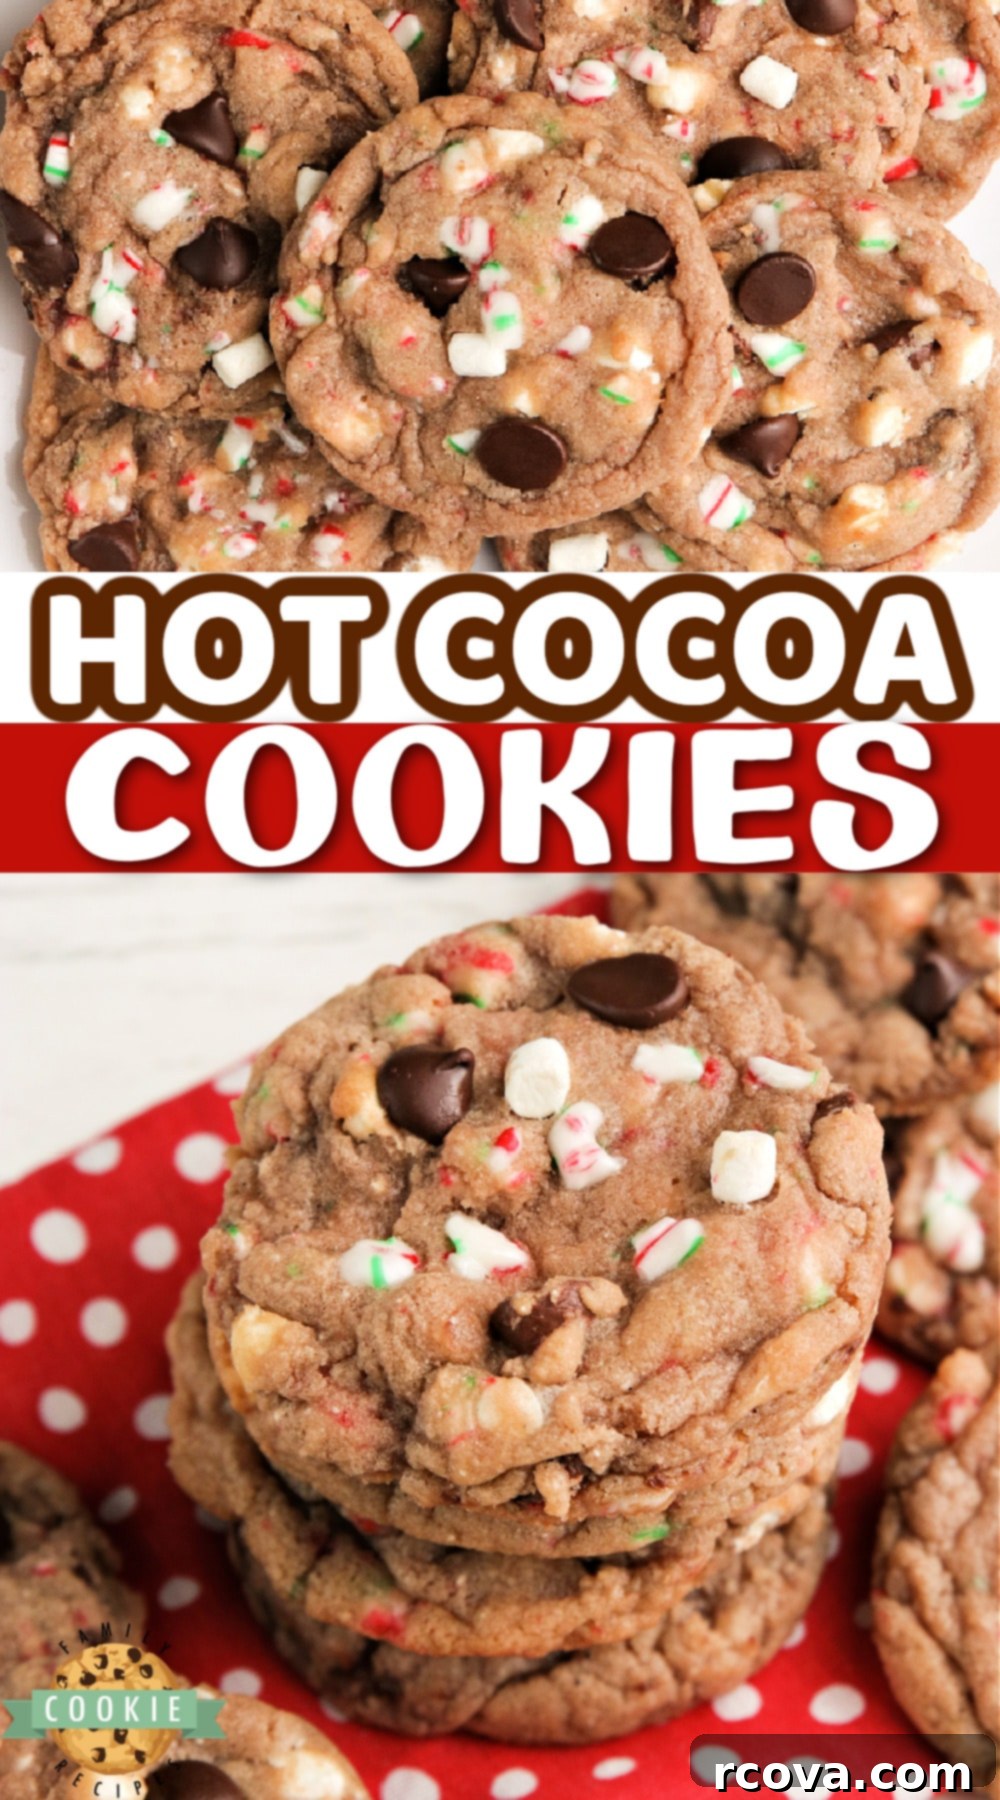
Step into a world of cozy comfort with these delightful Hot Cocoa Cookies. Crafted with fragrant hot cocoa mix, rich chocolate chips, crunchy crushed candy canes, and soft marshmallow bits, these treats perfectly capture the essence of your favorite winter beverage. They are remarkably simple to bake and offer all the heartwarming flavors you crave in a cup of hot chocolate, transformed into an irresistible cookie!
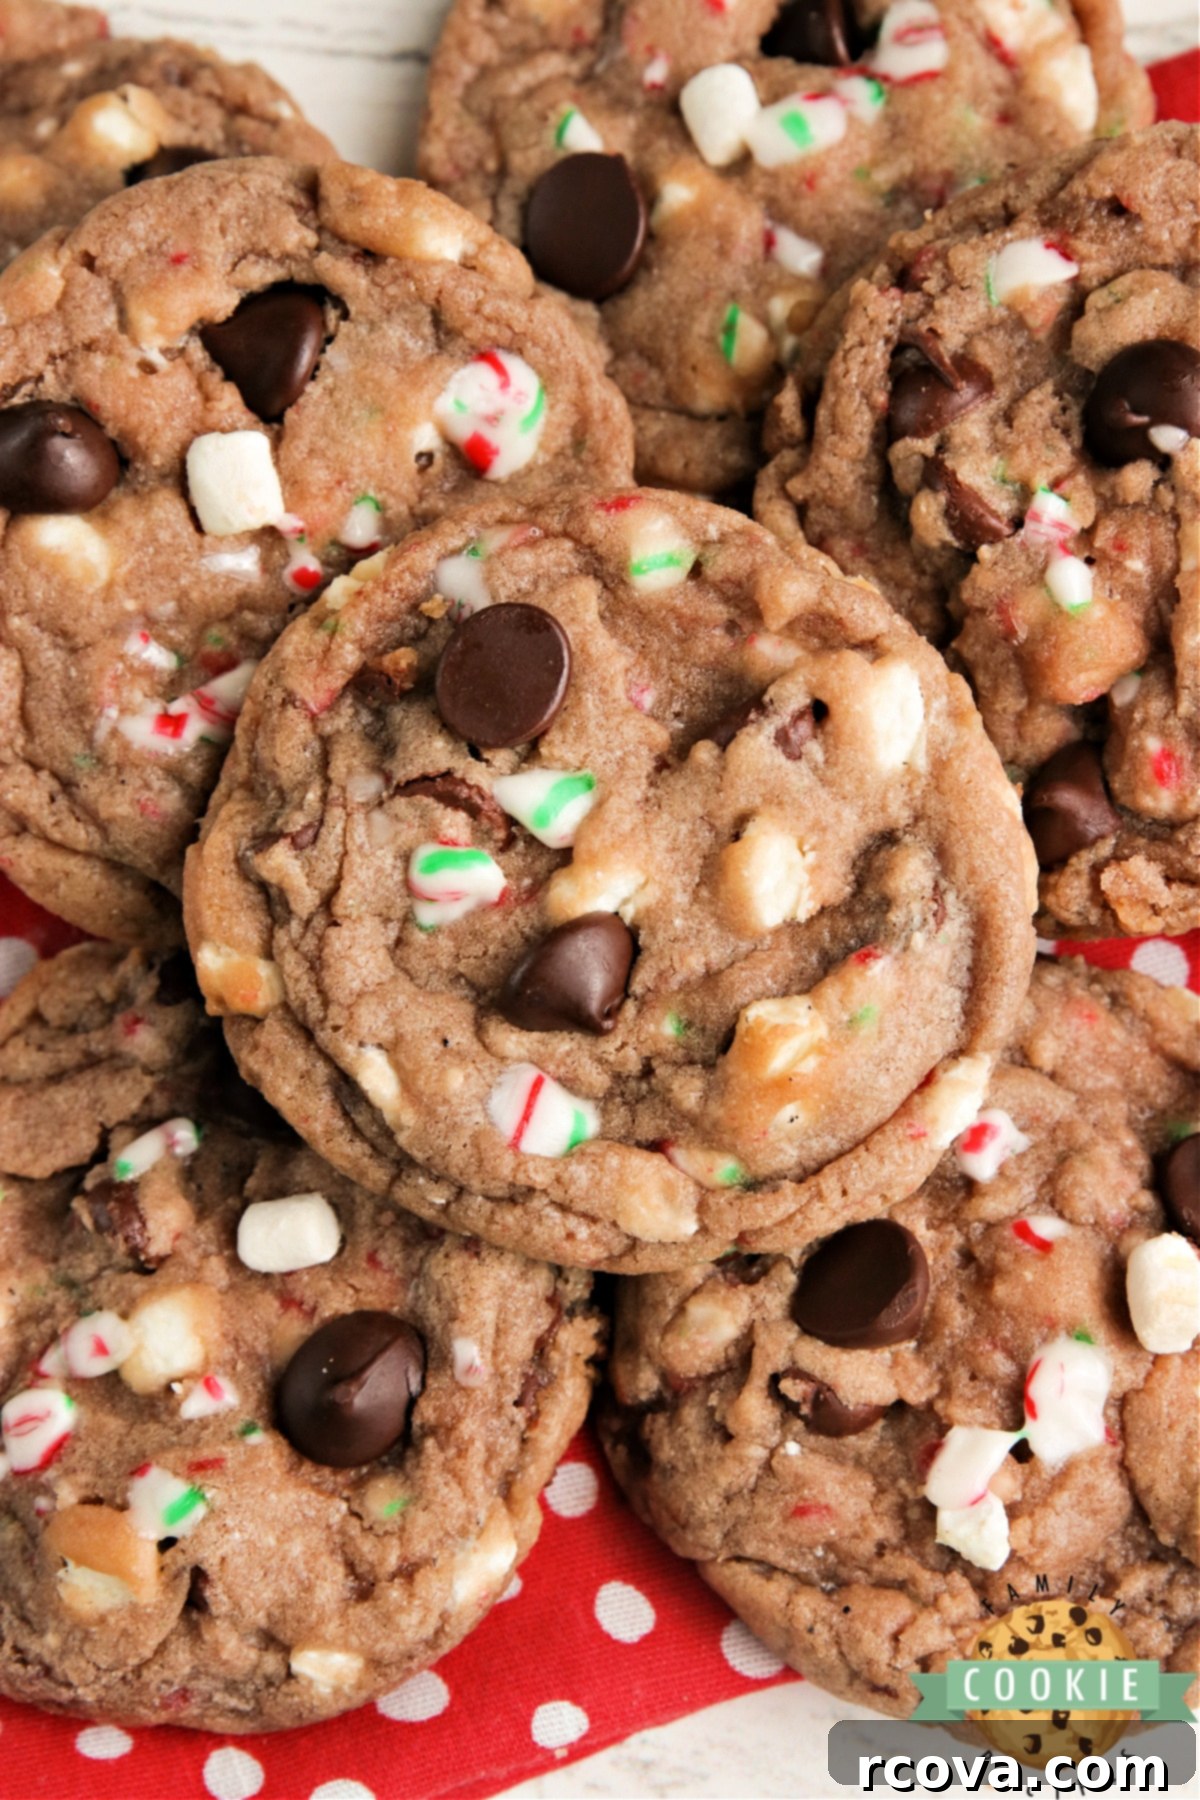
There’s nothing quite like the magic of winter, even for those of us who prefer warmer climes. One undeniable perk of the colder months is the sheer pleasure of a steaming mug of hot chocolate, especially when loaded with marshmallows and enjoyed by a crackling fire with a good book. Now, imagine capturing that exact feeling in a soft, chewy cookie. That’s precisely what these hot chocolate cookies deliver – a portable, bite-sized piece of winter bliss, perfect for sharing or savoring all to yourself.
What Makes These Hot Cocoa Cookies So Special?
These aren’t just ordinary chocolate cookies; they are an experience designed to evoke the warmth and comfort of a classic hot cocoa. The secret lies in incorporating instant hot chocolate mix directly into the cookie dough, infusing every bite with that signature rich, sweet cocoa flavor. But we don’t stop there!
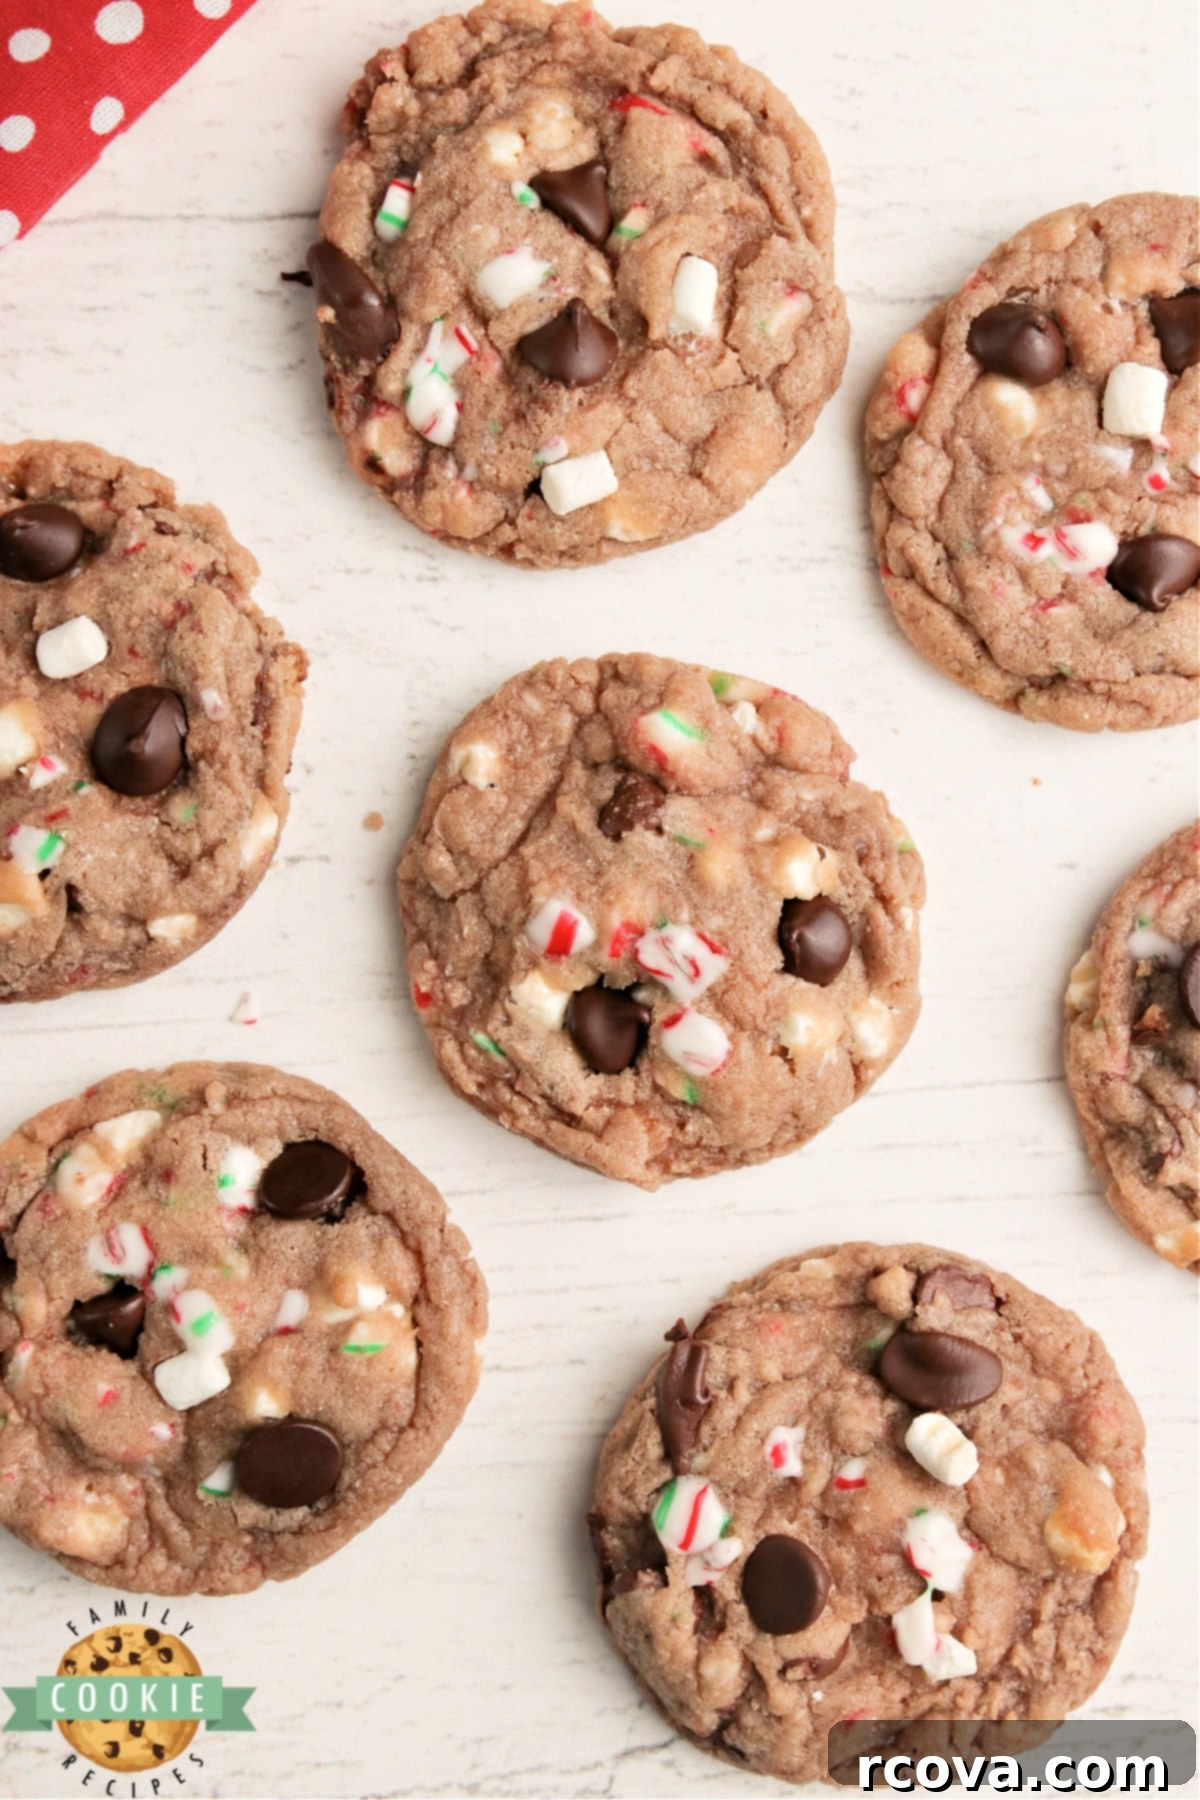
Each cookie is generously studded with an array of complementary additions:
- Rich Chocolate Chips: These provide pockets of intense, melty chocolate that perfectly enhance the cocoa base.
- Festive Crushed Candy Canes: Offering a delightful minty crunch and a beautiful holiday aesthetic, these add a refreshing counterpoint to the sweetness.
- Gooey Marshmallow Bits: The true star of any hot cocoa! These dehydrated mallow bits soften beautifully during baking, creating chewy, pillowy textures that are uncannily similar to mini marshmallows floating in your drink.
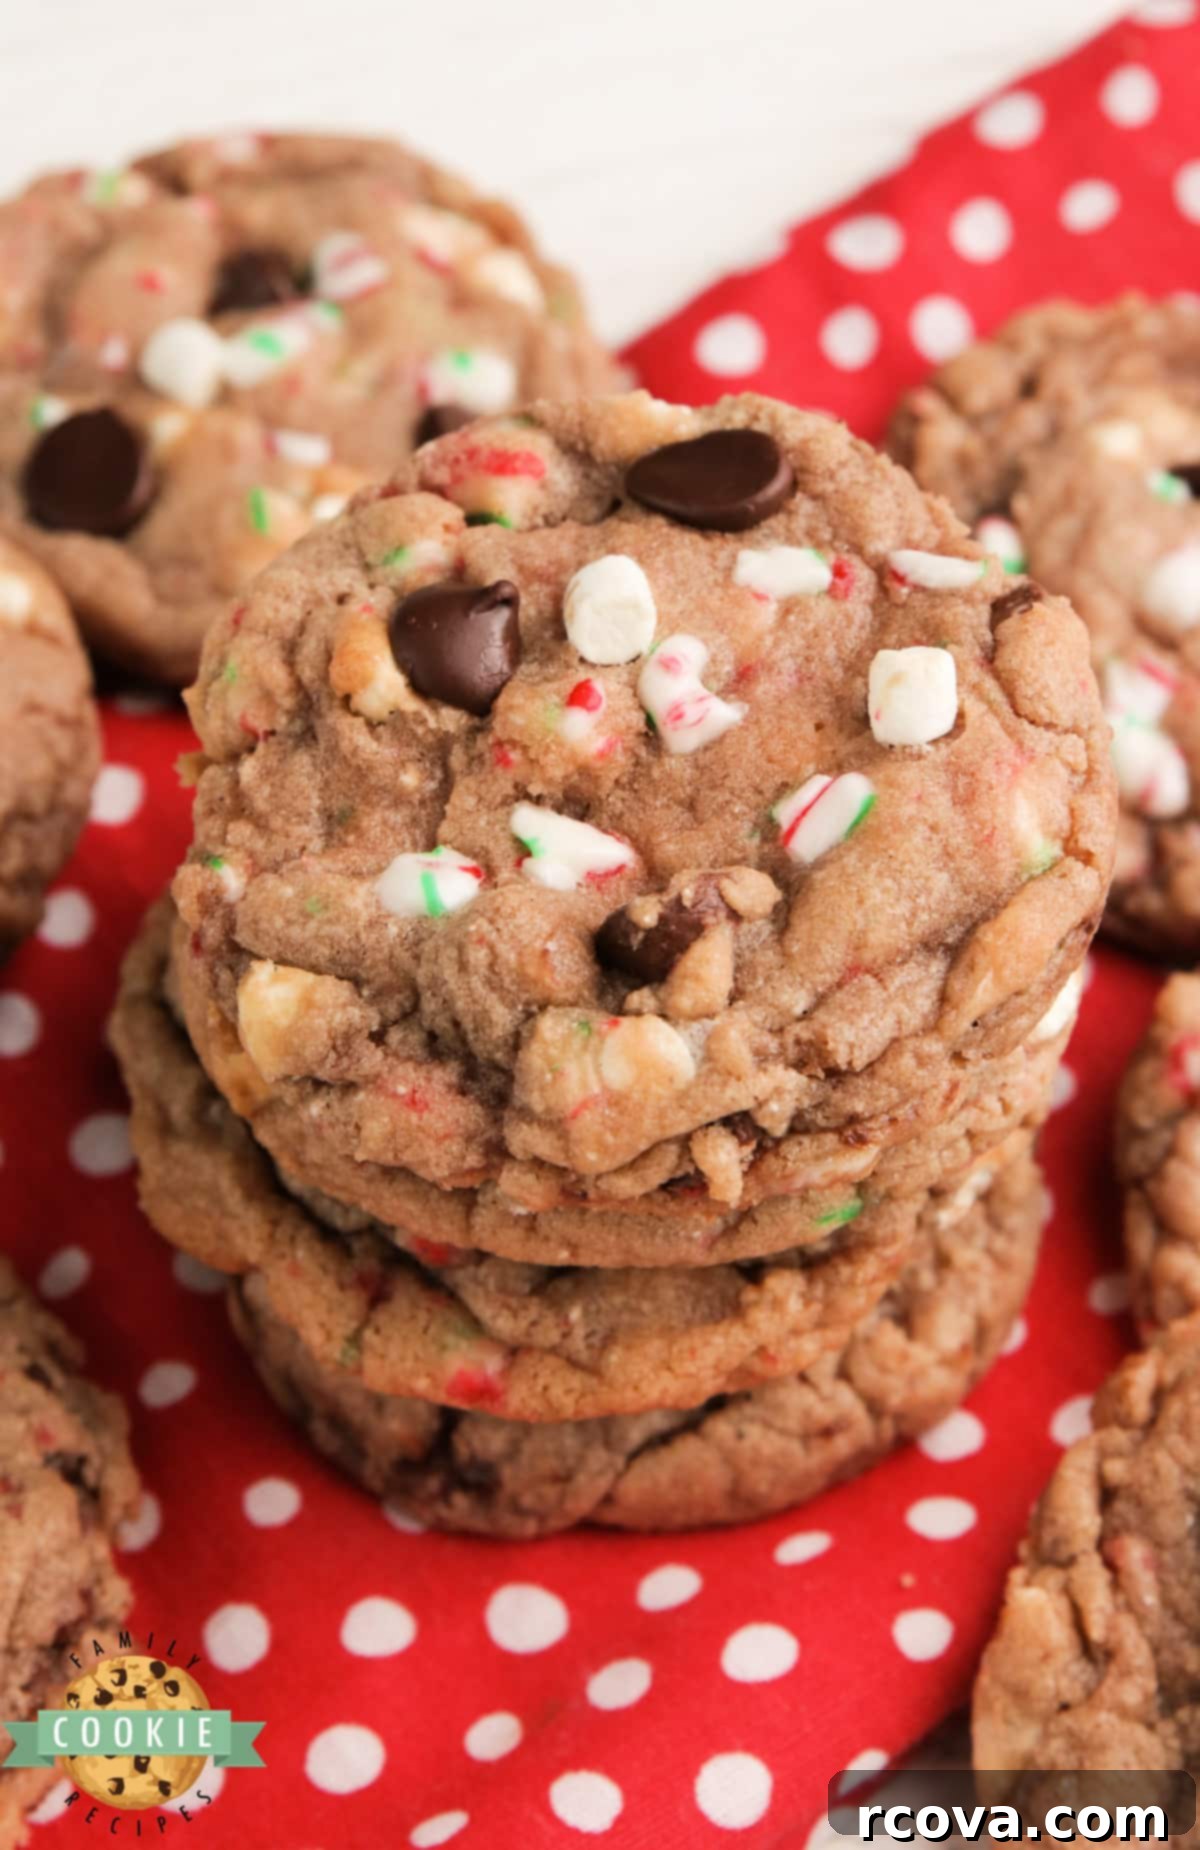
The result is a cookie that truly tastes like a cup of your favorite hot chocolate has been transformed into a delectable baked good. They’re perfect for holiday parties, cozy evenings, or simply as a comforting treat on a chilly day.
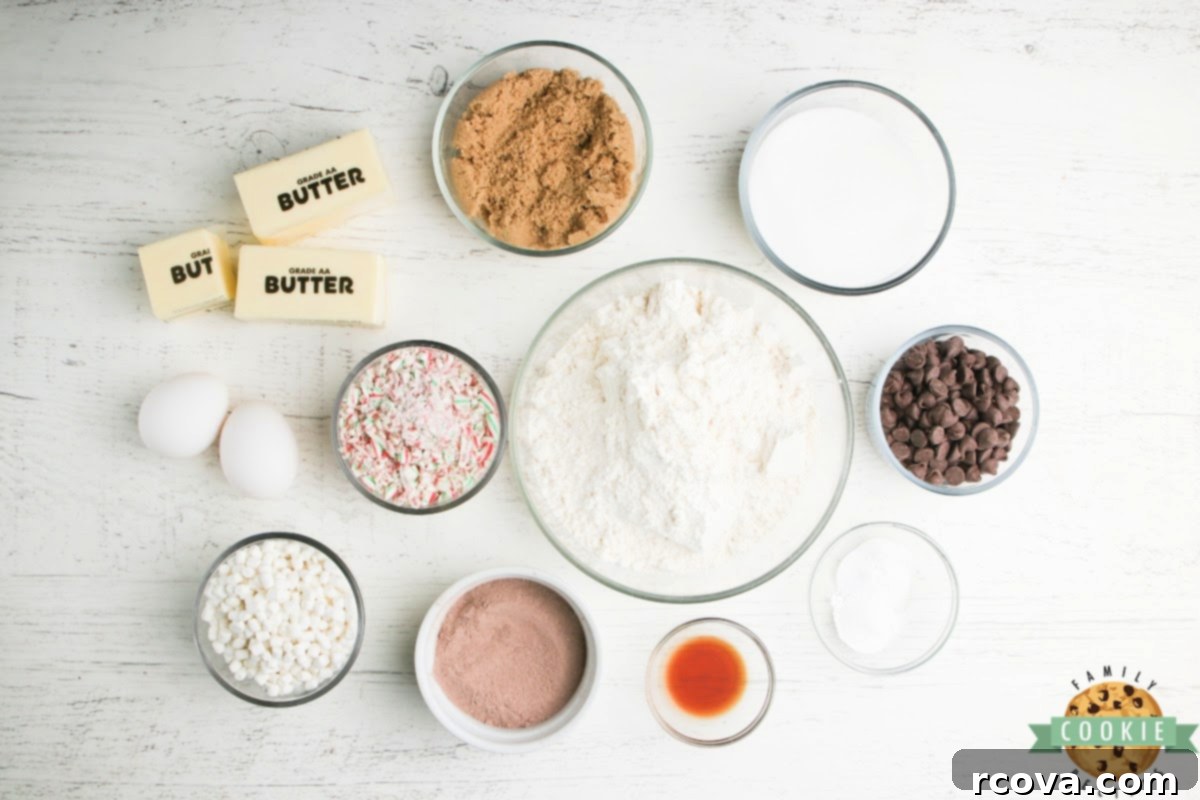
Essential Ingredients for Your Hot Cocoa Cookies
Creating these magical hot chocolate cookies starts with a selection of common pantry staples, enhanced by a few special additions that truly bring the hot cocoa flavor to life. Here’s a detailed look at what you’ll need and why each ingredient is important:
- Butter (1 ¼ cups / 2 ½ sticks): The foundation of any great cookie! Ensure your butter is softened to room temperature. This is crucial for proper creaming with the sugars, which creates an airy base for your dough and contributes to a tender cookie texture. Always use real butter for the best flavor and consistency.
- Sugars (1 cup granulated sugar, ⅔ cup packed light brown sugar): This combination provides the perfect balance of sweetness and moisture. Granulated sugar contributes to a slight crispness on the edges, while brown sugar adds depth, chewiness, and a subtle molasses note. For optimal results, make sure your brown sugar is fresh and soft.
- Eggs (2 large): Eggs act as a binder, holding all the ingredients together and providing essential structure and richness to the cookies. Using room temperature eggs allows them to emulsify better with the butter and sugar, leading to a smoother dough.
- Vanilla Extract (1 teaspoon): A touch of high-quality vanilla extract enhances all the other flavors, adding warmth and complexity that perfectly complements the chocolate and mint.
- All-Purpose Flour (3 ¼ cups): Flour provides the main structure for these delightful cookies. For accuracy, measure your flour by spooning it into the measuring cup and then leveling it off, rather than scooping directly from the bag, which can compact it and lead to a dense cookie.
- Hot Cocoa Mix (4 packets instant hot cocoa OR ½ cup hot cocoa mix): This is the hero ingredient that infuses your cookies with that distinct hot cocoa taste. You can use any brand or flavor you prefer, but it’s essential to use a mix that is NOT sugar-free, as sugar substitutes can alter the texture and taste significantly.
- Baking Soda (1 ¼ tsp) and Baking Powder (1 tsp): These are your leavening agents, working in harmony to give the cookies their perfect rise and tender crumb. Always check their expiration dates; old leavening agents can result in flat or dense cookies.
- Semi-Sweet Chocolate Chips (1 cup): These provide rich pockets of melted chocolate that meld wonderfully with the cocoa flavor. While semi-sweet is recommended, feel free to experiment with milk chocolate, dark chocolate, white chocolate, or even mint chips for a unique twist. Around the holidays, consider using festive red and green holiday chips to add extra color!
- Jet-Puffed Vanilla Mallow Bits (1 cup): These dehydrated marshmallows are a game-changer! They retain their shape and provide a delightful chewy texture, truly replicating the marshmallow experience of hot cocoa. Look for them in a can near the hot chocolate mixes in your grocery store. If unavailable, miniature marshmallows can be used, but add them towards the end of the baking process to prevent them from completely melting away.
- Crushed Candy Canes (1 cup): These not only add a beautiful festive touch but also provide a refreshing burst of peppermint flavor and a wonderful crunchy texture. You can often find pre-crushed candy canes in the baking aisle during the holiday season, which is a fantastic convenience. If crushing your own, mini candy canes are much easier to work with than full-sized ones. Aim for varying chunk sizes – you want some larger pieces for a noticeable crunch!
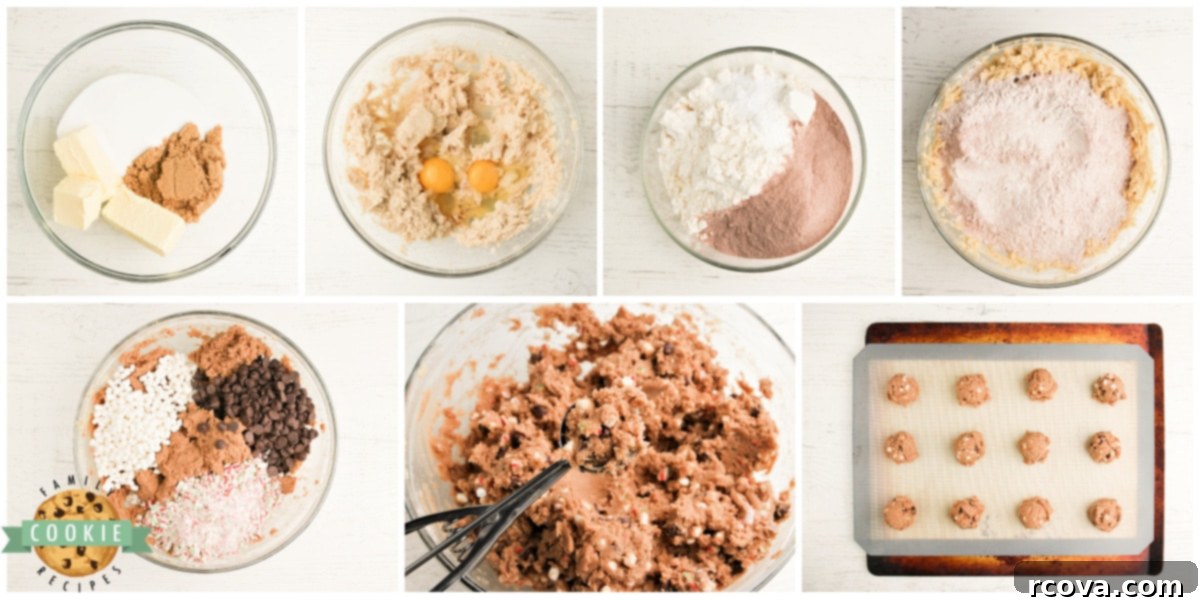
Baking Your Delicious Hot Chocolate Cookies: A Step-by-Step Guide
Follow these simple steps to create a batch of incredibly flavorful and festive hot cocoa cookies that will impress everyone!
- Preheat Oven: Begin by preheating your oven to 350°F (175°C). Line baking sheets with parchment paper or silicone baking mats. This ensures even baking and prevents sticking.
- Cream Wet Ingredients: In a large mixing bowl, beat the softened butter, granulated sugar, and packed brown sugar together until the mixture is light, fluffy, and noticeably pale. This typically takes 2-3 minutes of beating on medium speed and is crucial for adding air to the dough.
- Incorporate Eggs and Vanilla: Add the eggs one at a time, mixing well after each addition. Stir in the vanilla extract and continue to beat for another 2-3 minutes until the mixture is smooth and fully combined.
- Combine Dry Ingredients: In a separate medium bowl, whisk together the all-purpose flour, hot cocoa mix, baking soda, and baking powder. This step helps to distribute the leavening agents and cocoa mix evenly throughout the dough.
- Blend Wet and Dry: Gradually add the dry mixture into the butter mixture, beating on low speed until just combined. Be careful not to overmix, as overworking the dough can lead to tough cookies.
- Fold in Inclusions: Gently fold in the chocolate chips, Jet-Puffed Mallow Bits, and crushed candy canes until they are evenly distributed throughout the cookie dough.
- Scoop and Bake: Drop rounded spoonfuls of dough (using a cookie scoop for uniform size is recommended) onto your prepared baking sheets, leaving about 2 inches between each cookie. Bake for 9-11 minutes, or until the edges are lightly browned and set. Because these cookies are inherently brown from the hot cocoa mix, it’s important to watch for the edges rather than the overall color. Overbaking will result in hard cookies!
- Cool: Allow the cookies to cool on the baking sheets for a few minutes before carefully transferring them to wire racks to cool completely. This resting period helps them set up and prevents them from breaking apart.
HOT COCOA COOKIES
Print
Pin
Rate
Ingredients
- 1¼ cups unsalted butter softened to room temperature
- 1 cup granulated sugar
- ⅔ cup packed light brown sugar ensure it’s fresh and soft
- 2 large eggs at room temperature
- 1 tsp. pure vanilla extract
- 3¼ cups all-purpose flour
- 4 packets instant hot cocoa mix NOT sugar-free, OR 1/2 cup regular hot cocoa mix
- 1¼ tsp. baking soda
- 1 tsp. baking powder
- 1 cup semi-sweet chocolate chips or your preferred variety like milk, dark, or festive holiday chips
- 1 cup Jet-Puffed Vanilla Mallow Bits (dehydrated marshmallows)
- 1 cup crushed candy canes look for pre-crushed or crush mini candy canes for best results
Instructions
-
Preheat oven to 350°F (175°C). Line baking sheets with parchment paper or silicone baking mats.
-
In a large bowl, cream together the softened butter, granulated sugar, and brown sugar until light and fluffy (about 2-3 minutes). Add the eggs one at a time, mixing well after each, then stir in the vanilla extract. Beat for another 2-3 minutes until smooth.
-
In a separate medium bowl, whisk together the flour, hot cocoa mix, baking soda, and baking powder.
-
Gradually add the dry mixture to the wet butter mixture, beating on low speed until just combined. Fold in the chocolate chips, Mallow Bits, and crushed candy canes until evenly distributed. Do not overmix.
-
Drop rounded spoonfuls of dough onto the prepared baking sheets. Bake for 9-11 minutes, or until the edges are lightly golden brown. Be careful not to overbake, as the cookies are already brown. Let the cookies cool on the baking sheets for a few minutes before transferring them to wire racks to cool completely.
Nutrition
Tips for Crushing Candy Canes Perfectly
Crushed candy canes are a highlight of these hot cocoa cookies, adding a wonderful burst of mint and a delightful crunch. Achieving the right consistency is key, and here are a few pointers:
- Choose Mini Candy Canes: These are significantly easier to crush than their full-sized counterparts. Their smaller size makes them more fragile and quicker to break down.
- The Ziplock Bag Method: Remove all candy canes from their individual wrappers and place them in a sturdy freezer-safe resealable plastic bag. Press out as much air as possible before sealing.
- Smash, Don’t Pulverize: Use the flat end of a rolling pin or a meat mallet to gently smash the candy canes. You want a mix of larger chunks and smaller bits, not a fine powder. The larger pieces contribute to that satisfying crunch in the cookies.
- Check for Pre-Crushed Options: During the holiday season, many grocery stores offer bags of pre-crushed candy canes in the baking aisle. This is a fantastic time-saver, so keep an eye out for them – they might even be in festive green bags like the ones I’ve found! This convenience allows you to skip the extra step of unwrapping and crushing, letting you get to the baking faster.
Mastering the Art: How to Make the Absolute Best Hot Chocolate Cookies
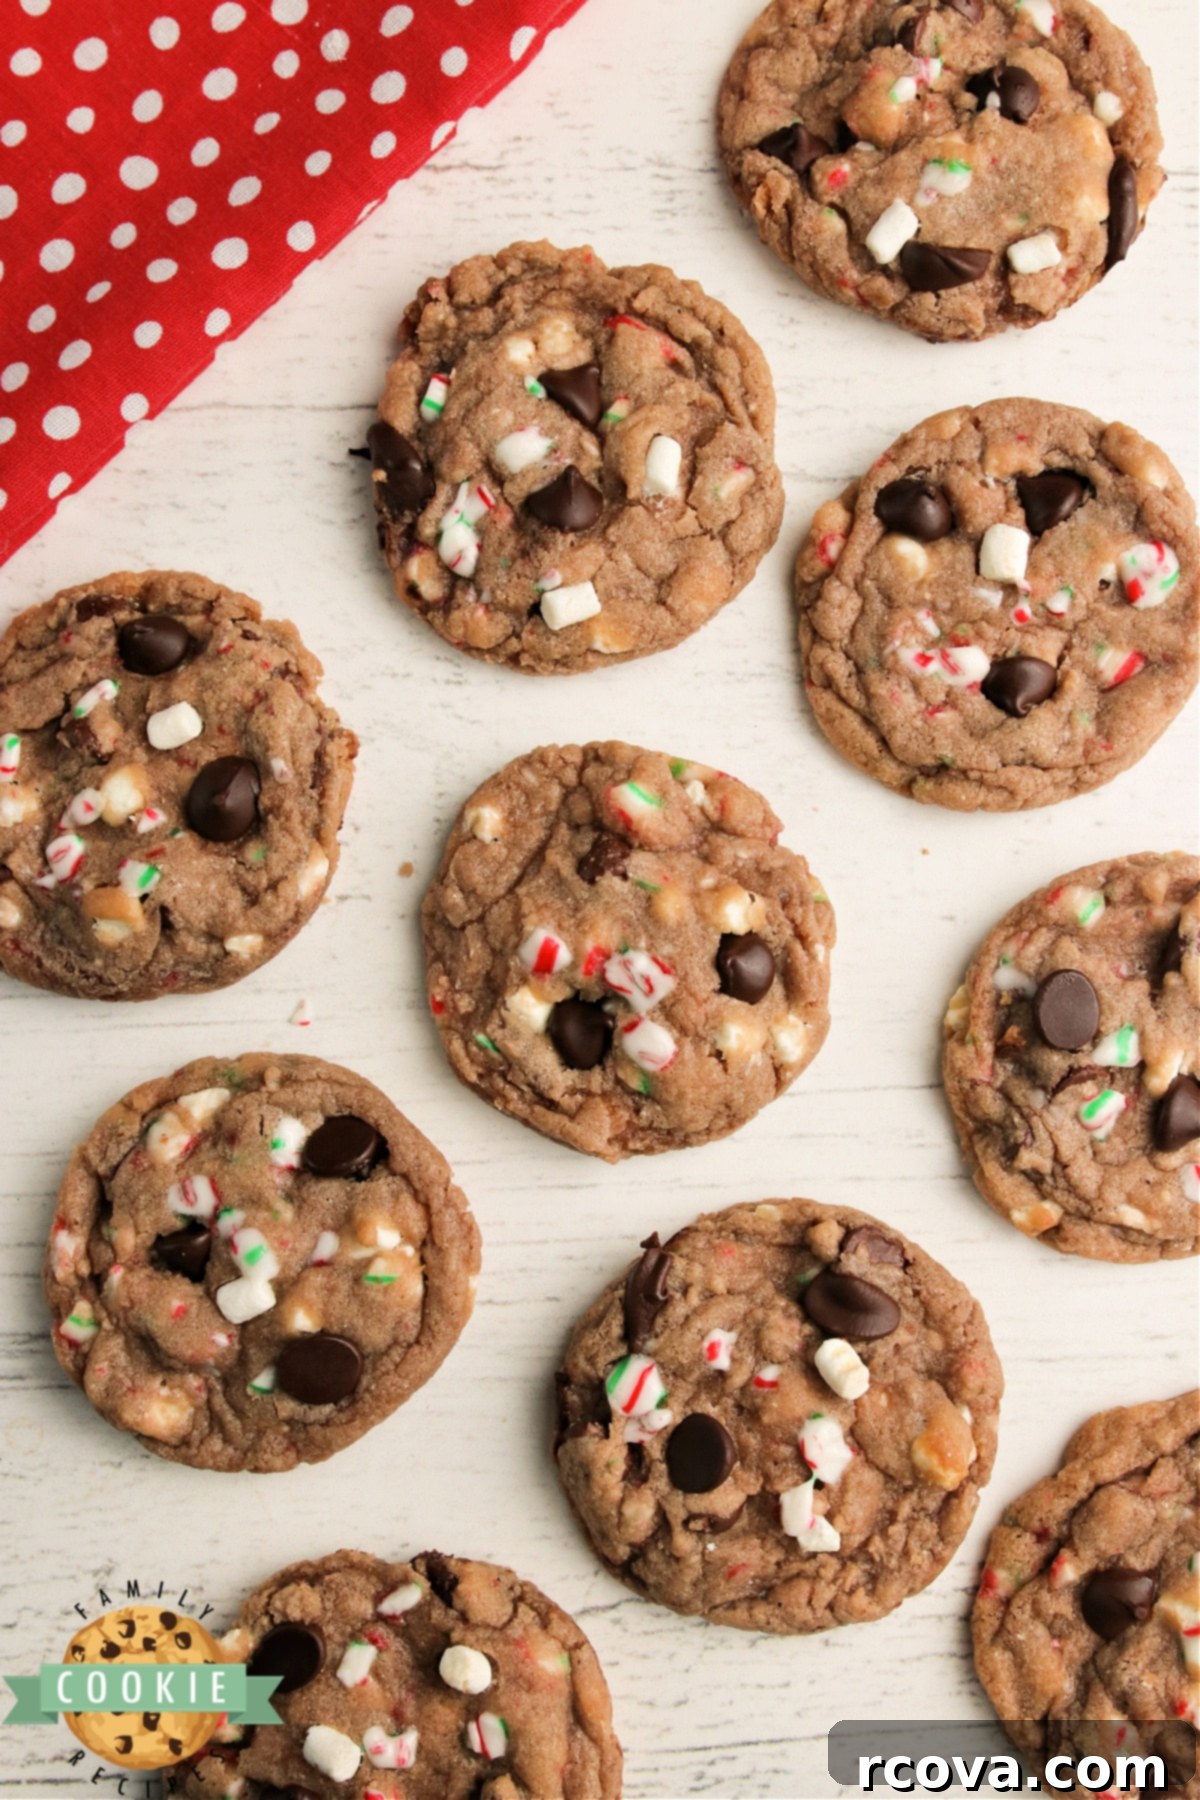
After countless batches of cookies over the years, I’ve gathered some invaluable insights to ensure your hot cocoa cookies turn out perfectly every time – chewy, flavorful, and beautifully baked. Here are my top tips for success:
- Don’t Skimp on Flour (But Don’t Overdo It!): The right amount of flour is crucial. If your dough feels overly sticky after mixing all ingredients, you might need to add an extra tablespoon or two of flour, just enough to achieve a pliable, non-sticky consistency. Avoid adding too much, as this can make cookies dry and crumbly.
- Perfect Creaming is Key: Dedicate sufficient time to creaming the butter and sugars together. Beat them for a good 2-3 minutes until the mixture is light, fluffy, and significantly paler in color. This process incorporates air, which is vital for developing a soft, tender cookie texture.
- Thorough Egg & Vanilla Incorporation: After adding the eggs and vanilla, continue mixing for another 2-3 minutes. This ensures these liquid ingredients are fully emulsified into the butter-sugar mixture, creating a homogenous dough that bakes evenly.
- Always Preheat Your Oven: This might seem basic, but it’s critical! A properly preheated oven ensures that your cookies start baking immediately at the correct temperature, preventing them from spreading too much and helping them maintain their shape. Give your oven at least 15-20 minutes to reach and stabilize at the set temperature.
- Invest in a Cookie Scoop: For professional-looking, uniformly sized cookies, a cookie scoop is a game-changer. Consistent sizing means all cookies bake at the same rate, preventing some from being overdone while others are underbaked.
- Use Parchment Paper or Silicone Mats: Line your baking sheets with parchment paper or a silicone baking mat. This prevents sticking, promotes even browning on the bottom, and makes transferring the warm cookies incredibly easy. They’ll simply slide off the pan in perfect shape, eliminating the need for scraping!
- Avoid Overbaking at All Costs: This is arguably the most important tip for chewy cookies! Remove your hot cocoa cookies from the oven when their edges are lightly set and just barely golden, even if the centers still look slightly soft or underbaked. Cookies continue to bake on the hot sheet for a couple of minutes after removal. Overbaked cookies will turn hard and crispy.
Hot Cocoa Cookie Troubleshooting: Common Baking Problems Solved
Even seasoned bakers encounter cookie dilemmas! Through my many baking adventures, I’ve learned a few tricks to solve common cookie problems. Don’t let a “failed” batch get you down – these tips will help you perfect your hot cocoa cookies!
Why Are My Cookies Flat and Spread Out Too Much?
Flat, overly spread-out cookies are a common frustration. Here’s why it happens and how to fix it:
- Too Little Flour: The most common culprit! If your dough is too wet, it lacks the structure to hold its shape. Start by adding 1-3 tablespoons of extra flour to your batter until it feels less sticky and more manageable.
- Melted Butter: Most cookie recipes, including this one, call for *softened* butter, not melted. Melted butter will cause your cookies to spread excessively, resulting in flat, sometimes greasy, cookies. Ensure your butter is at room temperature but still solid enough to hold its shape.
- Warm Dough: A warm dough, especially in a warm kitchen, can cause the butter to melt too quickly in the oven. Try chilling your cookie dough for 30 minutes to an hour before baking. This solidifies the butter, helping the cookies hold their shape better.
- Greased Baking Sheets: If you’re not using parchment paper or a silicone mat, over-greasing your baking sheets can also contribute to spreading. Minimal grease is best if you must go without liners.
- Old Leavening Agents: Expired baking soda or baking powder won’t provide the necessary lift, leading to dense, flat cookies. Always check their freshness!
How Do You Soften Butter to Room Temperature Perfectly?
Softened butter is essential for a good cookie dough, allowing it to cream beautifully with sugar and create that desired tender texture. Here are my go-to methods:
- The Patient Approach: The ideal method is to simply take your butter out of the refrigerator 1-2 hours before you plan to bake. It will naturally come to the perfect room temperature, pliable but not greasy.
- The Microwave Trick (Use with Caution!): This is the fastest method, but it requires careful attention to avoid melting the butter. Place a whole stick of unwrapped butter in the microwave. Microwave on a medium-high setting for about 6-7 seconds. Check for softness by gently pressing it. If still very cold, microwave for another 5-7 seconds. Continue in very short bursts (2-3 seconds) until it’s soft enough to indent with a finger, but crucially, not melted. A handy tip: using the defrost setting on your microwave for around 30 seconds can be more forgiving, softening the butter without reaching a melted state.
- The Grating Method: If you’re short on time, grate cold or frozen butter using a box grater. The small shreds will come to room temperature much faster than a solid stick.
- The Rolling Pin Method: Place cold butter between two sheets of parchment paper and gently roll it with a rolling pin until it flattens and softens. This distributes the butter evenly and brings it to temperature quicker.
Why Are My Cookies Crispy and Hard?
If your hot cocoa cookies turn out crunchy, crispy, or hard instead of soft and chewy, it’s almost always a sign of overbaking. Remember these points:
- Watch the Edges, Not the Middle: Cookies continue to bake for several minutes on the hot baking sheet even after you remove them from the oven. For chewy cookies, you want to take them out when the edges are just lightly golden and set, but the centers still look slightly soft or underdone. Do not wait for the entire cookie to turn golden brown!
- Oven Temperature Accuracy: An oven that runs too hot can cook cookies too quickly on the outside before the inside is fully set, leading to a crispy texture. An oven thermometer can help verify your oven’s accuracy.
- Cooling Process: After allowing them to rest on the baking sheet for 5 minutes, transfer cookies to a wire rack to cool completely. This ensures proper air circulation and stops the baking process. If you prefer a slightly crispier cookie (perfect for dunking in milk, like my husband enjoys!), bake them for an extra minute or two, but keep a close eye to prevent burning.
Why Do My Cookies Burn on the Bottom But Aren’t Done in the Middle?
This is a frustrating issue, often pointing to your baking equipment or technique:
- Dark Baking Sheets: Dark-colored cookie sheets absorb more heat, causing the bottoms of your baked goods to brown (or burn) much faster than the tops can cook through. Opt for lighter-colored, reflective non-stick pans.
- Excessive Cooking Spray: Using too much cooking spray can also lead to burnt bottoms and a greasy texture.
- The Solution: Silicone Baking Mats or Parchment Paper: My absolute favorite solution to this problem is using silicone baking mats or parchment paper. These liners provide an insulating layer that distributes heat more evenly, preventing the bottoms from burning. Plus, they offer a naturally non-stick surface, so your cookies will slide right off without any fuss or the need for added grease! I can’t recommend silicone mats enough for consistent, perfectly baked cookies.
Storage and Make-Ahead Tips for Hot Cocoa Cookies
To enjoy these delicious hot cocoa cookies long after they’re baked, proper storage is key:
- Room Temperature Storage: Once completely cooled, store your Hot Cocoa Cookies in an airtight container at room temperature for 3-5 days. This keeps them soft and fresh.
- Freezing Baked Cookies: For longer storage, you can freeze baked cookies for up to 3 months. First, arrange the completely cooled cookies in a single layer on a baking sheet and flash freeze them for about an hour. Once solid, transfer them to a freezer-safe bag or container, separating layers with parchment paper to prevent sticking. Thaw at room temperature before serving.
- Freezing Dough: You can also prepare the dough in advance! Scoop individual cookie dough balls onto a parchment-lined baking sheet and flash freeze until solid. Then transfer the frozen dough balls to a freezer-safe bag. When ready to bake, place frozen dough balls on a baking sheet and add 2-3 minutes to the baking time.
Delicious Variations to Personalize Your Hot Cocoa Cookies
While the classic hot cocoa cookie recipe is divine, feel free to get creative and customize your batch with these tempting variations:
- Spicy Mexican Hot Chocolate: Add a pinch of cinnamon or a tiny dash of cayenne pepper to the dry ingredients for a subtle, warming kick.
- Nutty Cocoa Crunch: Fold in ½ cup of finely chopped pecans, walnuts, or almonds along with the chocolate chips for an added layer of texture and rich flavor.
- Triple Chocolate Delight: Instead of just semi-sweet, use a mix of white, milk, and dark chocolate chips for a complex chocolate experience.
- Extra Marshmallow Swirl: For even more marshmallow goodness, once the cookies are baked and slightly cooled, press a few extra mini marshmallows onto the tops of each cookie. You can even briefly broil them for a toasted marshmallow effect (watch carefully!).
- Coffee Kick: A teaspoon of instant espresso powder or fine coffee grounds added to the dry ingredients will deepen the chocolate flavor without making the cookies taste distinctly like coffee.
- Orange Zest Brightness: Grate in the zest of one orange with the wet ingredients for a bright, citrusy counterpoint to the rich chocolate.
More Winter Treat Recipes Perfect for Cold Weather!
If you love these Hot Cocoa Cookies, you’re sure to enjoy these other comforting and festive treats, perfect for chilly days or holiday celebrations:
- Peppermint Vanilla Shortbread Cookies
- Gingerbread House Cookies
- Peppermint Meltaways
- Linzer Cookies
- Iced Ginger Molasses Cookies
- Mint Chocolate Chip Cookies
- Frosted Eggnog Cookies
- Best Gingerbread Cutout Cookies
- Santa’s Whiskers Cookies
- Peppermint Cookie Bars
- Peppermint Chocolate Sandwich Cookies
- Christmas Sugar Cookies
- Hot Chocolate Christmas Cookie Cups
Whether you’re battling the winter chill or simply craving a taste of nostalgia, these Hot Cocoa Cookies are the perfect indulgence. They bring the cozy comfort of a steaming mug of hot chocolate right to your cookie jar, making every bite a delightful celebration of winter’s simple pleasures. Gather your ingredients, get baking, and share the warmth with loved ones!

Recently, I had the incredible opportunity to take my oldest daughter on an early graduation trip to see Harry Styles in Los Angeles. While he might not be my usual musical preference, I have to admit the concert was absolutely exhilarating! More than anything, it was truly amazing to spend quality time with my daughter and witness her pure excitement seeing Harry live. It’s those special moments, whether at a concert or baking cookies together, that create the most cherished memories.

