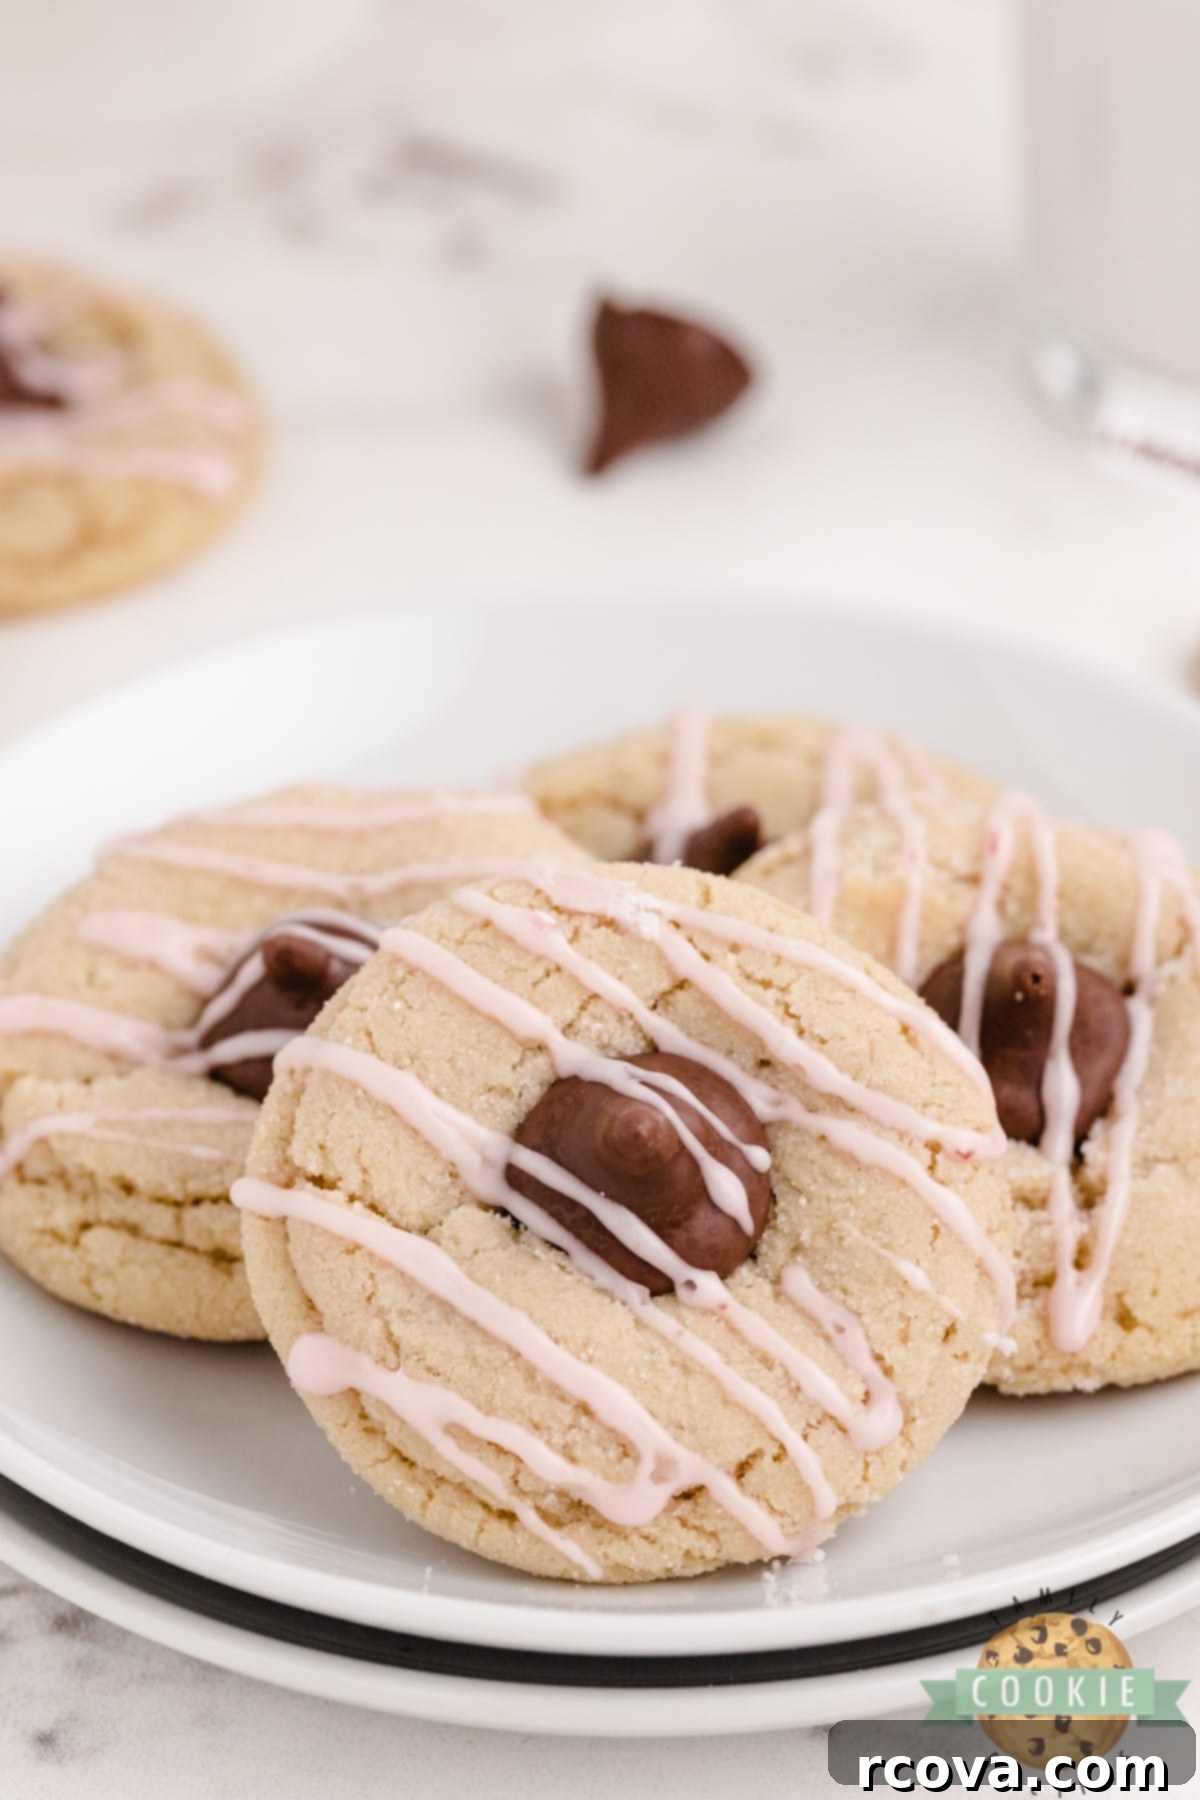
Delightful Almond Kiss Cookies with Raspberry Glaze: A Sweet Twist on a Classic Treat
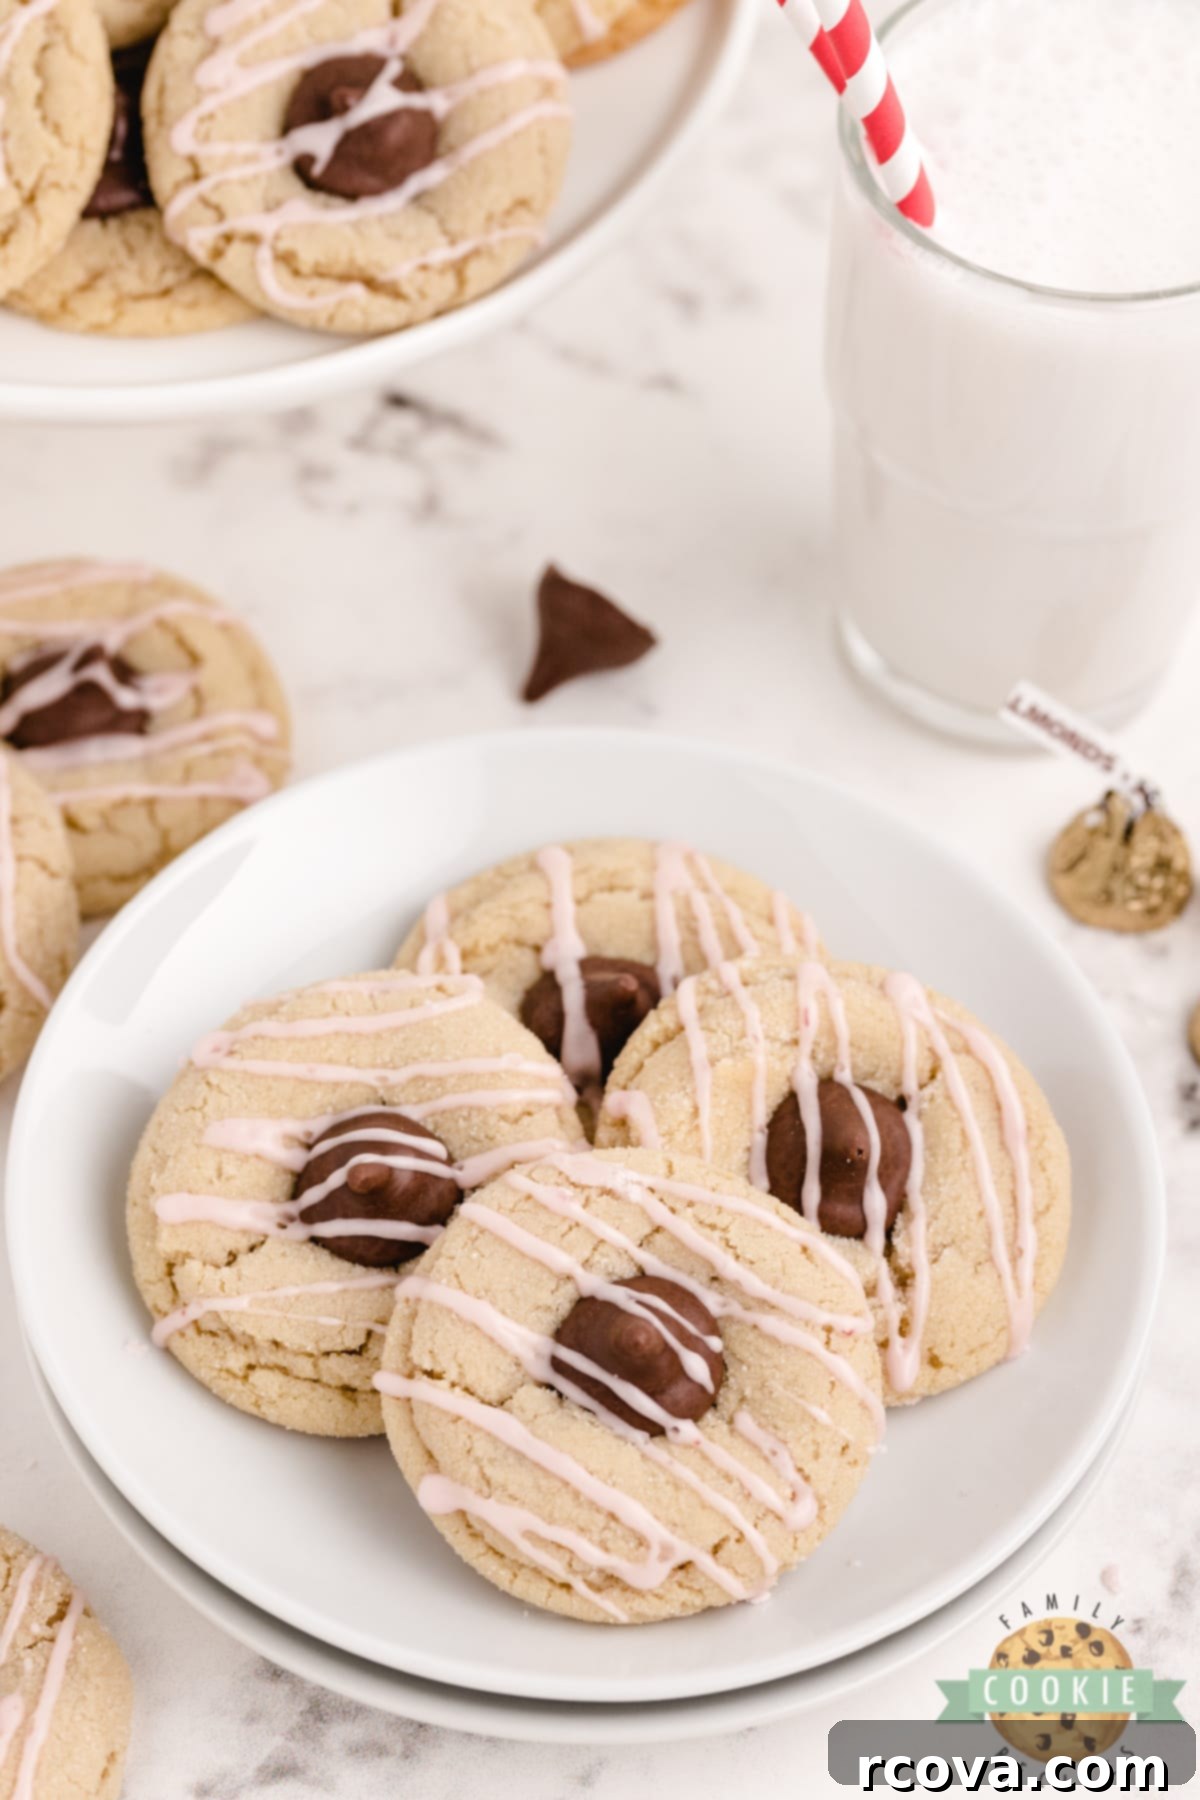
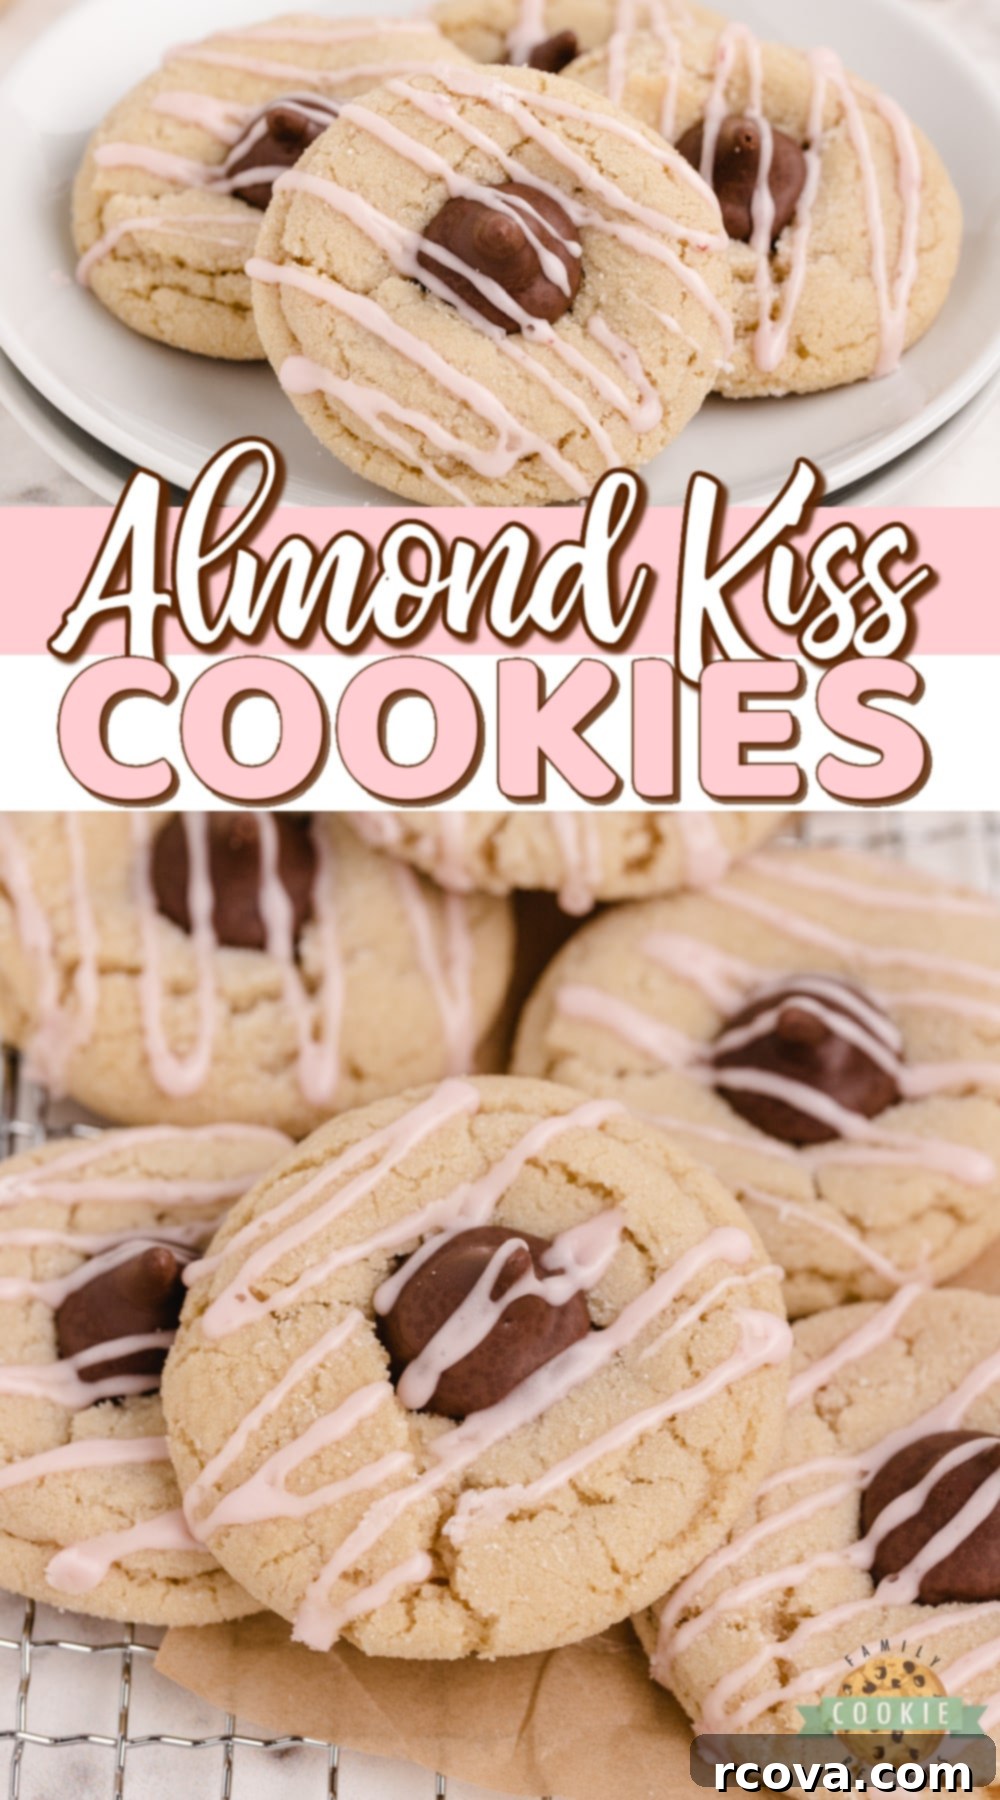
Prepare to be enchanted by these Almond Kiss Cookies, a truly special and flavorful confection crafted with the distinct taste of almond extract and topped with delightful Hershey’s Kisses, especially those with crunchy almonds inside! Each delicate cookie is then crowned with a vibrant and simple raspberry glaze, creating a stunning visual and taste experience. These cookies offer a fantastic, nut-free (if using plain kisses and avoiding almond in the kiss) alternative to the traditional peanut butter blossoms, perfect for any occasion from holiday platters to everyday indulgences.
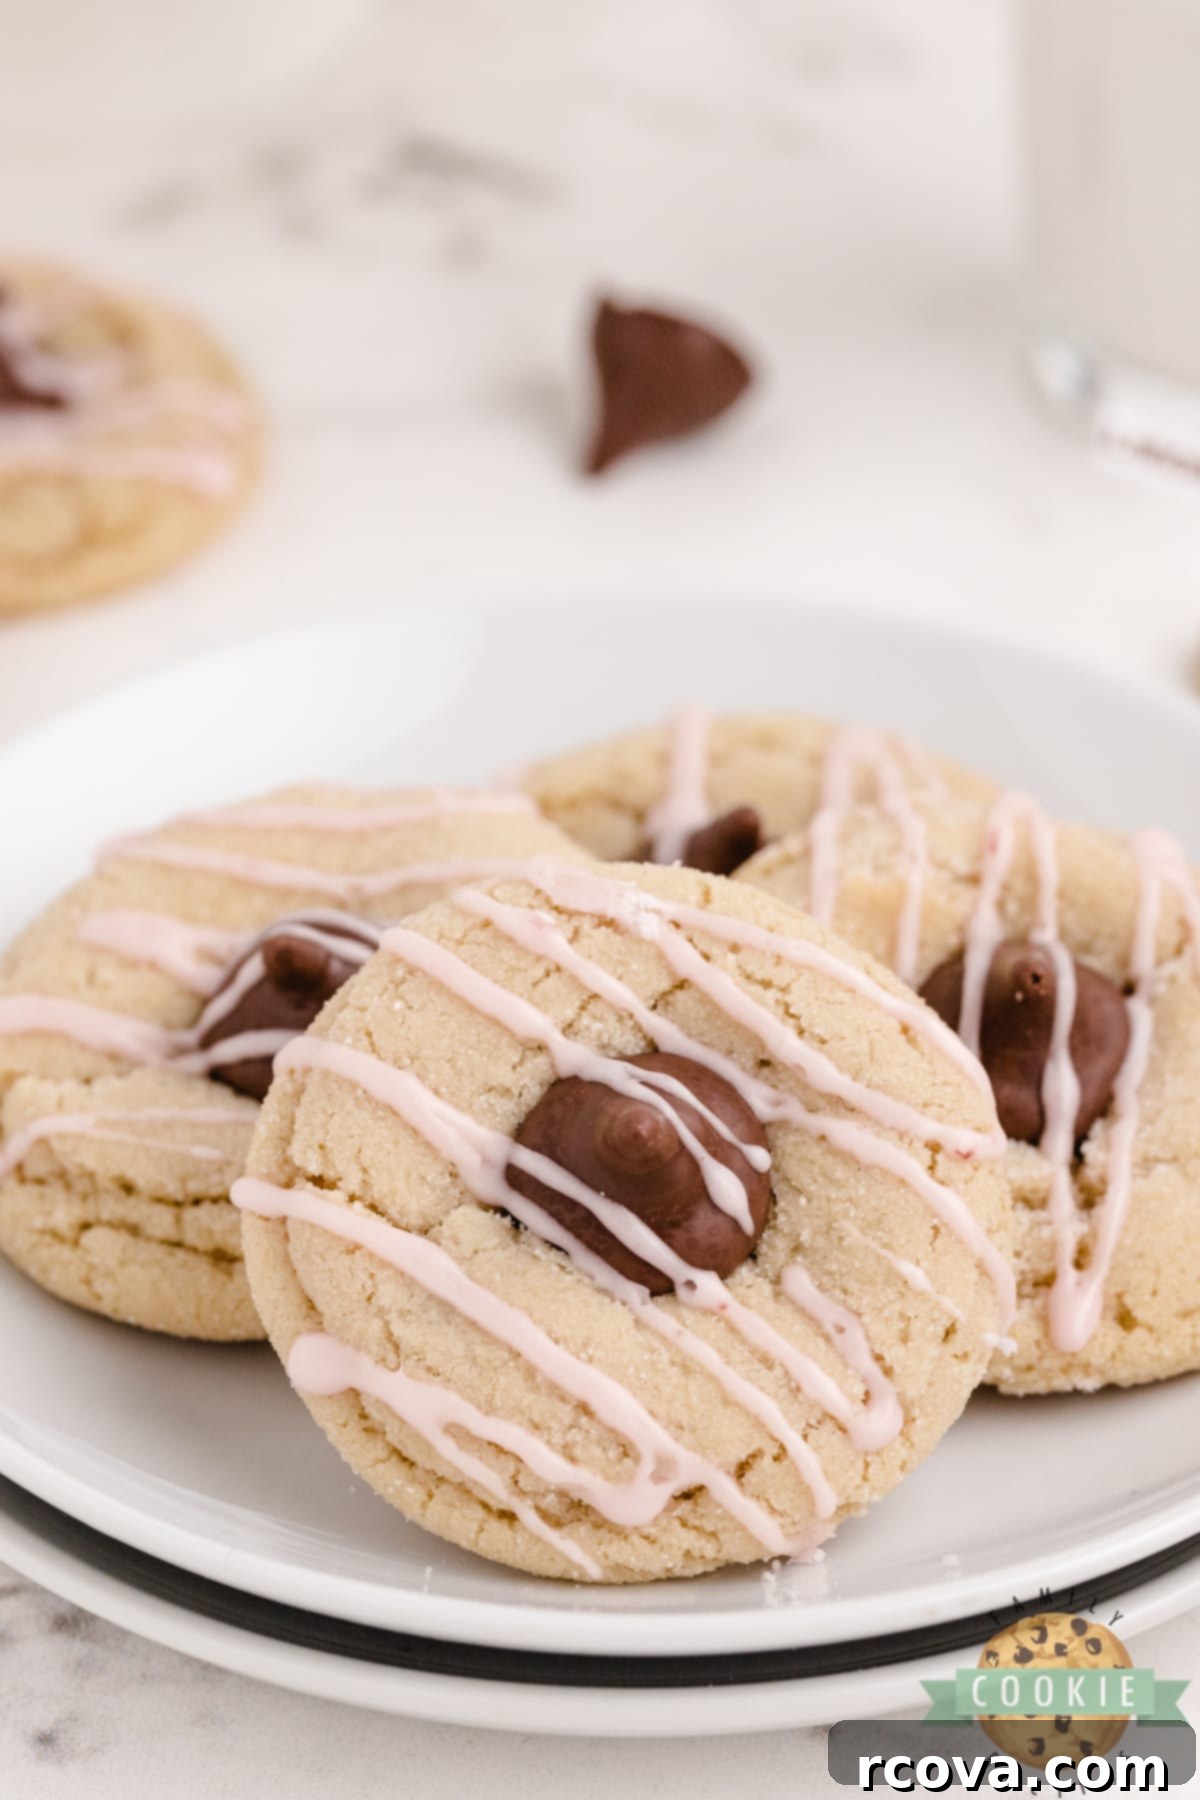
Unveiling the Almond Kiss Cookie: What Makes Them Special?
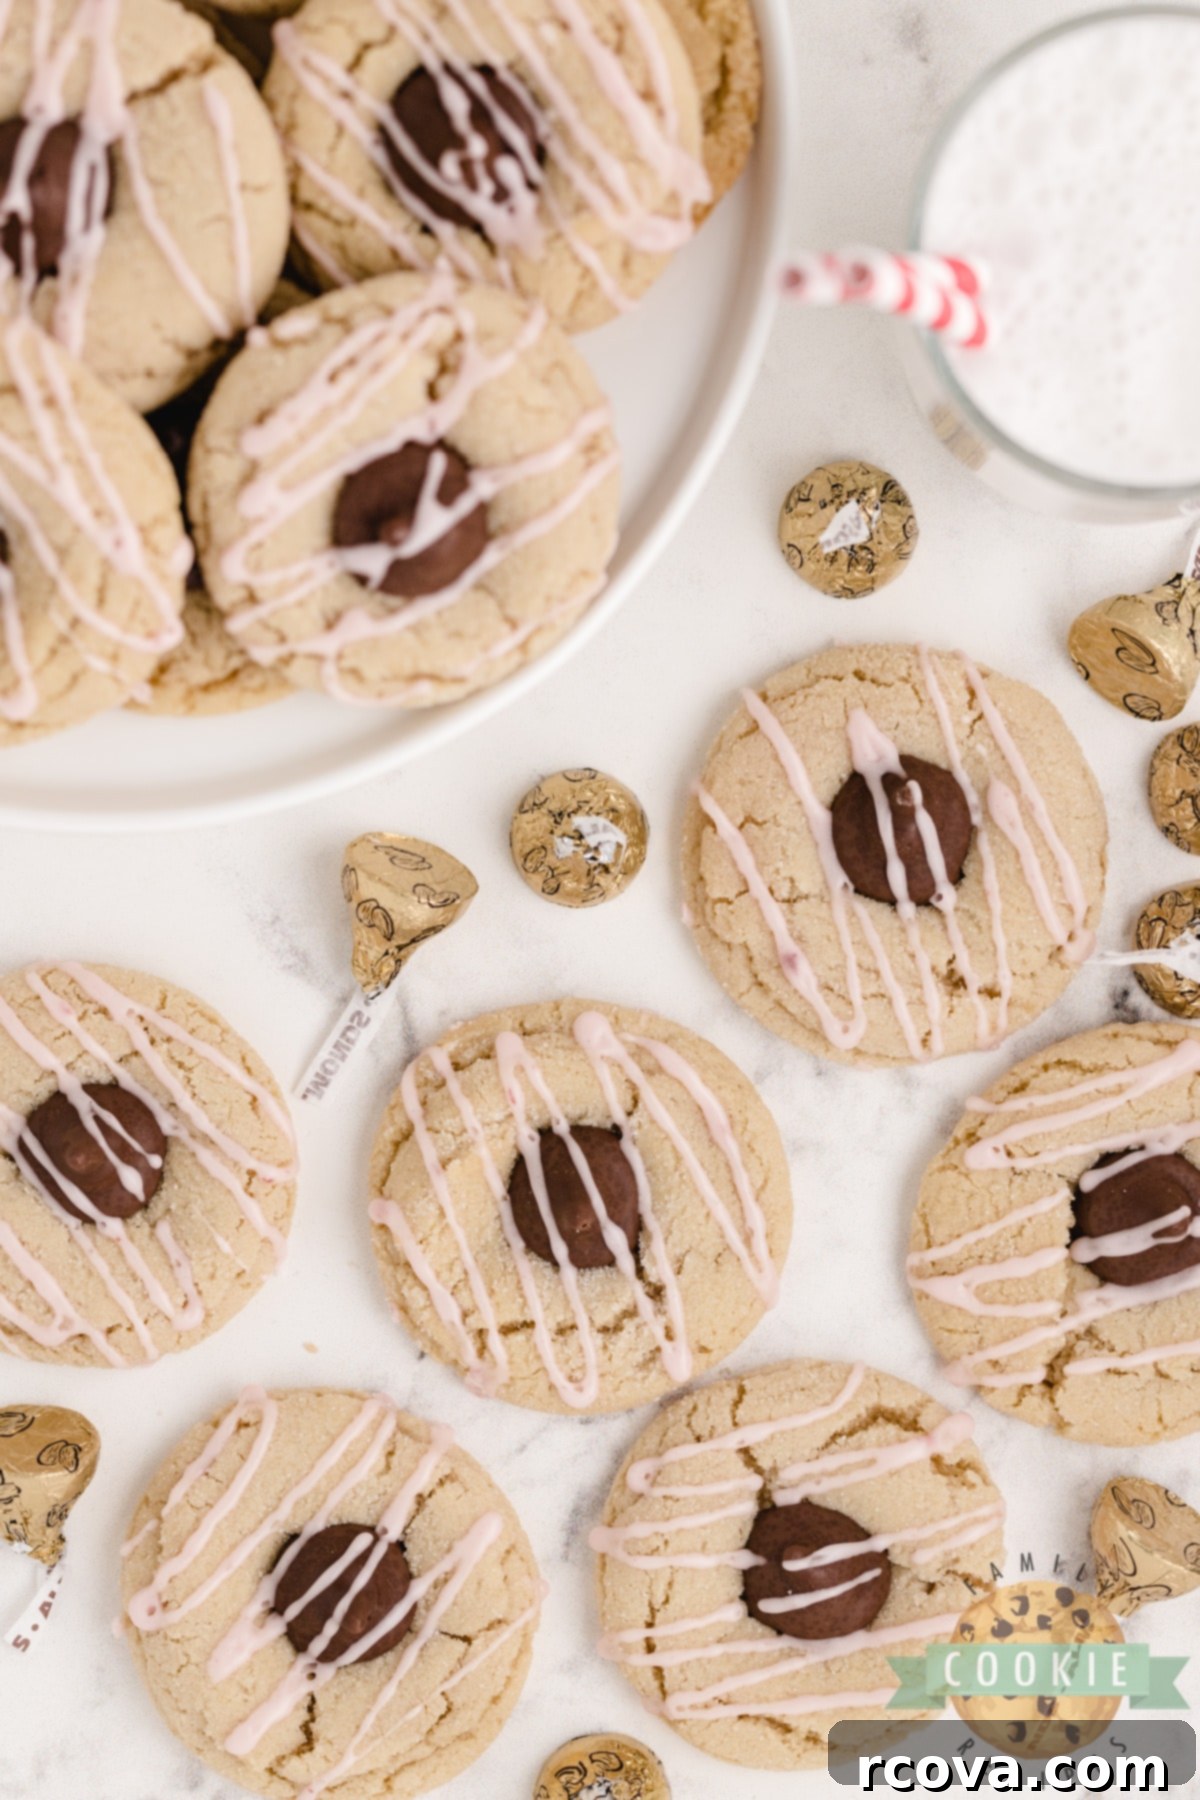
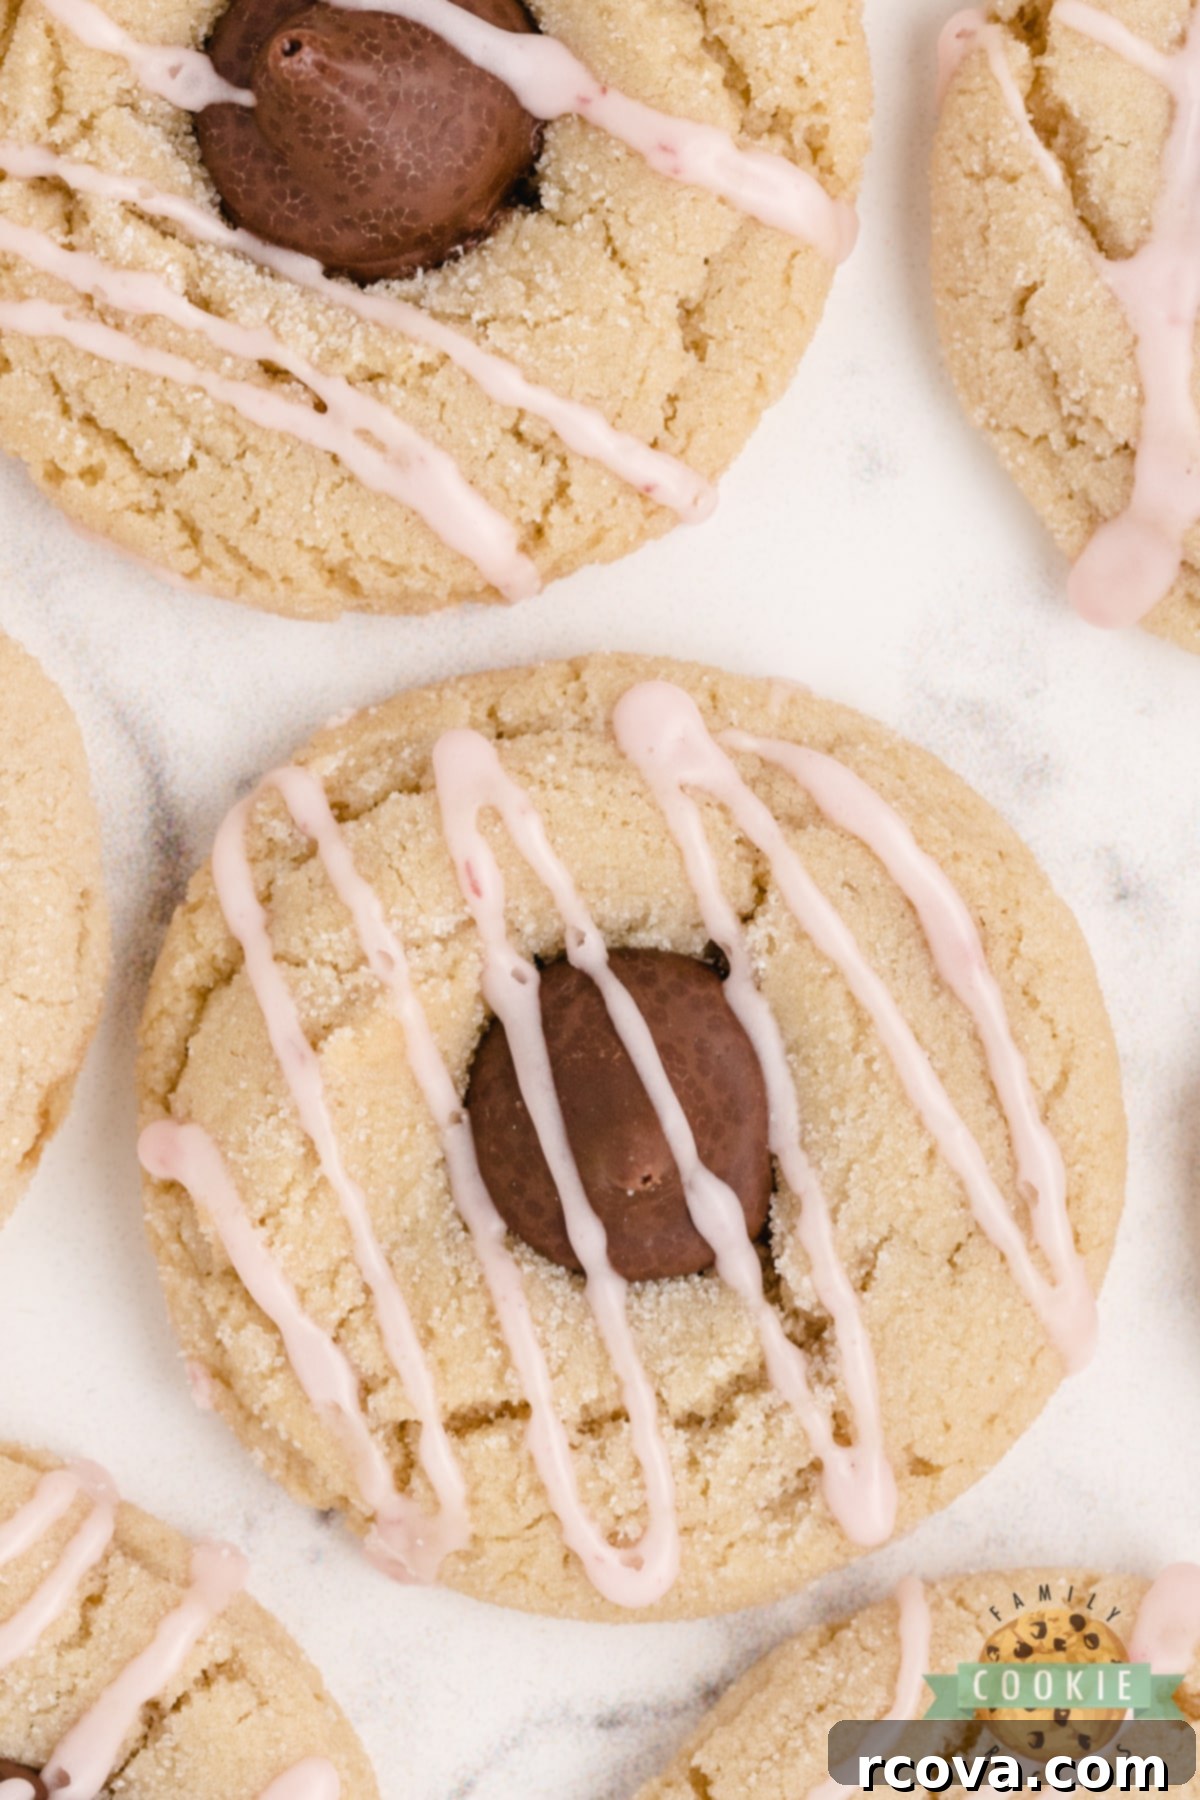
Almond Kiss Cookies are a charming variation of the beloved “blossom” cookie, famously known for its peanut butter counterpart. However, these unique cookies swap out the peanut butter for a delicate yet distinctive almond flavor profile. The secret lies in the generous addition of pure almond extract to a classic, buttery cookie dough base. While any Hershey’s Kiss can adorn these treats, opting for the almond-filled variety amplifies the nutty theme, delivering a delightful crunch and extra dimension of flavor. The final touch, a luscious and easy-to-make almond-raspberry glaze, not only adds a beautiful pop of color but also a burst of fruity tang that perfectly complements the rich almond cookie. They’re simple to make, yet elegant enough to impress, making them a wonderful choice for gatherings, bake sales, or a cozy evening at home.
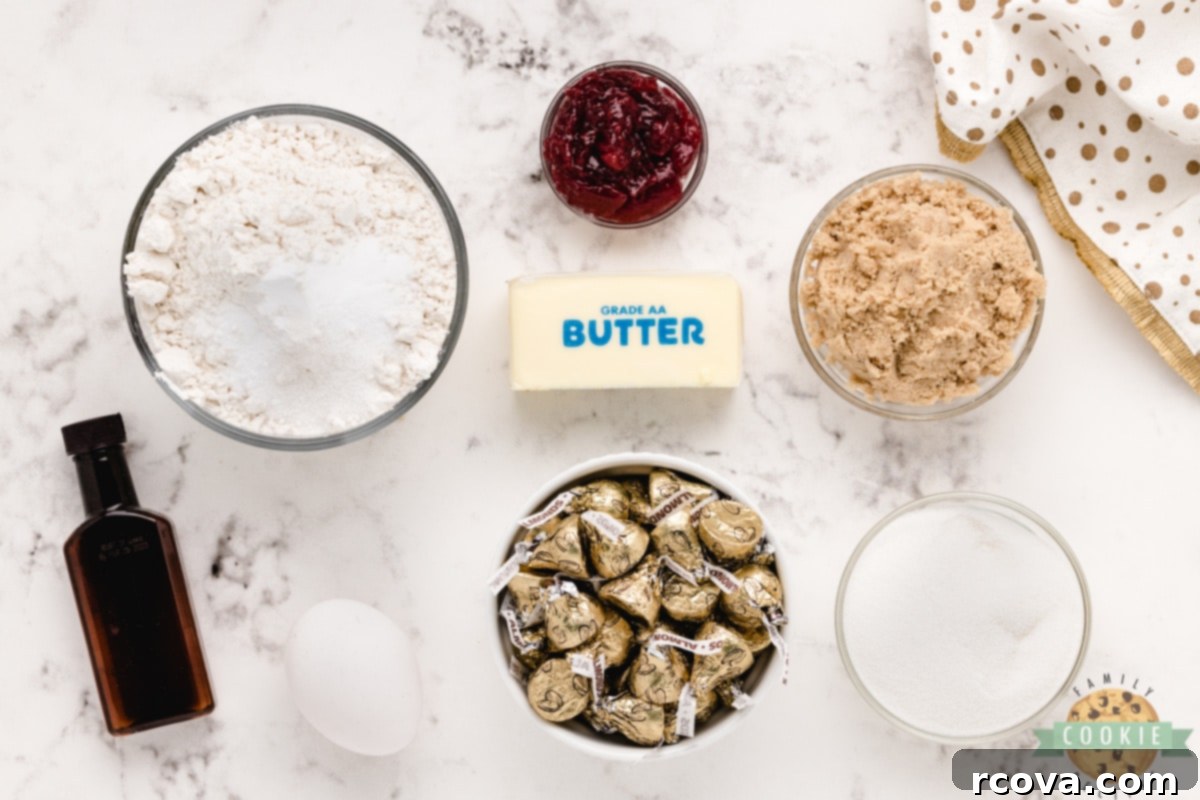
Essential Ingredients for Your Almond Kiss Cookies
Crafting these delectable almond cookies requires a few key ingredients, each playing a vital role in achieving their perfect texture and flavor. Here’s a detailed look at what you’ll need:
- Unsalted Butter: You’ll need one stick (or ½ cup) of unsalted butter. Ensure it’s softened to room temperature before you begin. Softened butter creams beautifully with sugar, incorporating air that results in a lighter, more tender cookie. If your butter is too cold, it won’t cream properly, and if it’s too warm or melted, it can lead to greasy, flat cookies.
- Granulated Sugar: A ½ cup of granulated sugar contributes to the cookie’s sweetness and helps create a crisp edge. It also aids in the creaming process, working with the butter to form a light, fluffy base.
- Brown Sugar: Another ½ cup of light brown sugar adds depth of flavor with its molasses notes and helps keep the cookies moist and chewy. Always make sure your brown sugar is fresh and soft for the best results; if it’s hard, a quick trick is to place it in a microwave-safe bowl with a damp paper towel and microwave in 10-second intervals until softened.
- Large Egg: Just one large egg acts as a binder, holding all the ingredients together and adding moisture. Make sure your egg is also at room temperature to ensure it emulsifies properly with the butter and sugar mixture, preventing curdling.
- Almond Extract: This is the star flavor of these cookies! One teaspoon of almond extract infuses the dough with that wonderful, distinctive almond aroma and taste. For those who might prefer a milder flavor or have it on hand, vanilla extract can be used as a substitute, though the cookies will have a different character.
- All-Purpose Flour: Two cups of all-purpose flour provide the main structure of the cookies. Measure flour correctly by spooning it into a measuring cup and leveling it off with a straight edge, rather than scooping directly from the bag, which can compact the flour and lead to dry cookies.
- Baking Soda: One teaspoon of baking soda is the leavening agent in this recipe, helping the cookies rise and achieve a soft texture. For optimal performance, ensure your baking soda isn’t expired; you can test its freshness by adding a pinch to a small amount of vinegar – if it bubbles, it’s good to go!
- Salt: A ¼ teaspoon of salt is crucial for balancing the sweetness and enhancing all the other flavors in the cookies. Don’t skip it, as it truly makes a difference.
- Additional Granulated Sugar for Coating: You’ll need about ¼ to ⅓ cup of granulated sugar in a small bowl for rolling the cookie dough balls before baking. This adds a delightful sparkle and a slightly crisp texture to the exterior of the cookies.
- Milk Chocolate Kisses with Almonds: For the ultimate almond experience, 36 milk chocolate Hershey’s Kisses with almonds are recommended. The almonds inside perfectly complement the almond-flavored dough. However, feel free to use any variety of Hershey’s Kisses you enjoy – classic milk chocolate, dark chocolate, or even caramel-filled kisses would also be delicious!
For the Simple Raspberry Glaze:
- Powdered Sugar: One cup of powdered sugar (also known as confectioners’ sugar) forms the creamy base of your glaze, providing sweetness and a smooth consistency.
- Milk: One tablespoon of milk helps thin the glaze to the perfect drizzling consistency. Any kind of milk works well here, including dairy or non-dairy options like almond milk, which would further enhance the almond theme.
- Raspberry Jam: Four teaspoons of raspberry jam provide a beautiful tart and sweet raspberry flavor, along with a lovely pink hue. You can use seedless jam for a smoother glaze, or another fruit jam if you prefer.
- Almond Extract (for glaze): An additional ¼ teaspoon of almond extract in the glaze brings even more almond flavor, creating a cohesive taste profile throughout the cookie and its topping.
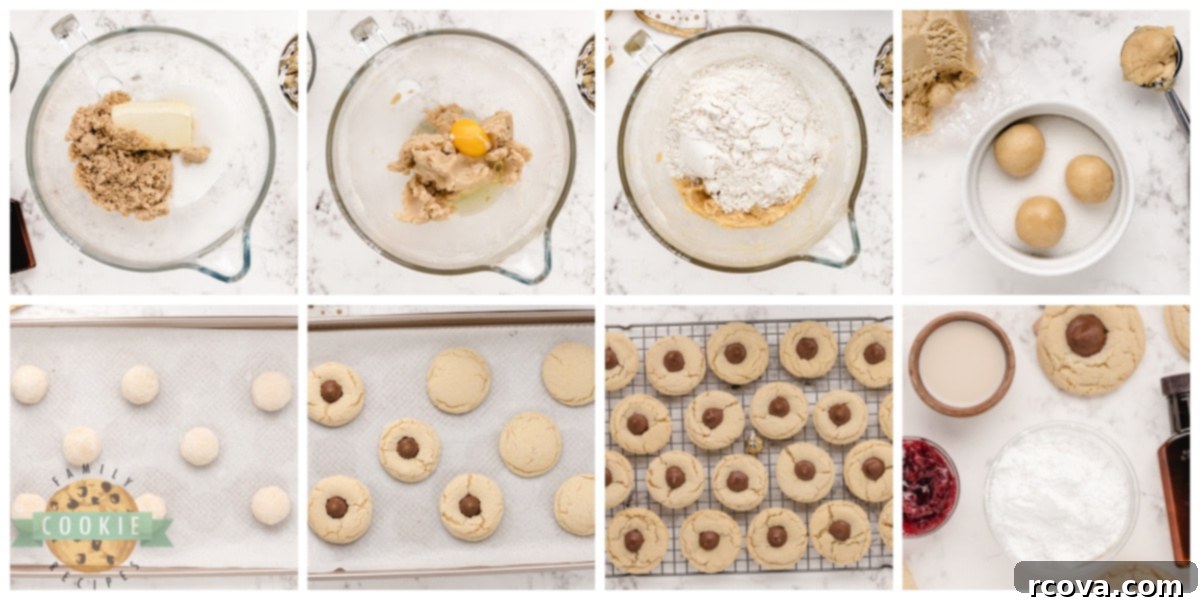
Baking Perfection: How to Make Almond Kiss Cookies
Follow these simple steps to create a batch of these irresistible Almond Kiss Cookies:
- Prepare Your Oven: Begin by preheating your oven to 325°F (160°C). Line your baking sheets with parchment paper or silicone baking mats to prevent sticking and ensure even baking. Unwrap all your Hershey’s Kisses and set them aside so they’re ready to go when the cookies come out of the oven.
- Cream Wet Ingredients: In a large mixing bowl, using an electric mixer, cream together the softened butter, granulated sugar, and brown sugar. Beat on medium speed for at least 2-3 minutes until the mixture is light, fluffy, and pale in color. This step is crucial for incorporating air, which contributes to the cookies’ tender texture.
- Add Egg and Extract: Beat in the large egg and 1 teaspoon of almond extract into the creamed butter mixture. Continue mixing for another 2-3 minutes, ensuring everything is well combined and smooth. Scrape down the sides of the bowl as needed.
- Combine Dry Ingredients: In a separate, medium-sized bowl, whisk together the all-purpose flour, baking soda, and salt. This ensures the leavening agent and salt are evenly distributed throughout the flour.
- Integrate Dry into Wet: Gradually add the dry ingredients to the butter mixture, mixing on low speed just until combined. Be careful not to overmix the dough, as overmixing can develop the gluten in the flour, leading to tough cookies. Stop mixing as soon as no dry streaks of flour remain.
- Chill the Dough: Cover the cookie dough with plastic wrap and chill it in the refrigerator for about an hour. Chilling the dough helps prevent the cookies from spreading too much during baking, resulting in a thicker, chewier cookie with a better shape. It also allows the flavors to meld beautifully.
- Shape and Bake: Once chilled, roll the dough into 1-inch balls. Then, roll each ball in the additional granulated sugar for coating, ensuring they are well covered. Place the sugar-coated dough balls onto your prepared baking sheets, leaving about 2 inches between each cookie.
- Bake and Kiss: Bake for approximately 12-13 minutes, or until the edges of the cookies begin to turn a light golden brown. The centers may still look slightly soft, which is perfect for a chewy cookie. Immediately upon removing the baking sheets from the oven, gently but firmly press one Hershey’s Kiss into the center of each warm cookie. The heat from the cookie will slightly melt the chocolate, helping it adhere.
- Cool the Cookies: Allow the cookies to cool on the baking sheets for a few minutes before carefully transferring them to wire racks to cool completely. This prevents them from breaking and allows the chocolate kisses to set.
- Prepare and Drizzle Glaze: While the cookies are cooling, prepare the raspberry glaze. In a small bowl, whisk together the powdered sugar, milk, 4 teaspoons of raspberry jam, and ¼ teaspoon of almond extract with a fork until smooth and lump-free. Once the cookies are completely cooled, drizzle the glaze over them using a fork or a small spoon. Let the glaze set before serving.

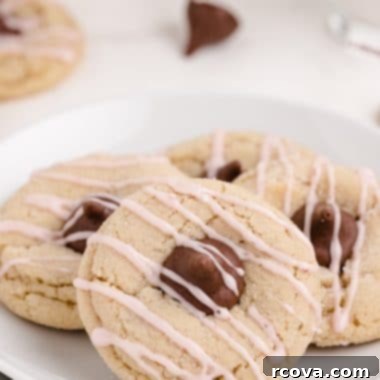
Almond Kiss Cookies
Print
Pin
Rate
Ingredients
- ½ cup butter softened
- ½ cup sugar
- ½ cup brown sugar
- 1 egg
- 1 tsp almond extract
- 2 cups flour
- 1 tsp baking soda
- ¼ tsp salt
- additional sugar for coating
- 36 milk chocolate kisses with almonds
RASPBERRY GLAZE
- 1 cup powdered sugar
- 1 Tbsp milk
- 4 tsp raspberry jam
- ¼ tsp almond extract
Instructions
-
Preheat oven to 325°.
-
In a large bowl, cream together butter and sugars for at least 2-3 minutes. Beat in egg and almond extract for another 2-3 minutes.
-
In a separate bowl, combine the flour, baking soda and salt and then add the dry ingredients to the butter mixture, mixing just until combined.
-
Cover and chill for about an hour.
-
Roll dough into 1 inch balls then roll in additional sugar. Bake for about 12 minutes or until cookies begin to barely turn a light golden brown. Immediately press a Hershey kiss into the center of each cookie. Remove to wire racks to cool.
-
Mix glaze ingredients together with a fork and then drizzle over the cooled cookies.
Nutrition
Expert Baking Tips for the Best Almond Kiss Cookies Every Time
Achieving perfectly baked cookies consistently is easier with the right tools and techniques. Here are some invaluable tips that will elevate your cookie baking game, not just for Almond Kiss Cookies, but for many other recipes too:
1. The Power of Parchment Paper or Silicone Baking Mats: For non-stick baking and easy cleanup, I highly recommend lining your cookie sheets with either parchment paper or a high-quality silicone baking mat. These are typically sold in sizes that fit standard 12×16 inch cookie sheets perfectly. They create an even baking surface, preventing your cookies from sticking to the pan and spreading unevenly. Plus, they eliminate the need for greasing the pan, which means no messy oils and healthier cookies. Parchment paper also helps in achieving a consistent bottom browning, preventing burnt edges.
2. Invest in a Stand Mixer (like a KitchenAid): A reliable stand mixer is a game-changer for any serious baker. While I own both a Bosch and a KitchenAid, I find myself reaching for my KitchenAid more often for cookie doughs. The specific “cookie paddle” attachment that comes with most stand mixers is ideal for thoroughly mixing ingredients without overworking the dough. It ensures all components are uniformly incorporated, resulting in a consistent texture throughout your batch of cookies. If you’re looking to upgrade your baking tools, this is definitely an item to add to your wish list – it’s one of the most versatile and frequently used small appliances in my kitchen!
3. The Secret to Uniform Cookies: A Cookie Scoop: For years, I struggled with achieving perfectly round, evenly sized cookies, often resorting to two spoons to haphazardly drop dough onto baking sheets. The result was often a mix of oblong cookies in various sizes. The secret to beautifully uniform cookies, as shared by a friend whose cookies always looked impeccable, is a cookie scoop! These handy tools come in various sizes (typically 1/2 tablespoon, 1.5 tablespoon, and 3 tablespoon scoops). For these Almond Kiss Cookies, where precision for the Hershey’s Kiss matters, I use the smallest 1/2 tablespoon scoop. A scoop ensures every cookie bakes at the same rate and looks professionally made, making your cookie platters truly stand out.
Mastering Softened Butter: The Key to Perfect Cookie Texture
Properly softened butter is absolutely essential for cookie success. It allows for better creaming with sugar, which incorporates air into the dough, leading to lighter and more tender cookies. If your butter is too cold, it won’t mix evenly, resulting in a dense, crumbly dough. If it’s too warm or melted, it can separate, leading to greasy, flat, and hard cookies. Here’s my go-to method for achieving perfectly softened butter:
The easiest and quickest way I soften butter is by utilizing the defrost function on my microwave. If you need a full 1/2 cup (one stick) of butter, you can leave it in its original paper wrapper. However, if you only need a portion, place the required amount of butter in a glass or porcelain bowl. Set your microwave to its absolute lowest defrost setting. I typically start by letting it run for just 20 seconds. After 20 seconds, check the butter’s softness by gently pressing it with a rubber scraper or your finger. It should yield easily and leave a slight indentation without becoming oily or melted. If it’s still too firm and doesn’t indent easily, return it to the microwave for another 5-10 seconds on the defrost setting. It’s crucial to watch it closely during this stage, as butter can go from perfectly soft to melted very quickly. The goal is pliable, not liquid. This method gives you control and ensures your butter is at the ideal consistency for creaming, setting you up for cookie success!
Almond Kiss Cookie Variations & Substitutions
One of the joys of baking is experimenting with flavors and ingredients. These Almond Kiss Cookies are wonderfully versatile and can be adapted to your preferences:
- Kiss Variations: While Hershey’s Kisses with almonds are recommended for an intensified almond experience, feel free to use other varieties! Milk chocolate, dark chocolate, Hugs (white chocolate), or even seasonal flavors can add a fun twist.
- Extract Experiments: If almond isn’t your favorite, or you want to try something new, vanilla extract is a classic substitution. You could also try a combination of almond and vanilla, or even a hint of lemon or orange extract for a citrusy note that pairs well with raspberry.
- Glaze Alternatives: The raspberry glaze is a fantastic complement, but you can easily change it up. A simple almond glaze (powdered sugar, milk, almond extract) would reinforce the main flavor. A lemon glaze would add a bright contrast. You could also skip the glaze entirely for a simpler cookie, or dust with powdered sugar for an elegant finish. For chocolate lovers, a light drizzle of melted semi-sweet or white chocolate would also be divine.
- Adding Texture: For extra crunch, you could mix finely chopped almonds into the cookie dough itself, or sprinkle them on top of the glaze while it’s still wet.
- Holiday Themes: For festive occasions, consider adding a drop of food coloring to the glaze (e.g., green for Christmas, red for Valentine’s Day) or using holiday-themed sprinkles before the glaze sets.
Storing Your Delicious Almond Kiss Cookies
Once baked, these Almond Kiss Cookies store beautifully, allowing you to enjoy them for days or even prepare them ahead of time for events.
- At Room Temperature: Store cooled cookies in an airtight container at room temperature for up to 5-7 days. To maintain their freshness and prevent them from sticking together (especially with the glaze), you can place a piece of parchment paper between layers.
- Freezing Baked Cookies: For longer storage, you can freeze baked and cooled cookies. Place them in a single layer on a baking sheet and flash freeze until solid (about 1-2 hours). Once frozen, transfer them to a freezer-safe airtight container or heavy-duty freezer bag, again separating layers with parchment paper. They can be stored for up to 2-3 months. Thaw at room temperature before serving.
- Freezing Cookie Dough: You can also prepare the dough in advance and freeze it. Roll the dough balls as directed, then arrange them on a baking sheet and flash freeze until solid. Transfer the frozen dough balls to a freezer-safe bag. When ready to bake, you can bake them from frozen (they might need an extra minute or two in the oven) or let them thaw slightly in the refrigerator first.
- Storing Glaze: If you have leftover glaze, store it in an airtight container in the refrigerator for up to a week. You may need to whisk it again or add a tiny bit more milk to reach the desired drizzling consistency before using.
Frequently Asked Questions (FAQs) About Almond Kiss Cookies
Here are answers to some common questions about making these delightful cookies:
Q: Why do I need to chill the cookie dough?
A: Chilling the dough is an important step that helps prevent the cookies from spreading too much during baking, ensuring they maintain a nice, thicker shape. It also allows the butter to firm up and the flavors to deepen, resulting in a more flavorful and perfectly textured cookie.
Q: Can I use vanilla extract instead of almond extract?
A: Yes, you can substitute vanilla extract for almond extract if you prefer. However, the cookies will then be “Vanilla Kiss Cookies” and will have a different flavor profile. For true Almond Kiss Cookies, the almond extract is key!
Q: What if I don’t have brown sugar?
A: While brown sugar adds moisture and a distinct flavor, you can substitute it with an equal amount of granulated sugar if absolutely necessary. The cookies might be a bit crispier and less chewy. You can also make your own brown sugar by adding 1 tablespoon of molasses to 1 cup of granulated sugar and mixing well.
Q: How can I tell when the cookies are done baking?
A: The cookies are done when their edges are lightly golden brown. The centers may still look a bit soft, but they will set as they cool. Overbaking can lead to dry, hard cookies.
Q: My Hershey’s Kisses melted completely. What happened?
A: This usually happens if the cookies were too hot when the Kisses were pressed in, or if the Kisses themselves were too warm. Ensure you press the Kisses in immediately after removing the cookies from the oven, but don’t let the cookies sit too long on the hot sheet. Also, ensure your Kisses are unwrapped and kept in a cool place until ready to use.
Q: Can I make these cookies ahead of time for a party?
A: Absolutely! Both the cookie dough and the baked cookies can be made ahead and stored as described in the “Storing Your Delicious Almond Kiss Cookies” section. You can bake them a day or two before an event, or freeze them for longer prep. Glazing them closer to serving time will keep the glaze fresh and vibrant.
Explore More Cookie Delights
If you loved these Almond Kiss Cookies, be sure to check out some of our other fantastic cookie recipes:
- CAKE MIX PEANUT BUTTER BLOSSOMS
- BEST BROWNIE COOKIES
- BAKERY STYLE CHOCOLATE CHIP COOKIES
- CREAM CHEESE SUGAR COOKIES
- VANILLA CREAM COOKIES
- COOKIES AND CREAM COOKIES
- DOUBLE CHOCOLATE THUMBPRINTS
- BLUEBERRY SUGAR COOKIES
- CHERRY PIE COOKIES
- RASPBERRY MELTAWAY COOKIES
- LEMON OATMEAL COOKIES
- OATMEAL CHOCOLATE CHIP COOKIES
- BEST NO BAKE COOKIES


Speaking of delightful adventures and cherished memories, I stumbled upon this picture on my phone today, and it instantly transported me back to our incredible trip to Kauai a couple of months ago. It truly was an amazing getaway. One of the standout experiences was this fantastic kayak trip we embarked on. We spent a good 3-4 hours paddling, and I was so incredibly proud of the endurance and positive attitudes displayed by all my kids! The scenery was absolutely breathtaking, and we especially loved spotting numerous turtles swimming gracefully along the river. These two, in particular, were having an absolute blast sharing a kayak – I just adore these girls!

