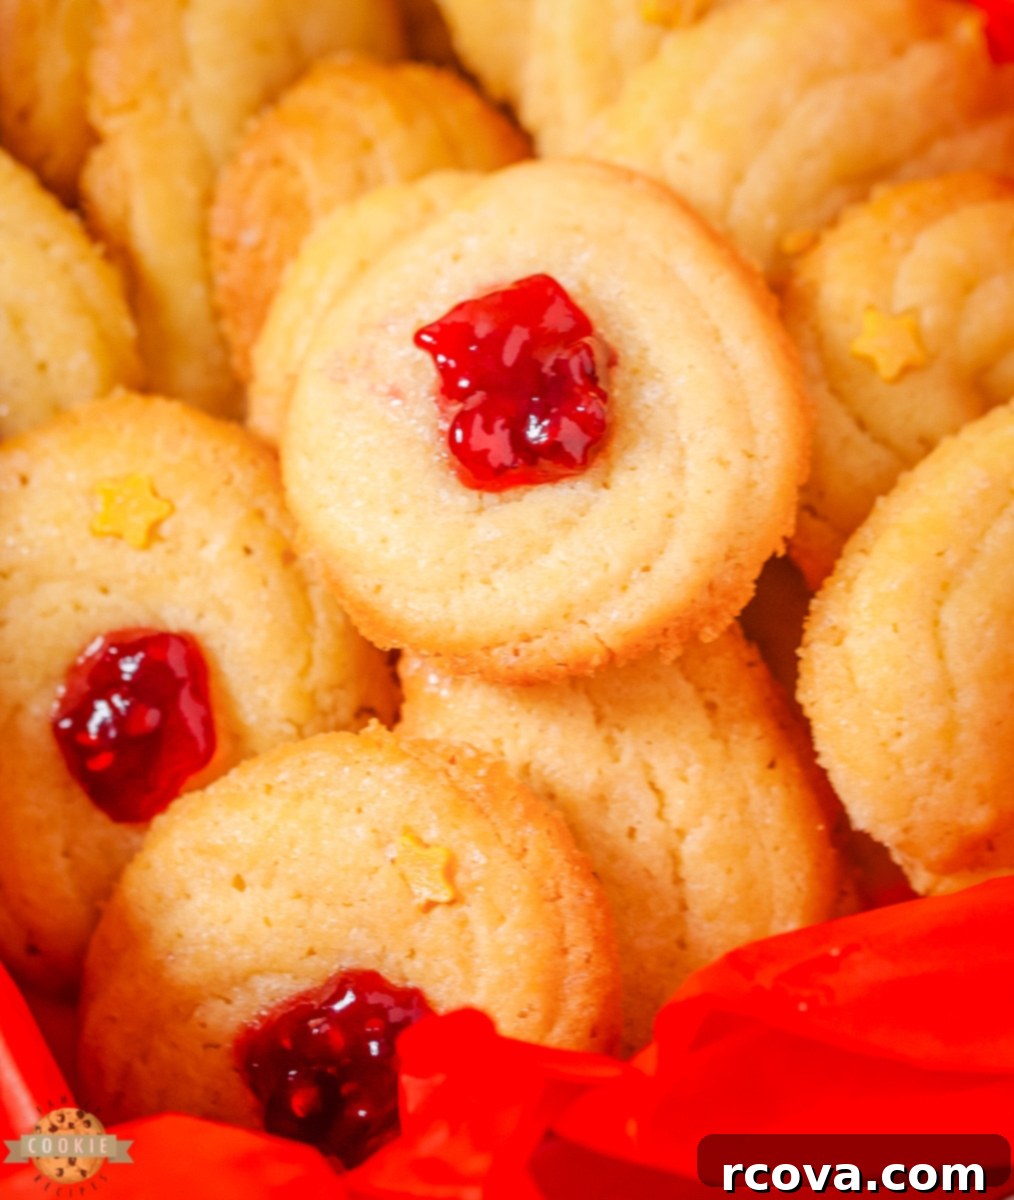
Authentic Danish Butter Cookies: The Ultimate Homemade Recipe for the Iconic Blue Tin Treats
There’s something truly magical about Danish Butter Cookies. These crisp, buttery delights, made simply with butter, flour, sugar, eggs, and vanilla, evoke a sense of warmth, nostalgia, and festive cheer. They are not just cookies; they are a timeless tradition, especially beloved during the holiday season for gift-giving and sharing with friends and neighbors.
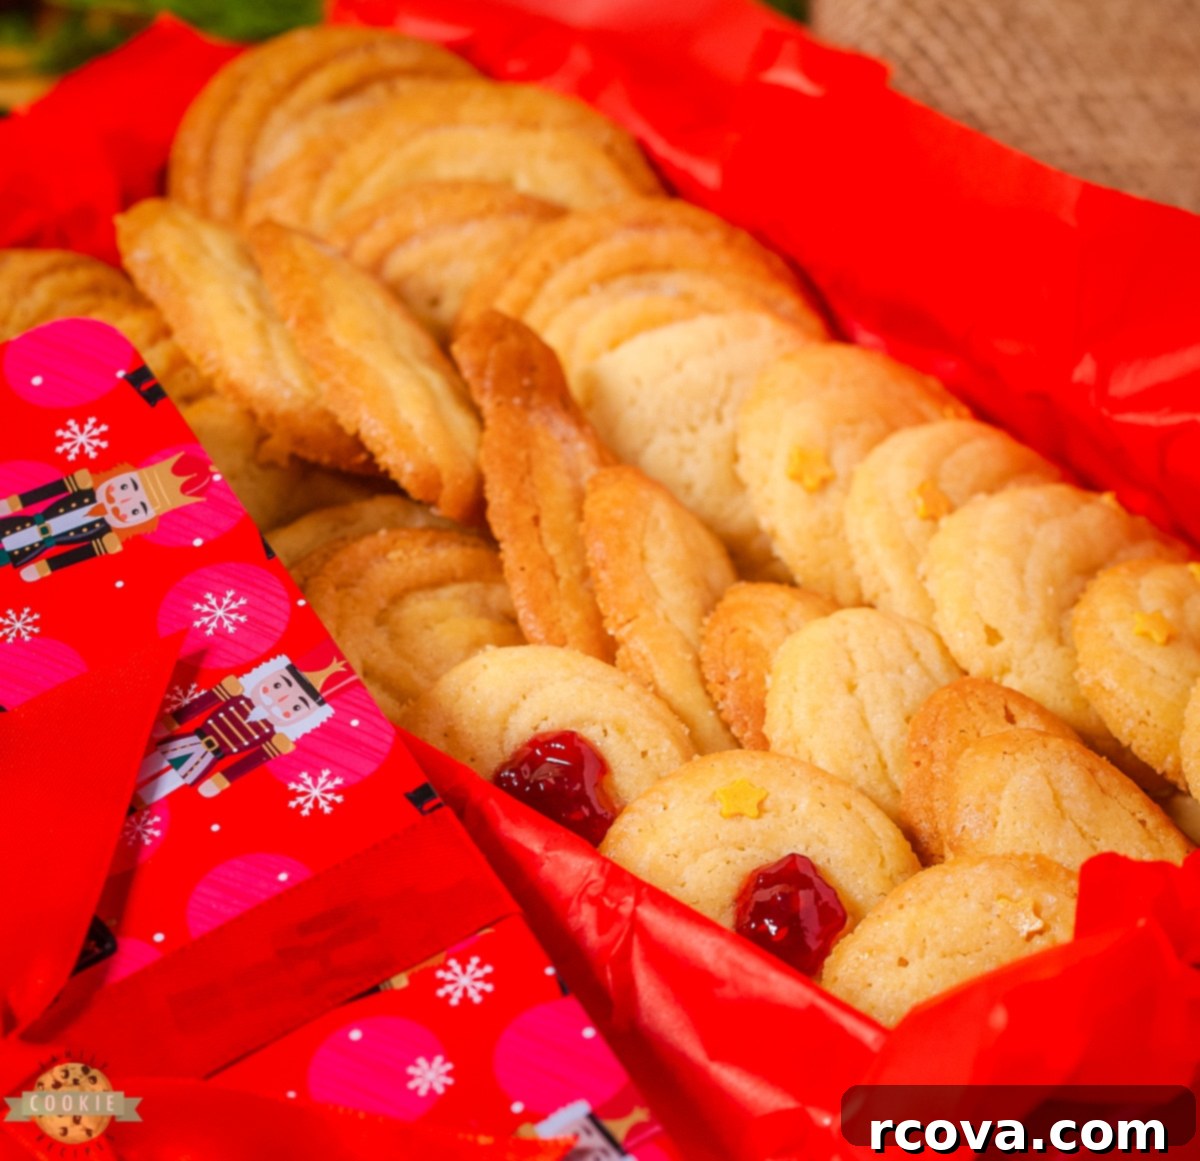
For many, the mention of Danish butter cookies immediately brings to mind the famous blue round tin box – the one that, after the last cookie is savored, mysteriously transforms into the mandatory sewing kit in countless households worldwide. Brands like Royal Dansk butter cookies have set a high standard, known for their incredibly soft, buttery texture and exquisite vanilla taste, making them the ultimate vanilla cookie treat, particularly at Christmas. Their delicate crunch and melt-in-your-mouth quality are simply irresistible.
Today, we’re sharing a meticulously researched, tried-and-true recipe that allows you to recreate these cherished blue tin cookies right in your own kitchen. Imagine the aroma of freshly baked butter cookies filling your home, far surpassing anything store-bought. These homemade Danish butter cookies are perfect for holiday gatherings, a delightful treat for unexpected guests, and unquestionably delicious gifts for your loved ones. There’s an undeniable satisfaction in crafting these beautiful, flavorful cookies from scratch.
What Exactly Are Danish Butter Cookies?
Danish butter cookies are a quintessential European delicacy, originating from Denmark. These delightful treats are renowned for their straightforward composition, utilizing very simple, high-quality ingredients, with a particular emphasis on a generous amount of butter and sugar. This ingredient ratio is precisely what gives them their distinctively sweet, rich butter flavor and delicate texture.
Characterized by a slight crispness on the outside and a wonderfully tender, almost crumbly interior, these cookies offer a delightful textural contrast. While vanilla is the most classic and popular flavoring, variations sometimes incorporate coconut or chocolate. For this recipe, we’ll focus on mastering the basic, beloved vanilla-flavored version that forms the foundation of all authentic Danish butter cookies.
One of the charming aspects of Danish butter cookies is their variety of shapes. From simple rounds and intricate pretzel-like designs to elegant rings and elaborate rosettes, each shape offers a slightly different eating experience, yet all are equally delicious and recognizable. Piping the dough into these different forms is part of the fun and tradition of making these iconic cookies.
Essential Ingredients for Perfect Danish Butter Cookies
Creating these exquisite butter cookies at home requires just a few basic ingredients, but the quality and proper handling of each are paramount to achieving that authentic taste and texture. Here’s a detailed look at what you’ll need and why:
Butter: The Star Ingredient
You will need 1 cup of unsalted butter, ideally at room temperature. This is equivalent to two standard sticks. Using unsalted butter allows you to control the salt content in your cookies. Room temperature butter is crucial for proper creaming with sugar, ensuring a light, fluffy, and evenly mixed dough. If your butter is too cold, it won’t cream properly, leading to dense cookies. If it’s too warm (melted), the cookies might spread excessively.
All-Purpose Flour: The Foundation
For the base of the dough, use 1 cup of all-purpose flour (approximately 225 grams). Measuring flour accurately is key. Too much flour can make your cookies dry and tough, while too little can make them too soft and prone to spreading. Sifting your flour can also help ensure a lighter dough and prevent lumps.
White Granulated Sugar: For Sweetness and Crispness
To achieve that signature sweet taste, you’ll incorporate ½ cup of white granulated sugar (about 115 grams) into the dough. This sugar not only sweetens the cookies but also contributes to their crisp texture and golden-brown edges. Additionally, you’ll want some extra granulated or vanilla sugar for sprinkling on top of the cookies before baking, adding a delightful crunch and visual appeal.
Eggs: Binding and Richness
Just 1 large egg is needed to help bind the dough together, providing structure and contributing to a richer, more tender taste. Like butter, it’s best if the egg is at room temperature to ensure it emulsifies smoothly with the other ingredients, resulting in a cohesive and well-blended dough.
Vanilla Extract: The Iconic Flavor
A teaspoon of quality vanilla extract is indispensable for these cookies. Vanilla is the cornerstone of the Danish butter cookie flavor profile, imparting that incredible, universally loved aroma and taste. Don’t skimp on a good quality vanilla for the best results.
Salt: Flavor Enhancer
A modest ½ teaspoon of salt is added to enhance and balance the flavors in the cookies. Salt doesn’t just make things salty; it brightens the sweetness and brings out the depth of the butter and vanilla, preventing the cookies from tasting bland.
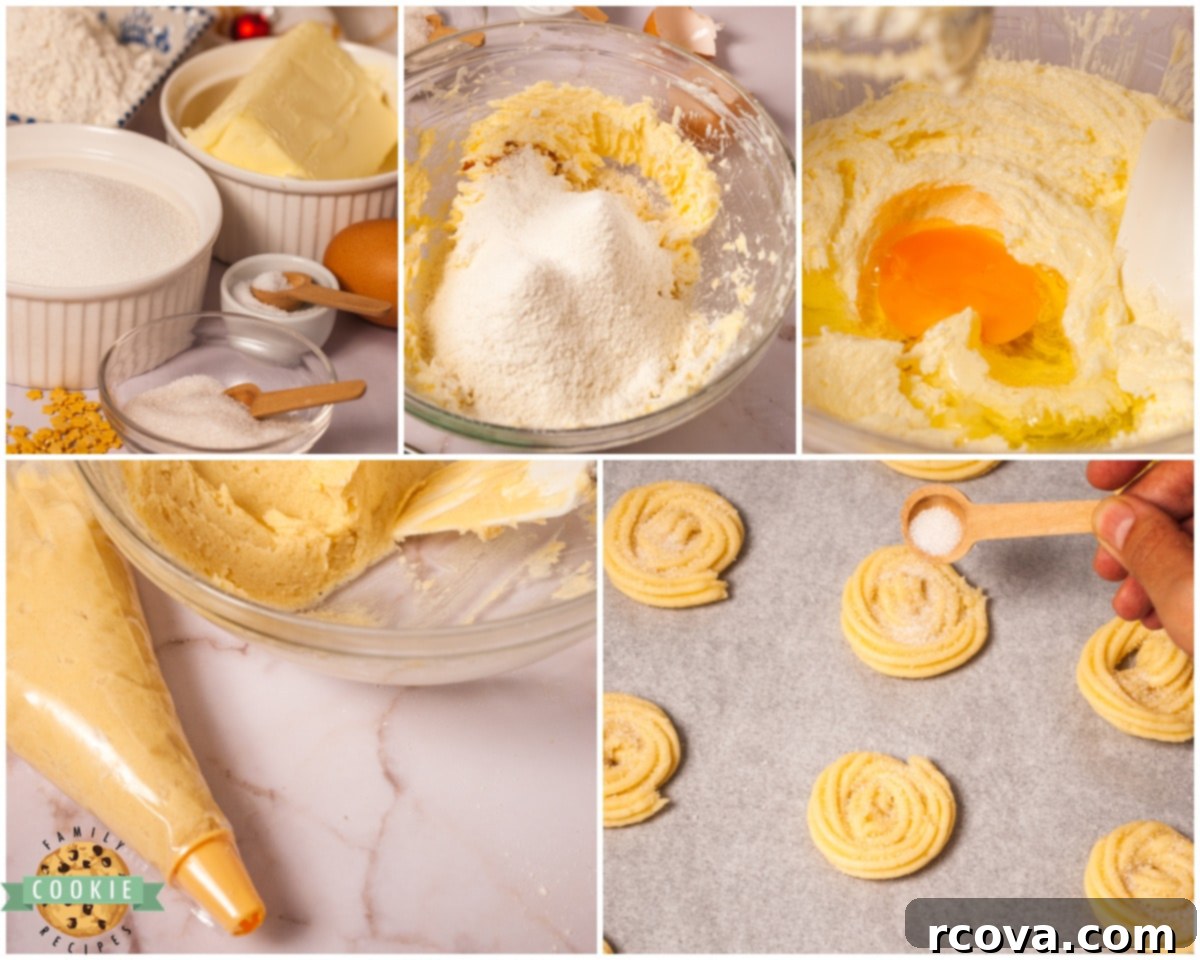
How to Make Danish Butter Cookies: Step-by-Step Guide
HOMEMADE DANISH BUTTER COOKIES RECIPE
Print
Pin
Rate
Ingredients
- 1 cup all-purpose flour (225 gr, sifted)
- 1 cup unsalted butter, room temperature (225 gr, two sticks)
- ½ cup white granulated sugar (115 gr, plus extra for sprinkling)
- 1 large egg (at room temperature)
- 1 teaspoon pure vanilla extract
- ½ teaspoon fine sea salt
- Optional: Vanilla sugar, coarse sugar, or star sprinkles for garnish.
Instructions
-
To ensure the best texture and smooth mixing, remember to take your butter and egg out of the refrigerator approximately 30 minutes before you begin preparing the cookies. They need to reach room temperature.
-
Preheat your oven to 350°F (175°C). This ensures the oven is at the correct temperature for even baking.
-
In a large mixing bowl, combine the softened, room-temperature butter with the granulated sugar. Using an electric mixer, beat these ingredients together until the mixture becomes light, fluffy, and significantly lighter in color. This creaming process incorporates air, which is vital for the cookies’ delicate texture.
-
Once the butter and sugar are perfectly creamed, add the room temperature egg, salt, and pure vanilla extract to the bowl. Continue mixing with your electric mixer until all these ingredients are thoroughly combined and the mixture is smooth.
-
Gradually add the all-purpose flour to the wet ingredients. It is highly recommended to sieve the flour through a fine mesh colander as you add it. This step helps to prevent any lumps from forming in the dough and ensures a smooth, uniform consistency. After each addition of flour, gently mix it in with a spatula, making sure to scrape down the sides of the bowl. Continue until all the flour is fully incorporated and the dough is soft and slightly sticky, but not too wet.
-
Carefully transfer the prepared cookie dough into a sturdy piping bag fitted with your desired star tip. A large open star tip is ideal for creating traditional Danish butter cookie shapes.
-
Prepare your baking tray by lining it with parchment paper. To prevent the parchment paper from sliding around while you’re piping the cookies, place a tiny dab of cookie dough in each corner of the baking tray before laying the paper over it. This will securely anchor the parchment to the tray.
-
Begin piping the cookie dough onto the prepared baking sheet. You can create various classic shapes such as elegant circles, beautiful rosettes, or neat rectangles. Aim to make all your cookies roughly the same size, around 2 inches in diameter, to ensure they bake evenly and consistently.
-
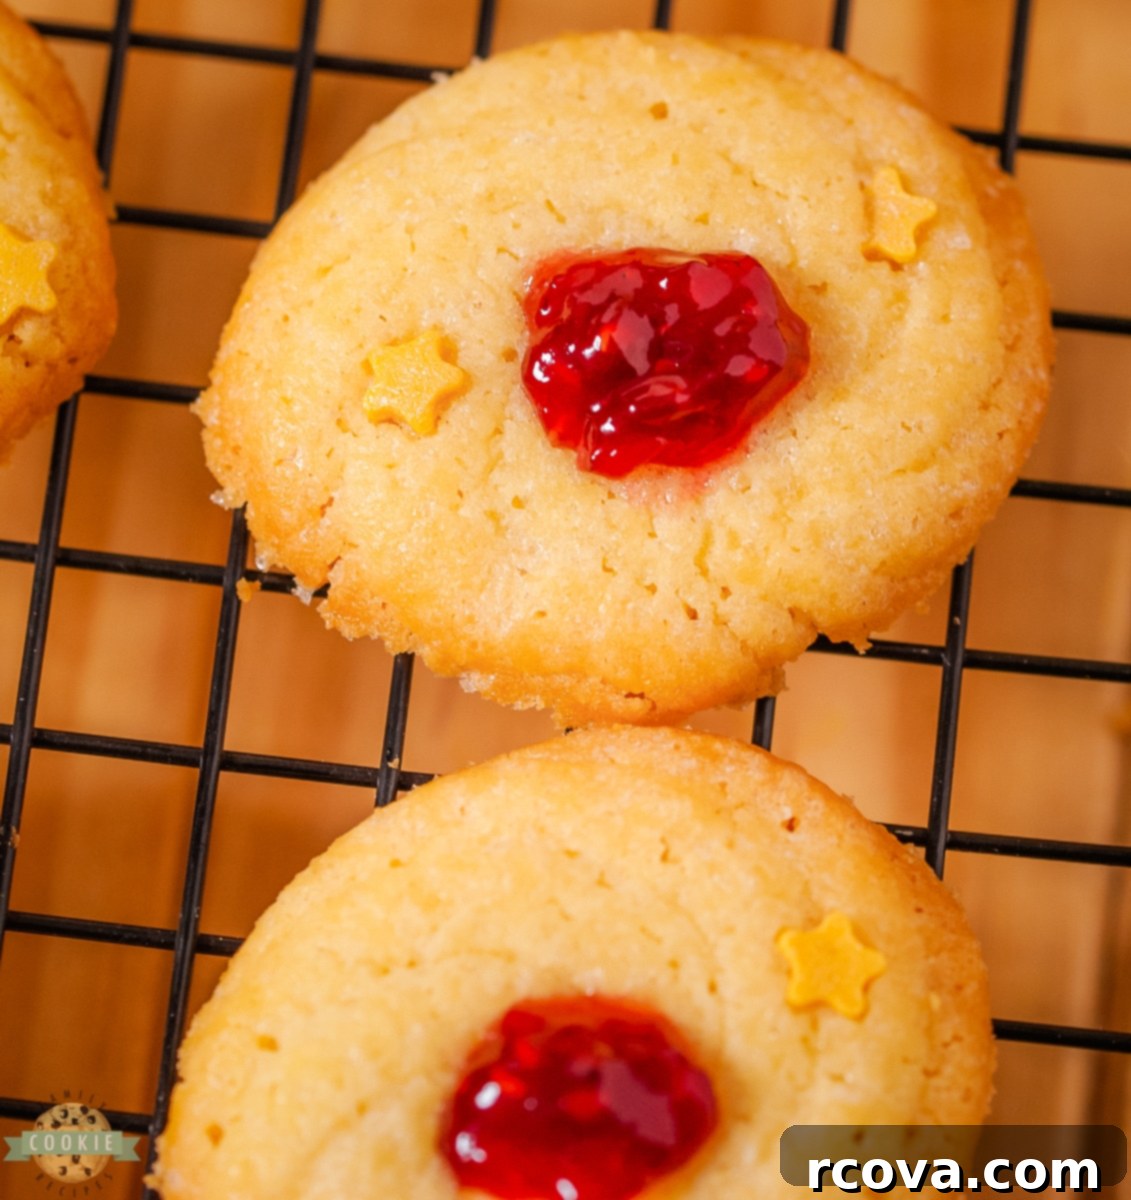
For an extra touch of sweetness and sparkle, lightly sprinkle your piped cookies with vanilla sugar, coarse granulated sugar, or decorative sprinkles.
-
Bake the cookies in your preheated oven for approximately 12 minutes, or until their edges turn a beautiful light golden brown. Once baked, remove them from the oven and let them cool completely on the baking sheet before transferring or storing them. Enjoy your perfectly crisp and tender homemade Danish Butter Cookies!
Notes
Nutrition
Beyond the Recipe Card: Mastering Your Danish Butter Cookies
While the recipe above provides clear instructions, here are a few extra tips and tricks to ensure your homemade Danish butter cookies are nothing short of perfection:
Tips for Success: Achieving Bakery-Quality Cookies
- Room Temperature Ingredients Are a Must: We’ve stressed this, but it bears repeating. Cold butter and eggs lead to a lumpy batter and can affect the final texture of your cookies, making them less tender and more prone to spreading unevenly. Plan ahead!
- Creaming Butter and Sugar Properly: This step is vital for incorporating air into the dough. Beat until the mixture is truly pale and fluffy. This process can take 3-5 minutes with an electric mixer, so don’t rush it. This aeration contributes to the light and crisp texture.
- Sift Your Flour: Sifting removes any lumps and helps to aerate the flour, making it easier to incorporate into the wet ingredients without overmixing. Overmixing can develop the gluten in the flour, leading to tougher cookies.
- Don’t Overmix the Dough: Once the flour is added, mix only until just combined. Overmixing can result in a dense, chewy cookie rather than the desired light and crisp texture.
- Piping Perfection: If you’re new to piping, practice on a piece of parchment paper without any dough first. A steady hand and consistent pressure are key to uniform shapes. A large star tip (like a Wilton 1M or 2D) is excellent for traditional designs. Don’t worry if your first few aren’t perfect; they’ll still taste amazing!
- Even Baking is Key: Arrange cookies on the baking sheet with enough space between them for air circulation and to prevent them from merging if they spread slightly. If baking multiple trays, rotate them halfway through to ensure even browning.
- Cool Completely: Allow the cookies to cool fully on the baking sheet before moving them. This allows them to firm up and prevents breakage. Warm cookies are also more susceptible to getting soggy if stored immediately.
How Long Are Danish Butter Cookies Good For?
One of the best qualities of Danish butter cookies is their excellent shelf life, making them perfect for preparing ahead of time or for sending as gifts. When stored properly, these delicious cookies will maintain their crispness and flavor for an extended period.
Shelf Life and Storage Tips
These cookies will last for up to 5 days if they are kept in an airtight container at room temperature. The airtight seal is crucial to prevent them from going stale or absorbing moisture from the air, which can make them soft. While you can store them in the fridge if desired, their shelf life remains approximately the same; the main difference will be a chilled cookie, which some people prefer!
Freezing for Longer Enjoyment
Danish butter cookies are also fantastic for freezing, extending their deliciousness for up to 2 months. To freeze, simply place the cooled cookies in a single layer on a baking sheet and freeze until solid. Once frozen, transfer them to a freezer-safe airtight container or a heavy-duty freezer bag, separating layers with parchment paper to prevent sticking. When you’re ready to enjoy them, simply thaw at room temperature. You can even freeze the unbaked dough in the piping bag (sealed tightly) or in a log, then slice and bake as needed.
Fun Variation Ideas for Your Danish Butter Cookies
While the classic vanilla Danish butter cookie is perfect on its own, there are many ways to get creative and add your own twist to these delightful treats. Here are some fun variations to try:
Chocolate-Dipped Delights
Once your cookies have completely cooled, you can dip them in melted chocolate. Use milk, white, or dark chocolate, depending on your preference. Melt the chocolate gently, dip half of each cookie, and then place them on parchment paper to set. A sprinkle of sea salt on the chocolate before it sets can add a sophisticated touch.
Jazzed Up with Jam
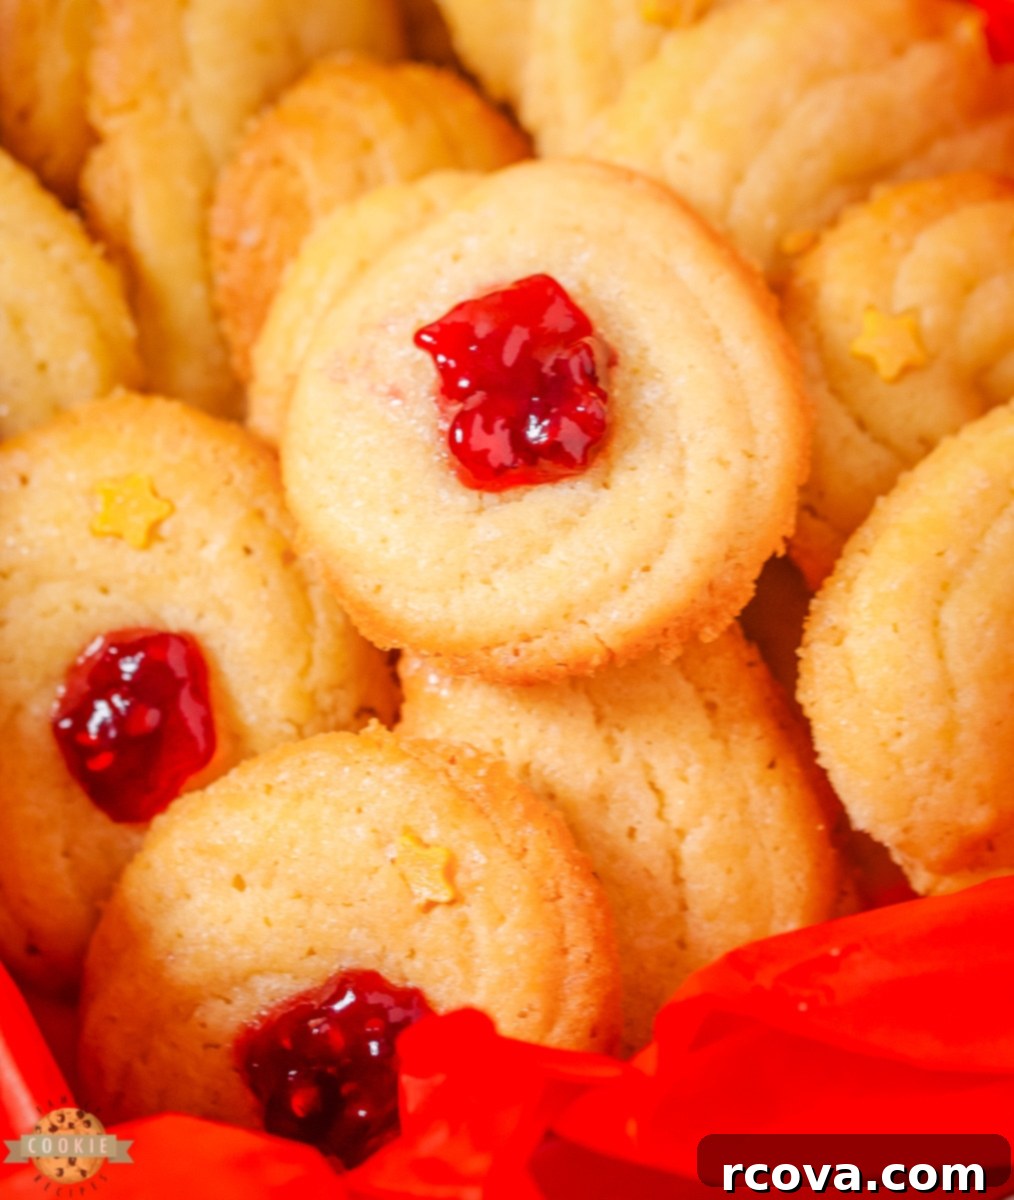
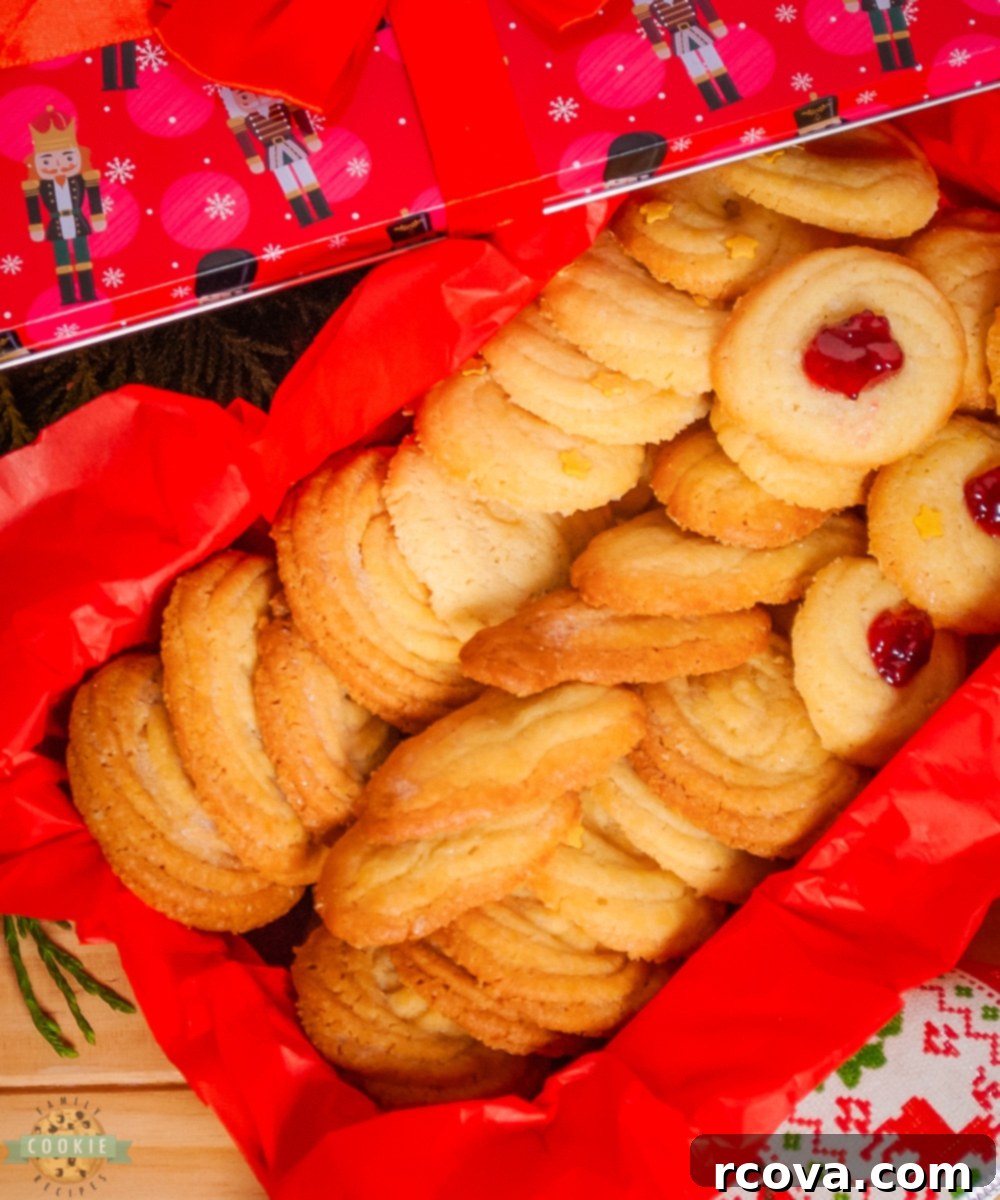
For a traditional “thumbprint” or “rose” cookie look, add a dollop of raspberry, apricot, or strawberry jam to the center of your piped cookies after they come out of the oven. It’s important to add the jam post-baking; otherwise, the jam will spread and possibly burn, creating a sticky mess on your baking sheet. The warmth of the freshly baked cookie will gently set the jam.
Citrus Zest or Almond Flavor
For a brighter flavor, add 1-2 teaspoons of finely grated lemon or orange zest to your cookie dough along with the vanilla extract. For a more sophisticated taste, replace half or all of the vanilla extract with almond extract. This gives the cookies a distinct nutty aroma and flavor.
Spiced Wonders
Infuse your cookies with warm spices! A pinch of ground cardamom, cinnamon, or even a touch of nutmeg can add an inviting warmth, perfect for the autumn and winter months.
Creative Toppings
Beyond vanilla sugar and sprinkles, consider other toppings like finely chopped nuts (almonds or pecans), coconut flakes, or a simple drizzle of royal icing once cooled. A touch of edible glitter can also make them extra festive.
Frequently Asked Questions (FAQ) About Danish Butter Cookies
Can I make the Danish butter cookie dough ahead of time?
Absolutely! This is a fantastic make-ahead dough. You can prepare the dough, then cover it tightly and refrigerate it for up to 3-4 days. When ready to bake, let it sit at room temperature for about 15-20 minutes to soften slightly before piping, as it will be quite firm when cold.
Why are my Danish butter cookies spreading too much in the oven?
Several factors can cause excessive spreading:
- Butter too soft/warm: If your butter was too warm when you started, the dough might have too much liquid content.
- Oven temperature: An oven that isn’t hot enough can cause cookies to spread before they set. Ensure your oven is preheated to the correct temperature. An oven thermometer can be very helpful.
- Dough consistency: If your dough feels too soft or sticky, try adding a tablespoon or two more flour.
- Not chilling the dough: While this recipe doesn’t explicitly call for chilling, if you’re having trouble with spreading, a quick 15-20 minute chill of the piped cookies on the baking sheet before baking can help them hold their shape.
Can I roll and cut the dough instead of piping?
While traditional Danish butter cookies are often piped, you can certainly roll and cut the dough. Chill the dough for at least 30 minutes, then roll it out to about ¼-inch thickness on a lightly floured surface. Use your favorite cookie cutters. Be aware that the texture might be slightly different from piped cookies, as rolling can incorporate more flour and affect the dough’s delicate structure.
What kind of piping tip should I use for Danish butter cookies?
For classic Danish butter cookie shapes, a large open star tip (like Wilton 1M, 2D, or Ateco 826) works best. These tips create beautiful ridges and spirals. A round tip can also be used for simple round cookies or rings. Experiment to find your favorite!
Check Out These Other Great Butter Cookie Recipes
If you love the rich, buttery flavor of Danish butter cookies, you’ll definitely want to explore these other fantastic butter cookie variations:
- ESPRESSO BUTTER COOKIES
- PEPPERMINT BUTTER COOKIES
- CHERRY BUTTER COOKIES
- WHITE CHOCOLATE BUTTER COOKIES
There’s truly nothing like the taste of homemade Danish butter cookies. Incredibly delicious and surprisingly easy to make, they are perfect for the Christmas season, special occasions, or simply enjoying with a cup of tea. These light, crisp cookies, bursting with fabulous vanilla butter flavor, are a treat everyone enjoys. Go ahead, fill your home with their irresistible aroma and savor every buttery bite!

