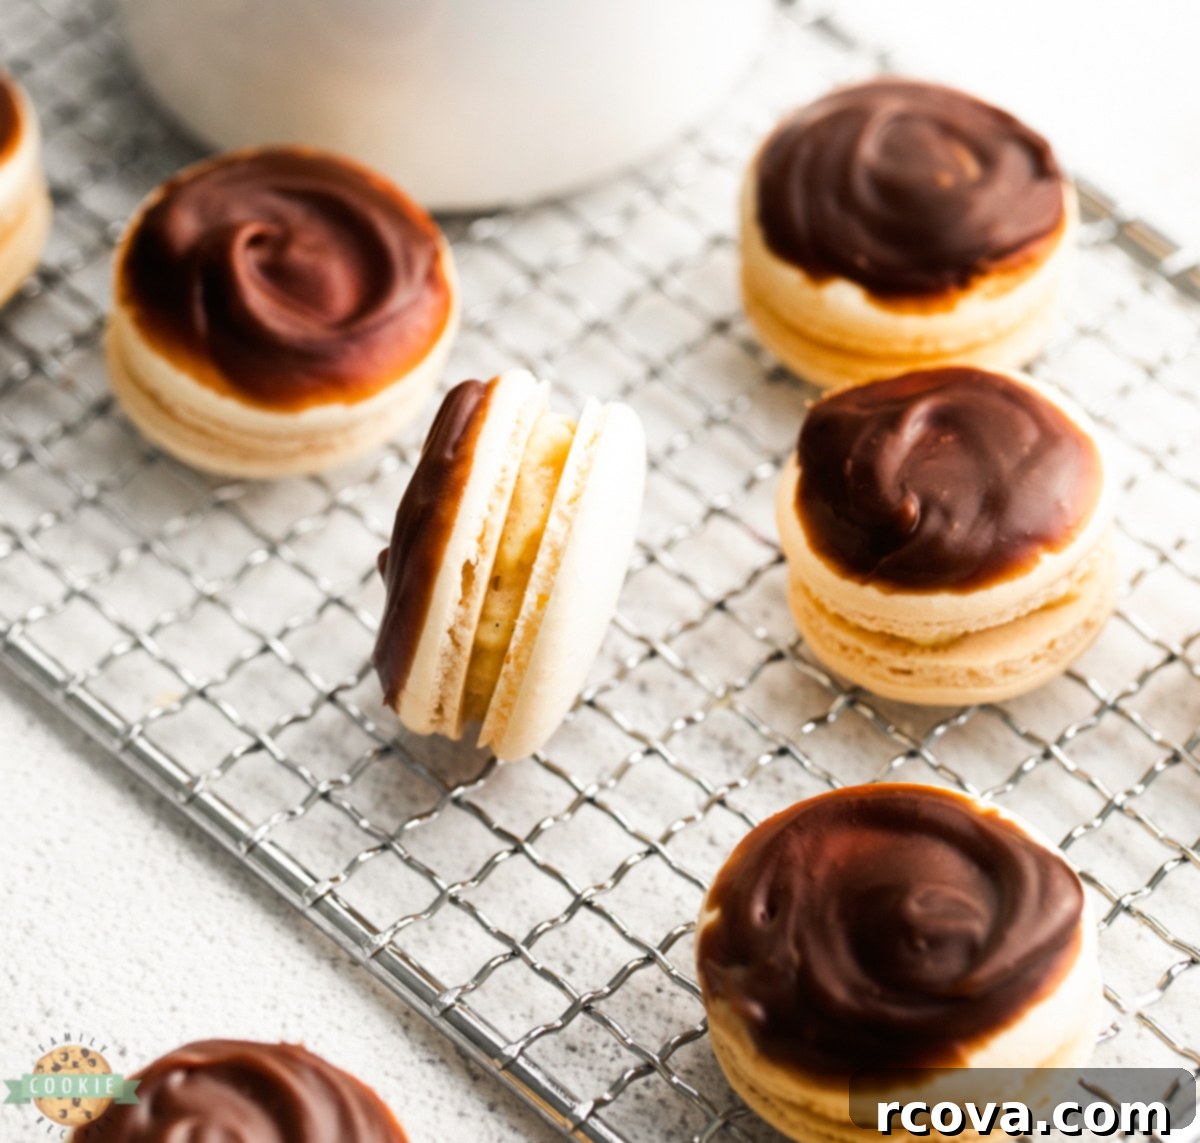
Homemade Boston Cream Pie Macarons: The Ultimate Recipe for a Classic Dessert Mashup
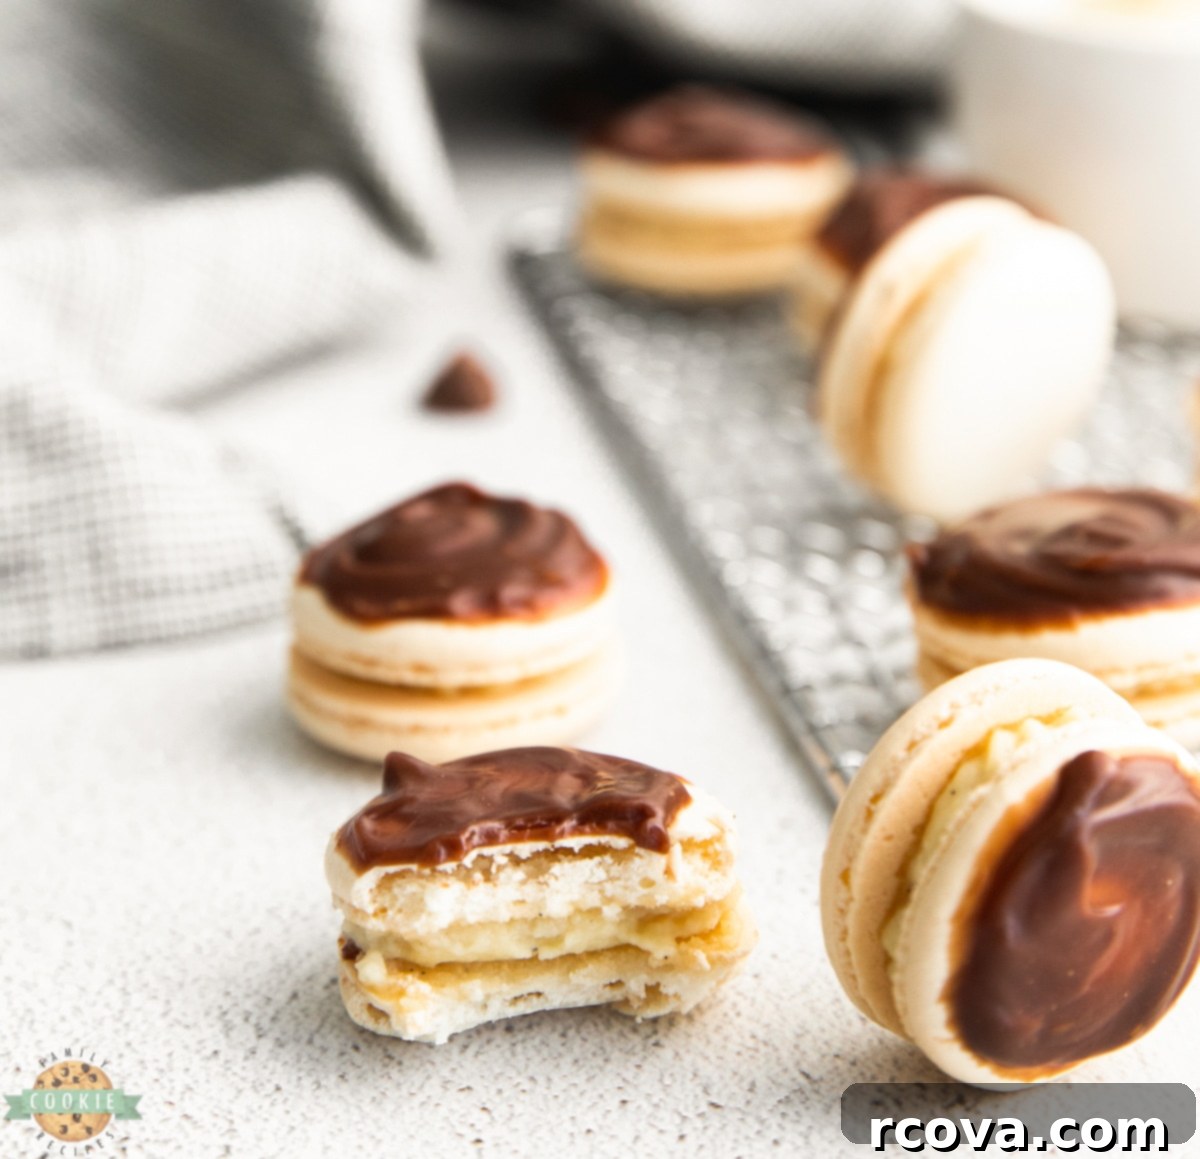
Prepare to fall in love with these exquisite Boston Cream Pie Macarons! This recipe brings together the delicate, chewy texture of French macarons with the iconic flavors of a classic Boston Cream Pie: rich vanilla custard filling and a luscious chocolate ganache topping. These delicate sandwich cookies are not just a dessert; they’re a culinary experience, offering a delightful blend of textures and flavors in every bite. Imagine a perfect macaron shell, crisp on the outside and wonderfully chewy within, embracing a smooth, sweet custard, all crowned with a decadent chocolate glaze. This homemade treat is designed to impress, making it perfect for special occasions, gifts, or simply elevating your everyday dessert menu.
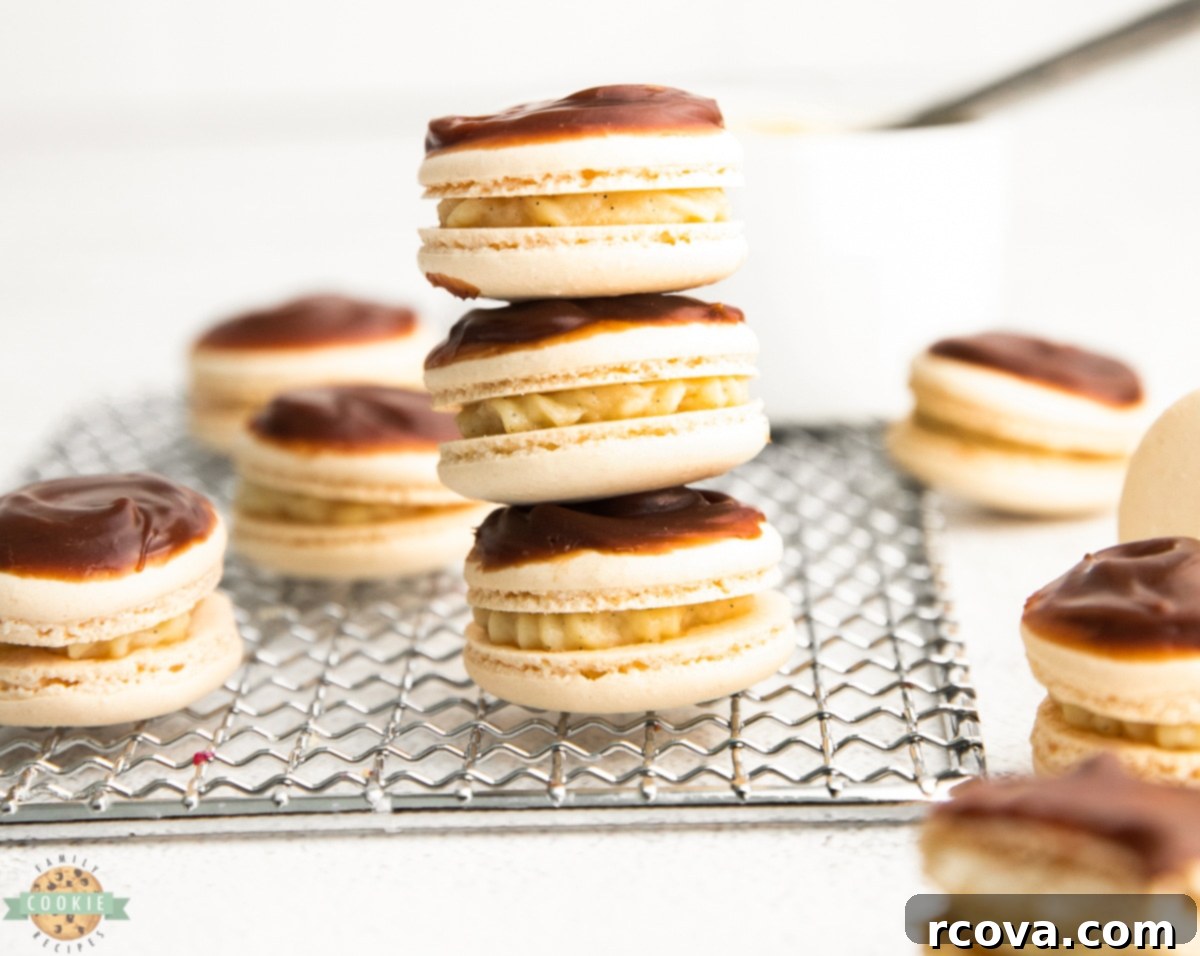
Crafted completely from scratch, these Boston Cream Pie inspired macarons are a testament to homemade goodness. While macarons have a reputation for being challenging, our detailed guide simplifies the process, making it accessible for enthusiastic home bakers. The result is a truly impressive confection that tastes as incredible as it looks. You’ll find yourself reaching for another one, and perhaps considering whether to share these delightful creamy cookies, or keep them all to yourself!
What Exactly Are Macarons?
Macarons are a sophisticated French confection, best described as delicate sandwich cookies. They are distinguished by their signature almond flour-based shells, which are light, slightly crisp on the exterior, and wonderfully chewy on the inside. The key to their unique texture lies in the careful preparation of the meringue (a mixture of egg whites and sugar) and finely ground almond flour. Once baked, these beautiful shells develop a distinctive ruffled “foot” at their base. The shells are then traditionally paired and filled with a variety of delicious fillings, ranging from smooth ganaches and rich buttercreams to tangy jams and, in our case today, a creamy vanilla custard, elegantly dipped in chocolate ganache to capture the essence of Boston Cream Pie. Macarons are incredibly versatile, available in an array of sizes, vibrant colors, and diverse flavors, making them a joy to both bake and consume. Our Boston Cream Pie version offers that unmistakable classic dessert flavor in every perfectly crafted bite.
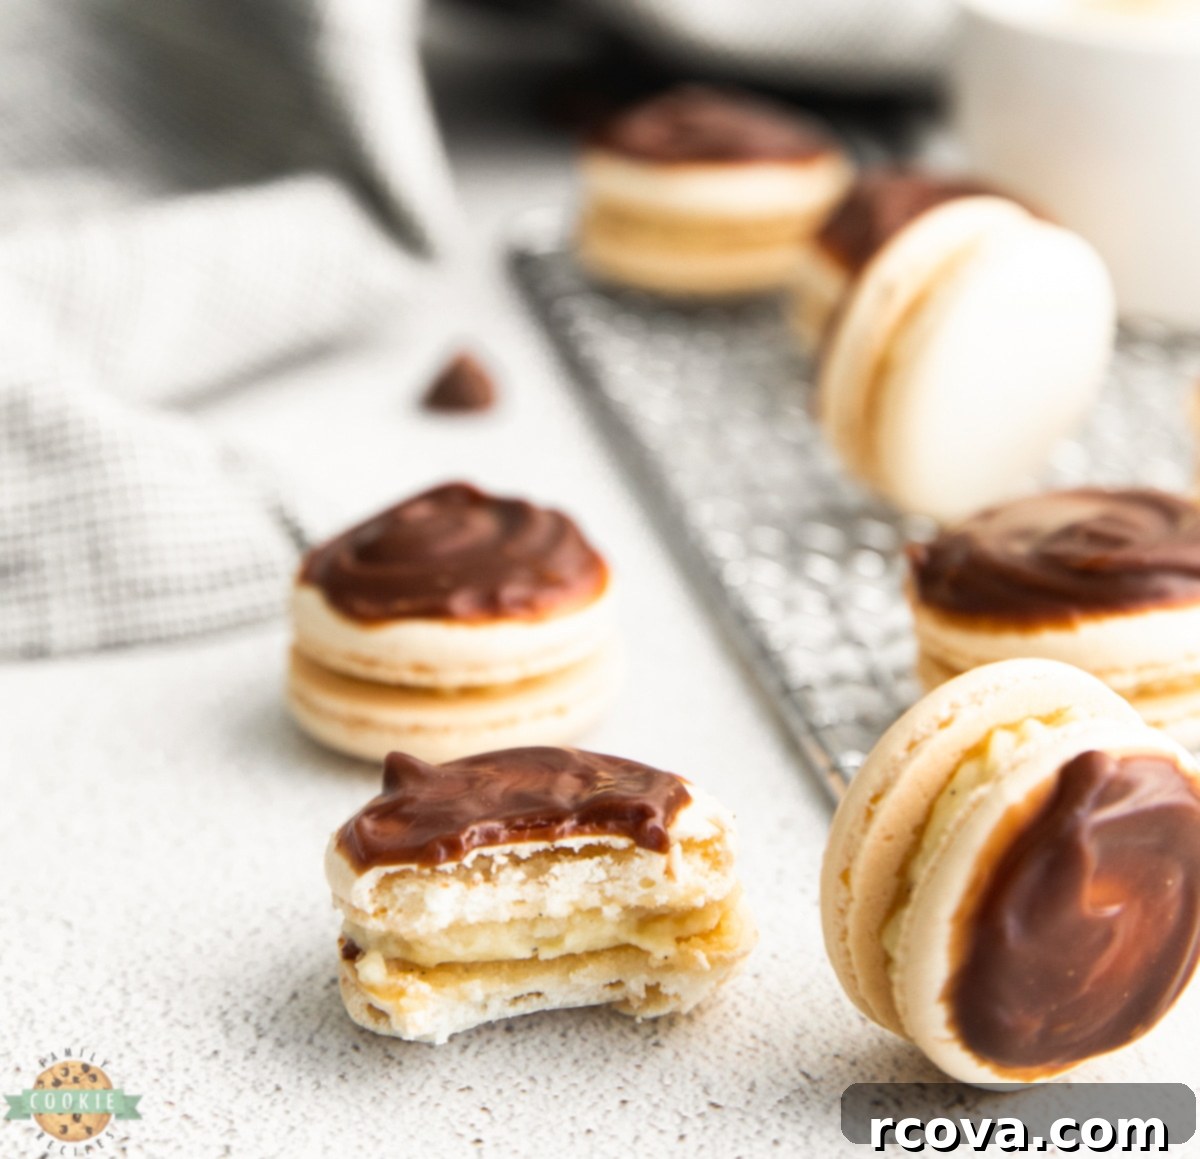
Essential Ingredients for Boston Cream Pie Macarons
Creating these delightful Boston Cream Pie Macarons requires a few key components, each playing a crucial role in achieving the perfect flavor and texture. Pay close attention to the quality and measurements of each ingredient for the best results.
For the Macaron Shells
– Large Egg Whites (3): The foundation of any good meringue. Use large egg whites, preferably aged for a day or two at room temperature. This helps them whip up to a stronger, more stable foam, essential for light and airy macaron shells. Make sure there is absolutely no trace of yolk or grease in your bowl.
– Granulated White Sugar (½ cup): This sugar helps stabilize the meringue as it’s whisked into stiff peaks. It contributes to the crispness of the shell and its overall sweetness. Don’t skimp on whisking until it’s fully dissolved.
– Powdered Sugar (1 cup): Also known as confectioners’ sugar, this provides a fine, smooth texture to the macaron shells. It’s crucial to sift it thoroughly with the almond flour to eliminate any lumps, which can cause bumps or imperfections on your macaron tops.
– Almond Flour (1 cup): The star ingredient for macaron texture. Use super-fine blanched almond flour for the smoothest shells and that characteristic chewy interior. Sifting is non-negotiable, even if it claims to be pre-sifted, to remove any larger almond pieces that could compromise the delicate structure.
For the Rich Vanilla Cream Filling
This creamy custard is the heart of our Boston Cream Pie Macarons, offering a luxurious contrast to the crisp shells.
– Granulated Sugar (2 tablespoons): Sweetens the custard to perfection without overpowering the delicate vanilla flavor. It balances the richness of the egg yolks and milk.
– Cornstarch (1 tablespoon): Acts as the primary thickening agent for the custard, ensuring a smooth, stable, and pipeable consistency. It prevents the filling from being too runny and keeps it firmly set within the macaron shells.
– Large Egg Yolks (2): Provides a rich flavor, beautiful yellow hue, and contributes to the custard’s luxurious texture. Make sure to temper them properly to avoid scrambling.
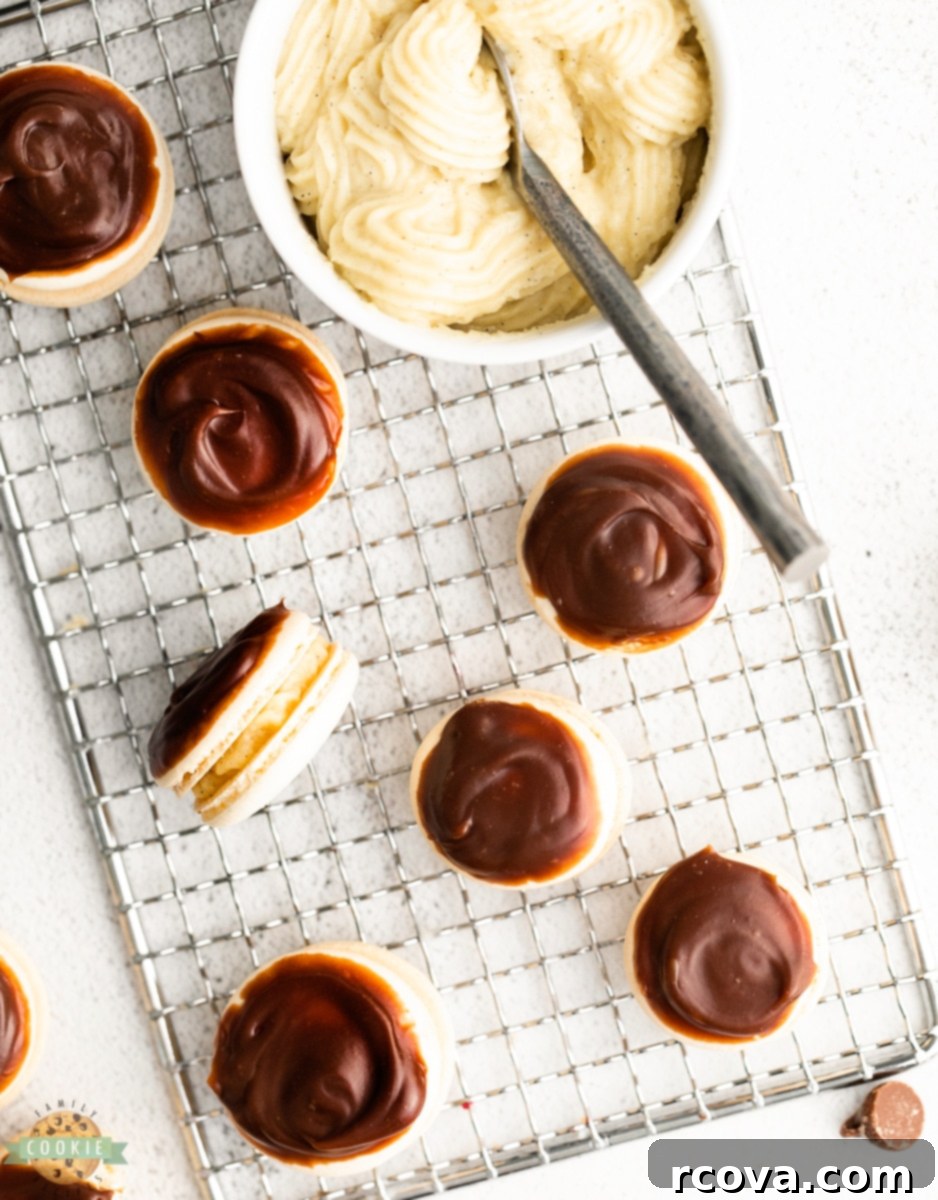
– Whole Milk (½ cup): Forms the liquid base of the custard, providing creaminess and helping to dissolve the sugars and blend other ingredients smoothly. Full-fat milk yields the best, most decadent results.
– Vanilla Bean Paste (2 teaspoons): This is where the exquisite vanilla flavor comes from. Vanilla bean paste offers a more intense and authentic vanilla taste, along with beautiful specks of vanilla bean caviar. If vanilla bean paste isn’t available, you can scrape the caviar from the inside of one vanilla bean pod or use a high-quality vanilla extract. However, the paste or fresh bean will truly elevate the flavor profile.
– Unsalted Butter (1 tablespoon): Added at the end, butter enriches the custard, giving it a silky smooth mouthfeel and a beautiful sheen. It also contributes to the overall stability once cooled.
For the Decadent Chocolate Ganache
The perfect chocolate topping for our Boston Cream Pie inspired treats.
– Chopped Chocolate or Chocolate Chips (4 ounces): Use a good quality semi-sweet or dark chocolate for the best flavor. Chopped chocolate melts more evenly than chips, but high-quality chips will also work well. The chocolate forms the solid base of your ganache.
– Heavy Cream (½ cup): The cream combines with the chocolate to create a smooth, glossy, and rich ganache. The fat content in heavy cream is essential for achieving the right creamy consistency and preventing the chocolate from seizing. The ratio of cream to chocolate here makes for a perfect dipping consistency.
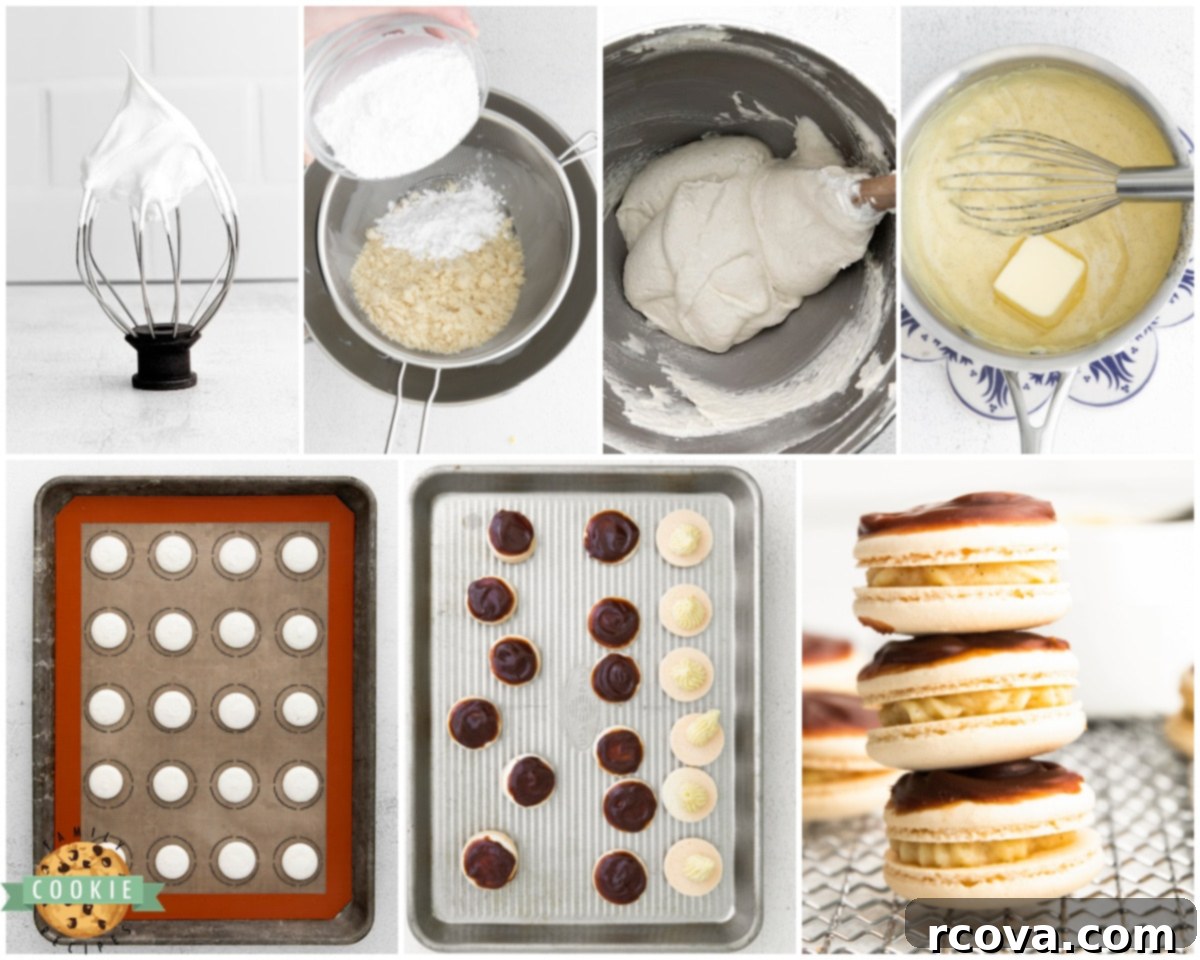
How to Master Homemade Boston Cream Pie Macarons
While making macarons can seem daunting, breaking down the process into manageable steps makes it much easier. Follow these instructions carefully for perfect Boston Cream Pie Macarons every time.
Step-by-Step: Crafting the Macaron Shells
Getting the shells right is the most critical part of macaron making. Precision and patience are your best tools.
- Prepare Your Baking Sheets: Begin by lining two large baking sheets with either parchment paper or high-quality silicone baking mats (Silpat mats). Using a macaron template placed under the parchment or directly on the mat can help achieve consistent sizes.
- Create the Swiss Meringue: Set up a double boiler by heating a pot of water over medium-low heat, ensuring it’s simmering but not boiling vigorously. Place a heatproof bowl (stainless steel or glass works best) over the pot, making sure the bottom of the bowl does not touch the water. Add the egg whites and granulated sugar to this bowl. Whisk continuously and gently until the sugar has completely dissolved and the mixture reaches about 110-115°F (43-46°C). This usually takes about 2-3 minutes. Rub a small amount between your fingers to check for any grittiness.
- Whip the Meringue: Carefully transfer the warm egg white mixture to the clean bowl of a stand mixer fitted with a whisk attachment. Be extremely cautious not to introduce any water or grease into the mixture. Beat the meringue on medium-high speed (around setting #8 on a KitchenAid mixer) for approximately 5-7 minutes. Continue beating until the meringue forms very stiff, glossy peaks. When you lift the whisk, the peak should hold its shape without drooping. This stable meringue is crucial for macaron success.
- Sift Dry Ingredients: While the meringue is whipping, use a fine-mesh sieve to sift together the almond flour and powdered sugar. This step is vital for perfectly smooth macaron tops. Gently tap the sieve to get the fine powders through, discarding any larger clumps of almond that remain – do not force them through.
- Begin Macaronage: Add the sifted almond flour and powdered sugar to the meringue. Using a rubber spatula, begin to gently fold the dry ingredients into the meringue. Use a “J” motion: scoop from the bottom of the bowl, sweep up the side, and then fold it back down.
- Achieve the “Figure 8” Consistency: Continue the folding process, known as “macaronage.” After the initial incorporation, you’ll start gently pressing the batter against the sides of the bowl with your spatula to deflate it slightly, then fold it back into the center. Repeat this “smush and fold” action. The goal is to achieve the correct batter consistency – it should flow off your spatula in a continuous ribbon, allowing you to draw a “figure 8” without the stream breaking. This is a critical stage; under-mixing will lead to lumpy shells, while over-mixing will result in runny batter and no “feet.”
- Pipe the Macarons: Transfer the perfectly prepared meringue batter to a piping bag fitted with a small round tip (a Wilton #10 or #12 works beautifully for 1-inch macarons). Hold the piping bag perpendicular to your baking mat and pipe 1-inch circles. Ensure you leave at least 2 inches of space between each macaron to prevent them from merging as they spread slightly. Continue until both baking sheets are filled.
- Release Air Bubbles: This step is crucial for smooth tops and preventing cracks. Hold each baking sheet about 6-8 inches above your counter and firmly drop it down. Repeat this 4-5 times. This action forces trapped air bubbles to rise to the surface and pop. For any stubborn bubbles, use a toothpick to gently pop them.
- Allow to Rest (Develop a Skin): Set the trays on the counter in a dry, room-temperature environment. Allow the piped macarons to rest for approximately 25-60 minutes. The resting time can vary depending on humidity. They are ready to bake when you can gently touch the top of a shell and it feels dry and non-sticky, having formed a slight “skin.” This skin is essential for the “feet” to develop.
- Preheat Oven & Bake: While the macarons are resting, preheat your oven to 325°F (160°C). Bake the macarons one tray at a time for about 13 minutes. For even baking and foot development, rotate the baking sheet 180 degrees halfway through the baking time.
- Cool Completely: Once baked, remove the baking sheets from the oven and allow the macarons to cool completely on the sheets. Attempting to remove them while still warm will likely result in the shells sticking to the mat and breaking. Patience here is key!
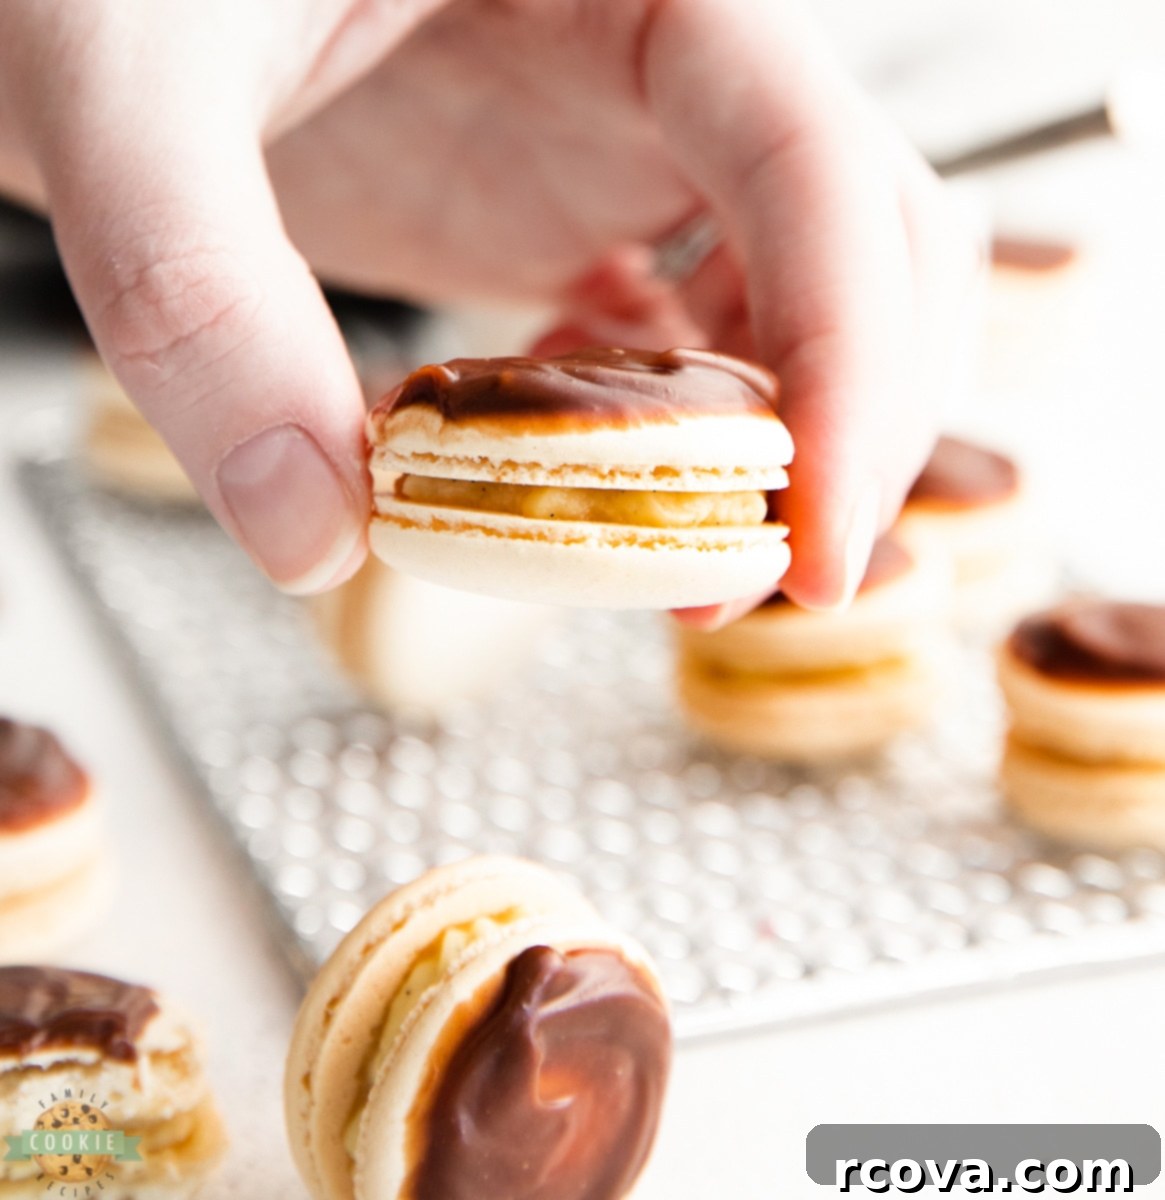
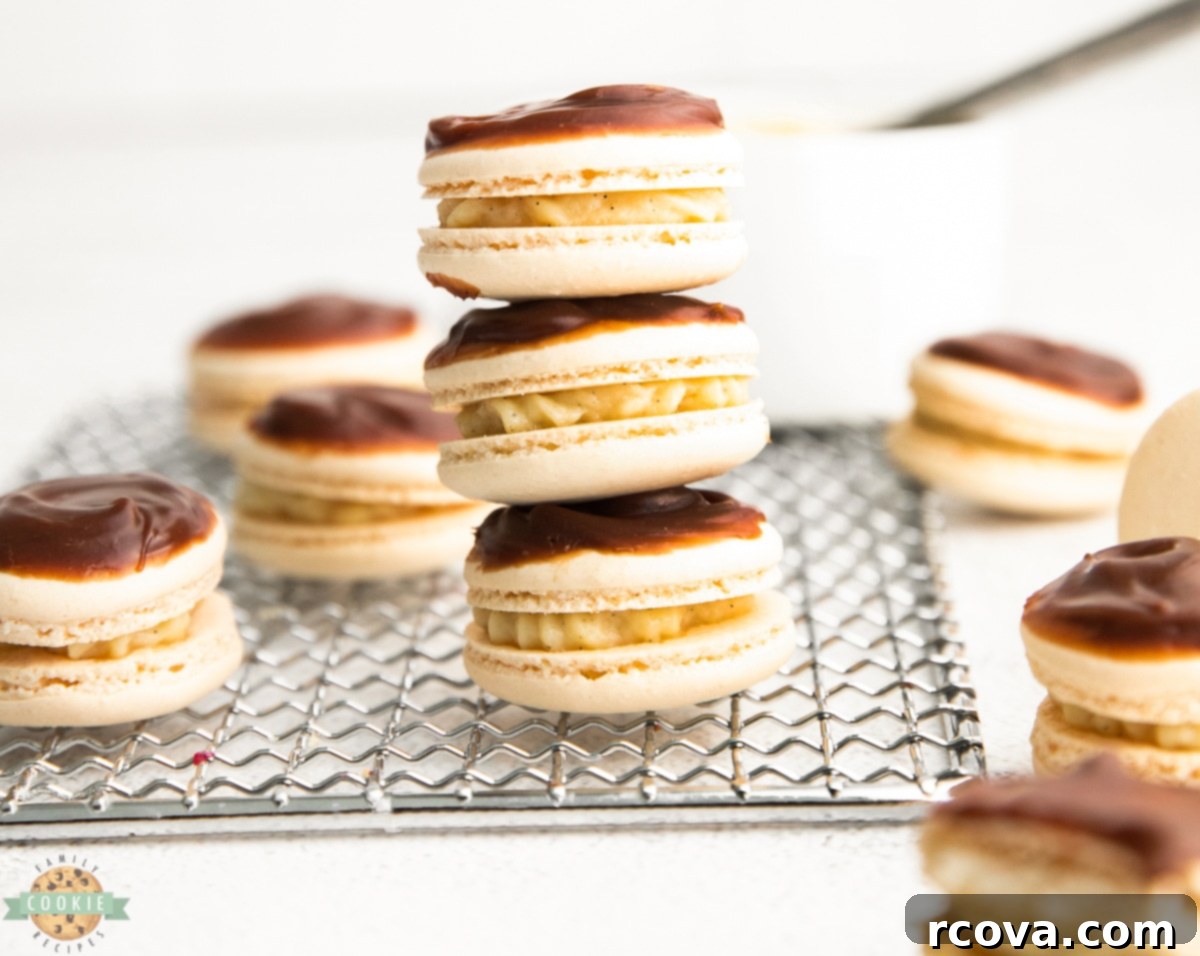
Crafting the Luxurious Vanilla Custard Filling
This creamy filling adds the classic Boston Cream Pie richness to your macarons.
- Prepare Egg Yolk Mixture: In a medium-sized heatproof bowl, vigorously whisk together the granulated sugar, cornstarch, and egg yolks for about 1 minute until the mixture becomes light pale yellow and smooth. Set aside.
- Heat Milk and Vanilla: In a small saucepan over medium heat, combine the whole milk and vanilla bean paste. Heat the mixture until it just barely reaches a simmer, indicated by small bubbles forming around the edges of the pot. Avoid a rolling boil.
- Temper the Egg Yolks: This is a crucial step to prevent scrambling the egg yolks. Slowly and gradually pour about half of the hot milk mixture into the egg yolk mixture, whisking constantly and vigorously as you pour. This slowly raises the temperature of the egg yolks.
- Return to Heat: Once tempered, pour the entire egg-milk mixture back into the saucepan. Continue to cook over medium heat, stirring constantly with a whisk or rubber spatula, for an additional 1-2 minutes. The mixture will begin to thicken noticeably.
- Check for Thickness: The custard is ready when it can coat the back of a spoon, and when you draw a line with your finger across the spoon, the line holds. Immediately remove it from the heat once this consistency is achieved, as it can go from thin to thick very rapidly and burn easily.
- Incorporate Butter: Whisk in the tablespoon of unsalted butter until it is fully melted and incorporated, giving the custard a beautiful sheen and extra richness.
- Cool the Custard: Transfer the warm custard to an airtight container. To prevent a “skin” from forming on top, press a piece of plastic wrap directly onto the surface of the custard. Place it in the fridge to cool completely, which will also allow it to thicken further. Once fully chilled, transfer it to a piping bag for assembly.
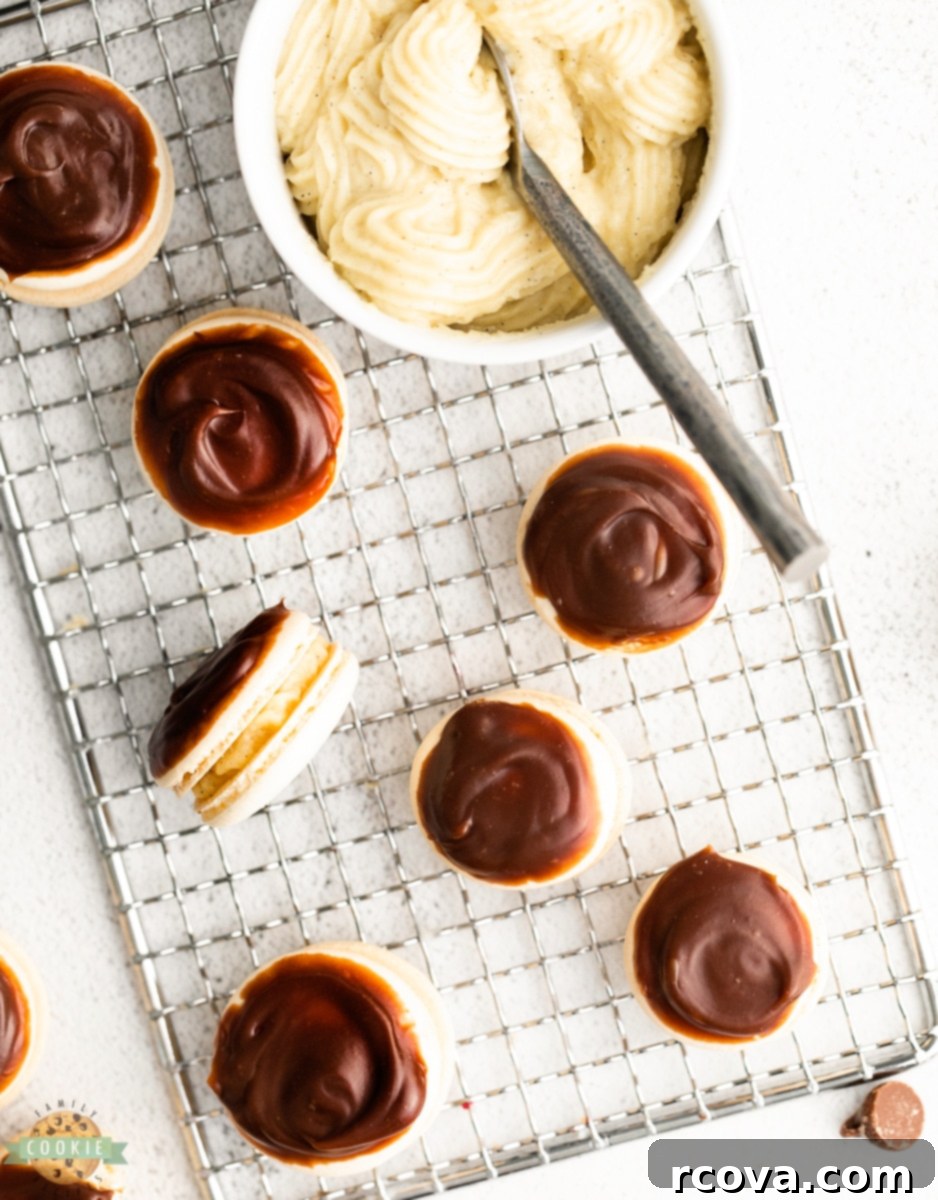
Preparing the Silky Chocolate Ganache
The perfect glossy topping that completes the Boston Cream Pie experience.
- Melt Chocolate and Cream: Place the chopped chocolate or chocolate chips and heavy cream in a heatproof bowl. Microwave in 30-second intervals, stirring thoroughly after each interval, until the chocolate is completely melted and the mixture is smooth and glossy. Alternatively, you can use a double boiler for a more controlled melting process.
- Dip Macaron Shells: Once the ganache is smooth, let it cool slightly to a thick but still dippable consistency. Dip the top surface of half of your cooled macaron shells into the ganache. Allow any excess to drip off. Place the dipped shells on a parchment-lined tray and refrigerate to speed up the setting process.
Assemble and “Age” Your Boston Cream Pie Macarons
The final steps bring all the components together for a truly exceptional dessert.
- Fill the Macarons: Take a macaron shell that has NOT been dipped in chocolate. Pipe a small, even dollop of the chilled vanilla pastry cream onto its flat side.
- Create the Sandwich: Gently place a chocolate-dipped macaron shell on top of the cream-filled shell, pressing down very lightly until the filling spreads to the edges. Be careful not to press too hard and crack the delicate shells.
- Repeat and Age: Continue this process with all remaining macarons. Once assembled, transfer them to an airtight container. Store them in the fridge overnight (at least 12-24 hours) to “age.” This crucial step allows the moisture from the filling to soften the chewy macaron shells, resulting in that perfectly tender, melt-in-your-mouth texture that macarons are famous for.
- Serve and Enjoy: Before serving, bring the macarons to room temperature for about 15-30 minutes. This enhances their flavor and softens the filling to its ideal consistency. Enjoy these delightful homemade Boston Cream Pie Macarons!
Are Macarons Difficult to Make? Insights for Home Bakers
Macarons have a reputation for being notoriously difficult, but I prefer to think of them as particular rather than hard. They require attention to detail and patience, but the techniques themselves are quite straightforward. Once you understand the fundamentals and avoid common pitfalls, you’ll find them much easier than you anticipate! The key is to take your time, be precise with measurements (a kitchen scale is highly recommended for accuracy), and carefully execute each step. Unlike many other cookies where a little improvisation is fine, macarons thrive on consistency and adherence to the recipe. For instance, I almost never sift ingredients for typical cookies, but for macarons, sifting almond flour and powdered sugar multiple times is non-negotiable to achieve those smooth, bump-free tops. Furthermore, the resting time before and cooling time after baking are absolutely critical for structural integrity and preventing sticky shells. Trust me, the effort is incredibly rewarding, and the pride of baking your own beautiful macarons is immense!
To help you on your macaron journey, here are a few tools that were invaluable to me when I first started, and continue to be:
- Macaron Sizing Mat & Piping Bag: A silicone macaron mat with pre-drawn circles takes the guesswork out of piping uniform shells. Consistent size is important for pairing and even baking. A good quality piping bag with sturdy tips makes the piping process much smoother and less messy.
- Finely Sifted Almond Flour: Even if almond flour claims to be “super-fine” or “pre-sifted,” it’s always best to sift it again (and possibly a third time with the powdered sugar) using a fine-mesh sieve. Any larger bits of almond can lead to bumps or cracks on your macaron shells. Precision here truly pays off.
- Digital Kitchen Scale: While not listed above, a digital kitchen scale is paramount for macaron making. Measuring ingredients by weight (grams) rather than volume (cups) provides the accuracy needed for consistent results, especially for ingredients like egg whites, sugars, and almond flour.
BOSTON CREAM PIE MACARONS
Print
Pin
Rate
Ingredients
For the Shells
- 3 egg whites 90 grams, preferably aged at room temperature
- ½ cup granulated sugar 90 grams
- 1 cup powdered sugar 95 grams, sifted
- 1 cup almond flour 95 grams, super-fine, blanched, and sifted
For the Vanilla Custard Filling
- 2 tablespoons granulated sugar
- 1 tablespoon cornstarch
- 2 large egg yolks 25 grams
- ½ cup whole milk
- 2 teaspoons vanilla bean paste or caviar from one vanilla bean, or high-quality vanilla extract
- 1 tablespoon unsalted butter
For the Chocolate Ganache
- 4 ounces good quality chopped chocolate or chocolate chips
- ½ cup heavy cream
Instructions
For the Macaron Shells
-
Line two large sheet pans with parchment paper or Silpat mats. If desired, place a macaron template under the parchment or use a mat with pre-printed circles for uniform piping.
-
Heat a small pot of simmering water over medium-low heat. Add the egg whites and granulated sugar to a clean, heatproof bowl and set it over the simmering water (ensure the bowl does not touch the water). Whisk constantly until the sugar has fully dissolved and the mixture is warm to the touch (around 110-115°F or 43-46°C), about 2-3 minutes.
-
Immediately transfer the warm mixture to the bowl of a stand mixer fitted with the whisk attachment. Be extremely careful not to get any water or grease into the bowl, as this can prevent the meringue from whipping properly.
-
Beat on medium-high speed (KitchenAid setting #8) until very stiff and glossy peaks form, typically 5-7 minutes. When you lift the whisk, the meringue should hold its peak firmly without curling over.
-
Using a fine-mesh sieve, sift the powdered sugar and almond flour together directly into the prepared meringue. Discard any large bits of almond flour that do not pass through the sieve.
-
Gently fold the dry ingredients into the egg whites using a rubber spatula. Use a “J” motion: scoop from the bottom, sweep up the side, and fold back down to combine.
-
Once all dry ingredients are incorporated, continue the folding process, known as “macaronage.” Gently press the batter against the sides of the bowl with your spatula to slightly deflate it, then fold it back together. Repeat this “smush and fold” technique. The batter is ready when it flows off the spatula in a continuous ribbon, allowing you to draw a “figure 8” without the stream breaking. This is a crucial step; stop immediately once this consistency is reached to avoid over-mixing.
-
Transfer the macaron batter to a piping bag fitted with a small round tip (such as Wilton #10 or #12). Pipe 1-inch macaron shells onto your prepared baking trays, ensuring each shell is at least 2 inches apart to prevent them from spreading into each other.
-
After piping, hold each baking sheet about 6-8 inches above the counter and firmly drop it down. Repeat this process 5-6 times per tray. This helps to release trapped air bubbles. Use a toothpick to gently pop any remaining visible air bubbles on the surface for smooth tops.
-
Set the trays aside to rest at room temperature for 25-60 minutes, or until the macaron shells develop a dry “skin.” You can gently touch a shell, and if it’s no longer sticky and feels dry to the touch, it’s ready to bake. Resting time varies based on humidity.
-
While the macarons are resting, preheat your oven to 325°F (160°C).
-
Bake the macarons one tray at a time for approximately 13 minutes. To ensure even cooking and the development of beautiful “feet,” rotate the baking sheet 180 degrees halfway through the baking cycle.
-
Once baked, remove the macarons from the oven and let them cool completely on the baking sheet. Resist the urge to remove them early, as warm macarons are fragile and prone to sticking or breaking. They should easily lift off the parchment or mat once fully cooled.
For the Vanilla Custard Filling
-
In a medium-sized heatproof bowl, whisk together the granulated sugar, cornstarch, and egg yolks vigorously for about 1 minute until the mixture becomes light pale yellow and smooth.
-
In a small saucepan set over medium heat, combine the whole milk and vanilla bean paste. Heat until it just begins to simmer, with tiny bubbles forming around the edges of the pot. Do not bring to a rapid boil.
-
Slowly, in a thin stream, pour about half of the hot milk mixture into the egg yolk mixture, whisking constantly and rapidly. This “tempering” process gently raises the temperature of the egg yolks, preventing them from scrambling.
-
Once tempered, pour the entire egg-milk mixture back into the saucepan. Cook over medium heat for an additional 1-2 minutes, stirring continuously with a whisk or rubber spatula. The mixture will visibly thicken as it cooks.
-
The custard is ready when it coats the back of a spoon and leaves a clear trail when you run your finger across it. Remove it immediately from the heat; overcooking can lead to a lumpy texture or scorching. Whisk in the unsalted butter until fully melted and incorporated, adding richness and gloss.
-
Transfer the hot custard to an airtight container. To prevent a skin from forming, press a piece of plastic wrap directly onto the surface of the custard, ensuring it touches every part.
-
Place the covered custard in the fridge to cool completely. It must be thoroughly chilled and set before transferring it to a piping bag for filling the macarons.
For the Chocolate Ganache
-
Combine the chopped chocolate or chocolate chips and heavy cream in a heatproof bowl. Microwave in 30-second intervals, stirring thoroughly after each interval, until the chocolate is completely melted and the mixture is smooth and glossy. Alternatively, melt over a double boiler.
-
Allow the ganache to cool slightly until it thickens to a dippable consistency. Dip the top half of half of your cooled macaron shells into the ganache. Let any excess drip off. Place the dipped shells on a parchment-lined tray and refrigerate to speed up the setting process.
Assemble and Age Your Macarons
-
Take a macaron shell that has not been dipped in chocolate. Pipe a small, generous dollop of the chilled vanilla pastry cream onto its flat side.
-
Carefully place a chocolate-dipped macaron shell on top of the cream-filled shell, gently pressing down until the filling reaches the edges. Avoid pressing too hard to prevent cracks.
-
Repeat this assembly process with all remaining macaron shells and filling. Once all macarons are assembled, transfer them to an airtight container. Place them in the fridge to “age” overnight (ideally 12-24 hours). This crucial step allows the moisture from the filling to permeate and soften the shells, creating the signature chewy texture of a perfect macaron. Bring to room temperature for 15-30 minutes before enjoying for the best flavor and texture!
Notes
Nutrition
Storage Tips: How Long Do Boston Cream Pie Macarons Last?
Macarons are best enjoyed within a few days of preparation to truly appreciate their delicate texture and fresh flavors. When properly stored, your Boston Cream Pie Macarons will remain delicious for about 3-5 days in the refrigerator. It’s crucial to store them in an airtight container to prevent them from drying out or absorbing odors from other foods in your fridge. The moisture from the custard filling will gradually soften the macaron shells, which is part of the “aging” process that gives macarons their signature chewy texture. However, beyond 5 days, the shells might become overly soft or even soggy due to the moisture, and the filling’s freshness can diminish. For longer storage, you can freeze assembled macarons in an airtight container for up to 1 month. Thaw them gradually in the refrigerator overnight, then bring to room temperature for about 15-30 minutes before serving for optimal enjoyment.
Troubleshooting: Why Do My Macarons Have Bumps?
Achieving perfectly smooth, flawless macaron shells is a common goal for bakers, and tiny bumps can be frustrating. One of the most frequent culprits for textured or bumpy macaron tops is simply trapped air bubbles. If you don’t adequately “bash” or drop your baking sheets against the counter enough times after piping, these small air pockets can remain in the batter. As the macarons bake, this trapped air will try to escape, creating an uneven surface instead of the desired smooth, almost glassy top. Remember to firmly drop your trays several times and use a toothpick to gently pop any visible bubbles. Other reasons for bumps can include:
- Insufficiently Sifted Dry Ingredients: Even “fine” almond flour can have larger bits. Always sift your almond flour and powdered sugar together through a very fine-mesh sieve at least once, preferably twice.
- Under-Macaronage: If the batter isn’t mixed enough, it will be too thick and retain too much air, leading to lumpy tops. The “figure 8” consistency test is key.
- Oily Almond Flour: Sometimes, the almond flour itself can be a bit oily, which can affect the batter’s consistency and lead to a less smooth surface. Ensure your almond flour is fresh.
- Humidity: High humidity can impact the resting stage, preventing the necessary “skin” from forming, which in turn can affect how the macaron shells bake and the development of smooth tops and feet.

My hubby travels for work often, and it’s always such a joy when I get to tag along! This picture is from a memorable trip to a beautiful beach in Maui – moments before my husband decided to go snorkeling with his cell phone still in his pocket. Ahhh, the memories we make! I sometimes joke that he did it on purpose because he was eyeing a new phone, LOL! Cherishing these silly, imperfect moments is what life’s all about, just like the imperfectly perfect process of baking new recipes.

Explore More Delightful Sandwich Cookie Recipes
If you loved making these Boston Cream Pie Macarons, you’ll surely enjoy venturing into other sandwich cookie creations. The art of pairing delicate cookies with creamy, flavorful fillings is a joy in itself. Here are some of our other favorite recipes:
- S’MORES COOKIE SANDWICHES: A campfire classic reimagined into a delightful cookie sandwich, complete with toasted marshmallow and chocolate.
- PEANUT BUTTER SANDWICH COOKIES: Rich, nutty cookies with a creamy peanut butter filling that’s simply irresistible.
- PINK SANDWICH COOKIES: Beautifully colored cookies perfect for celebrations, often filled with a sweet and simple buttercream.
- PEPPERMINT CHOCOLATE SANDWICH COOKIES: A festive and refreshing combination of rich chocolate cookies and cool peppermint cream, ideal for holidays.
These Boston Cream Pie Macarons are truly a masterpiece – a delicious blend of fragrant vanilla, rich chocolate, and exquisitely chewy macaron shells that culminate in a perfect flavor experience with every single bite. They are a delightful way to enjoy a classic dessert in a new, elegant form. Enjoy the process of baking and the joy of sharing (or not sharing!) these incredible treats!
