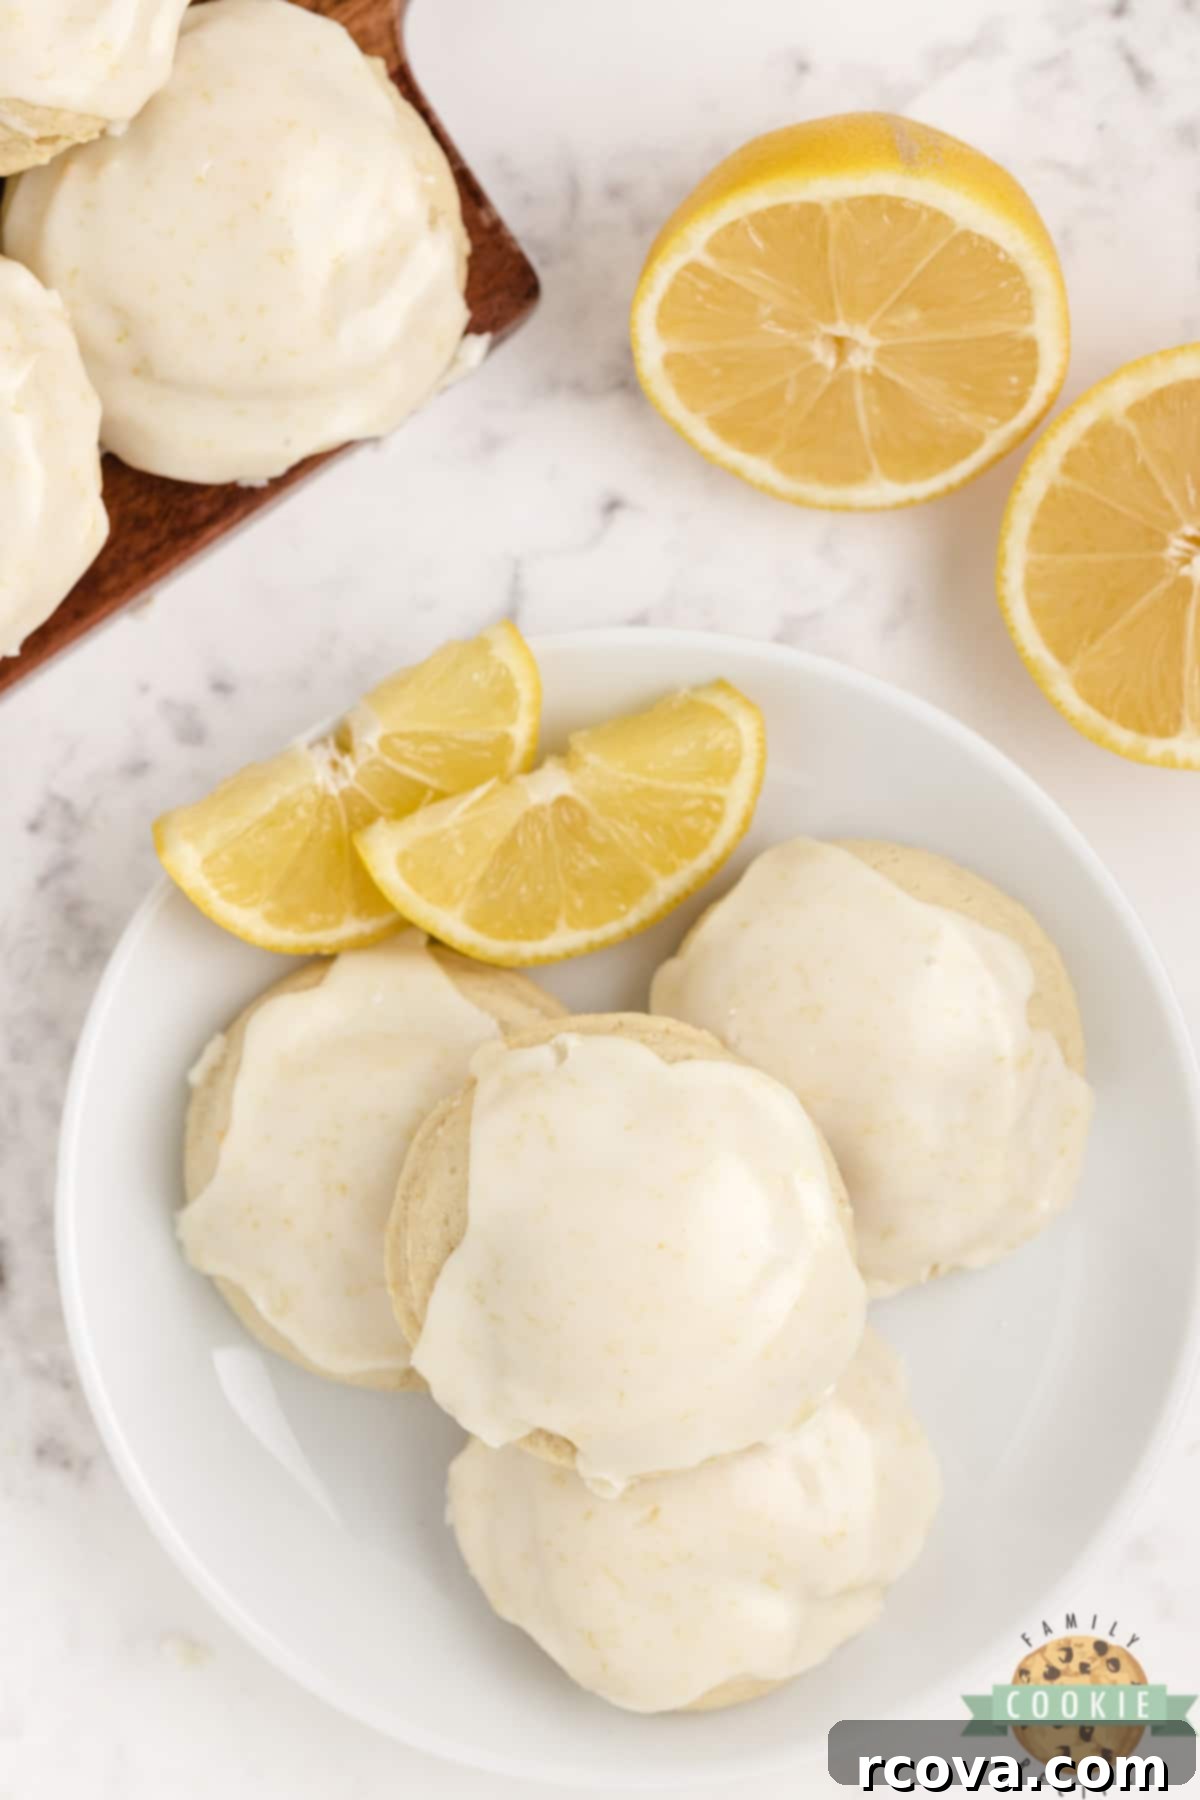
Irresistibly Soft & Zesty Lemon Cream Cheese Cookies: Your Ultimate Guide
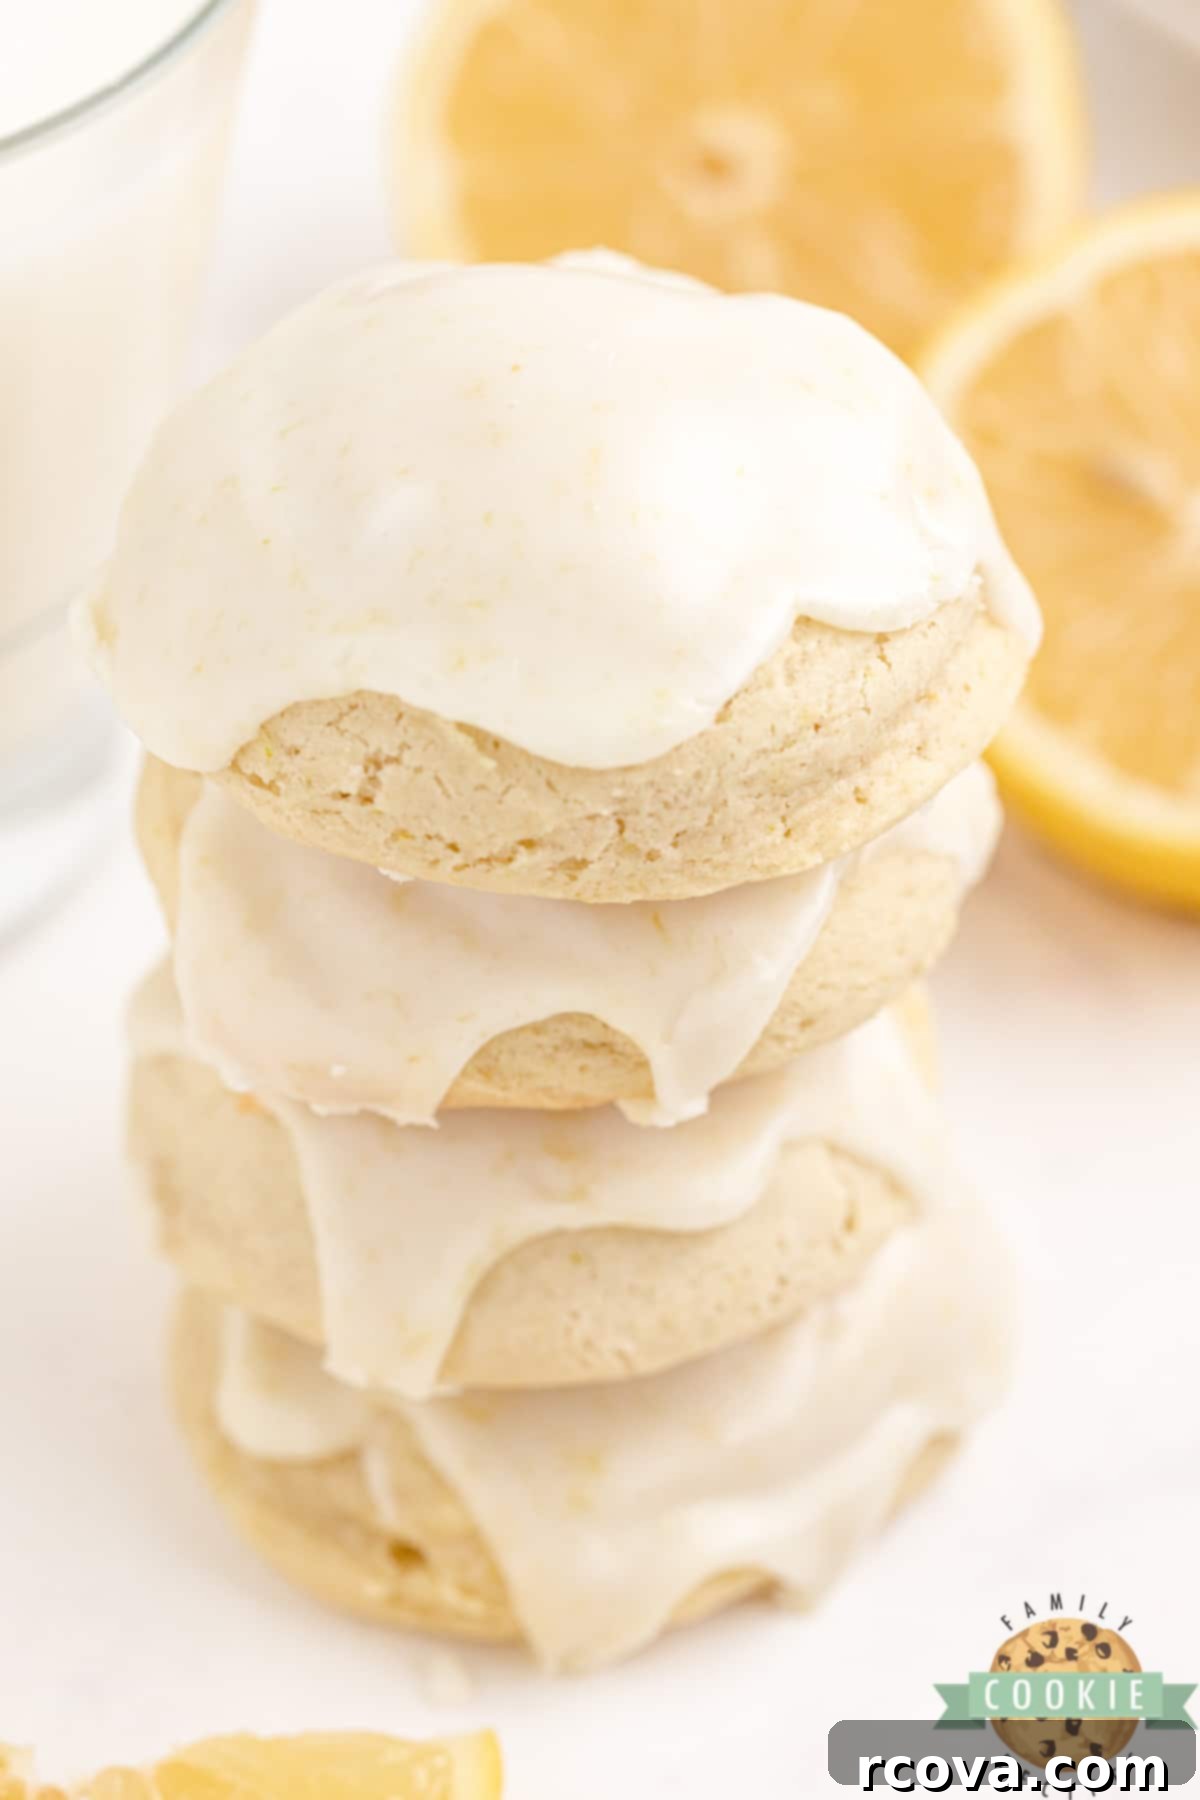
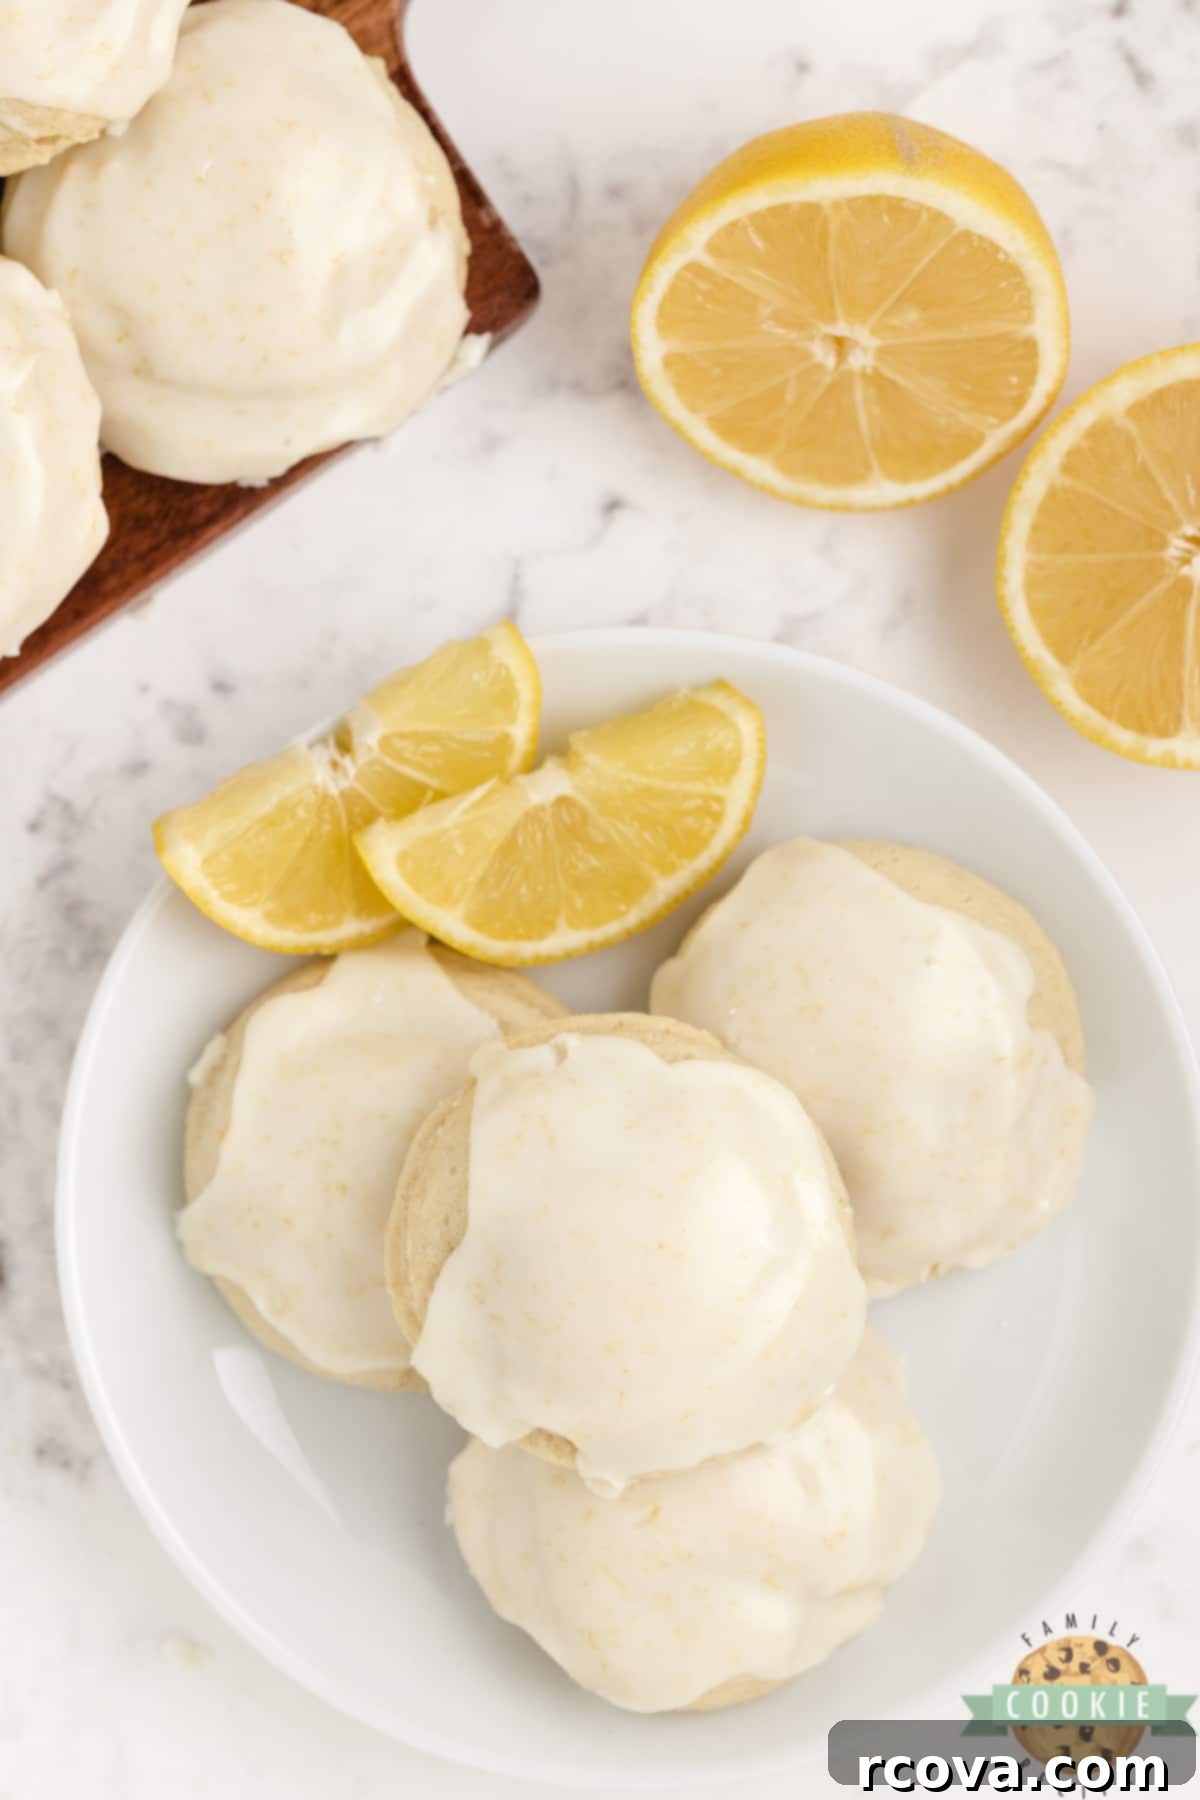
Prepare to be enchanted by these incredible Lemon Cream Cheese Cookies! Each bite delivers a delightful burst of vibrant lemon flavor, encased in a perfectly soft, thick, and wonderfully moist cookie. This highly sought-after lemon cookie recipe utilizes the magic of cream cheese, fresh lemon juice, and aromatic lemon zest to create an unparalleled texture and taste. To elevate this treat further, a simple, sweet, and zesty lemon glaze is drizzled generously on top, making these cookies utterly irresistible and incredibly refreshing.
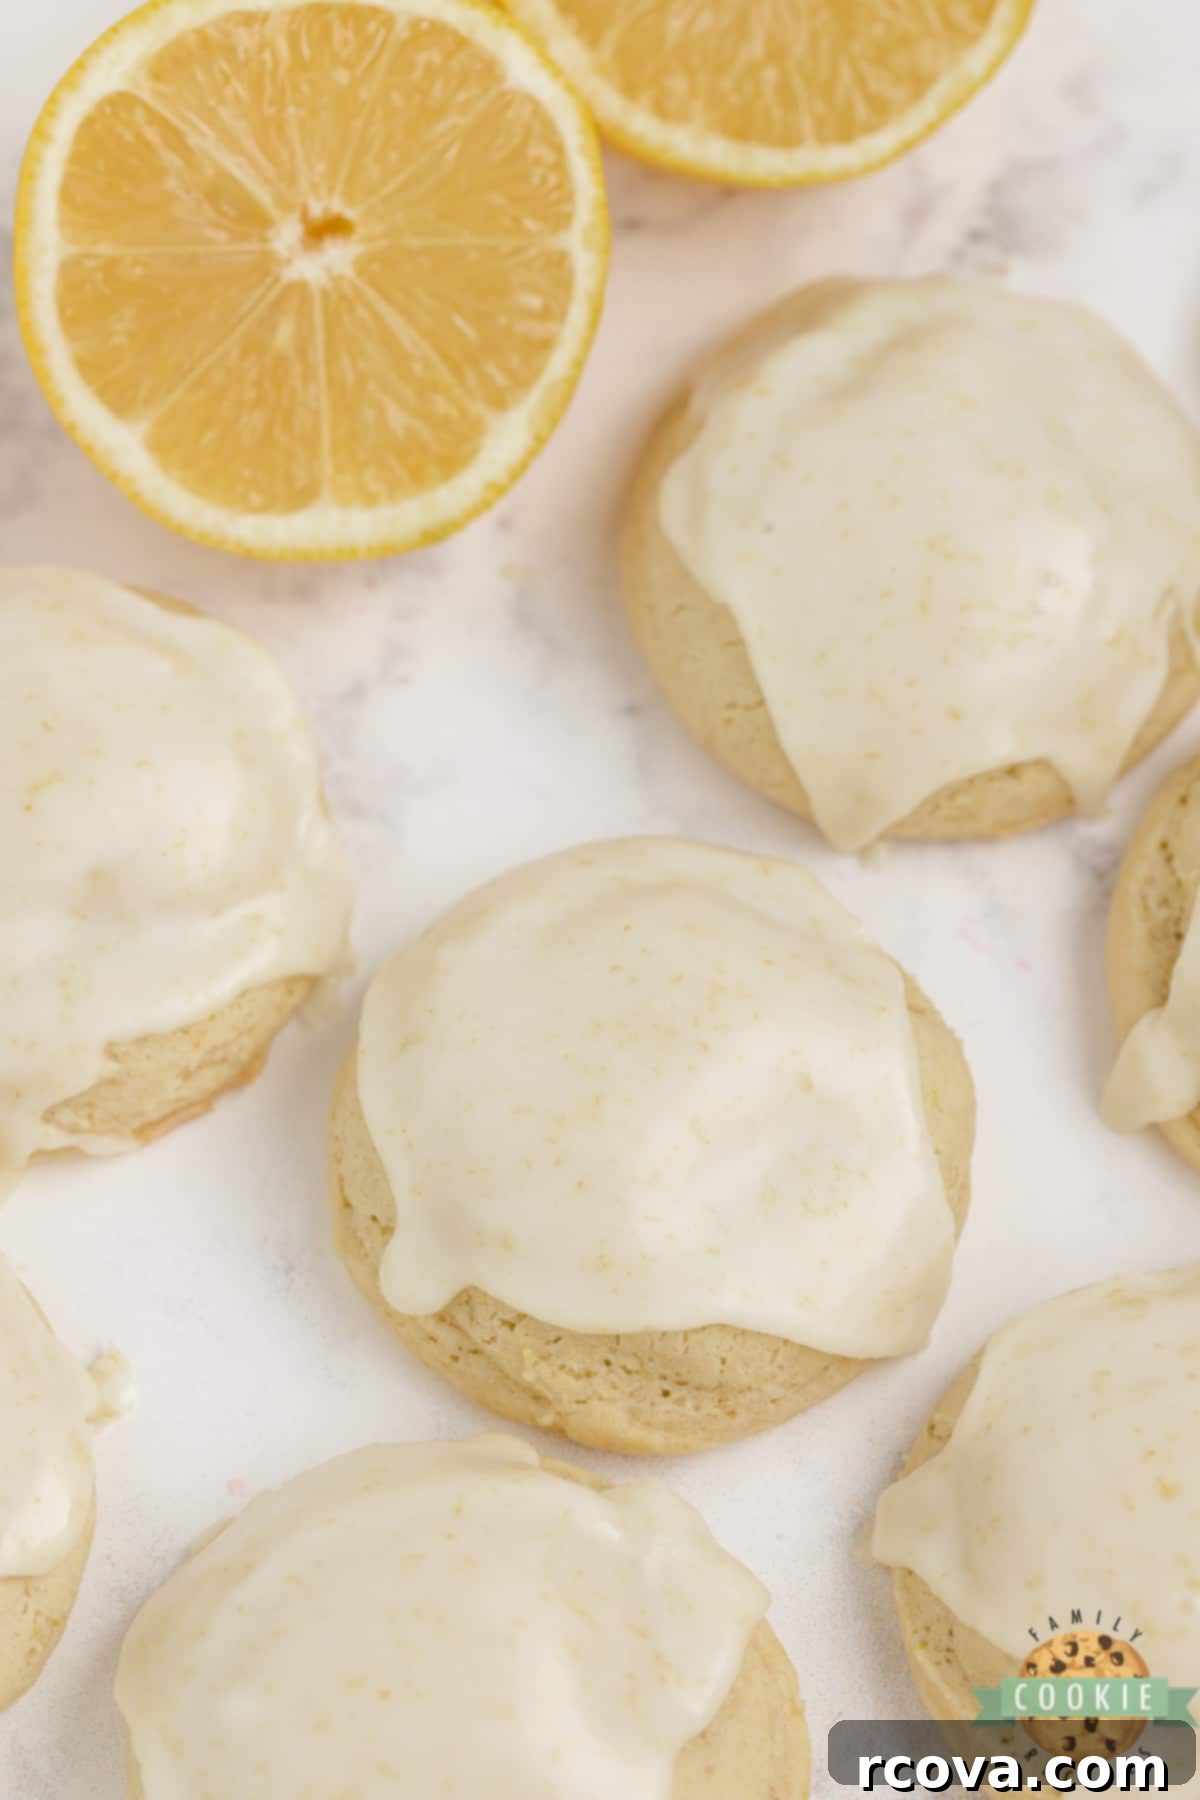
What Makes Lemon Cream Cheese Cookies So Uniquely Delicious?
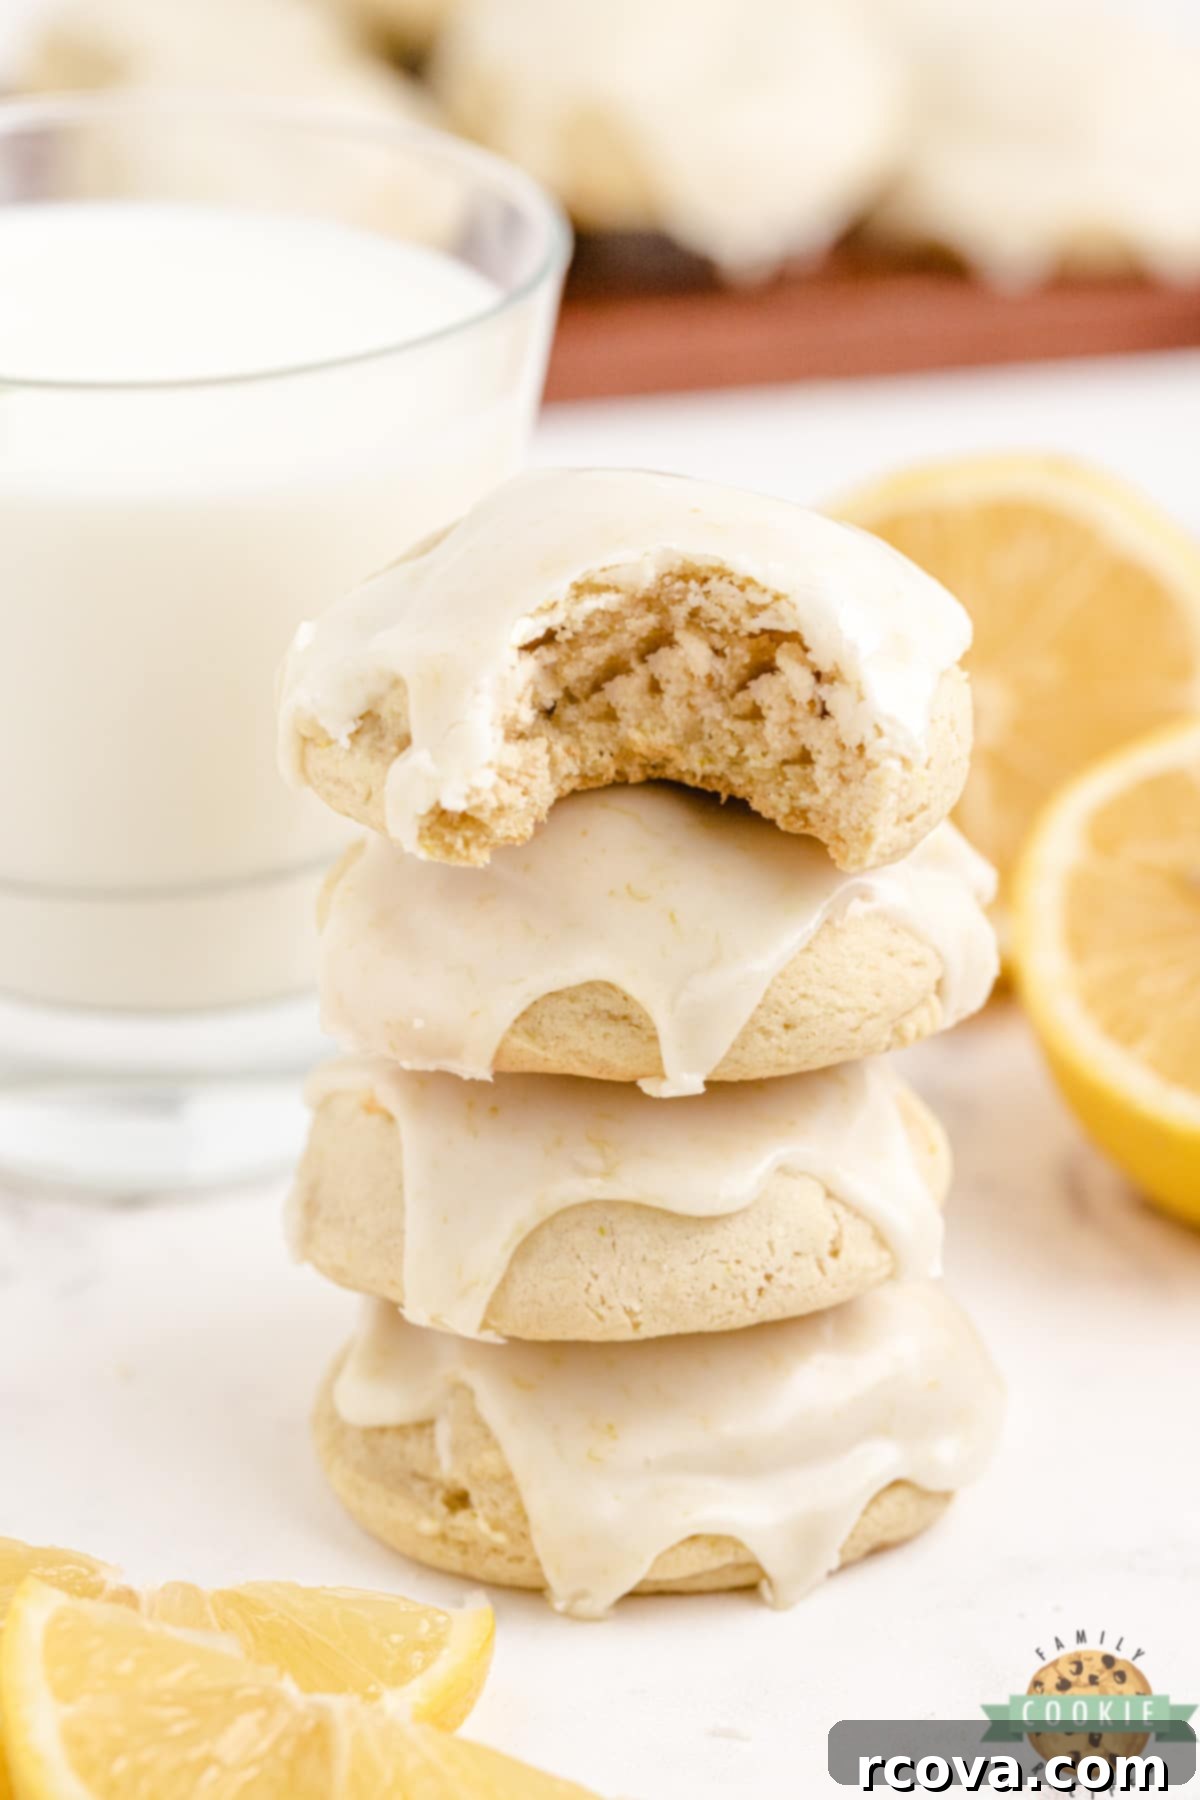
These aren’t just any lemon cookies; they are a truly special creation! Our Lemon Cream Cheese Cookies are crafted with a harmonious blend of softened butter, luscious cream cheese, granulated sugar, and an abundance of fresh lemon juice and vibrant lemon zest. The inclusion of cream cheese is a game-changer, working alongside a touch of cornstarch to achieve that signature thick, irresistibly soft, and remarkably moist texture that melts in your mouth. The cream cheese also imparts a subtle tang that beautifully complements the sweet and tart lemon notes. Finally, a simple yet potent lemon icing crowns each cookie, adding an extra layer of sweetness and intensifying that glorious lemon flavor. They’re not just a dessert; they’re a refreshing experience!
Essential Tips for Baking Your Best Lemon Cookies Ever
Achieving cookie perfection is all about paying attention to a few key details. Follow these tried-and-true tips to ensure your lemon cream cheese cookies turn out flawlessly every single time:
- Perfect Dough Consistency is Key: Ensure your dough has the right amount of flour. If the mixture appears too wet or sticky after combining all ingredients, it may need a little extra flour, perhaps a quarter cup at a time. A dough that’s too sticky will spread excessively, leading to thin, crisp cookies instead of the thick, soft ones we’re aiming for. The dough should eventually form a cohesive ball.
- Softened Butter, Not Melted Butter: This is a crucial distinction! Your butter must be softened to room temperature, which means it should yield slightly when pressed but not be oily or melted. Using melted butter will disrupt the dough’s structure and result in cookies that spread too much, becoming greasy and flat. Plan ahead and let your butter sit out for at least an hour before baking.
- Creaming Butter and Sugar Properly: Don’t rush this step! Take an extra 2-3 minutes to thoroughly cream together the softened butter and sugar. This process incorporates air into the mixture, which is vital for creating light, fluffy, and tender cookies. The mixture should become pale in color and visibly fluffy.
- Always Preheat Your Oven: A preheated oven ensures a consistent baking temperature from the moment your cookies enter. This consistency is essential for even baking and proper cookie structure. Placing dough into a cold or warming oven can lead to cookies that spread unevenly or bake inconsistently.
- Avoid Overbaking at All Costs: This might be the most important tip! When you remove your cookies from the oven, they should still look slightly underbaked in the center, perhaps just set around the edges. They will continue to bake on the hot cookie sheet for a few minutes after removal, a process known as “carry-over baking.” Overbaked cookies will be dry and hard, losing their signature soft and moist texture. Look for lightly golden edges and a barely set center.
- Chill Your Dough: While already part of the recipe steps, it’s worth highlighting as a critical tip. Chilling the dough for at least 3 hours (or up to 3 days) allows the butter to firm up, preventing excessive spreading during baking. It also gives the flavors a chance to meld and deepen, resulting in a more flavorful cookie.
How Much Lemon Zest Can You Get From One Lemon?
Typically, a medium-sized lemon will yield approximately 1 tablespoon of finely grated lemon zest. This is a good general guideline when planning your baking, ensuring you have enough lemons on hand to capture that bright, essential flavor.
The Art of Zesting a Lemon
Lemon zest is where a significant portion of a lemon’s aromatic oils and intense flavor reside. Adding it to both the cookie dough and the glaze will truly amplify the lemon notes in your recipe. Don’t be intimidated by the idea of zesting; it’s quite straightforward!
Fresh lemon zest adds an unparalleled depth of flavor that bottled lemon juice simply cannot replicate. You’ll want to extract only the bright yellow outer layer of the lemon peel, as the white pith underneath can be bitter. I typically use the small side of a standard box cheese grater – as long as the holes are tiny, it works perfectly. For a more professional approach, a citrus zester or microplane is an excellent tool that makes the process even easier and yields finer zest. Whichever tool you choose, simply grate the lemon gently, rotating it as you go, until you’ve removed all the yellow zest, stopping just before you reach the white pith. This ensures maximum flavor without any bitterness.
Extracting Fresh Lemon Juice with Ease
While I often use bottled lemon juice for convenience in this recipe, fresh lemon juice certainly offers a brighter, more nuanced flavor. Getting the juice from a lemon is simple:
Just cut a fresh lemon in half and squeeze firmly. For a more efficient method that extracts every last drop, consider using a citrus press or reamer. These tools are designed to maximize juice yield with minimal effort. Whether fresh or bottled, ensure your lemon juice is vibrant and contributes to the overall citrusy profile of these cookies and their glaze.
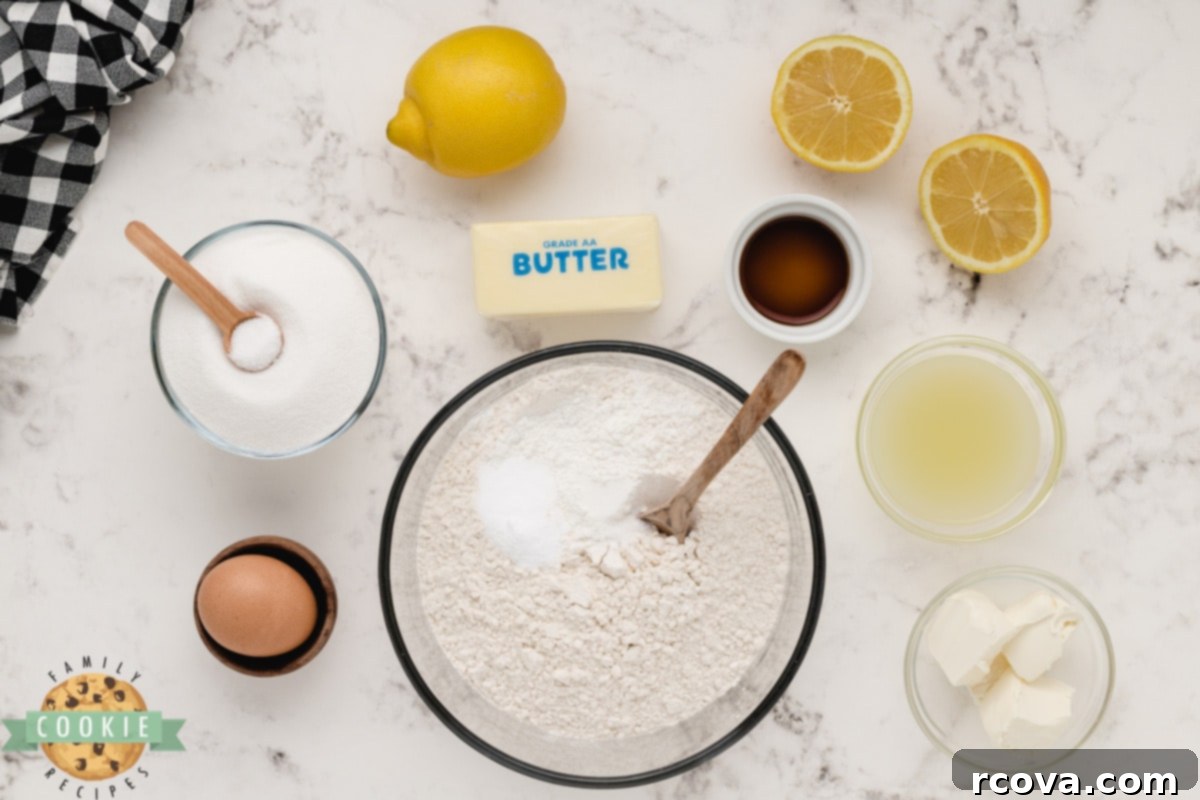
The Essential Ingredients for Your Lemon Cream Cheese Cookies
Every ingredient in this recipe plays a vital role in creating the perfect lemon cream cheese cookie. Here’s a closer look at what you’ll need and why:
- Butter: I typically use salted butter, but unsalted butter works perfectly well if you prefer to control the salt content. Absolutely no margarine – real butter provides the best flavor and texture. Most importantly, ensure your butter is softened to room temperature, but definitely not melted, for optimal creaming.
- Cream Cheese: Like butter, the cream cheese needs to be softened to room temperature for the smoothest, most lump-free dough. While you can use low-fat or non-fat alternatives, regular, full-fat cream cheese is highly recommended for achieving the ideal consistency, richness, and thickness that define these cookies.
- Sugar: An indispensable ingredient for cookies! Granulated sugar provides sweetness, helps tenderize the dough, and contributes to the cookies’ golden-brown edges.
- Egg: We only need one egg for this recipe, but it’s a crucial binder. The egg helps to emulsify the ingredients, providing structure to the dough so the cookies hold their shape while baking and don’t crumble apart.
- Vanilla Extract: A touch of vanilla enhances and rounds out the lemon flavor, adding a layer of complexity. I recommend using a good quality vanilla extract or even a Vanilla Bean Paste for superior flavor.
- Lemon Zest (for cookies): This is where the intense lemon aroma comes from. You’ll need about 2 tablespoons of finely grated lemon zest for the cookie dough, which you should be able to get from 2 medium-sized lemons.
- Lemon Juice (for cookies): 3 tablespoons of lemon juice add the necessary tartness and a bright citrus note to the dough. Both freshly squeezed and bottled lemon juice work well; choose whichever is most convenient for you.
- All-Purpose Flour: The primary structural component of our cookies. All-purpose flour is standard, but you can experiment with bread flour for a chewier cookie or pastry flour for an even more tender crumb. Ensure you measure your flour correctly, preferably by weight or by spooning it into a measuring cup and leveling off.
- Cornstarch: A secret ingredient for ultimate softness! Cornstarch helps to tenderize the dough and creates that desirable soft, almost crumbly texture that makes these cookies so delightful. It also helps prevent the cookies from spreading too much.
- Baking Soda: Our leavening agent. Baking soda reacts with the acidic lemon juice to create carbon dioxide, which helps the cookies rise and become light. For optimal results, ensure your baking soda is fresh and not expired.
- Salt: Just a quarter teaspoon of salt is enough to balance the sweetness, enhance the other flavors, and prevent the cookies from tasting flat.
For the Zesty Lemon Glaze:
- Lemon Juice: Another 1.5 tablespoons of lemon juice will form the liquid base of our glaze, providing a bright, tangy counterpoint to the sweetness.
- Lemon Zest: A tablespoon of fresh lemon zest in the icing adds an extra layer of visual appeal and a concentrated burst of citrusy aroma and flavor.
- Powdered Sugar: One cup of powdered sugar (confectioners’ sugar) provides the necessary sweetness and ensures a smooth, glossy, and quick-setting glaze.
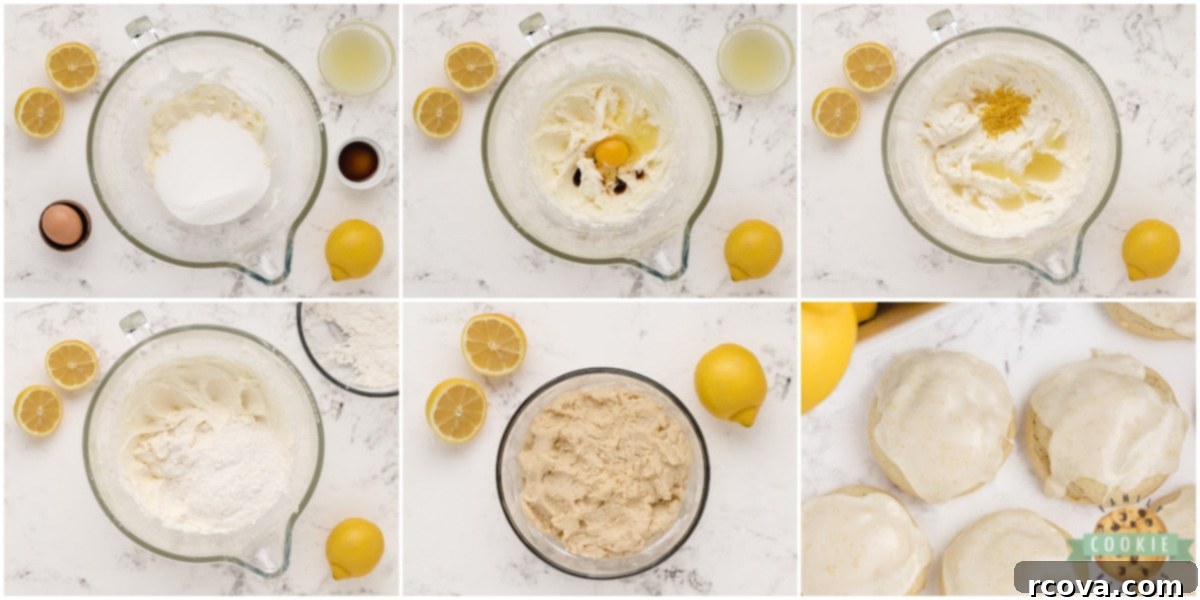
How to Make Your Own Lemon Cream Cheese Cookies
Creating these delightful lemon cream cheese cookies is a straightforward process, but patience with chilling the dough yields the best results. Follow these steps for perfect cookies:
- Begin by beating the softened butter and softened cream cheese together in a large mixing bowl for 1-2 minutes until smooth and well combined.
- Next, add the granulated sugar and continue beating for another 2-3 minutes. This creaming process is essential for incorporating air, making your cookies light and tender.
- Incorporate the egg and vanilla extract, beating for an additional 3-4 minutes until the mixture is light, fluffy, and cohesive.
- Stir in the lemon zest and lemon juice, mixing for about 1 minute until evenly distributed throughout the wet ingredients.
- In a separate medium-sized bowl, whisk together the dry ingredients: flour, cornstarch, baking soda, and salt. Ensure they are thoroughly combined.
- Gradually add the flour mixture to the wet ingredients, mixing on low speed until just combined. Be careful not to overmix, as this can lead to tough cookies. The dough should start to come together and form a ball. If the dough seems excessively wet or sticky, you may add an additional 1/4 cup of flour, mixing until incorporated.
- Cover the dough tightly with plastic wrap and refrigerate for a minimum of 3 hours. For even better flavor development and a firmer dough that’s easier to handle, you can chill it for up to 3 days. This step is crucial for preventing the cookies from spreading too much during baking.
- Once the dough is chilled and you’re ready to bake, preheat your oven to 350°F (175°C). Line a baking sheet with parchment paper or a silicone baking mat to prevent sticking and ensure even baking.
- Using a cookie scoop (I recommend a 1.5-tablespoon size for consistent results), scoop out heaping tablespoonfuls of the chilled dough. Place them on the prepared cookie sheet about 2 inches apart to allow for slight spreading.
- Bake for 8-10 minutes. The cookies are ready when their edges are lightly golden and the centers still look slightly soft or underbaked. Remember, they will continue to firm up on the cookie sheet after being removed from the oven. If your cookies seem not quite done, you might need to bake them for an extra 2-3 minutes, depending on your oven’s calibration and the size of your cookies.
- Allow the cookies to cool on the baking sheets for about 5 minutes before carefully transferring them to a wire rack to cool completely. This prevents them from breaking and ensures they set properly.
- While the cookies are cooling, prepare your lemon glaze. In a small bowl, whisk together the powdered sugar, lemon juice, and lemon zest. Add a little more lemon juice, a teaspoon at a time, if needed, to achieve your desired drizzling or dipping consistency.
- Once the cookies are completely cool, you can either drizzle the glaze over the tops with a spoon or whisk, or you can dip the tops of the cookies directly into the glaze for a fuller coating.
- Allow the glaze to set and harden slightly before storing. Store the finished Lemon Cream Cheese Cookies in an airtight container at room temperature for up to 3-4 days, or in the refrigerator for longer freshness.
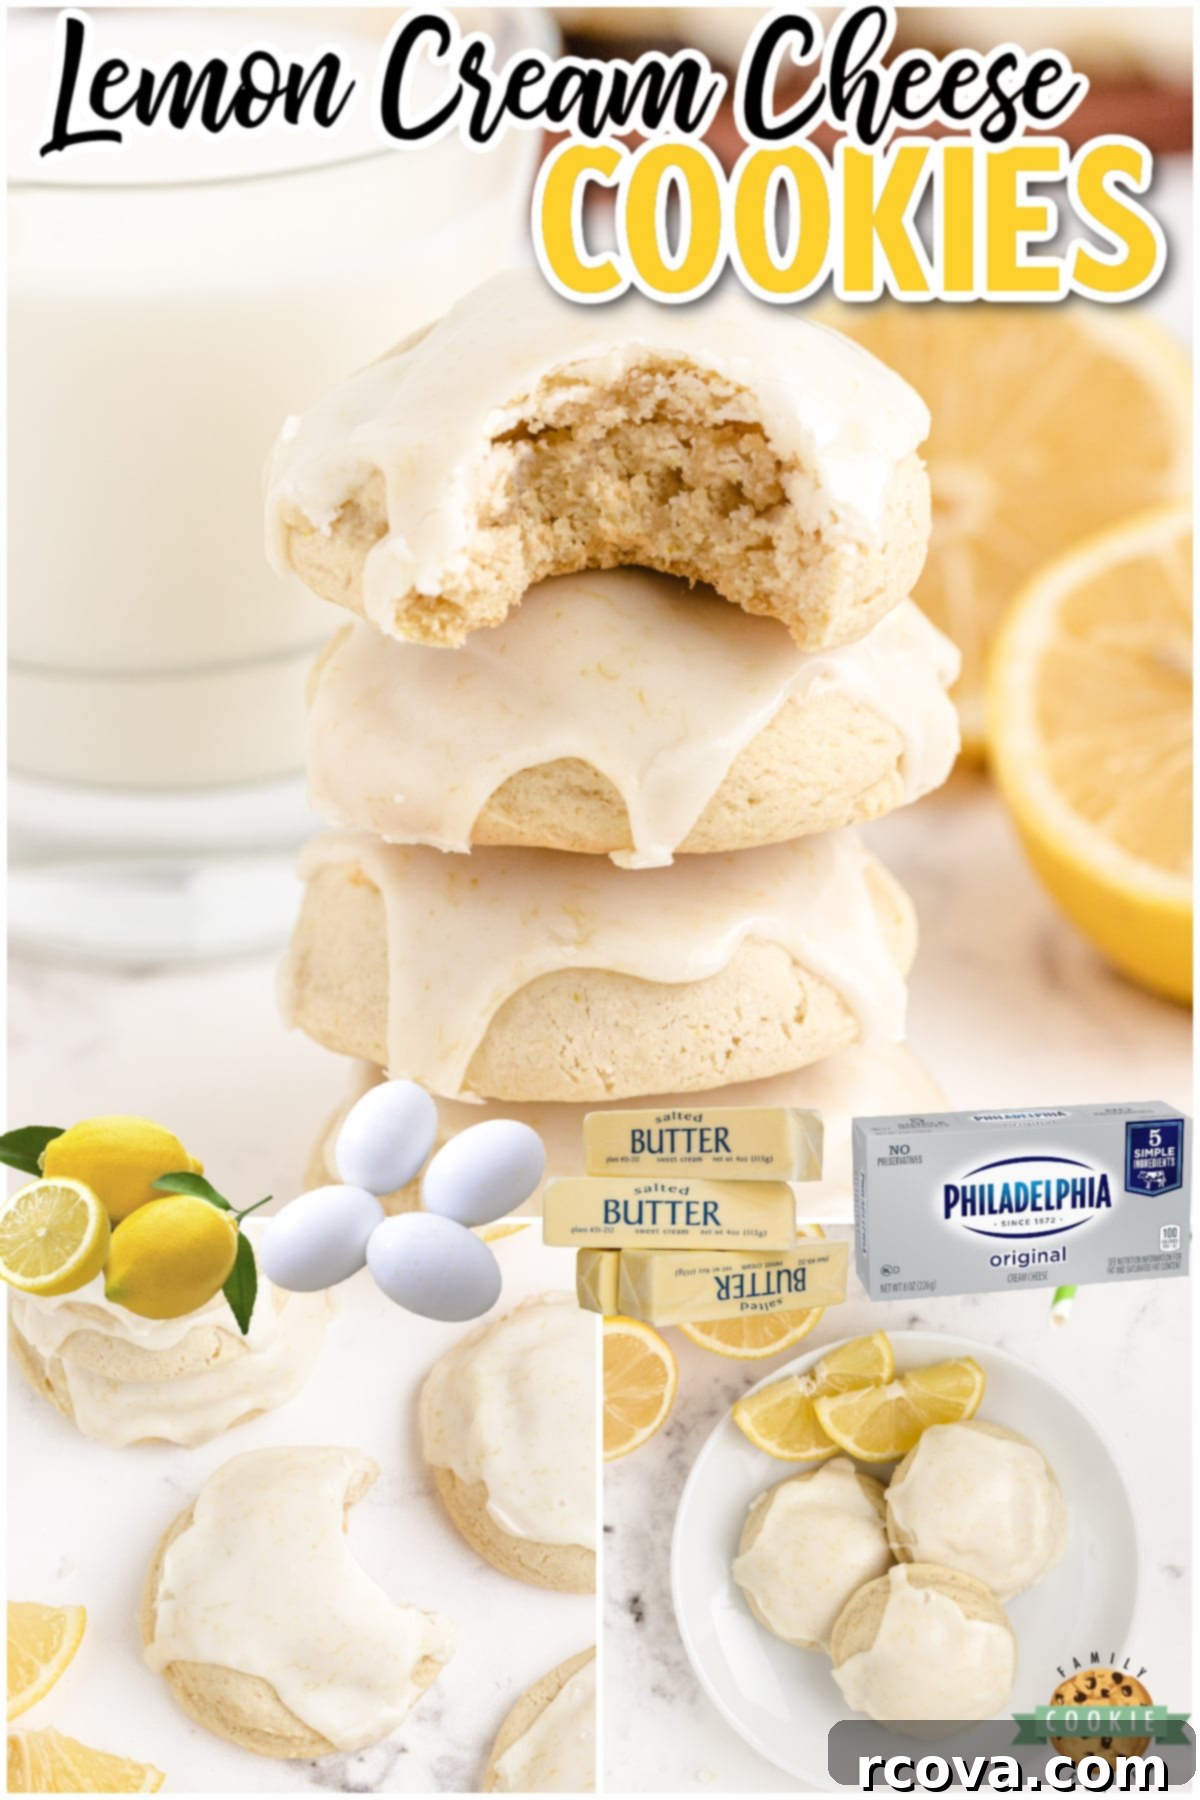
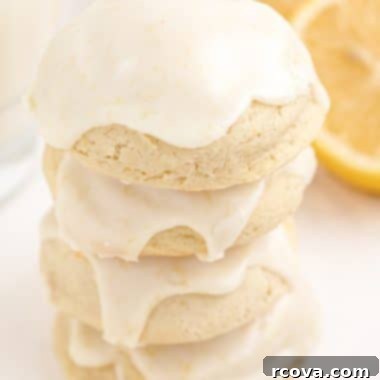
LEMON CREAM CHEESE COOKIES
Print
Pin
Rate
Ingredients
- ½ cup butter softened
- ¼ cup cream cheese softened
- 1 cup sugar
- 1 egg
- ½ tsp vanilla
- 2 Tbsp lemon zest
- 3 Tbsp lemon juice
- 2 ½ cup flour
- 2 tsp cornstarch
- 1 tsp baking soda
- ¼ tsp salt
ICING:
- 1 ½ tbsp lemon juice
- 1 Tbsp lemon zest
- 1 cup powdered sugar
Instructions
-
Beat butter and cream cheese together for 1-2 minutes. Add sugar and beat for another 2-3 minutes. Add egg and vanilla and beat for another 3-4 minutes.
-
Add the lemon zest and lemon juice and mix for 1 minute.
-
In a separate bowl, combine the flour, cornstarch, baking soda and salt.
-
Mix the flour mixture into the wet ingredients. The dough should start to form a ball, so if the dough seems too wet, you can add another 1/4 cup and keep mixing.
-
Refrigerate the dough for at least 3 hours or up to 3 days.
-
Preheat oven to 350° and line a cookie sheet with parchment paper or a silicone mat. Use a cookie scoop to scoop out heaping tablespoonfuls of dough. Place on a prepared cookie sheet about 2 inches apart.
-
Bake for 8-10 minutes. If it looks like the cookies are not quite done, you may need to bake them another 2-3 minutes, depending on your oven and the size of your cookies.
-
Let cool on cookie sheets for about 5 minutes before transferring to a wire rack to cool completely. Once the cookies are cooled, make the glaze.
-
Mix glaze ingredients together, adding a little more lemon juice if needed for the desired consistency. You can drizzle the frosting over the top or you can dip the tops of the cookies in the glaze. Allow it to harden and then store the cookies in an airtight container.
Nutrition
Smart Kitchen Gadgets for Crafting the Best Cookies
While delicious cookies can be made with basic tools, certain kitchen gadgets can significantly enhance your baking experience and the quality of your results. I rely on these three items for almost all my cookie recipes, as well as many other culinary endeavors:
- Parchment Paper or Silicone Baking Mats: These are absolute game-changers for cookie baking. I always line my 12×16 inch cookie sheets with a sheet of parchment paper or a reusable silicone baking mat. They create a non-stick surface, ensuring your cookies bake evenly without sticking, and make cleanup an absolute breeze. No more scrubbing greasy pans or dealing with cookies fused to the baking sheet!
- Stand Mixer: A KitchenAid stand mixer is an invaluable investment for any serious baker. While I also own a Bosch, I find myself reaching for my KitchenAid specifically for cookie dough. It comes with a paddle attachment that’s perfect for creaming butter and sugar and mixing dough uniformly. The consistent power and hands-free operation make light work of what would otherwise be strenuous mixing, leading to perfectly aerated and combined ingredients. If you’re looking to upgrade your baking arsenal, a stand mixer should be at the top of your wish list – it’s one of my most-used small appliances!
- Cookie Scoop: Say goodbye to oddly shaped cookies! For years, I used two spoons to measure and drop dough onto baking pans, often resulting in misshapen cookies of varying sizes that baked inconsistently. Then, a friend introduced me to the magic of a cookie scoop. This simple tool ensures every cookie is perfectly uniform in size and shape, leading to even baking and a professional appearance. They come in various sizes – typically 1/2 tablespoon, 1.5 tablespoon, and 3 tablespoon. For these lemon cream cheese cookies, a 1.5-tablespoon scoop is ideal, creating perfectly portioned, beautiful rounds.
The Best Way to Soften Butter
Softened butter is crucial for creaming properly and ensuring a smooth, evenly mixed cookie dough. Here’s how I achieve perfectly softened butter:
My preferred method is using the defrost function on my microwave. If you need a full 1/2 cup (one stick) of butter, you can leave it in its paper wrapper. For smaller amounts, or if you’ve already cut it, place the butter in a glass or porcelain bowl. I set my microwave to its lowest defrost setting and run it for just 20 seconds. After that, I check the butter by pressing it gently with a rubber scraper or my finger. It should leave a slight indent without feeling greasy or looking melted. If it’s still firm, give it another 5-10 seconds, but watch it very closely! Butter can go from perfectly soft to melted in a matter of seconds, and melted butter will negatively impact your cookie dough.
Quick Methods for Softening Cream Cheese
Just like butter, softened cream cheese is essential for a smooth, lump-free cookie dough that incorporates beautifully with other ingredients. Here are two easy ways to get your cream cheese to the perfect consistency:
- Room Temperature Method (Accelerated): To soften cream cheese more quickly at room temperature, simply remove it from its foil packaging and place it on a plate. Cut the block of cream cheese into smaller cubes or slices. By increasing the surface area, the cream cheese will reach room temperature much faster, typically in about 15-20 minutes, allowing for even softening.
- Microwave Method (Quickest): If you’re short on time, the microwave is your friend. Remove the cream cheese entirely from its foil packaging and place it in a small microwave-safe bowl or on a plate. Microwave it on high for about 10-15 seconds. Check its softness by gently pressing it. If it’s still cold or hard, continue to microwave in short bursts of 5 seconds at a time until it’s uniformly soft throughout. Be cautious not to microwave it for too long, as cream cheese can quickly melt and become liquid, which isn’t ideal for baking.
If You Love Lemon, Discover These Other Amazing Lemon Recipes!
If the bright, zesty flavor of these lemon cream cheese cookies has captured your heart, you’ll definitely want to explore these other fantastic lemon-infused treats from our collection:
- Lemon Drop Glazed Mini Muffins
- Lemon Cake Truffles
- Lemon Butter Cookies
- Lemon Cheesecake Bars
- Lemon Cake Mix Cookies
- Lemon Lush Dessert
- Lemon Raspberry Fruit Pizza
- Meyer Lemon Cookies
- Lemon Cake Mix Cool Whip Cookies
- Lemon Oatmeal Cookies
- Lemon Zucchini Cookies
- Lemon Thumbprint Cookies
- Lemon Meltaway Cookies
- Double Lemon Cookies
- Lemon Cream Pie Cookies
- Lemon Jello Sugar Cookies

These Lemon Cream Cheese Cookies truly represent everything you could want in a lemon dessert: soft, wonderfully thick, bursting with fresh lemon flavor, and finished with a perfectly sweet and tangy lemon glaze. They are a ray of sunshine in cookie form, perfect for brightening any day!


Speaking of simple pleasures, my little one absolutely adores her Bahama Bucks! She spends a couple of precious hours twice a week with her beloved nanny, who, coincidentally, shares her love for Bahama Bucks. And wouldn’t you know it, their special day together happens to fall on a “Two Dollar Tuesday” at our local store! So, almost without fail, they make a weekly pilgrimage to share a delightful shaved ice. I confess, I was never much of a shaved ice enthusiast until I tried the ones here – they truly rival the famous Hawaiian versions. There’s something magical about adding a scoop of creamy ice cream to a snow cone that transforms it into a million times better experience! Does anyone else wholeheartedly agree? It’s these small, consistent joys that make life so sweet, much like a perfect batch of homemade lemon cream cheese cookies.

