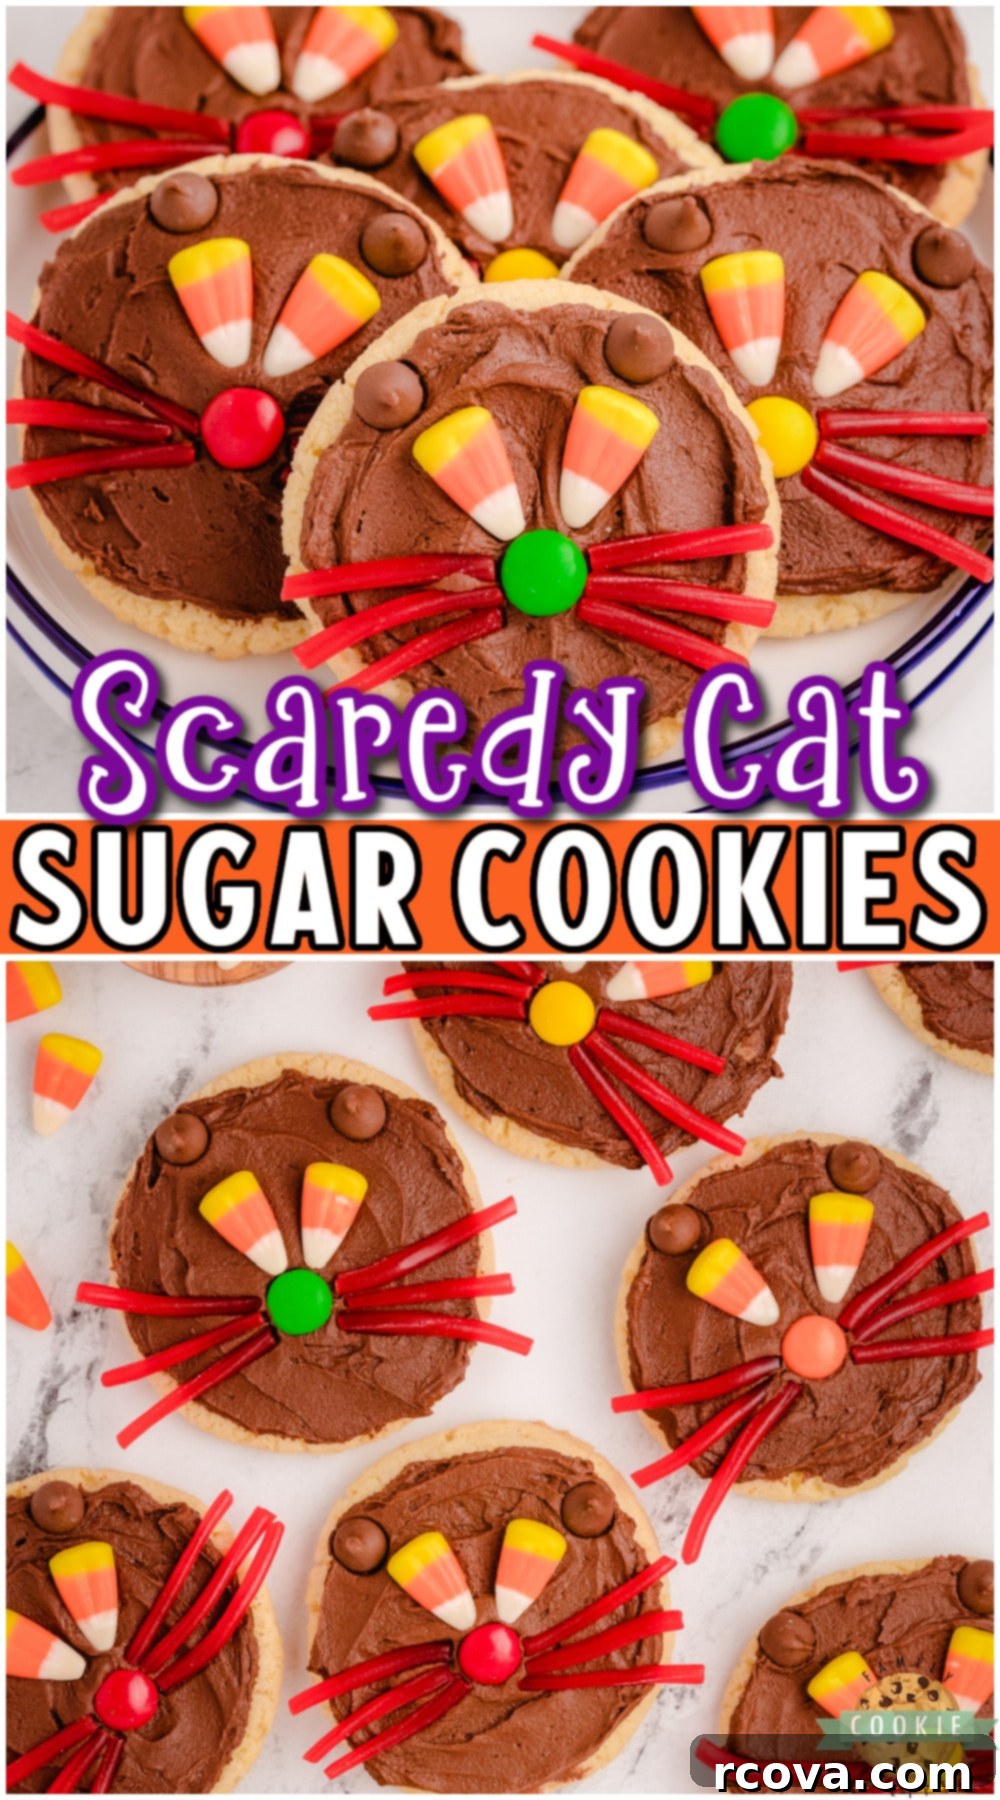
Spooktacularly Simple: Easy Halloween Cat Cookies for Festive Fun
Get ready for some enchanting Halloween baking with our irresistibly cute and incredibly easy Halloween Cat Cookies! These festive “Scaredy Cat” Halloween cookies are a purr-fectly delightful treat, designed to bring joy and a touch of spooky charm to your celebrations. Crafted with a convenient packaged cookie mix, adorned with rich homemade chocolate buttercream frosting, and decorated with an assortment of candies, they’re guaranteed to be a hit with both kids and adults alike.
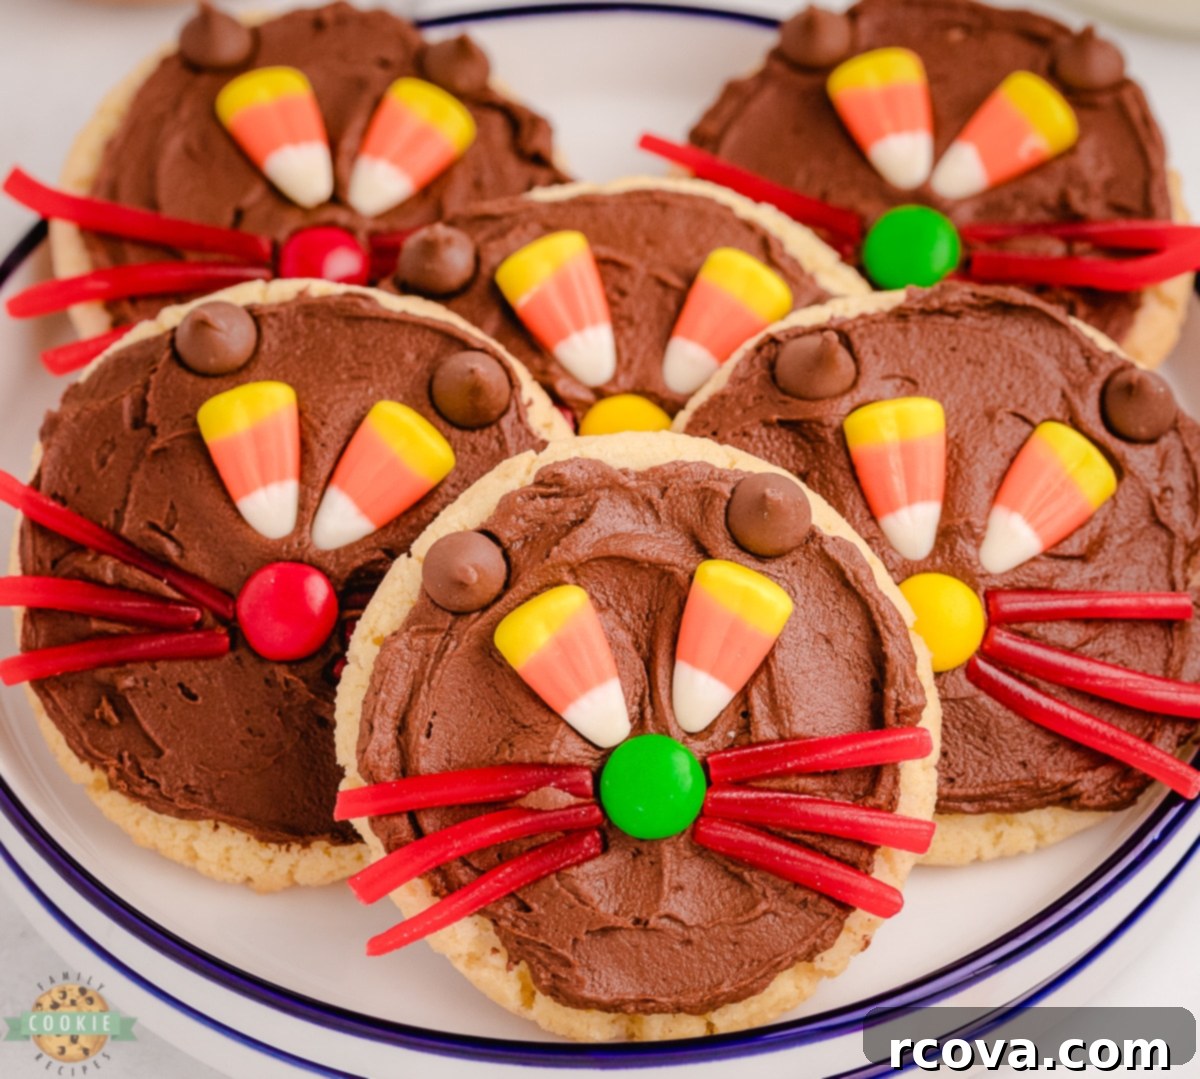
Making these adorable cat cookies is a breeze. From mixing the dough to the creative assembly of the cat faces, the process is straightforward and fun. These Halloween sugar cookies are not just delicious; they’re an engaging activity perfect for family and friend gatherings. Invite your little ones to join in the decorating fun and watch their faces light up as they transform simple cookies into charming black cats. They make a fantastic addition to any Halloween party spread or a special autumn treat for school events.
Why These Festive Halloween Cookies Are a Must-Make
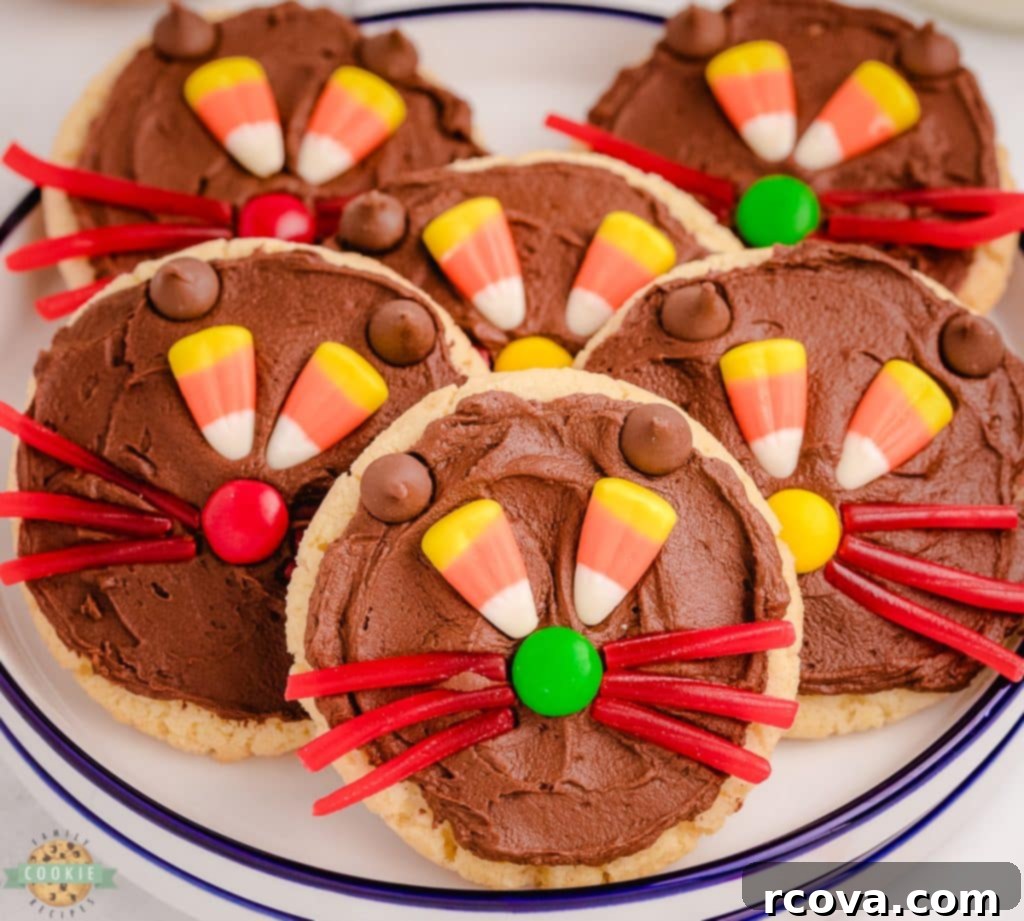
While some Halloween treats aim for spooky, our Halloween Cat Cookies are all about charming cuteness! Black cats hold a special, traditional place in Halloween lore, and we simply couldn’t resist incorporating their iconic silhouette into a delicious, edible creation. This easy cookie recipe allows you to embrace the festive spirit and enjoy your favorite candies atop a rich chocolate-frosted cookie. While our homemade chocolate buttercream recipe adds a touch of gourmet flavor, you can certainly opt for store-bought chocolate icing for an even quicker assembly. These cookies strike the perfect balance of Halloween fun and delicious simplicity, making them a personal family favorite – my kids especially loved getting involved in every step!
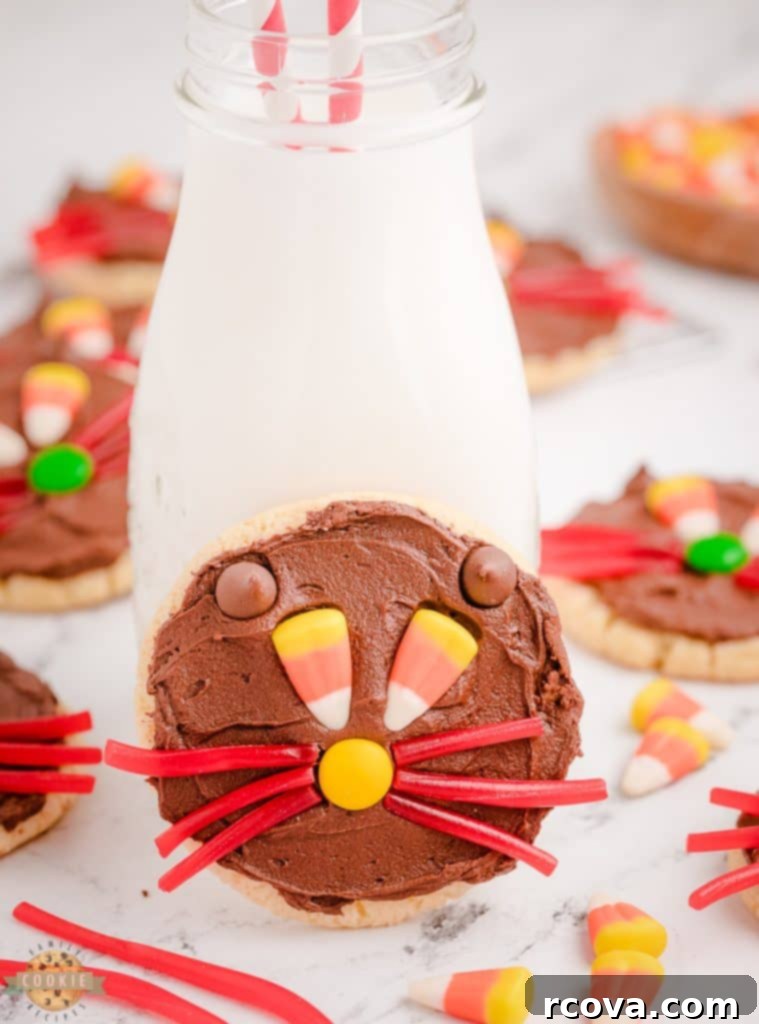
Reasons You’ll Absolutely Adore This Festive Cookie Recipe
If you’re still on the fence about whipping up a batch of these enchanting Halloween Cat Cookies, allow us to share a few more compelling reasons why they’re the ultimate festive treat:
- Unbelievably Cute Factor: Let’s be honest, who can resist a cookie shaped like an adorable black cat? Their charming design makes them an instant favorite at any Halloween gathering. The playful expressions created with candy are sure to draw smiles and compliments.
- Effortless to Follow Steps: We’ve designed this recipe to be incredibly user-friendly. The instructions for making and assembling these cookies are straightforward and easy to follow, making it an ideal baking project for the whole family. Kids can confidently assist with many of the steps, especially the decorating. Just remember to pre-sort your candies, or your cute cats might end up with some “missing” features thanks to enthusiastic little helpers!
- Semi-Homemade with Gourmet Taste: This recipe leverages the convenience of a store-bought cookie mix for the base, saving you precious time and ensuring consistent results. However, we elevate the experience by adding a decadent, rich homemade chocolate buttercream frosting. This delightful combination offers the best of both worlds: speed and an incredibly delicious, bakery-quality taste. It’s the perfect balance for busy bakers who still want impressive results.
- Easily Scalable for Any Occasion: Planning a large Halloween bash or a school potluck? No problem! This recipe is incredibly versatile and can be easily doubled, tripled, or even quadrupled to produce a generous amount of cookies. You’ll have plenty to share with friends, family, classmates, or fellow cat enthusiasts at any themed party or event.
- Perfect for All Skill Levels: Whether you’re a seasoned baker or just starting out, these cookies are forgiving and fun. The simplicity of the ingredients and the step-by-step guidance ensure success, boosting confidence in the kitchen.
- A Unique Halloween Centerpiece: Beyond just being a snack, these scaredy cat cookies can serve as a charming centerpiece for your Halloween dessert table. Their distinct look adds a personalized and creative touch to your decorations.
Essential Ingredients for Your Halloween Cat Cookies
Creating these delightful cookies requires a few key components, blending convenience with homemade goodness. Here’s what you’ll need:
For the Cookie Base:
Sugar Cookie Mix: We begin with 1 14-ounce package of your favorite store-bought sugar cookie mix. Opting for a quality mix provides a fantastic, consistent base for our cookies and significantly speeds up the preparation process, allowing you more time for the fun decorating stage.
Butter: You’ll need ½ cup (one stick) of unsalted butter, softened to room temperature. Butter is crucial for adding a rich, tender texture and delicious flavor to your cookies, ensuring they melt in your mouth.
Egg: Just 1 large egg is necessary to bind the cookie dough ingredients together, contributing to both the structure and moisture of the cookies for a perfect bake.
For the Decadent Chocolate Buttercream Frosting:
The homemade chocolate buttercream is where these cookies truly shine, providing a rich, smooth canvas for our cat faces.
Butter: Another ½ cup (one stick) of softened unsalted butter is required for the frosting. This forms the creamy foundation, giving the buttercream its luxurious texture and rich flavor.
Shortening: Adding ¼ cup of vegetable shortening is the secret to a super smooth, stable, and wonderfully creamy frosting that holds its shape beautifully and is easy to spread.
Semi-Sweet Chocolate Chips: You’ll need ½ cup of semi-sweet chocolate chips, which will be melted down. These provide a deep, authentic chocolate flavor and contribute to the dark color essential for our black cats.
Unsweetened Cocoa Powder: An additional ½ cup of unsweetened cocoa powder intensifies the chocolate flavor and creates the perfect dark, rich brown color for our feline friends.
Powdered Sugar: The bulk of our frosting is 2 cups of powdered sugar (confectioners’ sugar). This finely milled sugar dissolves smoothly, giving the buttercream its characteristic silky texture and ideal sweetness without any graininess.
Milk: Approximately 3 tablespoons of milk are used to adjust the frosting to your desired consistency. You might need slightly more or less depending on the humidity and how soft your butter is, so add it gradually.
Vanilla Extract: Just 1 teaspoon of pure vanilla extract enhances all the chocolate flavors, adding a wonderful aromatic depth to the frosting.
For the Adorable Cat Decorations:
The magic happens with these simple candy components that bring our black cats to life!
Chocolate Chips: You will need 48 large chocolate chips (regular-sized chips work best). These are perfect for creating pointy, upright cat ears, giving each cookie character.
Candy Corns: Gather 48 candy corn candies. Their distinct shape and color make them ideal for crafting the expressive eyes of our Halloween cats, adding a classic festive touch.
Candy-Coated Chocolates: Prepare 24 of these candies. You can use popular name brands like M&Ms or a good quality off-brand. For a cleaner look, we suggest flipping them over so the “M” or brand marking isn’t visible, providing a smooth, round nose for each cat.
Licorice (Pull-Apart Type): For the playful cat whiskers, you’ll want a pull-apart licorice variety, like Twizzlers. Cut these into 1-inch long segments and gently separate them into individual strands. You’ll need plenty to give each cat a full set of charming whiskers.
Step-by-Step Guide: How to Make Halloween Cat Cookies
Step 1: Prep Your Baking Station
Begin by preheating your oven to a precise 350°F (175°C). While the oven heats, prepare your cookie sheets by lining them with parchment paper or a silicone baking mat. This ensures your cookies won’t stick and will bake evenly. Set these aside, ready for the dough.
Step 2: Craft the Perfect Cookie Dough
In a spacious medium-sized mixing bowl, combine the dry sugar cookie mix, the softened butter, and the egg. Stir these ingredients together thoroughly until they are well blended and form a cohesive dough. Once your dough is ready, use a rounded tablespoon to scoop out portions. Place these dough balls about 2 inches apart on your prepared parchment-lined cookie sheet to allow for even spreading during baking.
Carefully place the cookie sheet into the preheated oven and bake for approximately 11-13 minutes. Baking times can vary depending on your oven, so keep an eye on them. The cookies should be lightly golden at the edges but still soft in the center. Once baked, remove them from the oven and, this step is crucial for successful decorating, let the cookies cool completely on the baking sheet before attempting to apply any frosting or decorations. Warm cookies will cause your frosting to melt and slide off.
Step 3: Whip Up the Luxurious Chocolate Buttercream Frosting
To create the rich chocolate buttercream frosting, grab your electric handheld mixer. In a large bowl, beat together the softened butter and shortening until the mixture is incredibly smooth and light, typically for 2-3 minutes. This aeration is key to a fluffy frosting.
Next, in a separate small, microwave-safe bowl, melt your semi-sweet chocolate chips. Microwave them in short 30-second intervals, stirring well after each burst. Continue heating in 10-second increments until the chocolate is fully melted and smooth. Be careful not to overheat! Once melted, add the warm, melted chocolate chips and the unsweetened cocoa powder to your butter mixture. Mix all these ingredients thoroughly until they are smoothly incorporated and uniformly colored.
Now, it’s time to add the powdered sugar and milk. Alternate adding small amounts of powdered sugar and milk to the chocolate mixture, mixing well after each addition. Continue this process until your frosting reaches your desired consistency – smooth, spreadable, but firm enough to hold its shape. Finally, stir in the vanilla extract and mix one last time to ensure all flavors are perfectly blended.
Step 4: Assemble Your Adorable Cat Cookies
Once your cookies are completely cool and your frosting is ready, it’s time for the fun part: assembly! Take 1-2 tablespoons of the velvety chocolate buttercream frosting and spread it evenly over the top of each cooled cookie. Don’t worry about perfection; a slightly rustic look adds to the charm.
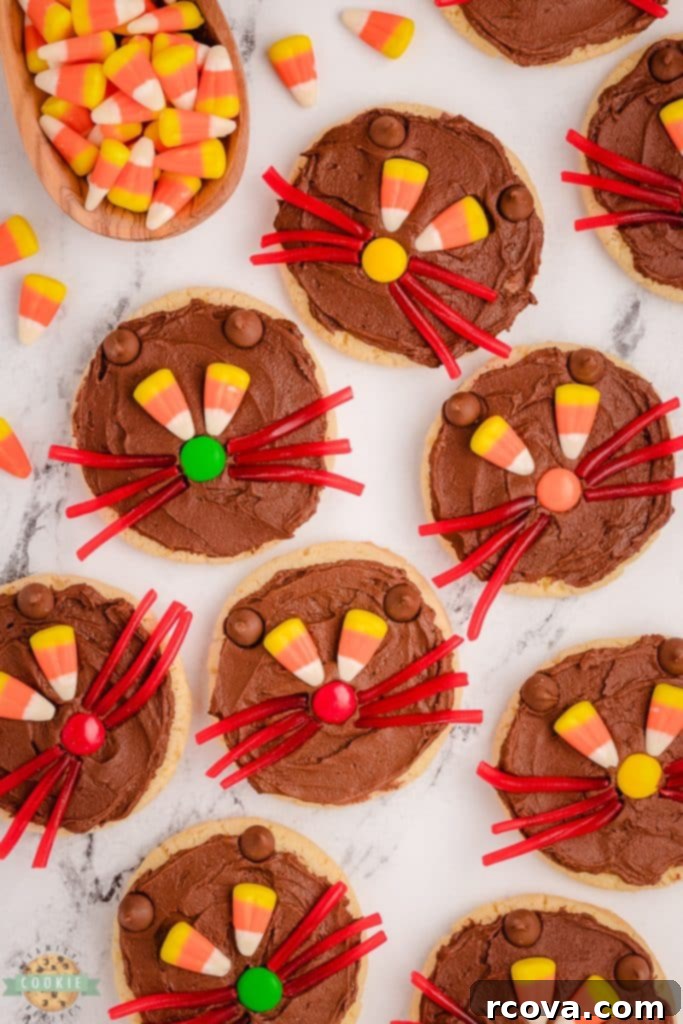
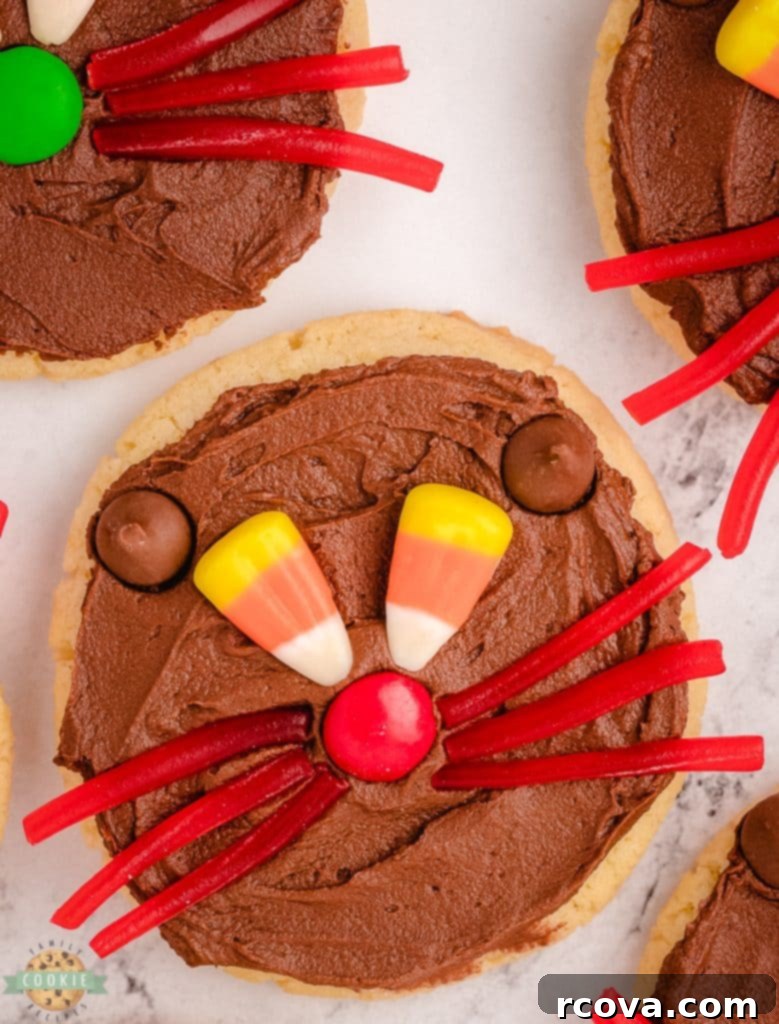
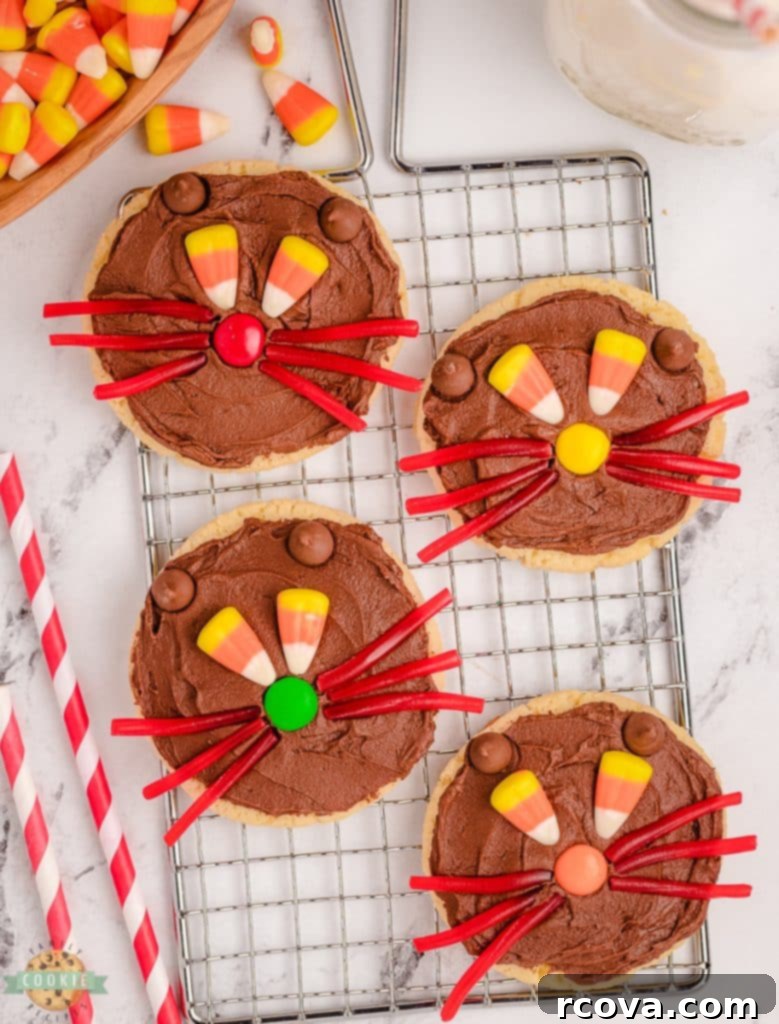
Now, it’s time to bring your cats to life with the candy decorations! Arrange two candy corns near the top center of each cookie to form the eyes, positioning them slightly slanted for a “scaredy cat” expression if you like. Next, gently press two large chocolate chips onto the top edge of the cookie, points facing upwards, to create those iconic pointy cat ears. Place one round candy-coated chocolate in the center, just below the eyes, for the nose. Finally, carefully position three to four pull-apart licorice ropes on either side of the nose to form the whiskers. Repeat this process for all your cookies.
Serve your adorable Halloween Cat Cookies immediately and enjoy the cheers and delight they bring!
Halloween Cat Cookie
Print
Pin
Rate
Ingredients
- 14 oz sugar cookie mix
- ½ cup Butter 1 stick, softened
- 1 Egg
Chocolate Buttercream Frosting Ingredients
- ½ cup Butter 1 stick, softened
- ¼ cup Shortening
- ½ cup Semi-sweet chocolate chips melted
- ½ cup Cocoa powder
- 2 cups Powdered sugar
- 3 tbsp Milk
- 1 tsp Vanilla extract
Cat decorations
- 48 Chocolate chips regular sized chocolate chips works best.
- 48 Candy corns
- 24 Candy-coated chocolates: we used M&Ms and flipped them over, so the M wasn’t showing.
- 2-3 Licorice-Twizzlers Cut them into 1 inch long segments and separate them.
Instructions
-
Prep: Start by preheating the oven to 350°F (175°C). Then, line a cookie sheet with parchment paper or a silicon mat and set it aside, ensuring your workspace is ready for baking.
-
Cookie Dough: In a medium-sized bowl, combine the dry cookie mix, softened butter, and egg. Stir these ingredients together until they are thoroughly blended and form a smooth dough. Then, drop rounded tablespoons of cookie dough 2 inches apart onto the prepared parchment-lined cookie sheet to allow for proper spreading.
-
Proceed to bake the cookies in the preheated oven for 11-13 minutes, or until the edges are lightly golden. It is essential to let the cookies cool completely on the baking sheet before moving them or attempting to frost them, as warm cookies will melt the frosting.
-
Frosting: To prepare the rich chocolate buttercream frosting, use an electric handheld mixer to beat together the softened butter and shortening until the mixture is light, fluffy, and completely smooth.
-
After that, in a small, microwave-safe bowl, melt the chocolate chips. Microwave for 30 seconds, stir, and then continue heating in 10-second intervals until fully melted and smooth. Add the melted chocolate chips and cocoa powder to the butter mixture, mixing all ingredients until well combined and smooth.
-
Next, gradually incorporate the powdered sugar and milk, alternating between the two, until you achieve your desired frosting consistency—creamy and spreadable. Finally, add in the vanilla extract and mix once more to fully blend the flavors.
-
Assemble: Carefully spread 1-2 tablespoons of the chocolate buttercream frosting over the top of each cooled cookie. Then, get creative with your candy! Arrange candy corns for the eyes, two large chocolate chips for the pointy ears, a round chocolate candy for the nose, and several pull-apart licorice ropes for the whiskers. Serve your festive Halloween Cat Cookies immediately and delight in your adorable creations!
Notes
Nutrition
Storage Tips: How Long Do Frosted Cookies Last?
To keep your festive Halloween Cat Cookies tasting their best, store them in an airtight container at room temperature. They will remain fresh and delicious for up to 5 days. For optimal flavor and texture, however, we highly recommend enjoying them within 2 or 3 days of baking. Over time, the candy decorations, especially candy corn and licorice, tend to become a bit stale or hardened, diminishing the overall enjoyment. Proper storage helps maintain the cookies’ softness and the frosting’s creamy texture.
Expert Tips for Melting Chocolate Perfectly
Melting chocolate can be tricky, but with a few simple techniques, you’ll achieve a smooth, glossy result every time. Place your chocolate chips in a clean, microwave-safe bowl. Microwave in short bursts of 30 seconds. After each interval, remove the bowl and stir the chocolate thoroughly. Even if it doesn’t look melted, stirring helps distribute the heat. Continue this process, using 10-second intervals for the final stages, until the chocolate is completely smooth and free of lumps. The key is to melt it slowly and gently. Be extremely careful not to overheat the chocolate, as this can cause it to “seize” – meaning it becomes thick, lumpy, and unusable. Unfortunately, once chocolate seizes, it’s very difficult to fix, so it’s best to start over. For an alternative method, you can also melt chocolate using a double boiler over simmering water, stirring constantly until smooth, which offers more controlled heat.
The Best Way to Soften Butter
Softened butter is essential for creamy frosting and tender cookies. My go-to method for softening butter quickly is using the defrost function on my microwave. If you need a full ½ cup cube of butter, you can leave it in its paper wrapper. Otherwise, place the exact amount of butter you need in a glass or porcelain bowl. Set your microwave to its lowest defrost setting and run it for just 20 seconds. After 20 seconds, check the butter’s softness by gently pressing it with a rubber scraper or your finger. It should yield slightly and leave an indent without being melted or greasy. If it’s still too firm and doesn’t indent easily, return it to the microwave for another 5-10 seconds on the defrost setting. It’s crucial to watch it very closely, as butter can go from perfectly softened to melted in a matter of seconds. Avoid fully melted butter, as it will negatively affect the texture of both your cookie dough and frosting.

I absolutely adore watching my kids interact and build strong relationships with their cousins! I honestly can’t even recall what game they were engrossed in, but they were completely entertained and genuinely enjoying each other’s company for a significant amount of time. Cousins truly make the best friends, and these memories are priceless!

Discover More Delicious Halloween Recipes You’ll Love!
If you’re still craving more festive baking ideas for the spooky season, explore these other fantastic Halloween-themed recipes from our collection:
- M&M HALLOWEEN COOKIES
- ICED PUMPKIN COOKIES
- SPICED APPLE COOKIES
- HALLOWEEN COBWEB COOKIES
- PUMPKIN SNICKERDOODLES
- CARAMEL APPLE CAKE MIX COOKIES
- HALLOWEEN FUNFETTI COOKIES
- PUMPKIN CHEESECAKE GINGER COOKIES
- APPLE PIE COOKIES
- Pumpkin Pudding Cookies
- Caramel Apple Snickerdoodles
- Maple Donut Cookies
These Halloween Cat Cookies are more than just a sweet treat; they’re a joyful activity that brings families together in the kitchen. With their simple preparation, delightful chocolate buttercream, and charming candy decorations, these cat Halloween cookies are destined to become a beloved tradition. They are easy to make, come together quickly, and disappear just as fast, leaving everyone with happy memories and a taste of Halloween magic!
