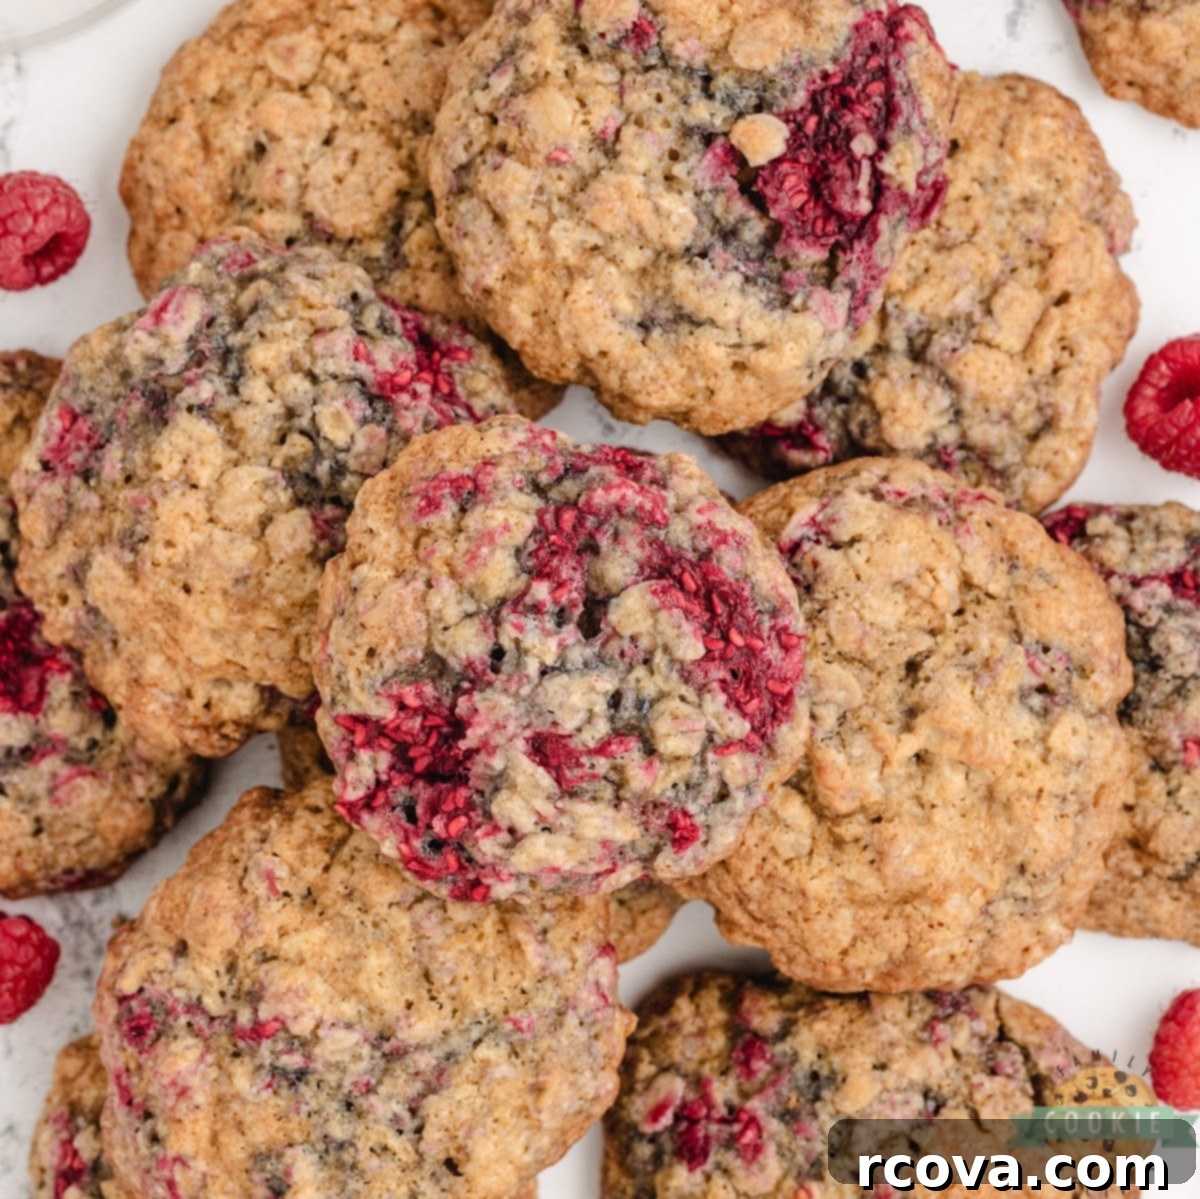
The Ultimate Chewy Raspberry Oatmeal Cookies: A Delightful Twist on a Classic Recipe
There’s something incredibly comforting about a warm, soft, and chewy oatmeal cookie. But what if you could elevate that classic comfort to an exciting new level? Introducing our incredible Raspberry Oatmeal Cookies – a recipe that takes everything you love about traditional oatmeal cookies and infuses them with the bright, sweet-tart burst of frozen raspberries. These aren’t just any cookies; they are an amazing oatmeal cookie recipe with a delicious, fruity twist that will quickly become a cherished favorite in your household.
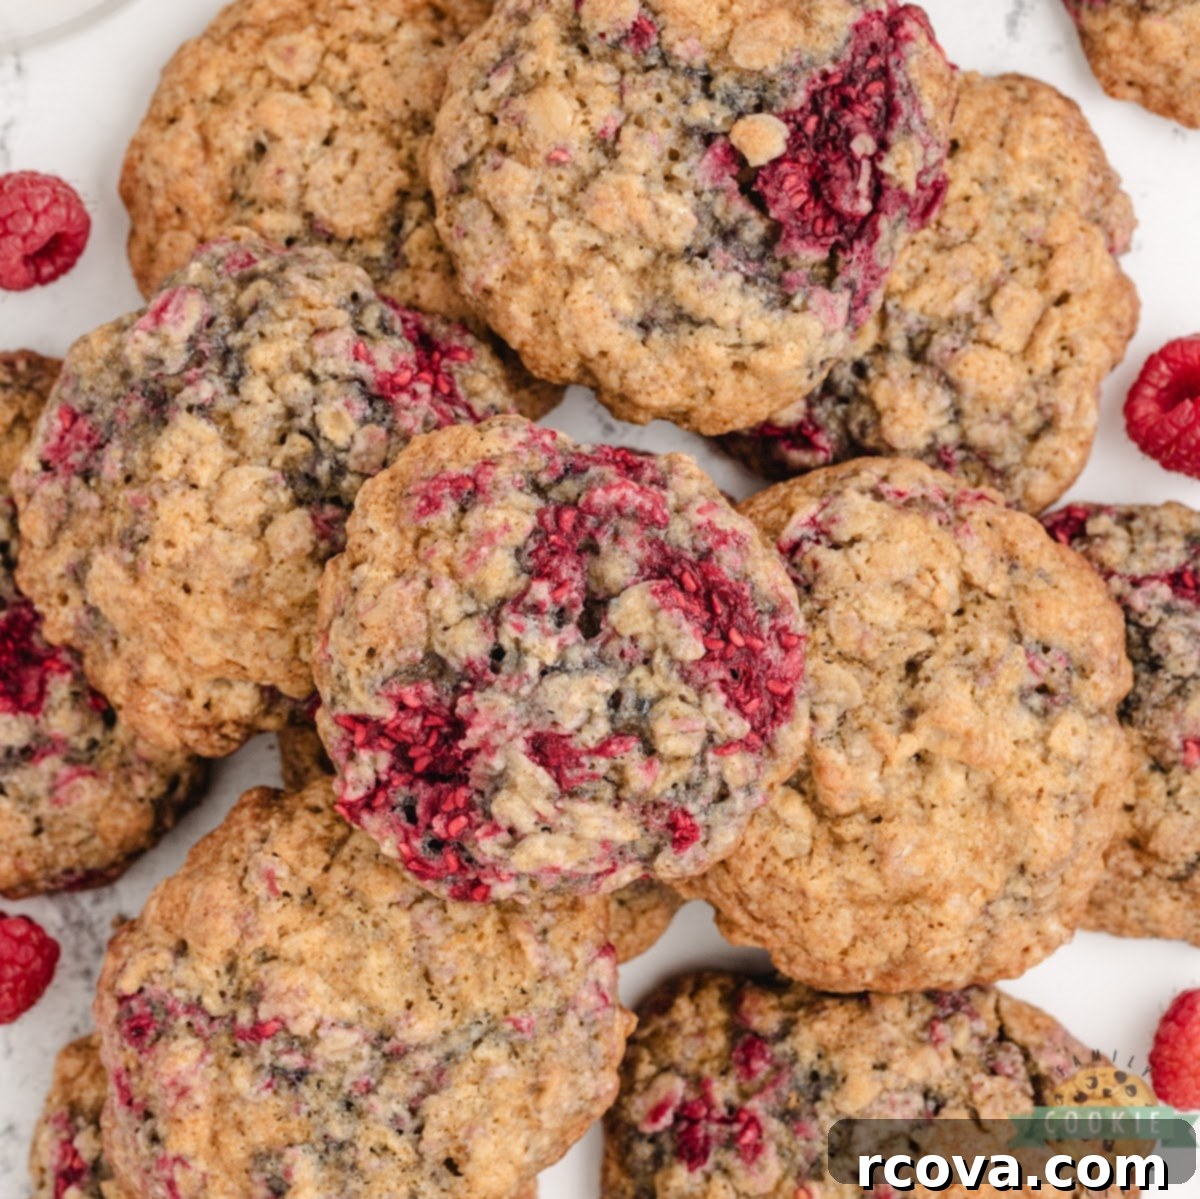
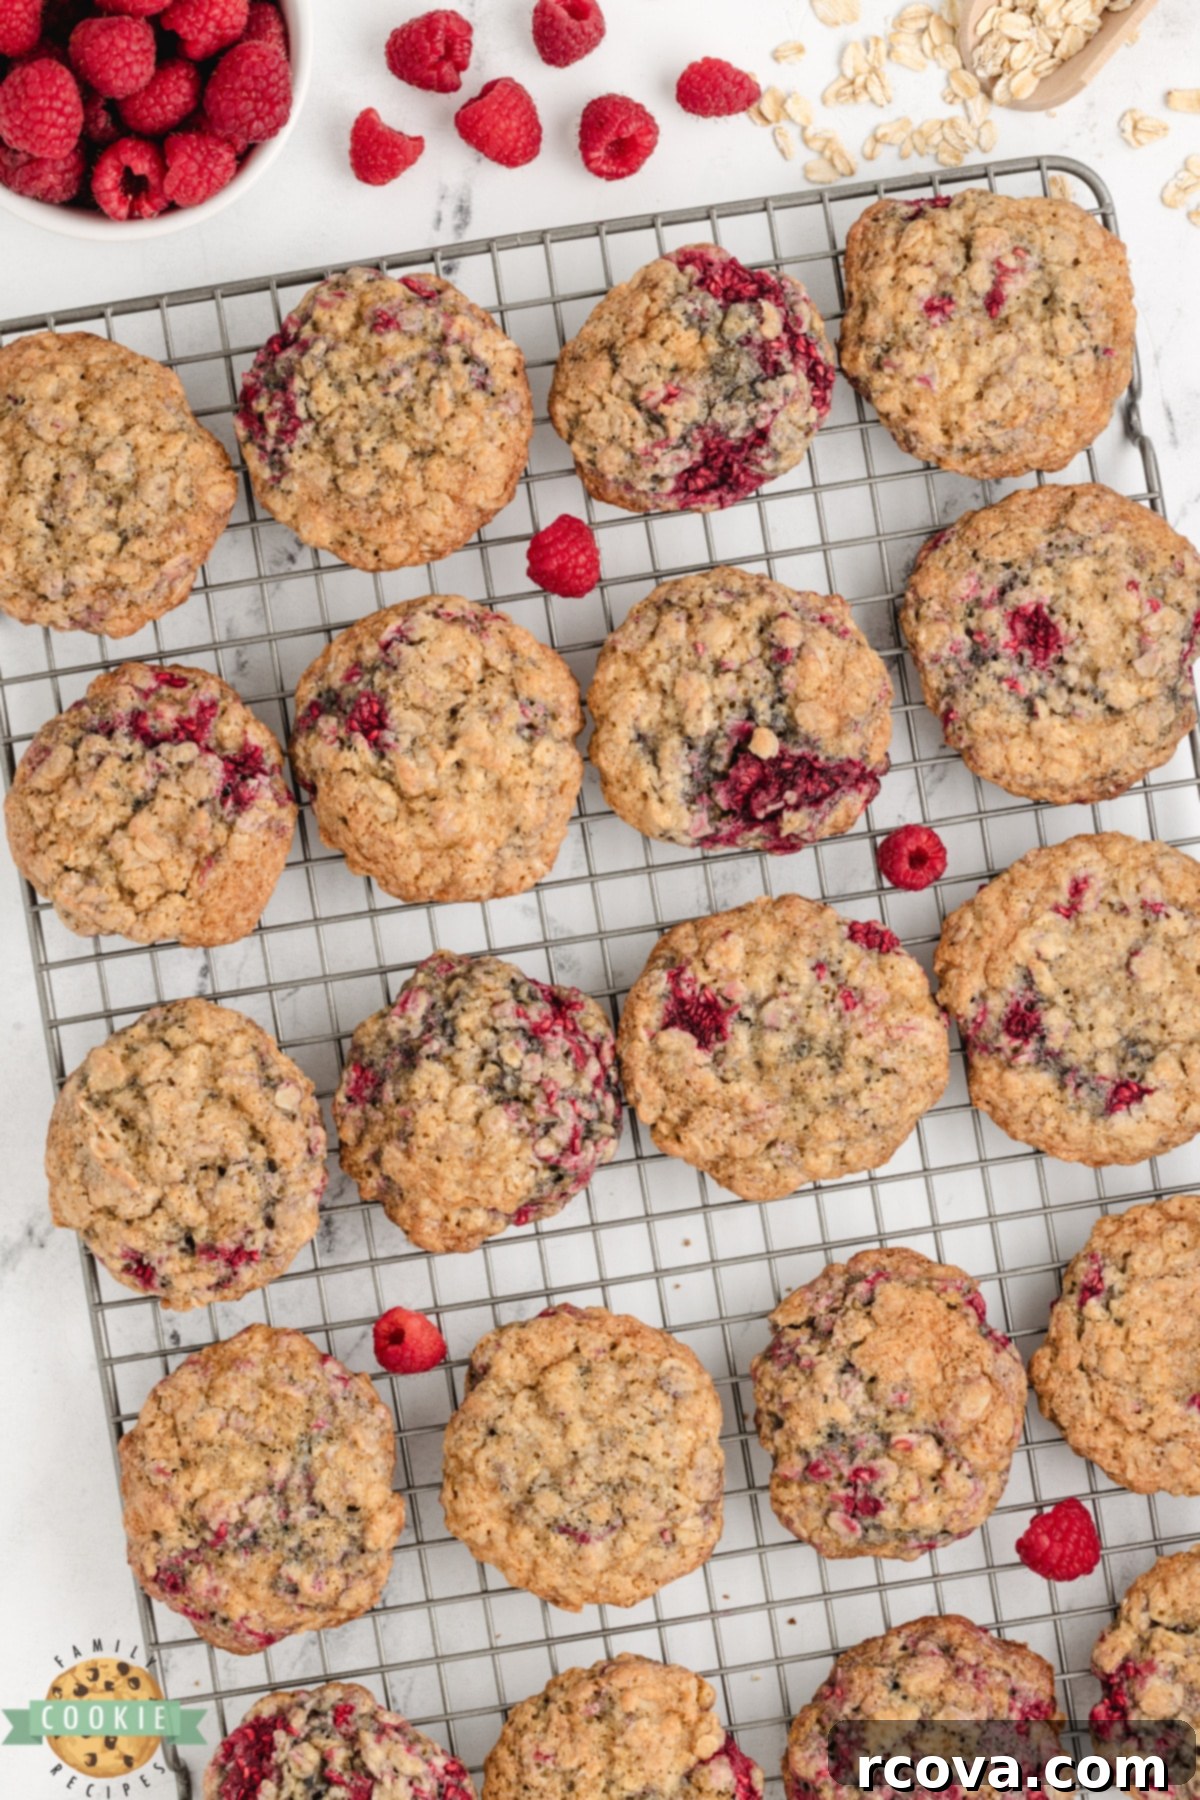
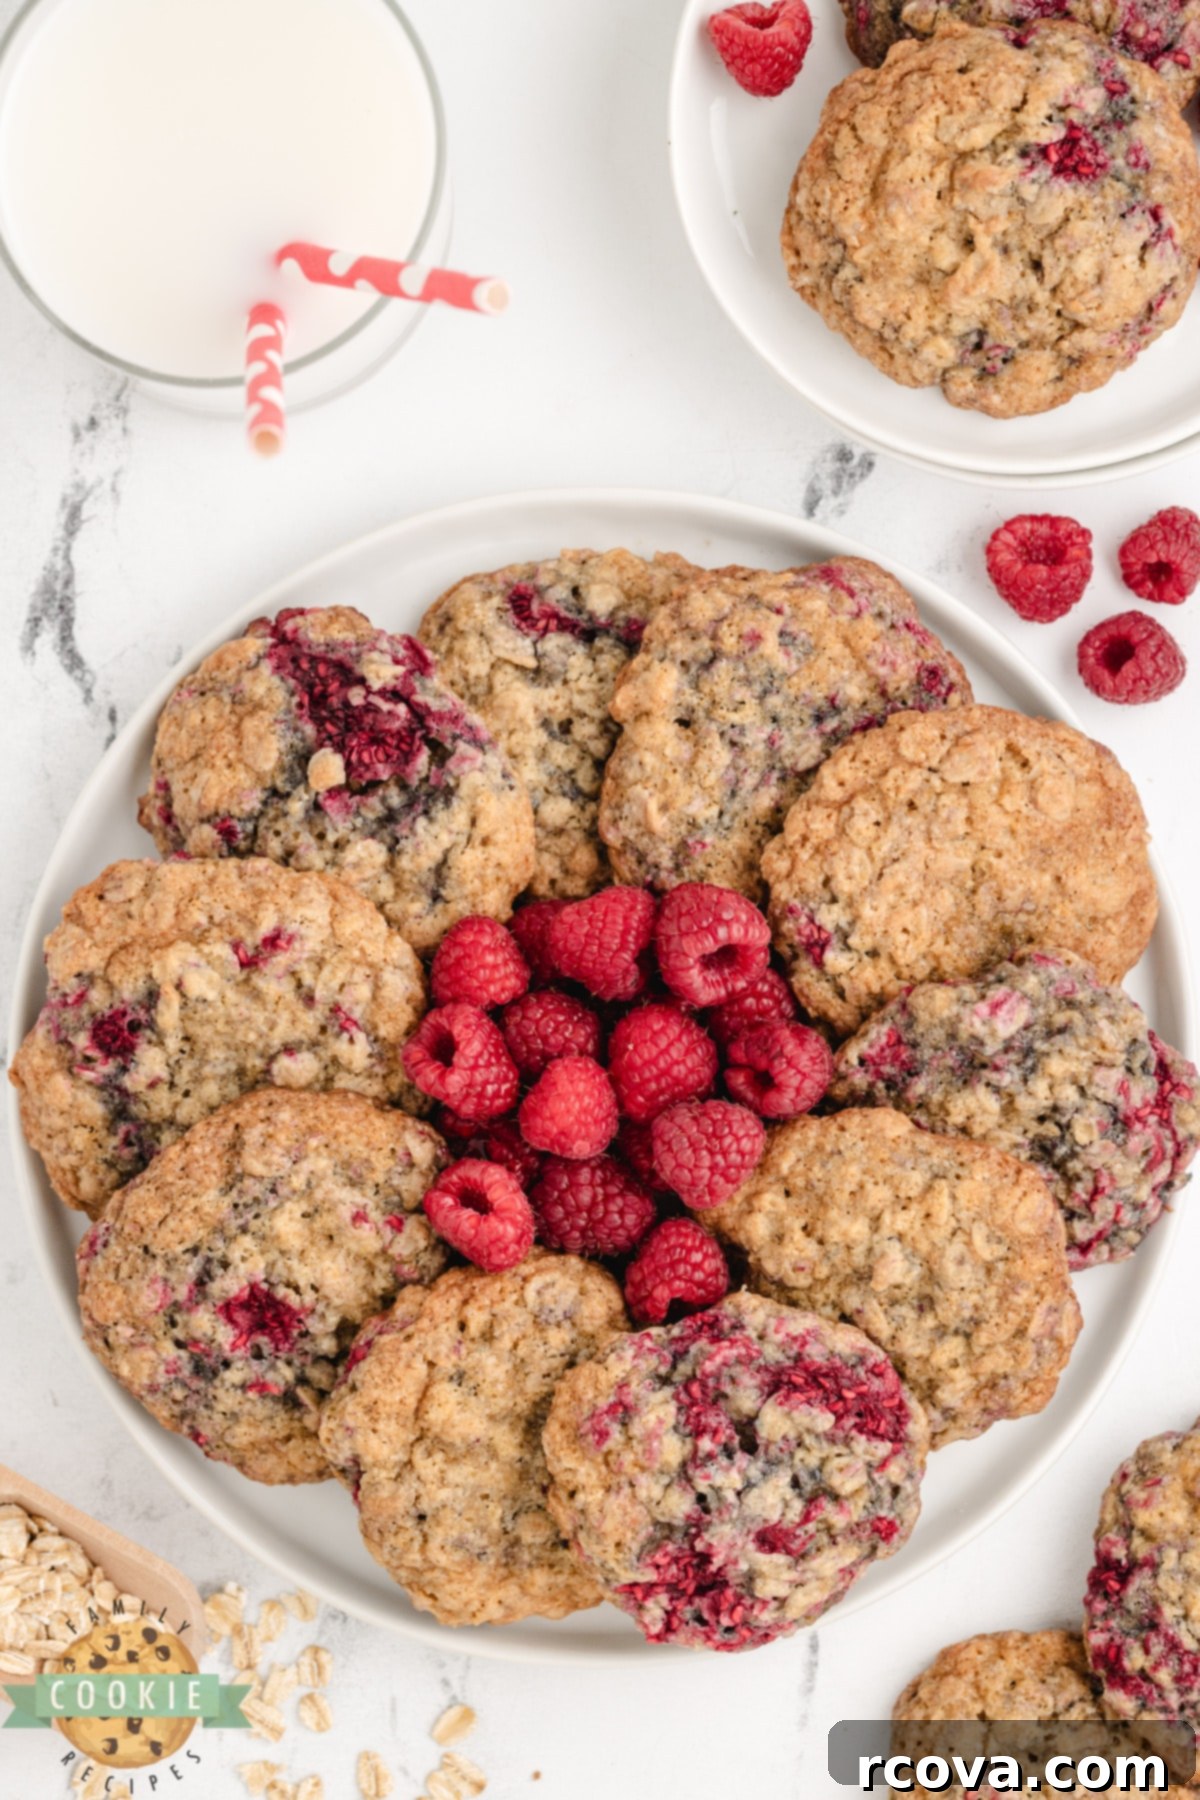
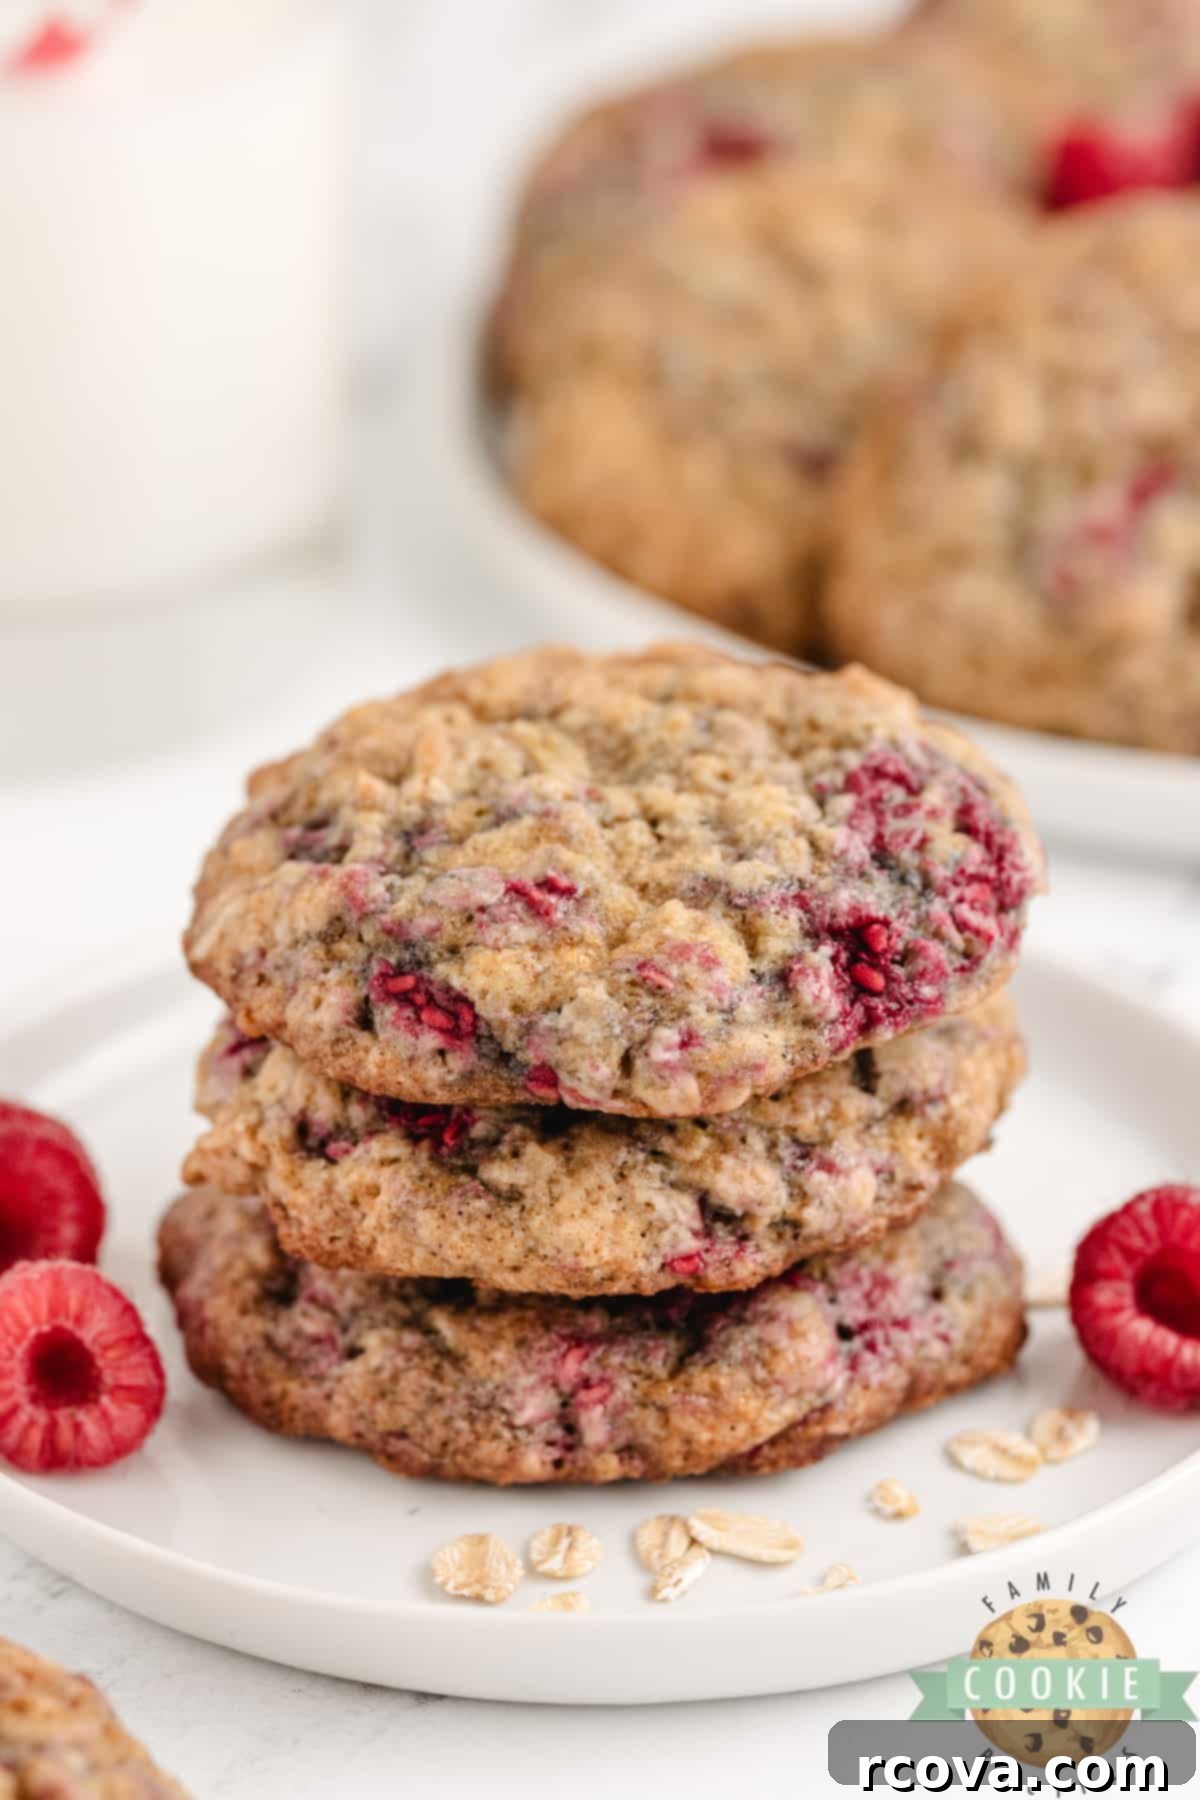
Imagine biting into a cookie that’s perfectly soft and chewy, with the satisfying texture of rolled oats, only to discover pockets of juicy, slightly tangy raspberries that cut through the sweetness. That’s exactly what these raspberry oatmeal cookies offer. They are easy to make, require simple ingredients, and deliver an unforgettable flavor experience. Whether you’re a seasoned baker or just starting out, this recipe promises delightful results every time.
Why You’ll Fall in Love with These Raspberry Oatmeal Cookies
These homemade raspberry cookies are more than just a treat; they’re a celebration of simple flavors done right. Here’s why they’ll earn a permanent spot in your recipe collection:
- Effortless with Simple Ingredients: You won’t need to hunt for obscure items. This oatmeal cookie recipe uses staple kitchen ingredients such as butter, sugars, eggs, flour, baking soda, baking powder, and cinnamon, all beautifully complemented by fresh or frozen raspberries. These are ingredients you likely already have, making these cookies a spontaneous delight.
- Incredibly Versatile for Endless Variations: While raspberries are undoubtedly fantastic, this recipe is a canvas for your creativity. Feel free to swap them out for other berries like juicy blueberries or tart blackberries, or even use a vibrant combination of your favorites. Want to take it up a notch? Add a handful of chocolate chips – milk, dark, or white chocolate chips all pair beautifully with berries. Chocolate and berries are a match made in heaven, making any addition always a good idea!
- Perfect Soft & Chewy Texture: We all know the magic of a perfectly baked cookie. This recipe delivers a consistently soft and wonderfully chewy texture that’s incredibly satisfying, a hallmark of the best chewy oatmeal cookie recipe. The rolled oats provide that classic texture without being too dense or dry.
- Bursting with Fresh, Balanced Flavor: The star of the show, the raspberries, provide a delightful counterpoint to the sweet and warm notes of the oats and cinnamon. Their natural tartness brightens the cookie, creating a balanced flavor profile that’s neither too sweet nor too heavy.
- A Unique Twist on a Classic: Oatmeal cookies are beloved for a reason, but sometimes a little something extra makes all the difference. The addition of raspberries transforms a familiar favorite into something fresh and exciting, offering a delicious surprise in every bite.
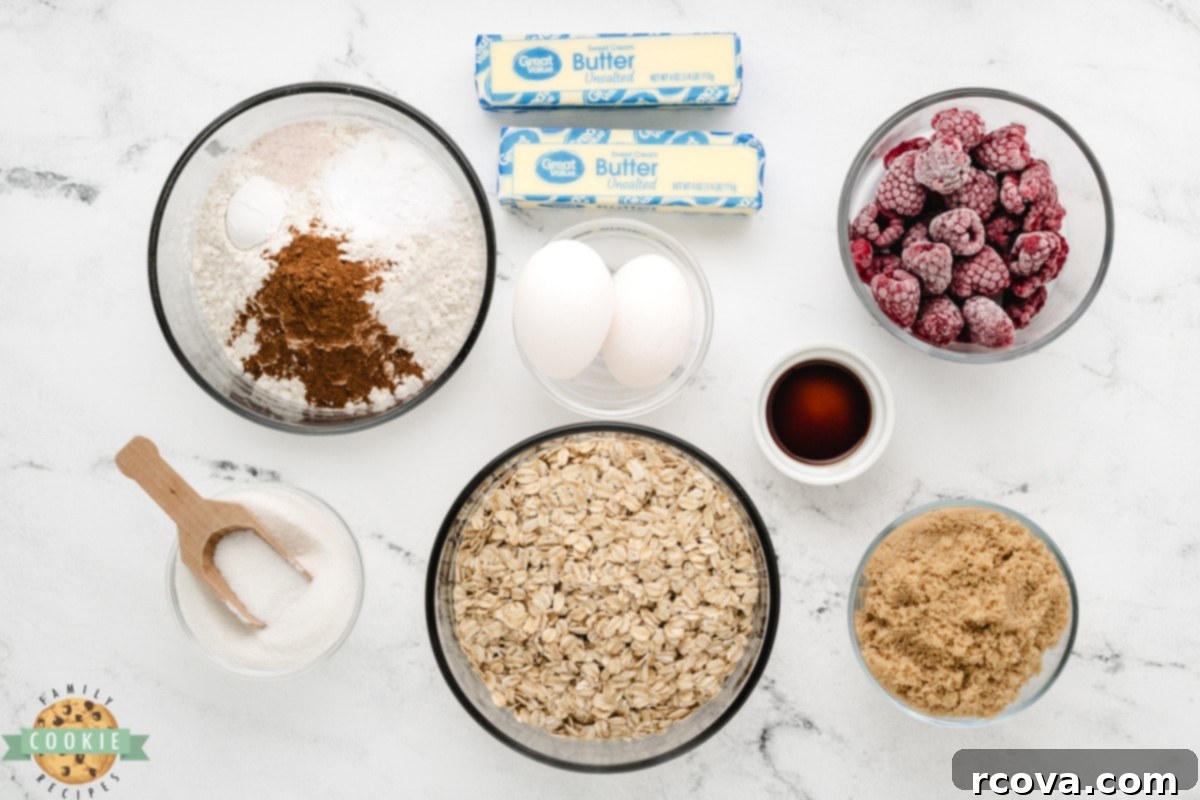
Essential Ingredients for Perfect Raspberry Oatmeal Cookies
Crafting the perfect soft oatmeal cookies starts with understanding the role of each ingredient. Here’s a detailed look at what you’ll need and why it matters:
- Butter: The recipe calls for 1 cup of butter, which equals two full sticks. For optimal results, ensure your butter is softened to room temperature. This allows it to cream properly with the sugars, creating a light and airy base for your cookie dough. Using real butter, not margarine, makes a significant difference in flavor and texture.
- Sugars (Brown Sugar & Granulated Sugar): This recipe utilizes a combination of brown sugar and granulated sugar. Brown sugar contributes to the cookies’ characteristic chewiness and adds a subtle molasses flavor, while granulated sugar provides sweetness and helps with spread and crisp edges. Always ensure your brown sugar is fresh and soft for the best texture and ease of mixing.
- Eggs: Two large eggs are essential binders, helping to hold all the ingredients together and providing moisture and richness to the dough. They contribute to the cookies’ soft, cake-like interior while keeping them from becoming crumbly.
- Vanilla Extract: A good quality vanilla extract is crucial for enhancing the overall flavor profile of these cookies. It complements the sweetness and the fruit, adding a depth that elevates the entire recipe. Don’t skimp on quality here; a pure vanilla extract makes a noticeable difference.
- Flour (All-Purpose): All-purpose flour provides the necessary structure for the cookies. It balances the wet ingredients and oats, ensuring the cookies hold their shape without being overly dense. If you need a gluten-free option, a good quality 1:1 gluten-free baking flour blend can often be substituted successfully.
- Baking Soda & Baking Powder: These are your leavening agents, responsible for the cookies’ rise and creating that desirable soft and slightly puffed texture. Ensure both are fresh and not expired, as their effectiveness diminishes over time. Proper leavening prevents flat, dense cookies.
- Cinnamon: Two teaspoons of ground cinnamon add a warm, inviting spice that pairs wonderfully with both the oats and the raspberries. It creates a comforting aroma and flavor that makes these cookies irresistible.
- Salt: Just a half teaspoon of salt might seem small, but it’s mighty. It balances the sweetness of the sugars and brightens all the other flavors, making them pop. Never skip the salt in baking!
- Oats (Rolled Oats/Old-Fashioned): The recipe specifies 2 ¾ cups of rolled oats (also known as old-fashioned oats). These oats provide the classic chewy texture and hearty structure. You can use quick oats if you prefer a less prominent texture, or for a nuanced chew, try a combination of half rolled oats and half quick oats.
- Raspberries (Frozen is Best): Add 1 cup of frozen raspberries to the dough. While fresh raspberries can be used, frozen raspberries are often preferred because they maintain their shape better during mixing and baking, and their moisture content is more consistent, which helps prevent over-hydration of the dough. If using fresh, make sure they are very dry and gently folded in.
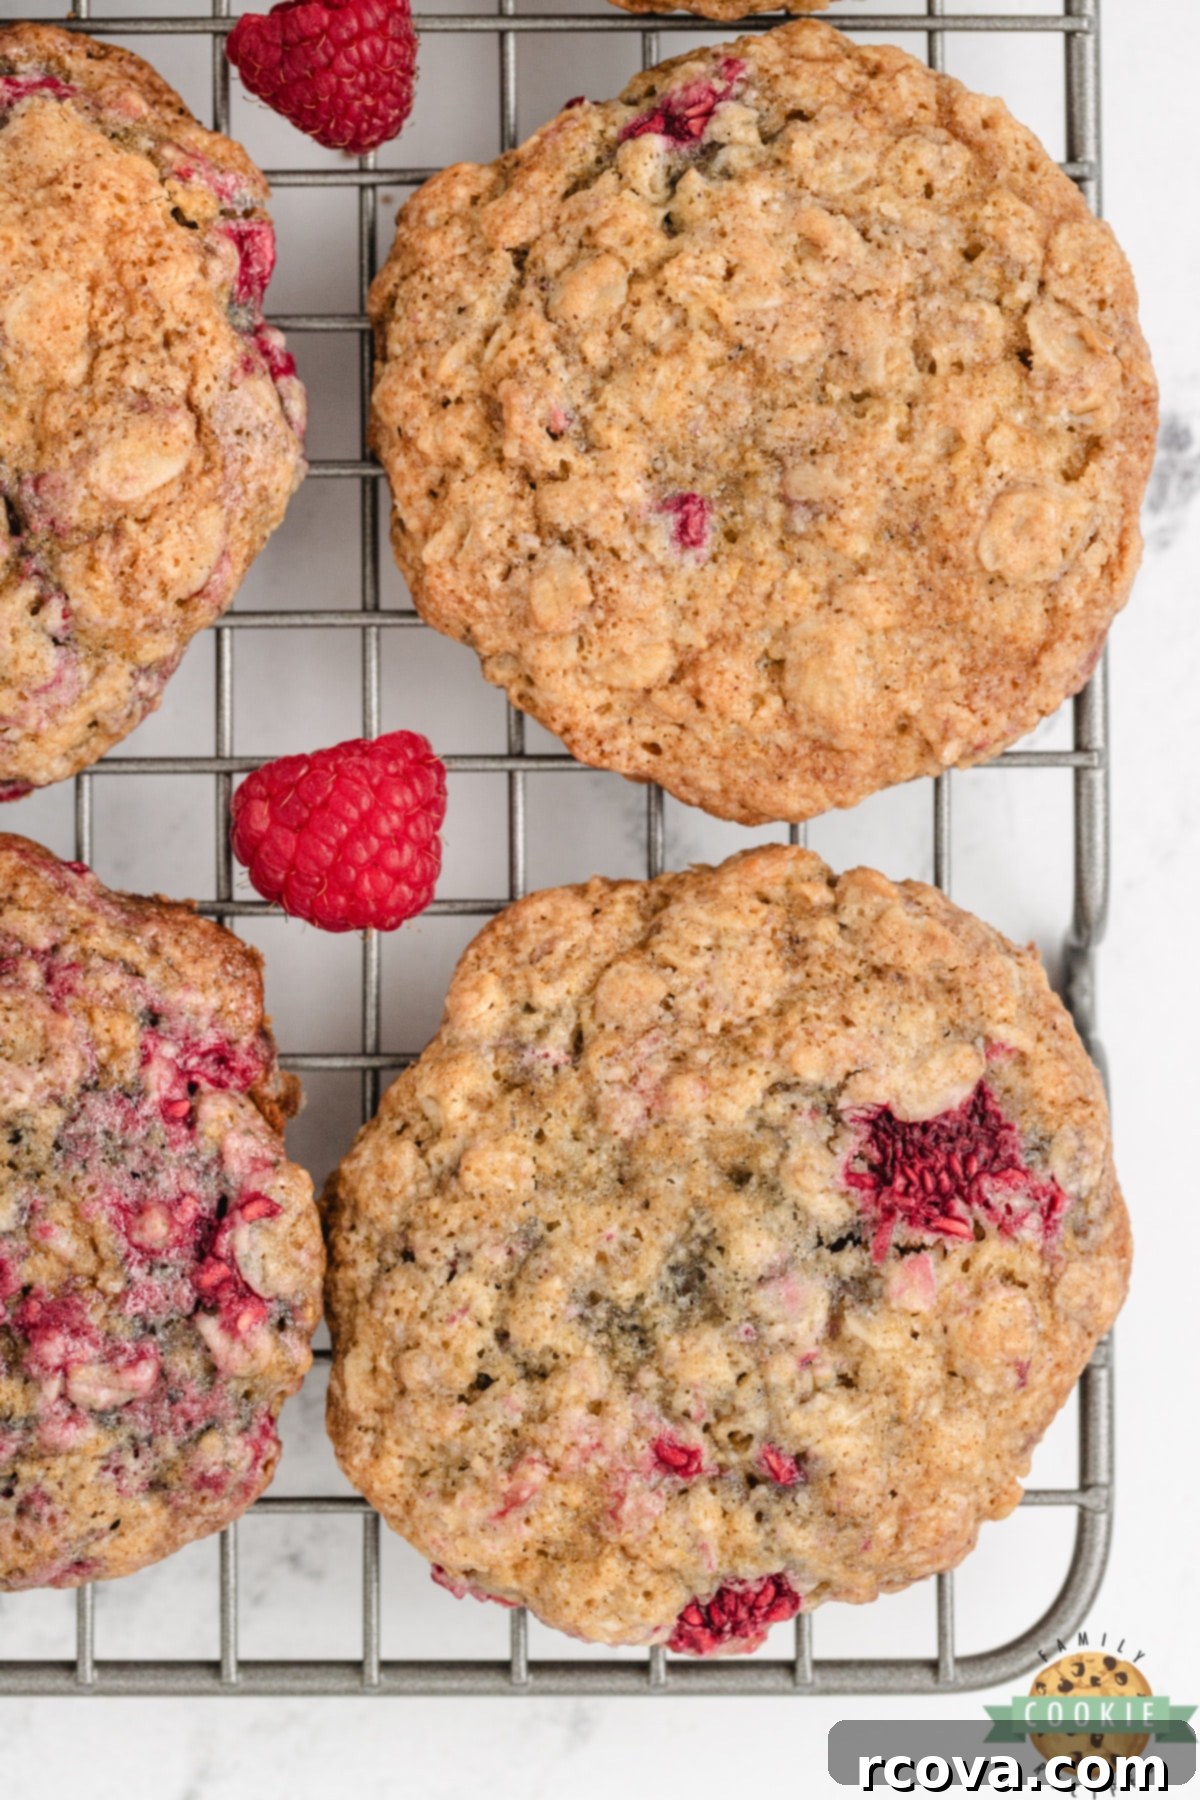
Step-by-Step Guide: How to Make Raspberry Oatmeal Cookies
Making these delicious raspberry oatmeal cookies is straightforward, but a few key techniques will ensure perfect results every time. The full, detailed instructions are available on the recipe card below, but here are some crucial tips to keep in mind:
- Preparation is Key – Preheat Your Oven: Always preheat your oven to 375°F (190°C) before you even start mixing. Placing cookies into a cold or insufficiently preheated oven can lead to excessive spreading and uneven baking. A hot oven helps set the edges quickly, resulting in a perfectly textured cookie.
- Creaming Butter and Sugars for the Perfect Base: Begin by creaming the softened butter with both brown sugar and granulated sugar for a full 2-3 minutes. This process incorporates air into the mixture, which is vital for light and fluffy cookies. Don’t rush this step! Once light and creamy, add the eggs and vanilla extract, mixing for another 2-3 minutes until well combined and fluffy.
- Combine Dry Ingredients Separately: In a separate bowl, whisk together the flour, baking powder, baking soda, cinnamon, and salt. This ensures that the leavening agents and spices are evenly distributed throughout the dry mixture, preventing pockets of unmixed ingredients in your final dough.
- Gradual Mixing of Wet and Dry: Gradually add the dry flour mixture to the wet butter mixture, mixing on low speed just until combined. Stop mixing as soon as you no longer see streaks of flour. Overmixing can develop the gluten in the flour, leading to tough cookies. Finally, gently stir in the rolled oats.
- Crucial Step: Chill the Dough: This is a non-negotiable step for these berry oatmeal cookies. Because raspberries introduce extra moisture into the dough, chilling is essential to prevent the cookies from spreading too much during baking. Refrigerate the dough for at least 30 minutes. This allows the butter to firm up and the dry ingredients to fully absorb the moisture, resulting in thicker, chewier cookies.
- Gently Incorporate Frozen Raspberries: After chilling the dough, gently fold in the frozen raspberries. Using frozen berries helps them maintain their shape and prevents them from bleeding too much color into the dough, preserving those beautiful pops of red. If using fresh, ensure they are thoroughly dry after rinsing, gently patting them with paper towels to remove excess moisture.
- Scooping for Uniformity: Use a 2-tablespoon cookie scoop to portion the dough onto baking sheets lined with parchment paper or silicone baking mats. This ensures all your cookies are uniform in size, which leads to even baking. Leave enough space between each cookie for spreading.
- Bake to Perfection: Bake for 12-15 minutes, or until the edges are golden brown and the centers appear set. The cookies may still look a little soft in the middle, but they will continue to firm up as they cool. Avoid overbaking, as this can lead to dry, crumbly cookies.
- Cooling for the Best Texture: Allow the cookies to cool on the baking sheet for about 5 minutes after removing them from the oven. This allows them to set further without breaking. Then, carefully transfer them to a wire rack to cool completely.

Storing and Freezing Your Raspberry Oatmeal Cookies
These delightful raspberry oatmeal cookies are best enjoyed fresh, but thoughtful storage can extend their deliciousness. Due to the fresh fruit content, their shelf life is slightly shorter than traditional cookies.
- Short-Term Storage: If you plan to enjoy them within the first 2-3 days, store the cooled cookies in an airtight container at room temperature. Placing a slice of bread in the container can sometimes help keep them softer. In my house, they rarely last this long anyway!
- Freezing Baked Cookies: To keep them fresh for longer, especially if you won’t be eating them all within a couple of days, freezing is an excellent option. Ensure the cookies are completely cooled before placing them in an airtight freezer-safe container or a heavy-duty freezer bag. You can stack them with parchment paper in between layers to prevent sticking. Frozen cookies can be stored for up to 3 months. To enjoy, simply thaw them at room temperature or gently warm them in the microwave for a few seconds.
- Freezing Cookie Dough: For a quick future treat, you can also freeze the raw cookie dough. Scoop the chilled dough into individual portions and place them on a parchment-lined baking sheet. Freeze until solid (about 1-2 hours), then transfer the frozen dough balls to an airtight freezer bag. Dough can be frozen for up to 2-3 months. When ready to bake, place frozen dough balls on a baking sheet and bake for a few extra minutes (approximately 14-18 minutes total) without thawing.
RASPBERRY OATMEAL COOKIES
Print
Pin
Rate
Ingredients
- 1 cup butter softened to room temperature
- 1 cup brown sugar packed
- ½ cup sugar
- 2 eggs
- 1 tsp vanilla
- 1 ¾ cup flour
- 1 tsp baking powder
- 1 tsp baking soda
- 2 tsp cinnamon
- ½ tsp salt
- 2 ¾ cup rolled oats
- 1 cup frozen raspberries
Instructions
-
Preheat oven to 375°.
-
Cream butter and sugars together for 2-3 minutes. Add eggs and vanilla and mix for another 2-3 minutes.
-
In a separate bowl, combine flour, baking powder, baking soda, and salt.
-
Add the flour mixture to the butter mixture and mix just until combined. Stir in the oats.
-
Chill the dough for 30 minutes in the refrigerator and then gently mix in the frozen raspberries.
-
Use a 2 tbsp cookie scoop to scoop the dough onto cookie sheets that are lined with parchment paper or silicone baking mats.
-
Bake for 12-15 minutes or until centers are set. Don’t overbake!
-
Cool for about 5 minutes.
Nutrition
How to Achieve Perfectly Softened Butter for Baking
Softened butter is paramount for many baking recipes, especially for achieving that desirable soft and chewy cookie texture. It allows the butter to cream properly with sugar, incorporating air and creating a light, even crumb. Here’s how you can soften butter effectively:
- Room Temperature Naturally: The ideal method is to leave butter out on the counter at room temperature for about 30-60 minutes, depending on your kitchen’s warmth. It should be soft enough to indent easily with your finger but still hold its shape, not be greasy or melted.
- Microwave Method (with Caution!): This is my go-to for speed. If you need a full 1/2 cup (one stick) of butter, you can leave it in its paper wrapper. For smaller amounts, place the butter in a glass or porcelain bowl. Use the lowest defrost setting on your microwave and run it for 10-15 seconds. Check the butter by gently pressing it with a rubber scraper or your finger. If it still doesn’t indent easily, give it another 5-10 seconds. Watch it very closely! Butter can go from perfectly softened to a melted puddle in mere seconds, which will negatively impact your cookie dough.
- Water Bath Method: Cut your butter into smaller pieces and place them in a heat-safe bowl. Place this bowl over another bowl of warm (not hot) water. Let it sit for 5-10 minutes, gently turning the butter until it’s softened.
- Rolling Method: Cut your butter into slices. Place the slices between two pieces of parchment paper and gently roll over it with a rolling pin. The pressure and friction will warm and soften it quickly.
Remember, properly softened butter makes for a smooth, homogenous dough and contributes significantly to the final texture of your soft oatmeal cookies.
Troubleshooting: Why Are My Oatmeal Cookies Burning on the Bottom But Not Done in the Middle?
This is a common baking conundrum, particularly with cookies, but it’s usually easy to fix. If your chewy oatmeal cookies are consistently burning on the bottom while remaining undercooked in the center, here are the most likely culprits and how to prevent it:
- Cookie Sheet Material and Color:
- Dark-Colored Baking Sheets: Dark metal sheets absorb and retain heat more intensely than light-colored ones. This can cause the bottoms of your baked goods to brown (and burn) much faster than the top or middle cooks through. If you frequently experience this, consider investing in lighter-colored, reflective baking sheets.
- Greased Pans: While sometimes necessary, excessive use of cooking spray or butter on your baking sheets can also lead to burnt bottoms. The fat can get too hot and scorch the cookie’s underside.
- Oven Temperature Inaccuracy: Many home ovens run hotter or colder than their display indicates. If your oven is too hot, the bottoms of the cookies might burn before the interior has a chance to bake evenly. Using an inexpensive oven thermometer can help you verify your oven’s actual temperature. If it runs hot, you might need to reduce the baking temperature by 10-15°F.
- Placement in the Oven: Baking sheets placed too low in the oven (closer to the heating element) are more susceptible to burning bottoms. Try baking your cookies on the middle rack for more even heat distribution.
- Lack of Barrier: To create a gentle buffer between the hot baking sheet and your delicate cookie dough, always use parchment paper or silicone baking mats.
- Parchment Paper: It provides a non-stick surface, prevents sticking, and offers a layer of protection from direct heat, promoting more even browning.
- Silicone Baking Mats: I’ve been a huge fan of silicone baking mats for years. They are fantastic! Not only do they provide an excellent non-stick surface – cookies literally glide off the tray with ease – but they also insulate the bottom of the cookies, preventing excessive browning and burning. They are reusable, easy to clean, and a worthy investment for any baker.
- Dough Thickness: If your dough balls are too large or unevenly scooped, thicker centers might remain raw while thinner edges or bottoms overcook. Using a cookie scoop ensures consistent size for even baking.
By addressing these factors, you can significantly improve your baking results and prevent the frustration of burnt bottoms, ensuring perfectly baked raspberry oatmeal cookies every time.
More Delicious Raspberry Cookie Recipes to Explore
If you’ve fallen in love with the vibrant flavor of raspberries in your baking, there are so many more delightful combinations to explore! Here are a few more raspberry-infused cookie recipes that are sure to tantalize your taste buds:
- Bright and Zesty Pairings: Lemon and raspberry is an absolutely amazing flavor combination that offers a refreshing burst of sunshine. You simply must try our Lemon Raspberry Cookie Cups, which are perfectly portioned delights, and our classic Lemon Raspberry Cookies. Both are incredibly flavorful and will brighten any dessert spread!
- Indulgent Chocolate Combinations: Chocolate is always a good idea, but chocolate and raspberries together? Even better! The richness of chocolate beautifully complements the tartness of raspberries. Indulge in our decadent Raspberry Chocolate Chip Cookies or elevate your dessert game with the luxurious Chocolate Raspberry Cheesecake Cookies.
- Melt-in-Your-Mouth Goodness: For something truly unique and delightfully tender, our Raspberry Meltaway Cookies are a must-try. Made with cornstarch and powdered sugar, these cookies literally melt in your mouth and are one of our most popular recipes for very good reason!

Whether you’re looking for a comforting treat, a simple bake to share, or a delightful twist on a classic, these Raspberry Oatmeal Cookies hit all the right notes. Their soft, chewy texture, combined with the bursts of sweet-tart raspberries, makes them truly irresistible. We hope this comprehensive guide inspires you to bake a batch (or two!) of these fantastic cookies. Happy baking!
