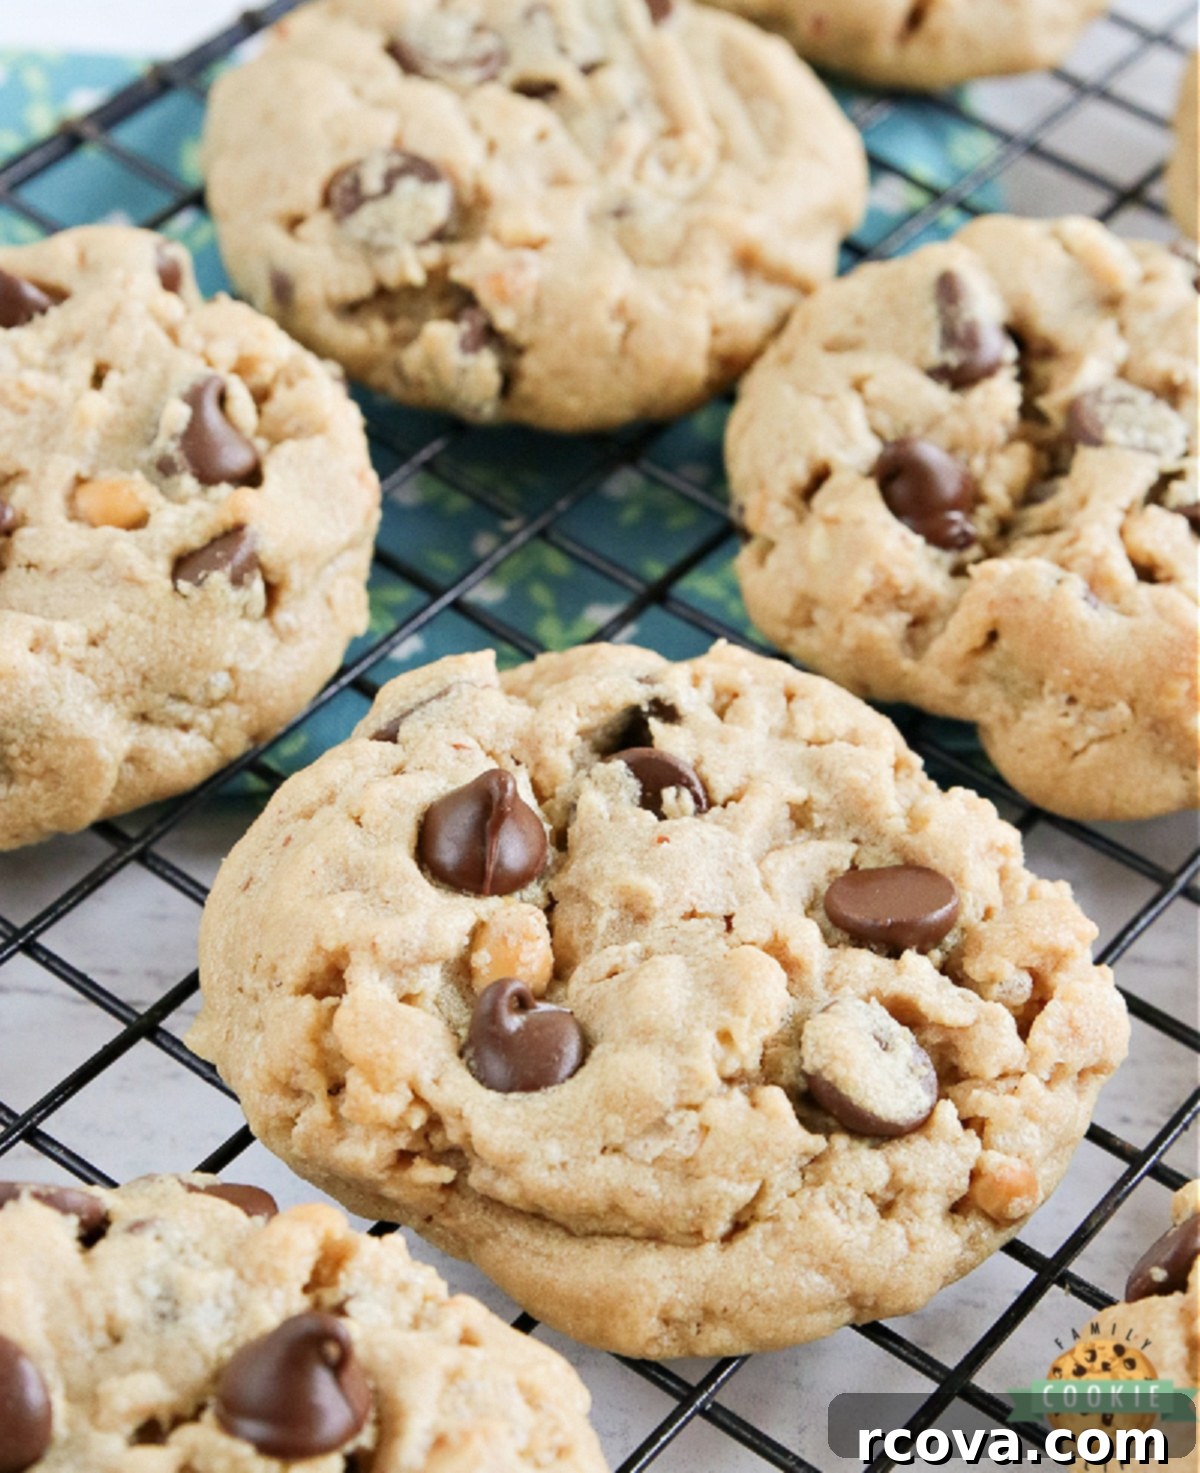
Crunchy & Chewy: The Ultimate Rice Krispie Chocolate Chip Peanut Butter Cookies Recipe
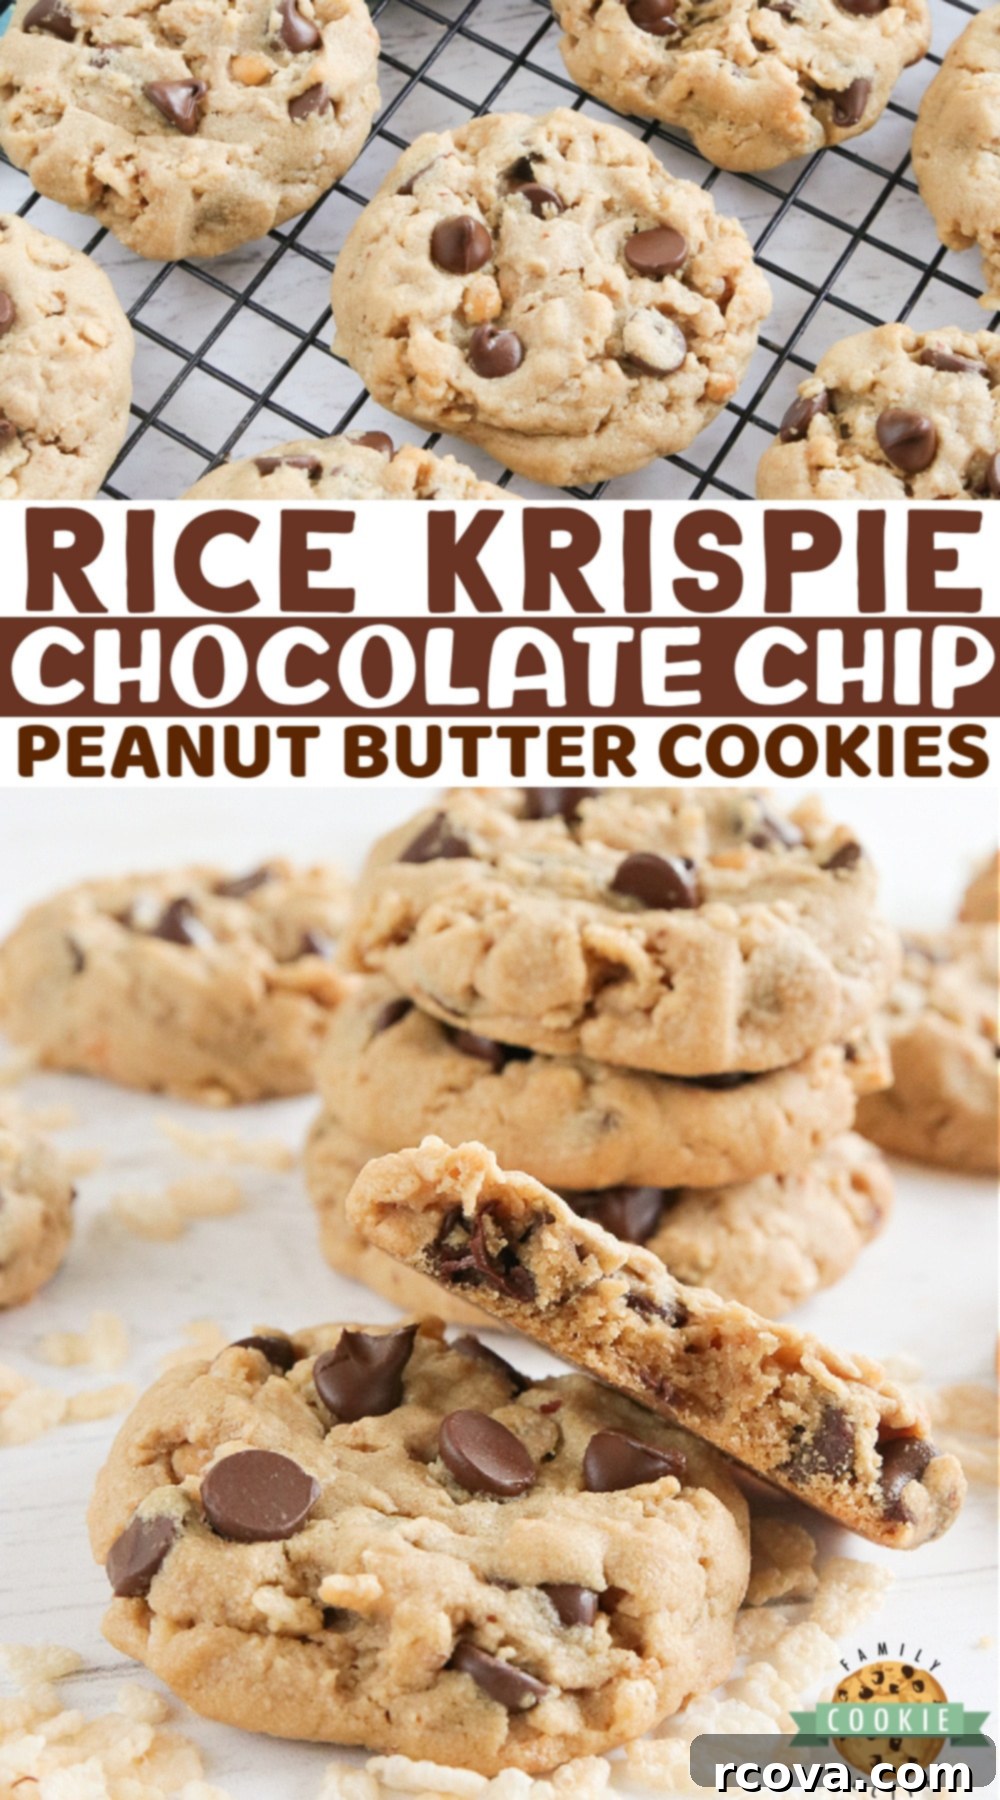
Prepare to discover your new favorite cookie! These Rice Krispie Chocolate Chip Peanut Butter Cookies are an absolute dream for anyone who loves a delightful blend of textures and flavors. Imagine sinking your teeth into a cookie that’s wonderfully soft, luxuriously thick, and perfectly chewy, then immediately being surprised by an irresistible crispy crunch in every single bite. This isn’t just another peanut butter cookie recipe; it’s an elevated experience, made extraordinary by the addition of gooey chocolate chips and the playful, airy crispness of Rice Krispies cereal.
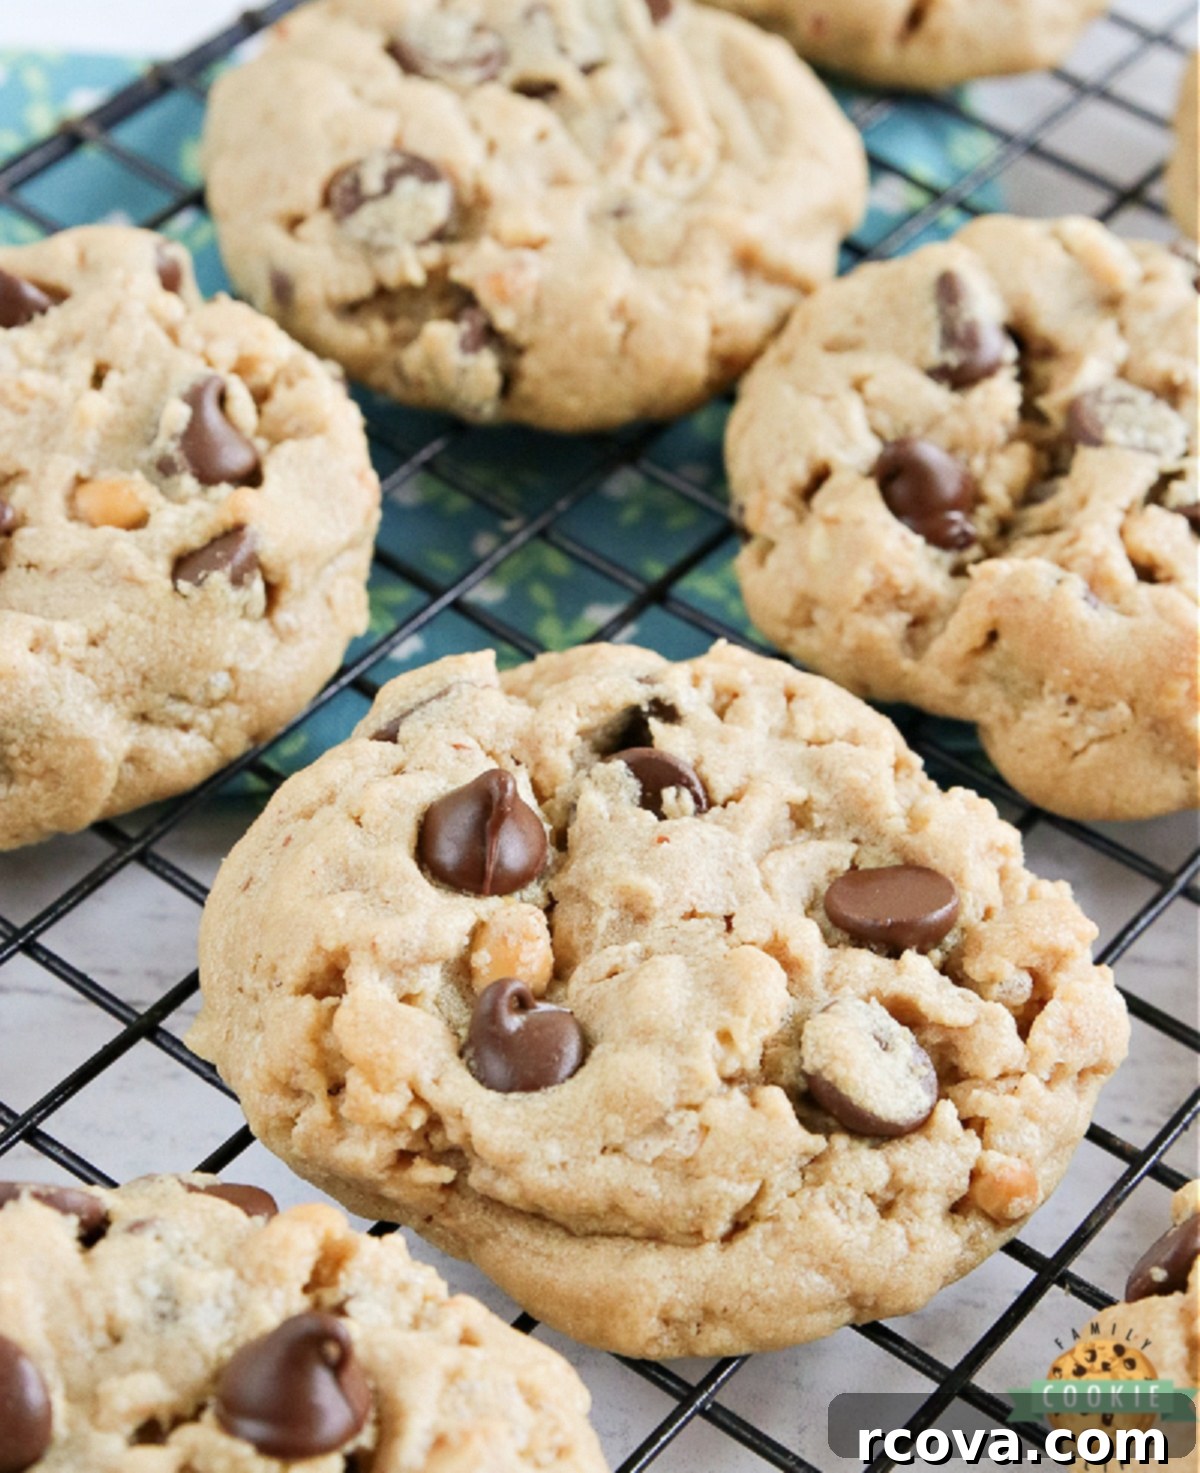
For years, classic chocolate chip peanut butter cookies held a special place in my heart, and honestly, I thought they couldn’t get any better. Then came the revelation: adding Rice Krispies! This simple yet genius addition transforms the humble peanut butter cookie into something truly spectacular. The textural contrast that the crispy cereal provides against the tender, rich peanut butter dough is nothing short of magical, making these cookies an instant favorite. They offer a unique eating experience that’s both comforting and exciting, satisfying all your cookie cravings in one perfect bite.
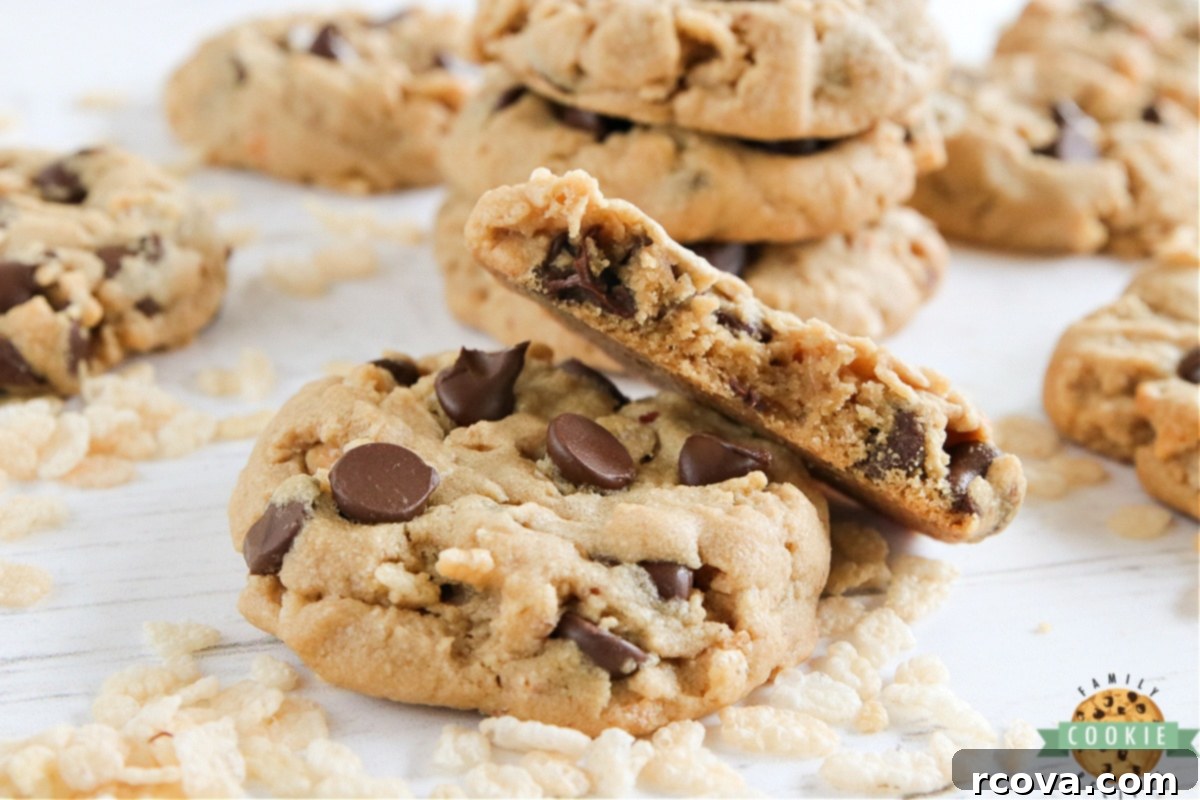
Why You’ll Adore These Unique Peanut Butter Cookies
These aren’t just any peanut butter cookies; they’re a revelation! The combination of classic, comforting peanut butter flavor with decadent chocolate chips is always a winner. But what truly sets these cookies apart is the unexpected, delightful crunch from the Rice Krispies cereal. This textural interplay creates an incredibly satisfying experience that will have you reaching for another, and another! They’re perfect for bake sales, family gatherings, or simply as a comforting treat to enjoy with a glass of milk. Kids and adults alike will adore the playful crispiness and the rich, familiar flavors of these irresistible homemade cookies.
Expert Tips for Baking the Best Peanut Butter Cookies
- Ensure Correct Flour Amount: The foundation of a great cookie is its dough consistency. If your dough feels overly sticky after mixing all ingredients, don’t hesitate to add a tiny bit more flour, a tablespoon at a time, until it’s pliable and easy to roll. Too much flour, however, can result in dry, crumbly cookies, so aim for a dough that holds its shape without being overly stiff. Achieving the right flour balance is key for perfectly chewy cookies.
- Use Softened, Not Melted, Butter: This is a golden rule in baking! Butter needs to be at room temperature, soft enough to make an indentation when pressed, but not melted or greasy. Softened butter creams beautifully with sugar, incorporating air and creating a light, tender crumb. Melted butter will lead to flat, greasy cookies that lack the desired texture. Plan ahead and take your butter out of the refrigerator an hour or two before you begin baking for optimal results in your peanut butter cookie recipe.
- Cream Butter and Sugars Thoroughly: Don’t rush this step! Creaming the softened butter with both granulated and brown sugars for at least 2-3 minutes is essential. This process aerates the mixture, creating tiny air pockets that expand during baking, contributing to the cookies’ light and chewy texture. When properly creamed, the mixture will be pale in color and fluffy, ensuring your cookies achieve their ideal structure and sweetness.
- Choose Traditional Peanut Butter: For consistent, delectable results, stick with conventional peanut butter brands like Jif or Skippy. Natural peanut butters, which often have oil separation and a runnier consistency, can significantly alter the texture of your cookies, potentially making them too oily or dry. The stabilizers in traditional peanut butter help maintain the perfect dough consistency, ensuring every batch of these chocolate chip peanut butter cookies turns out perfectly.
- Always Preheat Your Oven: A properly preheated oven is crucial for successful baking. Placing cookie dough into an oven that hasn’t reached the correct temperature can cause cookies to spread too much or bake unevenly. Give your oven ample time to heat up fully and maintain a consistent temperature throughout the baking process to ensure your cookies bake evenly and beautifully.
- Invest in a Cookie Scoop: For uniformly sized and perfectly shaped cookies, a cookie scoop is a game-changer. It ensures that each cookie bakes at the same rate, preventing some from being overbaked while others are underbaked. Plus, it makes the scooping process much faster and less messy, contributing to professional-looking homemade cookies.
- Utilize Parchment Paper or a Silicone Baking Mat: These baking essentials prevent sticking and make cleanup a breeze. Cookies will slide effortlessly off the baking sheet, maintaining their perfect shape and preventing any frustration from scraping. They also help promote even browning on the bottom of the cookies, ensuring a consistent bake across the entire batch.
- Avoid Overbaking: This is perhaps the most common mistake when baking cookies. Peanut butter cookies, especially with added ingredients like Rice Krispies and chocolate chips, can go from perfectly soft to dry and crumbly in a matter of minutes. When you pull these cookies from the oven, they should still look slightly underbaked in the center – perhaps a little soft or gooey. They will continue to set and firm up on the hot cookie sheet for a few minutes after being removed, resulting in that ideal soft and chewy texture.
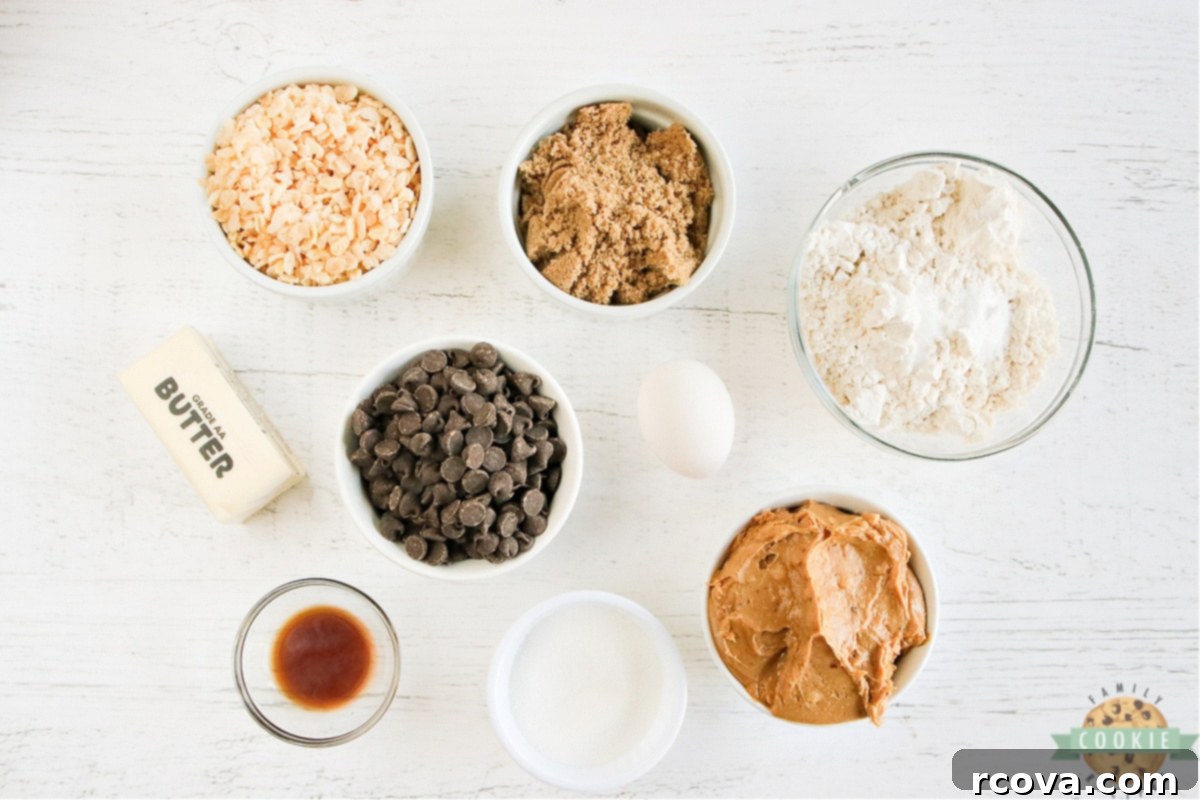
Essential Ingredients for Rice Krispie Chocolate Chip Peanut Butter Cookies
Crafting these extraordinary cookies requires a handful of common pantry staples, each playing a vital role in their ultimate flavor and texture profile.
Butter: You’ll need just one stick (½ cup) of unsalted butter for this recipe. It is absolutely crucial that the butter is softened to room temperature. This allows it to cream properly with the sugars, creating a light and airy base for your cookie dough. Cold butter won’t incorporate well, and melted butter will lead to flat, oily cookies. Unsalted butter is preferred to control the overall saltiness of the cookies.
Sugars: This recipe calls for a blend of two sugars to achieve the perfect balance of sweetness, moisture, and chewiness. You’ll need 1/4 cup of granulated sugar for crispness and browning, and 3/4 cup of light brown sugar for its rich, molasses-like flavor and its ability to keep the cookies wonderfully soft and chewy. Always ensure your brown sugar is fresh and soft for the best results; hard, clumpy brown sugar means it has dried out and won’t contribute the desired moisture.
Eggs: A single large egg acts as a binder, holding all the ingredients together and adding moisture. It also contributes to the cookies’ structure and richness, helping them rise and maintain their shape. Ensure your egg is at room temperature for better emulsification with the butter and sugar mixture, which leads to a smoother, more cohesive dough.
Vanilla Extract: Don’t skimp on the vanilla! A good quality vanilla extract (1 teaspoon) elevates the overall flavor of the cookies, adding depth and a warm aroma that complements the peanut butter and chocolate beautifully. Pure vanilla extract is always preferred over artificial for the best, most authentic taste.
Peanut Butter: This is the star ingredient! One cup of peanut butter is needed. While both creamy and crunchy varieties work, I highly recommend using a traditional, processed peanut butter (like Jif or Skippy) over natural peanut butters. Natural peanut butters tend to be runnier and can lead to a less consistent cookie texture. Personally, I find crunchy peanut butter adds another layer of delightful texture that complements the Rice Krispies beautifully, creating a double crunch effect.
Flour: All-purpose flour is the go-to for these cookies, providing the necessary structure without making them tough. Cake flour can also be used for an even softer, more tender crumb, but all-purpose will yield excellent results. Make sure to measure your flour correctly by spooning it into the measuring cup and leveling it off with a straight edge to avoid adding too much, which can dry out the cookies.
Baking Soda: As the primary leavening agent (1/2 teaspoon), baking soda reacts with the acidic brown sugar to help the cookies rise and spread, contributing to their signature soft and slightly chewy texture. Always check that your baking soda isn’t old or expired for optimal performance, as expired leavening agents can result in flat, dense cookies.
Salt: Just a quarter teaspoon of salt is vital for balancing the sweetness and enhancing all the other flavors in the cookies, especially the peanut butter and chocolate. It truly brings everything together and prevents the cookies from tasting overly sweet.
Rice Krispies Cereal: This is the secret ingredient that transforms these cookies! One cup of Rice Krispies cereal adds an incredible, airy crunch that is truly unique and addictive. Do not skip this; it’s what makes these cookies stand out from typical peanut butter chocolate chip recipes and gives them their memorable texture.
Chocolate Chips: A generous 1 ½ cups of semi-sweet chocolate chips are folded into the dough. Semi-sweet offers a perfect contrast to the rich peanut butter, but you can certainly experiment with milk chocolate chips for a sweeter profile, dark chocolate chips for a more intense cocoa flavor, or even white chocolate chips for a creamy twist, based on your preference. Mini chocolate chips are a great choice as they distribute more evenly throughout the dough, ensuring chocolate in every bite. If you’re not a chocolate fan, you can even leave them out – the cookies will still be absolutely delicious with just the peanut butter and Rice Krispies!
How to Make Delicious Rice Krispie Chocolate Chip Peanut Butter Cookies
Follow these simple steps to bake a batch of these incredibly delicious and satisfying cookies, featuring that perfect blend of chewy and crispy textures:
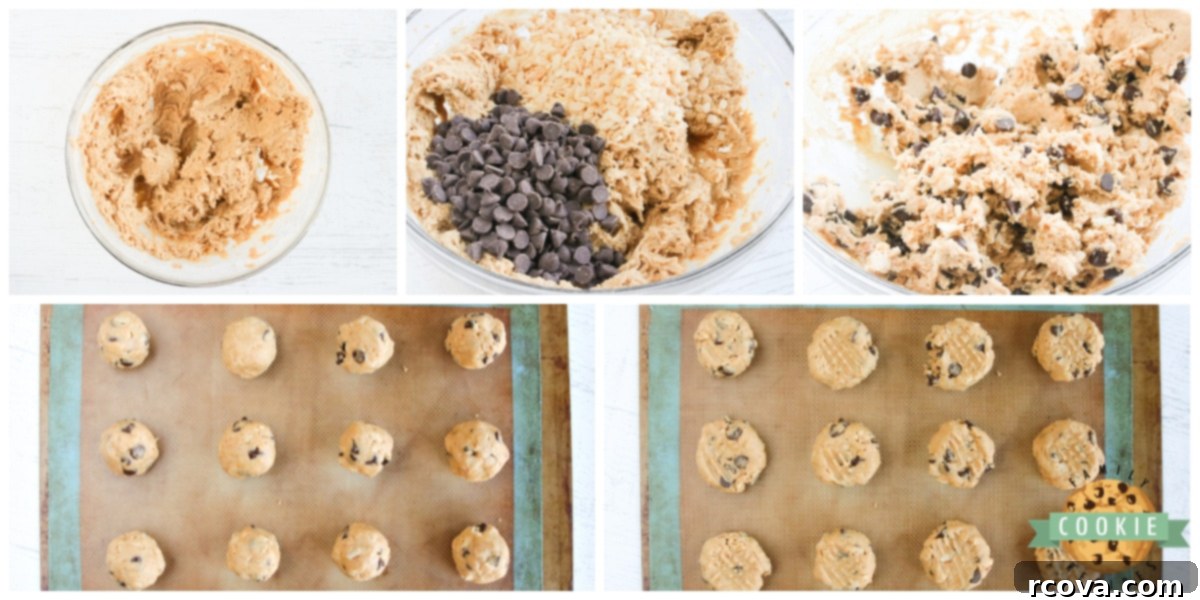
First, always begin by preheating your oven to 350°F (175°C). This ensures the oven is at the correct temperature for even baking from the moment your cookies go in. While the oven preheats, prepare a cookie sheet by lightly greasing it or lining it with parchment paper or a silicone baking mat for easy release.
In a large mixing bowl, using an electric mixer, beat the softened butter and both granulated and brown sugars together. This creaming process should take about 2-3 minutes, until the mixture is light, fluffy, and pale in color. Then, add the large egg and vanilla extract, continuing to beat for another 1-2 minutes until everything is thoroughly combined and smooth. Ensure there are no visible streaks of egg or vanilla.
Next, add the full cup of peanut butter to the wet ingredients. Mix on low speed until the peanut butter is fully incorporated into the mixture, scraping down the sides of the bowl as needed to ensure an even mixture. The dough should start to look uniformly creamy and delicious.
In a separate, medium-sized bowl, whisk together the dry ingredients: all-purpose flour, baking soda, and salt. Gradually add this dry mixture to the peanut butter mixture, mixing on low speed only until just combined. Be careful not to overmix, as this can lead to tough cookies; stop mixing as soon as the last streaks of flour disappear.
Finally, gently fold in the Rice Krispies cereal and chocolate chips using a sturdy spatula. Mix until they are evenly distributed throughout the dough. The goal is to incorporate them without crushing the cereal too much, preserving that signature crispness.
Using a cookie scoop (approximately a heaping tablespoonful), scoop portions of the dough and roll them into smooth balls with your hands. Place these dough balls on your prepared cookie sheet, spacing them about 2 inches apart to allow for spreading during baking.
Bake for 10 minutes. Remember, these cookies should still look slightly underbaked in the center when you remove them from the oven, with the edges just beginning to turn golden. Let the cookies cool on the hot cookie sheet for 3-4 minutes; they will continue to bake slightly and firm up during this time. After this resting period, carefully transfer them to a wire rack to cool completely, allowing them to fully set and achieve their perfect soft and chewy texture with that irresistible crispy crunch. Enjoy these delightful homemade treats!
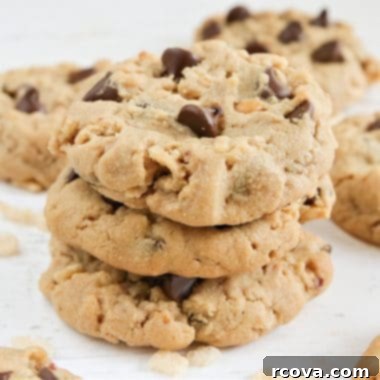
Rice Krispie Chocolate Chip Peanut Butter Cookies
Print
Pin
Rate
Ingredients
- ½ cup butter softened
- ¼ cup granulated sugar
- ¾ cup brown sugar
- 1 large egg
- 1 tsp vanilla extract
- 1 cup peanut butter regular creamy or crunchy – I like crunchy!
- 1 cup all-purpose flour
- ½ tsp baking soda
- ¼ tsp salt
- 1 cup Rice Krispies cereal
- 1 ½ cups semi-sweet chocolate chips
Instructions
-
Preheat oven to 350°F (175°C). Prepare a cookie sheet by lightly greasing it or lining it with parchment paper or a silicone baking mat.
-
In a large bowl, cream together the softened butter, granulated sugar, and brown sugar with an electric mixer for 2-3 minutes until light and fluffy. Add the egg and vanilla extract, beating for another 1-2 minutes until fully incorporated.
-
Stir in the peanut butter and mix until well combined, scraping down the sides of the bowl as needed to ensure an even mixture.
-
In a separate medium bowl, whisk together the all-purpose flour, baking soda, and salt. Gradually add the dry ingredients to the wet peanut butter mixture, mixing on low speed until just combined. Be careful not to overmix the dough.
-
Gently fold in the Rice Krispies cereal and chocolate chips with a spatula until they are evenly distributed throughout the dough.
-
Using a cookie scoop (about a heaping tablespoon), portion the dough and roll it into smooth balls.
-
Place the dough balls on the prepared cookie sheet, spacing them about 2 inches apart. Bake for 10 minutes. The cookies will appear slightly underbaked in the center when removed.
-
Allow the cookies to cool on the baking sheet for 3-4 minutes to set up before carefully transferring them to a wire rack to cool completely. Enjoy!
Nutrition
Choosing the Right Peanut Butter for Baking Success
The type of peanut butter you use can significantly impact the final texture and taste of your cookies. For most baking applications, especially this Rice Krispie Chocolate Chip Peanut Butter Cookie recipe, I’ve consistently found that traditional, processed peanut butter (such as Jif, Skippy, or Peter Pan) yields the best results. These brands contain stabilizers and sugars that give them a consistent, creamy texture which is ideal for cookie dough. They blend smoothly and help create a thick, chewy cookie that holds its shape beautifully while baking.
In contrast, natural peanut butters, which often separate into oil and solids, tend to be much runnier. While delicious on toast, their inconsistent texture can make cookie dough too oily or too dry, leading to cookies that spread excessively, become crumbly, or have an undesirable texture. If you’re determined to use natural peanut butter, you might need to adjust the flour content, potentially adding an extra tablespoon or two to absorb excess oil, but for foolproof baking, the traditional kind is highly recommended. For an added layer of crunch that complements the Rice Krispies, consider using crunchy traditional peanut butter!
The Classic Fork Marks: A Peanut Butter Cookie Tradition
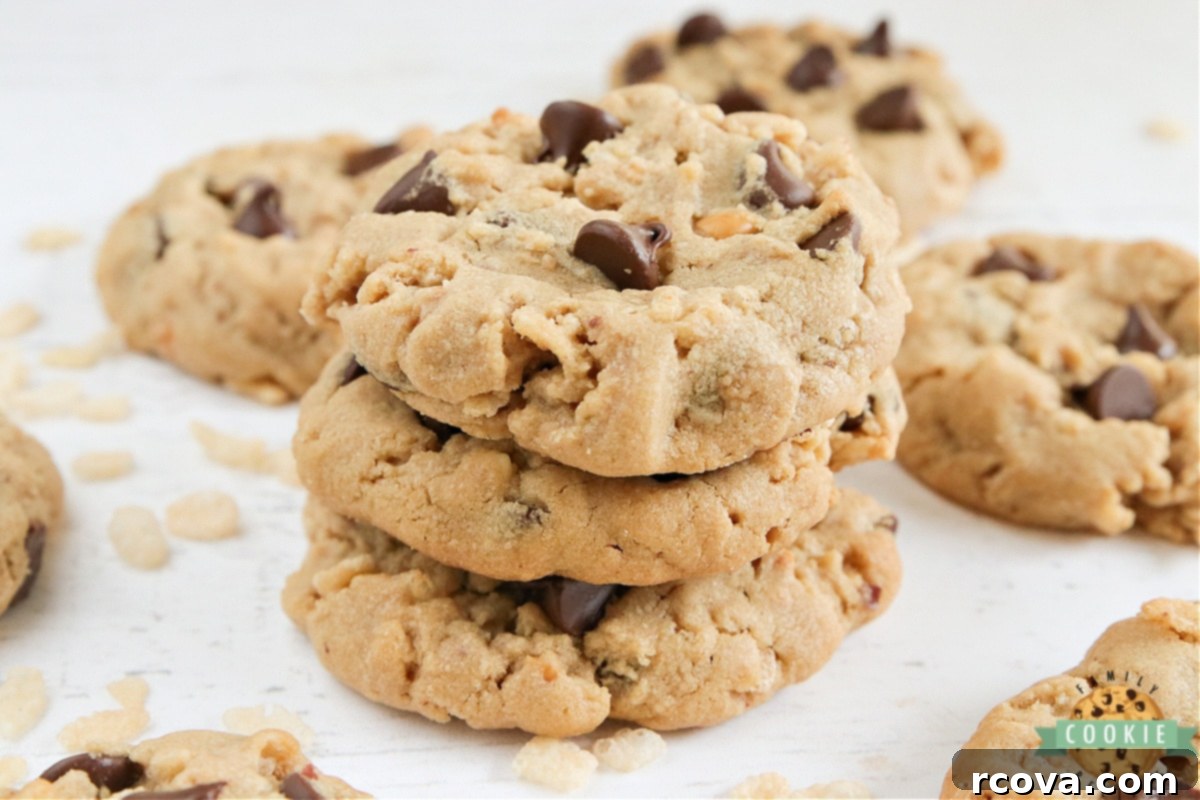
You might have noticed that many peanut butter cookie recipes, including some traditional versions, call for pressing down the dough balls with a fork to create a distinctive crosshatch pattern. This isn’t just for aesthetics; it serves a practical purpose! Peanut butter cookie dough tends to be denser and richer than other cookie doughs, often holding its shape without much spreading during baking. Without being flattened slightly, these cookies might not spread adequately, resulting in a thick, somewhat underbaked center with potentially overbaked edges.
The fork marks help to flatten the cookies, encouraging them to bake more evenly throughout. This ensures that the entire cookie, from edge to center, achieves that perfect soft and chewy texture without any raw dough in the middle. While this recipe for Rice Krispie Chocolate Chip Peanut Butter Cookies doesn’t explicitly call for fork marks (the Rice Krispies provide enough texture and the dough spreads well on its own), it’s a fun traditional technique you can absolutely apply if you prefer the classic look and an even flatter cookie profile.
Storage and Make-Ahead Tips for Your Cookies
Storing Baked Cookies
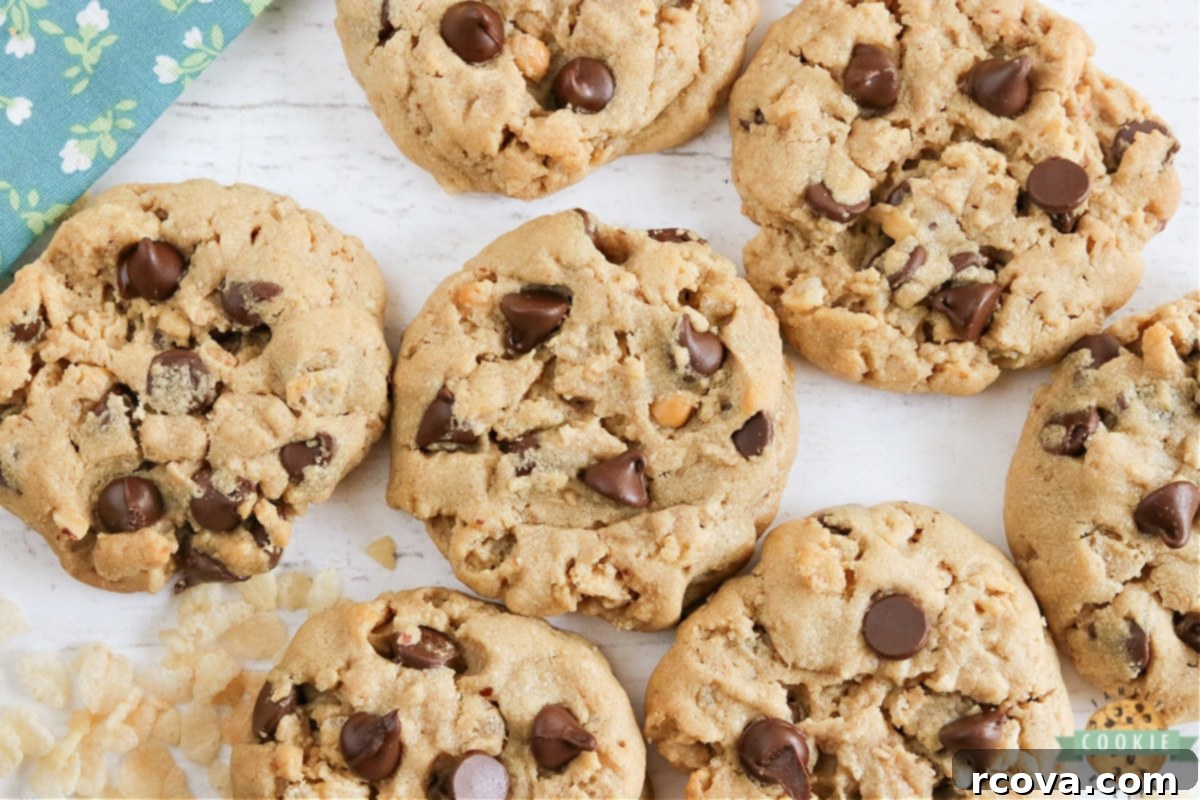
Once your Rice Krispie Chocolate Chip Peanut Butter Cookies have cooled completely, proper storage is key to maintaining their deliciousness. Store them in an airtight container at room temperature. They will remain fresh and wonderfully soft and chewy for up to 3-5 days, with the crispy crunch of the Rice Krispies still noticeable. For optimal freshness and to help prevent them from drying out, you can even place a slice of plain white bread in the container with the cookies; the cookies will absorb moisture from the bread, keeping them softer for longer. Alternatively, you can freeze baked cookies for up to 3 months. Simply arrange them in a single layer on a baking sheet to freeze solid, then transfer them to a freezer-safe bag or container, separating layers with parchment paper to prevent sticking. Thaw at room temperature when ready to enjoy.
Freezing Cookie Dough
These cookies are perfect for making ahead, offering ultimate convenience! To freeze the dough, prepare the recipe through step 5 (after folding in the Rice Krispies and chocolate chips). Scoop the dough into uniform balls using your trusty cookie scoop. Place these dough balls on a parchment-lined baking sheet and freeze until they are completely solid (this usually takes about 1-2 hours). Once solid, transfer the frozen dough balls to a freezer-safe zip-top bag or an airtight container and store for up to 3 months. When you’re ready to bake a fresh batch, there’s no need to thaw; simply place the frozen dough balls on a prepared baking sheet and bake as directed, adding an extra 2-4 minutes to the baking time. This is a fantastic way to have warm, fresh cookies whenever a craving strikes!
Frequently Asked Questions (FAQs)
Can I use other cereals instead of Rice Krispies?
While Rice Krispies provide a unique light and airy crunch that truly defines these cookies, you can certainly experiment with other cereals if you’re looking for a variation. Cornflakes, slightly crushed, could offer a similar crisp texture, though it might be slightly less delicate. Crushed pretzels could also add a fantastic salty-sweet element along with a good crunch. Just be mindful that different cereals might absorb moisture differently or have stronger flavors, so observe your dough’s consistency and adjust slightly if needed.
Can I substitute other types of chocolate?
Absolutely! Semi-sweet chocolate chips are a classic choice for a reason, offering a perfect balance against the rich peanut butter. However, these cookies would be equally delicious with milk chocolate chips for a sweeter profile, dark chocolate chips for a more intense cocoa flavor, or even white chocolate chips for a creamy twist. You could also use chocolate chunks for bigger pockets of melted chocolate, or even a mix of different chocolates for a varied taste experience. Feel free to use what you love most or whatever you have on hand!
What if my cookie dough is too sticky or too crumbly?
Dough consistency is crucial for perfect cookies. If your dough is too sticky to roll comfortably, it likely needs a little more flour. Add a tablespoon at a time, mixing gently after each addition until it reaches a manageable consistency that’s easy to shape. If, on the other hand, it’s too crumbly and won’t come together, it might be too dry. This could be due to too much flour, not enough butter, or improper measurement. Try adding a teaspoon of milk or a tiny bit more softened butter, mixing until it comes together. Remember that correctly softened butter and precise measurements are key to avoiding these issues.
How can I make my cookies perfectly round?
For perfectly round cookies, using a cookie scoop for uniform size is the first step. Immediately after removing the cookies from the oven, while they are still warm and pliable, take a larger round cookie cutter (or even an inverted glass) and gently scoot it around the edges of each cookie. This will push any uneven edges back into a perfect circle, creating that bakery-style finish. Don’t worry, the cookies will still set up beautifully and retain their amazing flavor and texture!
More Irresistible Peanut Butter Cookie Recipes to Explore
If you’re a true peanut butter cookie aficionado, you’re in for a treat! Beyond these amazing Rice Krispie Chocolate Chip Peanut Butter Cookies, there’s a whole world of peanut buttery goodness to discover. Here are some more beloved recipes that showcase the versatility and deliciousness of peanut butter in cookies:
- Best Chocolate Chip Peanut Butter Cookies
- Peanut Butter Oatmeal Chocolate Chip Cookies
- Peanut Butter Chip Chocolate Cookies
- Easy Peanut Butter Cookies
- Fudge Peanut Butter Cookie Cups
- Reese’s Peanut Butter Cookies
- Best Monster Cookies
- Peanut Butter No Bake Cookies
- Reese’s Peanut Butter Pudding Cookies
- Reese’s Chocolate Peanut Butter Cookies
- Butterfinger Peanut Butter Cookies
- Snickers Peanut Butter Cookies
- Apple Peanut Butter Cookies
And let’s take a moment to appreciate the simple joys in life, like a freshly baked cookie or the boundless energy of a three-year-old! This little goofball in our family is truly at an age where her personality blossoms exponentially every single day. Each morning brings new phrases, hilarious observations, and surprising antics that keep us constantly entertained and laughing.
While parenting a three-year-old can undoubtedly be exhausting at times, these sweet and silly moments are what make every challenging day incredibly worthwhile. Watching her explore the world with such unique flair, like deciding to wear a ski hat and sunglasses indoors all day long, reminds us to embrace creativity and find fun in the most unexpected places. Perhaps she’s just ahead of the curve, showing us all how to truly enjoy life – one crispy, chewy, chocolatey peanut butter cookie, and one whimsical outfit, at a time!


