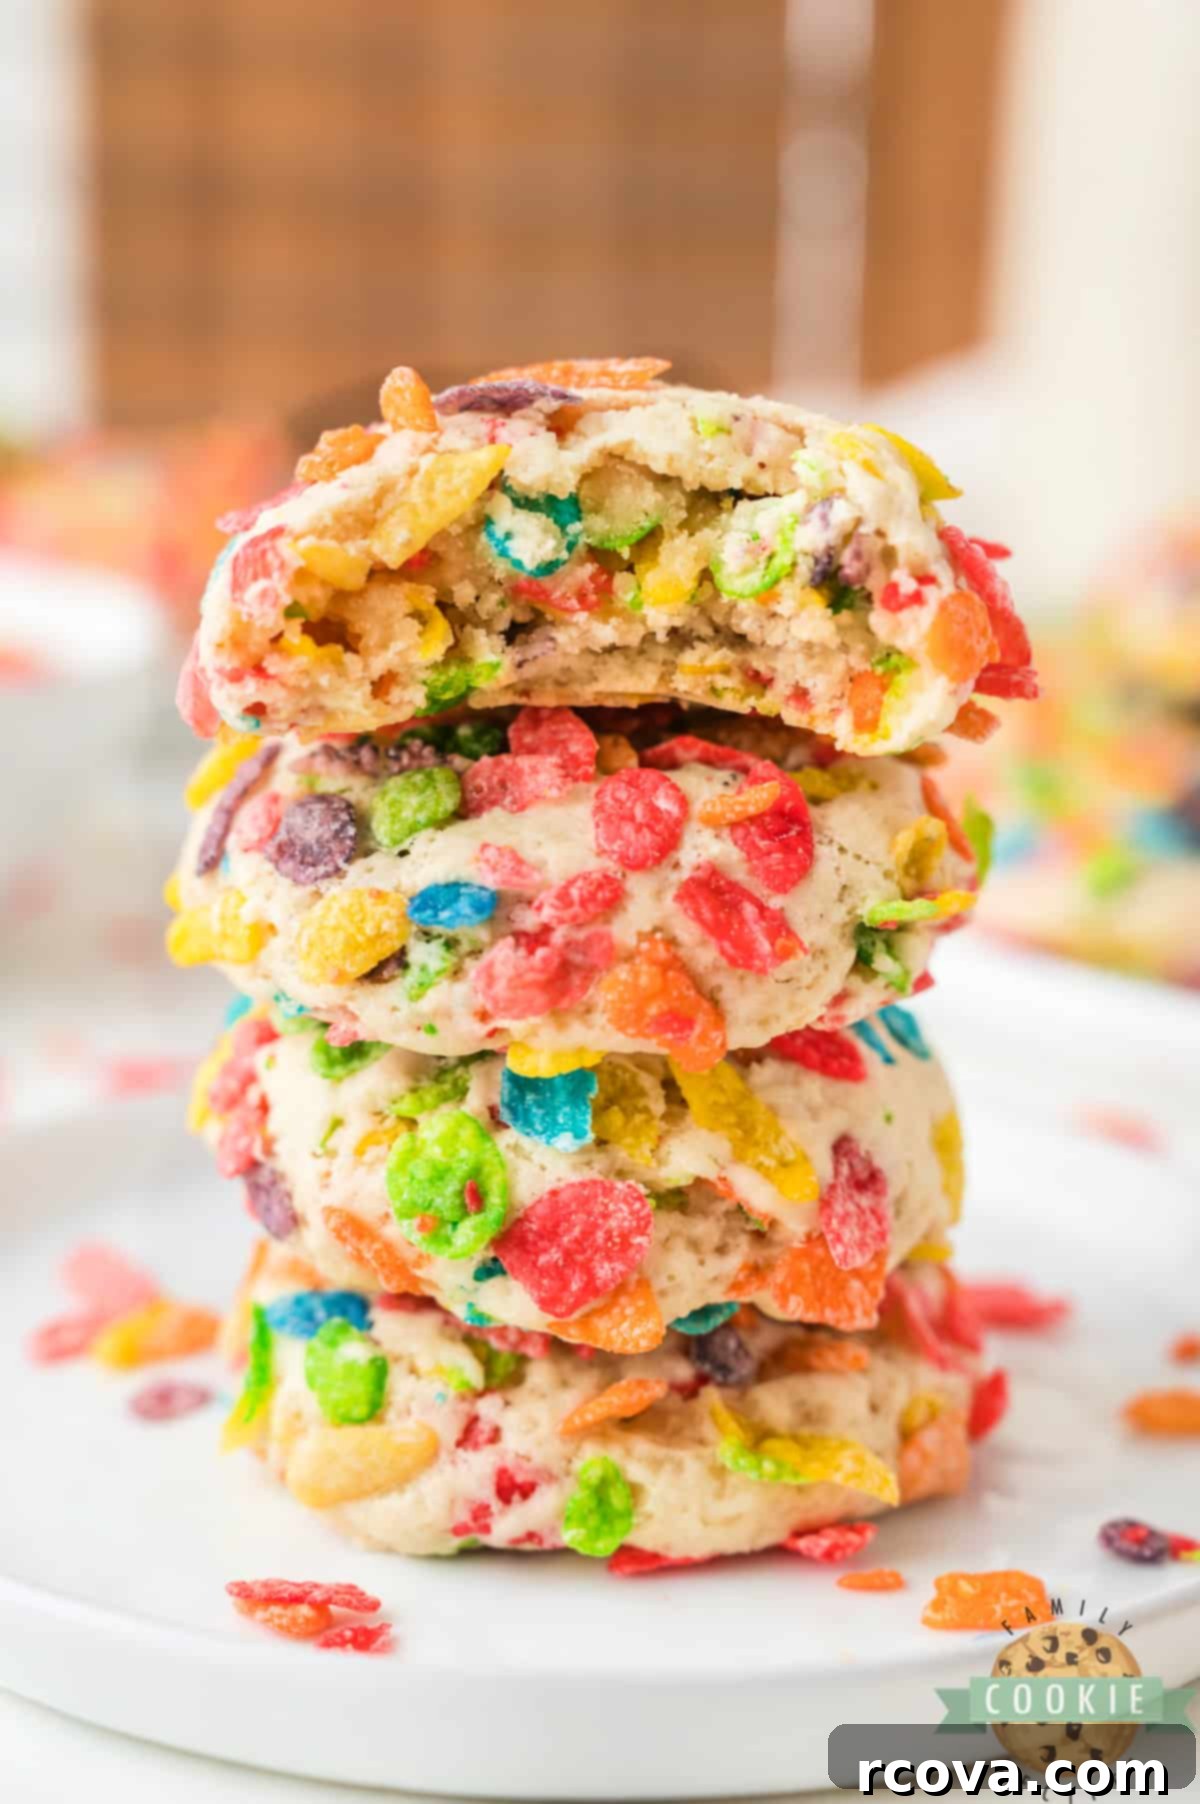
Irresistibly Vibrant & Easy Fruity Pebbles Cookies: The Ultimate Fun Recipe!
Fruity Pebbles Cookies are an absolute delight, offering a perfect blend of soft, chewy texture, sweet indulgence, and a kaleidoscope of colors with a playful crunch in every bite. These whimsical treats are not just cookies; they’re a celebration in edible form, guaranteed to bring smiles.
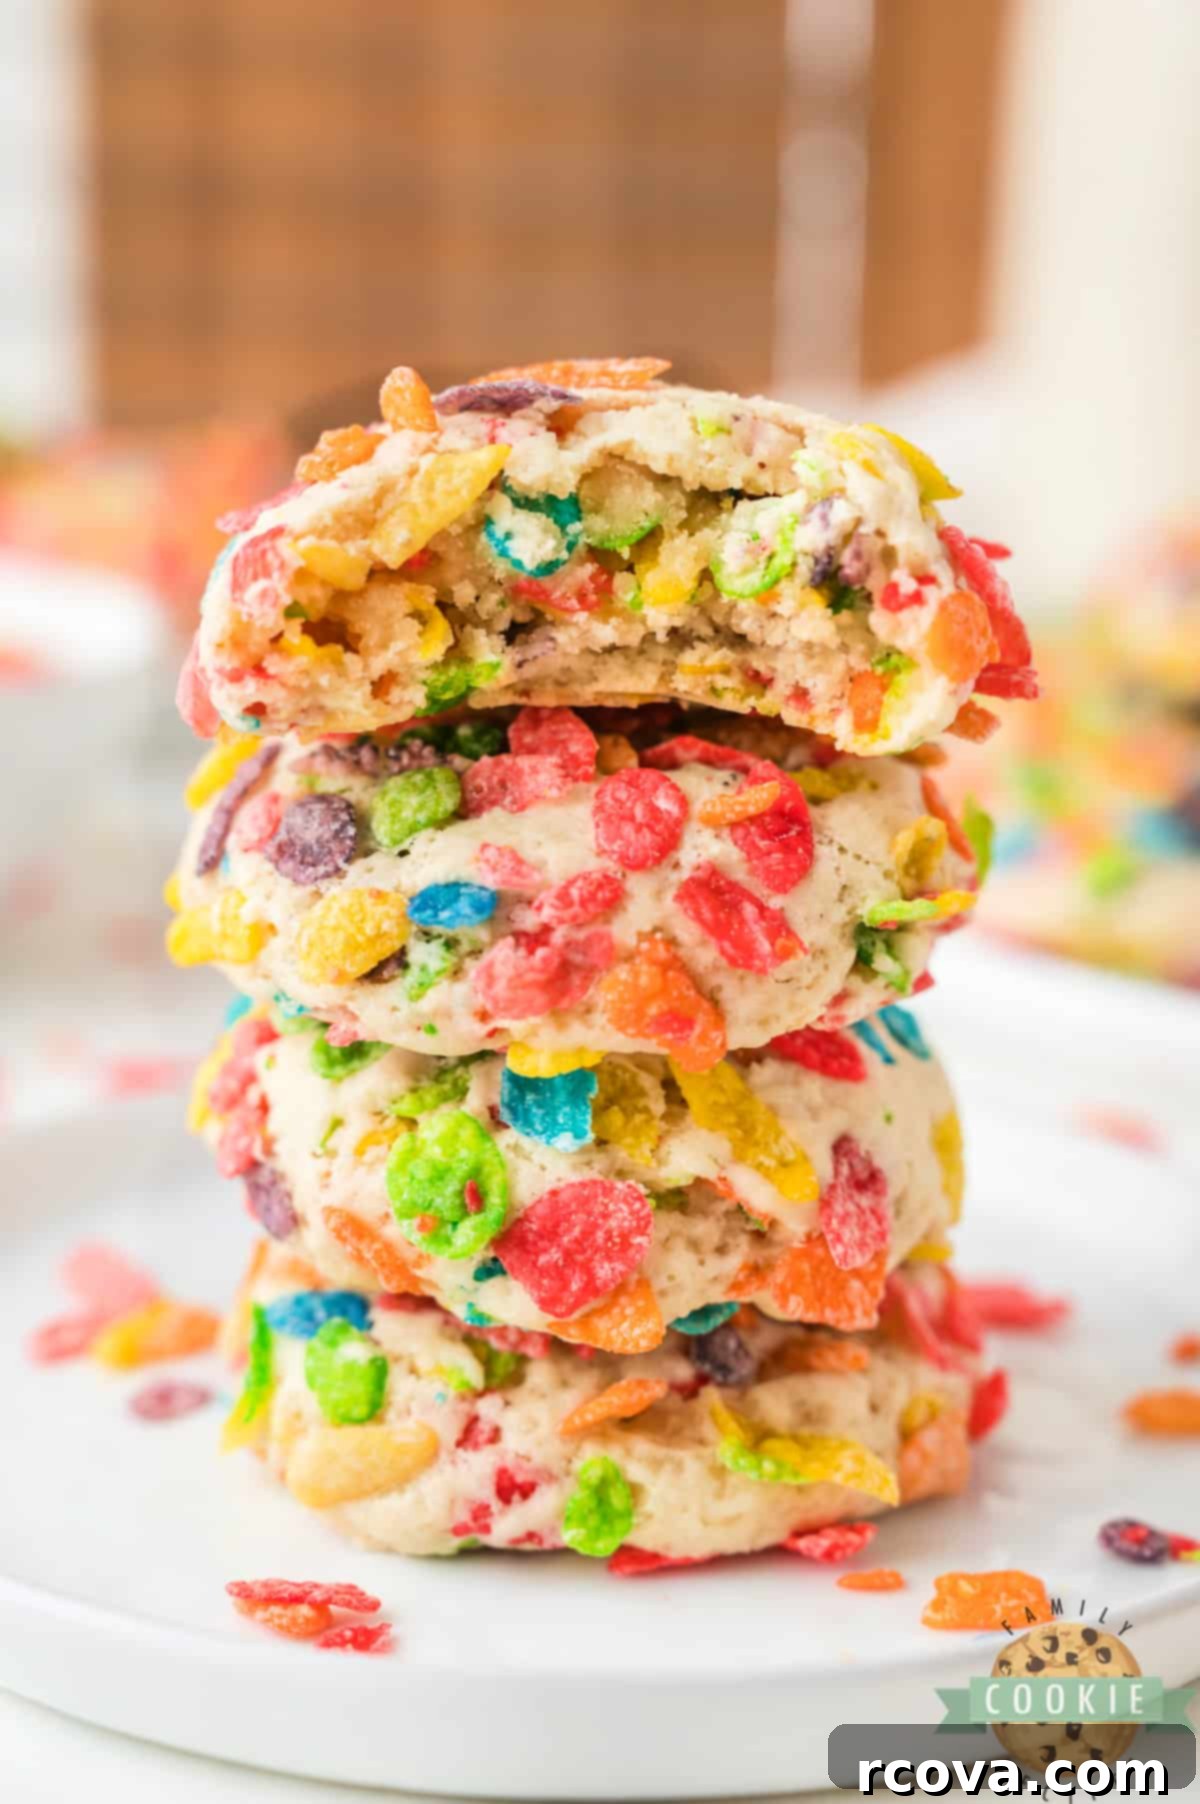
Searching for that perfect “fun” cookie to elevate your next gathering or party? Look no further! These homemade Fruity Pebbles cookies are the ultimate choice for any festive occasion. Their vibrant colors and scrumptious flavor profile make them incredibly appealing, and the best part? They are incredibly easy to whip up. This recipe takes a beloved simple sugar cookie foundation and infuses it with the joyful essence of Fruity Pebbles cereal. You’ll mix some into the dough for integrated flavor and roll the cookie balls in extra cereal before baking for that signature colorful, crunchy exterior. There’s no lengthy chilling required and no obscure ingredients to hunt down – just pure, straightforward baking fun!
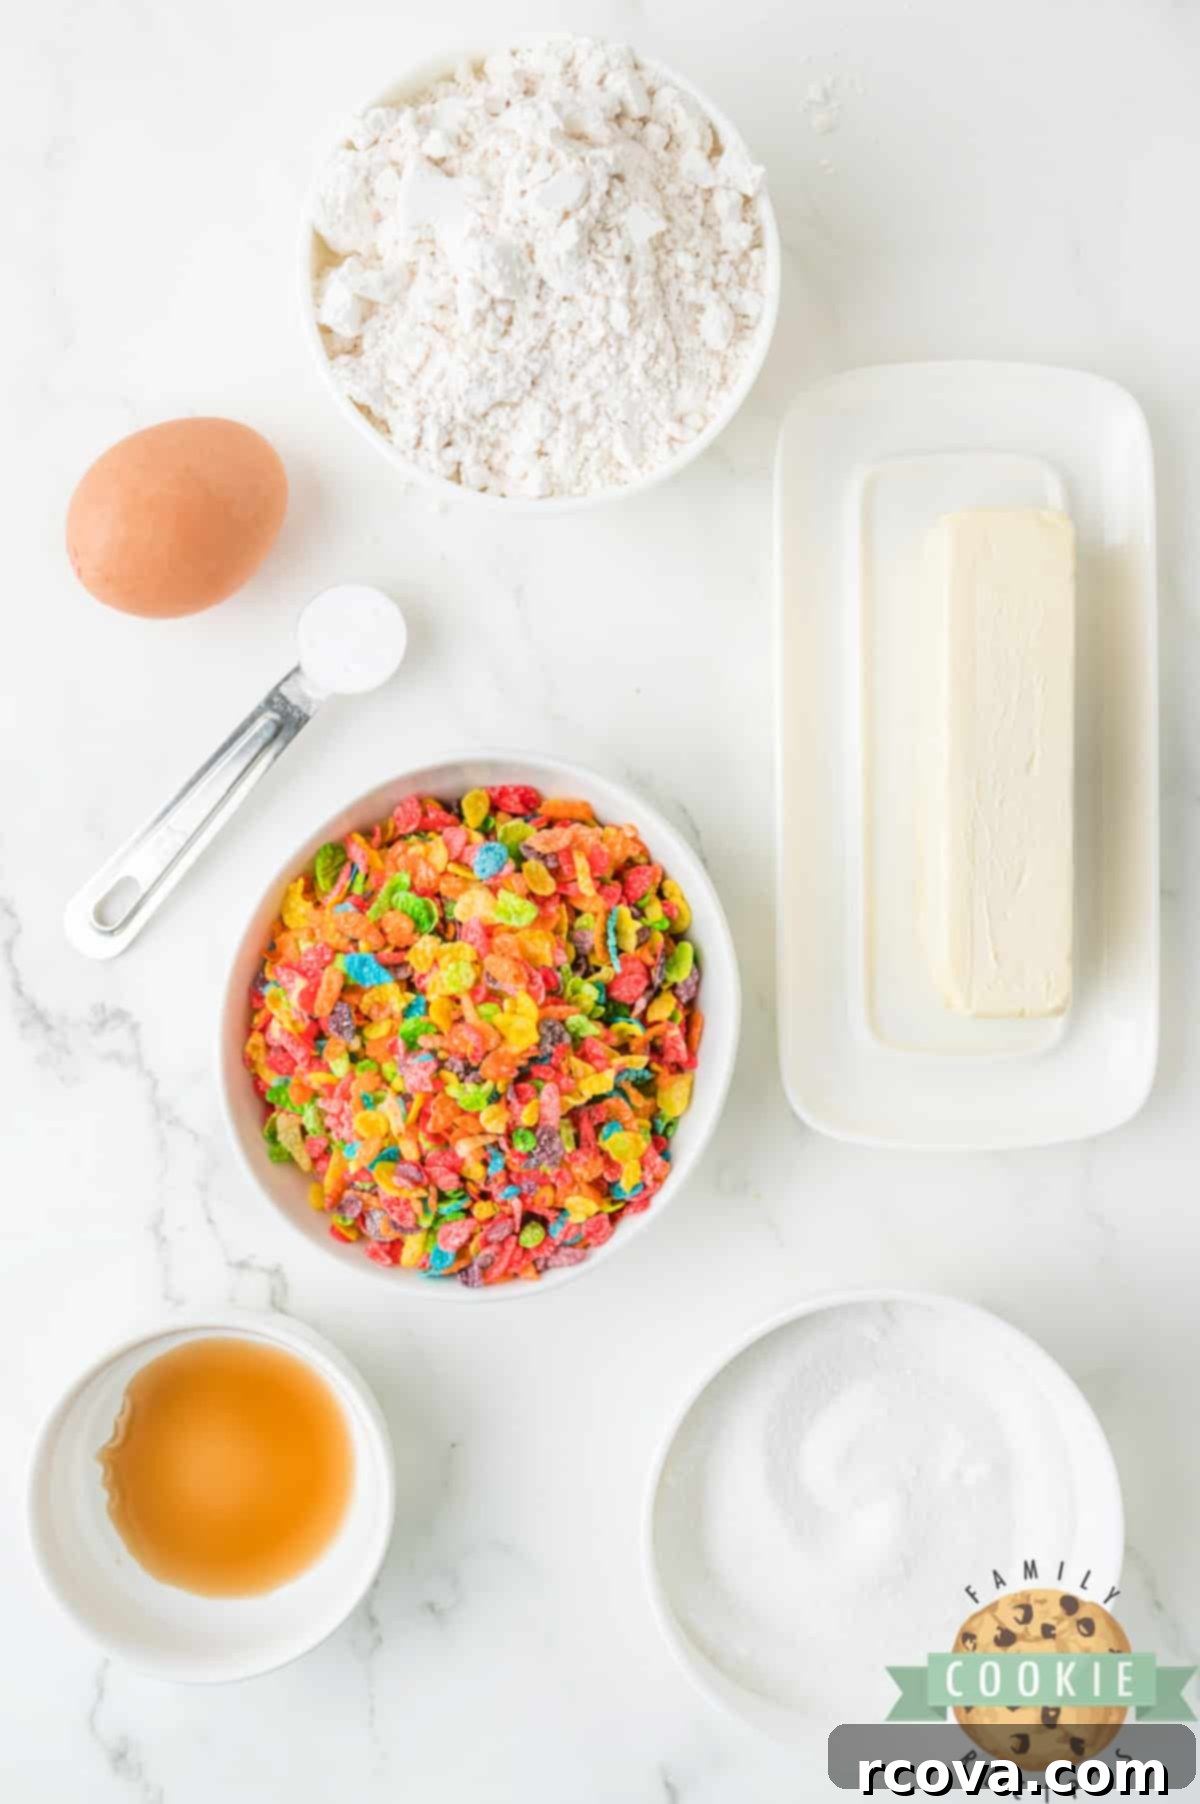
Key Ingredients for Colorful Fruity Pebbles Cookies
Creating these magical cookies requires a handful of common baking staples, with one superstar ingredient to make them truly unique. Here’s a closer look at what you’ll need and why each component is vital for that perfect batch:
Butter – You’ll need one stick (half a cup) of unsalted butter, softened to room temperature. The temperature of your butter is paramount for the texture of your cookies. Softened butter creams beautifully with sugar, incorporating air that yields a light and fluffy cookie. While I often use salted butter and adjust the added salt, unsalted butter gives you more control over the sodium content. Always opt for real butter over margarine for superior flavor, texture, and overall baking results.
Sugar – Granulated sugar is the primary sweetener in this recipe. Beyond just sweetness, it plays a crucial role in the cookie’s structure, promoting browning during baking and contributing to a delightful crispness on the edges while keeping the interior tender.
Egg – One large egg acts as a binder, bringing all the ingredients together and providing essential moisture. It also adds richness to the dough, contributing to a chewy and tender crumb.
Vanilla extract – Vanilla is a flavor enhancer that complements the sweetness and adds depth to the cookie base. The quality of your vanilla extract can significantly impact the final taste, so use the best quality you can afford for a truly standout flavor.
Flour – All-purpose flour provides the necessary structure for these cookies. It’s crucial to measure your flour correctly to avoid either overly sticky or dry, crumbly dough. For those with dietary restrictions, a good quality gluten-free all-purpose flour blend can often be substituted successfully.
Baking soda – This is your leavening agent, responsible for giving the cookies their slight lift and chewiness. Baking soda reacts with acidic ingredients in the dough (and sometimes even the general moisture) to produce carbon dioxide, which expands during baking. Ensure your baking soda is fresh and not expired for optimal results; old baking soda will lead to flat, dense cookies.
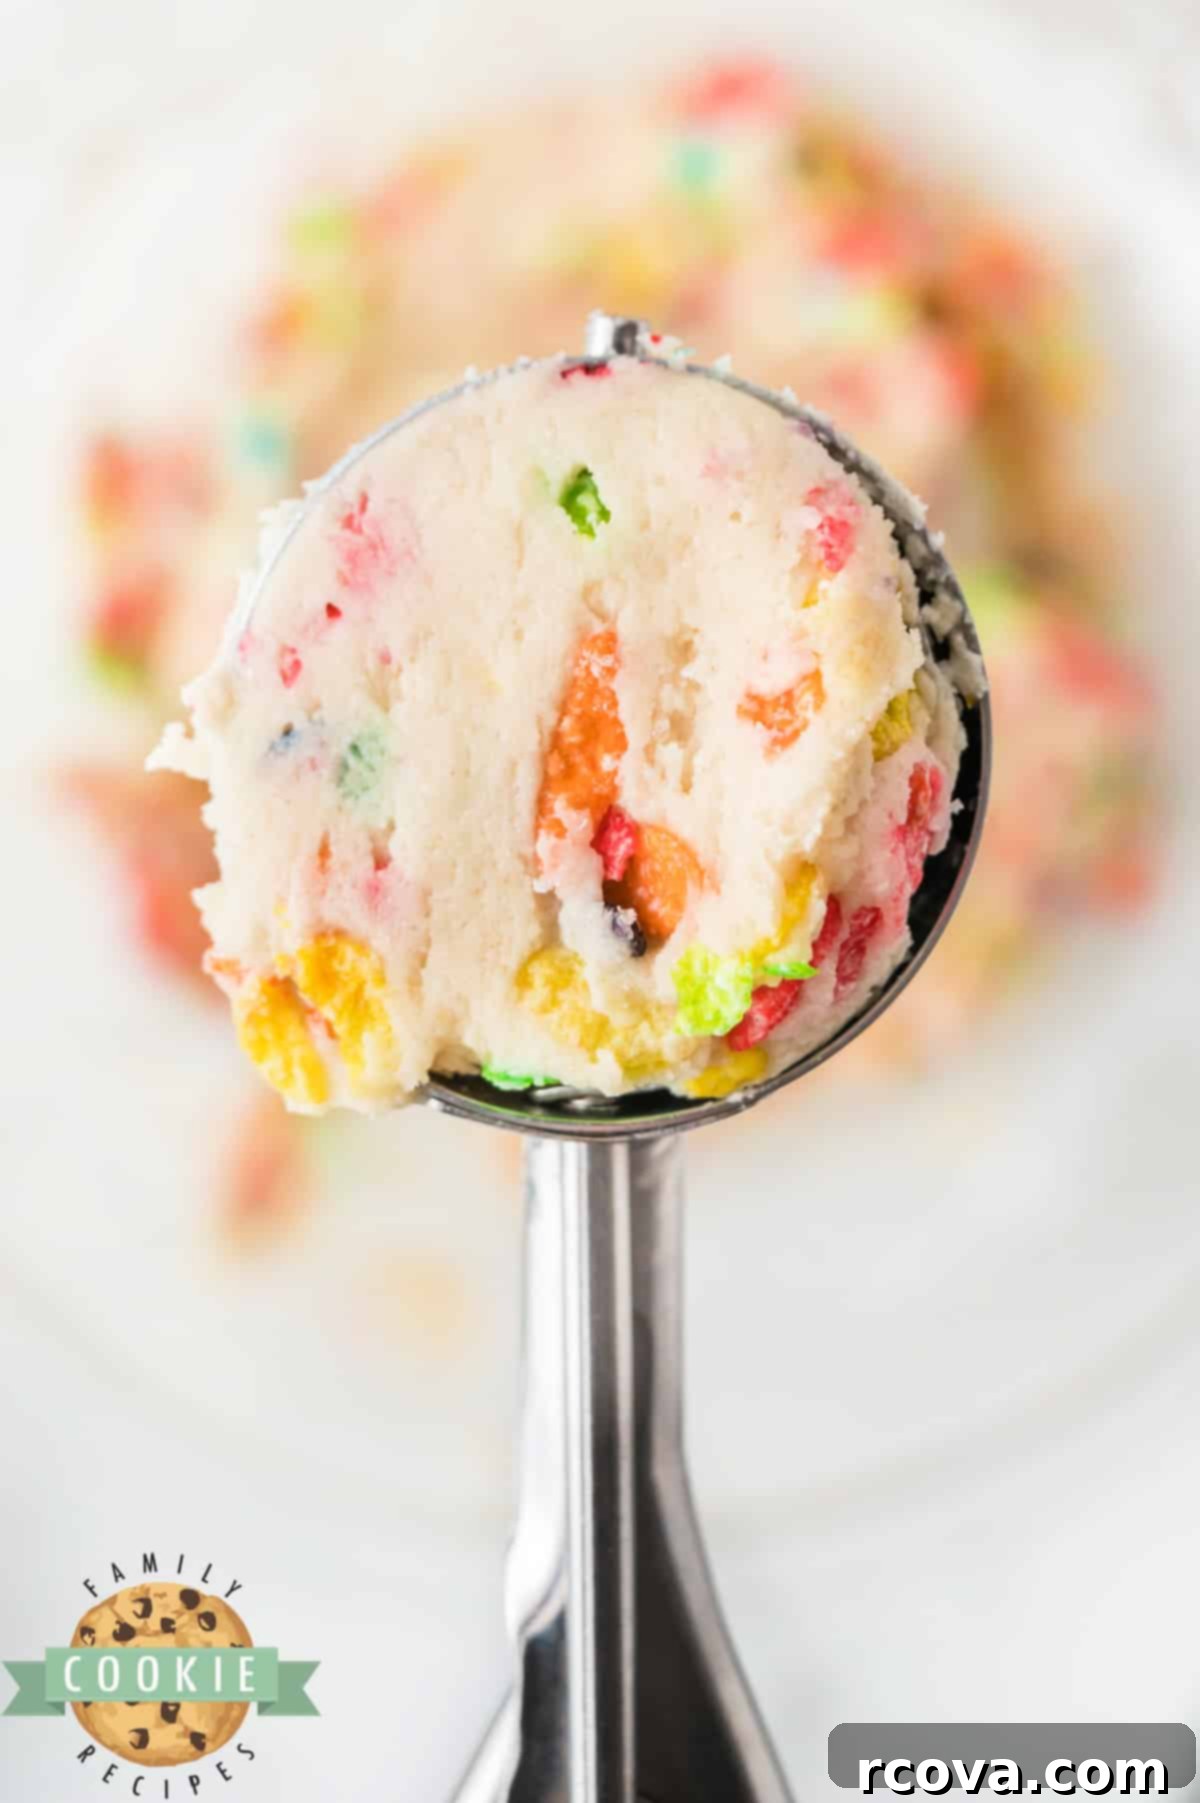
Fruity Pebbles – The unmistakable star of these cookies! This vibrant cereal is incorporated into the dough itself, infusing every bite with its signature fruity flavor and a delicate crunch. For an added visual pop and extra textural excitement, each cookie dough ball is rolled in more Fruity Pebbles before baking, creating a dazzling, colorful coating that’s both appealing to the eye and the palate.
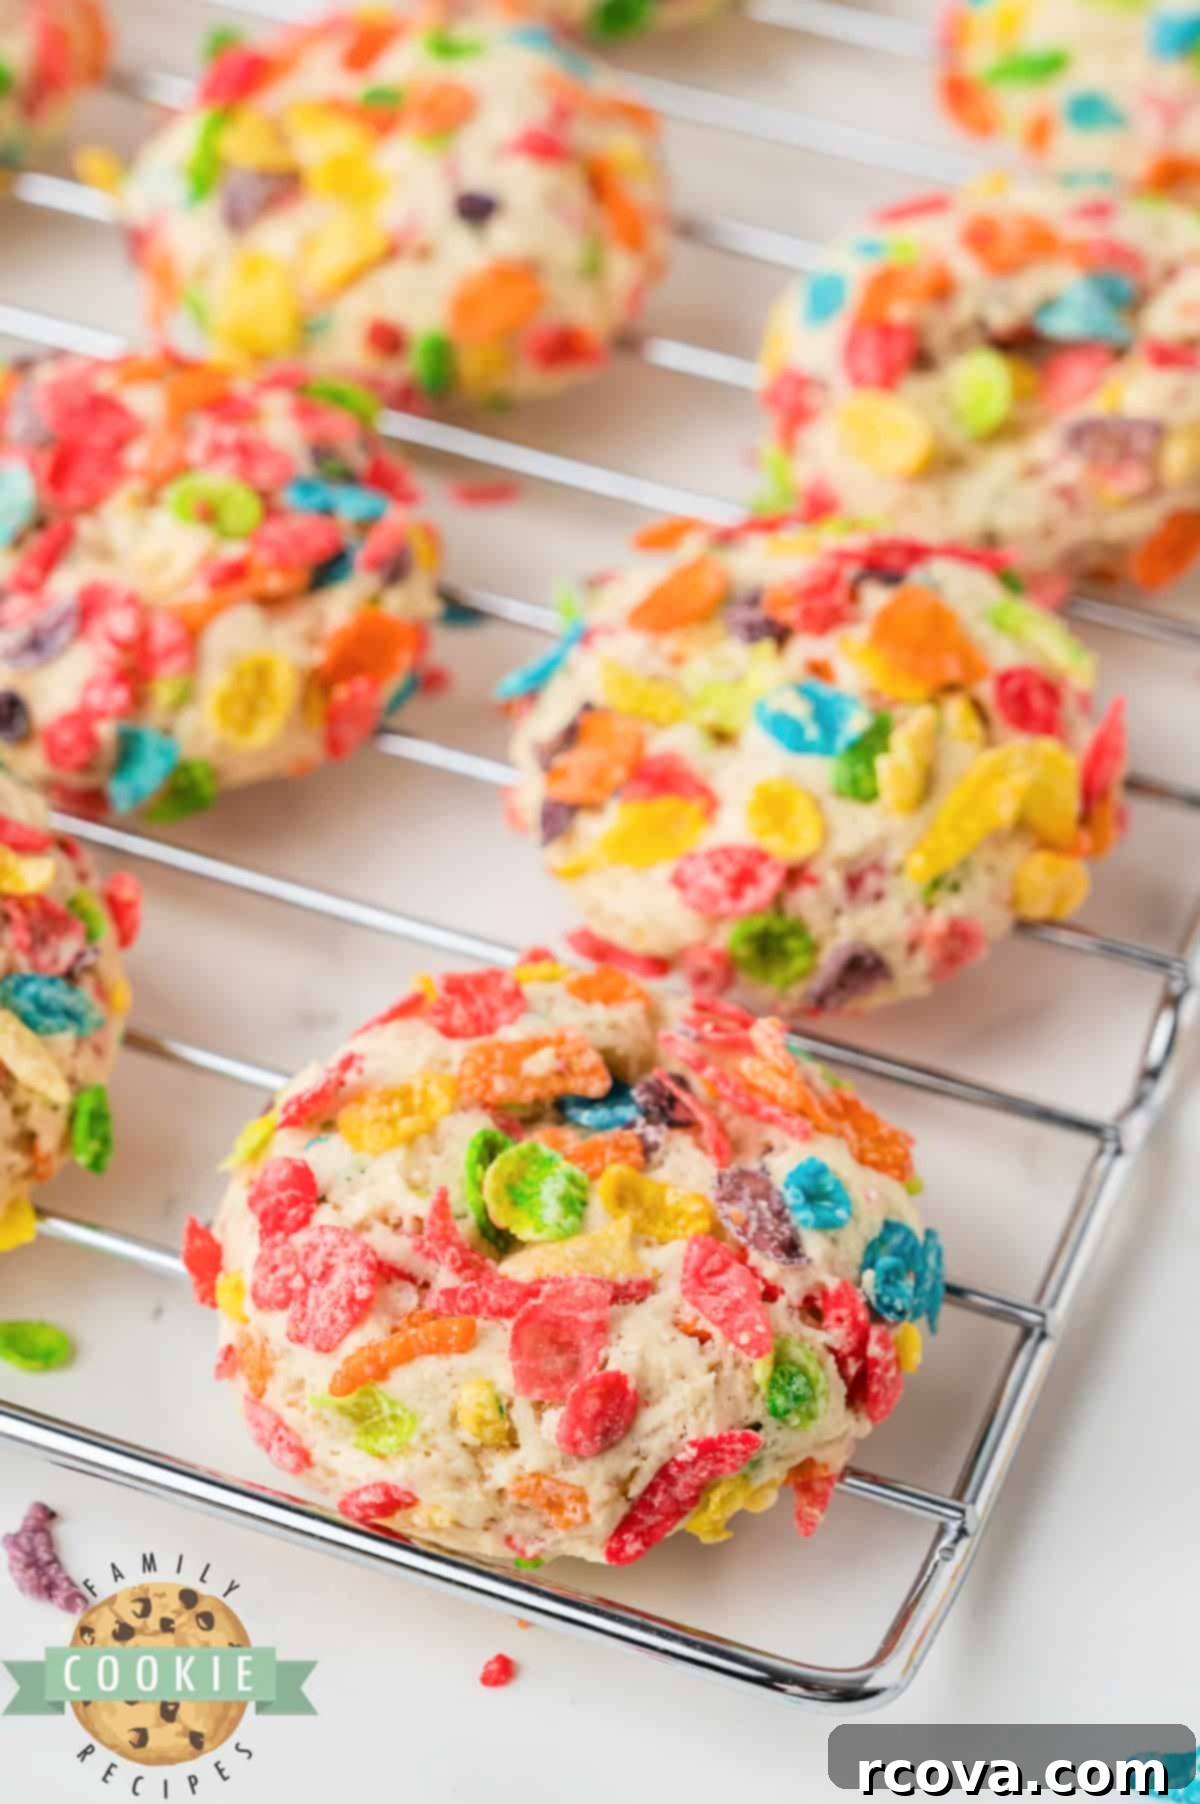
Simple Steps to Bake Fruity Pebbles Cookies
Making these vibrant cereal-infused cookies is a straightforward process, perfect for bakers of all skill levels. Follow these simple steps for a batch of soft, sweet, and wonderfully colorful treats:
- Prepare Your Oven and Baking Sheet: Begin by preheating your oven to 350℉ (175°C). While the oven heats up, line your baking sheet with parchment paper or a silicone baking mat. This crucial step prevents sticking and ensures easy removal of your perfectly baked cookies.
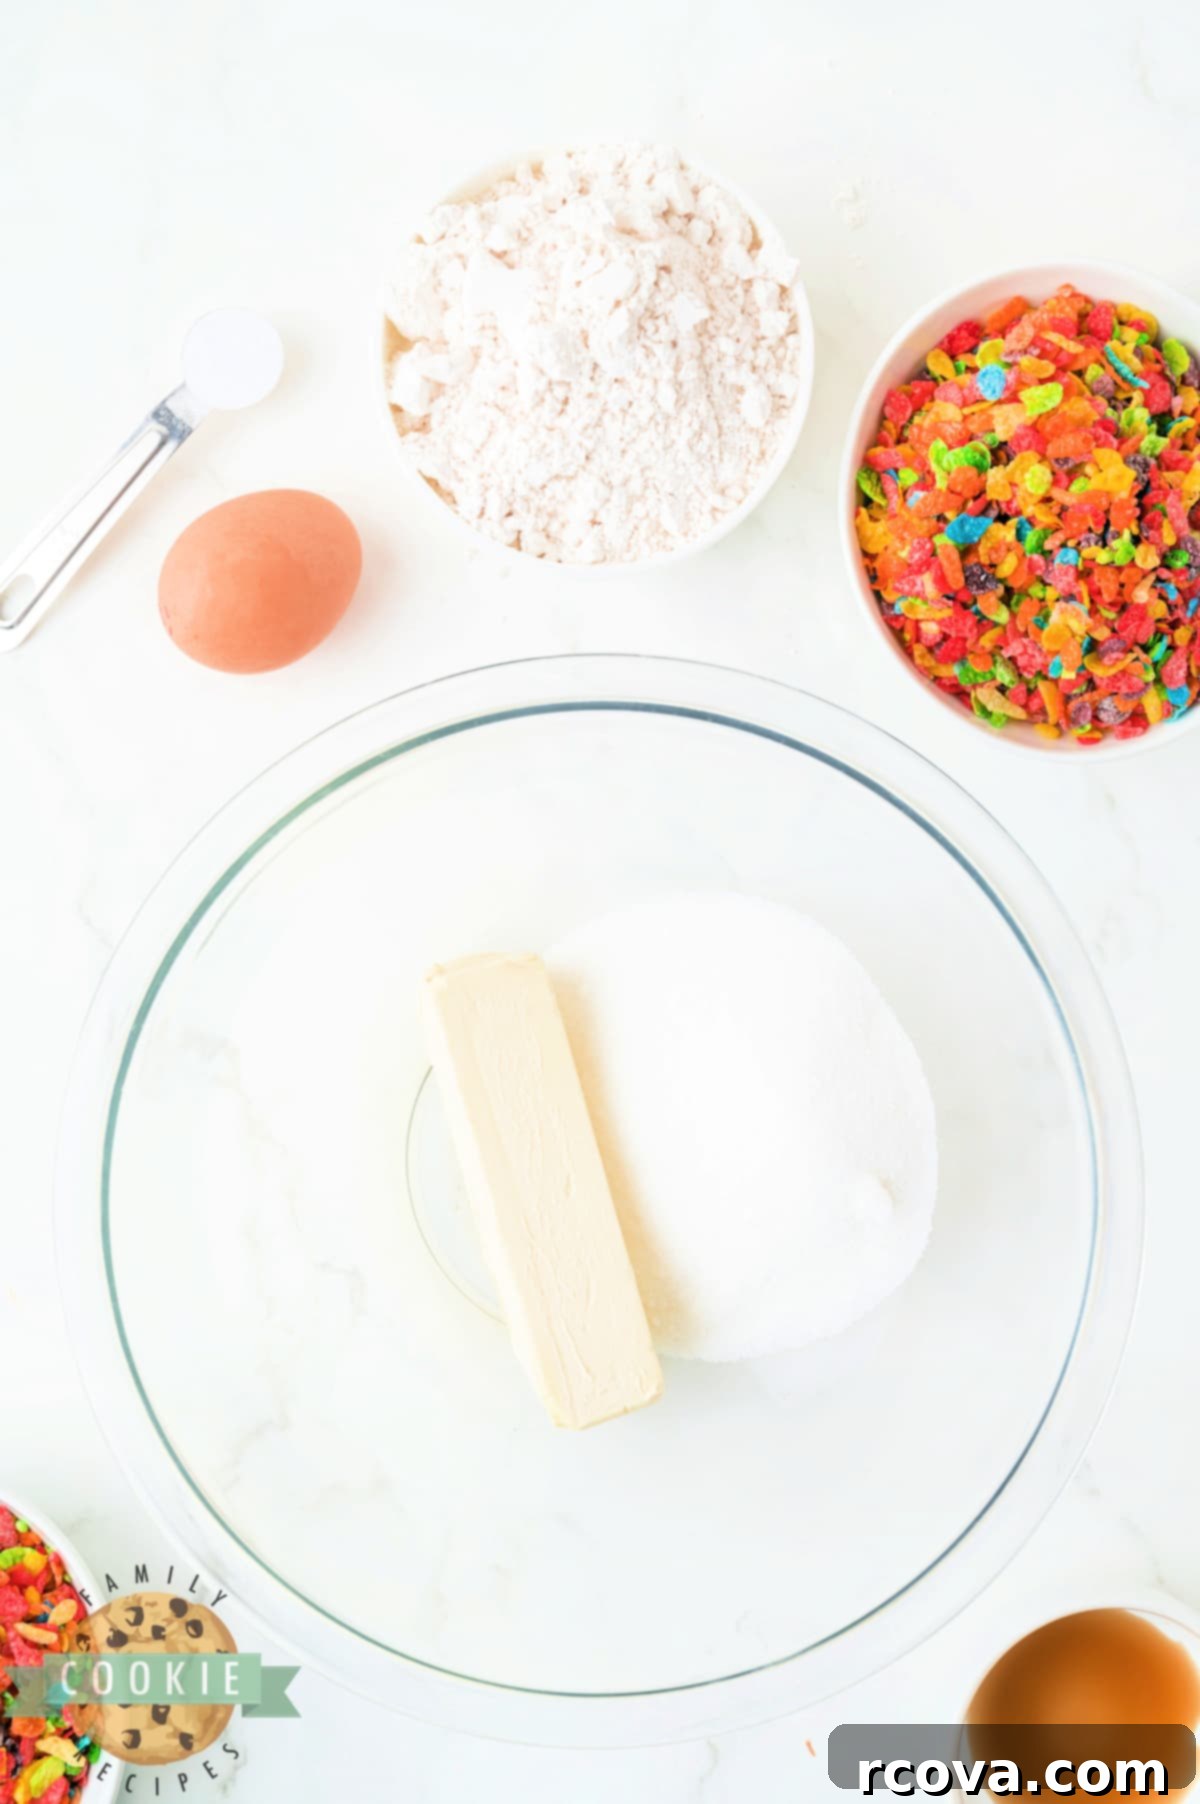
- Cream Butter and Sugar: In a large mixing bowl, combine the softened butter and granulated sugar. Using an electric mixer, cream them together for 2-3 minutes until the mixture is light, fluffy, and pale in color. This process incorporates air, which is key to achieving a tender cookie texture.
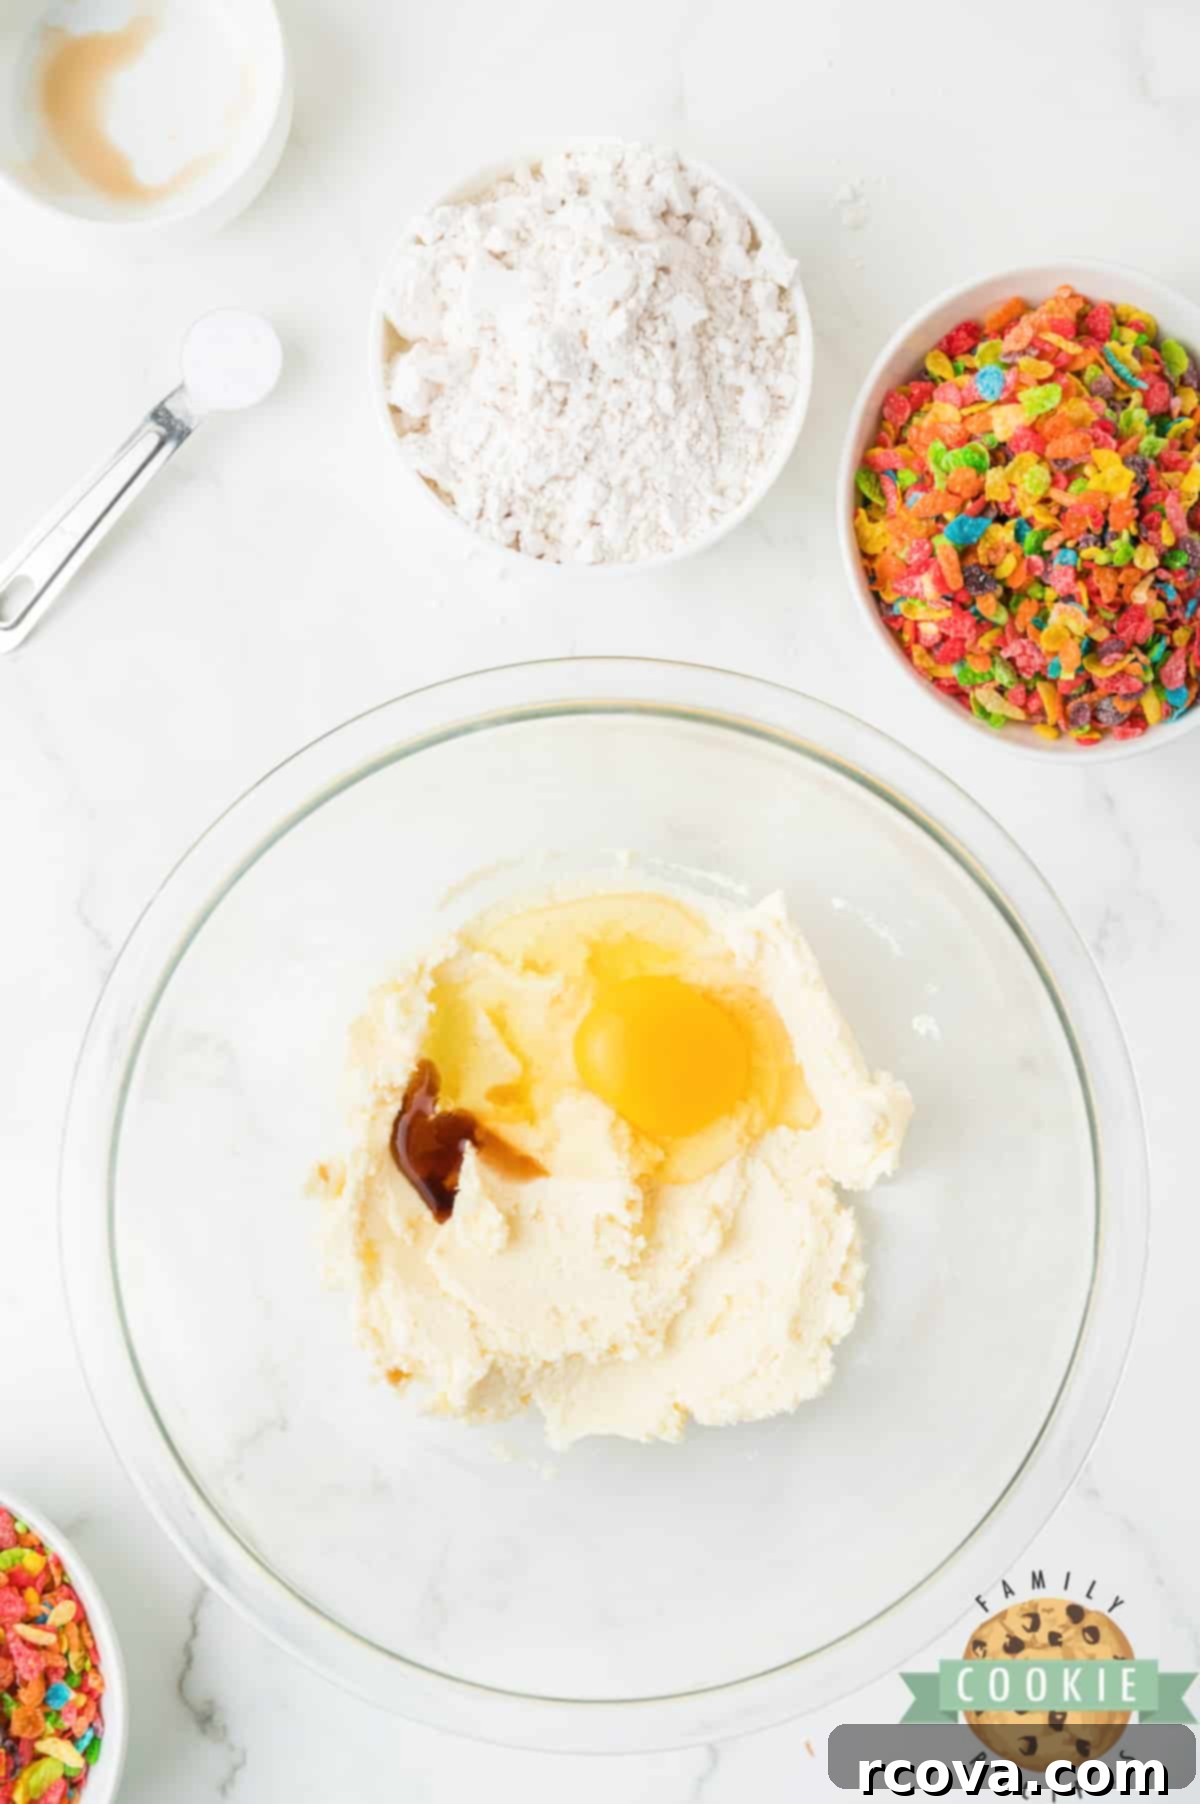
- Incorporate Wet Ingredients: Add the large egg and vanilla extract to the creamed butter and sugar. Continue to mix for another 2-3 minutes, scraping down the sides of the bowl as needed, until all ingredients are fully incorporated and the mixture is smooth and cohesive.
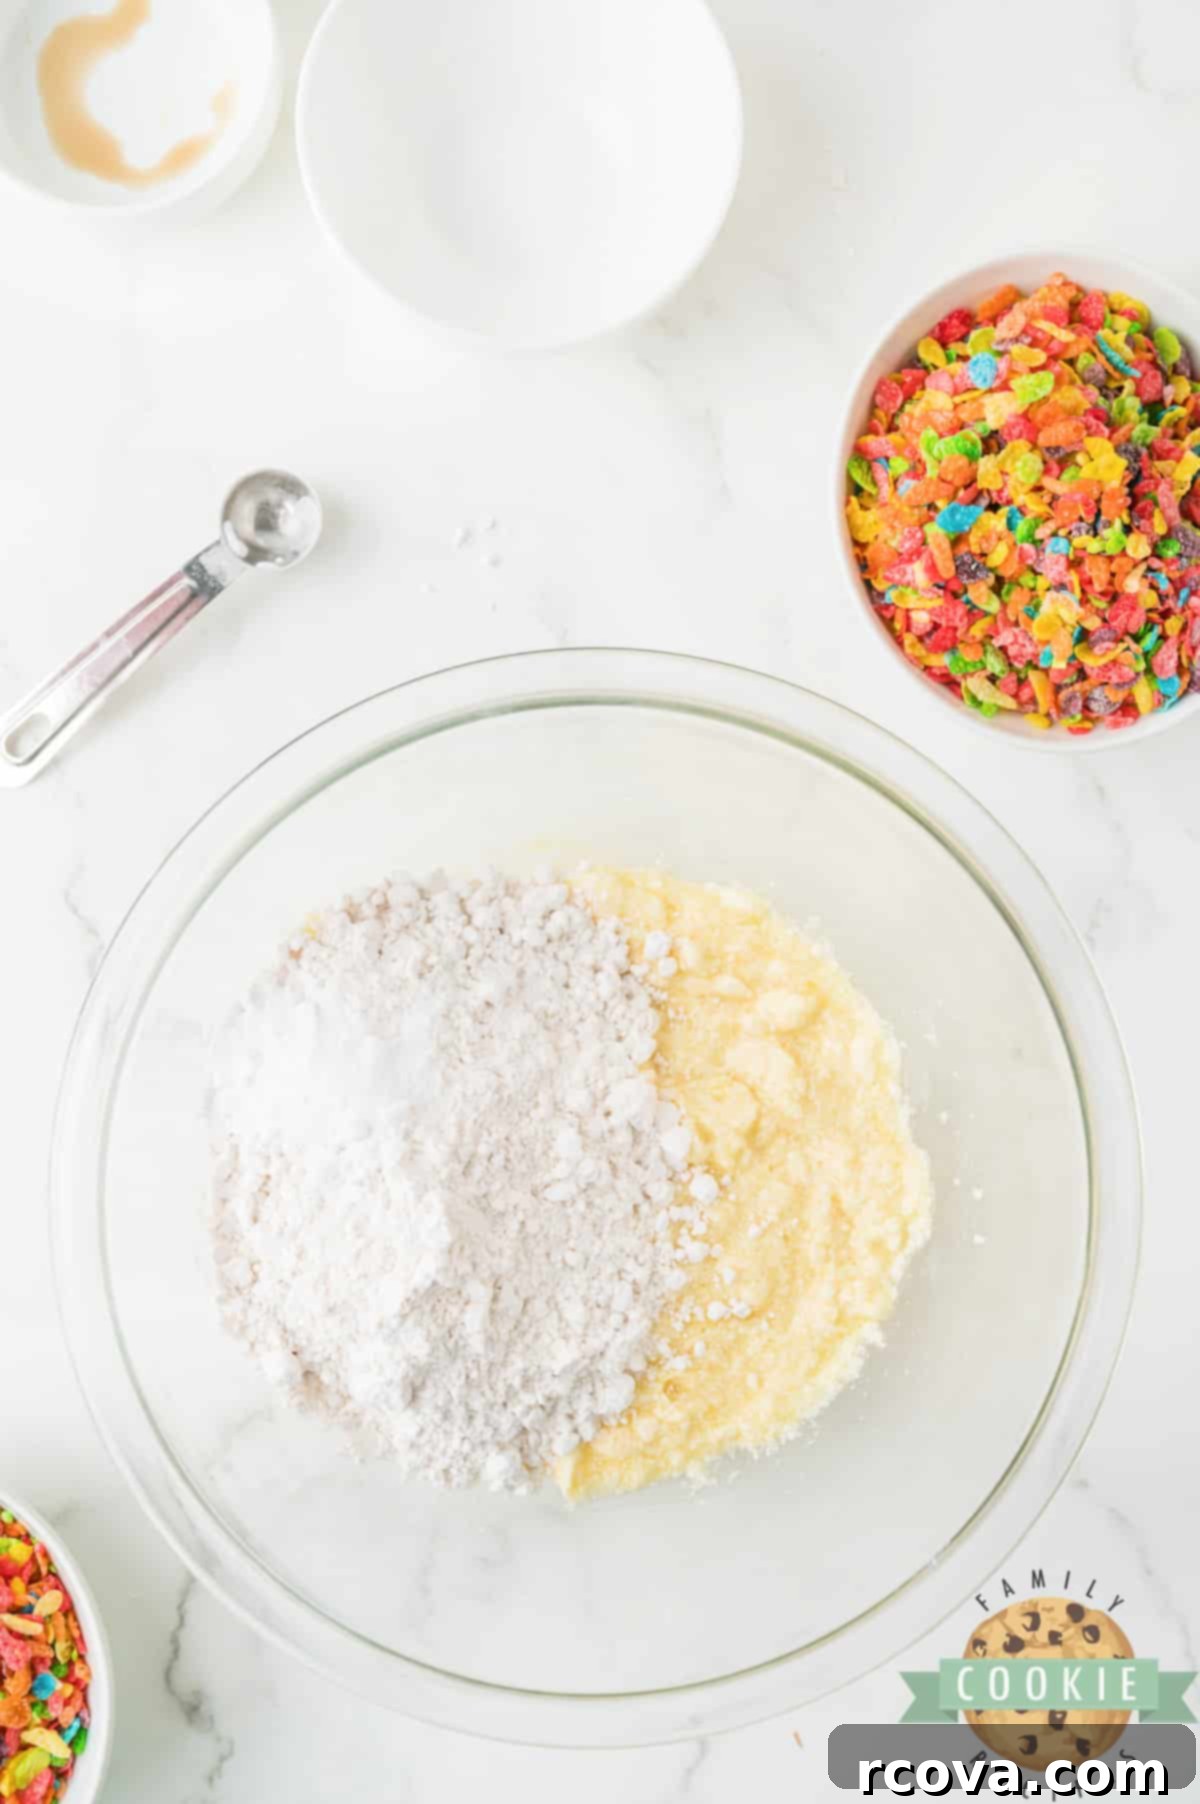
- Add Dry Ingredients: Gradually add the all-purpose flour and baking soda to the wet mixture. Stir on low speed or by hand, just until the dry ingredients are combined and no streaks of flour remain. Be careful not to overmix, as this can lead to tough cookies.
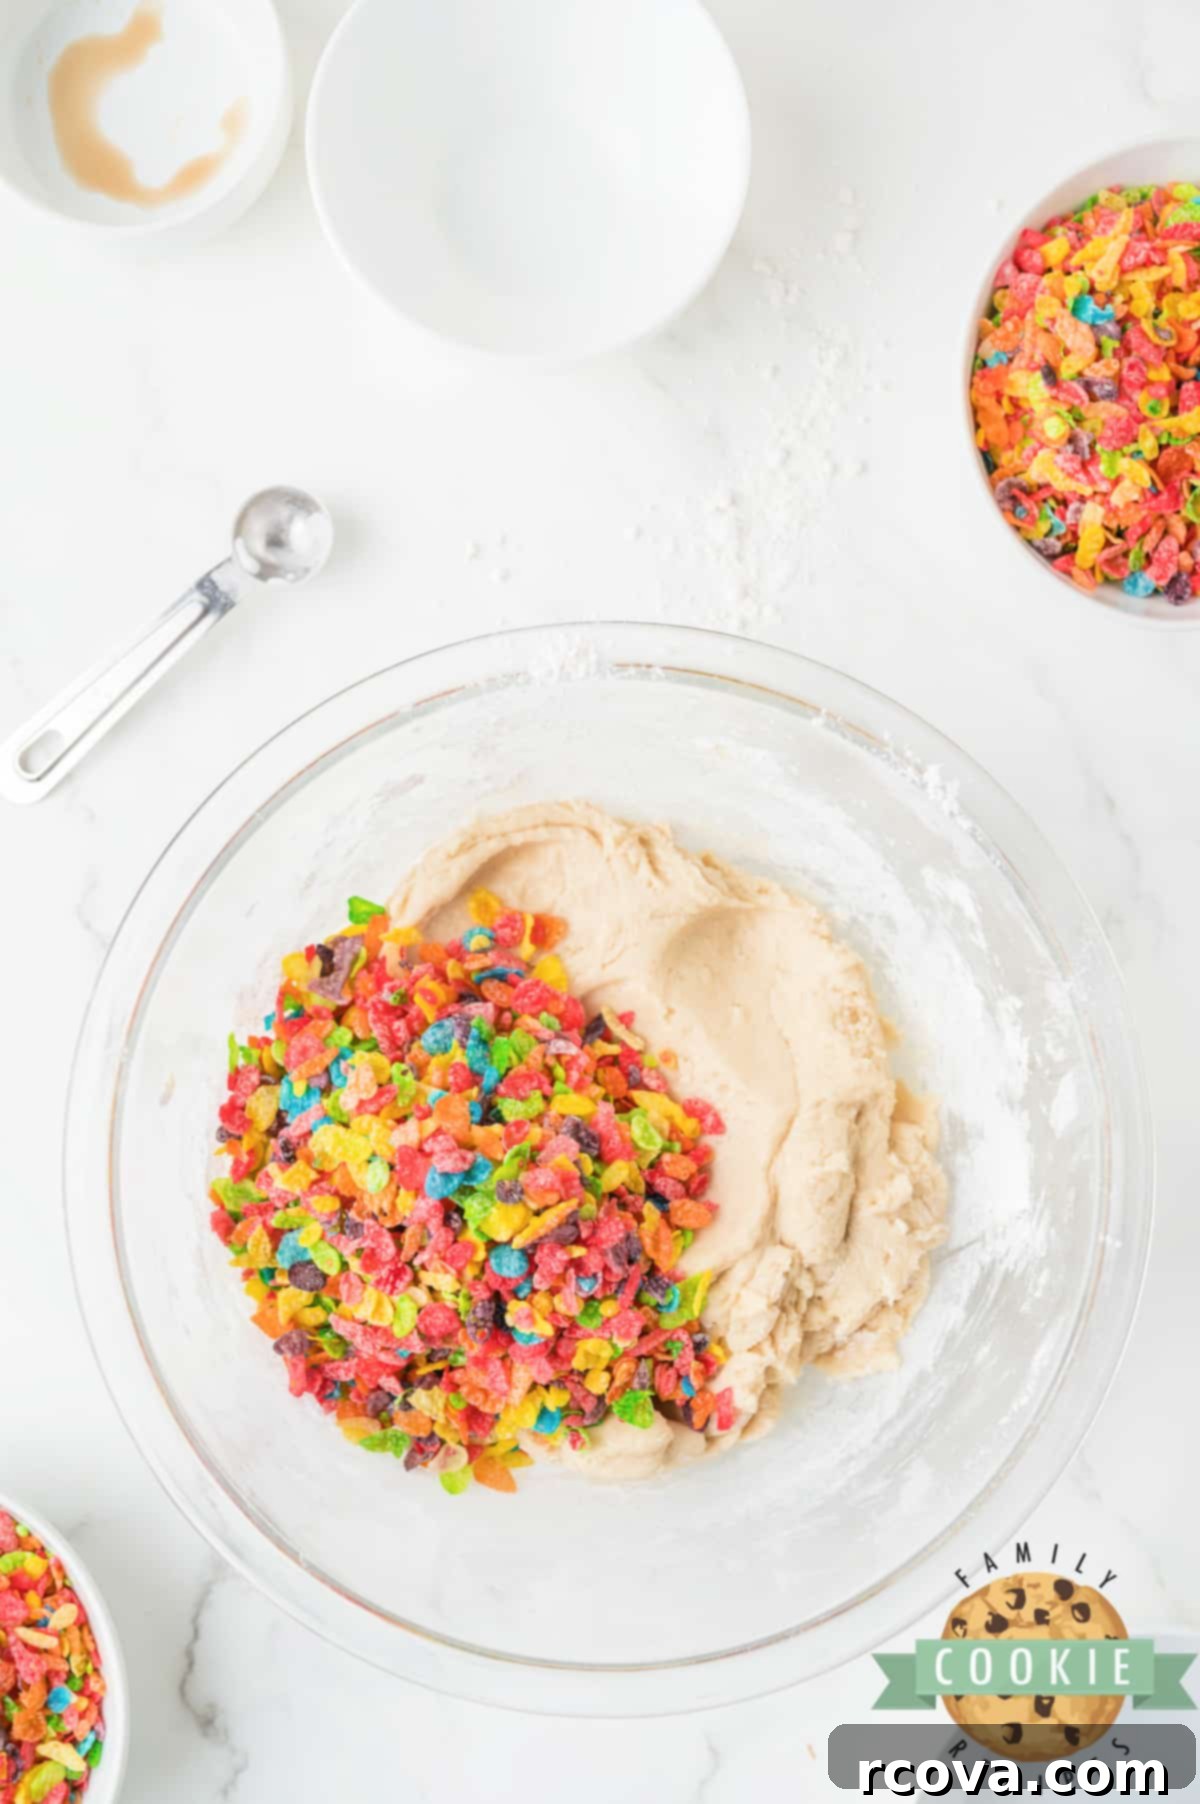
- Fold in Fruity Pebbles: Gently fold in 1 ¼ cups of Fruity Pebbles cereal into the dough. Use a spatula or spoon to mix them in evenly without crushing the cereal too much.
- Scoop and Roll: Use a cookie scoop (about 2 tablespoons in size) to portion out the dough. Roll each scoop into a smooth ball.
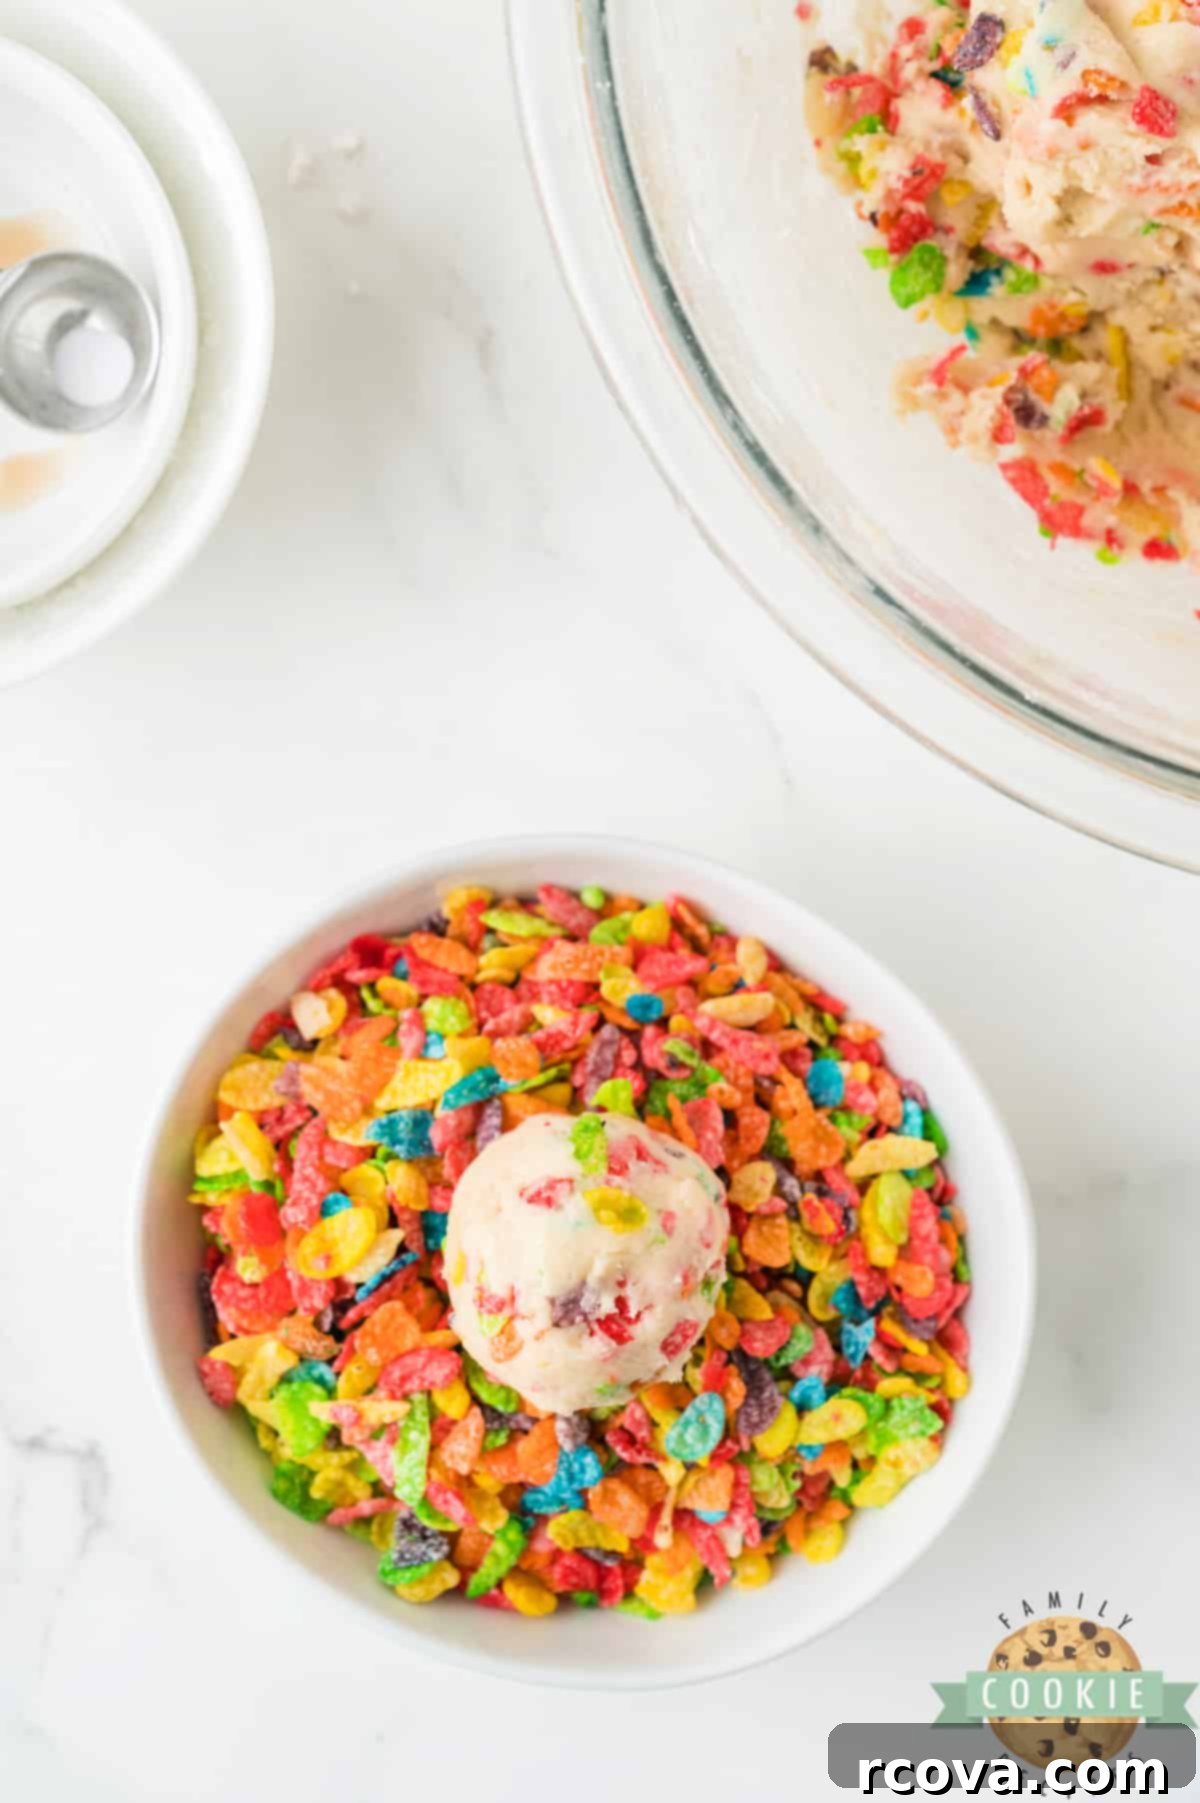
- Coat with More Cereal: Pour the remaining Fruity Pebbles into a small bowl. Roll each cookie dough ball generously in the cereal until it’s fully coated.
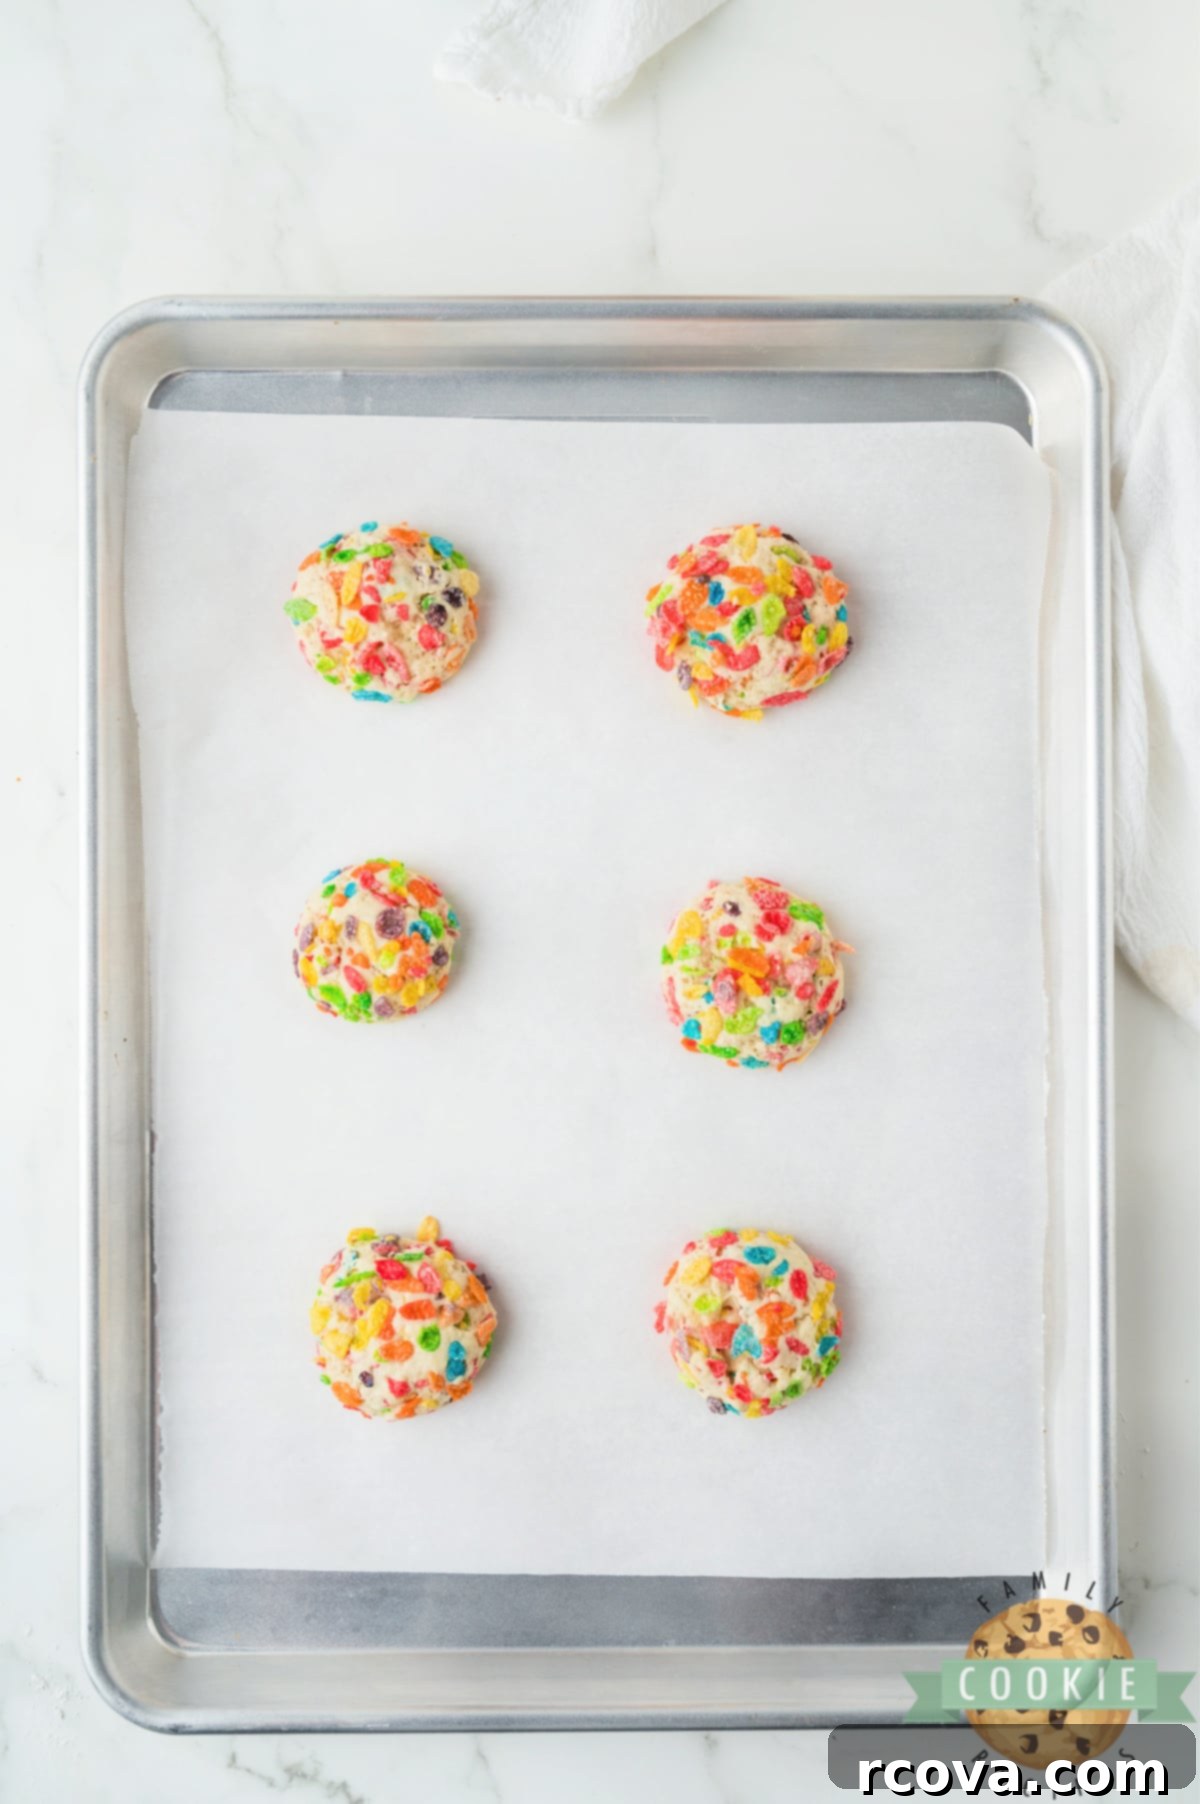
- Arrange and Bake: Place the coated cookie dough balls onto the prepared baking sheet, ensuring they are at least 1 ½ inches apart to allow for proper spreading during baking. Bake for about 10 minutes, or until the edges are lightly set and the bottoms are slightly golden. The centers may still look a bit soft, but that’s exactly what you want for a chewy cookie. Avoid overbaking!
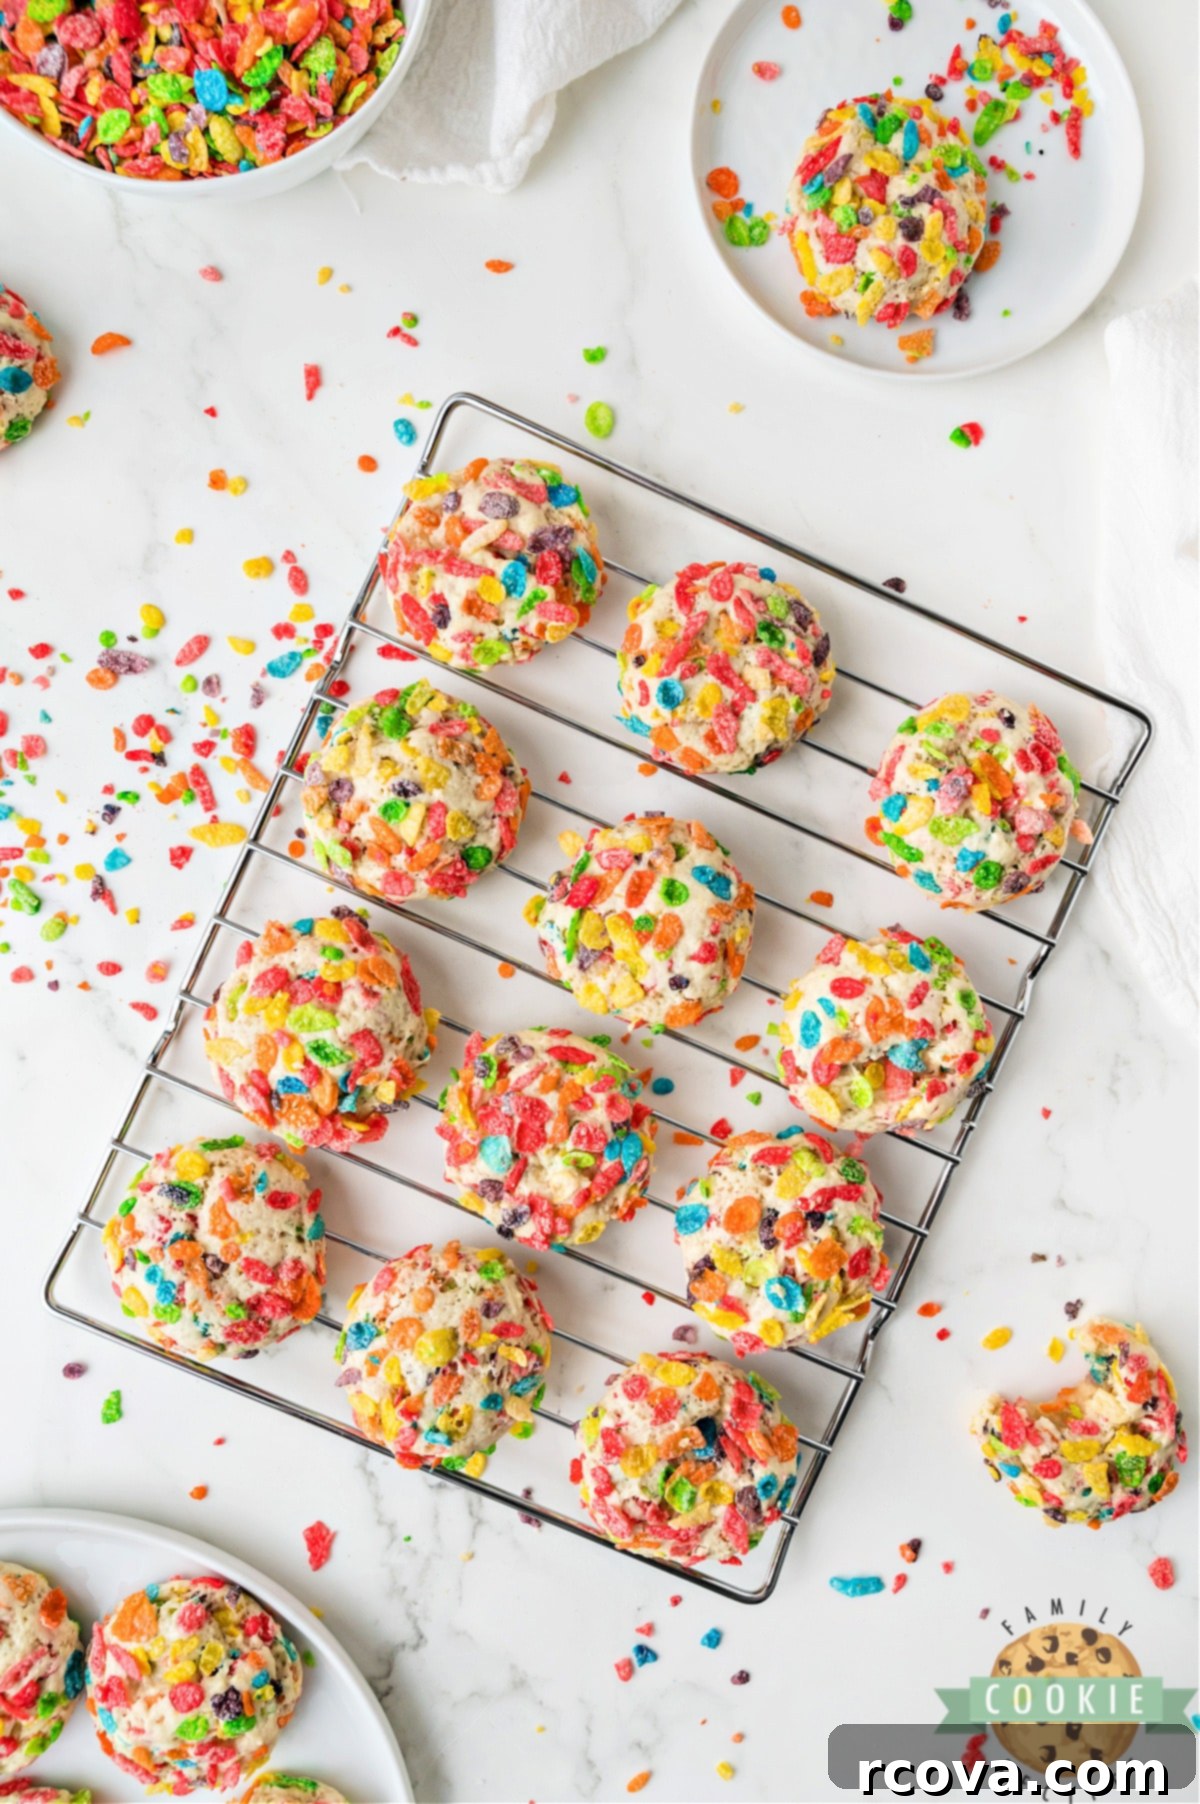
- Cool: Allow the cookies to cool on the baking sheet for about 3-4 minutes before carefully transferring them to a wire rack to cool completely. This initial cooling period helps them set and prevents them from breaking apart.
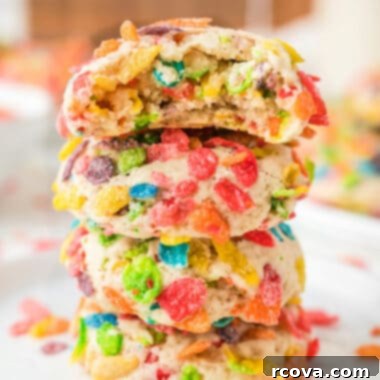
Fruity Pebbles Cookies
Print
Pin
Rate
Ingredients
- ½ cup unsalted butter softened to room temperature
- ¾ cup granulated sugar
- 1 large egg
- 1 teaspoon vanilla extract high quality recommended
- 2 cups all-purpose flour
- 1 teaspoon baking soda ensure it’s fresh
- 2 ¼ cups Fruity Pebbles cereal 1¼ cups for dough, 1 cup for rolling
Instructions
-
Preheat oven to 350℉ (175°C) and line your baking sheet with parchment paper or a silicone baking mat for easy cleanup.
-
In a large bowl, cream together the softened butter and granulated sugar for 2-3 minutes until light and fluffy. Add the egg and vanilla extract and mix for another 2-3 minutes, ensuring thorough incorporation.
-
Add in the all-purpose flour and fresh baking soda. Stir on low speed or by hand just until combined and no dry streaks of flour are visible. Be careful not to overmix.
-
Gently fold in 1 ¼ cups of Fruity Pebbles cereal. Then, use a 2-tablespoon cookie scoop to portion the dough into even balls.
-
Roll the scooped cookie dough balls in a small bowl filled with the remaining 1 cup of Fruity Pebbles cereal, ensuring they are fully coated. Place them on the prepared baking sheet at least 1 ½ inches apart.
-
Bake for approximately 10 minutes, or until the bottoms of the cookies are lightly golden. The tops may still appear soft. It’s crucial not to overbake to maintain their soft, chewy texture!
-
Allow the cookies to cool on the baking sheet for about 3-4 minutes to set before transferring them carefully to a wire rack to cool completely.
Nutrition
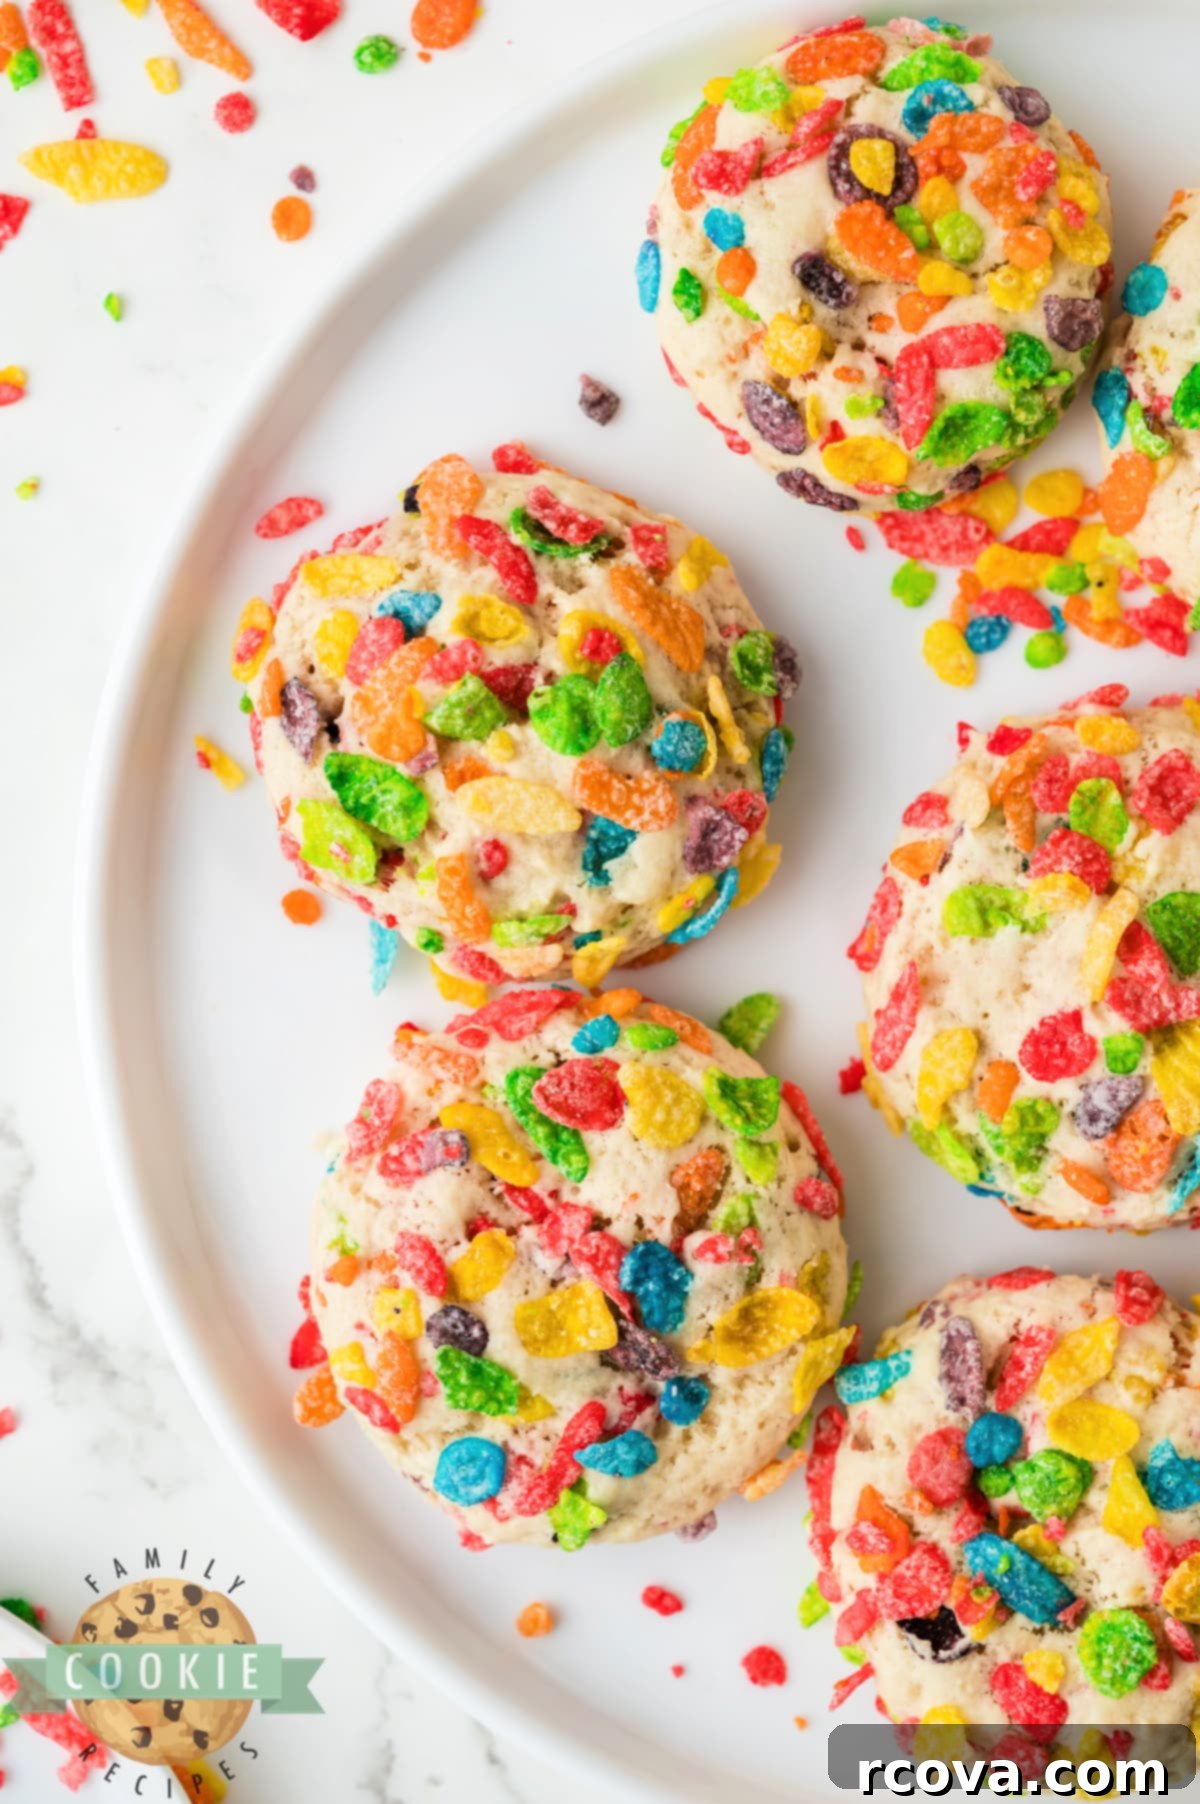
Expert Tips for Baking the Best Fruity Pebbles Cookies
Achieving cookie perfection is all about the details. Here are some pro tips to ensure your Fruity Pebbles cookies turn out beautifully every single time:
- Proper Flour Measurement: The amount of flour in your dough is critical for cookie structure. If your dough is too sticky after mixing, it might need a tablespoon or two more flour. On the other hand, too much flour will result in dry, crumbly cookies. Always spoon and level your flour into the measuring cup for accuracy, rather than scooping directly from the bag.
- Butter Temperature is Key: Under no circumstances should you melt the butter! The butter absolutely needs to be softened to room temperature. This is because creaming softened butter with sugar creates tiny air pockets, which are essential for a light, tender, and perfectly textured cookie. Melted butter will lead to greasy, flat, and dense cookies that lack that desirable chewiness.
- Don’t Rush the Wet Ingredients: When creaming butter and sugar, and then adding the egg and vanilla, take your time. Mixing for a total of 4-5 minutes (or even a little longer) allows enough air to be incorporated and properly emulsifies the ingredients, which significantly improves the consistency and rise of your cookies.
- Always Preheat Your Oven: This step is non-negotiable for consistent baking results. A properly preheated oven ensures that your cookies start baking at the correct temperature immediately, preventing them from spreading too much before they set and helping them achieve that ideal golden color and even bake.
- Use the Right Baking Surface: To guarantee easy removal and perfectly shaped cookies, always use parchment paper or a silicone baking mat on your baking sheets. These liners create a non-stick surface, preventing your cookies from sticking and making cleanup a breeze. They also promote more even heat distribution, contributing to a better bake.
- Avoid Overbaking: This is arguably the most common cookie mistake! Cookies can go from perfectly baked to dry and hard in a matter of seconds. Keep a close eye on them. Your Fruity Pebbles cookies may not even look fully “done” on top, but if the bottoms are slightly golden, it’s time to take them out. They will continue to cook slightly from residual heat as they cool on the baking sheet, ensuring a wonderfully soft and chewy center.
Understanding Why Your Cookies Might Be Flat
There’s nothing more disheartening than cookies that spread out into thin, flat discs. If your cookies are consistently flat and spread excessively while baking, there are several common culprits to investigate:
- Insufficient Flour: As mentioned in our tips, too little flour is a frequent cause of flat cookies. Flour provides structure. If there isn’t enough, the dough can’t hold its shape as it heats, causing it to spread. Start by adding an extra tablespoon or two of flour to your batter and observe if that helps your next batch maintain a better shape.
- Melted Butter: Using butter that’s too warm or melted will drastically alter the cookie’s texture. Softened butter incorporates air, which helps cookies rise. Melted butter makes the dough dense and greasy, leading to excessive spreading.
- Overmixing the Dough: While you want to combine ingredients thoroughly, overmixing, especially after adding flour, can develop too much gluten. This results in a tough dough that doesn’t hold its shape well and tends to spread. Mix just until combined.
- Expired Leavening Agent: If your baking soda is old, it won’t react properly, leading to cookies that don’t rise and consequently spread. Always check the expiration date!
- Oven Temperature Issues: An oven that isn’t properly preheated or runs too cool can cause cookies to spread before they have a chance to set. A reliable oven thermometer can help verify your oven’s actual temperature.
- Dough Too Warm: If your kitchen is very warm or your dough has been sitting out for too long, the butter might become too soft, contributing to spreading. If you suspect this, chill the dough for 15-30 minutes before baking.
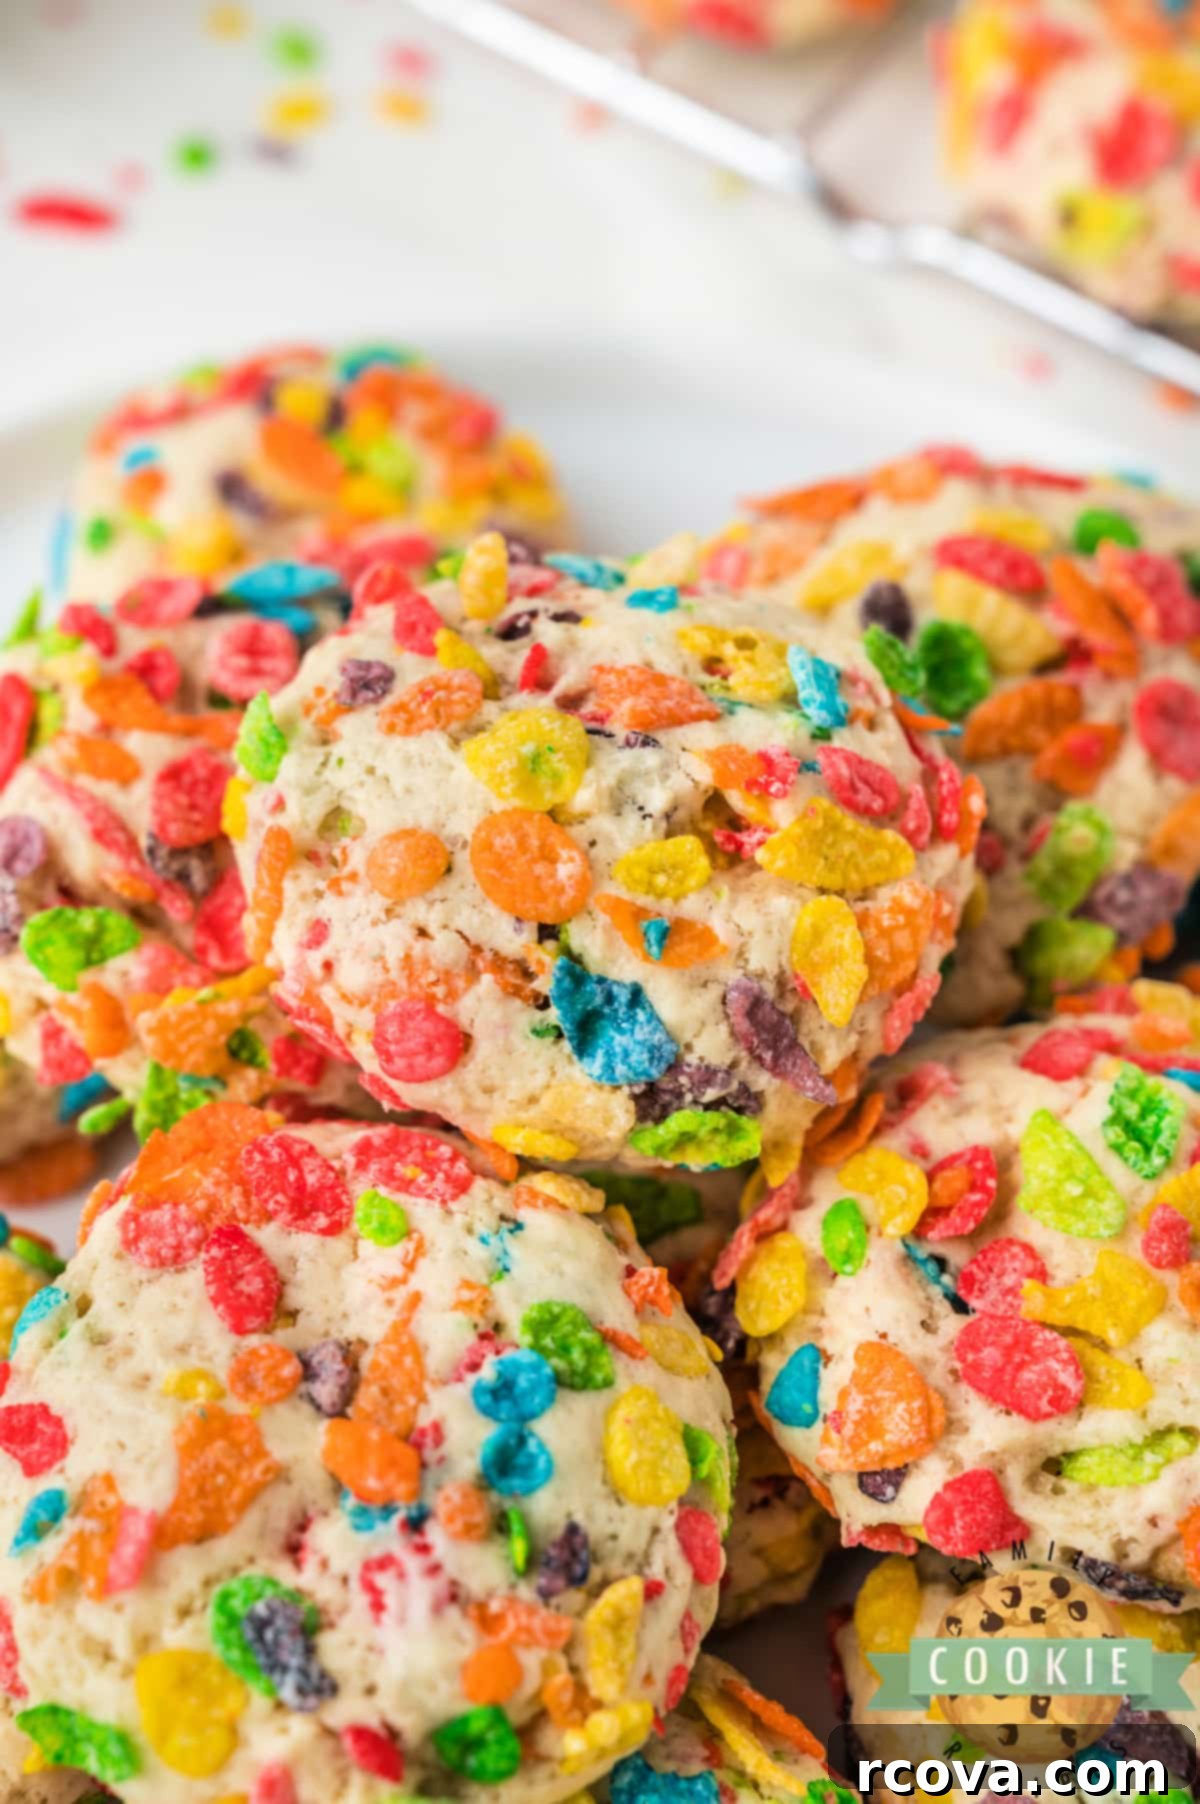
Mastering the Art of Softening Butter to Room Temperature
Achieving perfectly softened butter is a common challenge, but it’s a vital step for many baking recipes, especially cookies. The ideal scenario is to plan ahead and simply set your stick of butter out on the counter a few hours before you plan to bake. This allows it to come to a uniform room temperature gently, making it pliable enough to indent with a finger without being greasy or melted.
However, life happens, and we often find ourselves needing softened butter on the fly. Don’t worry, there are quick tricks!
- The Microwave Method (Use with Caution!): This is definitely the fastest way, but it requires extreme care to avoid melting the butter. Place the whole stick of butter (unwrapped, in a microwave-safe dish) in the microwave. Microwave it for about 6-7 seconds on a low to medium power setting. Check its softness. If it’s still quite firm, give it another 5-7 seconds. Repeat in very short bursts (2-3 seconds at a time) until it’s softened. The goal is pliable, not liquid. If you see any melted spots, it’s gone too far for most recipes.
- The Defrost Setting: Many microwaves have a “defrost” setting, and I personally find this to be a more forgiving method. While it takes a bit longer (closer to 30 seconds for a full stick), the gentler, pulsed heat helps the butter soften more evenly without the risk of accidentally melting it. Keep an eye on it and flip the stick halfway through for even results.
- The Warm Water Bath: Fill a large bowl with warm (not hot!) water. Place the unwrapped stick of butter in a sealed plastic bag and submerge it in the warm water for about 10-15 minutes. The warm water will gently bring the butter up to temperature without melting.
- The Grating Method: For instant softened butter, you can grate a cold stick of butter using a box grater. The smaller pieces will come to room temperature very quickly. This method is great when you’re truly short on time.
Regardless of the method you choose, the ideal texture for “softened butter” is when it yields easily to light pressure from your finger, but still holds its shape and isn’t shiny or greasy looking.
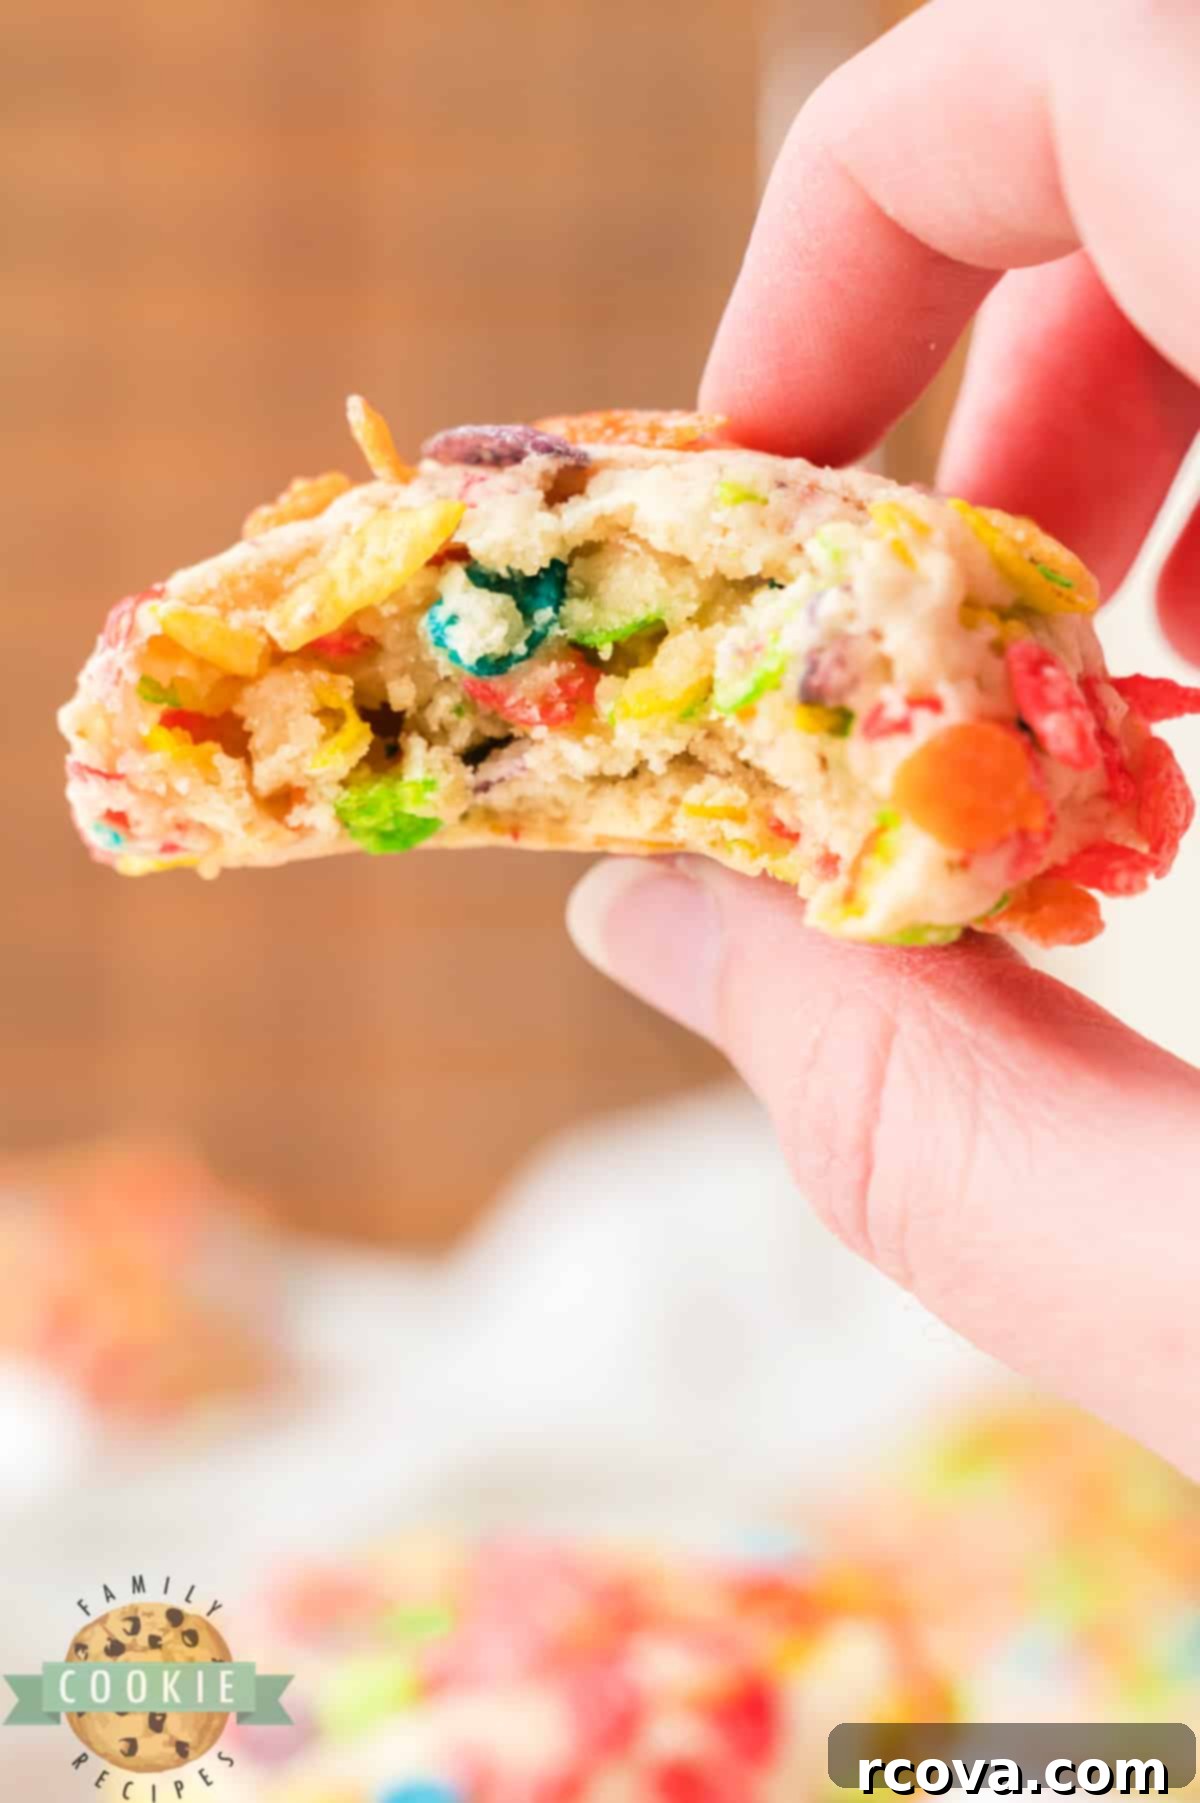
How Long Do Fruity Pebbles Cookies Stay Fresh?
These delightful Fruity Pebbles cookies are best enjoyed fresh, but they also store quite well! To maintain their softness, sweetness, and that lovely little crunch from the cereal, it’s crucial to store them properly. They will remain delicious for about 3-4 days when kept in an airtight container at room temperature. For optimal freshness and to prevent the cereal from becoming stale or absorbing moisture, try to keep them away from direct sunlight or humid environments. If you want to extend their shelf life, you can also freeze the baked cookies in a freezer-safe bag or container for up to 2-3 months. Thaw them at room temperature when you’re ready to enjoy a colorful treat!
MORE DELICIOUS COOKIE RECIPES TO TRY:
If you loved these Fruity Pebbles cookies, you’re in for a treat! Our collection of cookie recipes is packed with unique flavors and fun ideas perfect for any occasion. Explore these other fan favorites:
- WATERMELON SLICE & BAKE COOKIES
- CAKE MIX ROLO COOKIES
- JELLO SUGAR COOKIES
- NO BAKE M&M COOKIES
- CHOCOLATE SPRINKLE COOKIES
- DIRT CAKE COOKIES
- FROSTED LEMONADE COOKIES
- COOKIE MONSTER COOKIES
- S’MORES OATMEAL COOKIES
- FROSTED STRAWBERRY COOL WHIP COOKIES
- EASY UNICORN COOKIES
- BEST MONSTER COOKIES
- CHOCOLATE GLAZED DONUT COOKIES

These Fruity Pebbles Cookies are more than just a dessert; they are a delightful experience for your senses. With their soft, tender centers, wonderfully sweet flavor, and the vibrant, playful crunch of Fruity Pebbles, they are sure to become a new family favorite. Easy to make and impossible to resist, get ready to bake a batch of pure joy!
