Delicious Valentine’s Thumbprint Cookies: A Sweet Recipe for Love Day
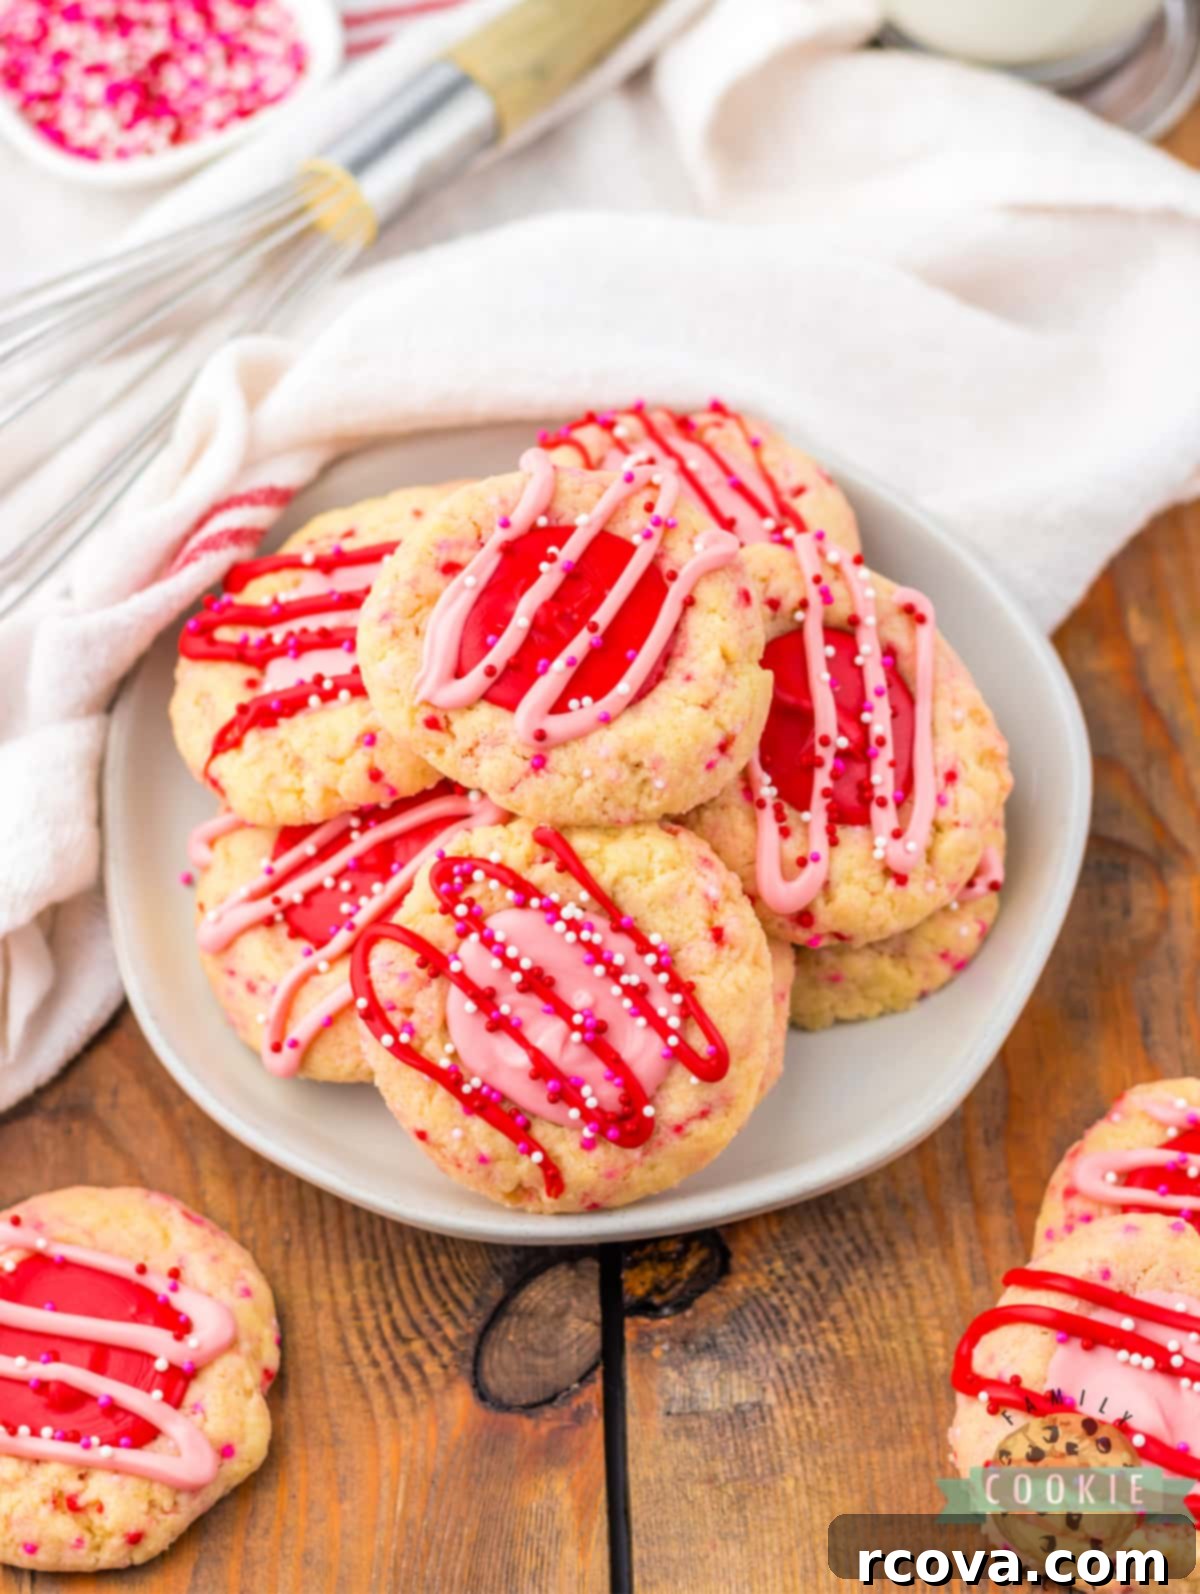
Celebrate the season of love with these absolutely delightful Valentine’s Thumbprint Cookies! Perfectly pretty and bursting with flavor, these buttery shortbread-style cookies are a joyful addition to any Valentine’s Day celebration. Each tender cookie is rolled in festive sprinkles, baked to golden perfection, and then lovingly filled with vibrant pink and red chocolate. They are not just a treat for the taste buds but also a feast for the eyes, making them ideal for gifting, sharing, or simply enjoying with a loved one on this special holiday.

The Charming History of Thumbprint Cookies
Thumbprint cookies, also known by their Swedish name “Hallongrotta” (which translates to “raspberry cave”), boast a charming history that dates back to the early 20th century in Sweden. These delightful morsels quickly gained popularity, spreading across Europe and eventually making their way to the United States in the 1940s and 1950s. Their simple yet elegant design, featuring a buttery cookie base with a central indentation perfect for holding sweet fillings, cemented their status as a beloved classic in home kitchens and bakeries alike.
Traditionally, thumbprint cookies were filled with various fruit preserves, like raspberry or apricot jam. However, their versatility has led to countless creative variations over the years. This particular recipe embraces the celebratory spirit of Valentine’s Day by transforming the classic concept into a festive, visually striking treat. We’re taking that soft, buttery cookie dough, infusing it with holiday spirit via colorful sprinkles, and then filling the signature “thumbprint” with a luscious, vibrant pink and red chocolate filling. A final drizzle of contrasting chocolate and extra sprinkles elevates these cookies from simple to spectacular, making them a perfect gesture of love.
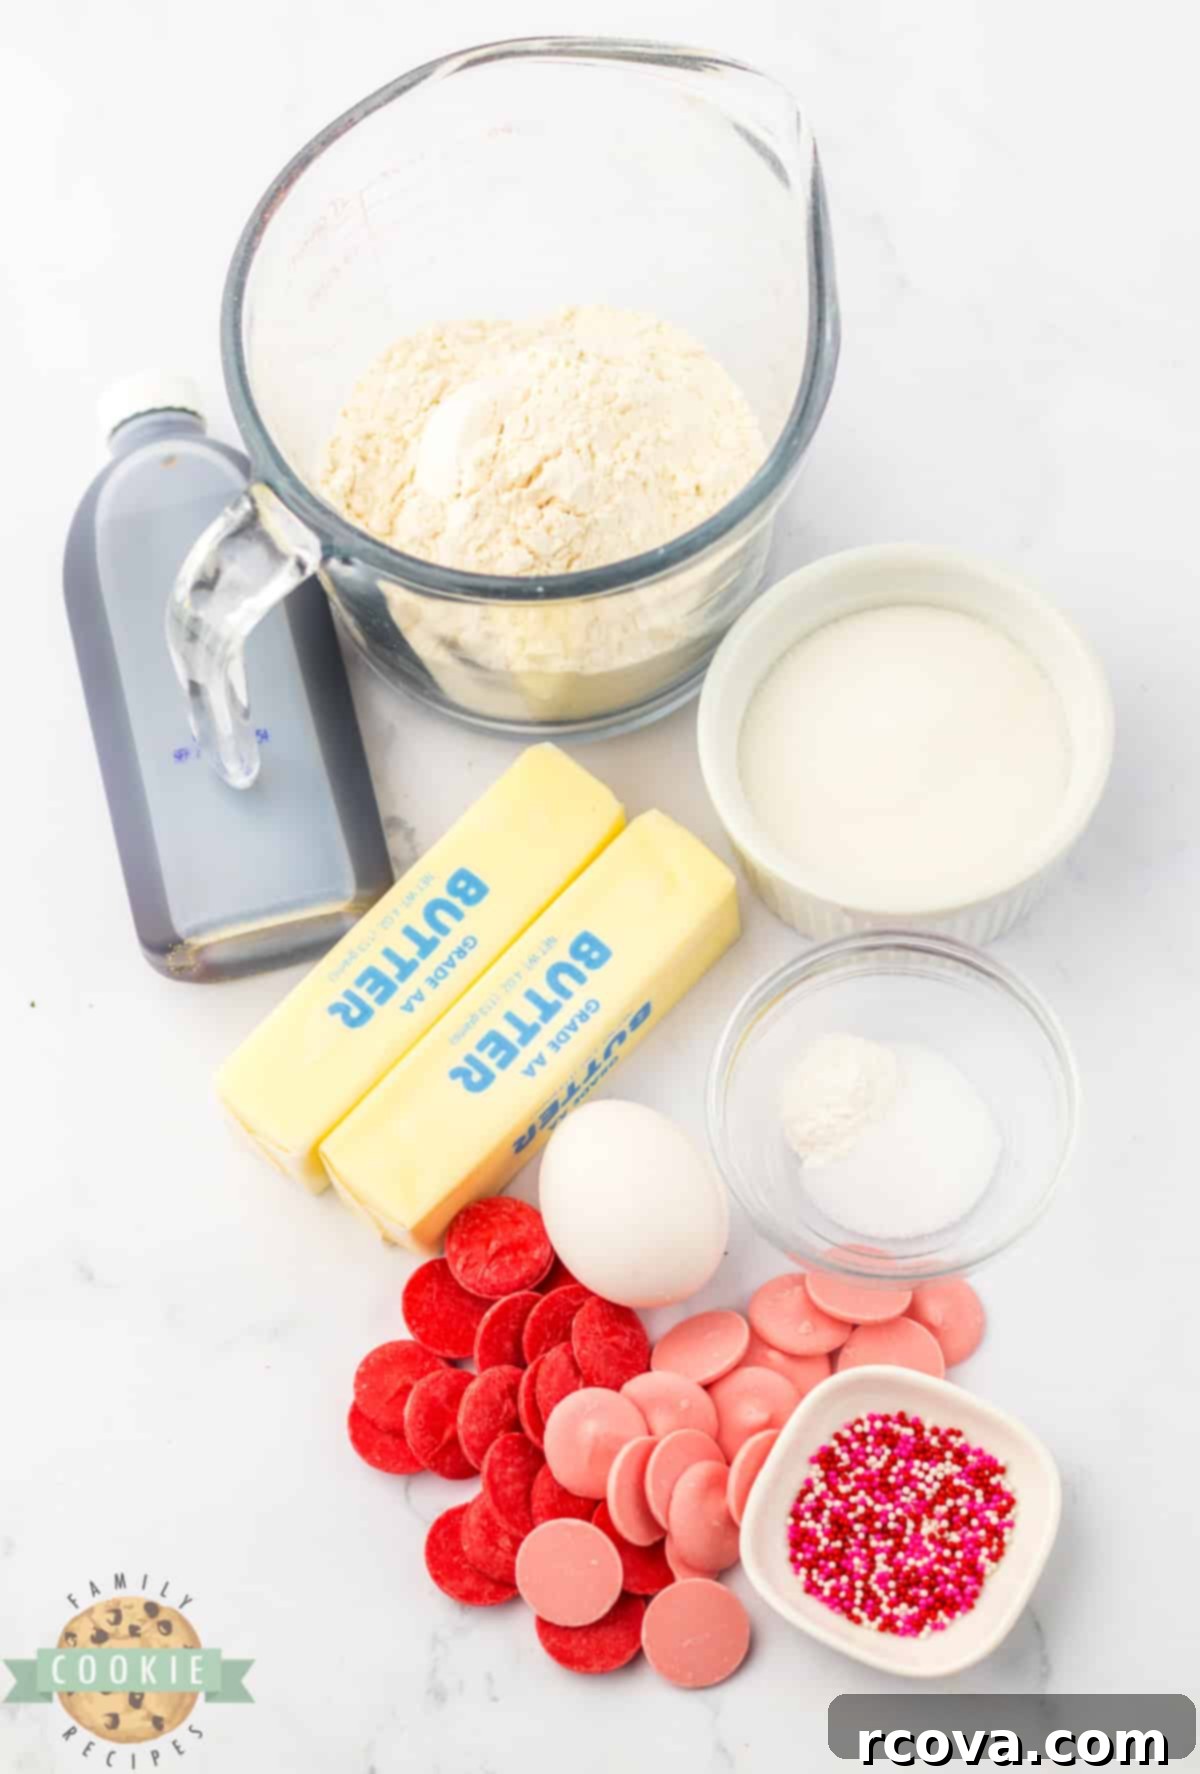
Essential Ingredients for Your Valentine’s Thumbprint Cookies
Creating the perfect batch of Valentine’s Thumbprint Cookies starts with understanding the role each ingredient plays. Quality ingredients lead to superior flavor and texture, ensuring your holiday treats are truly unforgettable.
- Butter: For a truly rich and tender cookie, using real butter is non-negotiable. Ensure your butter is softened to room temperature before you begin. This is crucial for achieving that light, fluffy texture when creamed with sugar. Cold butter won’t cream properly, and melted butter will lead to a greasy, dense cookie. Approximately ¾ cup of unsalted butter is ideal for this recipe.
- Sugar: Granulated sugar not only sweetens the cookies but also contributes to their structure and golden-brown edges. The right amount creates that perfect balance of sweetness without overpowering the delicate butter flavor. About ½ cup of sugar is called for to achieve a perfectly sweet dough.
- Egg: A single large egg acts as a binding agent, bringing all the ingredients together and adding moisture to the dough. It also contributes to the rich flavor and tender crumb of the cookie. Make sure it’s also at room temperature for better emulsification with the butter and sugar.
- Vanilla Extract: The quality of your vanilla extract can truly elevate the flavor of your cookies. Opt for pure vanilla extract over imitation for a deeper, more aromatic profile. One teaspoon is typically enough to infuse a warm, inviting essence into your buttery dough.
- All-Purpose Flour: This forms the primary structure of your cookies. All-purpose flour is versatile and works wonderfully here, providing a tender bite without being overly cakey or tough. Measuring flour correctly, by spooning it into a measuring cup and leveling it off, prevents adding too much, which can result in dry cookies. Approximately 1 ¾ cups are needed.
- Baking Powder: As the leavening agent, baking powder helps the cookies rise slightly, giving them a delicate texture. Always check the expiration date; old baking powder loses its potency, leading to flat cookies. Half a teaspoon is sufficient for a subtle lift.
- Valentine Sprinkles: These are essential for giving your cookies that festive, celebratory look. You’ll add some sprinkles directly into the dough for specks of color throughout, and then generously sprinkle more on top of the finished, chocolate-filled cookies for an extra pop of fun and texture. Choose a mix of red, pink, and white sprinkles for the ultimate Valentine’s aesthetic.
- Candy Melts (Pink and Red): The vibrant heart of these cookies! You’ll need 6 ounces of red candy melts and 6 ounces of pink candy melts for the filling. Candy melts are fantastic for their ease of use, smooth melting, and brilliant colors. If colored candy melts are hard to find, you can use high-quality white chocolate chips or white melting wafers and add gel food coloring (pink and red) once melted. Gel food coloring provides a more intense, vibrant hue without altering the chocolate’s consistency as much as liquid food coloring.

How to Create Your Beautiful Valentine’s Thumbprint Cookies
Follow these simple steps to bake a batch of homemade Valentine’s Thumbprint Cookies that are as enjoyable to make as they are to eat.
Preparation is Key
Before you begin mixing, preheat your oven to 350°F (175°C). Line a baking sheet with parchment paper. This prevents sticking and ensures even baking, making cleanup a breeze. Having all your ingredients measured out and at room temperature before you start will make the process much smoother.
Crafting the Perfect Cookie Dough
- In a large mixing bowl, combine the softened butter and granulated sugar. Using an electric mixer, beat them together on medium speed until the mixture becomes light, fluffy, and pale in color. This process, known as creaming, usually takes about 2-3 minutes and incorporates air, contributing to the cookies’ tender texture.
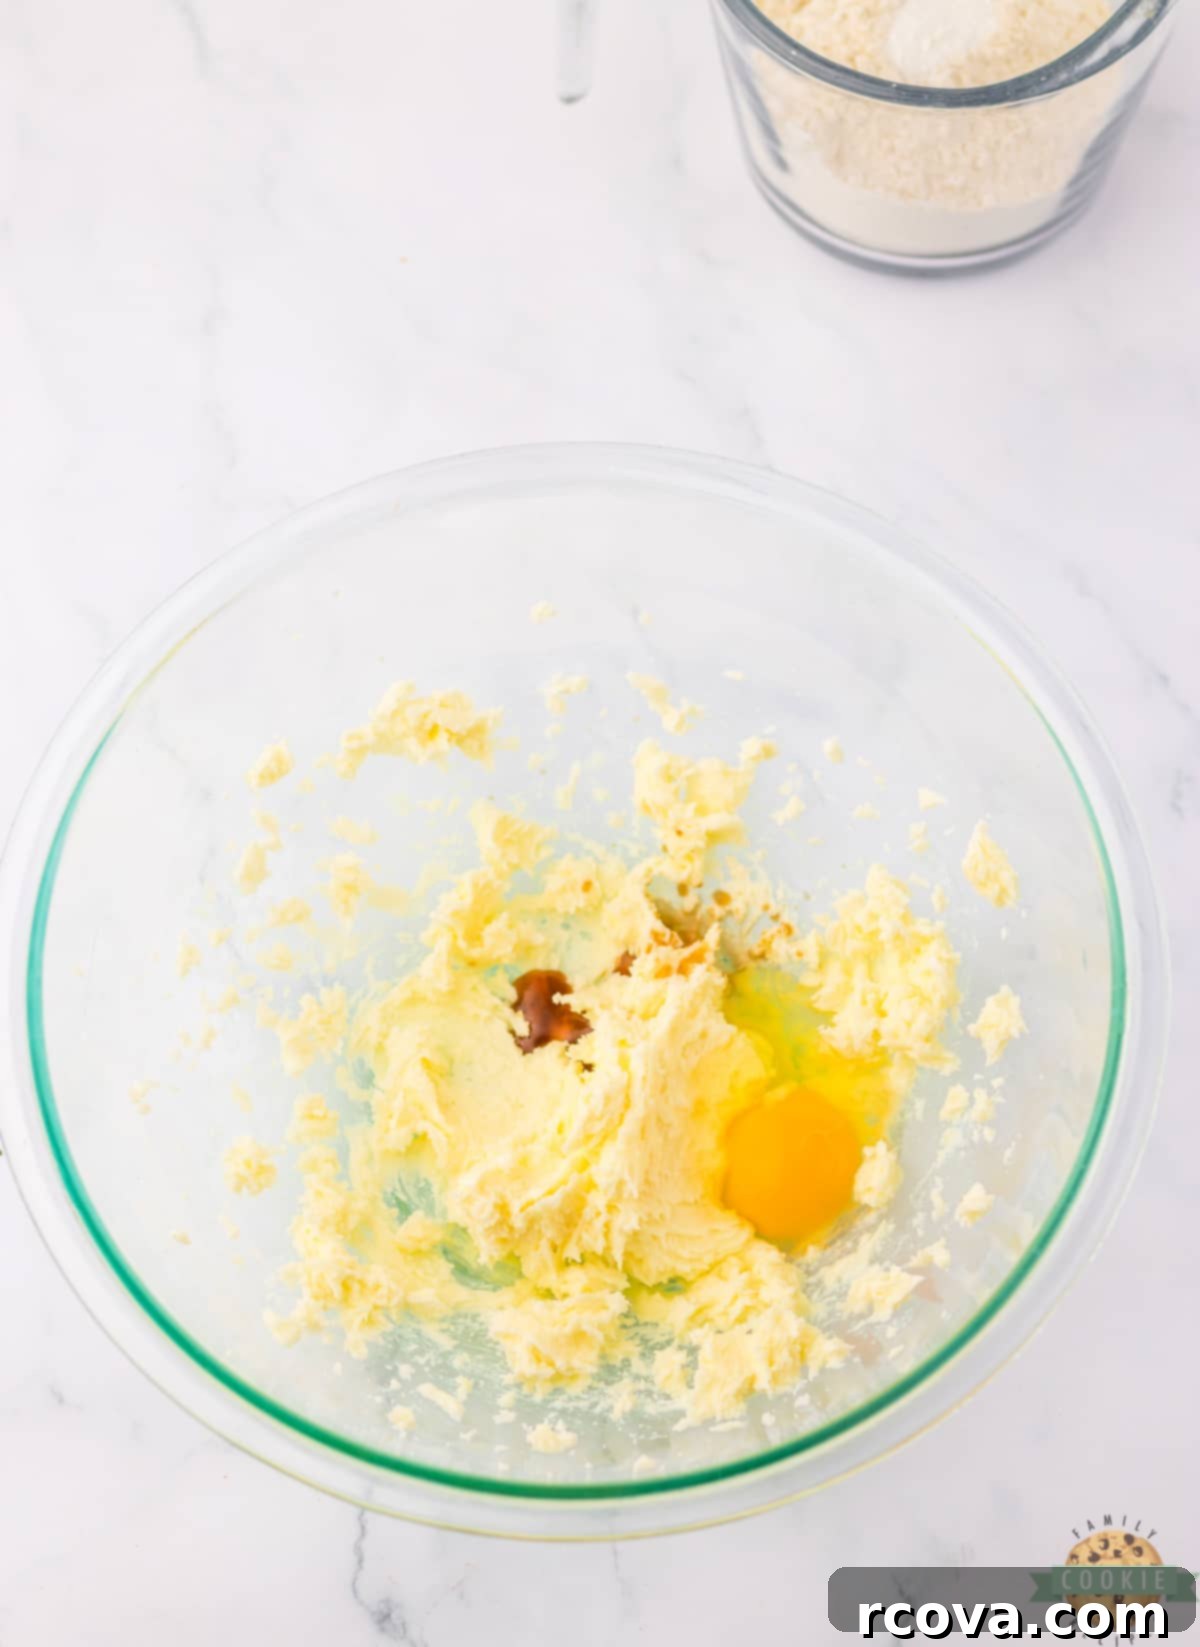
- Add the large egg and vanilla extract to the creamed butter and sugar. Beat again until thoroughly combined, scraping down the sides of the bowl as needed to ensure all ingredients are well incorporated.
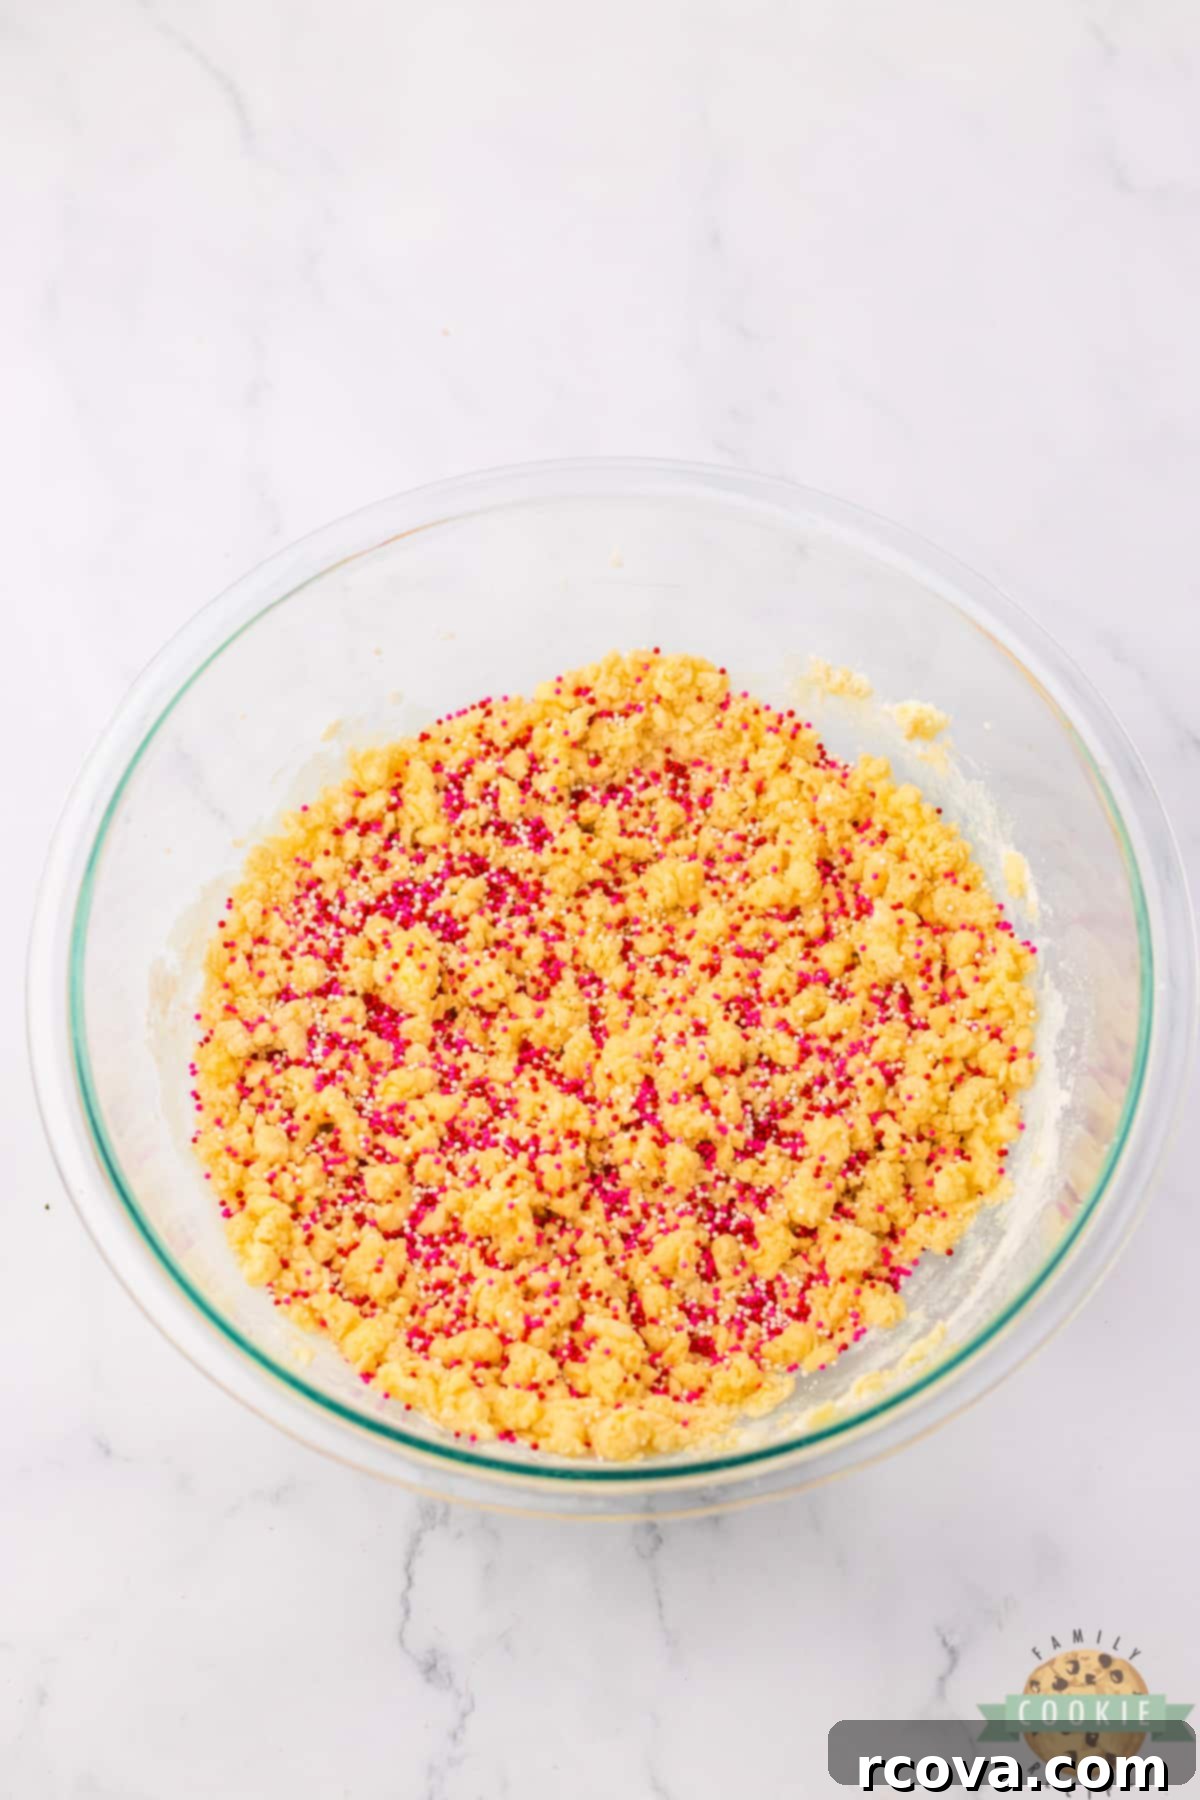
- In a separate bowl, whisk together the flour and baking powder. Gradually add the dry ingredients to the wet ingredients, mixing on low speed until just combined. Be careful not to overmix, as this can develop the gluten in the flour, leading to tougher cookies. Finally, gently stir in 1 teaspoon of your festive Valentine sprinkles for a pop of color within the dough.
Shaping and Baking Your Thumbprint Delights
- Using a cookie scoop (or your hands), form the dough into 1 to 1 ½-inch balls. Roll each portion smoothly between your palms to create perfectly round spheres, then place them evenly spaced on your parchment-lined baking sheet.

- Once all the dough balls are on the tray, gently press your thumb into the center of each cookie to create an indentation. This “thumbprint” will hold the delicious chocolate filling later. Ensure the indent is deep enough to hold a good amount of filling without going all the way through the cookie.
- Bake in the preheated oven for 12-15 minutes, or until the edges are lightly golden brown. The centers should still be soft. Keep an eye on them to prevent overbaking, which can lead to dry cookies.
- Immediately after removing the cookies from the oven, while they are still warm and pliable, use the back of a teaspoon or a small round measuring spoon to reshape and deepen the indents if they have puffed up during baking. This ensures a nice cavity for your filling. Transfer the cookies to a wire rack to cool completely.
Preparing the Dazzling Chocolate Filling
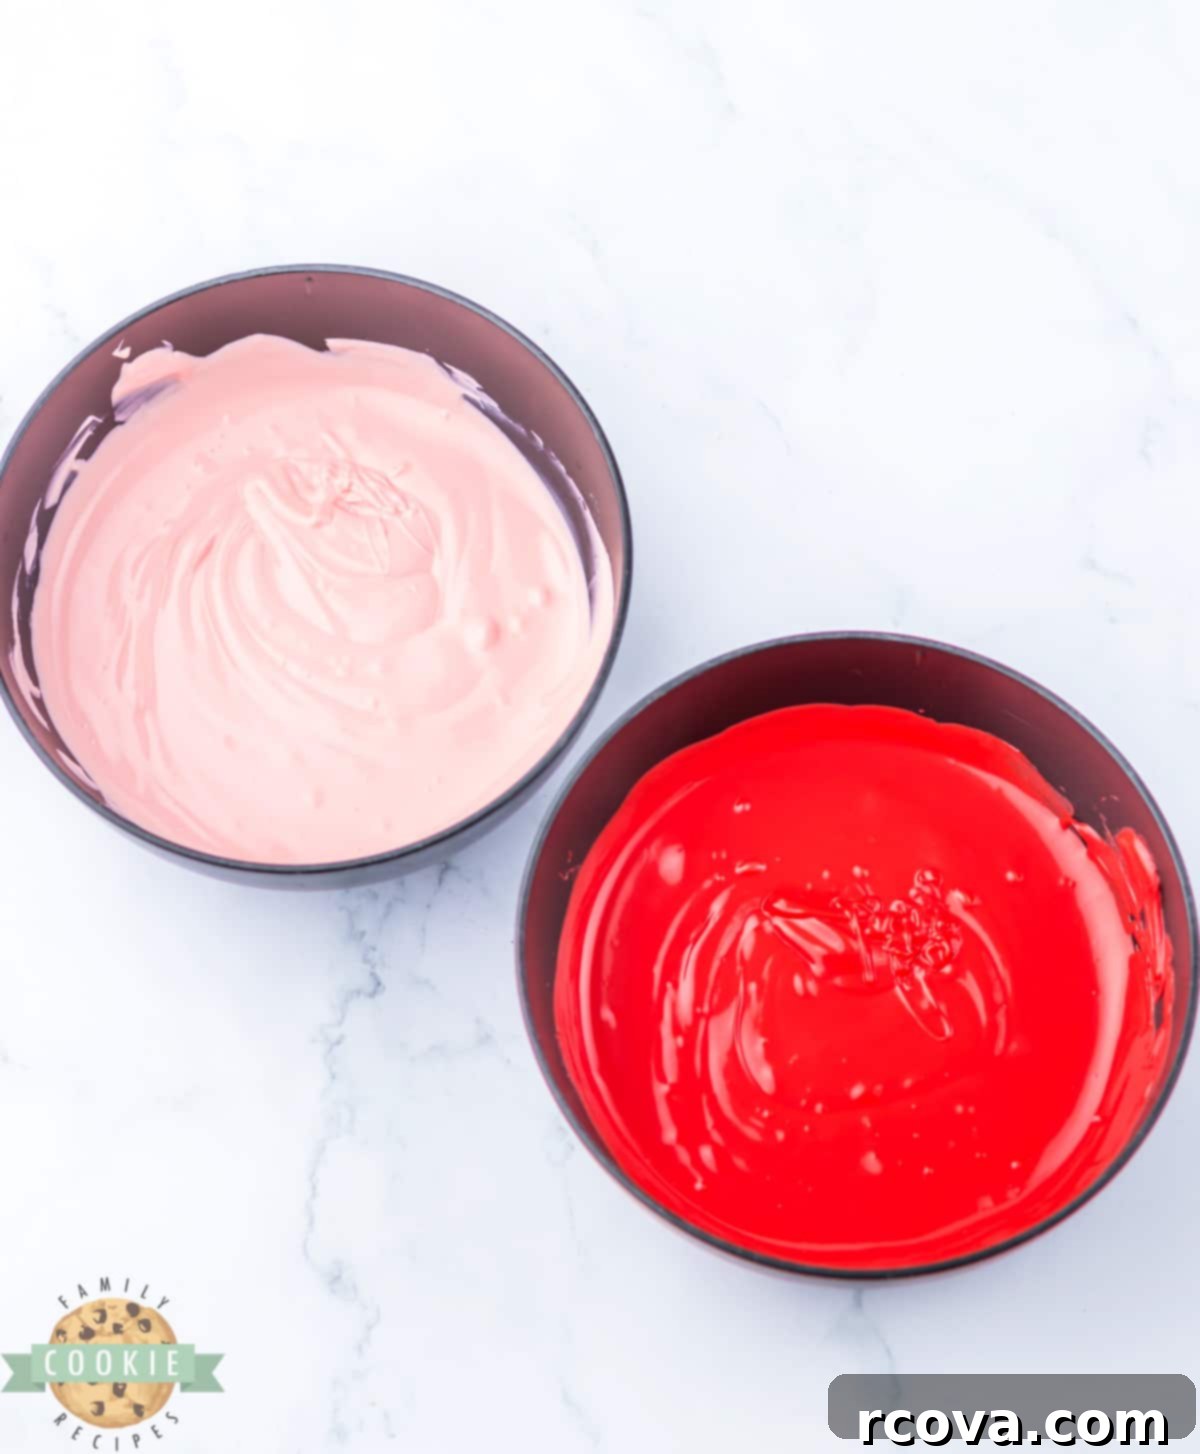
- In two separate microwave-safe bowls, melt the red candy melts in one and the pink candy melts in the other. Microwave in 30-second intervals, stirring thoroughly between each interval, until each color is completely melted and smooth. Be careful not to overheat the chocolate, as it can seize.

- Once melted, carefully spoon the red chocolate into the indents of half of your cooled cookies. Then, spoon the pink chocolate into the indents of the remaining half. Aim for a full but not overflowing cavity.
- To help the chocolate set quickly, place the filled cookies in the fridge for about 5 minutes. This will firm up the chocolate centers, making them easier to handle for the final decorations.
The Grand Finale: Drizzle and Sprinkles
- Take any remaining melted red and pink chocolate (or melt a small additional amount if needed) and place each color into a separate small Ziploc bag. Snip off a tiny corner from each bag to create a fine piping tip.
- Now for the artistic touch! Drizzle the red chocolate artfully over the cookies with pink centers. Conversely, drizzle the pink chocolate over the cookies with red centers. This creates a beautiful contrast and adds an extra layer of visual appeal.

- Immediately after drizzling, while the chocolate is still wet, liberally sprinkle more Valentine’s sprinkles over all the cookies. This ensures the sprinkles adhere perfectly. Set the cookies aside to cool completely and allow the chocolate to fully set. Once firm, your gorgeous Valentine’s Thumbprint Cookies are ready to be admired and enjoyed!


VALENTINE’S THUMBPRINT COOKIES
Print
Pin
Rate
Ingredients
COOKIE DOUGH
- ¾ cups butter softened, unsalted recommended
- ½ cup granulated sugar
- 1 large egg at room temperature
- 1 teaspoon pure vanilla extract
- 1 ¾ cups all-purpose flour
- ½ teaspoon baking powder
- 1 teaspoon Valentine sprinkles for mixing into dough
CHOCOLATE FILLING & GARNISH
- 6 ounces red candy melts or white chocolate with red gel food coloring
- 6 ounces pink candy melts or white chocolate with pink gel food coloring
- Extra Valentine sprinkles for garnish and final decoration
Instructions
-
Preheat your oven to 350°F (175°C). Prepare a baking sheet by lining it with parchment paper for easy release and cleanup.
-
MAKE THE COOKIE DOUGH: In a large mixing bowl, use an electric mixer to cream together the softened butter and granulated sugar until the mixture is light, fluffy, and noticeably paler in color (this usually takes 2-3 minutes).
-
Beat in the large egg and pure vanilla extract until they are fully incorporated into the butter mixture, scraping down the bowl’s sides as needed.
-
In a separate bowl, whisk the all-purpose flour and baking powder together. Gradually add this dry mixture to the wet ingredients, mixing on low speed until just combined. Be careful not to overmix. Gently fold in 1 teaspoon of Valentine sprinkles.
-
SHAPE AND BAKE THE COOKIES: Use a cookie scoop to measure out 1 to 1 ½ inch balls of dough. Roll each portion smoothly into a ball and place them onto your prepared baking sheet, leaving some space between each cookie.
-
Gently press your thumb (or the back of a small rounded spoon) into the center of each dough ball to create a clear indentation for the filling.
-
Bake for 12-15 minutes, or until the edges of the cookies are lightly golden brown. The centers should still be soft.
-
Once out of the oven, while the cookies are still warm, use the back of a teaspoon to gently reshape and deepen the indents if they’ve puffed up. This ensures enough space for your delicious chocolate filling. Transfer the cookies to a wire rack to cool completely.
-
MELT THE CHOCOLATE FILLING: In two separate microwave-safe bowls, melt the red candy melts in one bowl and the pink candy melts in another. Microwave in 30-second intervals, stirring well after each, until each color is completely melted and smooth. Avoid overheating.
-
Once cooled, spoon the melted red chocolate into the indents of half of the cookies. Spoon the melted pink chocolate into the indents of the remaining cookies.
-
Place the cookies in the refrigerator for about 5 minutes to allow the chocolate centers to set slightly. This prevents smudging during the drizzling step.
-
ADD THE DRIZZLE AND SPRINKLES: Transfer any remaining melted red and pink chocolate (or melt a small additional amount if necessary) into two separate small Ziploc bags. Snip off a tiny corner from each bag to create a fine piping nozzle.
-
Drizzle the red chocolate artfully over the cookies with pink centers. Similarly, drizzle the pink chocolate over the cookies with red centers. This creates a striking and festive contrast.
-
Immediately after drizzling, sprinkle more Valentine’s sprinkles generously over all the cookies while the chocolate drizzle is still wet. This ensures they stick well. Allow the cookies to cool completely until the chocolate is fully set before serving or storing.
Nutrition
Creative Variations for Your Thumbprint Cookies
While these Valentine’s Thumbprint Cookies are perfect as is, the beauty of thumbprint cookies lies in their adaptability. You can easily customize them to suit any occasion, season, or personal preference. Here are some fantastic variations to inspire your next baking adventure:
Exciting Filling Ideas: Beyond Chocolate
The filling is undoubtedly the star of any thumbprint cookie, offering endless possibilities for flavor combinations. Let your creativity shine!
- Classic Fruit Preserves: For a timeless touch, fill the thumbprints with your favorite fruit jams or preserves. Raspberry, strawberry, apricot, and blackberry are traditional favorites that offer a delightful tart contrast to the buttery cookie. You can even use a mix of different jams for a colorful assortment.
- Nut Butters: For a richer, more substantial filling, consider using creamy peanut butter, almond butter, or even a swirl of hazelnut spread (like Nutella). These add a nutty depth that pairs beautifully with the simple cookie base.
- Lemon Curd: A zesty lemon curd filling provides a bright, tangy flavor that’s especially refreshing. It’s perfect for spring or a lighter dessert option.
- Caramel: For an indulgent, chewy center, homemade or high-quality store-bought caramel makes an excellent choice. A sprinkle of sea salt on top of the caramel after it sets will create a divine salted caramel thumbprint.
- Cream Cheese Frosting: A dollop of cream cheese frosting, perhaps flavored with a hint of vanilla or almond, makes for a soft, creamy, and decadent filling. You can even tint it with food coloring to match your theme.
- White Chocolate Ganache: While we used candy melts, a simple white chocolate ganache (made with white chocolate and heavy cream) can offer a more sophisticated texture and flavor.
Delightful Topping Enhancements: More Than Just Sprinkles
The topping is the final flourish that adds both visual appeal and textural interest. Don’t stop at sprinkles; explore these options!
- Chopped Nuts: For a satisfying crunch and earthy flavor, sprinkle finely chopped nuts like pecans, walnuts, almonds, or pistachios over your filling. This is especially good with caramel or chocolate fillings.
- Confectioners’ Sugar Dusting: For a simple yet elegant look, a delicate dusting of powdered sugar (also known as confectioners’ sugar) can transform your cookies. It adds a subtle sweetness and a beautiful snowy finish.
- Simple Glaze: A quick glaze made from powdered sugar and a touch of milk or lemon juice can be drizzled over the entire cookie or just around the edges. This adds shine and an extra layer of sweetness.
- Shredded Coconut: Toasted or untoasted shredded coconut can add a tropical flair and interesting texture, particularly good with fruit fillings.
- Edible Glitter or Pearls: For an extra touch of glamour, especially for holidays like Valentine’s Day or New Year’s, edible glitter or small edible pearls can create a truly show-stopping cookie.
- Melted Chocolate Drizzle (Different Color): As demonstrated in this recipe, a contrasting chocolate drizzle (e.g., dark chocolate over a white chocolate filling) adds a professional and decorative touch.
Storing Your Valentine’s Thumbprint Cookies for Freshness
Proper storage ensures your beautiful Valentine’s Thumbprint Cookies remain fresh and delicious for as long as possible. For optimal freshness, store them in a single-layer airtight container at room temperature. They will maintain their quality for up to 1 week. If stacking is necessary, place a piece of parchment paper between layers of cookies to prevent the chocolate filling from sticking to the bottoms of the cookies above. However, for the absolute best taste and texture, we highly recommend enjoying these cookies within 3 to 4 days of baking.
For longer storage, these cookies freeze exceptionally well. Once the chocolate filling is completely set, place the cookies in a single layer on a baking sheet and freeze until solid. Then, transfer the frozen cookies to a freezer-safe airtight container or heavy-duty freezer bag, again separating layers with parchment paper. They can be frozen for up to 3 months. Thaw them at room temperature before serving.

Troubleshooting: Why Did My Cookies Spread Too Much?
It’s a common baking frustration: you pull your cookies out of the oven, and instead of perfectly plump discs, you find flat, spread-out puddles. If your thumbprint cookies spread excessively during baking, it’s most likely a direct result of the dough being too warm. Here’s why it happens and how to fix it:
- Warm Dough: If your kitchen is warm, or if your butter was overly soft when you started mixing, the dough itself can become too warm. Warm butter melts too quickly in the oven, causing the cookies to lose their structure and spread rapidly before they have a chance to set.
- Overmixing: Overmixing the dough can also contribute to spreading. It develops the gluten in the flour, which can make the cookies tougher and more prone to flattening.
- Incorrect Flour Measurement: Too little flour can make your dough too wet, leading to spreading. Always measure your flour accurately, ideally by weighing it or using the spoon-and-level method.
- Too Much Leavening: While baking powder is important, an excessive amount can cause cookies to rise too quickly and then collapse, resulting in spreading.
The Fix: The easiest way to remedy overly warm dough is to chill it! Simply pop your prepared cookie dough (either as a whole batch or after you’ve rolled the balls) into the freezer for about 30 minutes to an hour, or in the refrigerator for 1-2 hours, before continuing to bake. This helps solidify the butter, allowing the cookies to hold their shape better in the oven. You can also try chilling the shaped cookies on the baking sheet for 10-15 minutes before baking. A cooler dough bakes more evenly and retains its form, giving you those beautiful, tender thumbprint cookies you desire.
Can I Prepare the Cookie Dough in Advance?
Absolutely! Preparing the cookie dough in advance is a fantastic time-saver, especially when you’re planning for a special occasion like Valentine’s Day or hosting a party. You can make the dough and keep it well-covered in the refrigerator for up to 1-2 days in advance. This means you can get the initial mixing and chilling out of the way on one day and then enjoy the fun part of shaping, baking, and decorating the next. It’s perfect for busy schedules, allowing you to have fresh, homemade cookies without spending too much consecutive time in the kitchen. Just remember to let the dough soften slightly at room temperature for about 10-15 minutes before rolling and shaping, as it will be quite firm straight from the fridge.

More Delicious Thumbprint Cookie Recipes to Explore
If you loved making these Valentine’s Thumbprint Cookies, you’re in for a treat! Thumbprint cookies are incredibly versatile and can be adapted for any season or craving. Dive into these other delightful thumbprint cookie creations:
- CHEESECAKE COOKIES: A rich, creamy twist on the classic cookie, featuring a cheesecake-like filling.
- SWEETHEART VALENTINE THUMBPRINT COOKIES: Another festive option perfect for sharing the love.
- GRINCH THUMBPRINT COOKIES: A fun, green cookie perfect for the holiday season (and a good reminder that thumbprints aren’t just for Valentine’s!).
- EASY, SOFT JAM THUMBPRINT COOKIES: The quintessential classic, simple yet satisfying.
- RASPBERRY JAM THUMBPRINT COOKIES: A tart and sweet favorite, often the most recognized thumbprint cookie.
- SALTED PUMPKIN CARAMEL THUMBPRINT COOKIES: A delightful autumnal flavor combination.
- DOUBLE THUMBPRINT HEART COOKIES: For those who love extra filling and a romantic shape.
- CHOCOLATE STRAWBERRY THUMBPRINT COOKIES: A delicious pairing of two classic flavors.
- STRAWBERRY THUMBPRINT COOKIES: Sweet and fruity, a taste of summer in every bite.
- LEMON THUMBPRINT COOKIES: Zesty and bright, a refreshing option.
- CARAMEL THUMBPRINT COOKIES: Chewy and buttery, a truly indulgent treat.
- CHOCOLATE RASPBERRY THUMBPRINT COOKIES: A sophisticated blend of rich chocolate and tangy raspberry.

These Valentine’s Thumbprint Cookies are more than just a dessert; they are a heartfelt expression. Their buttery base, colorful sprinkles, and rich pink and red chocolate filling make them truly irresistible and perfectly suited for celebrating Valentine’s Day or any moment you want to share a little sweetness. Easy to make and wonderfully delicious, they are sure to bring smiles and warm feelings to everyone who tries them.
