Spooktacular Halloween Cobweb Cookies: Easy Sugar Cookie Recipe with Classic Chocolate & Vanilla Icing
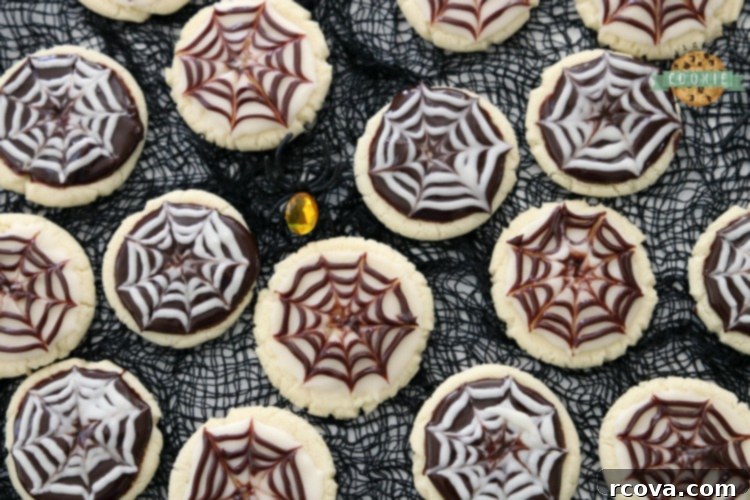
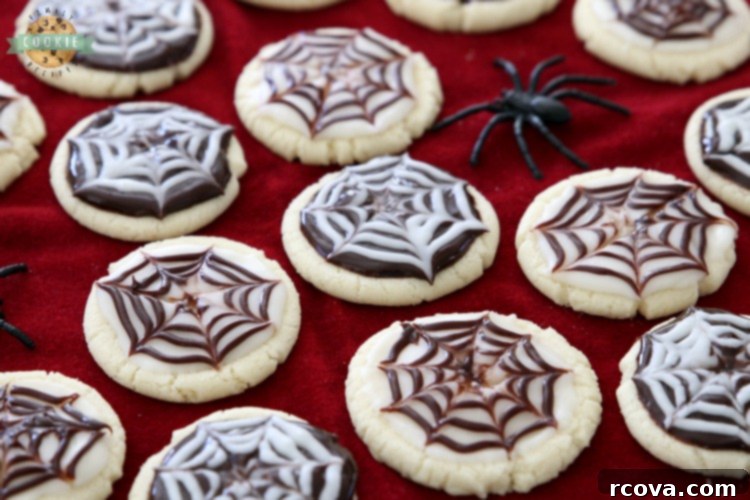
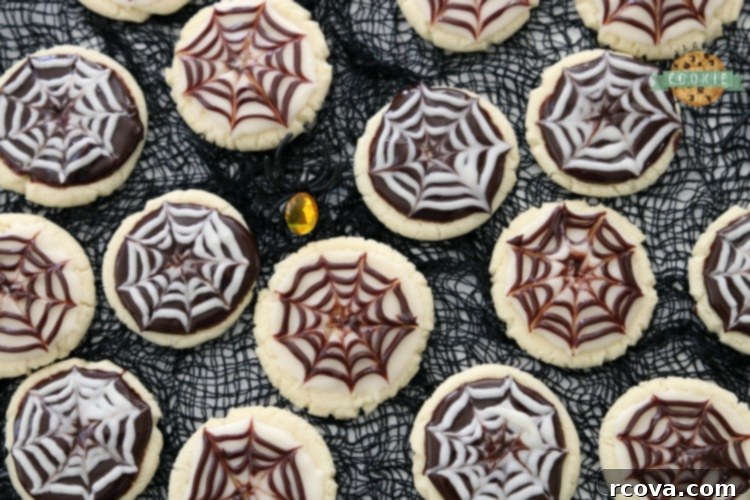
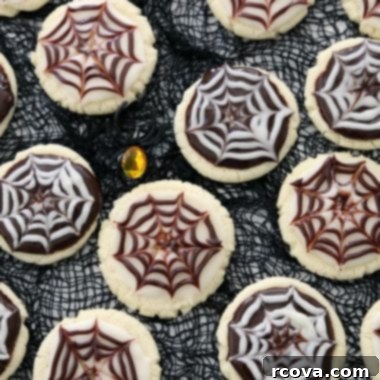
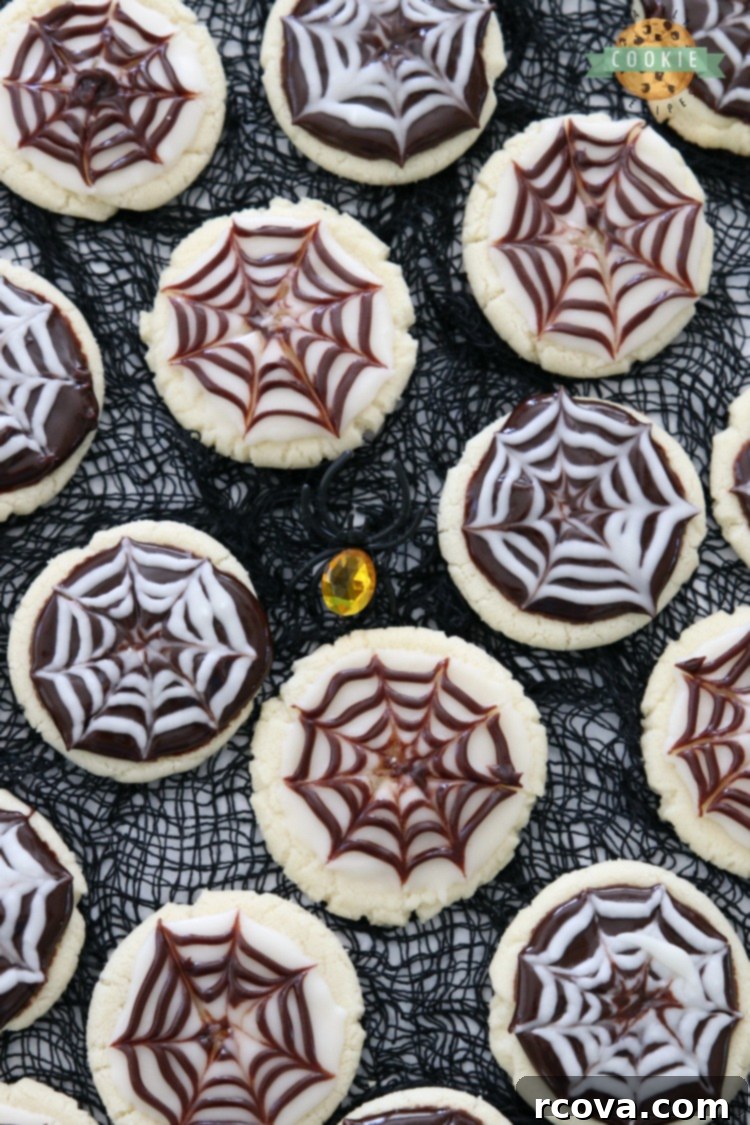
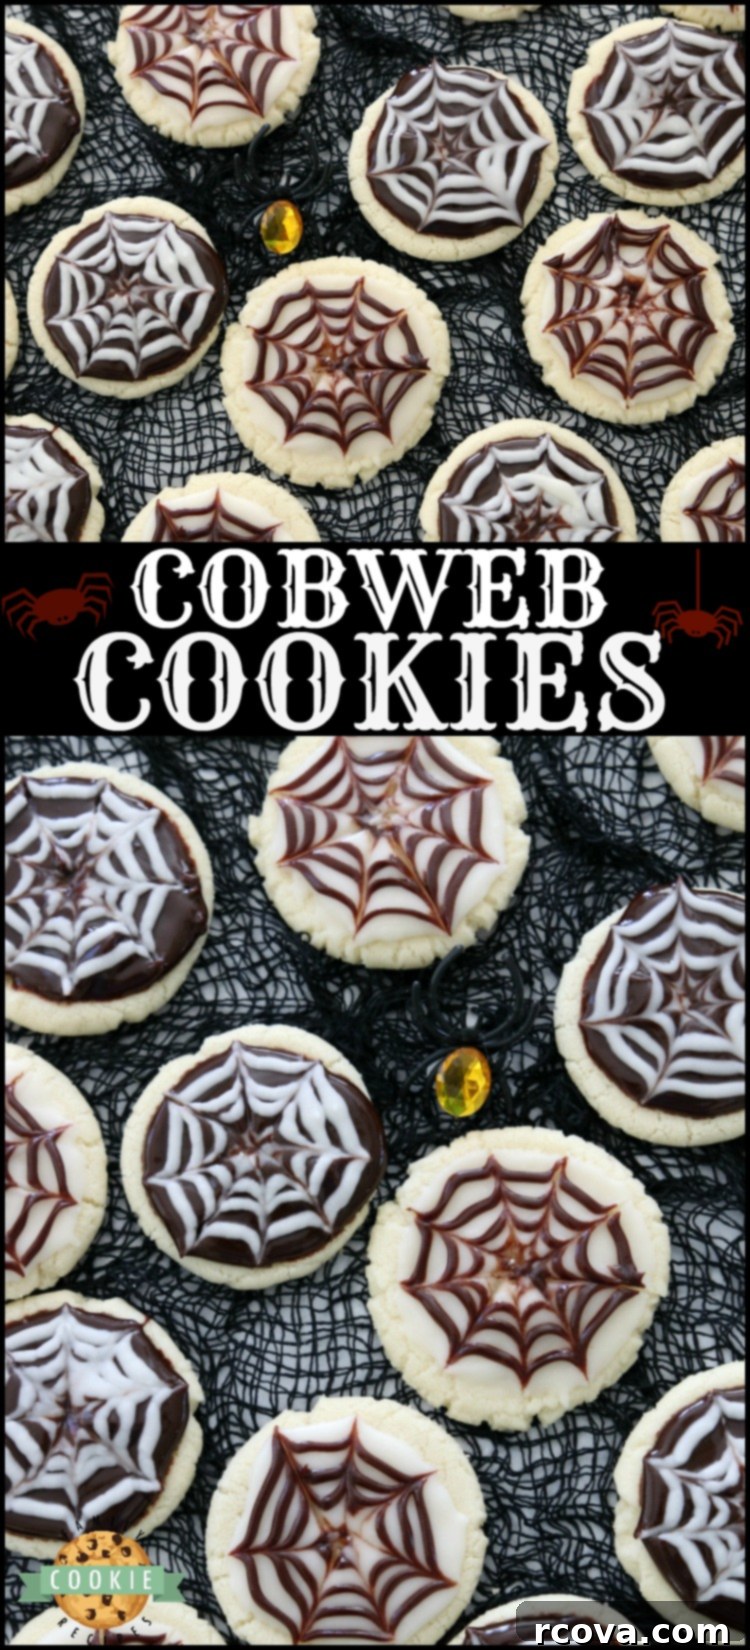
Get ready to enchant your taste buds and impress your guests with these spectacularly spooky yet utterly delicious Halloween Cobweb Cookies! These treats begin with a perfect sugar cookie base, artfully topped with rich chocolate and creamy vanilla icing to create a striking spider web design. The best part? No artificial food coloring is needed, making them a fantastic and natural option for your festive celebrations. They’re quick to decorate, taking mere seconds to achieve that iconic cobweb look, making them the ultimate easy Halloween dessert for parties or trick-or-treaters.
My children absolutely adore these festive and flavorful Cobweb Cookies every Halloween season. We playfully call them “cobweb” cookies because, honestly, I’m not a fan of actual spiders, and the thought of putting them on my baked goods is simply out of the question! Ha! What I truly appreciate about this recipe is that it relies solely on the natural beauty and taste of chocolate and vanilla icings. I’m personally not a big fan of the taste that often comes with artificial food coloring, so the ability to create such a visually stunning and delicious treat without it is truly wonderful.
Achieving Bakery-Quality Sugar Cookies: Essential Kitchen Tools
Crafting these delectable sugar cookies becomes incredibly fast and efficient with the help of just three key kitchen items. In fact, these tools are so versatile and indispensable that I find myself reaching for them in almost every cookie recipe I prepare. Investing in them will undoubtedly elevate your baking game and make the entire process much more enjoyable.
First and foremost, I always recommend lining your cookie sheets with a piece of parchment paper. You can easily find these pre-cut to perfectly fit standard 12×16 inch cookie sheets. Parchment paper serves multiple purposes: it prevents your cookies from sticking to the pan, ensuring a flawless bake and easy removal, and it eliminates the need for messy sprays or oils, making cleanup a breeze. This small step guarantees evenly baked cookies with perfectly golden bottoms every time.
The second essential item is a reliable KitchenAid mixer. I absolutely love mine! While I also own a Bosch, I consistently find my KitchenAid to be my go-to for all cookie-making endeavors. Every KitchenAid mixer comes equipped with a specialized cookie paddle attachment that effortlessly blends your ingredients uniformly, ensuring a smooth and consistent dough. For this recipe, I also utilize the metal whisk attachment to whip up the icings. It achieves that super fast, airy texture for your glazes in no time at all. If you’re looking to upgrade your baking arsenal, definitely add a KitchenAid mixer to your wish list; it’s hands down one of the most used small appliances in my kitchen.
The third item that has revolutionized my cookie baking is a cookie scoop! For years, I struggled with using two spoons to measure and transfer cookie dough onto baking sheets. The process was far from perfect, often resulting in misshapen, oblong cookies of varying sizes. Then, a friend brought a batch of cookies to a party, and every single one was flawlessly round and identical in size. Her secret? A simple cookie scoop! These handy gadgets typically come in three sizes: 1/2 tablespoon, 1.5 tablespoon, and 3 tablespoon. For these Cobweb Halloween Cookies, and indeed for most of my cookie recipes, I use the versatile middle size – the 1.5 tablespoon scoop. (Although, when I’m baking for a very large crowd or an event with many other desserts, I opt for the smaller 1/2 tablespoon scoop. People often appreciate a daintier treat in those situations.) Using a cookie scoop ensures consistent size, which leads to even baking and a professional presentation for all your homemade delights.
Halloween Cobweb Cookies Recipe
This recipe provides clear instructions for both the delicious sugar cookies and the simple chocolate and vanilla glazes needed to create the iconic cobweb design. Prepare to bake up some magic!
For the Sugar Cookies:
- 1/2 cup butter, softened
- 1/2 cup shortening
- 3/4 cup granulated sugar
- 1 egg (large)
- 1 tsp vanilla extract
- 2 1/2 cups all-purpose flour
- 1 tsp baking powder
- 1/2 tsp salt
For the Rich Chocolate Glaze:
- 2 cups chocolate chips (semi-sweet or dark for best flavor)
- 1 cup heavy whipping cream
- 1/2 cup unsalted butter
For the Creamy Vanilla Glaze:
- 2 TBSP melted butter (unsalted)
- 1 tsp vanilla extract
- 2 cups powdered sugar (confectioners’ sugar)
- 4-5 TBSP milk (whole milk recommended for creaminess)
How to Make Spooky Cobweb Halloween Cookies: Step-by-Step Instructions
- Prepare Your Oven & Baking Sheets: Preheat your oven to a precise 350 degrees F (175 degrees C). Line your baking sheets with parchment paper; this step is crucial for preventing sticking and ensuring even baking.
- Cream Wet Ingredients: In the bowl of your stand mixer (or using a hand mixer), cream together the softened butter, shortening, and granulated sugar until the mixture is light, fluffy, and smooth. This typically takes 2-3 minutes. Next, beat in the egg and vanilla extract until well combined, scraping down the sides of the bowl as needed.
- Combine Dry Ingredients: In a separate, medium-sized bowl, whisk together the all-purpose flour, baking powder, and salt. Whisking ensures these dry ingredients are thoroughly incorporated, which is key for a consistent cookie texture.
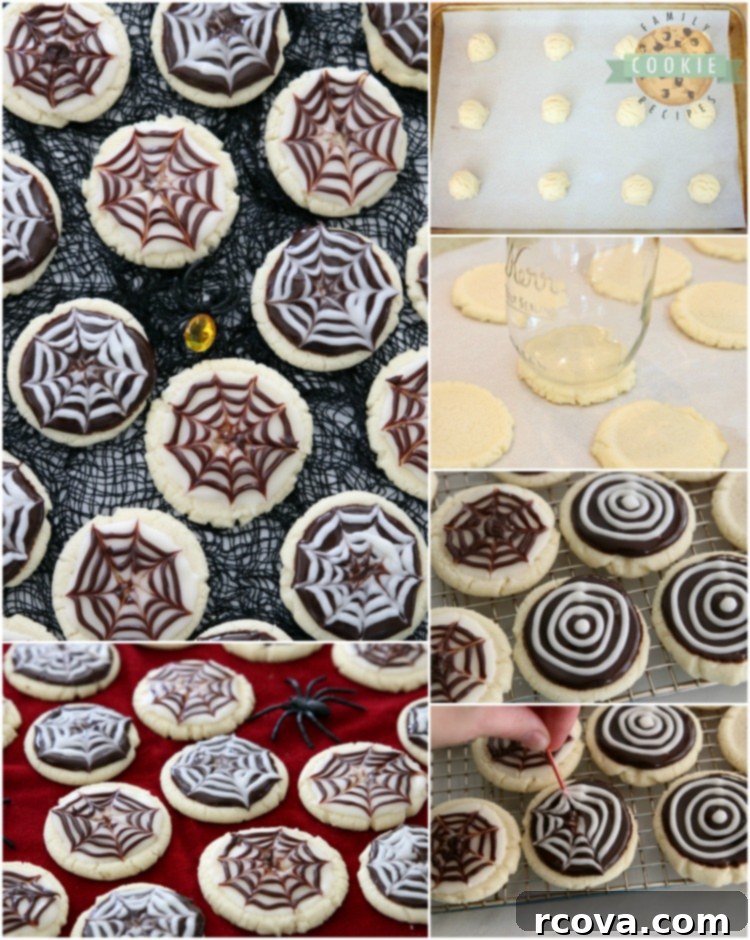
- Form the Cookie Dough: Gradually add the dry ingredient mixture to the wet butter mixture, mixing on low speed until just combined. Be careful not to overmix the dough. Using your 1.5 tablespoon cookie scoop, portion out uniform balls of dough. Place them about 2 inches apart on your parchment-lined baking sheets. For perfectly round and even cookies, gently flatten each dough ball with the bottom of a glass that has been lightly sprayed with non-stick spray. Aim for a thickness of approximately 1/4 inch.
- Bake the Cookies: Bake the cookies for 10-12 minutes, or until the edges are lightly golden and the centers are set. Baking times can vary, so keep a close eye on them. Once baked, allow the cookies to cool on the baking sheet for a few minutes to firm up before carefully transferring them to a wire cooling rack to cool completely. They must be completely cool before glazing.
- Prepare the Chocolate Glaze: In a microwave-safe glass bowl, combine the butter and heavy whipping cream. Microwave on high for 1 minute 30 seconds, or until the mixture is hot and bubbly. Remove from microwave, add in the chocolate chips, and immediately cover the bowl with a small plate. Let it sit undisturbed for 5 minutes to allow the chocolate chips to melt. After 5 minutes, whisk the mixture vigorously until all ingredients are combined, and the chocolate glaze is perfectly smooth and shiny. Transfer about 3-4 tablespoons of this rich chocolate glaze into a small sandwich baggie. When ready to pipe, snip a tiny corner off the bag.
- Prepare the Vanilla Glaze: In another small bowl, melt the butter. Stir in the vanilla extract, powdered sugar, and enough milk (adding 1 tablespoon at a time) until you achieve a smooth, spreadable, yet thick enough consistency for piping. This glaze should be thick enough to hold its shape but fluid enough to spread easily. Transfer 3-4 tablespoons of this creamy vanilla glaze into a separate small sandwich baggie. Snip a tiny corner off the bag when you’re ready to pipe.
- Create the Cobweb Design: This is where the magic happens! Spoon approximately 1 tablespoon of one glaze (e.g., vanilla) onto a completely cooled cookie, spreading it evenly to cover the top. While the first glaze is still wet, immediately pipe concentric circles of the opposite glaze (e.g., chocolate) onto the cookie. Start with a small circle in the very center, then make 2-3 more circles, progressively increasing in size, ensuring they don’t touch each other’s lines. Take a clean toothpick and, starting from the center of the cookie, gently drag the toothpick through all the circles outwards towards the edge. Repeat this motion several times around the cookie to create distinct lines, forming the intricate spiderweb pattern. Remember, this design is easiest to achieve when the icing is still wet and NOT SET, so work quickly. I’ve found it’s best to decorate only 2 or 3 cookies at a time, maximum. For example, spoon vanilla icing onto three cookies, then pipe chocolate circles and immediately create the toothpick lines on each. Then, move on to the next set, perhaps spooning on chocolate icing and piping vanilla lines. Continue this process until all your delicious cookies are beautifully glazed.
- Store Your Spooky Treats: Allow the icing to fully set before stacking or storing the cookies. This typically takes 30-60 minutes, depending on humidity. Once set, store your Halloween Cobweb Cookies in an airtight container at room temperature. These cookies can be made ahead of time, making them perfect for busy party preparations, and they will remain fresh and delightful for several days.
Cobweb Halloween Cookies Recipe
Print
Pin
Rate
Ingredients
- 1/2 cup butter softened
- 1/2 cup shortening
- 3/4 cup granulated sugar
- 1 egg
- 1 tsp vanilla
- 2 1/2 cups all-purpose flour
- 1 tsp baking powder
- 1/2 tsp salt
Chocolate Glaze
- 2 cups chocolate chips
- 1 cup heavy whipping cream
- 1/2 cup butter
Vanilla Glaze
- 2 TBSP melted butter
- 1 tsp vanilla
- 2 cups powdered sugar
- 4-5 TBSP milk
Instructions
-
Preheat oven to 350 degrees F. Line a baking sheet with parchment paper.
-
Cream butter, shortening and sugar until smooth. Add in egg and vanilla and mix again. Combine dry ingredients in a separate bowl; whisk to incorporate.
-
Add dry ingredients to butter mixture and mix to combine. Scoop out 1.5 TBSP balls. Place on parchment lined baking sheet. Using the bottom of a glass that’s been sprayed with non-stick spray, gently flatten each cookie dough ball until each is about 1/4″ thick.
-
Bake cookies 10-12 minutes. Let cool for a few minutes on the baking sheet before transferring over to a cooling rack.
-
To make the chocolate glaze: Heat butter and whipping cream in a glass bowl in the microwave for 1 minute 30 seconds. Add in chocolate chips and cover bowl with a small plate. Let sit 5 minutes, then whisk mixture until the ingredients combine and the chocolate is smooth & shiny. Transfer 3-4 TBSP chocolate glaze into a small sandwich baggie. Cut the corner when ready to pipe.
-
To make the vanilla glaze: Melt butter. Add in vanilla, powdered sugar and enough milk to make the glaze smooth and spreadable. Transfer 3-4 TBSP vanilla glaze into a small sandwich baggie. Cut the corner when ready to pipe.
-
To make cobweb design: Spoon about 1 TBSP glaze onto a cookie. Pipe the opposite glaze onto the top, making circles in varying sizes. Begin in the middle, making a small circle, then make 2-3 more circles, increasing in size but taking care to not touch the lines of each circle. Take a toothpick and begin in the middle, dragging the toothpick through the lines of each circle. Make several identical lines all around the cookie. Icing will cool and set within minutes. Spiderweb design is easy to do when the icing is NOT SET, so don’t try to do several cookies at the same time. I found you can really do 2 or 3 at once, max. I spooned vanilla icing on 3, then piped on the chocolate icing in circles and made the toothpick lines on each. Then I moved on to the next cookies, this time spooning on chocolate icing and piping vanilla lines. Continue until all cookies are glazed.
-
Store in an airtight container. Cookies can be made ahead of time! Cookies can also be stacked once icing is fully set.
Video
If you’ve enjoyed baking and decorating these fun Cobweb Halloween Cookies, you might be looking for more delightful treats to celebrate the autumn season. Be sure to check out some of our other fall cookie favorites that are perfect for gatherings, lunchboxes, or simply enjoying with a warm cup of coffee or cider:
- Maple Donut Cookies: Indulge in the sweet, comforting flavors of maple and cinnamon, reminiscent of your favorite fall donuts, all in a convenient cookie form.
- Caramel Apple Cake Mix Cookies: These incredibly easy cookies use a cake mix base to deliver the classic taste of caramel apples, making them a quick and irresistible autumnal treat.
- Best Monster Cookies: A delightful mash-up of all your favorite cookie ingredients—oats, peanut butter, chocolate chips, and M&M’s—these colorful cookies are a true crowd-pleaser for any occasion.
- Toffee Oatmeal Cookies: Elevate a classic oatmeal cookie with the buttery crunch of toffee bits. These chewy, flavorful cookies are perfect for a cozy fall day.
- Butter Pecan Chocolate Chip Cookies: A sophisticated twist on the beloved chocolate chip cookie, featuring toasted pecans and a rich, buttery flavor that’s utterly irresistible.


Having a large family means we often occupy several rows… well, pretty much everywhere we go, ha! This particular photo captures a fun moment when my oldest son was taking the picture, and we were all trying to hurry before the ride began. We must have ridden this attraction at least 5 or 6 times that day, thoroughly enjoying every minute. Thank heavens for those fast passes – they truly saved the day and allowed for all the repeat fun!

