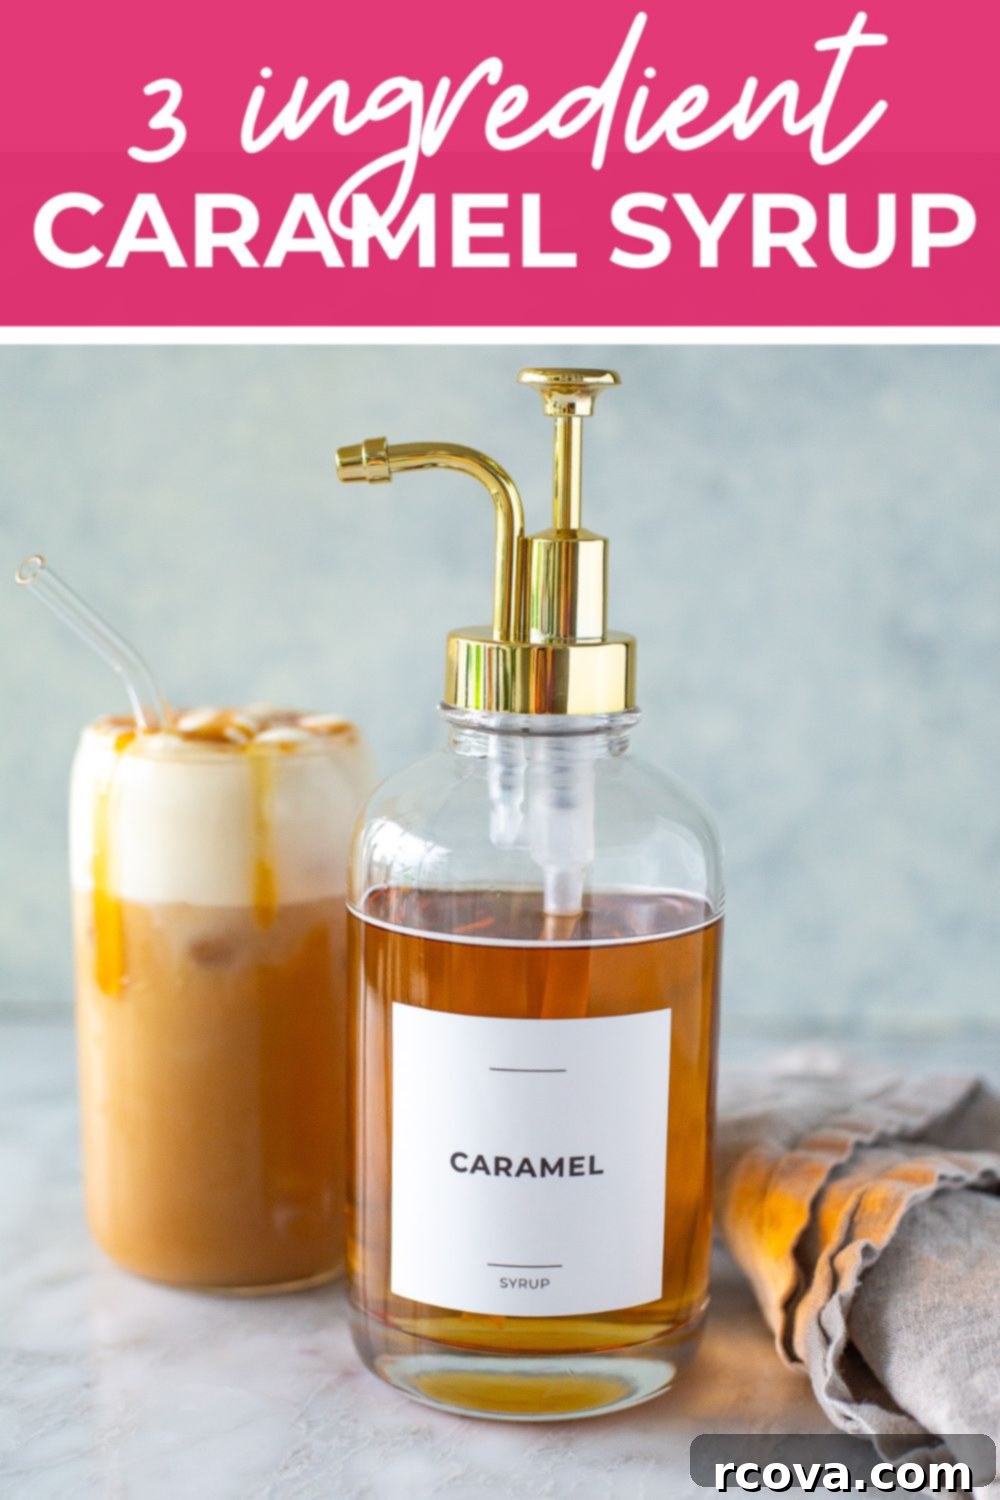
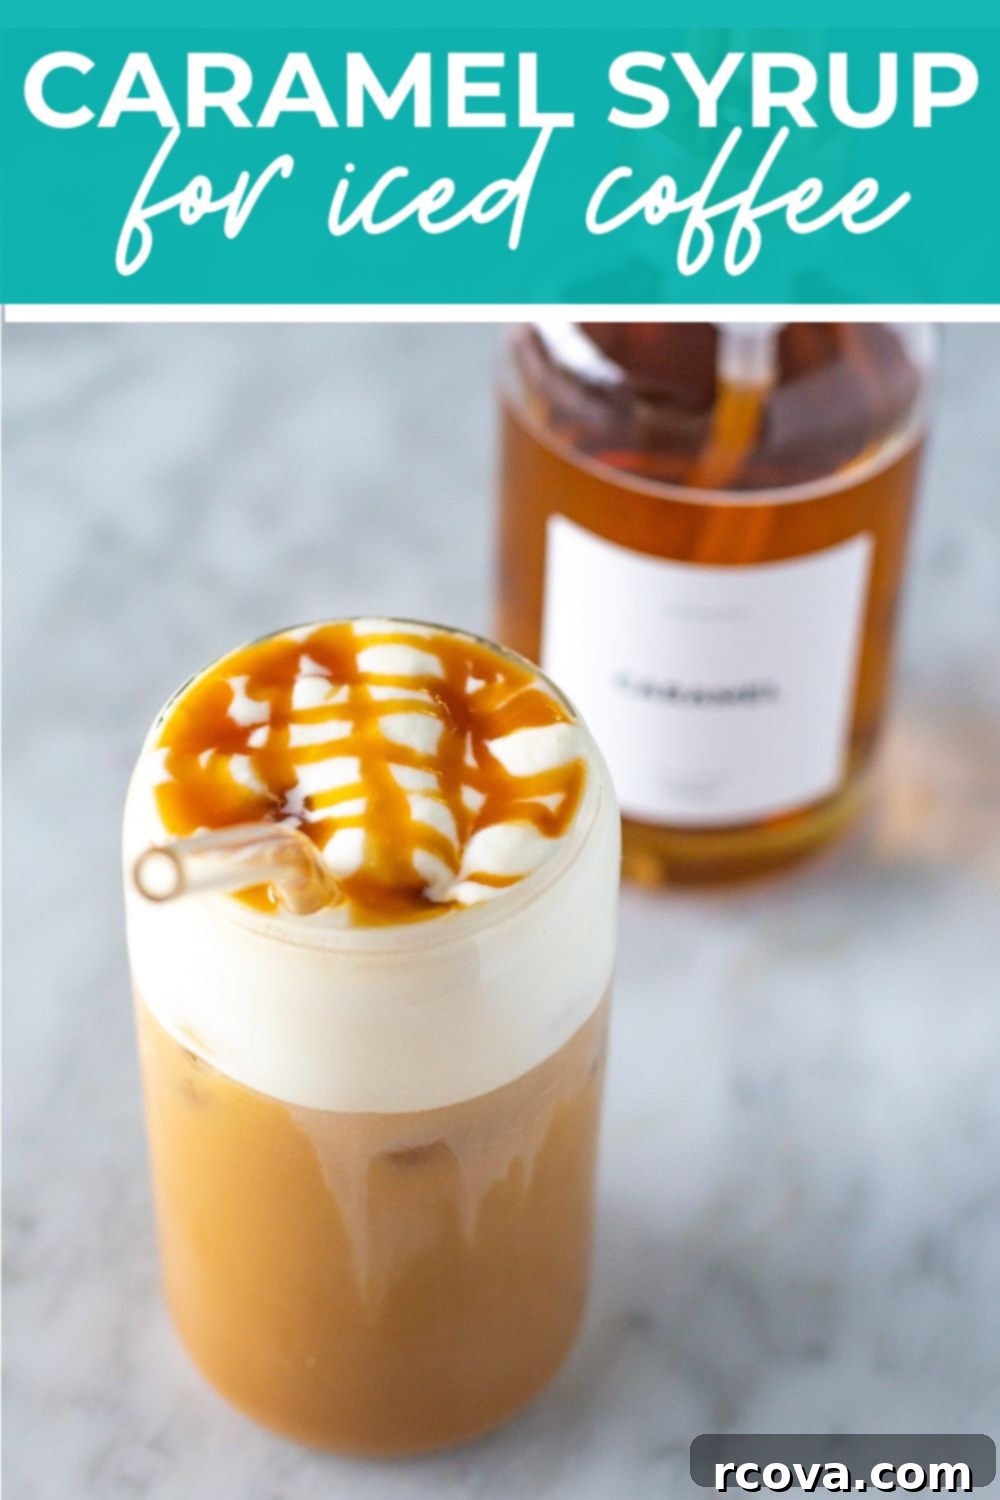
The Ultimate Guide to Homemade Caramel Syrup for Iced Coffee & Beyond
Craving that perfect coffee shop caramel flavor in your iced coffee? This homemade Caramel Simple Syrup is your answer! Made with just 3 simple ingredients—sugar, water, and vanilla extract—it’s incredibly easy to prepare and far superior to store-bought options.
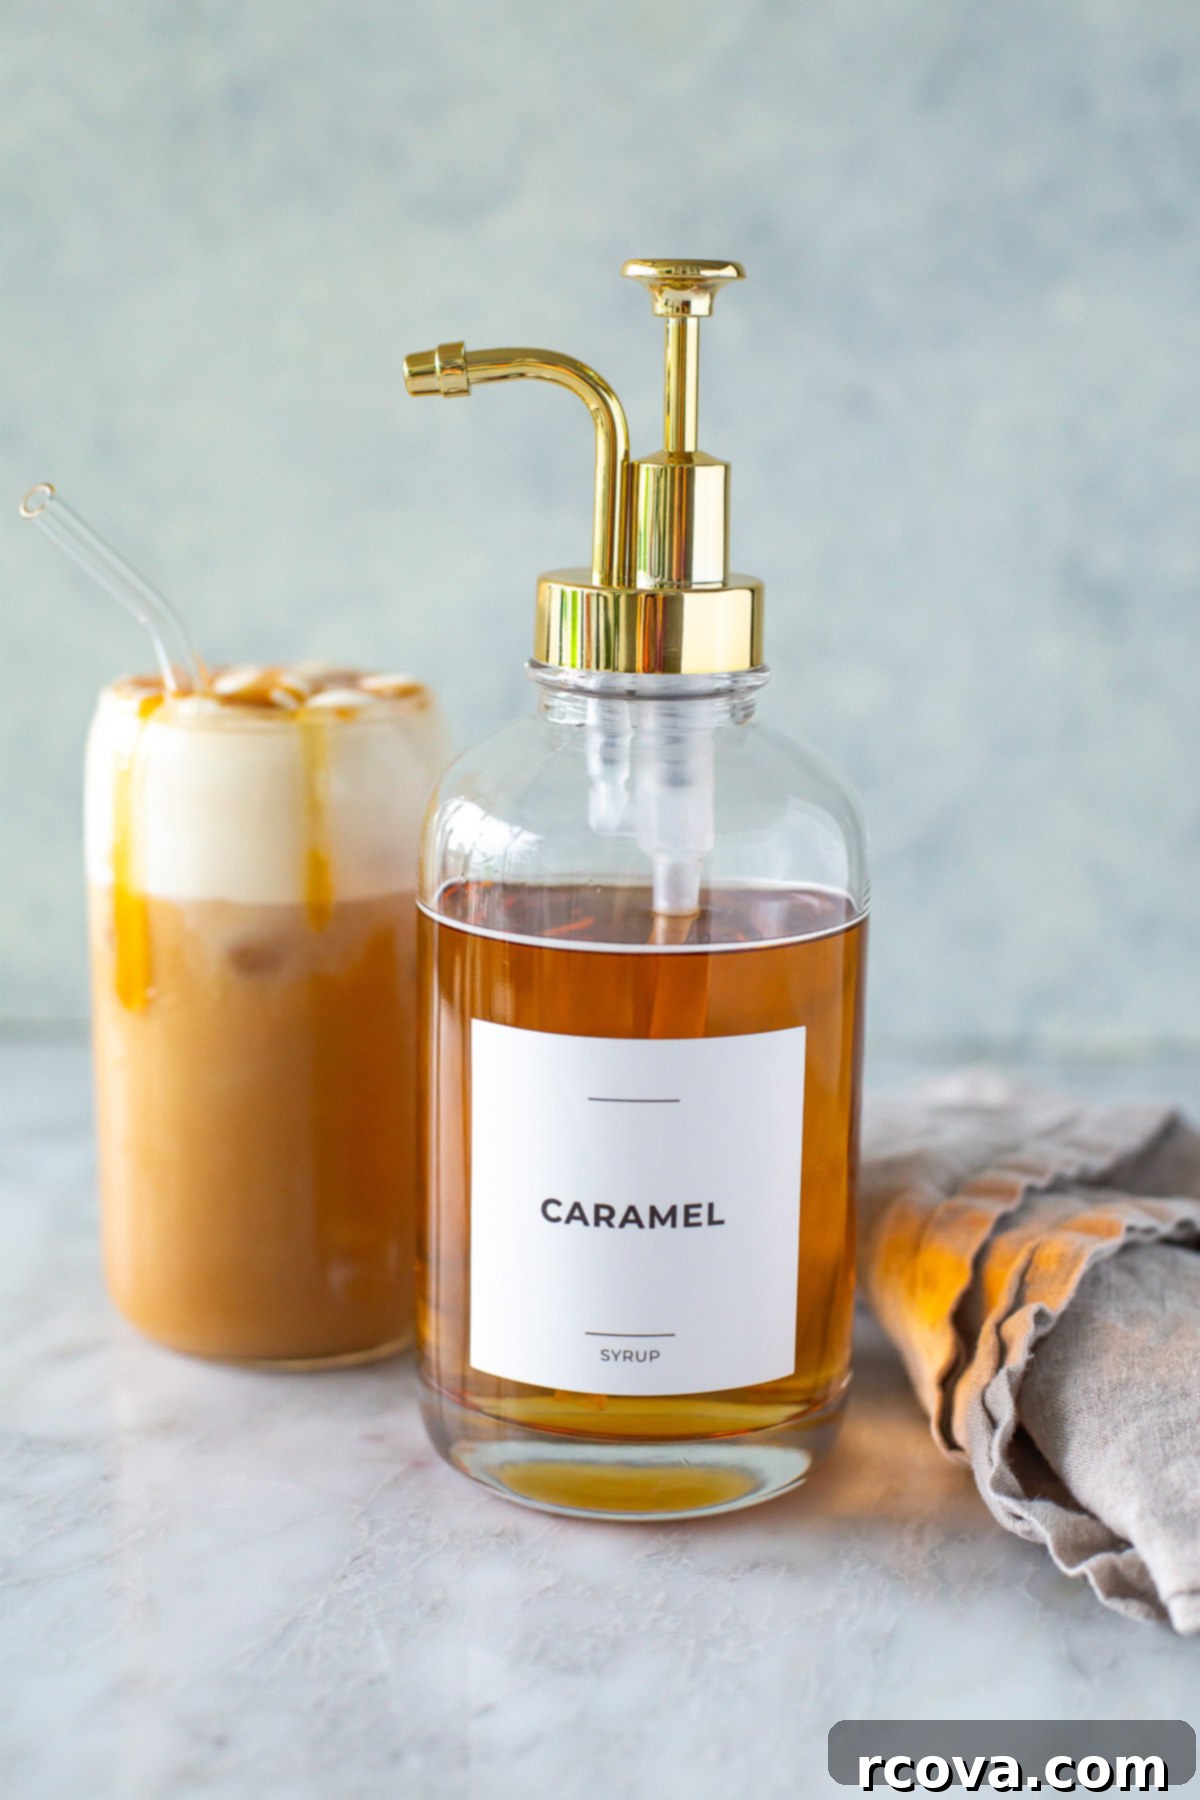
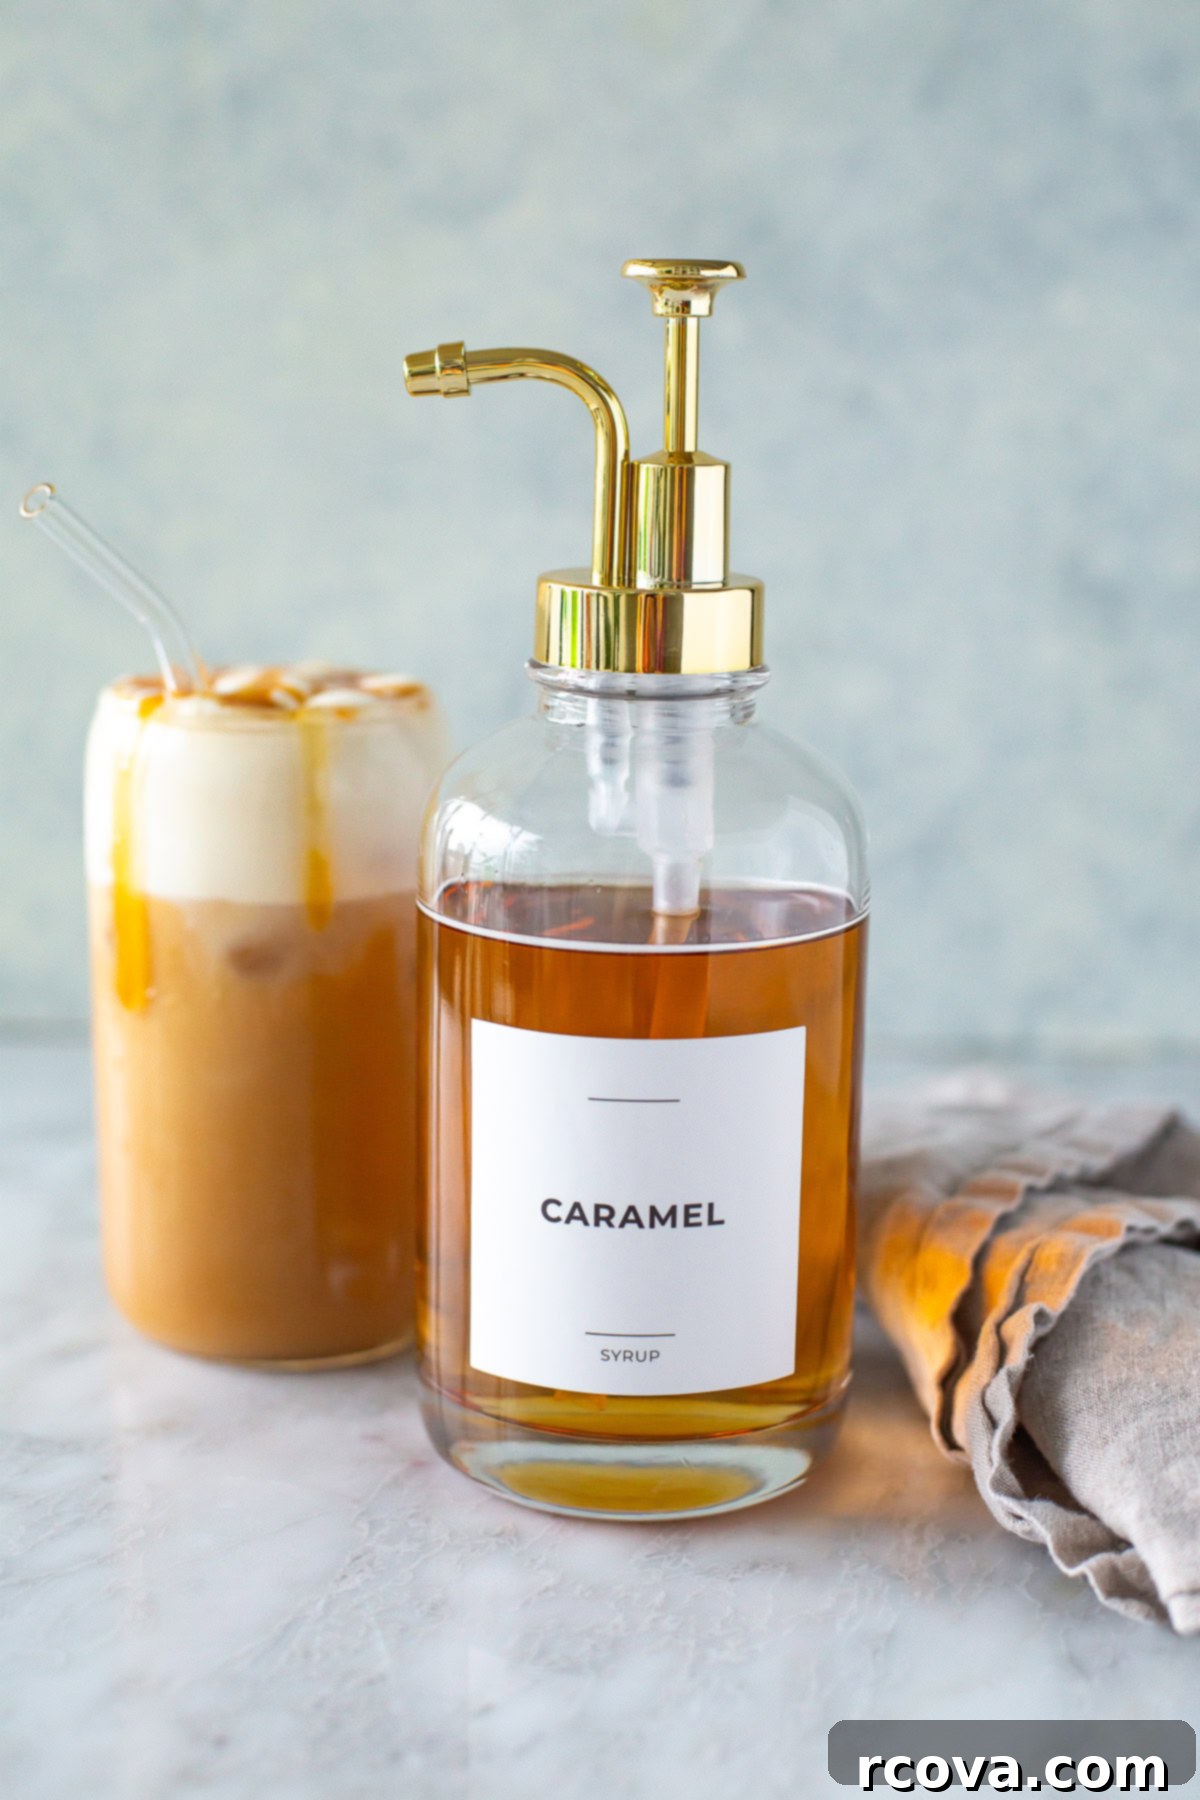
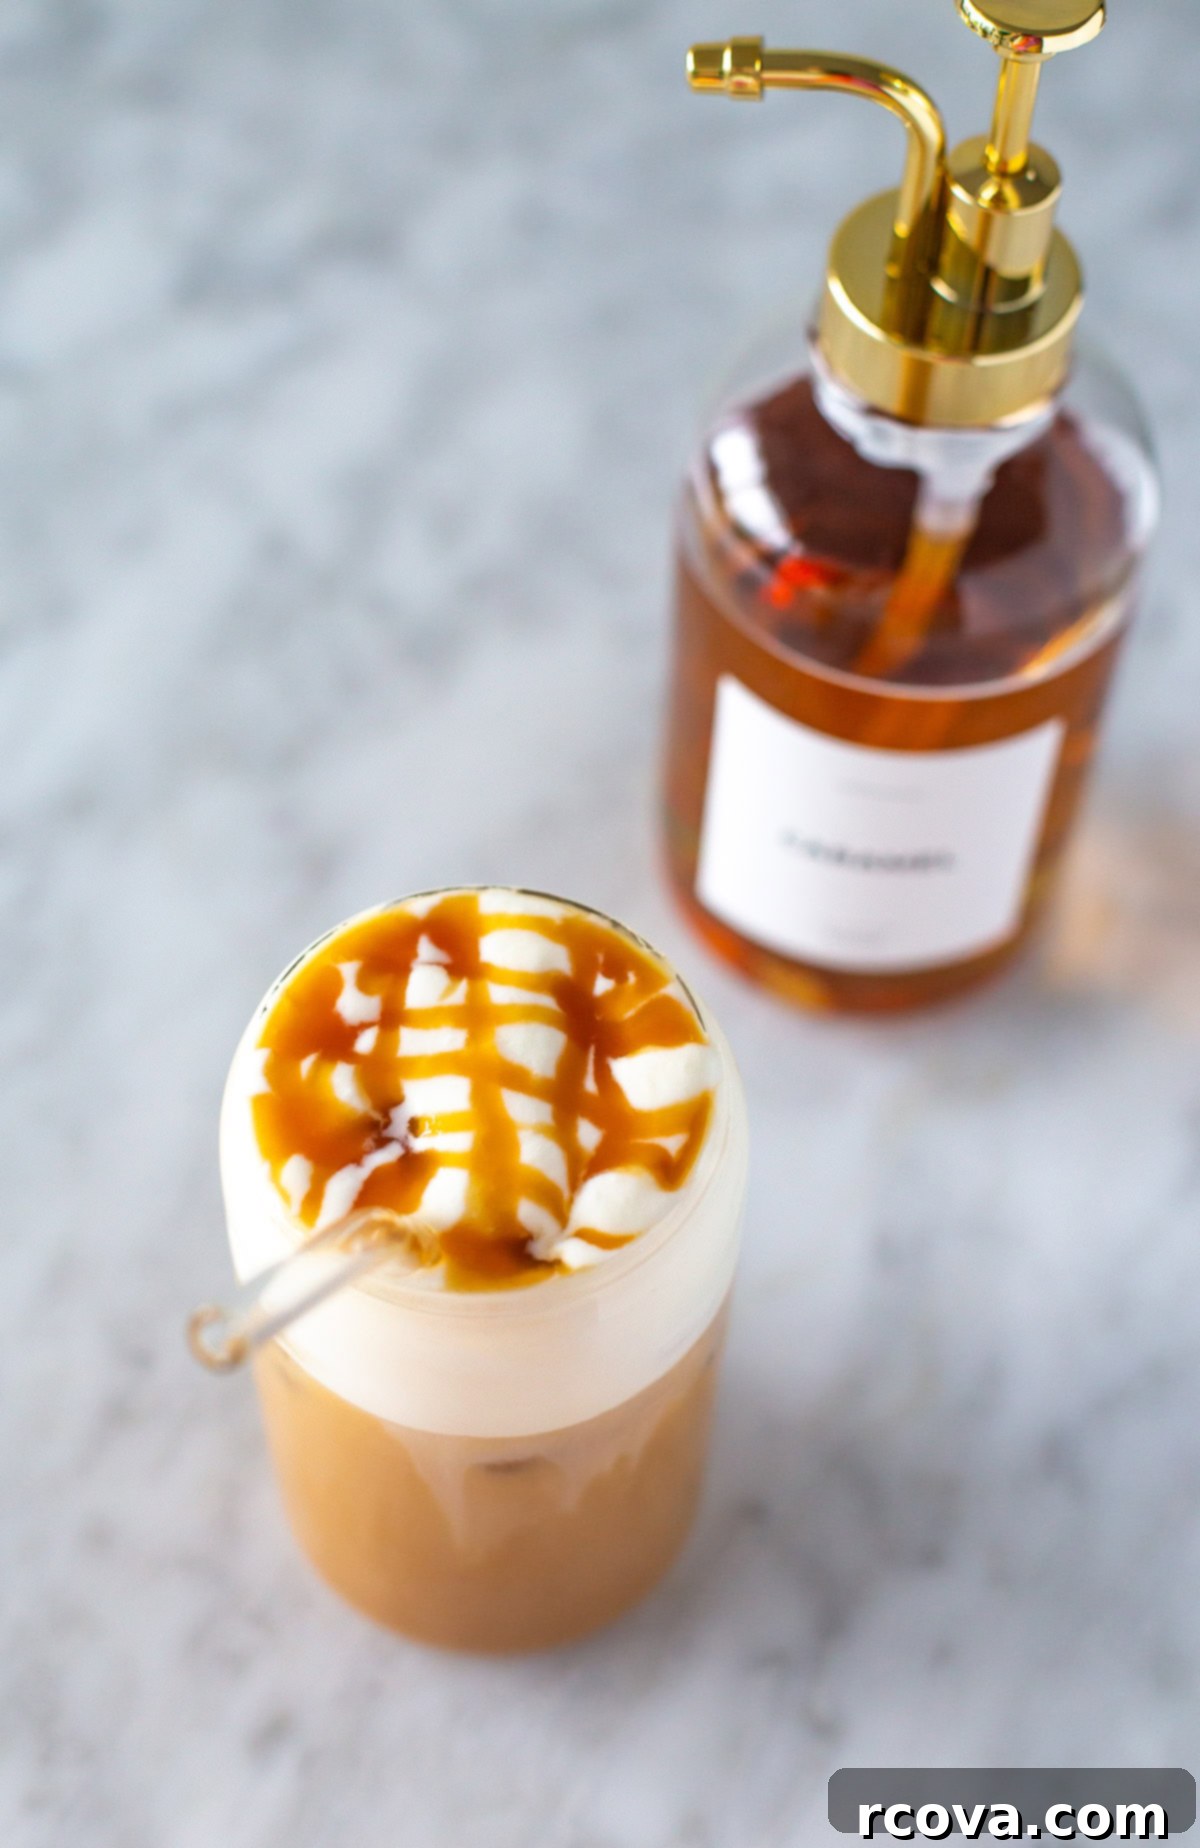
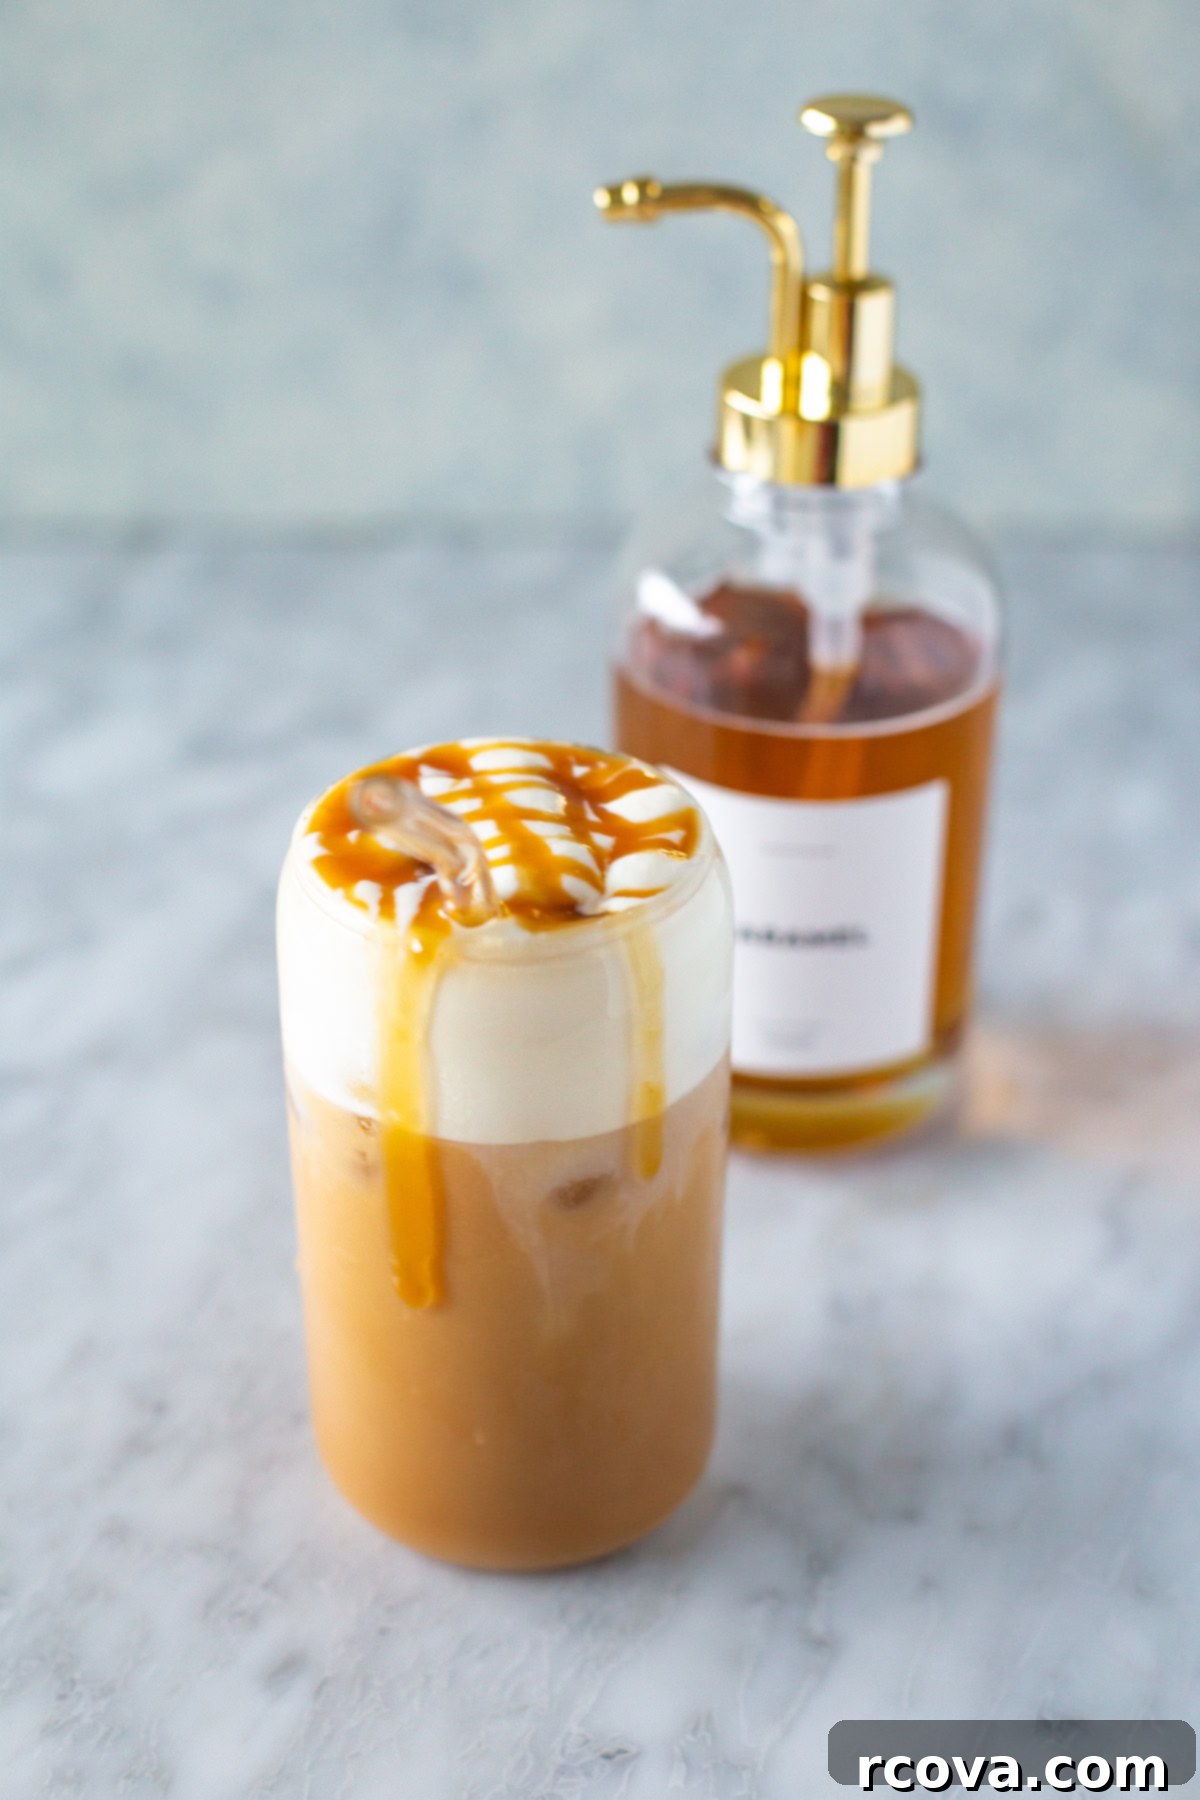
Like many coffee lovers, I’ve spent countless hours trying to recreate that signature, deep caramel flavor found in my favorite coffee shop beverages. The truth is, most store-bought caramel syrups simply don’t hit the same spot. They often taste artificial, lack depth, and contain a long list of ingredients you can’t pronounce. That’s why I’m thrilled to share this recipe for the most irresistibly caramel-flavored syrup that is surprisingly simple to make right in your own kitchen. It’s not only more delicious but also more economical and healthier, giving you complete control over what goes into your cup. Once you try this DIY caramel syrup, you’ll wonder why you ever bought it from the store. Perfect for drizzling into your morning brew or elevating a special treat, this recipe will quickly become a staple. You absolutely have to try it with my Iced Caramel Latte recipe for an unparalleled coffee experience!
Why You’ll Fall in Love with This Homemade Caramel Syrup Recipe
Making your own caramel syrup offers a multitude of benefits that transcend the convenience of simply buying a bottle. Here’s why this recipe will become a cherished addition to your culinary repertoire:
- Perfect Simple Syrup Texture: Unlike many thicker, often gloopy, commercial caramel sauces, this recipe yields a genuine simple syrup consistency. This ensures it blends effortlessly and smoothly into any iced drink, from your morning iced coffee to a refreshing iced latte or even a unique cocktail. Say goodbye to sticky clumps at the bottom of your glass and hello to perfectly integrated flavor. Its pourable nature makes it ideal for quick mixing without altering the temperature or texture of your cold beverages.
- No Artificial Flavors or Preservatives: One of the most significant advantages of homemade syrup is knowing exactly what you’re consuming. This recipe calls for just three wholesome ingredients: real sugar, pure water, and natural vanilla extract. You won’t find any high-fructose corn syrup, artificial colors, or strange chemical preservatives here. This means a cleaner, more authentic caramel taste that’s free from unnecessary additives often found in store-bought counterparts. Enjoy peace of mind knowing you’re serving a natural, delicious product.
- Customizable and Portion-Controlled: This recipe empowers you to tailor the caramel to your exact preferences. Want it a little sweeter? Adjust the sugar. Prefer a deeper, more robust caramel flavor? Cook it a touch longer (carefully!). This level of customization allows you to align the syrup with your specific dietary goals, whether you’re managing sugar intake or striving to avoid processed ingredients. Furthermore, preparing it yourself means you can make smaller batches, ensuring freshness and reducing waste, or larger quantities for entertaining.
- Cost-Effective Coffee Shop Quality at Home: Regularly buying specialty coffee drinks can quickly add up. With this homemade caramel syrup, you can replicate the gourmet flavors of your favorite coffee shop beverages for a fraction of the price. You’ll save a significant amount of money while still enjoying premium quality drinks in the comfort of your home. It’s an investment in your wallet and your taste buds!
- Impress Your Guests (and Yourself!): There’s something inherently impressive about serving homemade ingredients. This caramel syrup elevates any drink or dessert, making it feel extra special. Your friends and family will undoubtedly be impressed by the rich flavor and smooth texture, and you’ll feel proud knowing you created such a delightful treat from scratch.
FREE Budget-Friendly Meal Plan!
Save thousands of dollars on food every year with my free budget-friendly meal plan ebook.
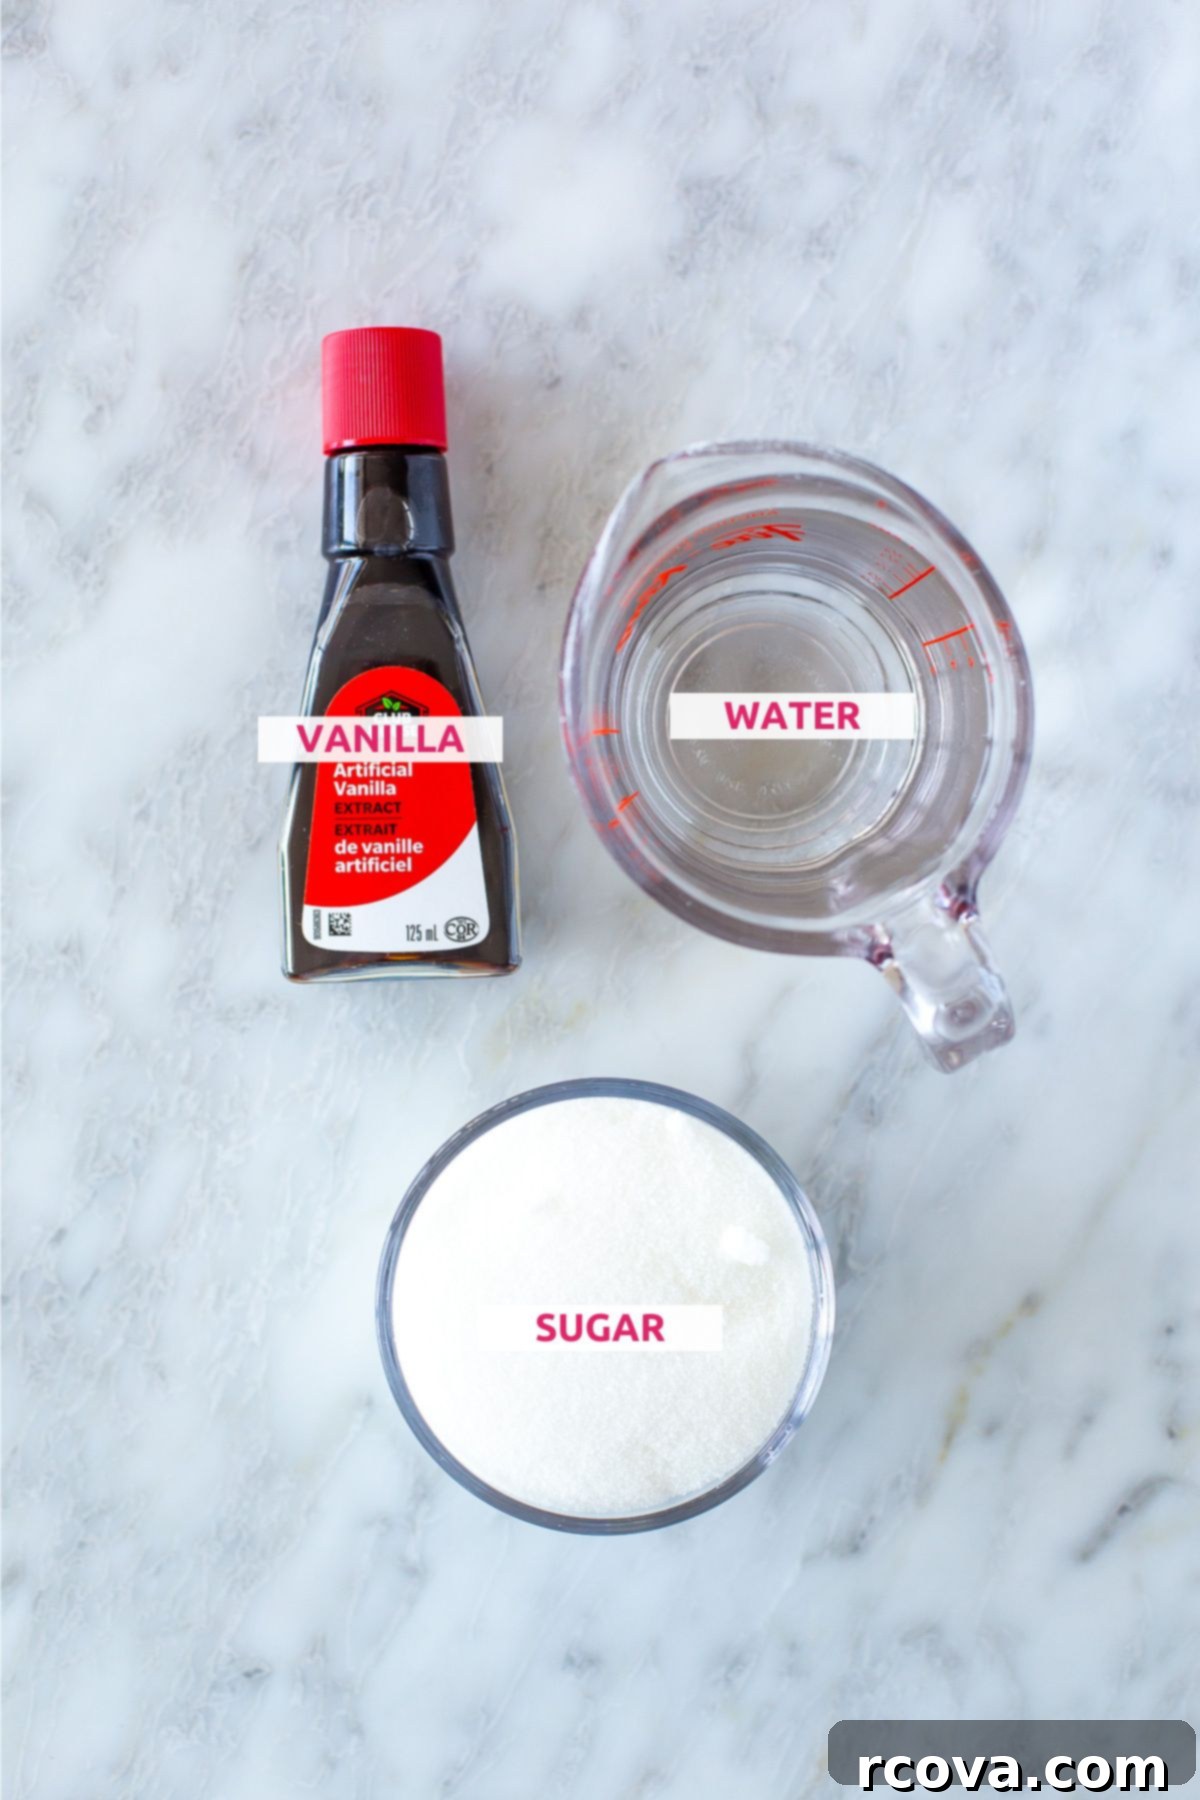
Ingredients and Smart Substitutions for Your Caramel Syrup
This recipe uses minimal ingredients, making it accessible and easy to whip up anytime. Here’s a closer look at what you’ll need and how you can adapt it to fit various dietary needs or flavor preferences:
- White Granulated Sugar – Substitutions: Coconut Sugar or Maple Sugar
Traditional caramel relies on the pure sweetness of white granulated sugar for its classic taste and color. When heated, the sugar undergoes a complex chemical reaction, turning golden brown and developing its characteristic nutty, buttery flavor. However, if you’re looking for alternatives, both coconut sugar and maple sugar are excellent choices. Using these will result in a less refined syrup and introduce a more complex, earthy flavor profile, often reminiscent of molasses or brown sugar. Keep in mind that the final color of your syrup will be darker due to the natural color of these sugars, and the taste will have a deeper, richer undertone, which can be delightful in specific applications. - White Granulated Sugar – Substitutions (for Sugar-Free): Monk Fruit Sweetener or Allulose
For those seeking a low-calorie or sugar-free caramel syrup, monk fruit erythritol blends or allulose are fantastic alternatives. When substituting, use a 1:1 ratio to granulated sugar. Allulose is particularly noteworthy because it caramelizes in a manner remarkably similar to real sugar, producing a beautiful golden color and authentic caramel notes. Other sugar substitutes, like erythritol alone, might not brown as effectively or could require slightly adjusted cooking times to achieve the desired consistency and flavor. Experimentation might be needed to find your perfect sugar-free balance, but these options open up delicious possibilities for health-conscious individuals. - Water
Water is crucial in this simple syrup recipe, as it helps dissolve the sugar evenly and controls the caramelization process. While plain water is perfectly fine, you could experiment with a small amount of filtered water for an even purer taste, though tap water works just as well. The amount of water is key to getting that smooth, simple syrup consistency rather than a thick, gooey sauce. - Vanilla Extract – Substitutions: Maple Extract, Almond Extract (for a twist), or Leave Out Altogether
Vanilla extract adds a warm, aromatic depth that complements the sweet, toasty notes of caramel beautifully, making it a classic pairing. However, if you’re out of vanilla or simply want to explore different flavor dimensions, there are wonderful substitutions. Maple extract, for instance, enhances the overall richness, lending a cozy, autumnal feel that pairs exceptionally well with coffee. Almond extract offers a unique, slightly nutty twist that can be surprisingly delightful. If you prefer a pure, unadulterated caramel taste, feel free to omit the vanilla extract entirely. The beauty of homemade syrup is the freedom to customize and create flavors that suit your palate.
How to Master Homemade Caramel Syrup: Step-by-Step
Creating your own caramel syrup is a rewarding process, and with these detailed steps, you’ll achieve perfect results every time. Remember, caramelization requires attention, but the effort is well worth the incredible flavor.
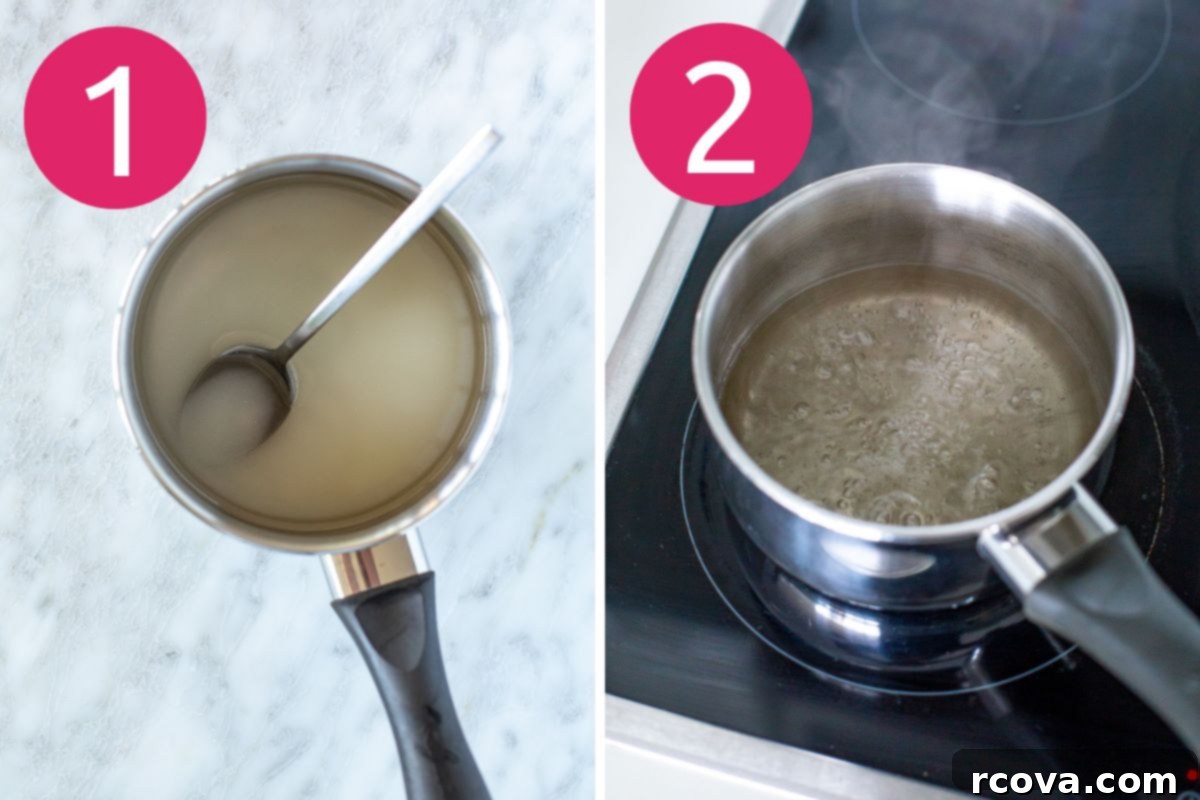
Step 1: Combine Sugar and Water in a Saucepan.
Begin by adding your chosen sugar and half of the measured water into a medium-sized, heavy-bottomed saucepan. Over medium-high heat, stir the mixture constantly until the sugar completely dissolves. This initial stirring is crucial to prevent sugar crystals from forming later. Once all the sugar granules have disappeared into the water, resist the urge to stir further during the boiling phase. Stirring once the caramelization process begins can introduce crystals, leading to a grainy syrup.
Step 2: Bring to a Rolling Boil.
After the sugar is fully dissolved, increase the heat slightly if needed and bring the syrup to a robust, rolling boil. Allow it to cook for approximately 15-20 minutes. During this time, the water will evaporate, concentrating the sugar. The key is to let it boil undisturbed after the initial stirring, allowing the caramelization to occur evenly and smoothly. Keep a close eye on the color, as this stage is critical.
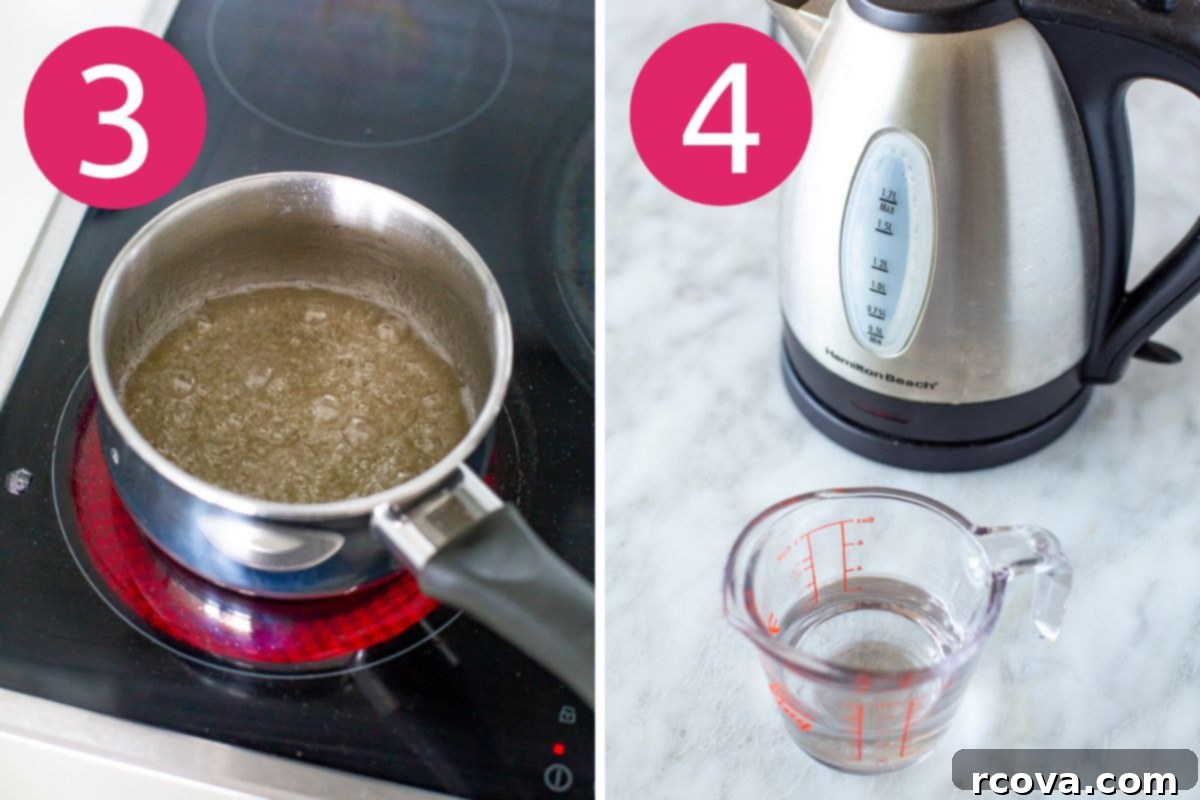
Step 3: Boil Until Golden and Thick.
Continue boiling the syrup, observing its transformation. It will gradually change from clear to a pale yellow, then deepen into a beautiful golden amber. The scent in your kitchen will also evolve, becoming distinctly caramelized and rich. This is the moment to be vigilant, as caramel can go from perfect to burnt in a matter of seconds. Once it reaches a thick consistency and a lovely golden-brown hue (like a copper penny), and you smell that unmistakable caramelized aroma, immediately remove the saucepan from the heat. Don’t wait for it to get too dark, or it will taste bitter.
Step 4: Prepare Boiling Water in a Kettle.
While your caramel is developing its rich color and flavor, boil the remaining portion of water in a separate kettle. It is essential for this water to be vigorously boiling when you add it to the caramel. Adding cold or lukewarm water to hot caramel can cause a dangerous splatter and seize the caramel, making it hard or crystallized.
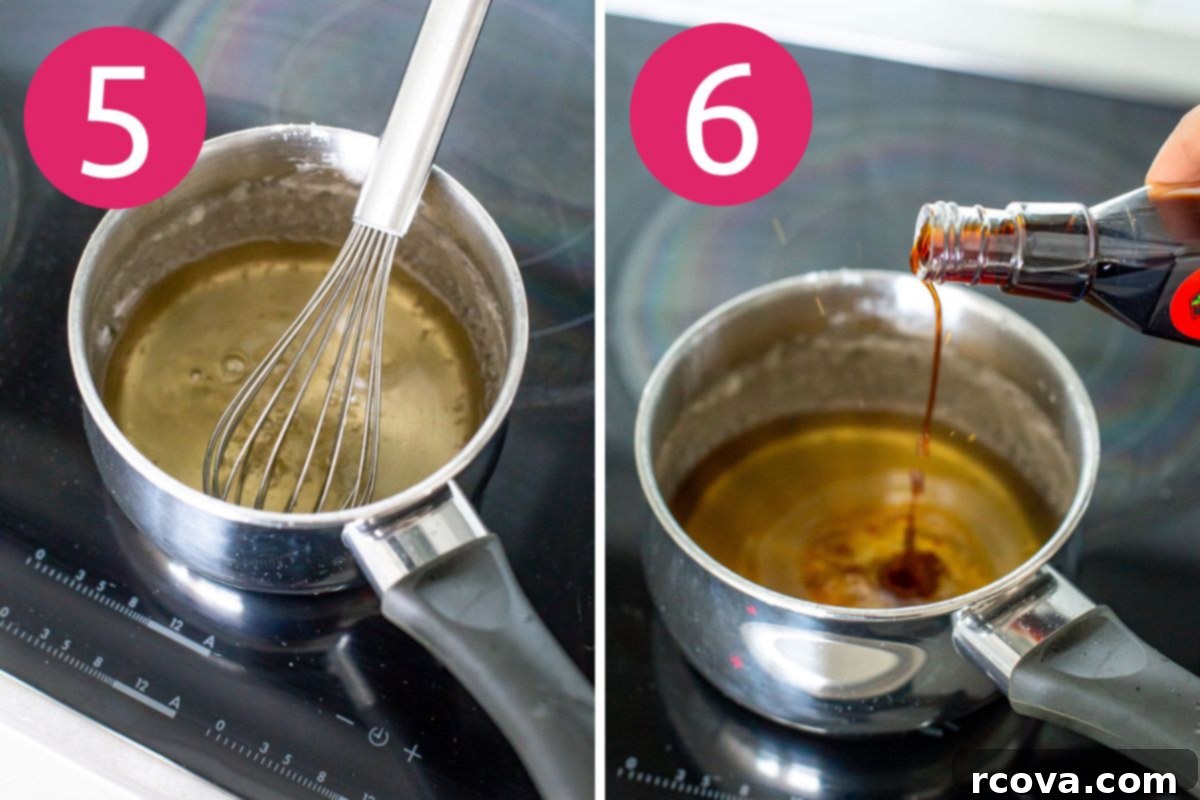
Step 5: Carefully Add Boiling Water.
This step requires caution and quick action. Put on oven mitts to protect your hands from potential splatters. Slowly and carefully pour the boiling water into the hot caramel while continuously whisking vigorously. The mixture will bubble up and steam aggressively, which is normal. The rapid whisking helps to smoothly combine the water and the caramelized sugar, preventing the syrup from hardening into a solid mass. Continue whisking until the mixture is uniform and smooth.
Step 6: Stir in Vanilla Extract.
Once the water is fully incorporated and the mixture is smooth, stir in the vanilla extract. Adding the vanilla at this stage, off the heat, preserves its delicate flavor, which can dissipate if exposed to high temperatures for too long. Give it a good whisk to ensure it’s thoroughly mixed throughout the syrup.
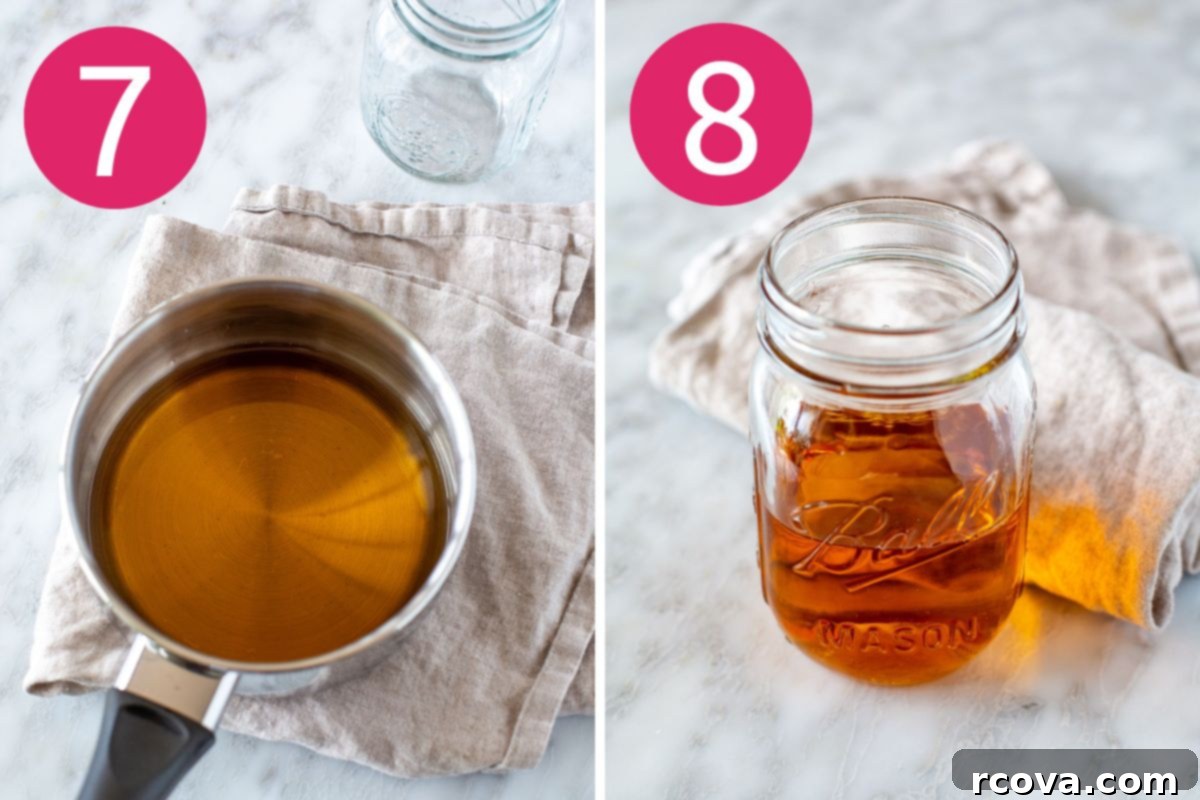
Step 7: Allow the Caramel Syrup to Cool.
Let the caramel syrup cool in the saucepan for at least 30 minutes, or until it reaches room temperature. As it cools, the syrup will thicken slightly to its final ideal consistency. Patience is key here; don’t rush the cooling process, as trying to store hot syrup can affect its texture and safety. Once cool, it’s ready for transfer.
Step 8: Store in the Refrigerator.
Once completely cooled, carefully transfer your homemade caramel syrup into a clean, airtight container, such as a mason jar or one of the elegant dispensers I’ve linked at the end of this blog post. Storing it in the refrigerator will keep it fresh for up to 1 month, ready to elevate your next iced coffee or dessert creation. Ensure the lid is tightly sealed to maintain its freshness and prevent any contamination.
Essential Tips and Creative Variations for Your Caramel Syrup
Making delicious homemade caramel syrup can be a little intimidating, but with these proven tips and exciting variations, you’ll achieve perfection every single time. Master the basics, then unleash your creativity!
- Watch Closely While Boiling: This is perhaps the most critical tip. Once your syrup begins to change color, the caramelization process accelerates rapidly. It can go from a beautiful golden amber to a bitter, burnt mess in mere seconds. Never walk away from the saucepan during this crucial phase. Keep your eyes on it and be ready to remove it from the heat as soon as it reaches your desired shade of golden brown.
- Use a Light-Colored Pan: A stainless steel or light-bottomed saucepan makes it much easier to accurately judge the color of your caramel as it develops. A dark-colored pan can obscure the true hue, leading you to accidentally overcook it. Being able to clearly see the subtle color changes is vital for achieving the perfect caramel flavor.
- Wear Oven Mitts When Adding Hot Water: Safety first! When you add boiling water to hot sugar, the mixture will aggressively bubble and release a significant amount of steam. Wearing thick oven mitts is non-negotiable to protect your hands and forearms from potential burns and splatters.
- Whisk Vigorously and Immediately: The second you add the boiling water, start whisking vigorously. This immediate and rapid whisking is essential to fully incorporate the water and prevent the hot sugar from seizing or hardening into a solid, sugary candy. Continuous motion ensures a smooth, uniform simple syrup.
- Clean Down the Sides of the Pan: To prevent crystallization, especially during the initial boiling stage, use a wet pastry brush to gently wipe down any sugar crystals that form on the sides of the saucepan. These stray crystals can fall back into the syrup and trigger a chain reaction of crystallization throughout the batch.
Ready to customize your homemade caramel syrup? Here are some delightful flavor twists to try:
- Salted Caramel Syrup: Elevate your caramel by adding a pinch of sea salt (about ¼ to ½ teaspoon, depending on your preference) after stirring in the vanilla extract. The salt enhances the sweetness and deepens the caramel flavor. For versatility, you can even divide your batch: add salt to half for a delicious salted caramel and leave the other half plain for classic caramel syrup. A flaky sea salt like Maldon adds a wonderful textural element.
- Spiced Caramel Syrup: Infuse your syrup with warm, aromatic spices. Add a dash of cinnamon, nutmeg, pumpkin spice blend, or even a hint of cardamom to the finished syrup while it’s still warm. Start with a small amount (¼ teaspoon) and adjust to taste. This is perfect for fall-themed drinks or desserts.
- Vanilla-Free Classic Caramel: For a truly pure and classic caramel flavor, simply skip the vanilla extract altogether. This allows the unadulterated, rich notes of caramelized sugar to shine through, providing a different, yet equally delicious, experience.
- Coconut Caramel Syrup: Transport your taste buds to a tropical paradise by adding 1 teaspoon of coconut extract to the finished syrup. This transforms your caramel into a vibrant coconut caramel flavor, excellent for tropical-inspired lattes or drizzled over fruit.
- Coffee Caramel Syrup: For an extra layer of complexity, add 1 teaspoon of instant espresso powder or very strong, cooled coffee to the syrup along with the vanilla extract. This creates a mocha-caramel hybrid that’s intensely flavorful and perfect for coffee enthusiasts.
- Boozy Caramel Syrup: For adult beverages, consider adding a splash (1-2 tablespoons) of your favorite liquor, such as bourbon, rum, or Grand Marnier, after the syrup has cooled slightly. This will add a sophisticated depth of flavor.
Frequently Asked Questions About Homemade Caramel Syrup
What’s the difference between caramel syrup and caramel sauce?
The primary difference between caramel syrup and caramel sauce lies in their ingredients, consistency, and typical uses. Caramel syrup, like the one in this recipe, is fundamentally a simple syrup made from sugar and water (and often a flavor enhancer like vanilla). Its thinner, pourable consistency is specifically designed to easily dissolve and blend into cold beverages, such as iced coffee, lattes, or cocktails, without clumping or significantly altering the drink’s temperature. It provides a sweet, caramelized flavor that seamlessly integrates. Caramel sauce, on the other hand, typically includes additional ingredients like butter, heavy cream, and sometimes corn syrup, which contribute to a much richer flavor and a significantly thicker, more viscous texture. This thicker consistency makes caramel sauce ideal for drizzling over desserts like ice cream, pies, cakes, or dipping apple slices, where a more substantial coating and pronounced richness are desired.
Why did my caramel syrup crystallize, and how can I fix it?
Crystallization is a common issue when making homemade caramel and usually occurs when sugar crystals on the sides of the pan fall back into the boiling syrup, causing the entire batch to seize and turn grainy. Over-stirring the syrup once the sugar has dissolved and the caramelization process has begun can also introduce air and encourage crystallization. To prevent this, ensure your saucepan is clean before you start, and avoid stirring once the solution is boiling. You can also use a wet pastry brush to periodically wipe down any sugar crystals from the sides of the pan. Adding a very small amount of corn syrup or lemon juice (about ¼ teaspoon per cup of sugar) at the beginning of the process can act as an invert sugar, preventing crystallization. If your caramel has already crystallized, don’t despair! You can often salvage it by adding a tablespoon or two of water back into the saucepan with the crystallized caramel. Heat it gently over low heat, stirring constantly until the crystals redissolve. Once smooth, you can continue the recipe as usual, making sure to whisk vigorously when adding the boiling water.
What else can I use caramel syrup for besides iced coffee?
While this homemade caramel syrup is phenomenal in iced coffee, its versatility extends far beyond! Get creative with these delicious ideas:
- Breakfast & Brunch: Drizzle it generously over a stack of fluffy pancakes, golden waffles, or warm French toast for an indulgent morning treat. Stir it into your morning oatmeal, Greek yogurt, or a berry and granola parfait for added sweetness and depth of flavor.
- Desserts: Use it as a decadent topping for homemade or store-bought ice cream, cheesecakes, apple crisps, or bread pudding. Mix it into whipped cream for a caramel-infused topping, or add a touch to homemade milkshakes for an extra caramel kick.
- Beverages: Beyond iced lattes and coffee, stir it into hot cocoa for a rich caramel hot chocolate, blend it into smoothies, or even use it as a sweetener in unique cocktails for a sophisticated twist. It’s also fantastic in non-alcoholic mocktails or sparkling water for a refreshing caramel soda.
- Baking: Incorporate it into glazes for cakes or muffins, or brush it over baked goods like croissants or sweet rolls for a glossy finish and added flavor.
How can I tell if my caramel syrup has gone bad?
Because homemade caramel syrup is primarily sugar and water, it has a relatively good shelf life, typically lasting up to 1 month when stored properly in the refrigerator. However, it’s always wise to inspect it before use. Look out for any noticeable changes in texture; if it becomes overly thick, excessively crystallized, or develops a separation layer that doesn’t easily reintegrate, it might be past its prime. Discoloration beyond its usual golden-amber hue, particularly dark spots or haziness, is another warning sign. Most importantly, check for any visible mold growth, which would indicate it has definitely spoiled. Lastly, a sour, off, or otherwise unpleasant smell or taste is a clear indicator that the syrup should be discarded. When in doubt, it’s always better to err on the side of caution and make a fresh batch.
How Should I Store Homemade Caramel Syrup for Optimal Freshness?
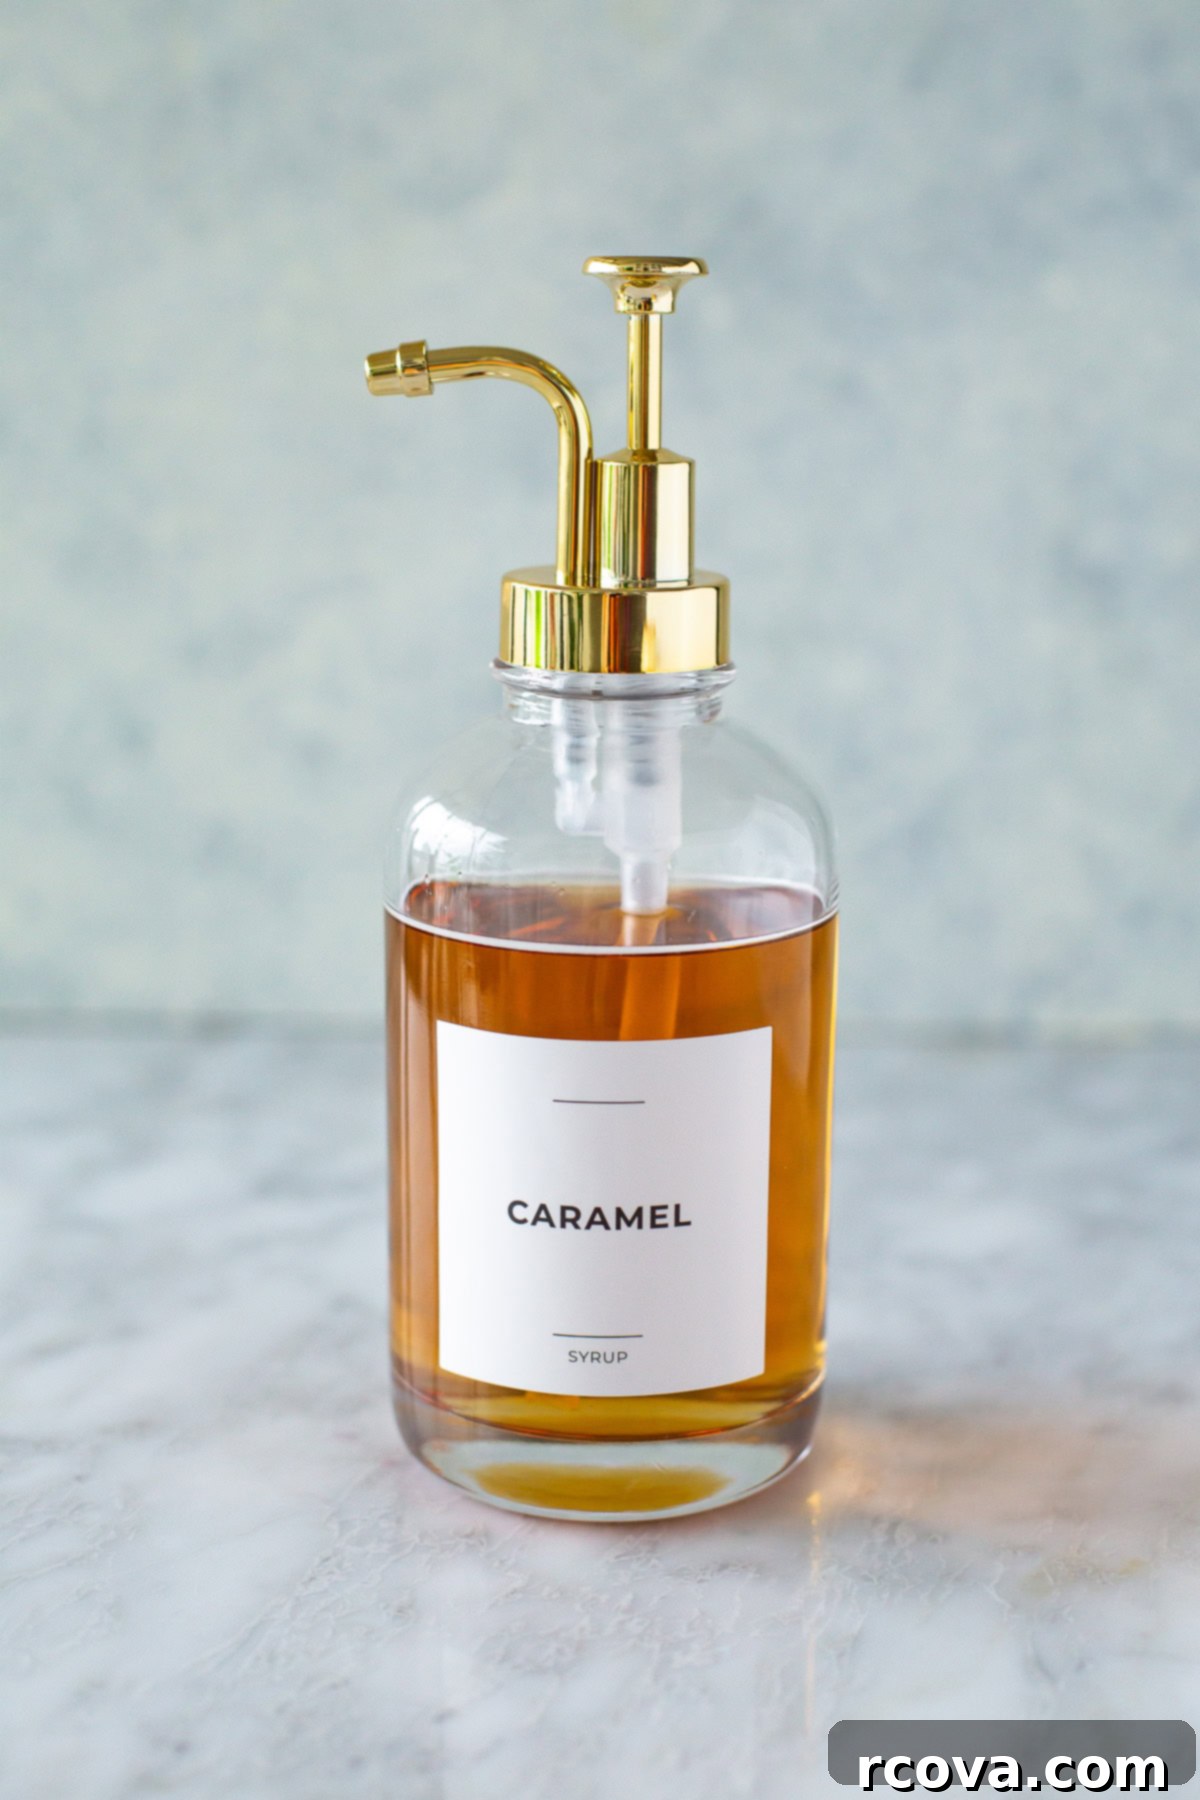
Proper storage is essential to maximize the shelf life and quality of your delicious homemade caramel syrup. After preparing, allow the syrup to cool completely to room temperature, which typically takes at least 30 minutes in the saucepan. Once fully cooled, transfer the syrup into a clean, airtight container, such as a glass mason jar or a specialized syrup dispenser. While it can be safely stored at room temperature for about 2-3 days, for best results and to extend its freshness significantly, I highly recommend refrigerating it. When stored in the fridge, your homemade caramel syrup will remain fresh and delightful for up to 1 month, ready to be used whenever a craving strikes.
Can I Freeze Caramel Syrup?
Absolutely, freezing is an excellent option for long-term storage of your homemade caramel syrup! This method is perfect if you’ve made a large batch or simply want to have it on hand for extended periods. To freeze, pour the cooled syrup into a freezer-safe container, such as small mason jars or heavy-duty freezer bags. Make sure to leave a little headspace at the top of the container—about an inch—to allow for expansion as the syrup freezes. This prevents your containers from cracking. When you’re ready to use it, simply transfer the frozen syrup to the refrigerator and allow it to thaw overnight. Once thawed, give it a good stir, and it will be ready to use in all your favorite drinks and desserts, just like a fresh batch. Freezing can extend its shelf life to up to 4 months.
More Delicious Coffee Recipes to Try
If you’re loving this homemade caramel syrup, you’ll definitely want to explore these other fantastic coffee recipes to elevate your at-home barista game!
-
How to Make Perfect Iced Coffee at Home
-
Foolproof Cold Foam Recipe for Barista-Style Drinks
-
Salted Iced Coconut Milk Caramel Macchiatos (Video!)
-
Easy Homemade Vanilla Syrup {for Iced Coffee!}
Recommended Tools for Making This Caramel Syrup Recipe
Having the right kitchen tools can make the process of crafting homemade caramel syrup even smoother and more enjoyable. Here are a few items I recommend:
- Heavy-Bottomed Saucepan: A good quality, heavy-bottomed saucepan is crucial for even heat distribution, which helps prevent the sugar from burning unevenly. A light-colored interior is also a bonus for monitoring caramel color.
- Heat-Resistant Whisk: Essential for the initial stirring and, more importantly, for vigorously combining the boiling water with the hot caramel.
- Oven Mitts: As emphasized in the instructions, these are non-negotiable for safety during the hot water addition.
- Measuring Cups and Spoons: For accurate ingredient measurements.
- Glass Mason Jars or Syrup Dispensers: Get some cute coffee syrup dispensers to store your finished caramel syrup. Not only do they look great on your coffee bar, but they also make dispensing easy and encourage you to enjoy more homemade iced coffee at home!
Caramel Syrup {for Iced Coffee!}
Print
Pin
Rate
SEND ME MY PLAN
Ingredients
- 1 cup white sugar
- 1 cup water divided
- 1/2 tsp vanilla extract
Instructions
-
In a medium, heavy-bottomed saucepan, combine the sugar and ½ of the water. Heat over medium-high heat, stirring constantly until the sugar is fully dissolved. Once dissolved, stop stirring.
-
Bring the mixture to a rolling boil and cook for 15-20 minutes, or until it transforms into a rich golden-brown color (like a copper penny). During this phase, watch it very closely, as caramel can burn quickly. You’ll notice it thickening and smelling distinctly caramelized. Remove immediately from heat once desired color is achieved.
-
Meanwhile, boil the remaining water in a kettle. Wearing oven mitts for safety (as the mixture will splatter and steam), carefully and slowly whisk the remaining boiling water into the hot, golden syrup in the saucepan. Whisk vigorously to ensure it combines smoothly and prevents hardening. Stir in the vanilla extract, then set aside to cool for at least 30 minutes, or until it reaches room temperature.
-
Once cooled, transfer the homemade caramel syrup to an airtight container or a decorative syrup dispenser. Use 1-2 tablespoons to flavor your iced coffees, lattes, or other beverages. It will last in the fridge for up to 1 month.
Notes
This syrup will last in the fridge for up to 1 month in an airtight container.
You can freeze the syrup for up to 4 months in a freezer-safe container; defrost overnight in the fridge to thaw and use as normal.
Add a pinch of sea salt (about ¼ tsp) to the cooled syrup to make delicious salted caramel syrup.
Nutrition
