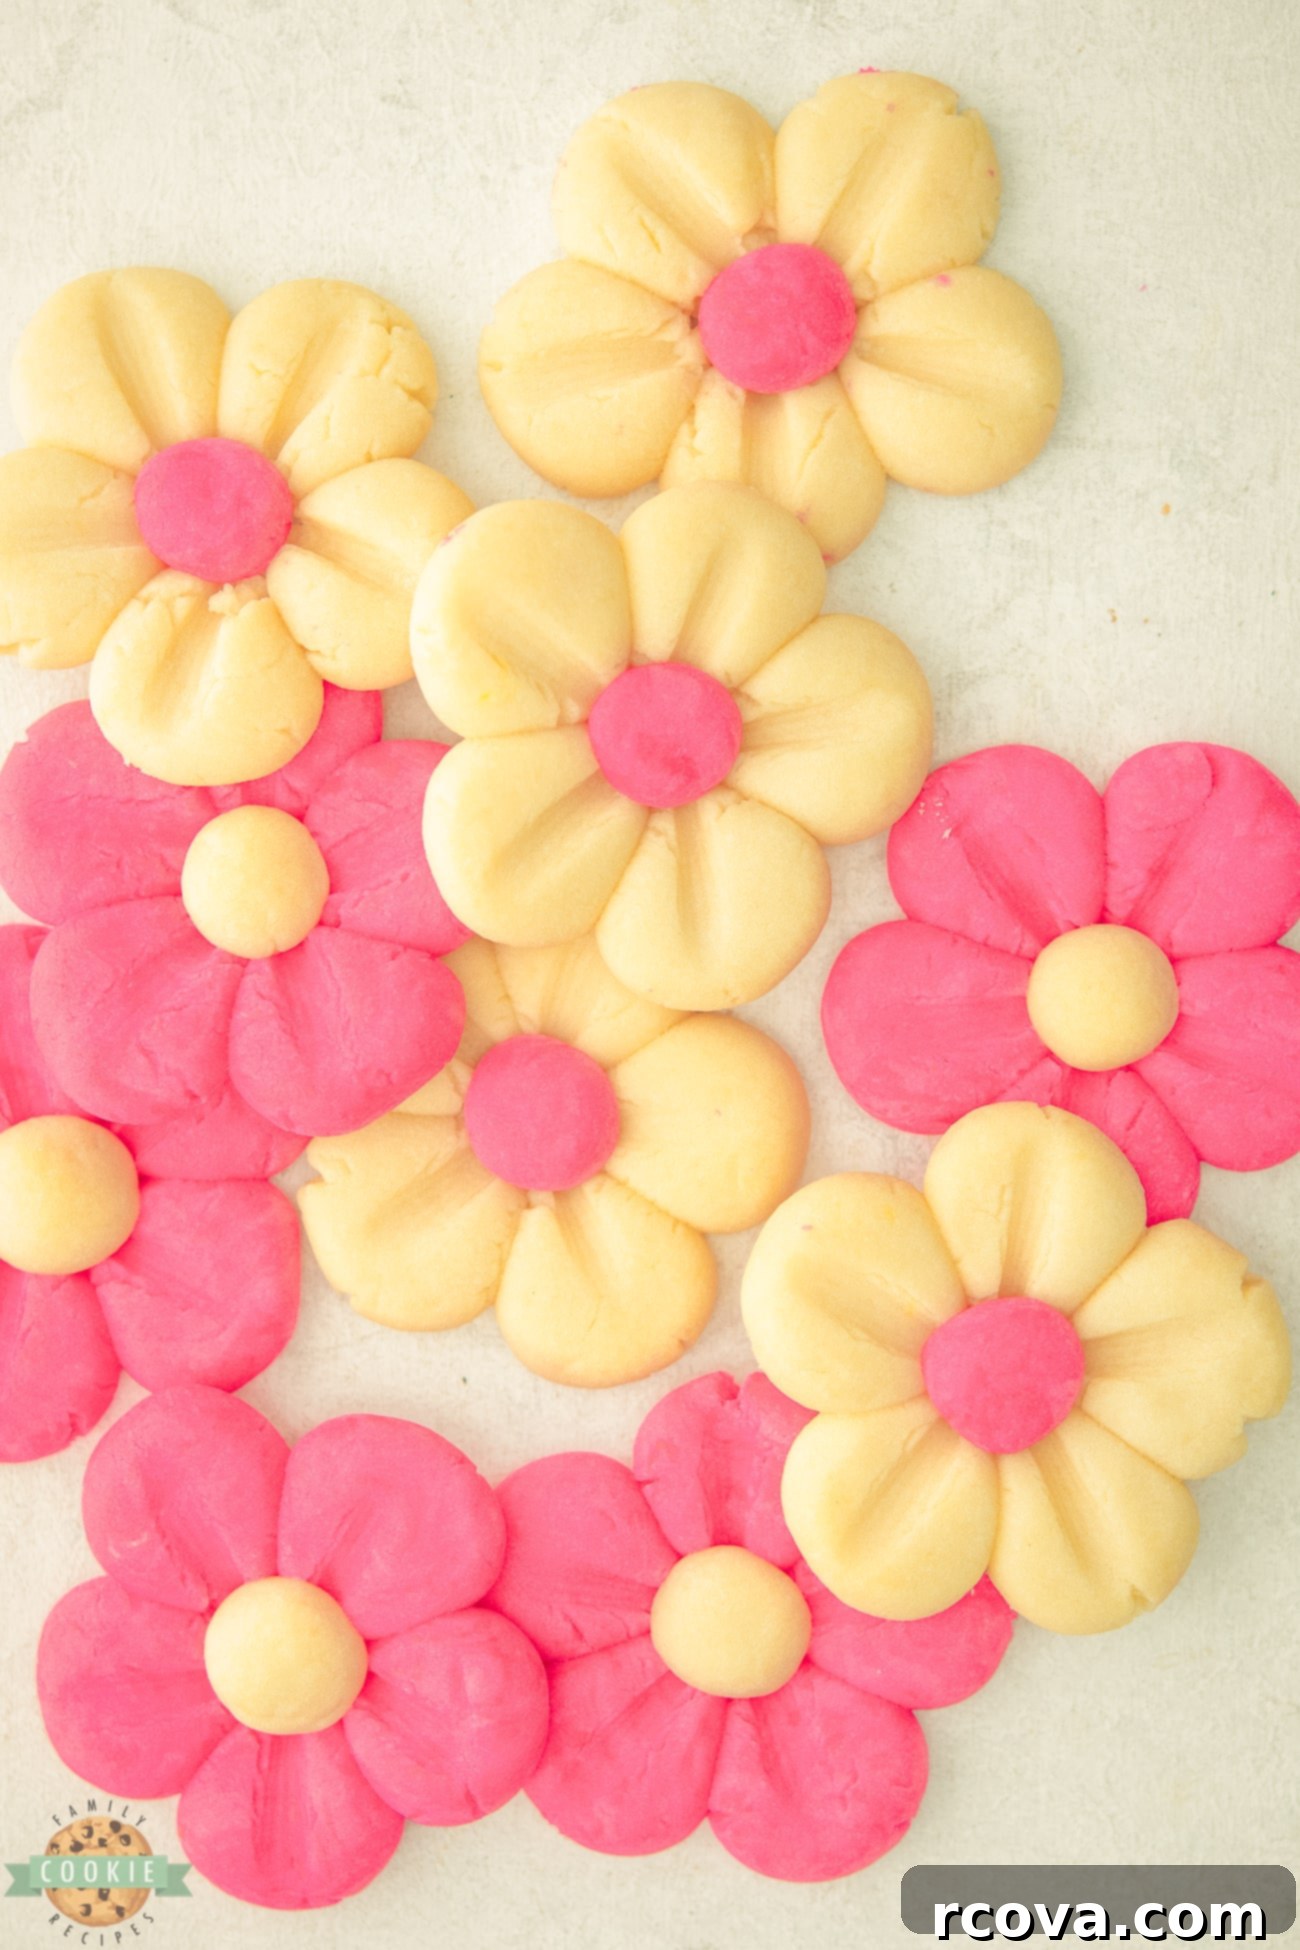
Delightful Pink Daisy Cookies: A Step-by-Step Recipe for Buttery Vanilla Flower Treats
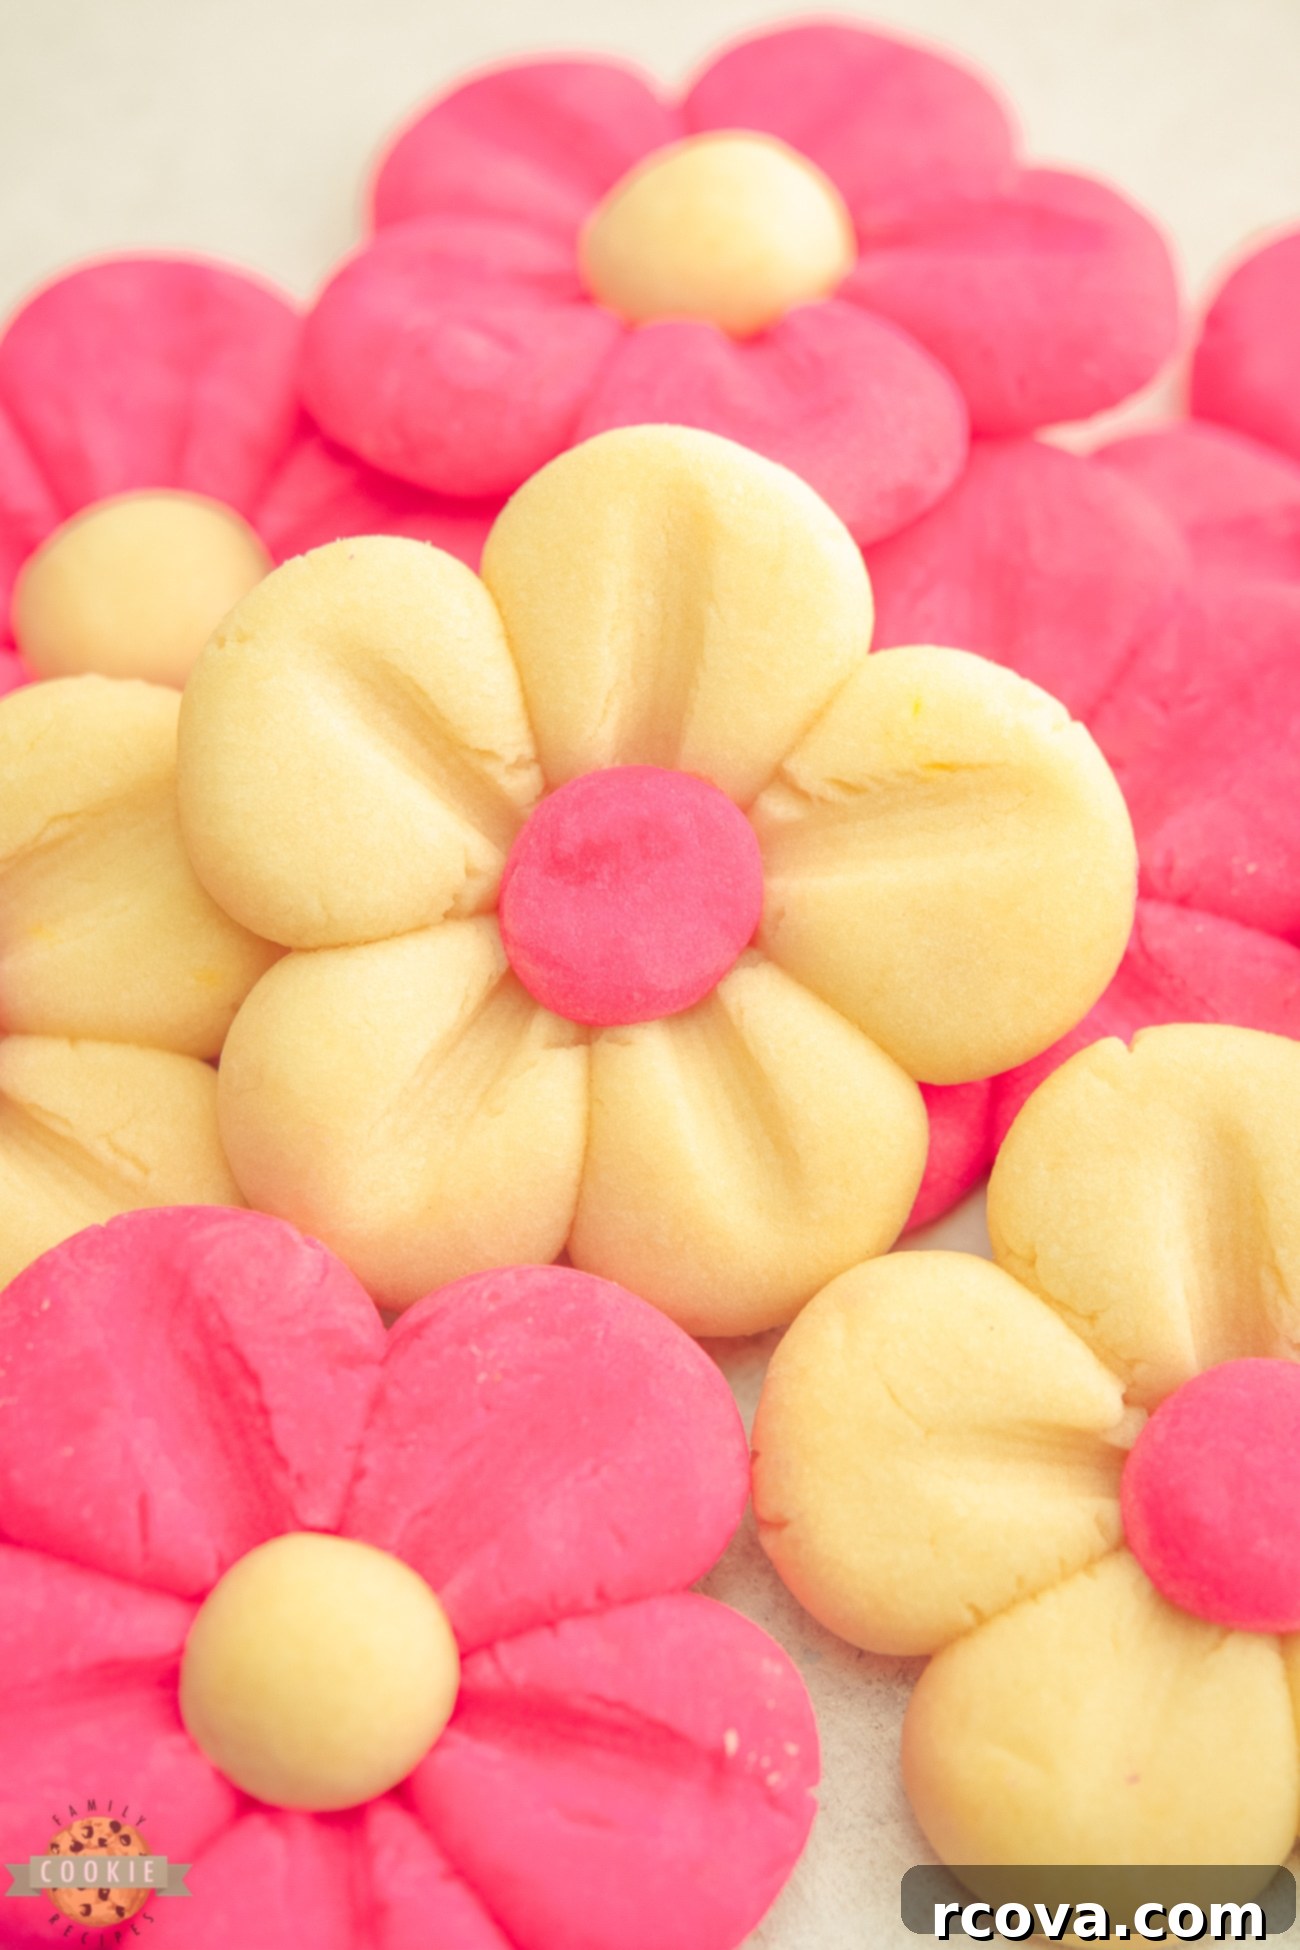
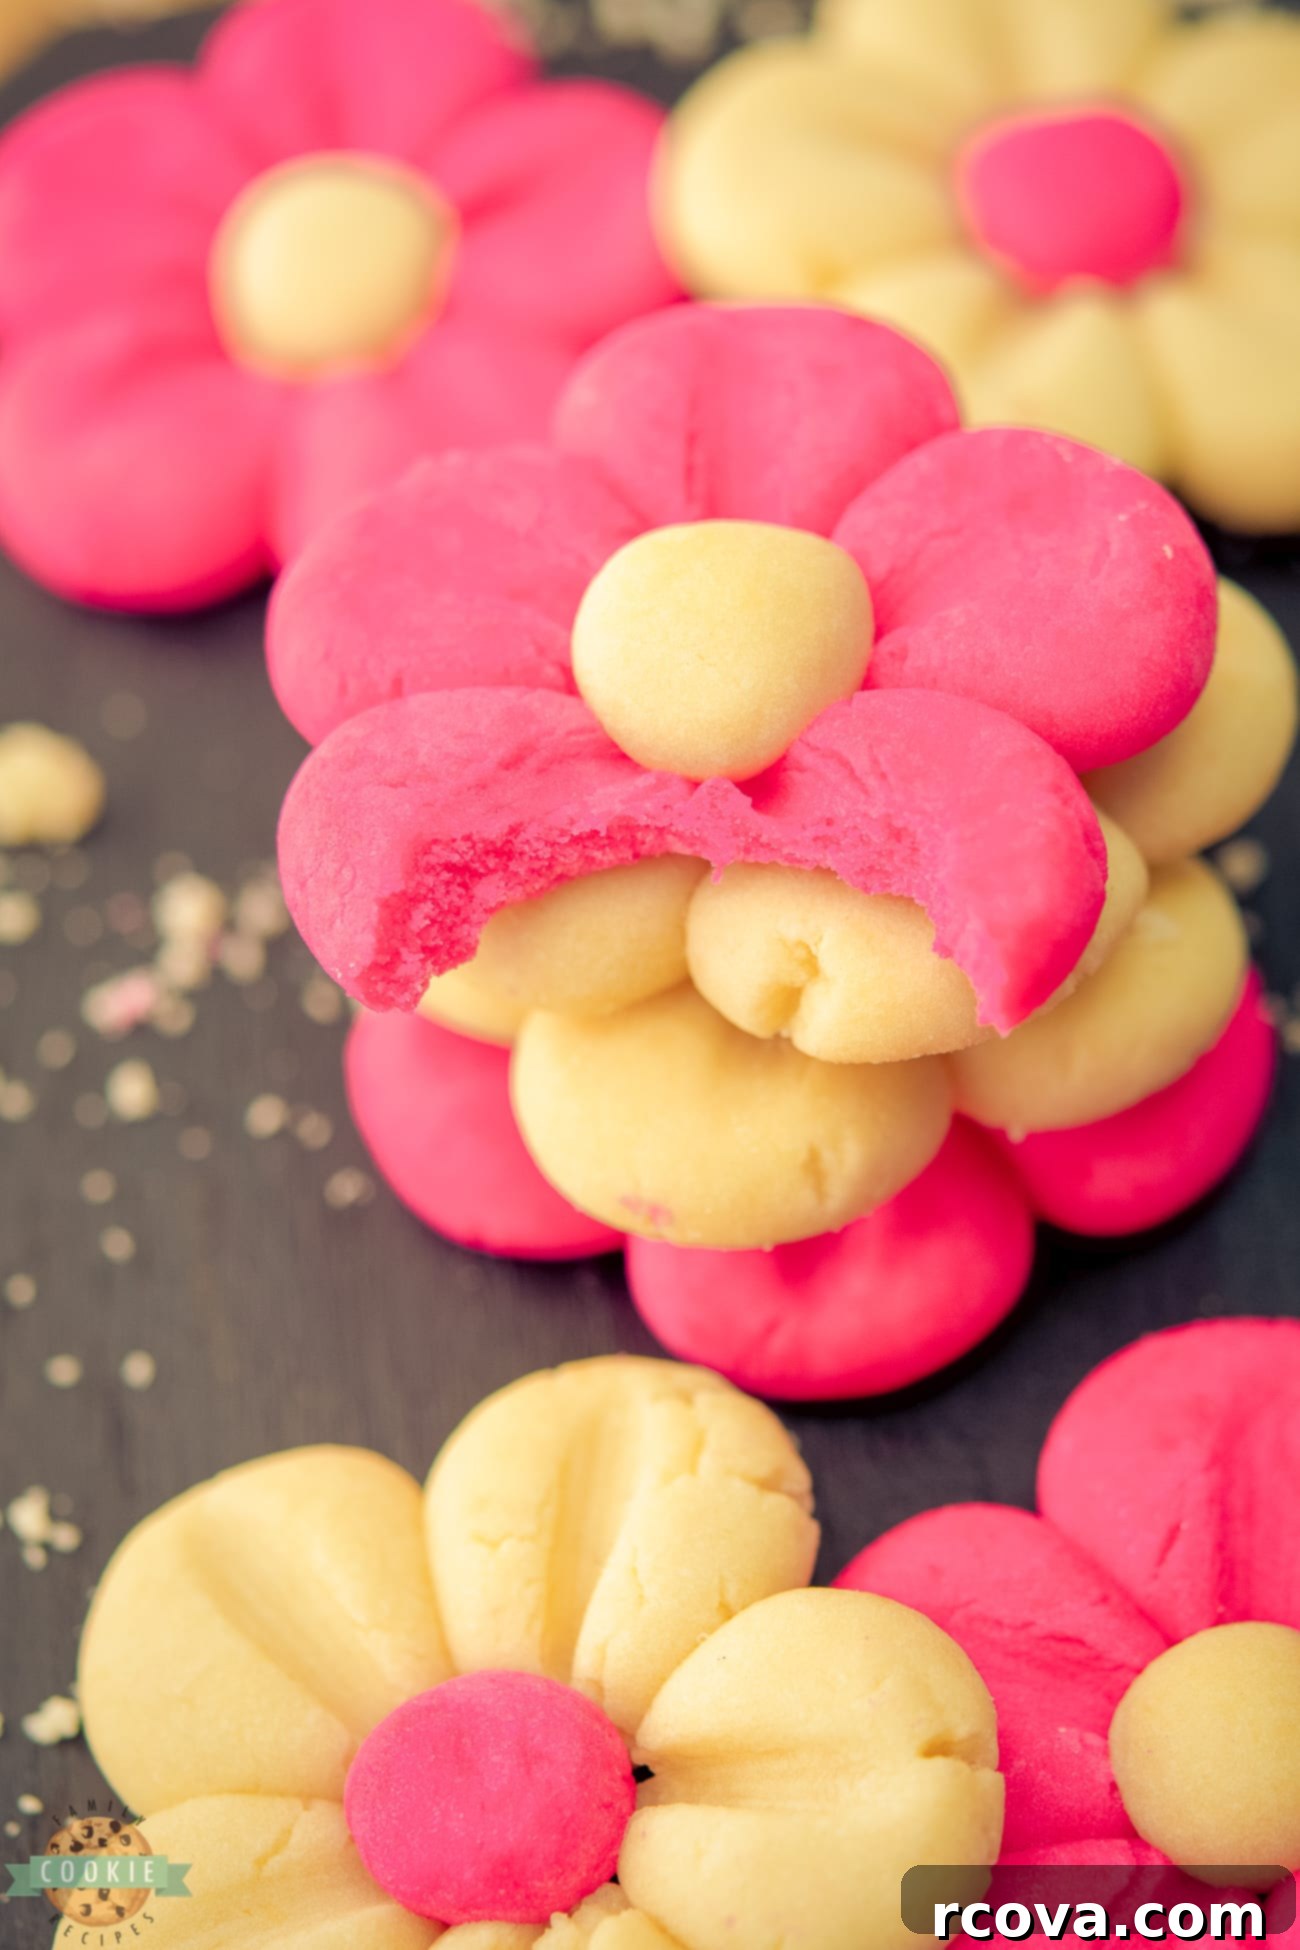
Pink Daisy Cookies are a true delight, offering a charming combination of buttery vanilla flavor and an irresistibly tender, melt-in-your-mouth texture. These beautiful flower cookies are crafted from a simple yet rich vanilla dough, expertly shaped to resemble delicate blooming petals. Perfect for adding a touch of elegance and whimsy to any party, gathering, or even just a cozy afternoon tea, these delightful butter cookies are sure to impress both with their taste and their enchanting appearance. Imagine a plate full of these vibrant pink blossoms, ready to bring smiles and sweet moments to everyone who enjoys them.
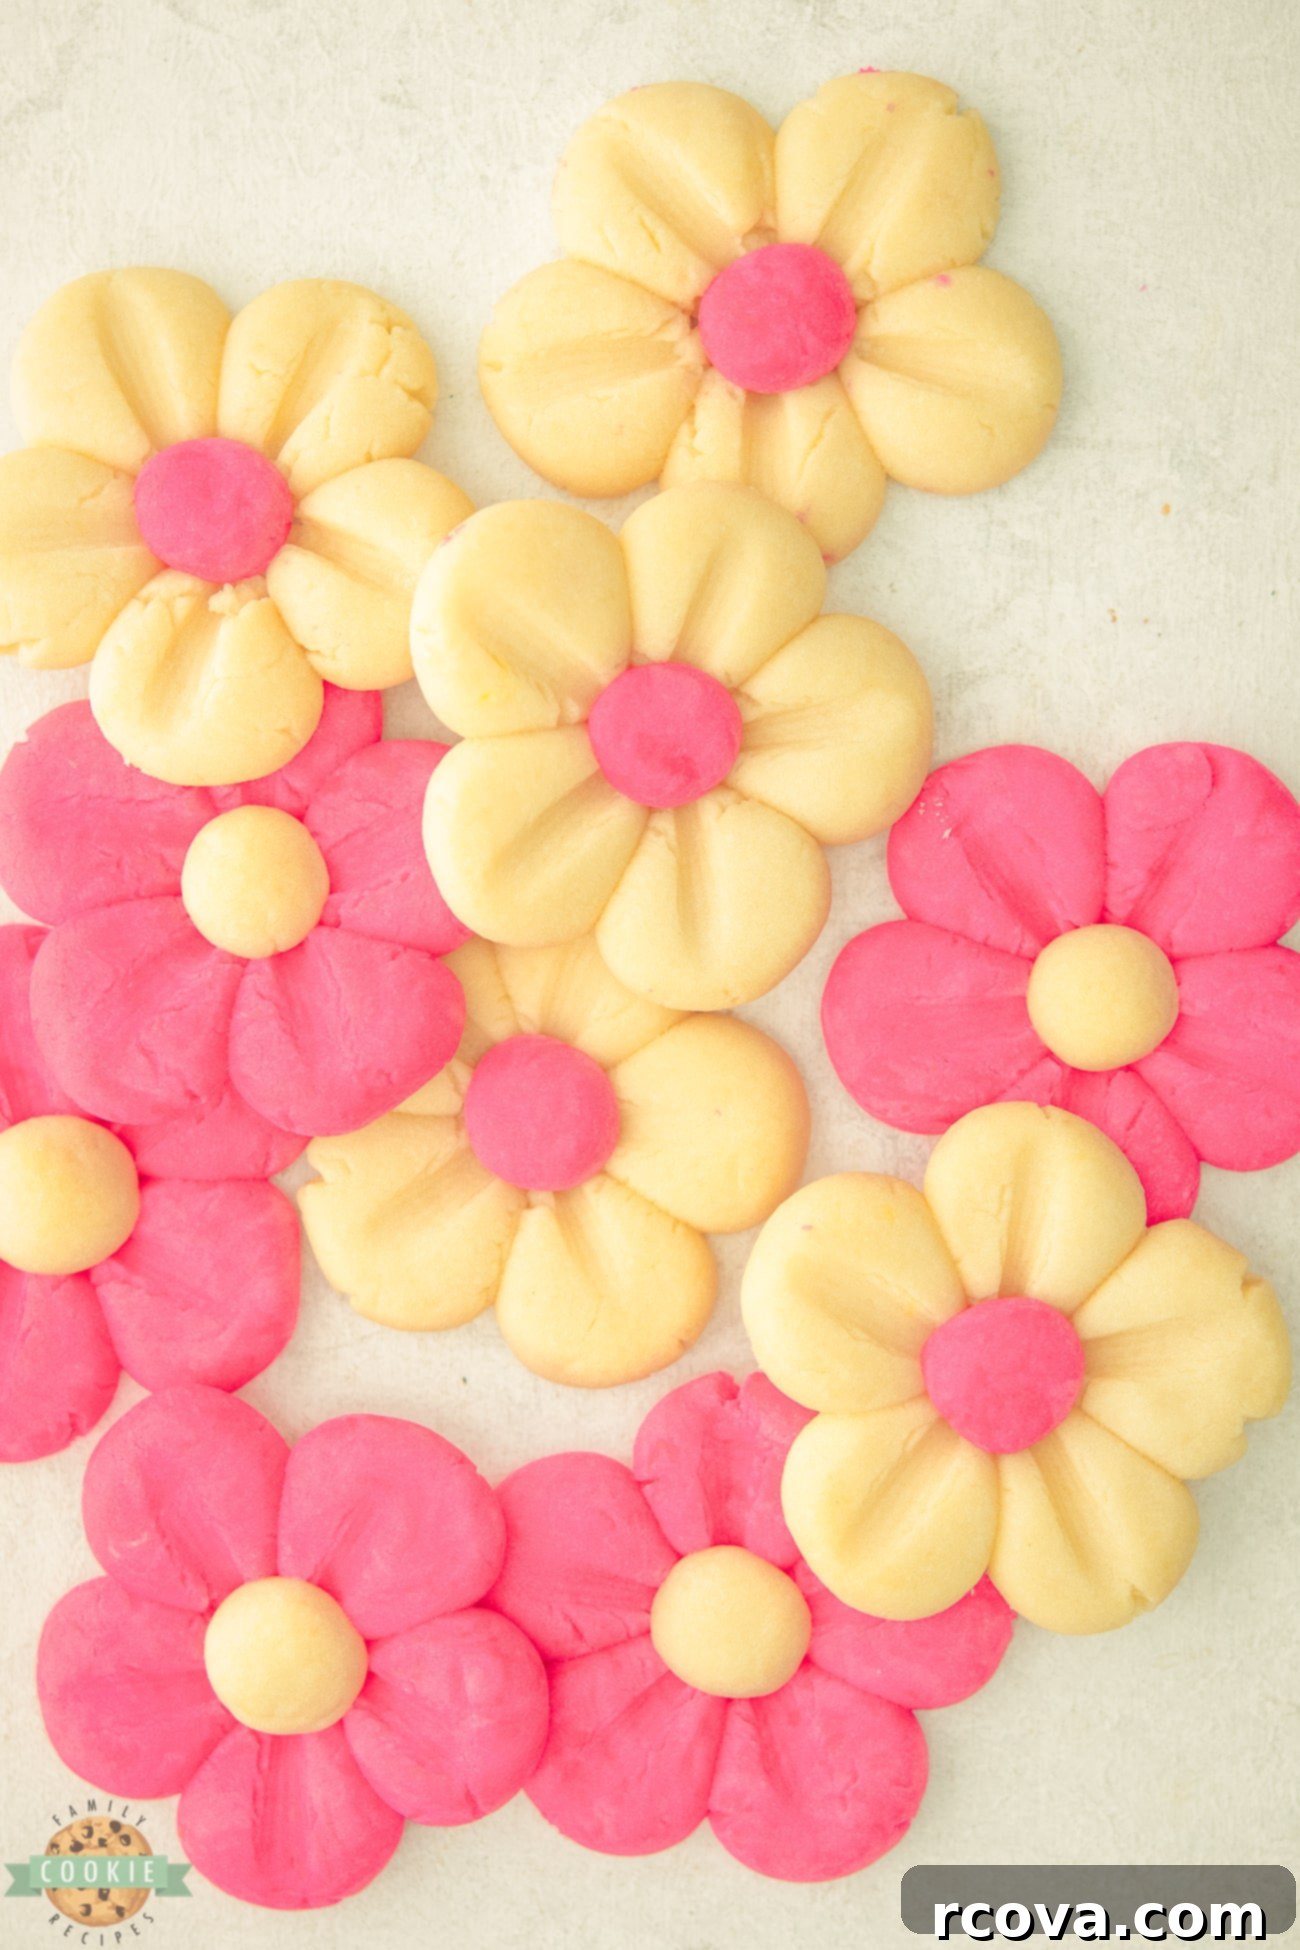
Each vanilla cookie is meticulously crafted with a touch of magic, forming intricate petal shapes by arranging small, uniform dough balls in a circle. Whether you’re planning a whimsical tea party, celebrating a special occasion like a birthday or baby shower, or simply looking to indulge in some therapeutic self-care baking, these blooming flower cookies are the perfect companions. Their charming design and exquisite flavor make them a standout treat, easy to personalize and a joy to share. Get ready to embark on a delightful baking adventure that promises both beauty and deliciousness in every bite.
Unveiling the Magic: Why These Flower Cookies Are a Must-Try
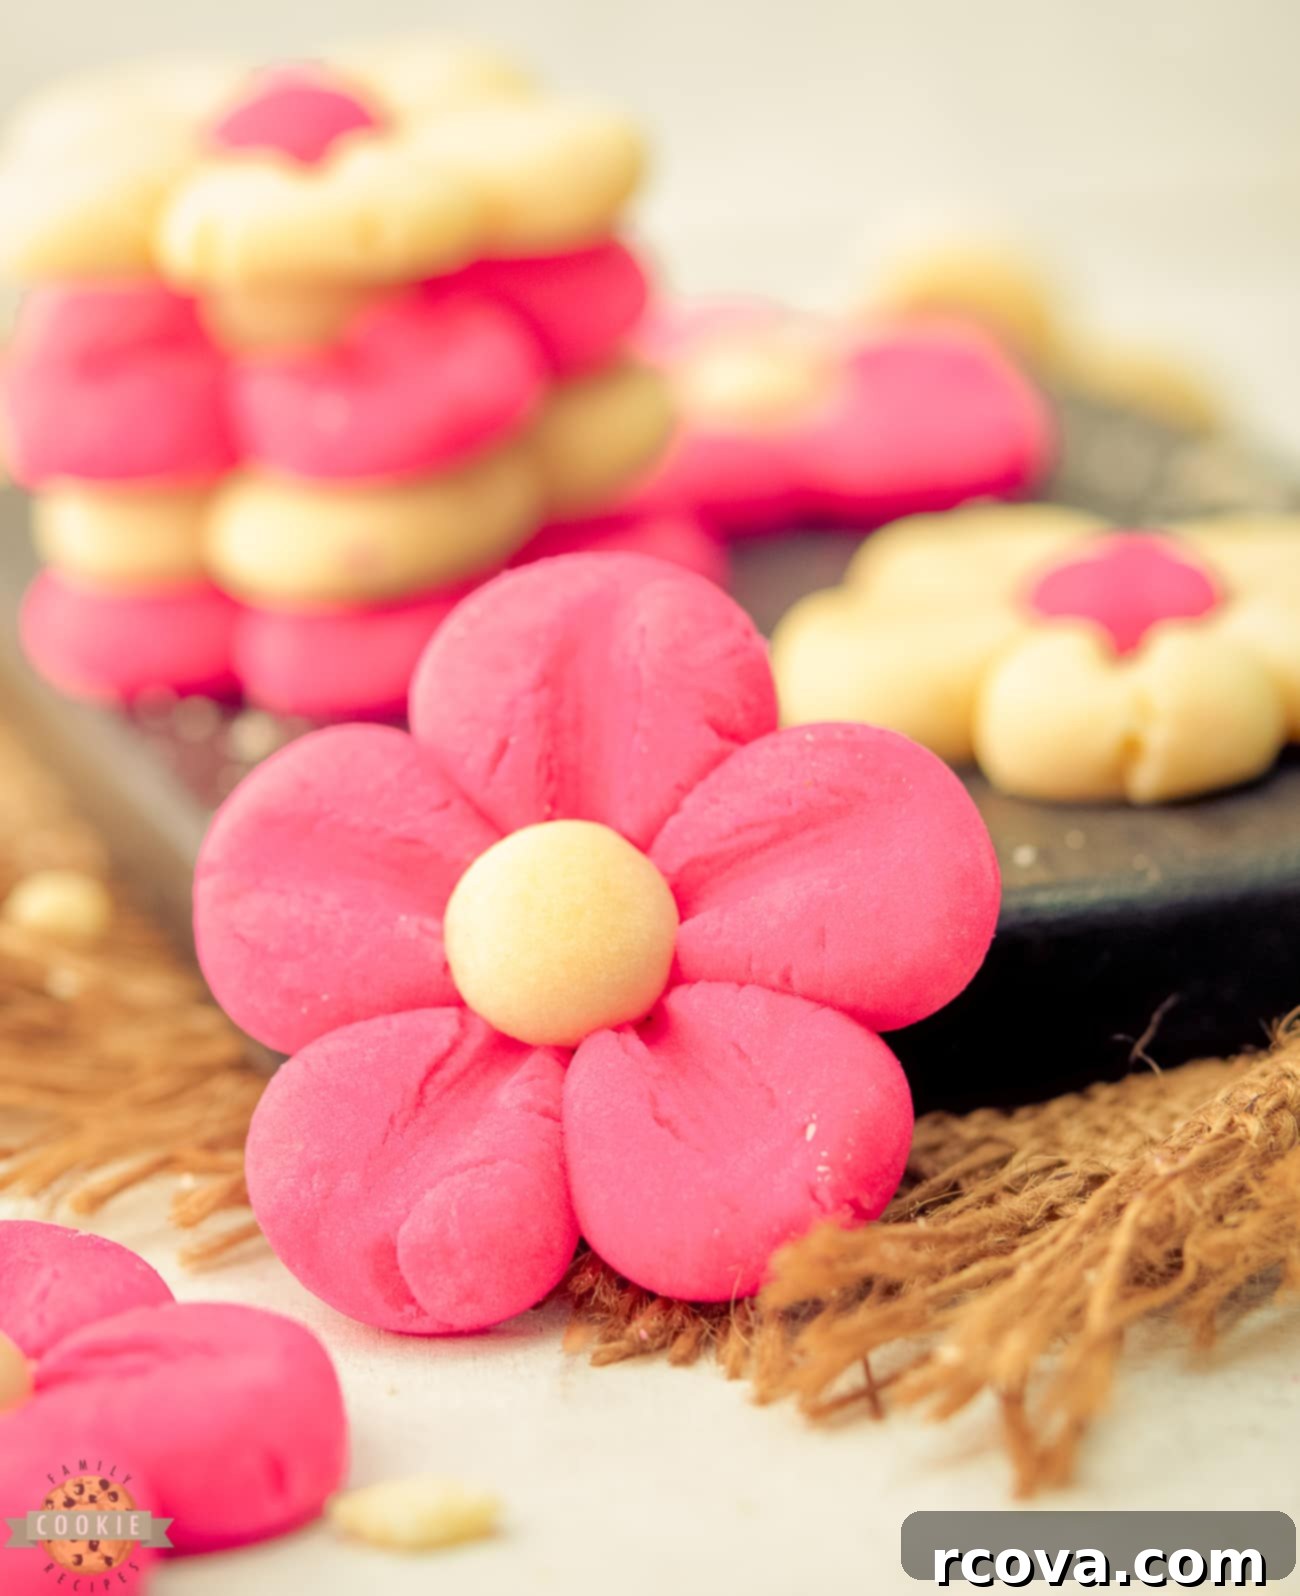
Step into a world of enchantment with these adorable Blooming Flower Cookies! More than just a treat, they are like a vibrant burst of springtime, bringing joy and color to your kitchen and your taste buds. Picture delicate, perfectly formed petals, kissed with a lovely pink hue, and the sweet, comforting aroma of freshly baked vanilla butter cookies filling your home. These whimsical creations are designed to make your taste buds dance with happiness and your eyes sparkle with delight. They offer a unique textural experience, starting with a gentle crispness that quickly gives way to a tender, melt-in-your-mouth interior, making them incredibly addictive.
The secret to their heavenly flavor and texture lies in the buttery dough, generously infused with the pure essence of vanilla. This creates a rich and aromatic base that truly stands out. Beyond the butter and vanilla, these cookies achieve just the right amount of balanced sweetness, thanks to the careful incorporation of powdered sugar, which also contributes to their signature soft texture. A subtle hint of condensed milk adds an extra layer of richness and a delicate chewiness, elevating the overall taste profile. The result is a divine combination that is sophisticated yet comforting, ensuring that you’ll be reaching for “just one more” every time.
Essential Tips & Tricks for Baking Perfect Pink Daisy Flower Cookies
Achieving a batch of consistently beautiful and incredibly delicious flower cookies is simpler than you might think, especially when you follow these tried-and-true tips. These guidelines are designed to help you avoid common baking pitfalls and ensure your Pink Daisy Cookies turn out perfectly tender, flavorful, and visually stunning every single time.
- Do not overmix the dough: This is arguably one of the most crucial rules in cookie baking, especially for delicate butter cookies. When you add the cornstarch and flour, mix only until they are *just* combined. Overmixing develops the gluten in the flour too much, leading to a denser, tougher, and less tender cookie. The goal is a light, airy, and melt-in-your-mouth texture, which requires a gentle hand during the final mixing stages. Stop as soon as no dry streaks of flour remain.
- Utilize high-quality gel food coloring: For vibrant and consistent color, especially the charming pink of our daisy cookies, gel food coloring is highly recommended over liquid varieties. Gel colors are concentrated, meaning you need only a few drops to achieve a rich hue, without significantly altering the dough’s consistency. Start with 2-3 drops and gradually add more, mixing thoroughly after each addition, until you reach your desired color intensity. This ensures an even, beautiful pink throughout your petals.
- Ensure uniform dough ball size: To guarantee even baking and consistent, symmetrical shapes for your flower cookies, it’s vital to make the small dough balls as equal in size as possible. Using a kitchen scale to measure each 4-gram ball (approximately 1 teaspoon) is the most precise method. Alternatively, a small cookie scoop or a measuring spoon can help achieve consistency. Uniformity prevents smaller cookies from overbaking while larger ones are still raw, and ensures each daisy looks perfect.
- Always use parchment paper: Before you start pressing and shaping your dough balls into flower petals, place a sheet of parchment paper on top of the dough. This simple trick is incredibly effective at preventing the dough from sticking to your glass or spatula, allowing you to flatten the petals gently and smoothly without tearing or distorting their delicate shape. It also makes cleanup a breeze and helps maintain the integrity of your intricate designs.
- Employ the right tools for definition: To create those lovely, defined impressions on your flower petals, a wooden skewer or the back of a small spoon works wonders. Gently press down from the outer edge of each flattened ball towards the center to create subtle lines that mimic real daisy petals. The key here is to be careful not to press too hard; excessive pressure can flatten the cookies too much, potentially making them thin and brittle after baking. A light, deliberate touch is all that’s needed to achieve a beautiful, textured look.
- Prioritize chilling the dough (twice!): Refrigerating the dough is absolutely essential at two critical stages: first, after coloring and mixing, and second, after forming the individual cookies. This chilling process allows the butter in the dough to firm up, which is crucial for preventing the cookies from spreading excessively during baking. Cold dough holds its shape much better in the heat of the oven, resulting in crisp edges and a soft center, and ensuring your daisy shapes remain distinct and beautiful. Don’t rush this step – patience here truly pays off.
- Monitor bake time closely: Oven temperatures can vary significantly, so keeping a keen eye on your cookies during baking is crucial. The Pink Daisy Cookies should be baked just until they are set and the edges begin to turn a very light, delicate golden color. This typically takes 12-15 minutes at 325°F (160°C). Overbaking can lead to dry, crumbly, or cracked cookies, losing their tender texture. Conversely, underbaking will leave them too soft, potentially sticky, and undercooked. A perfectly baked cookie will be firm to the touch but still have a soft center.
Pink Daisy Cookie Ingredients: Crafting the Perfect Buttery Vanilla Dough
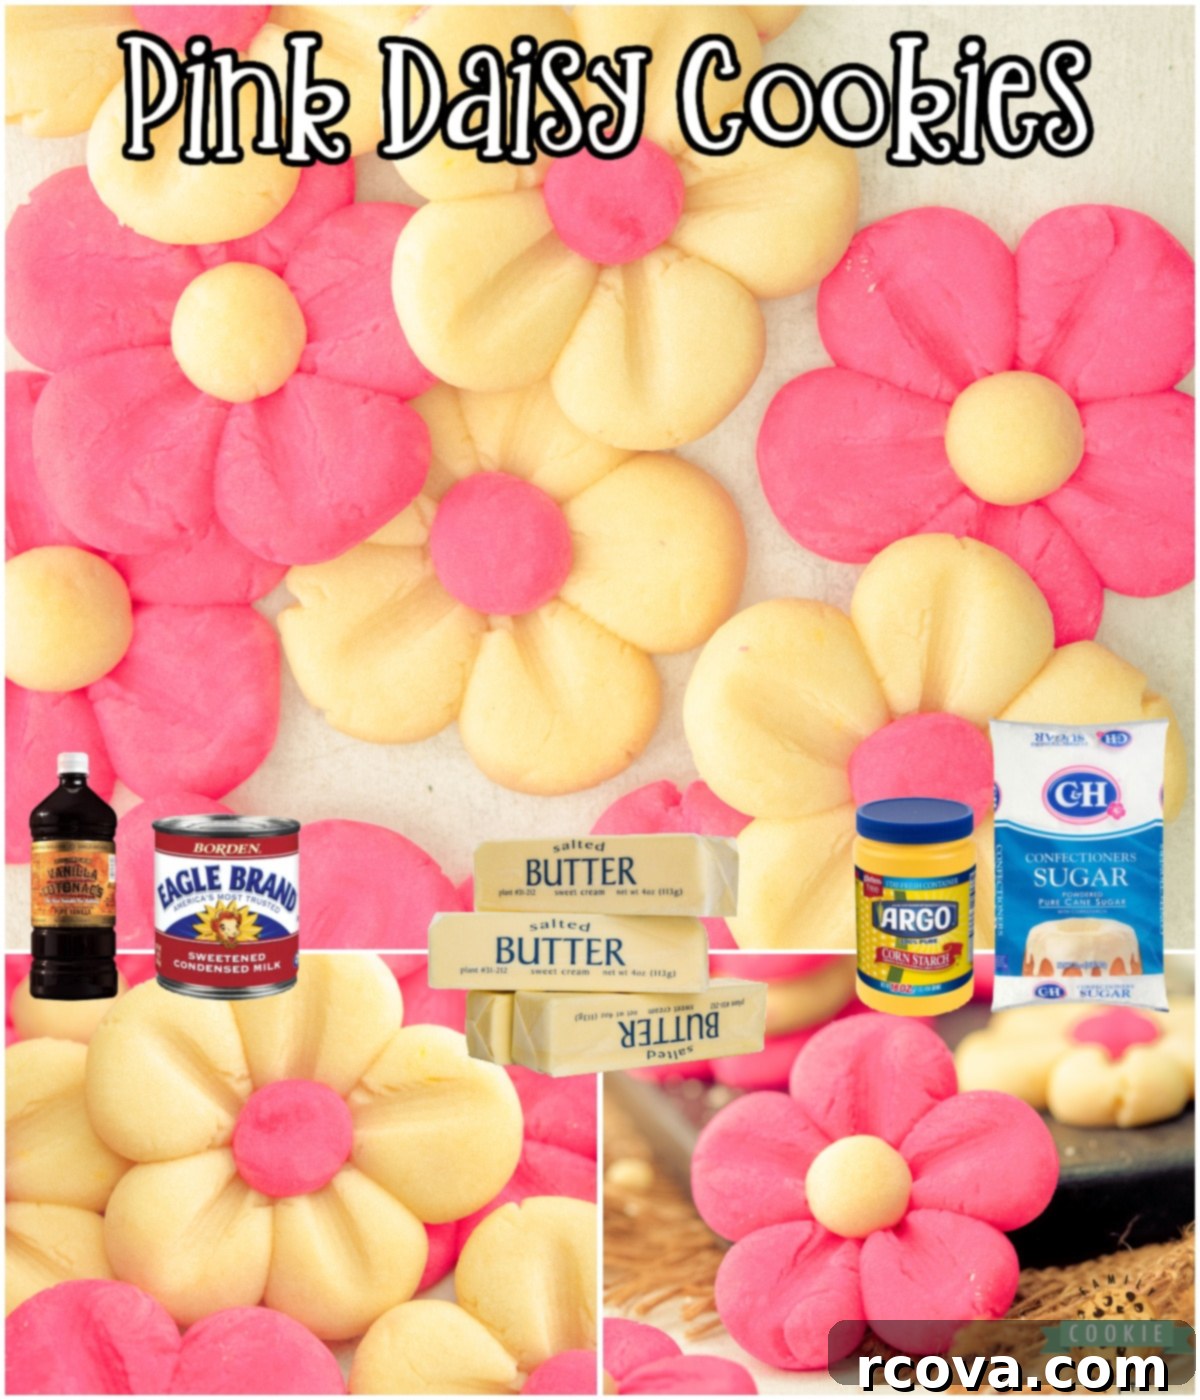
The success of these exquisite Pink Daisy Cookies lies in a few key ingredients, each playing a vital role in creating their signature buttery flavor, tender texture, and beautiful appearance. Here’s a closer look at what you’ll need and why each component is important:
- Unsalted Butter (Room Temperature): You’ll need 6 ½ tablespoons (approximately 90 grams) of unsalted butter, softened to room temperature. Butter is the foundation of these rich tasting treats, contributing significantly to their buttery flavor and tender crumb. Using room temperature butter is crucial for creaming it properly with sugar, incorporating air, and creating a light, fluffy dough. It also helps prevent lumps and ensures a smooth, well-combined mixture.
- Powdered Sugar: A ½ cup (60 grams) of powdered sugar, also known as confectioners’ sugar, is used to make these cookies wonderfully sweet and soft. Unlike granulated sugar, powdered sugar dissolves more readily and contributes to a finer, more delicate crumb texture. It also helps achieve that desirable melt-in-your-mouth quality, making these cookies feel incredibly luxurious.
- Vanilla Extract: Add 1 teaspoon of high-quality vanilla extract to generously flavor the cookie dough. Vanilla is a classic pairing with butter, enhancing the overall sweetness and adding a warm, aromatic depth that is absolutely essential for these vanilla butter cookies. Opt for pure vanilla extract for the best flavor profile.
- Condensed Milk: Two tablespoons of condensed milk are incorporated to add an extra layer of richness and a subtle hint of sweetness to the dough. Condensed milk also helps tenderize the cookies, contributing to their soft texture and a slight chewiness that balances the melt-in-your-mouth quality. It gives the dough a wonderful depth of flavor.
- All-Purpose Flour: The structural base of this cookie dough is 1 ¼ cups (150 grams) of all-purpose flour. Flour provides the necessary structure, holding the cookies together and giving them their shape. It’s important to measure flour correctly, preferably by weight, to avoid adding too much, which can result in dry, tough cookies. Sifting the flour can also help ensure a lighter texture.
- Cornstarch: Just 1 tablespoon of cornstarch makes a significant difference, helping to create a wonderfully tender, almost crumbly texture in these cookies. Cornstarch interferes with gluten development in the flour, resulting in a softer, more delicate cookie that truly melts on your tongue. It’s a key ingredient for achieving that desired bakery-quality texture.
- Pink Gel Food Coloring: Adding 2-3 drops of pink gel food color will transform these simple butter cookies into vibrant and stunning flower cookies. Gel food coloring is concentrated and produces a much more vivid hue than liquid food coloring without adding excess moisture to the dough. This allows you to achieve the perfect charming pink for your daisy petals, making them visually captivating.
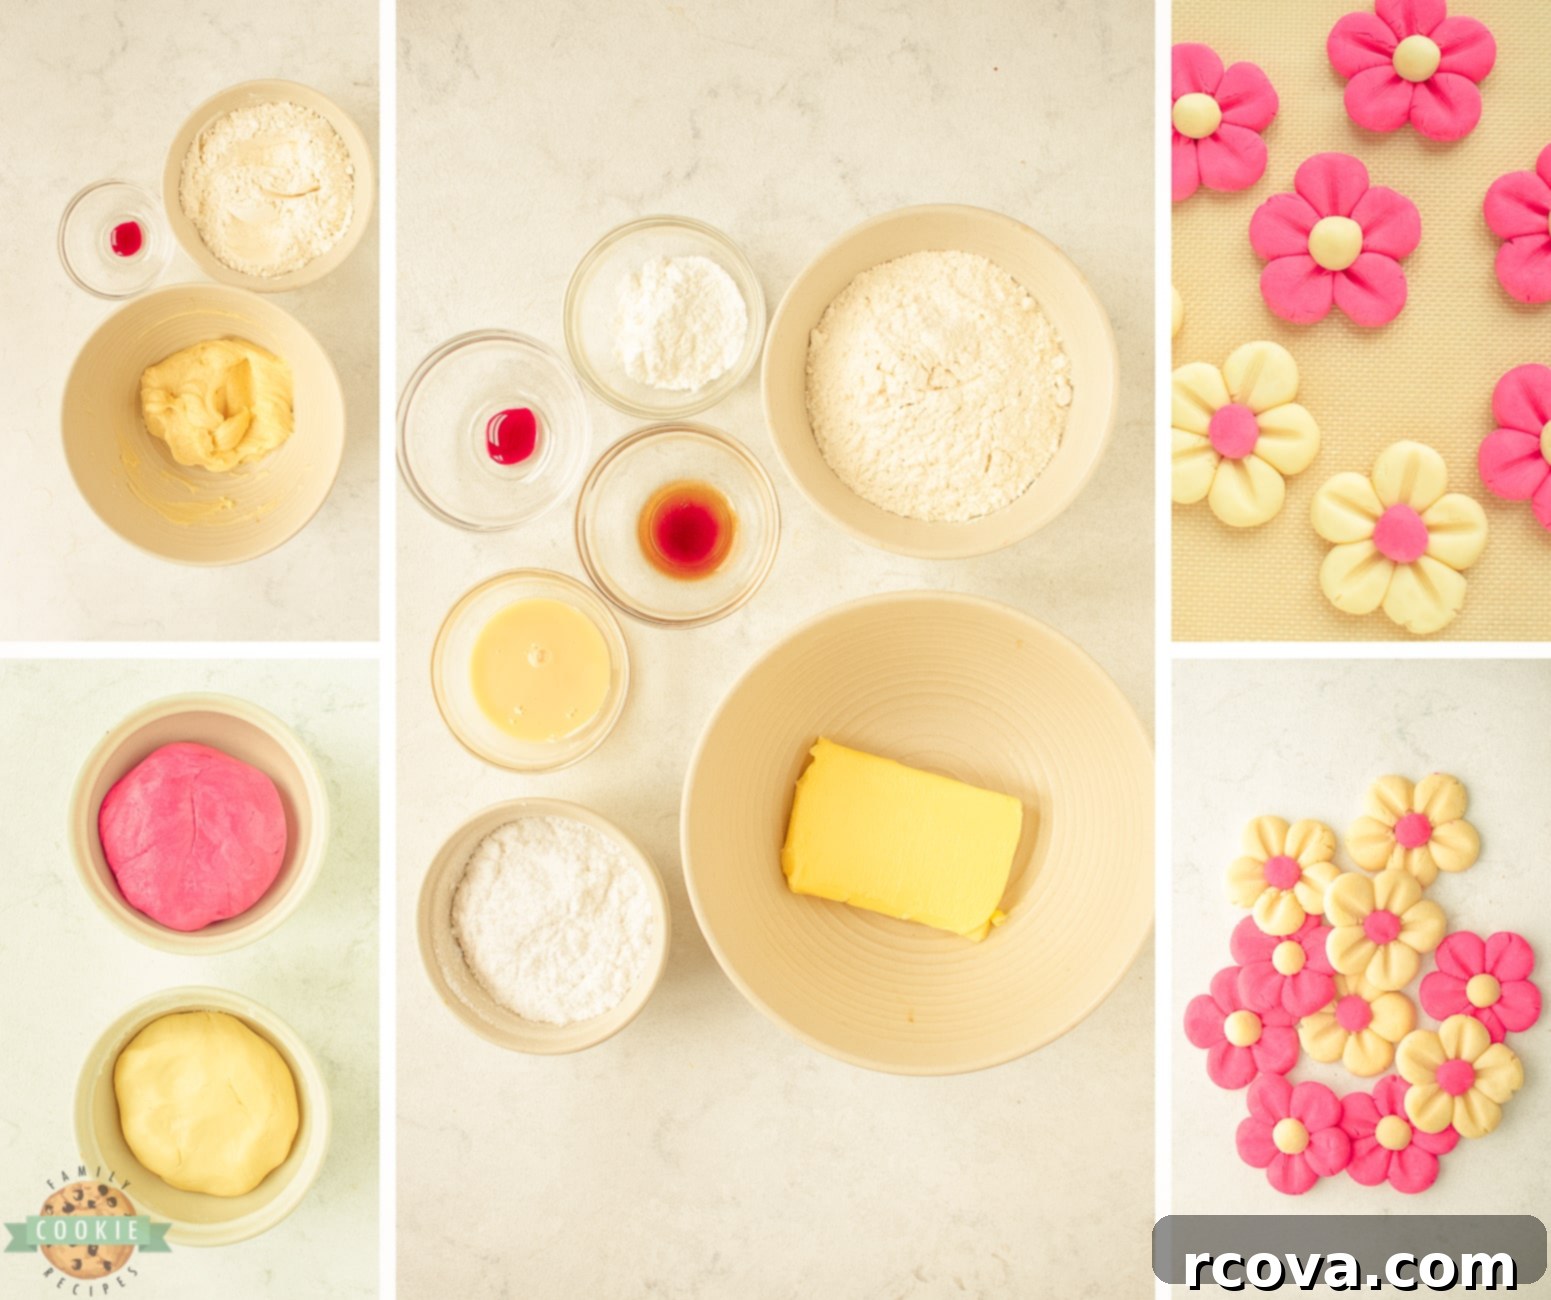
How to Make Perfect Pink Daisy Cookies: A Step-by-Step Guide
Follow these detailed instructions to create stunning and delicious Pink Daisy Cookies that are as enjoyable to make as they are to eat. Precision and patience are key to these beautifully shaped treats.
Step 1: Prep Your Baking Environment
Start by preparing your baking trays. Line two large baking trays with parchment paper. This non-stick surface is crucial for preventing the cookies from sticking and ensuring easy transfer after baking. Set these trays aside, ready for when your formed cookies are complete.
Step 2: Crafting the Buttery Vanilla Cookie Dough
In the bowl of a stand mixer fitted with the paddle attachment (or using a hand mixer in a large bowl), combine the softened unsalted butter, powdered sugar, and vanilla extract. Begin beating at a medium-high speed. Continue to beat until the mixture is light, fluffy, and creamy, which usually takes about 2-3 minutes. This creaming process is vital for incorporating air into the butter and sugar, contributing to the cookies’ light texture.
Next, add the condensed milk to the creamy butter mixture. Beat again on medium speed until the condensed milk is fully incorporated and the mixture is smooth. Scrape down the sides of the bowl as needed to ensure everything is well combined.
Then, gently add the cornstarch to the mixture. Mix on low speed just until the cornstarch is well incorporated. Be careful not to overmix at this stage.
Finally, begin adding the all-purpose flour in small batches, mixing on low speed after each addition. Mix only until the flour is *just* combined and a smooth dough forms. If the dough seems a little crumbly, you may need to gently knead it by hand within the bowl for a minute or two until it comes together into a cohesive, smooth ball. Avoid excessive kneading to maintain a tender cookie texture.
Step 3: Dividing and Coloring the Dough
Carefully divide the freshly made dough into two equal parts. Place one half back in the mixing bowl or a separate bowl. To the other half, add 2-3 drops of pink gel food coloring. Mix thoroughly, either with a mixer or by hand, until the beautiful pink color is evenly distributed throughout the dough. You may need to add a touch more food coloring to achieve your desired vibrancy.
Step 4: The All-Important First Chill
Once both dough portions (one natural, one pink) are ready, wrap each large piece of dough tightly in plastic wrap. Place them in the refrigerator to chill for a minimum of 30 minutes. This chilling period is crucial for firming up the butter in the dough, which prevents the cookies from spreading too much during baking and helps them hold their intricate flower shape.
Step 5: Shaping Your Darling Daisy Cookies
Once the dough has chilled sufficiently, take it out of the fridge. Roll small, uniform balls of the pink dough, each weighing approximately 4 grams (about 1 teaspoon). Consistency in size is key for beautiful, evenly baked flowers.
On one of your prepared parchment-lined baking sheets, begin by arranging 5 small pink dough balls in a circle to form the delicate flower petals. Leave a small gap in the center for the “eye” of the daisy. Once arranged, place a piece of parchment paper on top of the circle of dough balls. Gently press the dough with the flat bottom of a glass or a spatula to flatten them slightly and connect the petals. Be firm enough to flatten but gentle enough not to crush them.
To create more defined impressions that mimic real flower petals, use a wooden skewer or the back of a small spoon. Gently press down from the outer edge of each flattened ball towards the center to create subtle lines. Take a small ball of the uncolored dough and carefully place it in the center of the pink flower for an eye-catching contrast. Repeat this process for all your cookies, placing the formed flowers on the prepared baking sheets.
Step 6: The Second Chill for Optimal Shape Retention
After all your charming flower cookies have been meticulously shaped and placed on the baking sheets, it’s time for another chill. Refrigerate the formed cookies for at least an additional 30 minutes. This second chilling period is crucial to ensure the butter is completely firm, which will prevent the cookies from spreading and losing their intricate daisy shape during the baking process. Don’t skip this step for the best results!
Step 7: Bake to Golden Perfection
Around the 20-minute mark of your second chilling period, preheat your oven to 325°F (160°C). This allows the oven to reach and stabilize at the correct temperature.
Once the oven is preheated and the cookies are thoroughly chilled, remove the baking sheets from the fridge. Place them in the preheated oven and bake for 12-15 minutes. Keep a close eye on them; the cookies are done when the edges turn a very slight, delicate golden color. Avoid overbaking, as this can lead to a dry texture.
Once baked, remove the baking trays from the oven. Be sure to let the cookies cool for at least 5 minutes on the baking tray. This allows them to firm up slightly before you attempt to move them. After 5 minutes, carefully transfer the warm cookies to a wire rack to cool completely. Cooling on a rack ensures air circulation, preventing the bottoms from becoming soggy.
Once cooled, your delightful Pink Daisy Cookies are ready to be served and enjoyed! Prepare for compliments!
Pink Daisy Cookies
Print
Pin
Rate
Ingredients
- 6 ½ TBSP Butter room temp 90 grams
- ½ cup Powdered sugar 60 grams
- 1 tsp Vanilla extract
- 2 TBSP Condensed milk
- 1 ¼ cup All-purpose flour 150 grams
- 1 TBSP Cornstarch
- 2-3 drops of pink gel food color
Instructions
-
Prep: Line your baking tray with parchment paper; set aside.
-
Dough: In a bowl of a stand mixer (you can also use a hand mixer), add in the butter, powdered sugar, and vanilla extract. Beat at medium-high speed until everything is combined and the mixture turns creamy.
-
Add in the condensed milk and beat again until fully incorporated. Add in the cornstarch and gently mix just until it’s well incorporated.
-
Start adding the flour in batches and mix until it forms a smooth dough. You may need to knead it by hand to make it smooth.
-
Divide the dough equally into two parts. Add a few drops of pink gel food color to one half of the dough and mix well until the color is evenly distributed.
-
Chill: Cover the dough and refrigerate for at least 30 minutes.
-
Shape: Take the chilled dough and roll small balls, each weighing approximately 4 grams (1 tsp)
-
Arrange 5 small balls to form a circle, creating the flower petals. Place a parchment paper on top of the circle and gently press the balls with a glass or spatula to flatten them slightly. Use a wooden skewer to make some impressions on the flower petals.
-
Take a small ball of dough in a contrasting color and place it in the center of the flower for an eye-catching look.
-
Refrigerate the formed cookies again for at least 30 minutes.
-
Bake: Preheat the oven to 325°F / 160 C. Remove the cookies from the fridge and place them in the preheated oven to bake for 12-15 minutes or until the edges turn slightly golden.
-
Let the cookies cool for 5 minutes in the baking tray before transferring them to a wire rack to cool completely. Serve and enjoy!
Notes
Place them in an airtight container or freezer bag and freeze for up to 3 months. Thaw at room temperature before serving.
Nutrition
How to Store Your Blooming Pink Daisy Sugar Cookies for Maximum Freshness
Ensuring your homemade Pink Daisy Cookies remain fresh, delicious, and retain their delightful texture is simple with proper storage techniques. Whether you plan to enjoy them within days or save them for a special occasion, these tips will help maintain their quality.
- Storing at Room Temperature: If you intend to savor your beautiful cookies within a few days (typically up to 5 days), storing them at room temperature is perfectly suitable. The key is to keep them in an airtight container. This crucial step prevents them from being exposed to air, which is the primary cause of cookies becoming stale, dry, or losing their tender, melt-in-your-mouth texture. Ensure the container is sealed tightly to lock in freshness.
- Freezing for Extended Preservation: For longer-term storage, freezing is an excellent option that allows you to enjoy these treats for an extended period, up to 3 months. To freeze them effectively, first, allow the cookies to cool completely on a wire rack. Then, arrange them in a single layer on a baking sheet and flash freeze for about 15-30 minutes until solid. This prevents them from sticking together. Once firm, carefully transfer the cookies to an airtight freezer-safe container or a heavy-duty freezer bag. For extra protection against freezer burn, you can also wrap individual cookies tightly in plastic wrap or aluminum foil before placing them in the container. When you’re ready to enjoy them, simply thaw the frozen cookies at room temperature for a few hours before serving.
- Minimizing Moisture Exposure: Moisture is a significant enemy of cookies, as it can cause them to become soggy, lose their crisp edges, or even develop mold. Always store your cookies in a dry place, away from any sources of humidity. Avoid storing them near fresh fruits or vegetables, as these can release moisture and accelerate spoilage. If you’re storing different types of cookies together, be mindful that highly moist cookies can transfer their moisture to drier ones, so it’s often best to store different varieties separately.
Baking FAQs: Common Questions for Pink Daisy Cookies
What is the best and easiest way to soften butter for baking?
Softening butter to the perfect room temperature is crucial for achieving the ideal texture in your Pink Daisy Cookies, ensuring it creams smoothly with the sugar and incorporates air effectively. While pulling butter out an hour or two before baking is the most straightforward method, here are a few quick tricks if you’re short on time:
- The Glass Method: This is a simple and effective technique. Warm a tall drinking glass in the microwave for about 45-60 seconds (or fill it with hot water, let it sit for a minute, then empty and dry). Place the wrapped stick of butter on your counter, then invert the warmed glass over the butter, trapping the heat around it. Leave it this way for a few minutes; the trapped warmth will gently soften the butter without melting it.
- Cutting into Cubes: Cut your cold butter into small cubes (about ½-inch). Spread them out on a plate. The increased surface area will help the butter soften more quickly at room temperature, usually within 15-30 minutes.
- Pounding Method: For a very quick soften, place the butter between two sheets of parchment paper or plastic wrap and gently pound it with a rolling pin. This physically breaks down the butter, making it more pliable and speeding up the softening process. Be careful not to make it too thin or oily.
Remember, truly “softened” butter means it’s still cool to the touch but yields easily to gentle pressure, leaving a slight indent. It should not be greasy or melted.
Do I really need to chill the cookie dough for these flower cookies?
Absolutely, chilling your cookie dough is a non-negotiable step for these Pink Daisy Cookies, and indeed, for many cookie recipes that rely on precise shapes and tender textures. There are several excellent reasons why recipes, including this one, strongly recommend chilling the dough, sometimes at multiple stages:
- Flavor Development: While not the primary reason for chilling, allowing the dough to rest in the refrigerator gives the ingredients more time to meld together. This subtle maturation can deepen and enhance the vanilla and buttery flavors, resulting in a more complex and satisfying cookie taste.
- Preventing Spread: This is the biggest and most critical reason for chilling. Cookie dough contains butter (or other fats), which melts in the heat of the oven. When the dough is cold, the butter is solidified. As the cookies bake, the butter melts slowly, giving the flour and other ingredients time to set and solidify before the butter fully liquifies. This structure helps the cookies maintain their shape and prevents them from spreading out too much into flat, shapeless discs. For intricate designs like these daisy petals, chilling is vital to preserve their delicate form.
- Improved Texture: Chilled dough bakes up with a superior texture. Cookies made from cold dough often have crisper edges and wonderfully tender, chewy centers. The slower melting of the fat also contributes to a more even bake and a less greasy final product.
- Easier Handling: Cold dough is much firmer and less sticky, making it significantly easier to roll, shape, and cut. For forming small balls and pressing intricate petals like our daisy design, a chilled dough is indispensable for precision and ease of manipulation. This is especially true on warmer days or if your kitchen runs warm, as butter softens quickly.
Skipping the chilling steps can lead to cookies that spread excessively, lose their detailed flower shape, and have a less desirable texture. For the best results and the prettiest Pink Daisy Cookies, always follow the chilling recommendations.
More Amazing Spring & Summer Cookie Recipes to Brighten Your Day:
If you loved making these charming Pink Daisy Cookies, you’re in for a treat with more delightful recipes perfect for warmer months and festive occasions. Explore these other fantastic cookie creations to keep your baking adventures exciting and your cookie jar full of homemade goodness!
- WATERMELON SUGAR COOKIES – Refreshing and fun, these cookies are a summer staple.
- UNDER THE SEA COOKIES – Dive into a world of aquatic-themed cookie fun, perfect for ocean lovers.
- EASY 4TH OF JULY COOKIES – Celebrate independence day with patriotic and delicious treats.
- FROSTED STRAWBERRY COOKIES – Sweet and fruity, these frosted delights capture the essence of spring.
- STRAWBERRY COOL WHIP COOKIES – Light, airy, and bursting with strawberry flavor.
- CHEESECAKE STUFFED FUNFETTI COOKIES – A joyful explosion of flavor and texture, ideal for celebrations.
- JELLO SUGAR COOKIES – Add a unique burst of fruity flavor and color to your sugar cookies.
- FROSTED ROSE SUGAR COOKIES – Elegantly decorated and delicious, perfect for a sophisticated touch.
- EASTER EGG SUGAR COOKIES – Festive and fun cookies to celebrate the spring holiday.
- FROSTED LEMON SUGAR COOKIES – Zesty and sweet, a refreshing treat for any time of year.
- LEMON SUGAR COOKIE BARS – All the bright lemon flavor in an easy-to-make bar form.
- SOUR CREAM SUGAR COOKIES – Exceptionally soft and moist with a subtle tang.
- SOFT SUGAR COOKIES – A classic recipe for irresistibly soft and chewy sugar cookies.
- BLUEBERRY SUGAR COOKIES – Infused with the sweet and tart taste of fresh blueberries.
- MARSHMALLOW FLOWER COOKIES – A fun, decorative cookie with a gooey marshmallow center.
Creating Pink Daisy Cookies is a rewarding and enjoyable experience, resulting in beautiful and utterly delicious treats. From their buttery vanilla dough to their charming flower shape, these easy-to-make butter cookies offer an incredible, melt-in-your-mouth texture that makes them perfect for any occasion. Embrace the joy of baking and share these delightful floral cookies with your loved ones, or simply enjoy them as a sweet indulgence.

