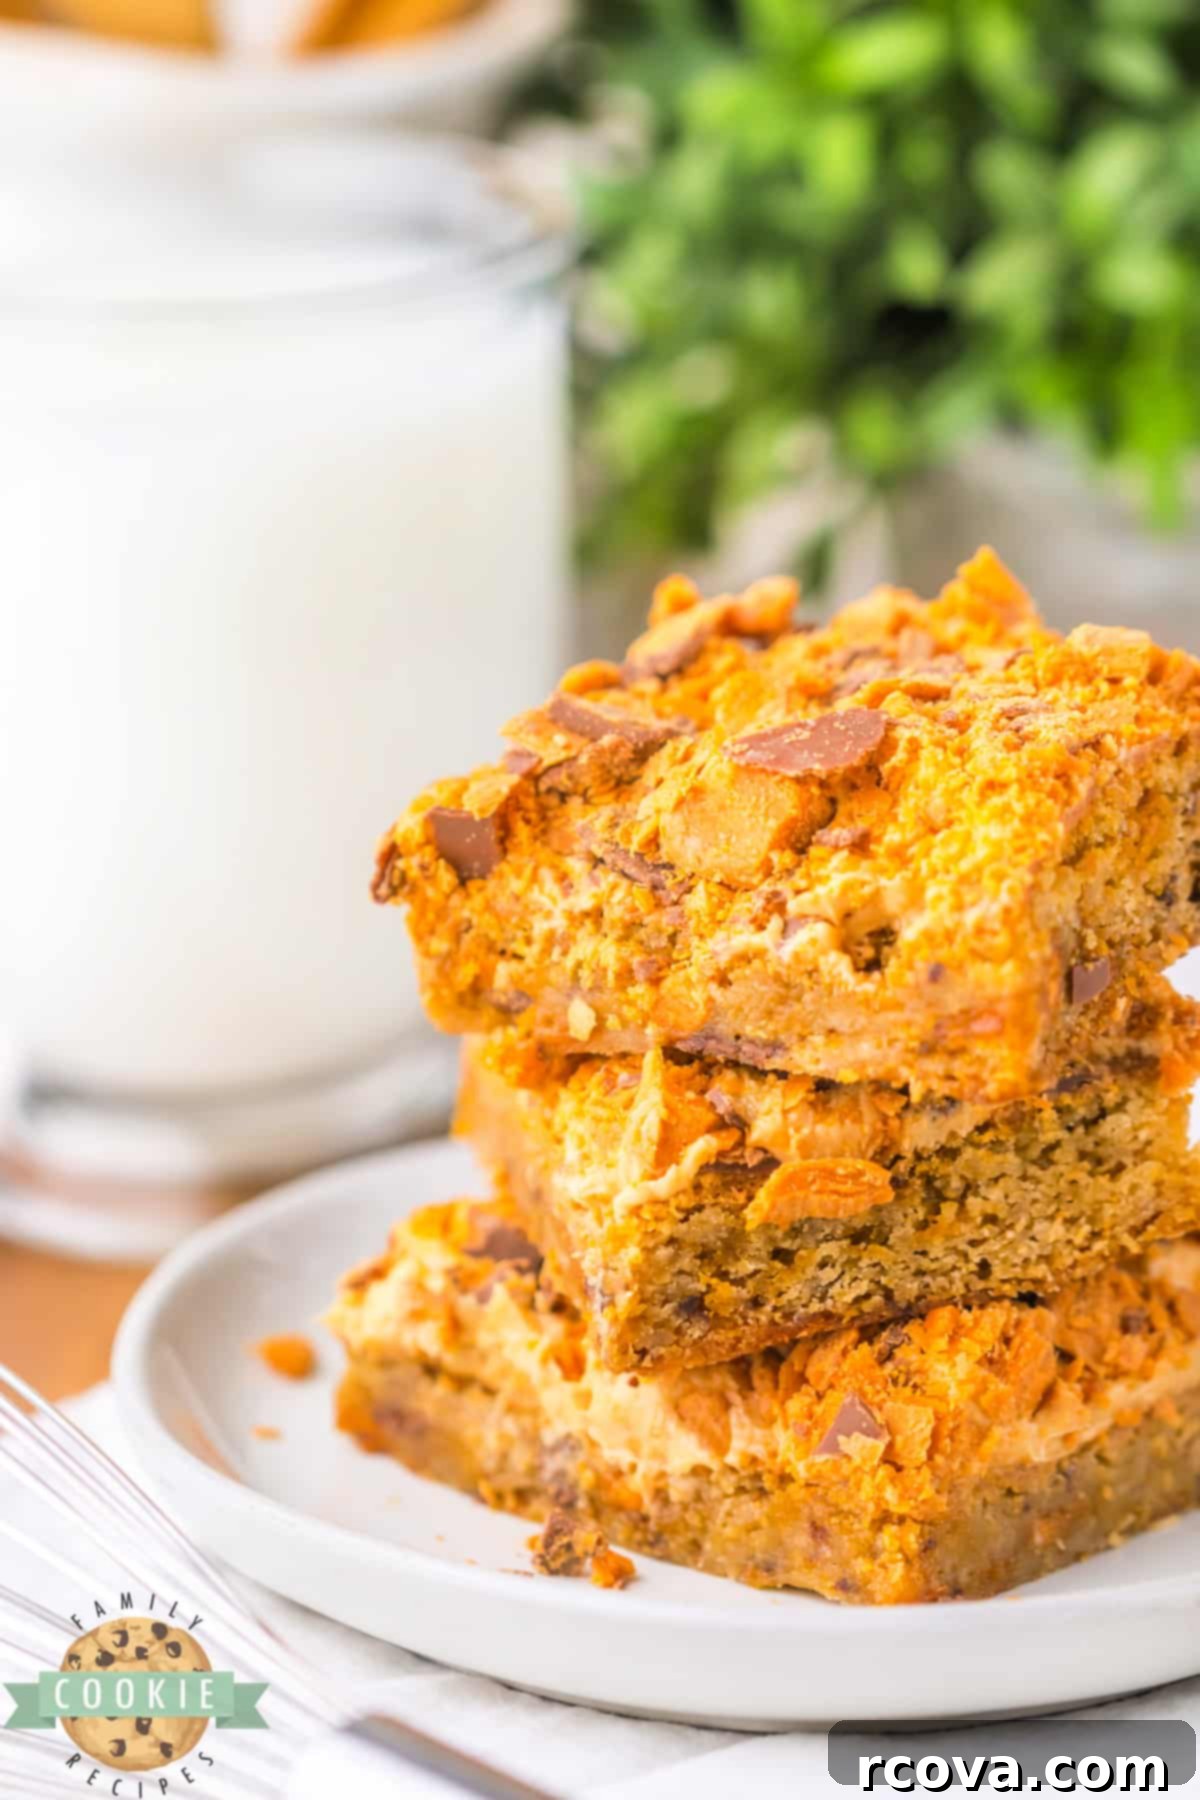
Irresistible Butterfinger Cookie Bars: Chewy Blondies with Peanut Butter Frosting & Crunchy Candy Bits
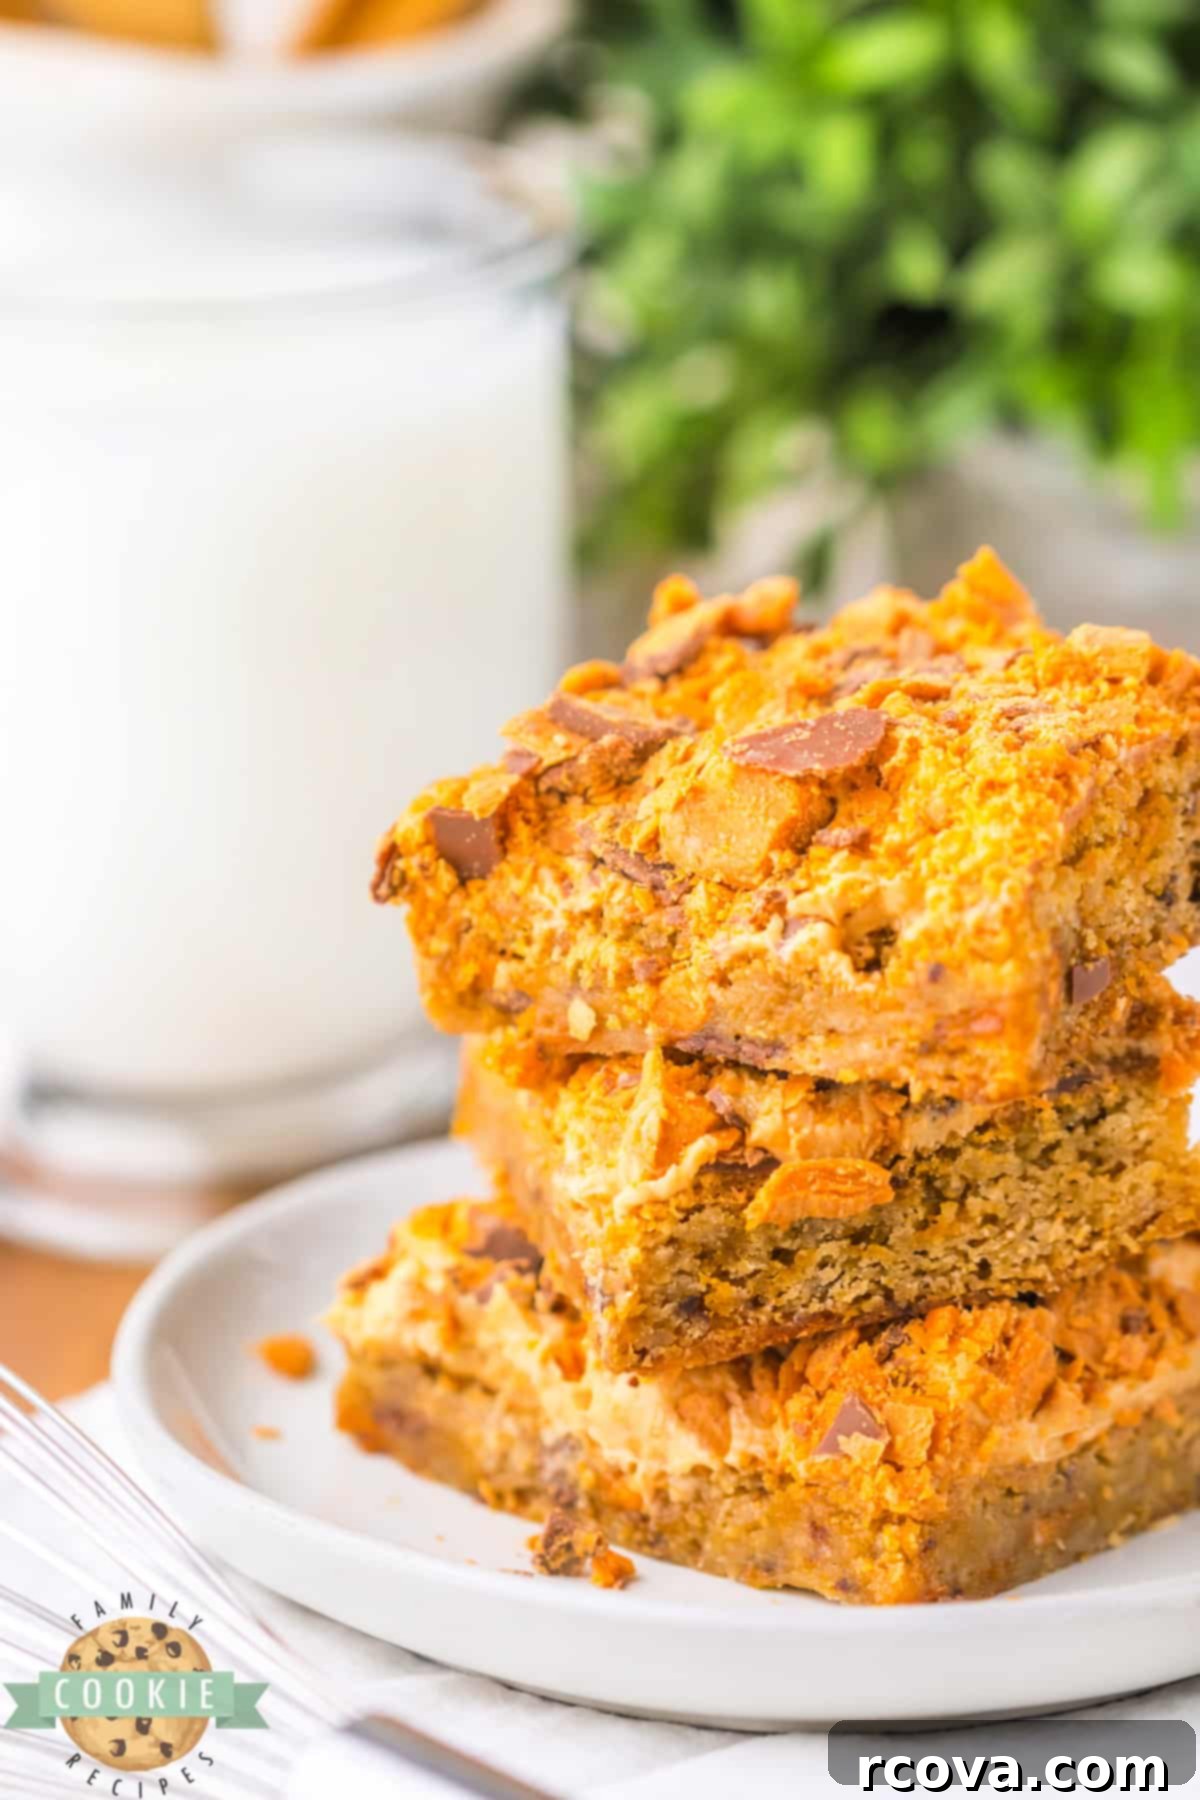
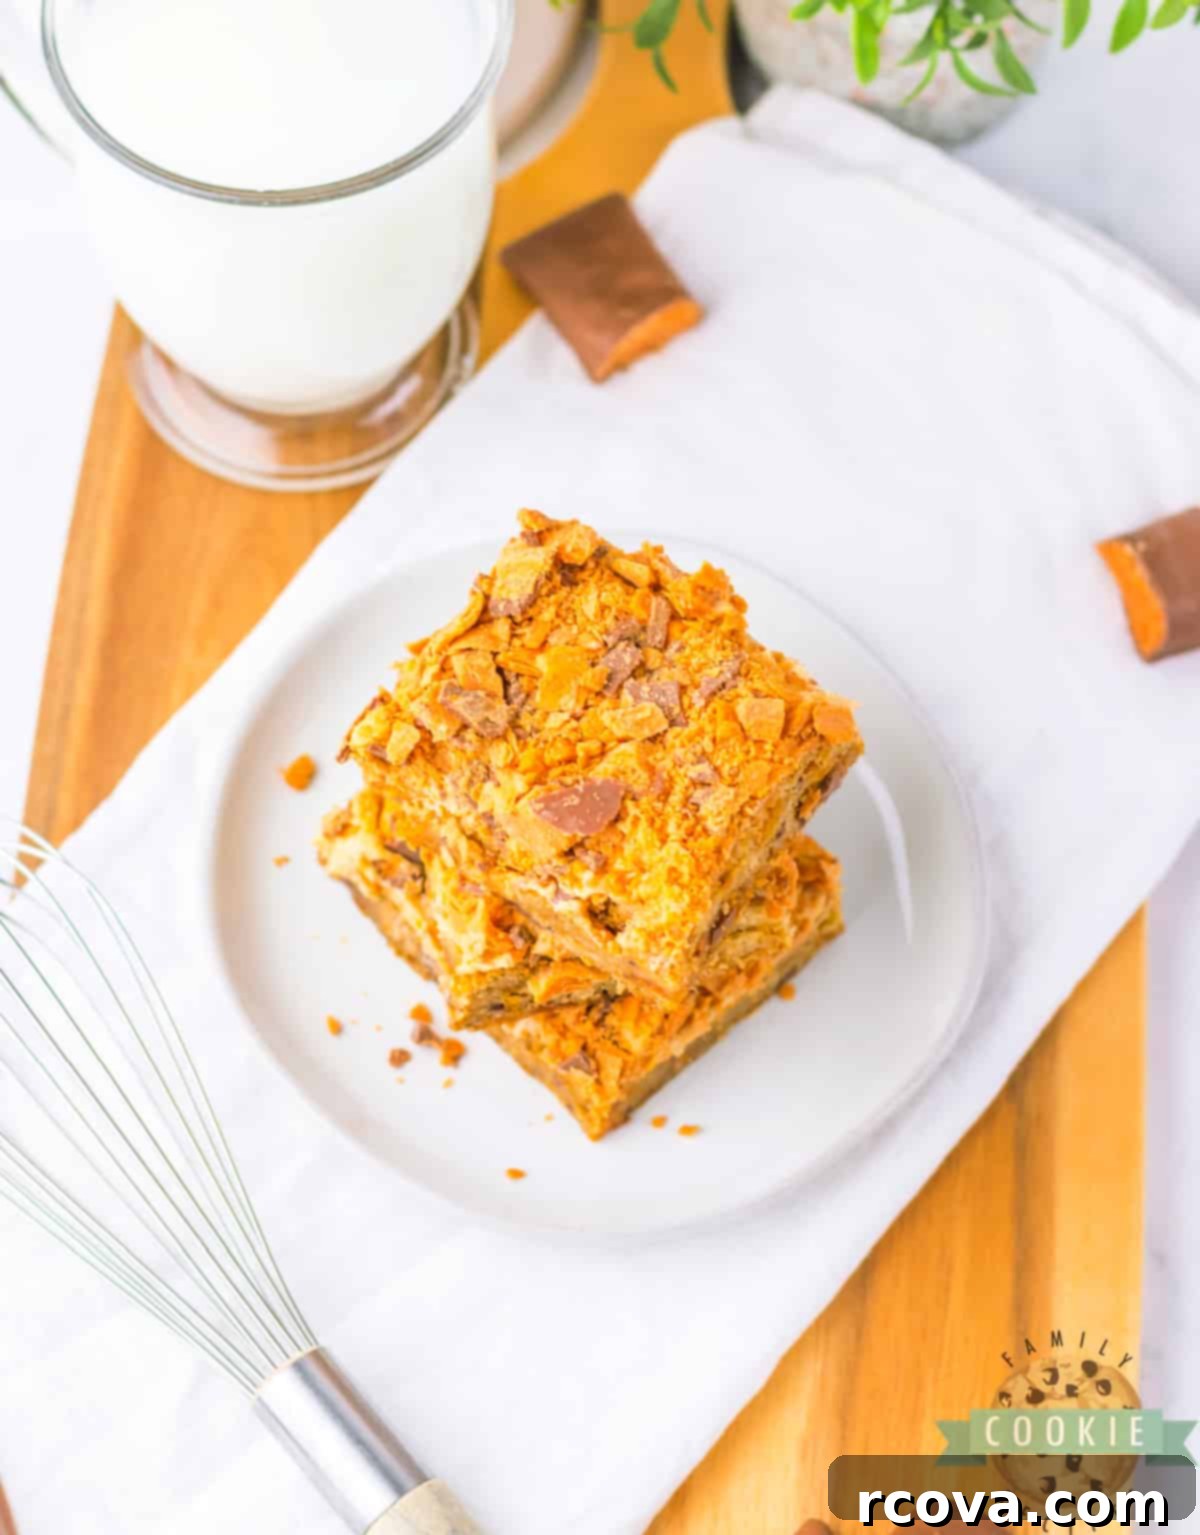
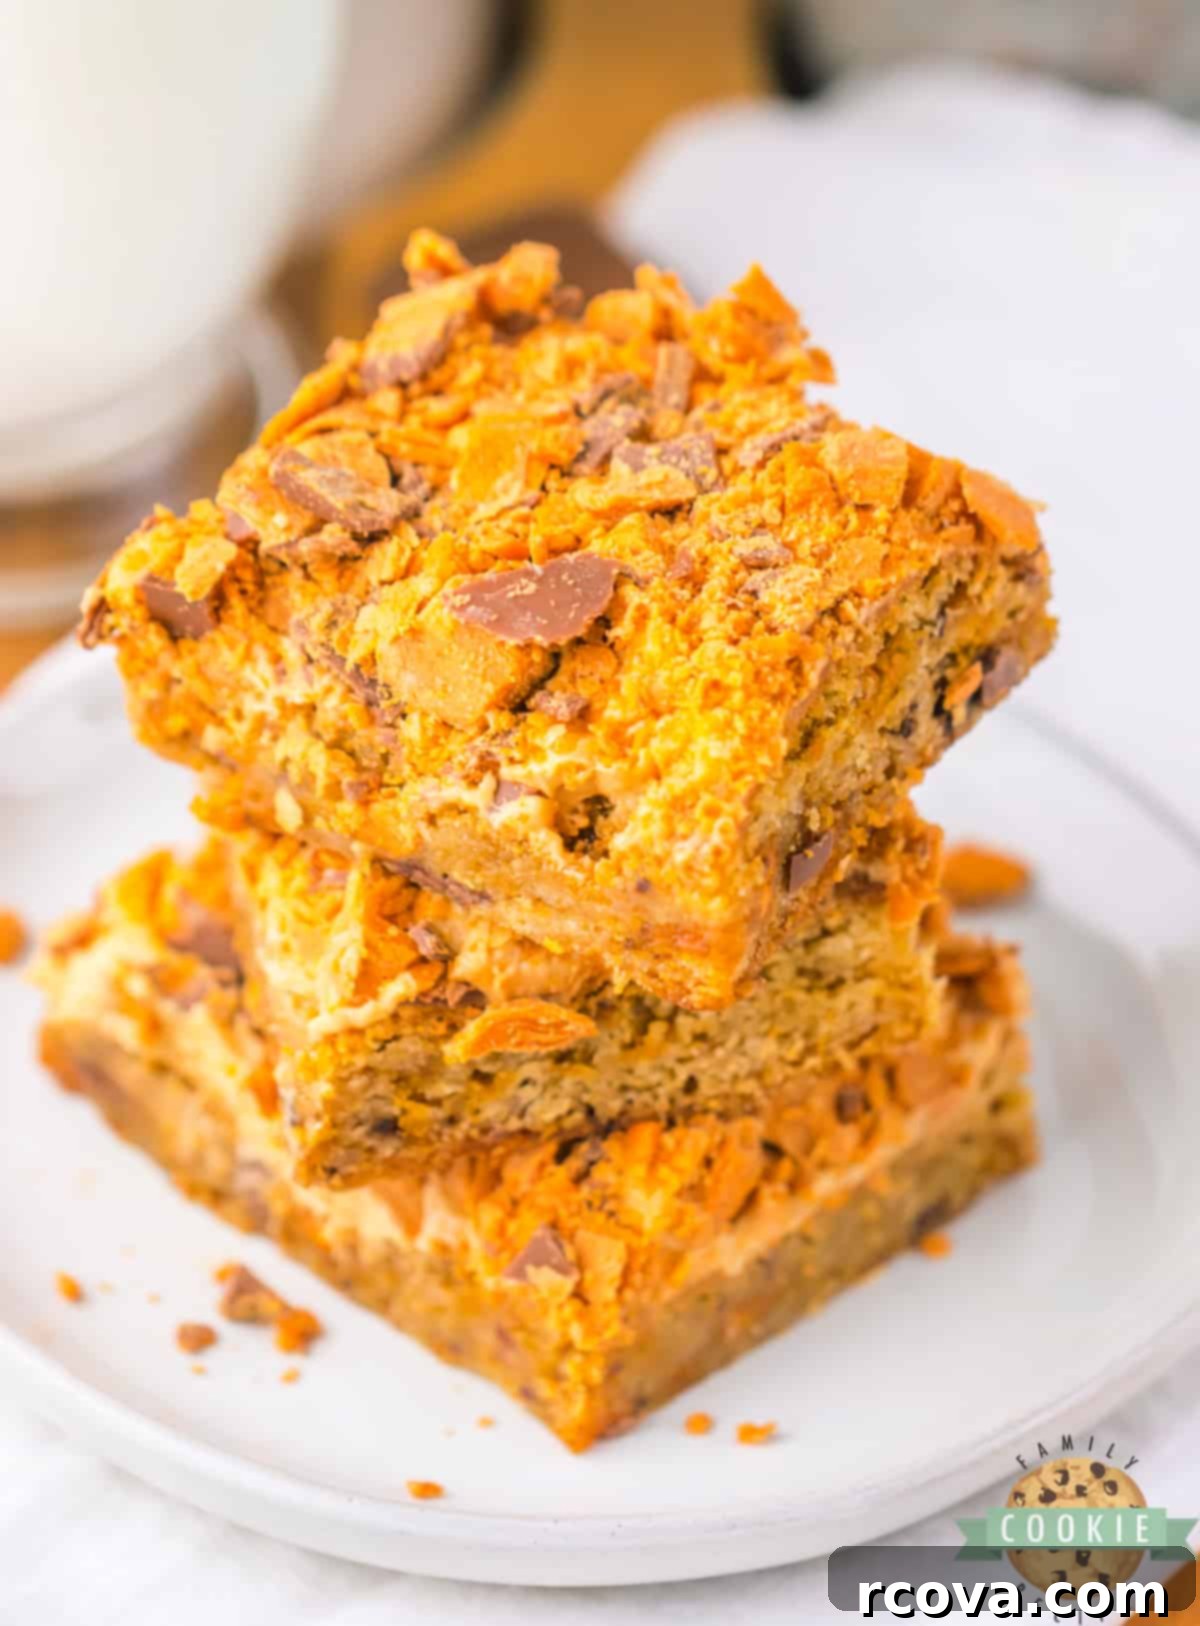
Prepare to fall in love with these incredible Butterfinger Cookie Bars! They start with a gloriously soft and delightfully chewy blondie cookie base, generously topped with a rich, creamy peanut butter frosting, and finished with a shower of irresistible crushed Butterfinger candy bars. Each bite delivers an explosion of textures and flavors – the chewiness of the blondie, the smooth sweetness of the peanut butter, and the signature crunchy, peanut buttery goodness of Butterfinger candy. These bars are not just a dessert; they’re an experience, perfect for potlucks, parties, or simply satisfying that sweet tooth craving.
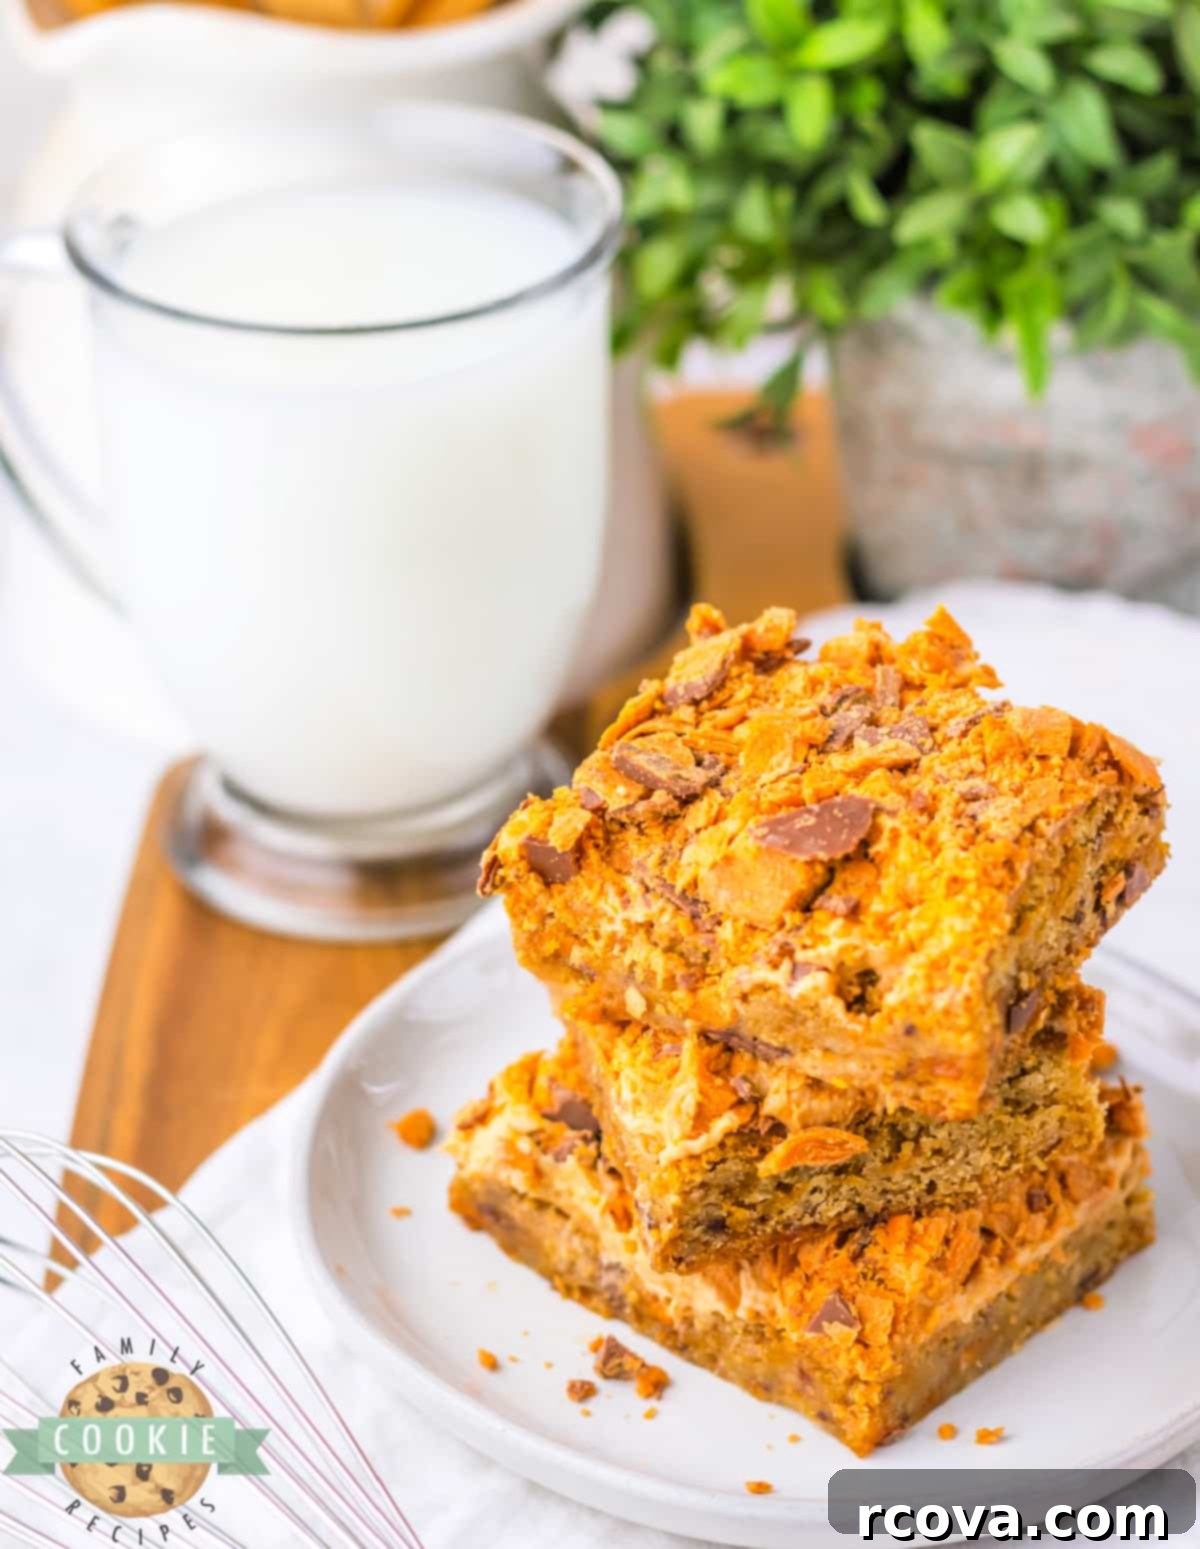
Making Butterfinger Cookie Bars is an absolute breeze compared to the traditional hassle of rolling and cutting out individual cookies. While we adore classic cookies, the process of scooping and baking dozens can often feel like a time-consuming chore. That’s where the magic of cookie bars comes in! Imagine preparing one batch of delicious dough, pressing it all into a single 9×13 inch pan, and baking it to golden perfection in one go. This method not only saves a significant amount of time and effort but also ensures every slice is consistently delicious, making these Butterfinger Cookie Bars a game-changer for any home baker.
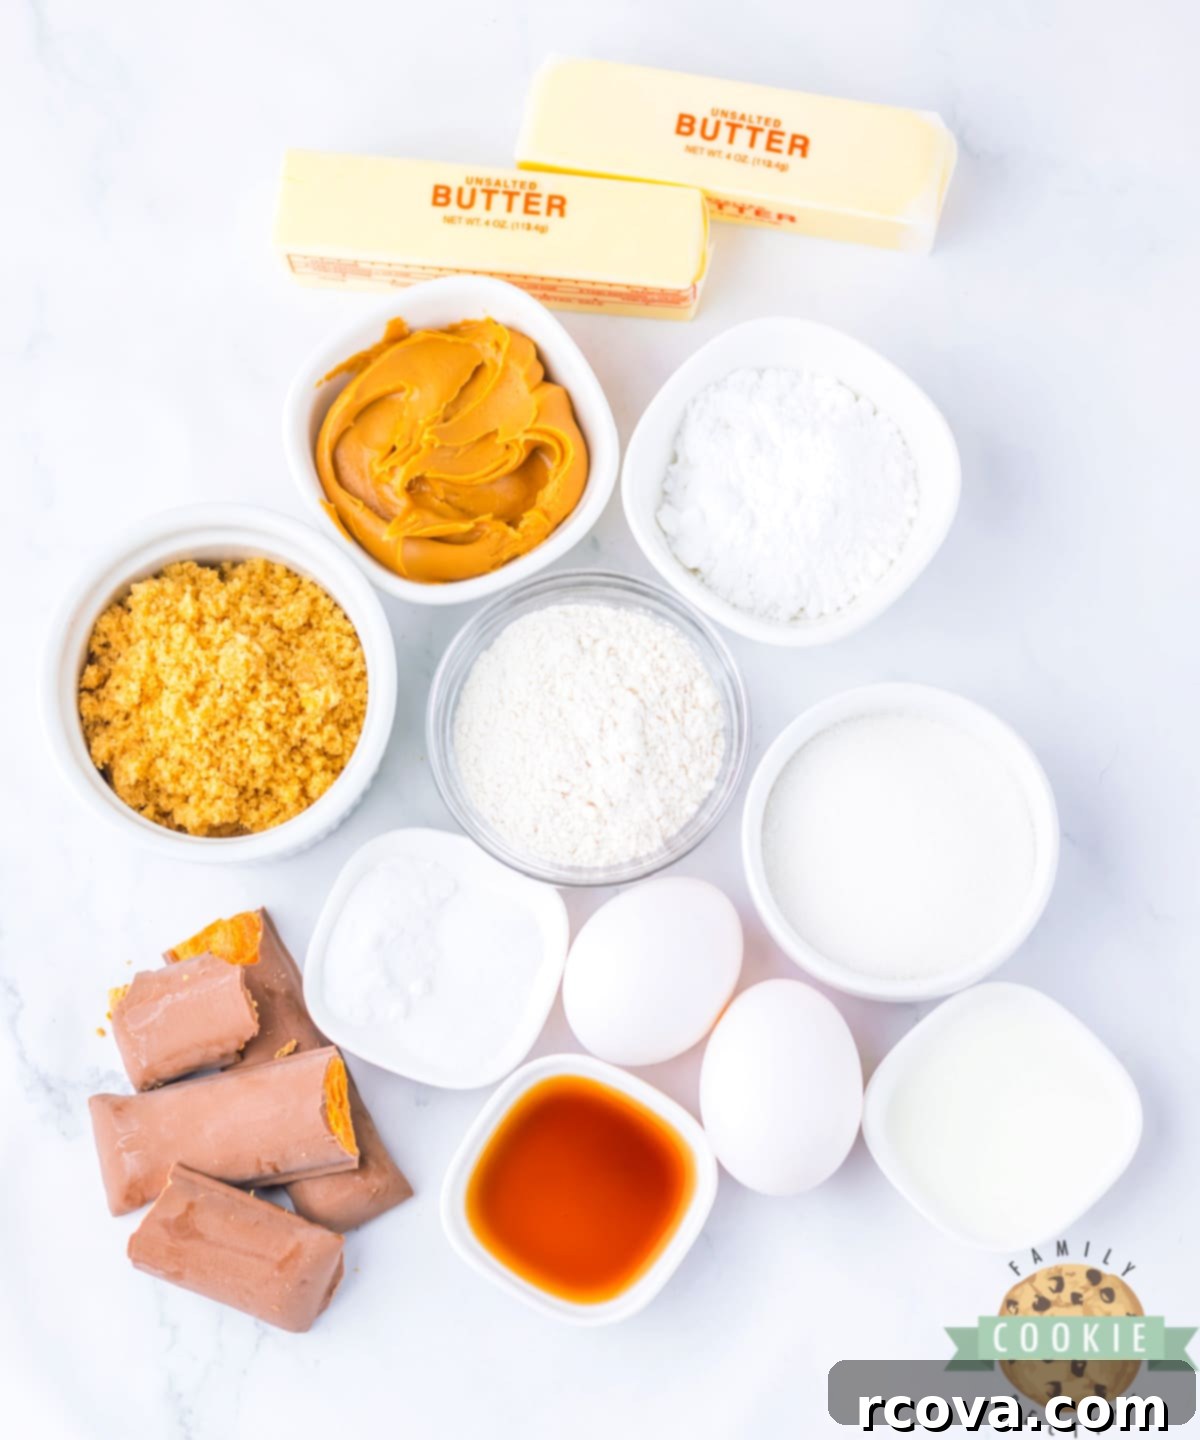
Essential Ingredients for Your Butterfinger Cookie Bars
Crafting the perfect Butterfinger Cookie Bars requires a thoughtful selection of ingredients, each playing a vital role in achieving that sought-after flavor and texture. Here’s a detailed look at what you’ll need for both the chewy blondie base and the luscious peanut butter frosting:
For the Irresistible Cookie Dough Base:
- Butter: For the richest flavor and best texture, real butter is non-negotiable. I typically use salted butter, but feel free to opt for unsalted if you prefer to control the salt content precisely. Absolutely steer clear of margarine, as it won’t yield the same delightful result. Remember, your butter must be softened to room temperature – this is crucial for properly creaming it with the sugars, which impacts the final texture of your blondie bars.
- Sugars: This recipe calls for a blend of granulated white sugar and brown sugar. The white sugar contributes to the crispness around the edges and overall sweetness, while the brown sugar is key for that signature chewy texture and deep, caramel-like notes. For optimal results, ensure your brown sugar is fresh and soft; if it’s hardened, a quick trick to soften it is to microwave it with a damp paper towel for a few seconds.
- Eggs: Two large eggs act as the primary binding agent, holding all the ingredients together to create a cohesive dough. They also add richness, moisture, and contribute to the structure of the blondie base.
- Vanilla Extract: A staple in most baked goods, vanilla extract elevates all the other flavors. The quality of your vanilla truly makes a difference here, so reach for a good quality pure vanilla extract if possible to impart the best aromatic depth.
- Flour: All-purpose flour is the ideal choice for these cookie bars, providing the perfect balance of structure and tenderness. For an even softer, more delicate crumb, you could experiment with cake flour. If you have dietary restrictions, a good quality gluten-free all-purpose flour blend can be used as a substitute.
- Salt: Don’t skip this! A small amount of salt is essential for balancing the sweetness and enhancing the complex flavors of the butter and sugars, making the entire bar taste more vibrant.
- Baking Soda: This is our leavening agent, responsible for giving the cookie bars a slight lift and a tender crumb. Ensure your baking soda is fresh and active for the best results; old or expired baking soda may not provide the desired leavening.
- Butterfingers (for the dough): This is truly the star ingredient that gives these bars their distinctive name and flavor! You’ll need about 10 ounces of Butterfinger Baking Bits, which are conveniently pre-crushed. Alternatively, you can finely chop five fun-sized Butterfinger candy bars or two large-sized candy bars. Don’t hesitate to add a little more if you’re a serious Butterfinger enthusiast!
For the Creamy Peanut Butter Frosting:
- Peanut Butter: Creamy peanut butter works best for achieving a smooth, spreadable frosting. However, if you crave an extra layer of crunch and peanut texture, feel free to use crunchy peanut butter instead. Just be aware it might slightly alter the frosting’s consistency.
- Butter: Once again, real butter is crucial for a rich and flavorful frosting. Make sure it’s softened to room temperature, just like for the cookie dough, to ensure it creams smoothly with the peanut butter.
- Vanilla Extract: A touch of vanilla extract in the frosting complements the peanut butter beautifully, adding another dimension of sweet, aromatic flavor.
- Powdered Sugar: Also known as confectioners’ sugar, this ingredient is vital for creating a smooth, lump-free, and perfectly sweet frosting consistency. Sifting it beforehand can help prevent lumps.
- Milk: Any type of milk will work here, including non-dairy alternatives like almond or oat milk. You can adjust the amount of milk slightly to achieve your desired frosting consistency – add a little less for a thicker frosting, or a touch more for a thinner, more easily spreadable one.
- Butterfinger Bars (for topping): No such thing as too many Butterfingers! You’ll want to add more crushed Butterfinger candy bars on top of the frosting for an extra burst of flavor, crunch, and visual appeal. This makes for a truly decadent finish.
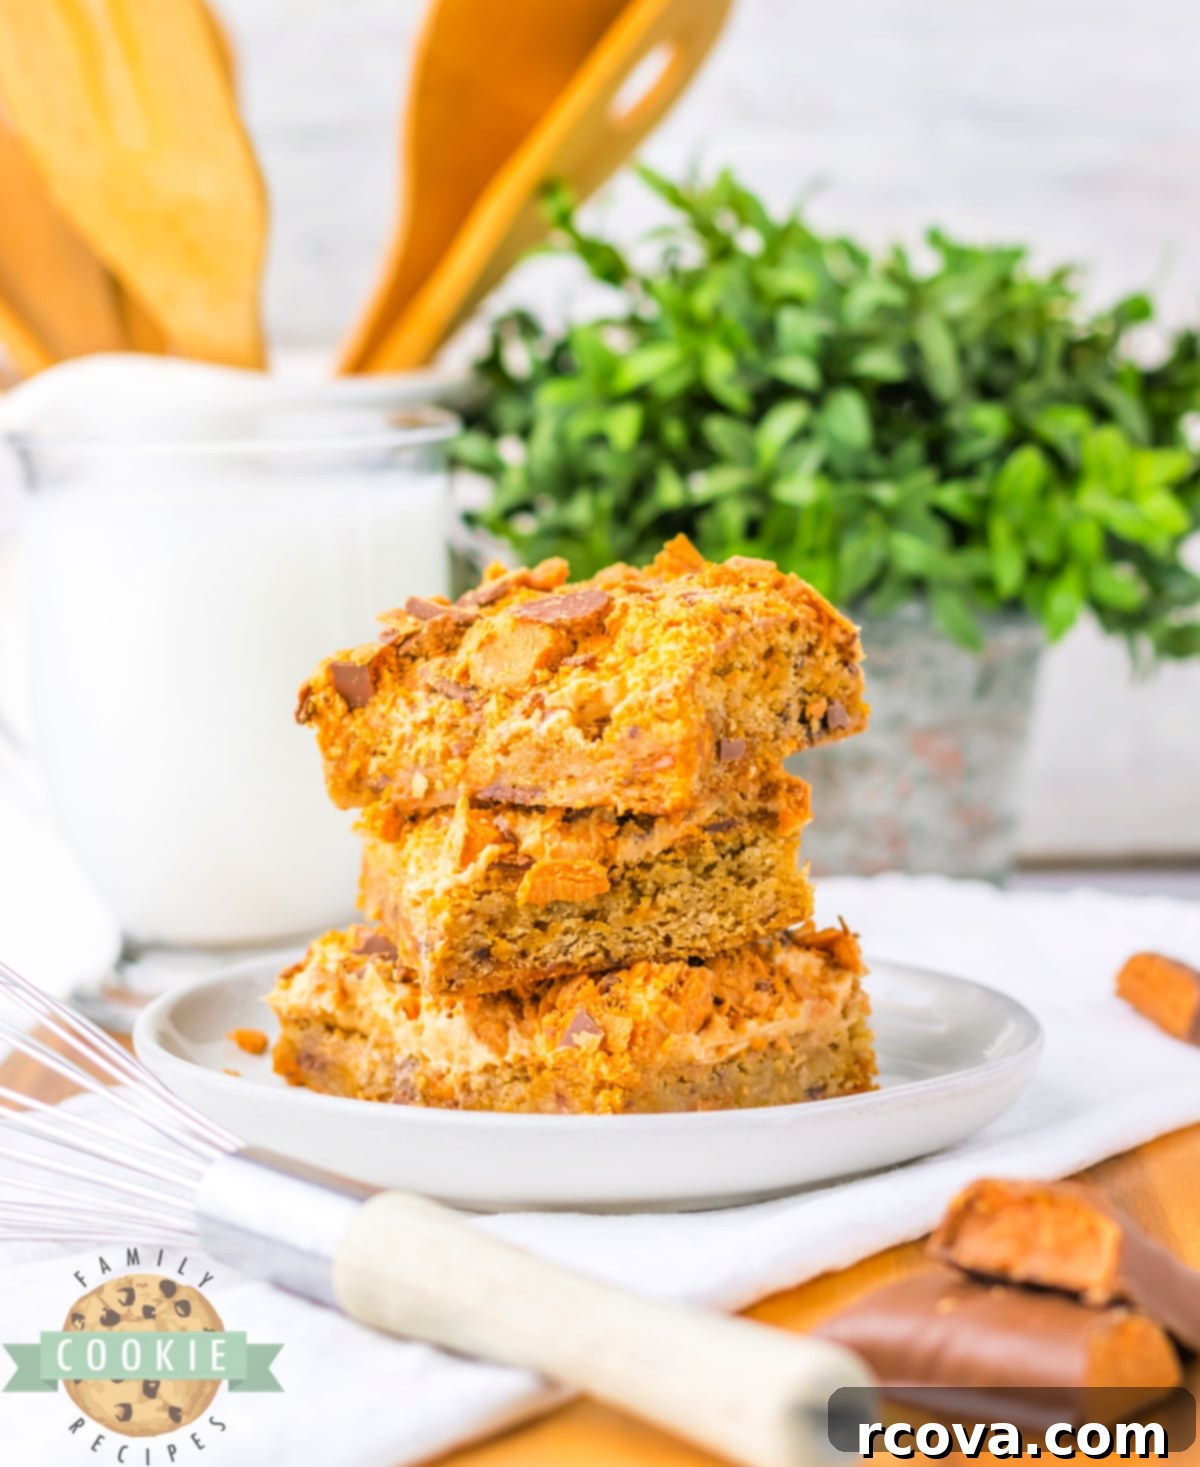
Step-by-Step Guide: How to Make Butterfinger Cookie Bars
Creating these delightful Butterfinger Cookie Bars is a straightforward process that yields incredibly satisfying results. Follow these simple steps for perfect bars every time:
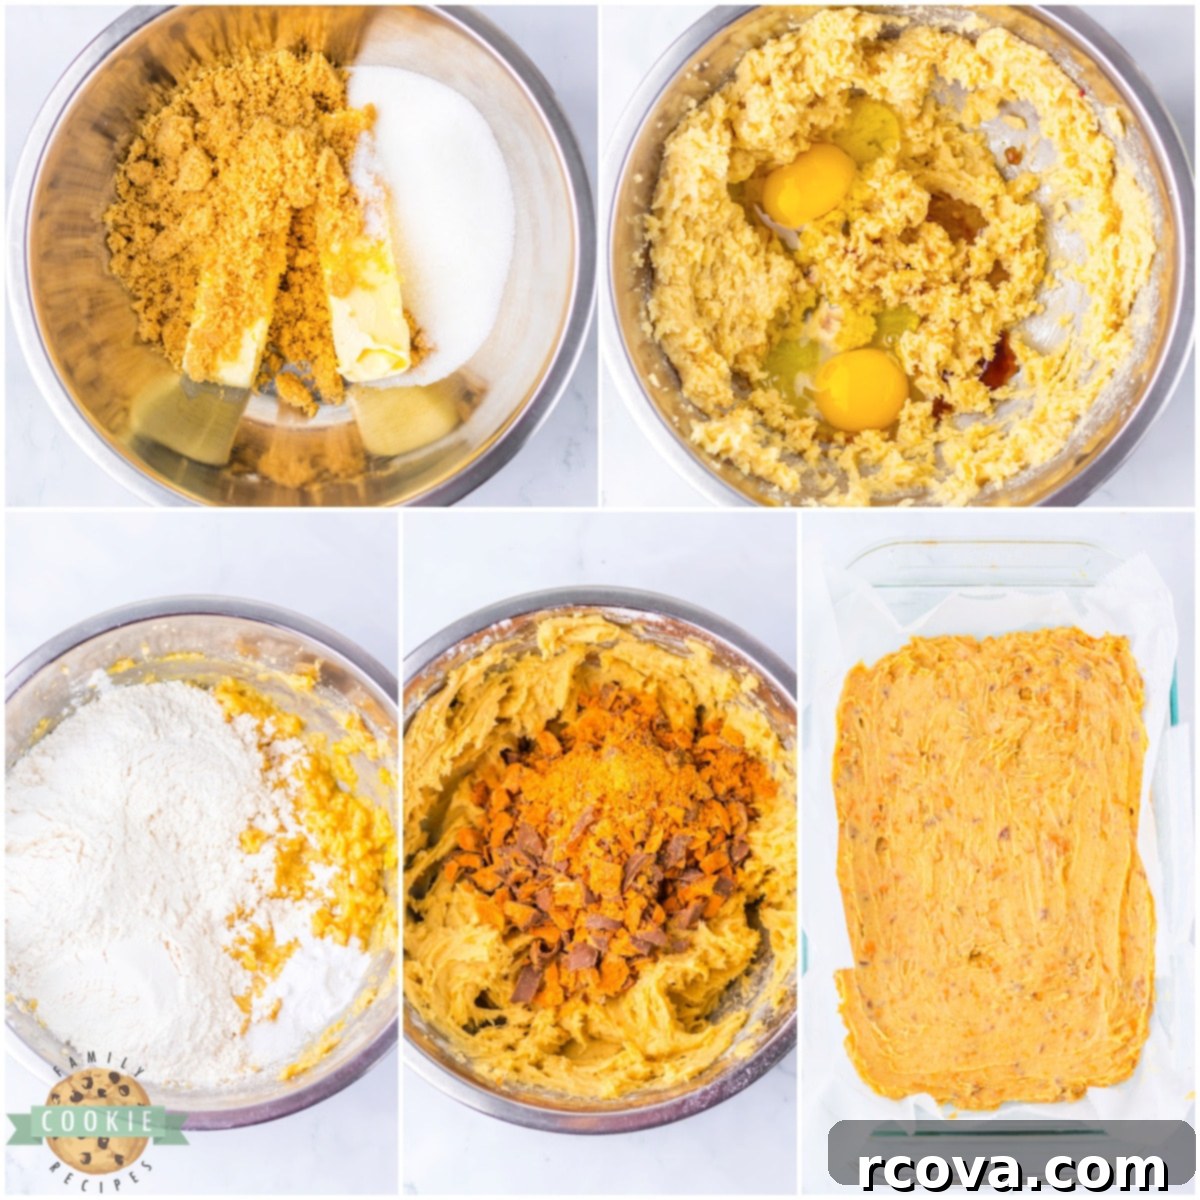
Preparing the Cookie Base:
- Preheat and Prepare: Begin by preheating your oven to 350°F (175°C). Line a 9×13 inch baking dish with parchment paper. Make sure the parchment paper hangs over the sides of the dish – this creates convenient “handles” that will allow you to easily lift the entire slab of cookie bars out after baking and cooling, making slicing much simpler. Lightly spray the parchment paper with cooking spray to ensure nothing sticks, then set the pan aside.
- Cream Butter and Sugars: In a large mixing bowl, combine the softened butter, granulated sugar, and brown sugar. Using an electric hand mixer or stand mixer, beat these ingredients together on medium speed for 2-3 minutes until the mixture is light, fluffy, and well-creamed. This step incorporates air, contributing to the soft and chewy texture of your blondie base.
- Add Wet Ingredients: Next, crack in the two large eggs and pour in the vanilla extract. Continue to beat with the mixer for an additional 2-3 minutes until everything is thoroughly combined and the mixture is smooth.
- Incorporate Dry Ingredients: Add the all-purpose flour, salt, and baking soda to the wet mixture. Mix on low speed just until the dry ingredients are fully incorporated and no streaks of flour remain. Be careful not to overmix, as this can lead to tough cookie bars.
- Fold in Butterfingers: Gently fold in the ½ cup of chopped Butterfinger bars using a spatula. Distribute them evenly throughout the dough.
- Bake the Blondie Base: Scoop the prepared cookie dough into your lined baking dish. Using an offset spatula or the back of a spoon, spread the dough evenly across the bottom of the pan. Bake for 25 minutes, or until the edges begin to turn a very light golden brown. The center might still appear slightly soft, but it will firm up as it cools. Remove from the oven and allow the cookie base to cool completely in the pan on a wire rack before moving on to the frosting. This is a critical step to prevent the frosting from melting.
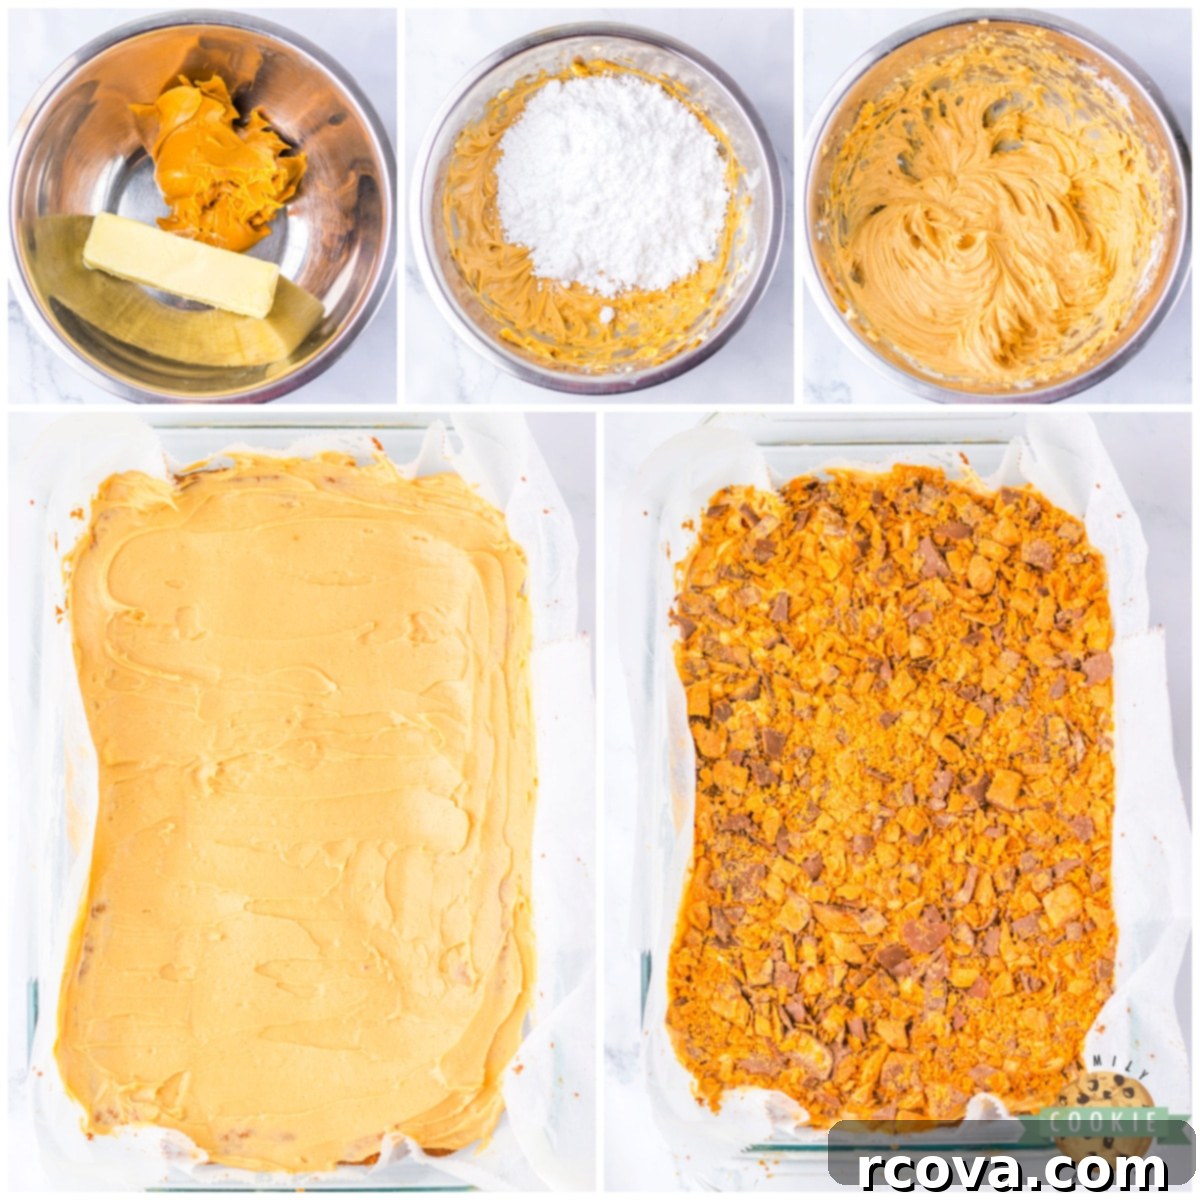
Make the Delicious Peanut Butter Frosting:
- Cream Peanut Butter and Butter: In a separate large bowl, combine the creamy peanut butter and softened butter. Beat them together with an electric mixer until the mixture is completely smooth and creamy.
- Add Vanilla: Stir in the vanilla extract until well combined.
- Add Sugar and Milk: Gradually add the powdered sugar, alternating with the milk, beating on low speed until smooth. Once all the powdered sugar and milk are added, increase the speed to medium-high and beat for another 1-2 minutes until the frosting is light, fluffy, and perfectly creamy. If the frosting is too thick, add a tiny bit more milk, one teaspoon at a time. If it’s too thin, add a bit more powdered sugar.
- Frost and Finish: Once the cookie base is completely cool, spread the peanut butter frosting evenly over the top using an offset spatula or the back of a spoon.
- Garnish and Serve: Generously sprinkle the remaining 1½ cups of chopped Butterfinger bits all over the top of the frosting. Gently press them down lightly if needed.
- Slice and Enjoy: Use the parchment paper handles to carefully lift the entire slab of Butterfinger Cookie Bars out of the baking dish and place it on a cutting board. Slice into individual bars using a sharp knife. Serve immediately and savor every glorious bite!
BUTTERFINGER COOKIE BARS
Butterfinger Cookie Bars feature a soft and chewy blondie cookie base, adorned with creamy peanut butter frosting and an abundance of crushed Butterfinger candy bars.
Print Recipe
Pin Recipe
Rate This Recipe
Course: Cookie Bars | Cuisine: American | Keyword: Butterfinger Cookie Bars
Prep Time: 15 minutes | Cook Time: 25 minutes
Servings: 20 bars | Calories: 421 kcal
Author: Jessica & Nellie
Ingredients
COOKIE DOUGH
- 1 cup butter, softened to room temperature
- ½ cup sugar
- 1 cup brown sugar
- 2 eggs
- 1 tsp vanilla extract
- 2 ½ cups flour
- 1 tsp salt
- 1 tsp baking soda
- ½ cup chopped Butterfinger bars (approx. 2 large bars)
FROSTING
- ¾ cup creamy peanut butter
- ½ cup butter, softened to room temperature
- 1 tsp vanilla extract
- 1 ½ cups powdered sugar
- 3 tbsp milk
- 1 ½ cups chopped Butterfinger bars (approx. 6 large bars, for topping)
Instructions
- Preheat the oven to 350°F (175°C). Line a 9×13 baking dish with parchment paper, ensuring it hangs over the sides, and spray with cooking spray. Set aside.
- In a large bowl, cream the softened butter and both sugars with a hand mixer for 2-3 minutes until light and fluffy.
- Add the eggs and vanilla extract, beating for an additional 2-3 minutes until well combined.
- Gradually add the flour, salt, and baking soda, beating on low speed until just combined. Fold in the ½ cup of chopped Butterfingers.
- Scoop the cookie dough into the prepared baking dish and spread it evenly. Bake for 25 minutes, or until the edges are lightly golden brown. Remove from the oven and let cool completely before frosting.
MAKE THE FROSTING
- In a large bowl, beat the peanut butter and softened butter together until completely smooth and creamy.
- Mix in the vanilla extract.
- Gradually add the powdered sugar and milk, beating until the frosting is smooth and creamy.
- Spread the frosting evenly over the top of the cooled cookie layer. Sprinkle the remaining 1½ cups of chopped Butterfinger bits all over the top. Slice into bars, serve, and enjoy!
Notes
Store leftover Butterfinger Cookie Bars in a covered container at room temperature for up to 1 week.
Bars can be frozen for up to 3 months. For best freshness, cut them into individual portions and wrap each bar tightly in plastic wrap before freezing.
Nutrition
Calories: 421kcal | Carbohydrates: 52g | Protein: 6g | Fat: 23g | Saturated Fat: 12g | Polyunsaturated Fat: 2g | Monounsaturated Fat: 7g | Trans Fat: 1g | Cholesterol: 53mg | Sodium: 373mg | Potassium: 139mg | Fiber: 1g | Sugar: 34g | Vitamin A: 453IU | Calcium: 32mg | Iron: 1mg
Tried this recipe? Mention @familycookierecipes or tag #familycookierecipes!
Pro Tip: How to Perfectly Soften Butter
Softened butter is an absolute must for many baking recipes, especially for achieving that perfect creamy texture in cookie doughs and frostings. My preferred method for quickly and effectively softening butter is using the defrost function on my microwave. Here’s how to do it without accidentally melting it:
- If you need an entire ½ cup (one stick) cube of butter, you can leave it in its paper wrapper. For smaller amounts or if you need to use a partial stick, place the required butter in a glass or porcelain bowl.
- Place the butter in your microwave and select the lowest defrost setting. I typically start with just 20 seconds.
- After 20 seconds, check the butter. Gently press it with your finger or a rubber spatula. It should yield easily, leaving an indentation, but it should not be liquid or shiny. If it still feels too firm and doesn’t indent, return it to the microwave for another 5-10 seconds on the defrost setting.
- Watch it very closely! Butter can go from perfectly softened to completely melted in a matter of seconds. The goal is pliable, not liquid.
Properly softened butter creams better with sugar, resulting in a lighter, airier dough and a smoother, more emulsified frosting, ultimately contributing to the superior texture of your Butterfinger Cookie Bars.
Top Tips for Baking the Best Butterfinger Cookie Bars
To ensure your Butterfinger Cookie Bars turn out absolutely perfect every time, keep these expert baking tips in mind:
- Never Melt the Butter: This is crucial! The butter for both the cookie dough and the frosting needs to be softened to room temperature, not melted. Melted butter will drastically alter the texture of your cookie bars, making them dense and greasy, and will prevent the frosting from becoming light and fluffy.
- Cream Butter and Sugars Thoroughly: Don’t rush this step. Spending an extra minute or two (aim for 2-3 minutes) creaming the softened butter with the sugars will incorporate essential air into the mixture. This aeration is what gives your blondie base that wonderful soft, chewy, and slightly airy texture, making a huge difference in the final consistency of your bars.
- Always Preheat Your Oven: Baking in a properly preheated oven is non-negotiable for consistent results. A hot oven ensures that your cookie bars start baking immediately and evenly, preventing them from spreading too much or cooking unevenly.
- Embrace Parchment Paper: Seriously, this is a game-changer! Lining your baking pan with parchment paper, leaving an overhang on the sides, makes removing the entire batch of cookie bars incredibly easy after baking. It simplifies slicing and ensures beautifully clean edges for every bar.
- Avoid Overbaking at All Costs: For soft and chewy cookie bars, it’s far better to err on the side of slightly underbaked than overbaked. As soon as the edges begin to turn a very light golden brown, take them out of the oven! The residual heat in the pan will continue to cook them slightly as they cool, ensuring a moist and tender interior. Overbaked bars can quickly become hard and dry.
The Secret to Perfectly Cut Butterfinger Cookie Bars
Achieving those perfectly neat, evenly cut cookie bars can sometimes feel like a daunting task, especially when dealing with sticky frostings or delicate crumbs. Many bakers struggle with the dreaded “destroyed first row” when trying to extract desserts from a 9×13 inch pan. But fear not, there’s a simple solution that will change your baking life: parchment paper!
By lining your baking pan with parchment paper, ensuring that the paper extends beyond the edges of the pan, you create convenient handles. Once your Butterfinger Cookie Bars have completely cooled (this is key for clean cuts!), you can simply lift the entire slab out of the pan and place it onto a clean cutting board. From there, you can use a sharp, non-serrated knife to slice the bars into your desired shapes with precision and ease. This method eliminates the struggle of trying to dig out the first piece and keeps all your bars looking immaculate.
If you don’t have parchment paper on hand, you can still make these delicious bars. Just be sure to grease and flour your pan thoroughly as you normally would. While your first row might not be quite as picture-perfect, the bars will still taste amazing! However, you’ll find that this particular Butterfinger Cookie Bar recipe produces a robust yet tender texture that holds together remarkably well, making them much easier to cut into clean squares than many other bar desserts.
Storing Your Delicious Butterfinger Cookie Bars
To keep your Butterfinger Cookie Bars fresh and delicious for as long as possible, proper storage is key. Store any leftover cookie bars in an airtight container at room temperature. They will maintain their quality and delightful chewiness for up to one week. If you live in a particularly warm or humid climate, you might consider refrigerating them to preserve their freshness and frosting consistency, but bring them to room temperature before serving for the best flavor and texture.
For longer-term storage, these bars freeze beautifully! You can freeze them for up to 3 months. For optimal freshness and to prevent them from sticking together, we recommend cutting the bars into individual portions first. Then, wrap each bar tightly in plastic wrap before placing them in a freezer-safe bag or container. When you’re ready to enjoy them, simply thaw individual bars at room temperature for an hour or two, or pop them in the microwave for a few seconds for a quicker treat.
Discover More Irresistible Cookie Bar Recipes!
If you’ve fallen in love with the convenience and deliciousness of cookie bars, you’re in for a treat! We have a vast collection of our favorite bar cookie recipes that are just as easy to make and equally satisfying. Whether you’re craving fruity, chocolatey, or something with a unique twist, there’s a bar recipe here for everyone. Explore these delightful options and find your next favorite:
- Strawberry Cheesecake Cookie Bars
- Snickerdoodle Cookie Bars
- Sugar Cookie Bars
- Chocolate Chip Cookie Bars
- No Bake Cookie Bars
- Oatmeal Chocolate Chip Cookie Bars
- Lemon Sugar Cookie Bars
- Swirled Patriotic Cookie Bars
- Fudgy Oatmeal Cookie Bars
- Twix Cookie Bars
- Easy Peanut Caramel Cookie Bars
- Gingerbread Cookie Bars
- Butterscotch Pretzel Cookie Bars
- Reese’s Cookie Bars
- S’mores Cookie Bars
- Oreo Cookie Bars
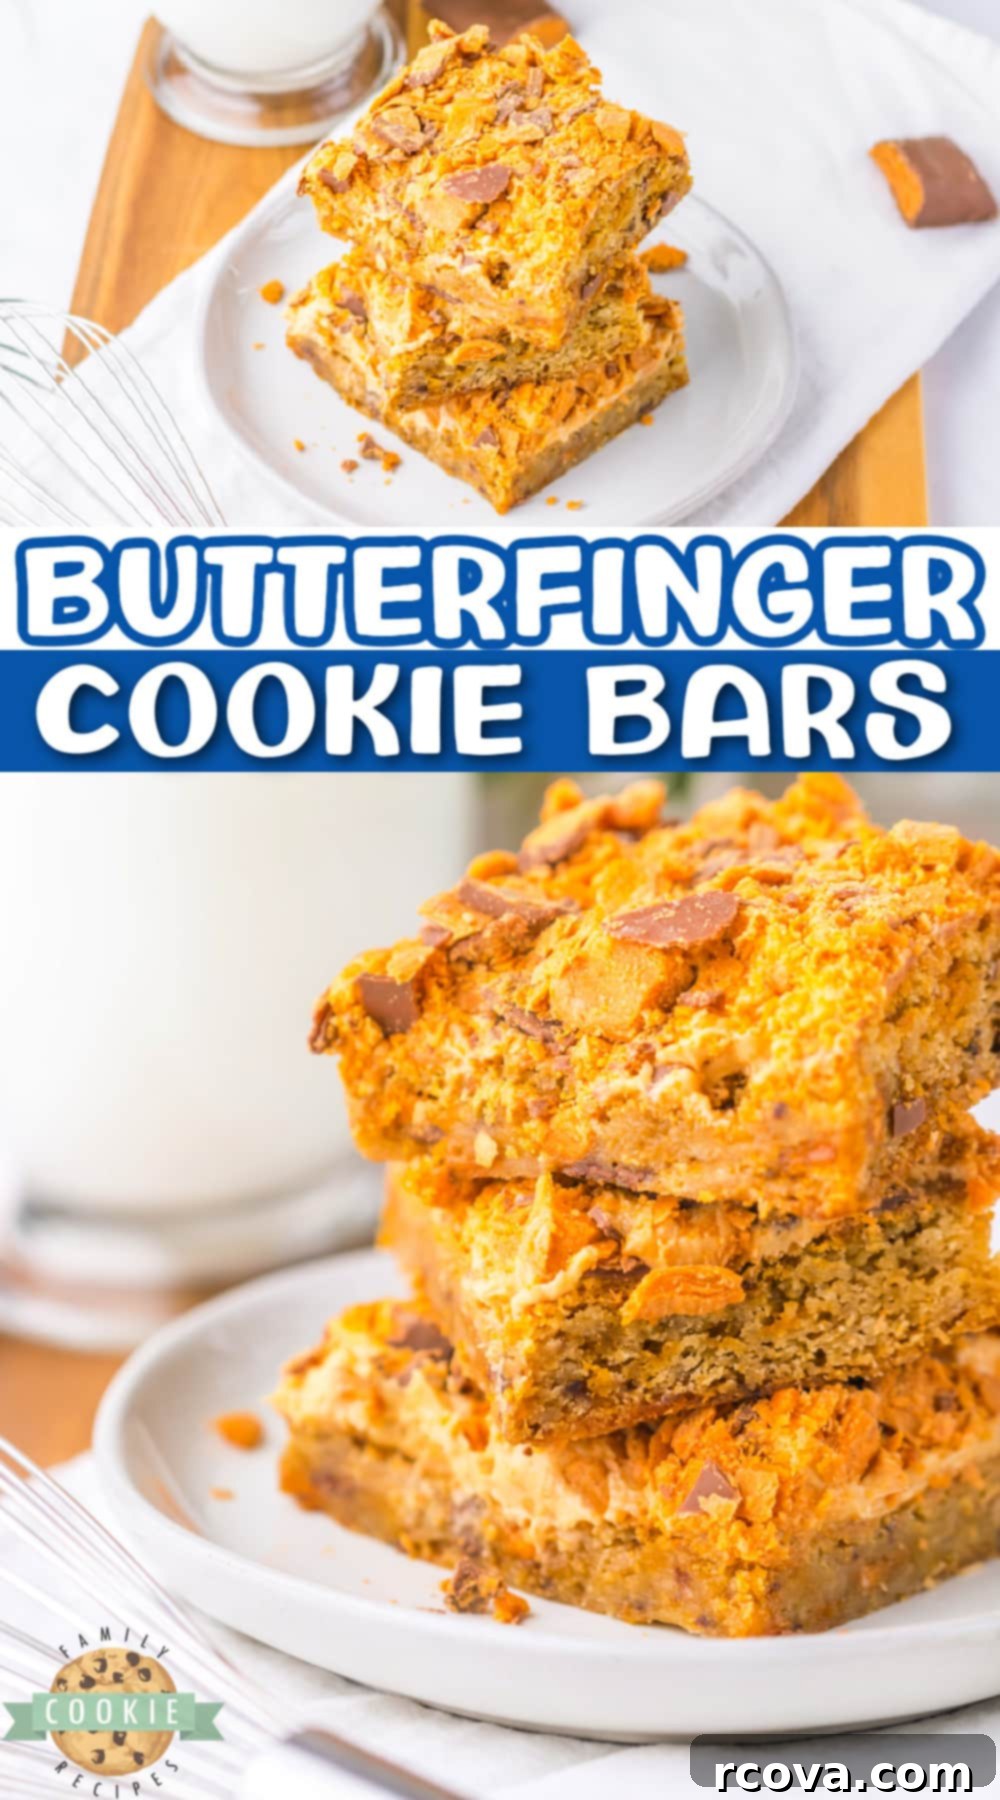
These Butterfinger Cookie Bars are more than just a dessert; they’re a celebration of flavor and texture, bringing together the beloved crunch of Butterfinger candy with a rich, chewy blondie base and a creamy peanut butter frosting. They offer all the joy of homemade cookies with none of the fuss, making them an ideal treat for any occasion or simply a delightful indulgence. We hope you enjoy baking and sharing these incredible bars as much as we do!
