The Ultimate Chewy Butterfinger Peanut Butter Cookies: A Sweet & Crunchy Homemade Treat
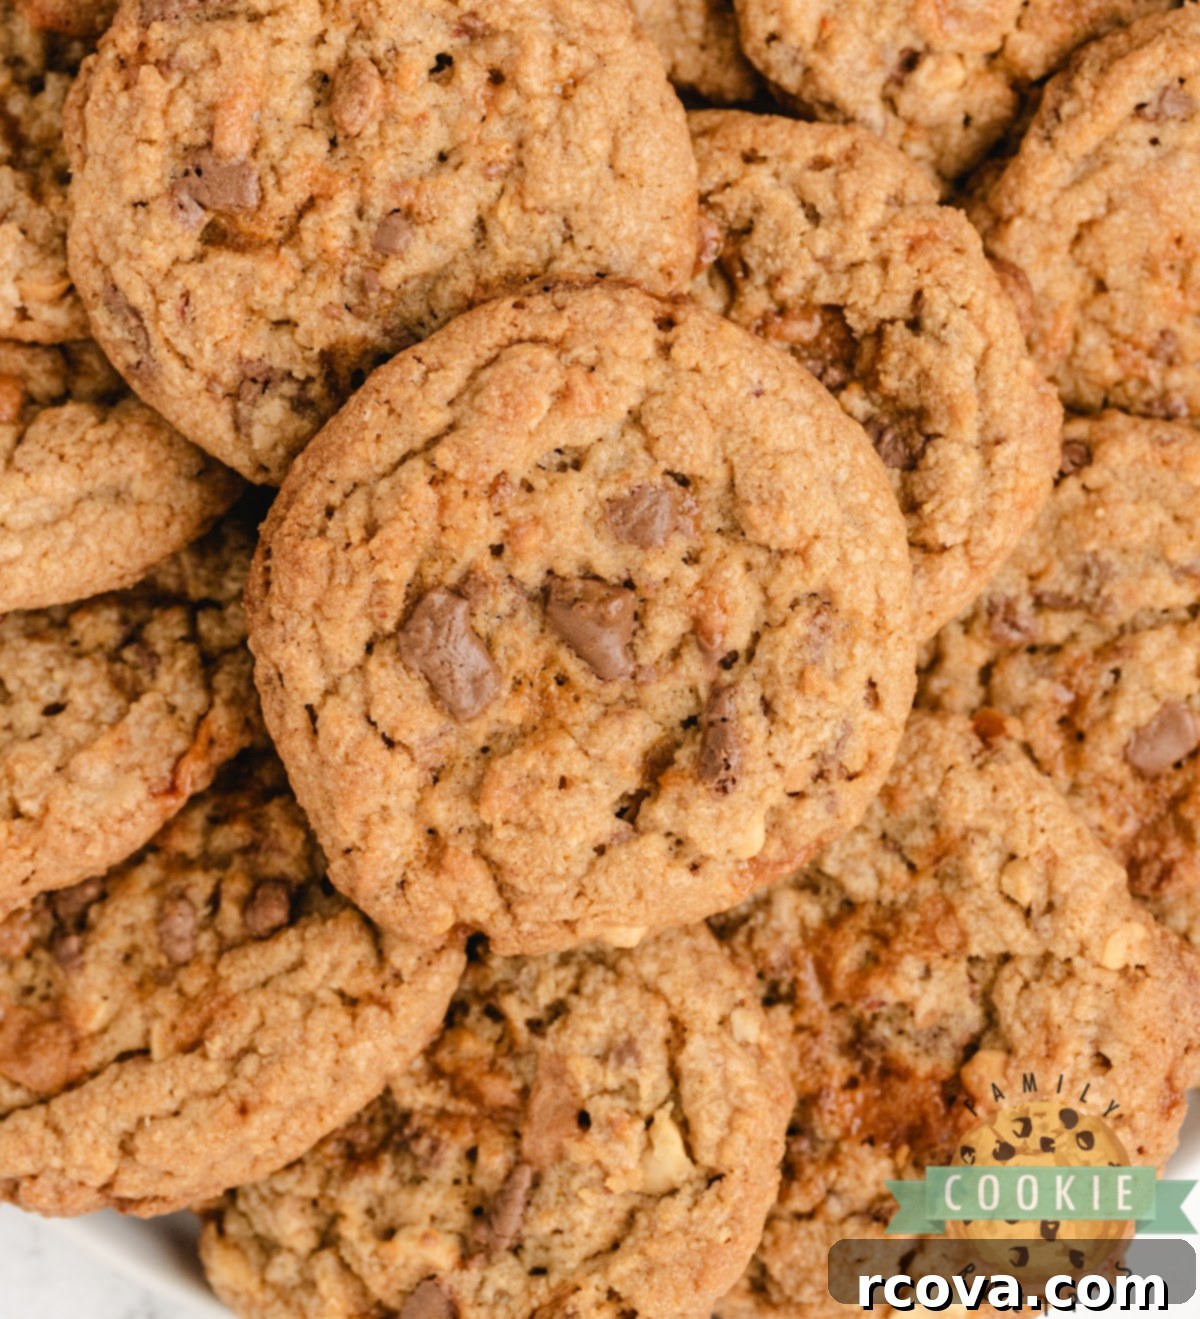
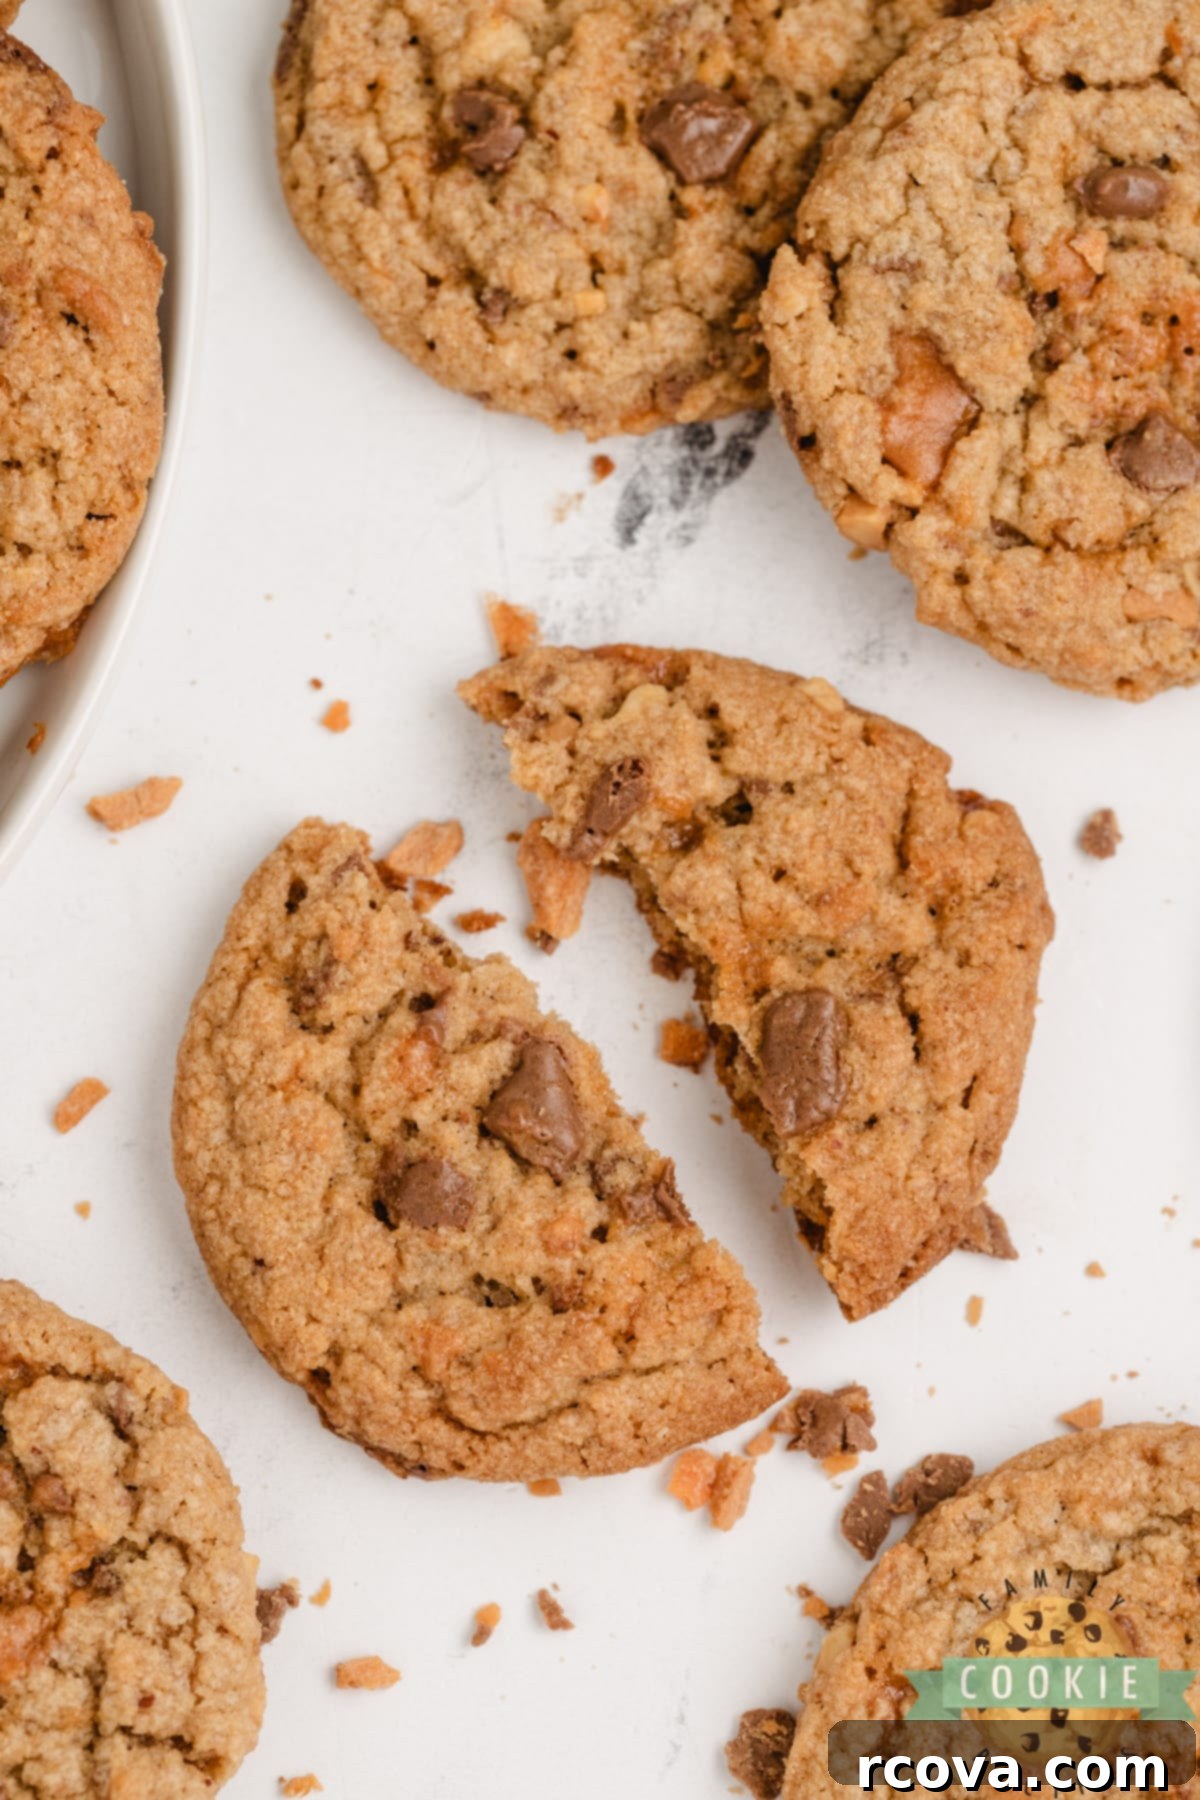
Butterfinger Peanut Butter Cookies are an incredibly delightful dessert, famed for their wonderfully soft and chewy centers, crisp edges, and a generous abundance of crunchy peanut butter and unmistakable chunks of Butterfinger candy bars. This recipe masterfully combines two beloved flavors into one irresistible cookie.
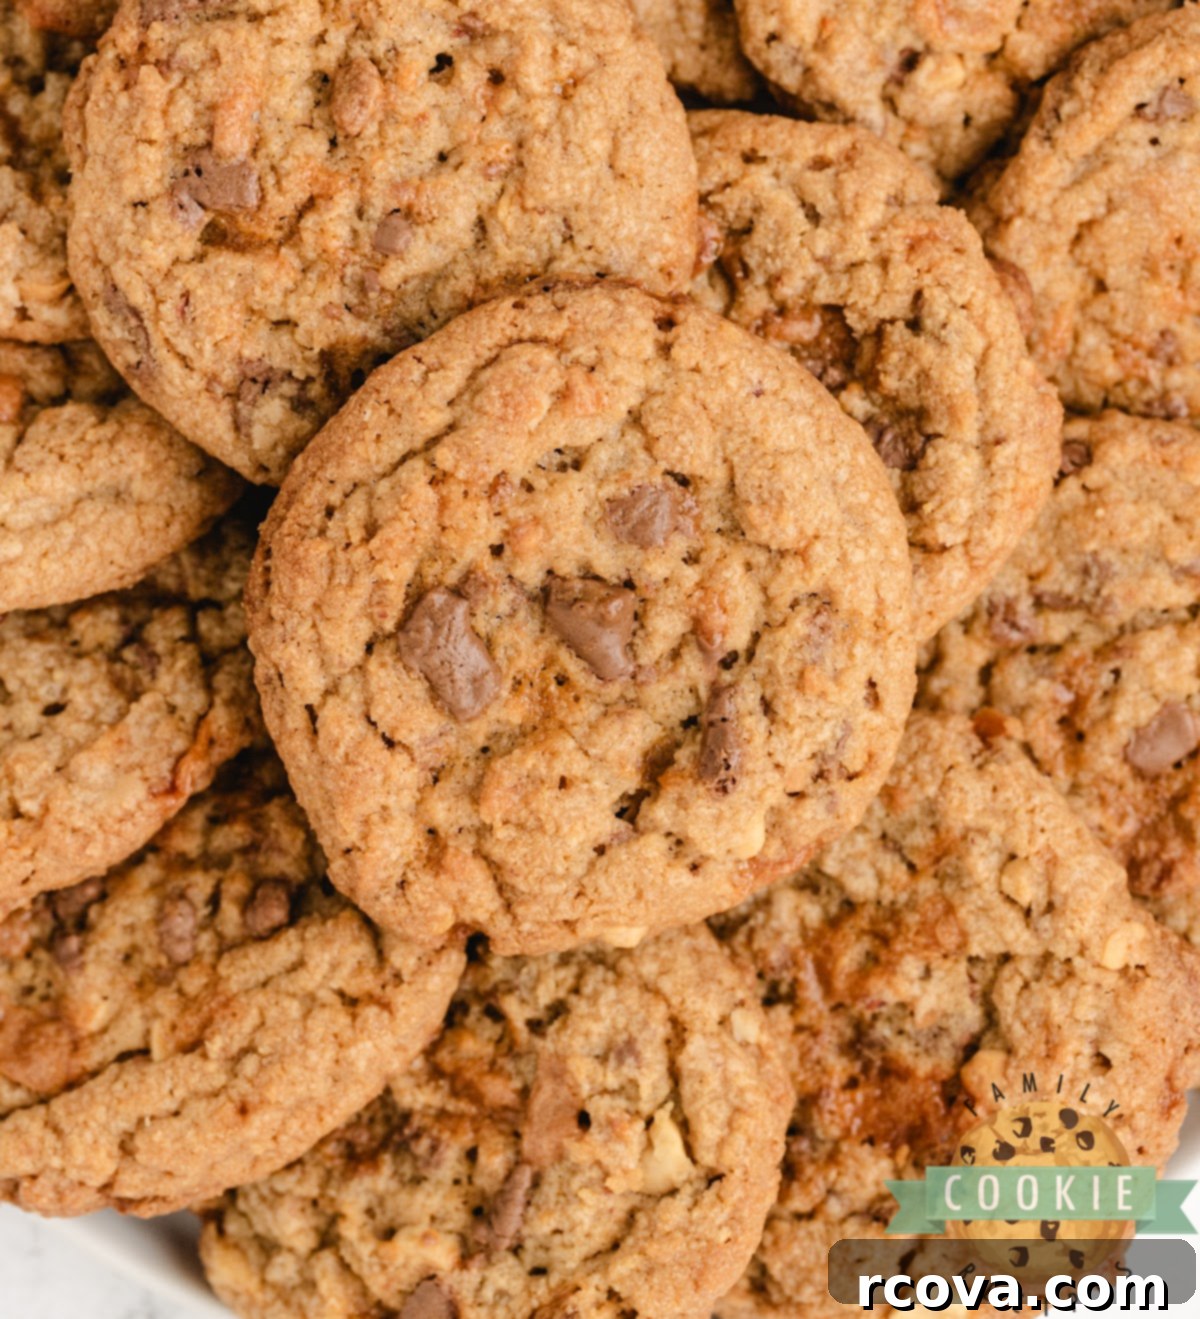
If your heart beats for the classic combination of peanut butter and the unique crisp-ety, crunch-ety goodness of Butterfinger candy bars, then these cookies are truly the best of both worlds. They are remarkably simple to prepare, yet loaded with an exciting array of textures and a harmonious blend of salty, sweet, chewy, and crunchy notes that will captivate your taste buds. These delectable treats are perfect for any occasion, whether you’re hosting a party, celebrating a holiday, or simply craving a sweet and satisfying afternoon indulgence.
Why You’ll Love These Butterfinger Peanut Butter Cookies: Recipe Highlights
These Butterfinger Peanut Butter Cookies stand out as a fan favorite for several compelling reasons. They’re not just another cookie recipe; they offer a unique baking experience and an unforgettable flavor profile. Here’s why these homemade treats deserve a spot in your recipe collection:
- Made with Real Butterfinger Bits for an Unforgettable Flavor: Our recipe utilizes genuine Butterfinger bits or chopped candy bars, creating an unparalleled peanut butter cookie experience. The iconic candy introduces a signature crisp texture and a distinct caramel-toffee flavor that perfectly complements the soft, rich, and undeniably peanut buttery cookie base. Each bite delivers that familiar, satisfying Butterfinger crunch.
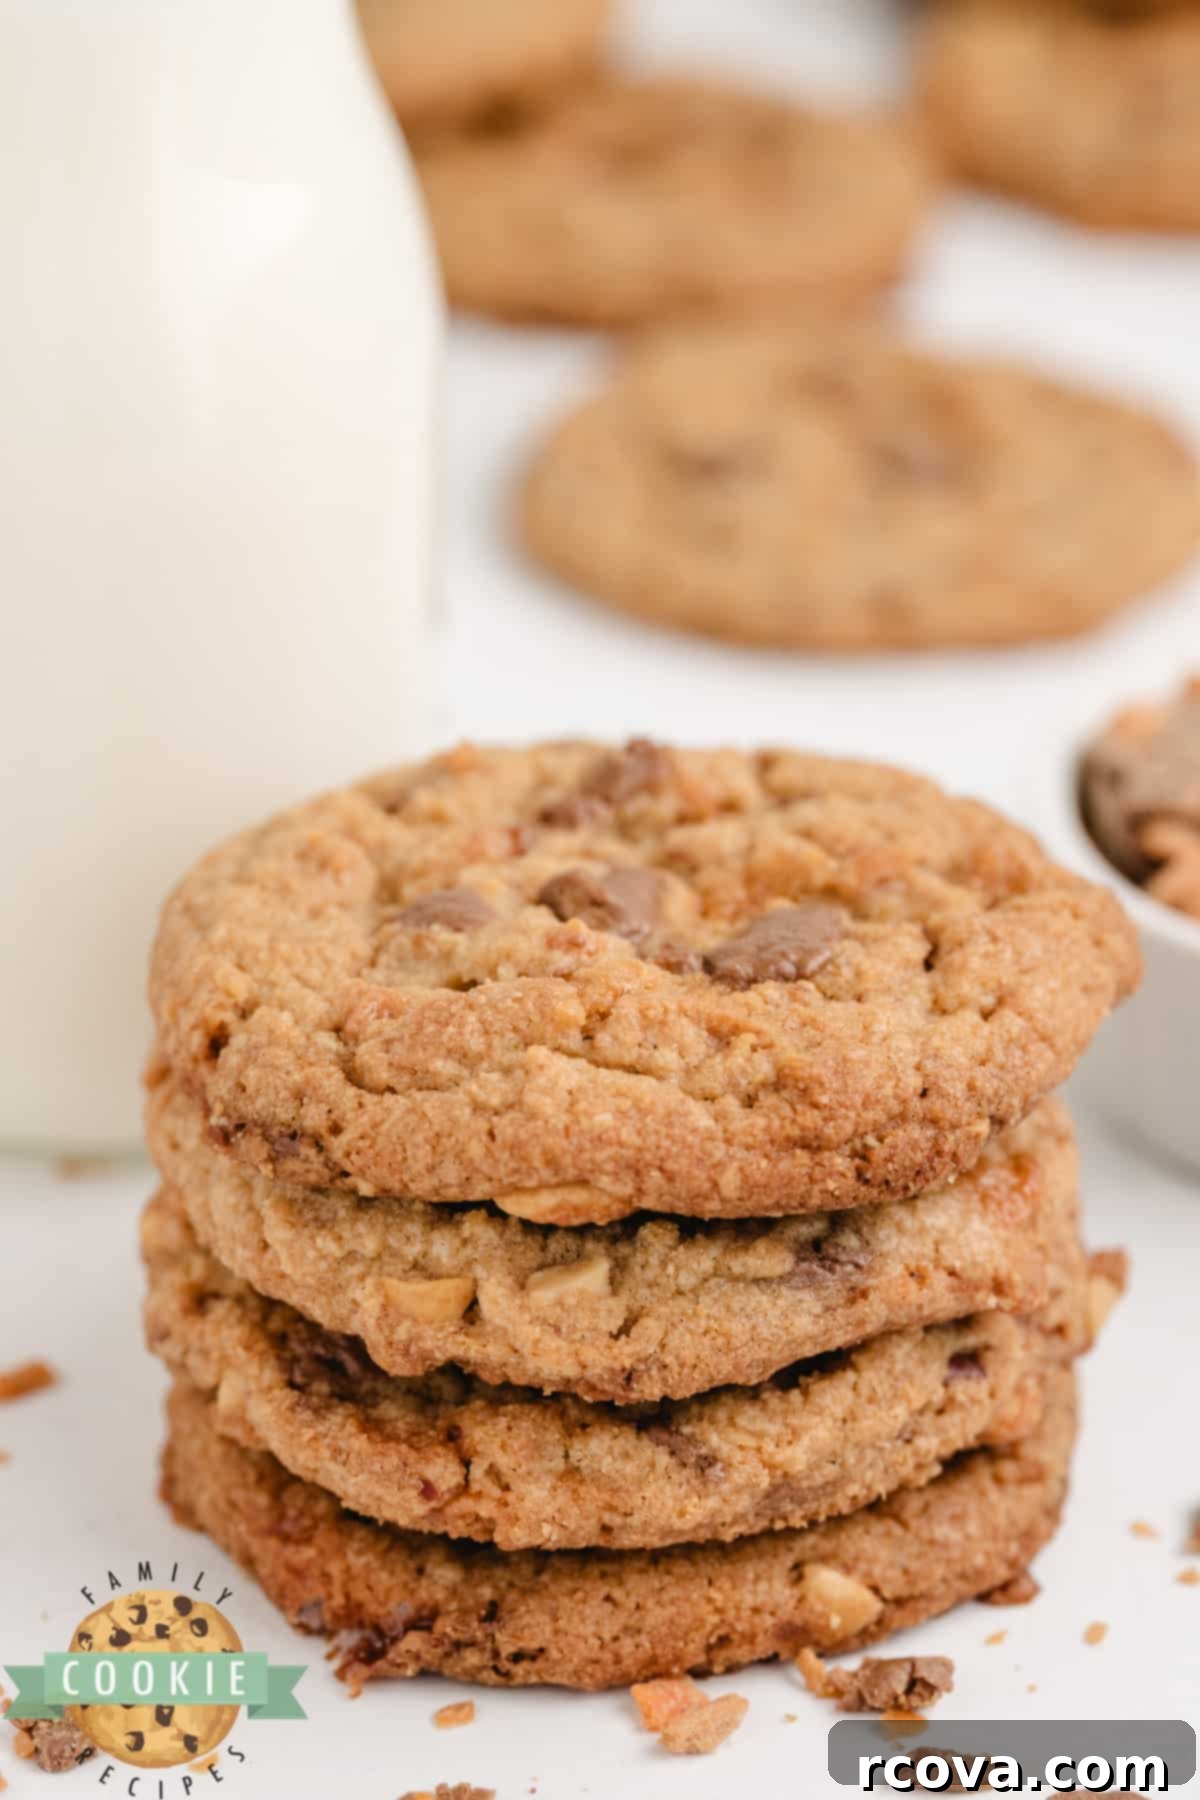
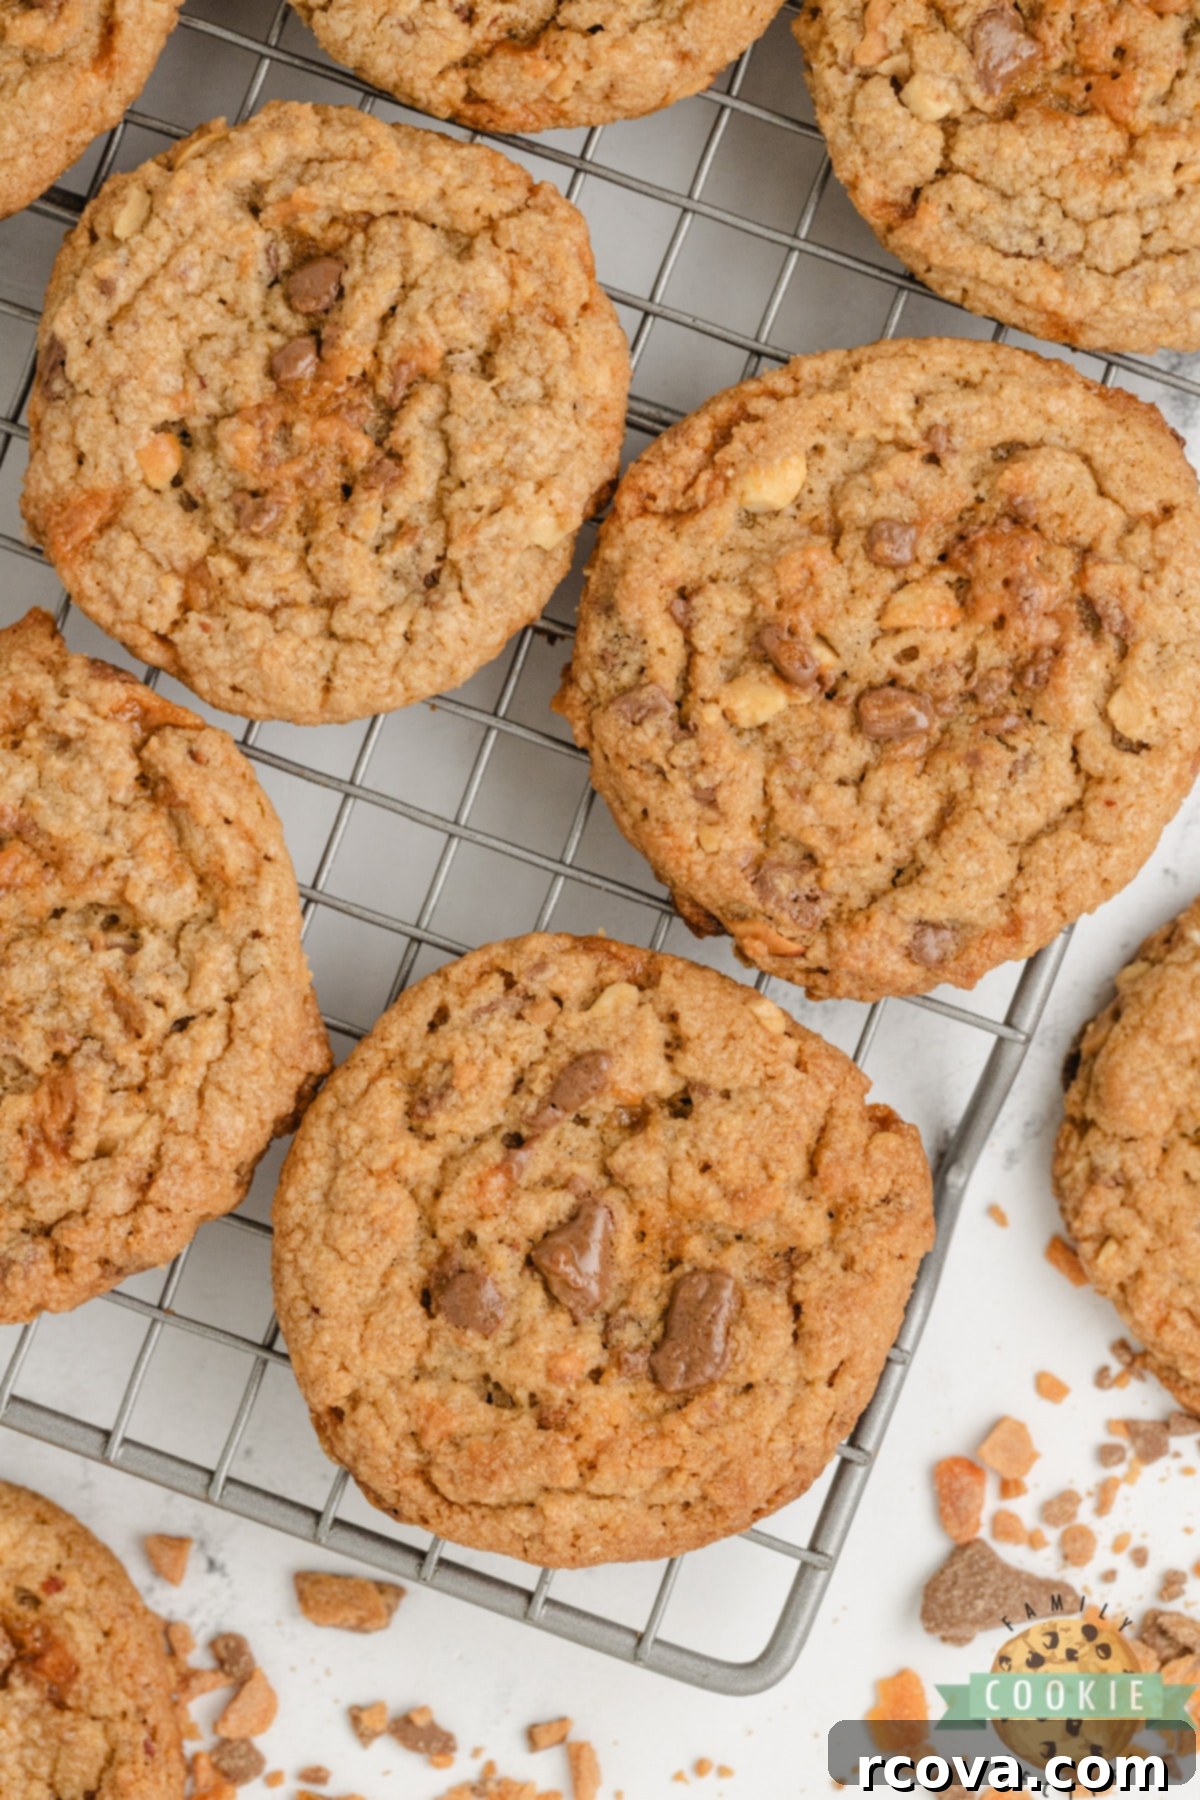
- Irresistible Chewy Texture with Crisp Edges: We’ve perfected the baking time to ensure these cookies achieve the ideal balance. They feature golden, slightly crisp edges that give way to a soft, rich, and intensely chewy interior. These delightful textures are further enhanced by bursts of crunchy candy bar pieces, making every mouthful a delightful adventure for your palate.
- No Chilling Required for Quick Baking: Forget the waiting game! This recipe is designed for maximum convenience, requiring absolutely no dough chilling. You can go from mixing bowl to oven in mere minutes, making it the perfect choice for a last-minute dessert, a spontaneous baking session, or when sudden cravings strike. Enjoy freshly baked cookies without the long prep time.
Essential Ingredients for Perfect Butterfinger Peanut Butter Cookies
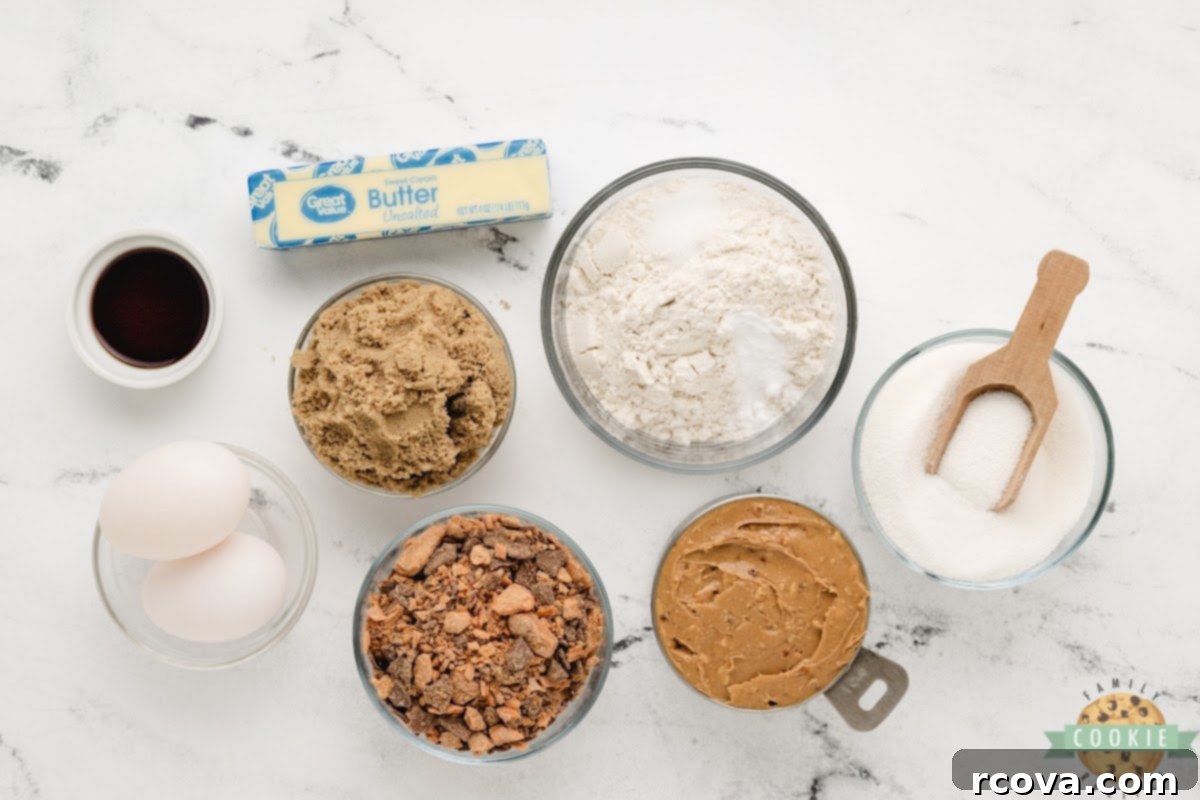
Crafting these amazing Butterfinger Peanut Butter Cookies starts with selecting the right ingredients. Each component plays a vital role in achieving that perfect balance of flavor and texture. Here’s a breakdown of what you’ll need and some helpful tips for each:
- Butter: I typically opt for salted butter as it naturally enhances the overall flavor of the cookie, balancing the sweetness. However, unsalted butter works perfectly fine if that’s what you have on hand; just be sure to add an extra pinch of salt to the dry ingredients to compensate. The most crucial tip here is to ensure your butter is softened to room temperature before you begin. This allows it to cream properly with the sugars, creating a smooth, airy base for your cookie dough. Avoid using margarine, as it can significantly alter the texture and flavor.
- Sugars: You’ll be using a combination of both granulated sugar and brown sugar. Granulated sugar contributes to the cookies’ crisp edges, while brown sugar adds depth of flavor with its molasses content, as well as essential moisture and chewiness to the cookie’s interior. For the best results, always ensure your brown sugar is soft and fresh; if it’s hard, microwave it briefly with a damp paper towel or use a brown sugar saver.
- Egg Whites: This recipe uniquely calls for only egg whites. While the exact scientific reason for omitting the yolks isn’t always clear, in many cookie recipes, using only egg whites can result in a lighter, chewier texture compared to using whole eggs, which can sometimes create a denser, more cake-like crumb. I’ve consistently followed this method, and it yields fantastic results every time!
- Peanut Butter: I personally love using chunky peanut butter for an extra textural dimension, but creamy peanut butter works just as well. It’s important to note that for consistent results, I (and many readers) strongly recommend using a regular, processed creamy peanut butter, such as Jif, Skippy, or a store-brand equivalent. Many bakers have found that natural peanut butter, which tends to be oilier and runnier due to ingredient separation, can lead to cookies that spread too much, are greasy, or have an inconsistent texture. Stick with the classic for these cookies!
- Vanilla Extract: Don’t skimp on the vanilla! A high-quality pure vanilla extract will significantly elevate the flavor profile of your cookies, adding a warm, aromatic depth that complements the peanut butter beautifully.
- All-Purpose Flour: Standard all-purpose flour is the go-to for these cookies, providing the perfect structure. If you happen to have cake flour on hand, it can also be used for a slightly more tender and delicate crumb, though it’s not strictly necessary.
- Baking Soda: This is your primary leavening agent, responsible for helping the cookies rise and achieve their desired texture. To ensure your cookies bake up properly, always check the expiration date on your baking soda. Old or expired baking soda loses its potency, leading to flat or dense cookies.
- Salt: A small but mighty ingredient, salt plays a crucial role in balancing the sweetness of the sugars and candy, and more importantly, it helps to bring out and intensify the rich, savory flavor of the peanut butter.
- Butterfingers: The undisputed star of the show! You have two main options here: either use a convenient 10-ounce bag of pre-made Butterfinger Baking Bits, or you can purchase five (1.9 oz) full-size Butterfinger candy bars and chop or crush them yourself. If chopping candy bars, ensure they are broken into relatively small, consistent pieces for even distribution throughout the dough. Feel free to add a little more if you’re a true Butterfinger fanatic!
Expert Tips & Tricks for Making the Best Butterfinger Peanut Butter Cookies
Achieving perfectly baked Butterfinger Peanut Butter Cookies is easy with a few simple techniques. Follow these expert tips to ensure your cookies turn out exceptionally delicious every time:
- Properly Chop Butterfinger Candy Bars: If you’re using full-size candy bars instead of baking bits, it’s crucial to chop them into small, relatively uniform pieces. Larger chunks can melt unevenly, creating pockets that might cause the cookies to fall apart or become too sticky. Aim for pieces roughly the size of chocolate chips. For easier chopping and less mess, you can chill the candy bars in the freezer for about 15-20 minutes before cutting. Even distribution of the candy throughout the dough is key for both texture and flavor in every bite.
- Utilize a Cookie Scoop for Uniformity: A cookie scoop is a secret weapon for consistent baking. Using one ensures that each cookie is roughly the same size and shape. This uniformity is essential for even baking, preventing some cookies from being underbaked while others are overbaked. Plus, it gives your homemade cookies a professional, bakery-quality appearance.
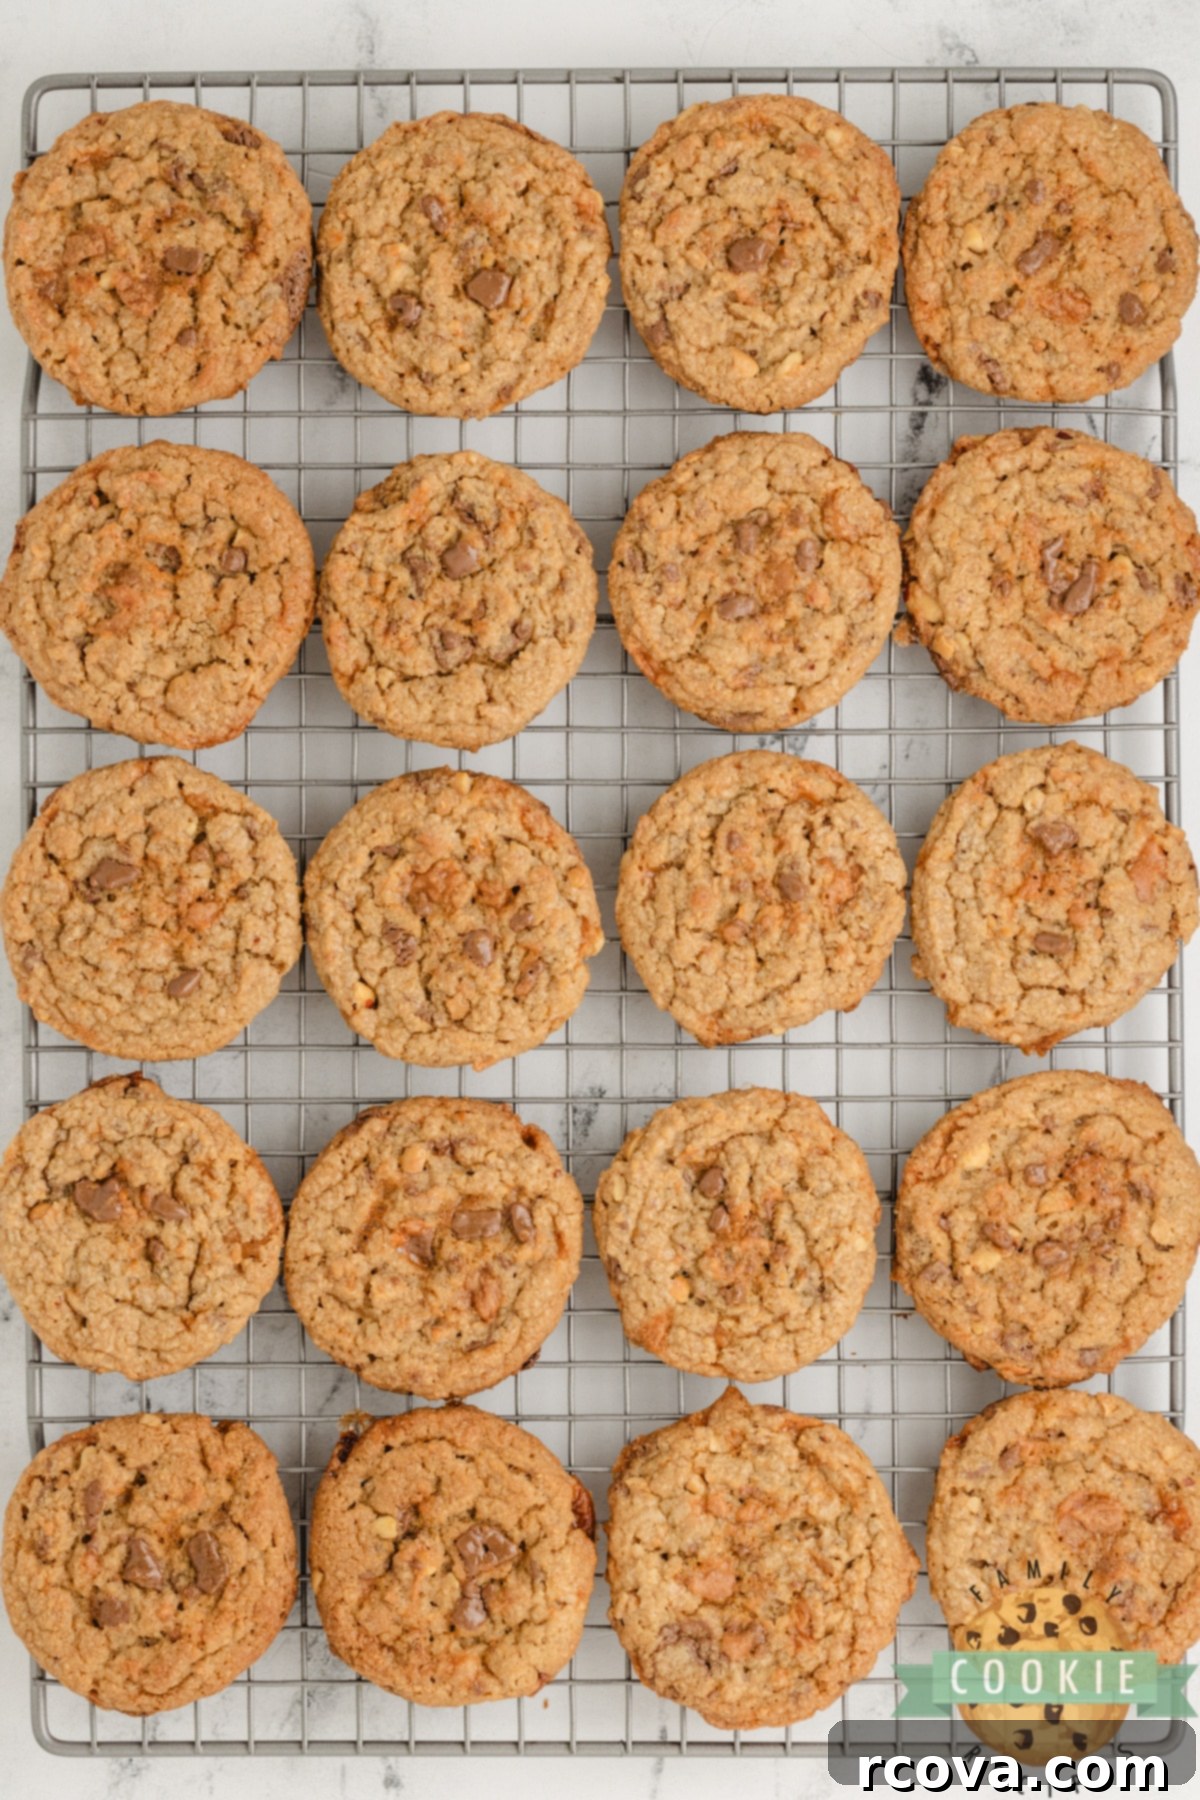
- Allow Cookies to Cool Completely on a Wire Rack: Patience is a virtue when it comes to cooling cookies. For the best texture, always let your cookies cool on the baking sheet for about 5 minutes immediately after baking, then transfer them to a wire rack to cool completely. Cooling allows the cookies to set properly, firming up their structure and helping to maintain those coveted chewy centers and slightly crisp edges. Transferring them too soon can cause them to break apart.
- Do Not Overmix the Dough: Once you add the dry ingredients to the wet, mix just until combined. Overmixing develops the gluten in the flour, leading to tough, dense cookies. A few streaks of flour are fine; they will disappear during baking.
- Use Parchment Paper or Silicone Baking Mats: Lining your baking sheets with parchment paper or a silicone baking mat prevents sticking and ensures even heat distribution, which helps in uniform browning. It also makes cleanup a breeze!
- Know Your Oven: Ovens can vary widely in temperature accuracy. Using an inexpensive oven thermometer can help you verify your oven is preheating to the correct temperature, which is critical for consistent baking results.
- Slightly Underbake for Chewiness: For that ultimate chewy texture, it’s often better to slightly underbake your cookies. Remove them from the oven when the edges are lightly golden brown but the centers still look a little soft and undone. They will continue to cook and set as they cool on the hot baking sheet.
Storing Your Delicious Butterfinger Peanut Butter Cookies
Proper storage is key to keeping your Butterfinger Peanut Butter Cookies fresh, soft, and delicious for as long as possible. Here are the best ways to store them:
Room Temperature Storage:
Once your cookies have completely cooled to room temperature (this is essential to prevent condensation, which can make them soggy), place them in an airtight container. A cookie jar with a tight-fitting lid or a plastic food storage container works perfectly. Stored this way, your Butterfinger Peanut Butter Cookies will remain wonderfully fresh and soft for up to 4-5 days. If you find your cookies are starting to lose their softness after a couple of days, a classic trick is to place a half-slice of plain bread in the container with them. The moisture from the bread will transfer to the cookies, helping to keep them soft and chewy for longer.
Freezing Baked Cookies:
If you’ve baked a large batch or want to enjoy these treats weeks later, these cookies freeze exceptionally well. Arrange the completely cooled cookies in a single layer on a baking sheet and freeze for about an hour until firm. Then, transfer the frozen cookies to a freezer-safe airtight container or a heavy-duty Ziplock bag. This prevents freezer burn and keeps them fresh. For the best flavor and texture, enjoy them within 2 months. To thaw, simply place them on the counter at room temperature for an hour or two, or warm them briefly in the microwave for a fresh-from-the-oven experience.
Freezing Cookie Dough for Freshly Baked Treats Anytime:
My favorite method for enjoying fresh cookies whenever a craving strikes is to freeze the dough pre-scooped into balls. This makes spontaneous baking incredibly convenient! Here’s how:
- Prepare the cookie dough according to the recipe instructions.
- Use a cookie scoop to portion the dough into individual balls.
- Place these dough balls on a cookie sheet lined with parchment paper, ensuring they don’t touch each other.
- Freeze the cookie dough balls individually for about 1-2 hours, or until they are solid.
- Once frozen solid, transfer all the cookie dough balls to an airtight freezer-safe container or a large Ziplock bag. Label with the date.
When you’re ready to bake, simply pull out the desired number of frozen cookie dough balls. You can bake them directly from frozen; just be aware that you may need to increase the baking time by an extra minute or two compared to baking fresh dough. This method allows you to have warm, gooey Butterfinger Peanut Butter Cookies whenever you desire, without the full prep time!
BUTTERFINGER PEANUT BUTTER COOKIES
Print
Pin
Rate
Ingredients
- ½ cup butter softened
- ¾ cup sugar
- ⅔ cup brown sugar
- 2 egg whites
- 1 ¼ cups chunky peanut butter
- 1 ½ tsp vanilla
- 1 cup flour
- ½ tsp baking soda
- ¼ tsp salt
- 10 oz bag of Butterfinger Baking Bits or 5 1.9 oz Butterfinger candy bars, chopped
Instructions
-
Preheat oven to 350°F (175°C). Prepare your baking sheets by greasing them lightly or lining with parchment paper or a silicone baking mat.
-
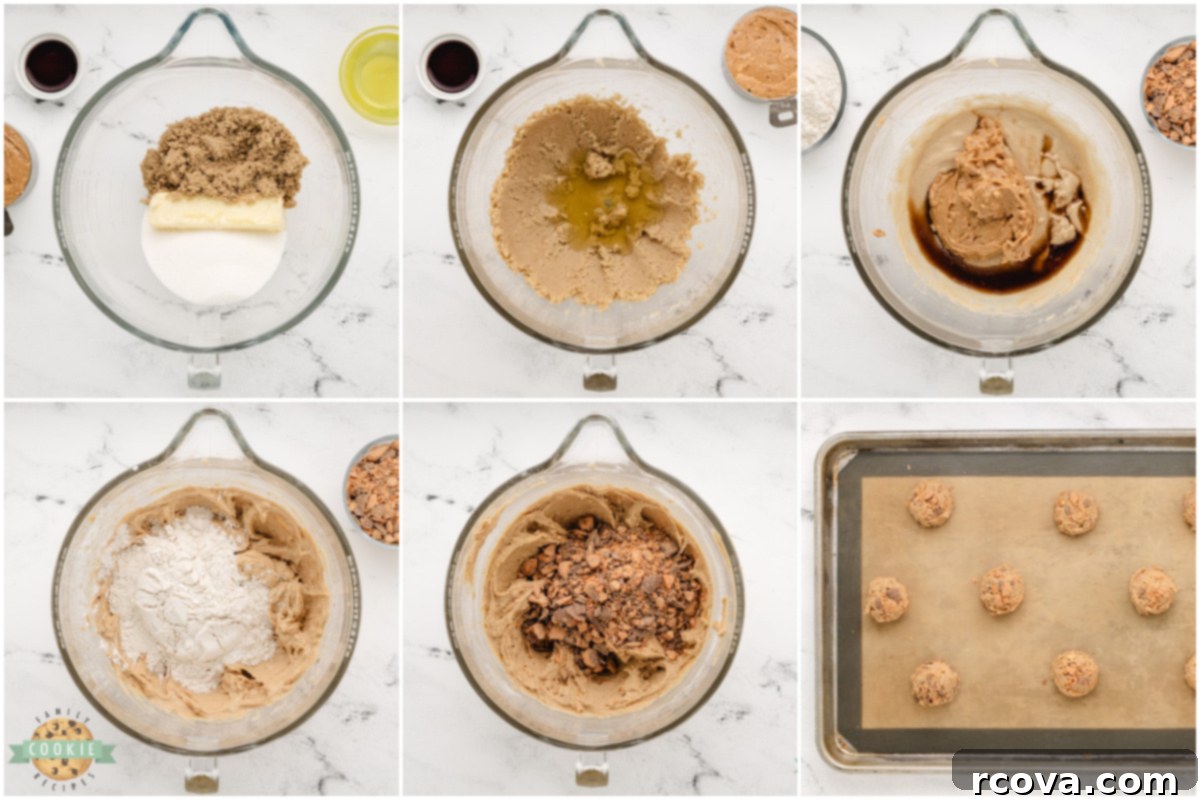
In a large mixing bowl, using an electric mixer, cream together the softened butter and both granulated and brown sugars for 2-3 minutes until light and fluffy. This step incorporates air, contributing to the cookies’ texture.
-
Add the egg whites and beat well until fully incorporated. Then, blend in the chunky peanut butter and vanilla extract until smooth. Scrape down the sides of the bowl as needed.
-
In a separate medium bowl, whisk together the all-purpose flour, baking soda, and salt. Ensure these dry ingredients are well combined.
-
Gradually add the dry ingredients to the butter mixture, mixing on low speed until just combined. Be careful not to overmix the dough. Finally, gently stir in the chopped Butterfinger candy bars or baking bits by hand until evenly distributed.
-
Use a medium cookie scoop (about 1.5-2 tablespoons) to place rounded balls of cookie dough onto your prepared cookie sheets, leaving about 2 inches between each cookie for spreading.
-
Bake for 10-12 minutes, or until the edges are lightly browned and the centers appear slightly set but still soft. For extra chewiness, aim for the shorter baking time. Let the cookies cool on the cookie sheets for about 5 minutes before carefully transferring them to wire racks to cool completely.
Nutrition
Frequently Asked Questions About Butterfinger Peanut Butter Cookies
When baking up a batch of delicious peanut butter cookies, especially with a fun twist like Butterfingers, a few common questions often arise. Here are some of the most frequently asked questions and their helpful answers to ensure your baking success:
HOW DO YOU KEEP PEANUT BUTTER COOKIES SOFT?
To maintain that perfect soft and chewy texture, proper storage is crucial. Once your Butterfinger Peanut Butter Cookies have completely cooled down to room temperature, place them in an airtight container. This prevents air exposure which can dry them out. If you notice your cookies starting to firm up after a couple of days, a clever trick is to place a half-slice of soft bread (like sandwich bread) into the container with the cookies. The cookies will absorb moisture from the bread, helping them to stay fresh and soft for a longer period.
CAN I USE NATURAL PEANUT BUTTER INSTEAD OF REGULAR CREAMY PEANUT BUTTER?
While the recipe specifically recommends regular creamy peanut butter (like Jif or a similar store brand), some bakers might be tempted to use natural peanut butter. However, it’s very important to understand that using natural peanut butter may not yield the same excellent results. Natural peanut butter tends to be runnier and significantly oilier, as the oil naturally separates. This higher oil content and looser consistency can drastically affect the cookie dough’s texture, leading to cookies that spread excessively, become greasy, or have a crumbly, less desirable consistency. For consistent, reliable results with the perfect chewiness, sticking to a conventional creamy peanut butter is highly recommended for this recipe.
Can I make the cookie dough ahead of time?
Absolutely! Preparing the cookie dough in advance is a fantastic time-saver. You can easily make the dough and refrigerate it in an airtight container for 1-2 days before you plan to bake. When you’re ready to bake, remove the dough from the refrigerator and let it sit at room temperature for about 15-20 minutes. This will allow it to soften slightly, making it much easier to scoop and ensuring a more even spread during baking.
What if I can’t find Butterfinger Baking Bits?
No worries at all! If Butterfinger Baking Bits aren’t available in your local grocery store, you can simply chop up regular full-size Butterfinger candy bars. For this recipe, you’ll need approximately five (1.9 oz) standard Butterfinger candy bars. Chop them into small, consistent pieces – similar in size to chocolate chips – to ensure they mix evenly into the dough and distribute well throughout each cookie. For an easier chop and to prevent them from sticking too much, try chilling the candy bars in the freezer for about 15-20 minutes before cutting.
Why does this recipe use only egg whites?
The use of only egg whites in this specific peanut butter cookie recipe is interesting! While not all cookie recipes omit yolks, it often results in a lighter, chewier texture rather than a dense, cake-like one. Egg whites contribute protein for structure but less fat than yolks, which can lead to a slightly crispier edge and a more pronounced chew. It helps keep the focus on the distinct peanut butter and Butterfinger flavors without added richness from egg yolks.
My cookies spread too much/are flat. What went wrong?
Several factors can lead to cookies spreading too much or becoming flat:
- Softened Butter: If your butter was too warm or melted, it will cause the cookies to spread excessively. Ensure it’s just softened to room temperature.
- Overmixing: Overmixing the dough, especially after adding flour, can develop too much gluten, resulting in tougher, flatter cookies. Mix until just combined.
- Old Baking Soda: As mentioned, old or expired baking soda loses its leavening power, preventing cookies from rising properly.
- Natural Peanut Butter: As discussed, natural peanut butter’s oilier consistency can cause cookies to spread more.
- Incorrect Flour Measurement: Too little flour will make the dough too wet and spread. Make sure to measure flour correctly, preferably by weight or by spooning flour into a measuring cup and leveling it off.
- Greased Baking Sheets: If using a non-stick baking sheet, avoid greasing it, as this can add excess fat and contribute to spreading. Parchment paper or silicone mats are preferred.
More Delicious Peanut Butter Cookie Recipes to Try:
If you’re a true peanut butter cookie enthusiast, the adventure doesn’t stop here! There are countless ways to enjoy this classic treat. Explore some of our other fantastic peanut butter cookie recipes to satisfy every craving:
- Classic Favorites: For those who appreciate simplicity and timeless taste, try our Cake Mix Peanut Butter Cookies for an incredibly easy and soft bake, or delight in the comforting tradition of Grandma’s Peanut Butter Cookies for that perfect old-fashioned taste.
- Chocolatey Twists: Elevate your peanut butter experience with a hint of chocolate. Our Peanut Butter Chocolate Chip Cookies are a classic for a reason, blending two beloved flavors seamlessly. Or, for a visually stunning and equally delicious treat, delve into the rich swirls of Chocolate Peanut Butter Swirl Cookies.
- Fun & Unique Creations: If you’re looking for something a little different and crave-worthy, get creative with Peanut Butter Surprise Cookies, featuring a hidden delight within each bite. Alternatively, the charming and customizable Peanut Butter Thumbprint Cookies are perfect for filling with your favorite jams or chocolates.
No matter the occasion, whether you’re baking for a bustling crowd, a special family gathering, or simply can’t resist sneaking one warm from the oven, these Butterfinger Peanut Butter Cookies are guaranteed to deliver bold flavor, an unbeatable combination of textures, and pure joy with every single bite. Happy baking!
