Irresistible White Chocolate Peppermint Shortbread Cookies: Your Ultimate Holiday Baking Guide
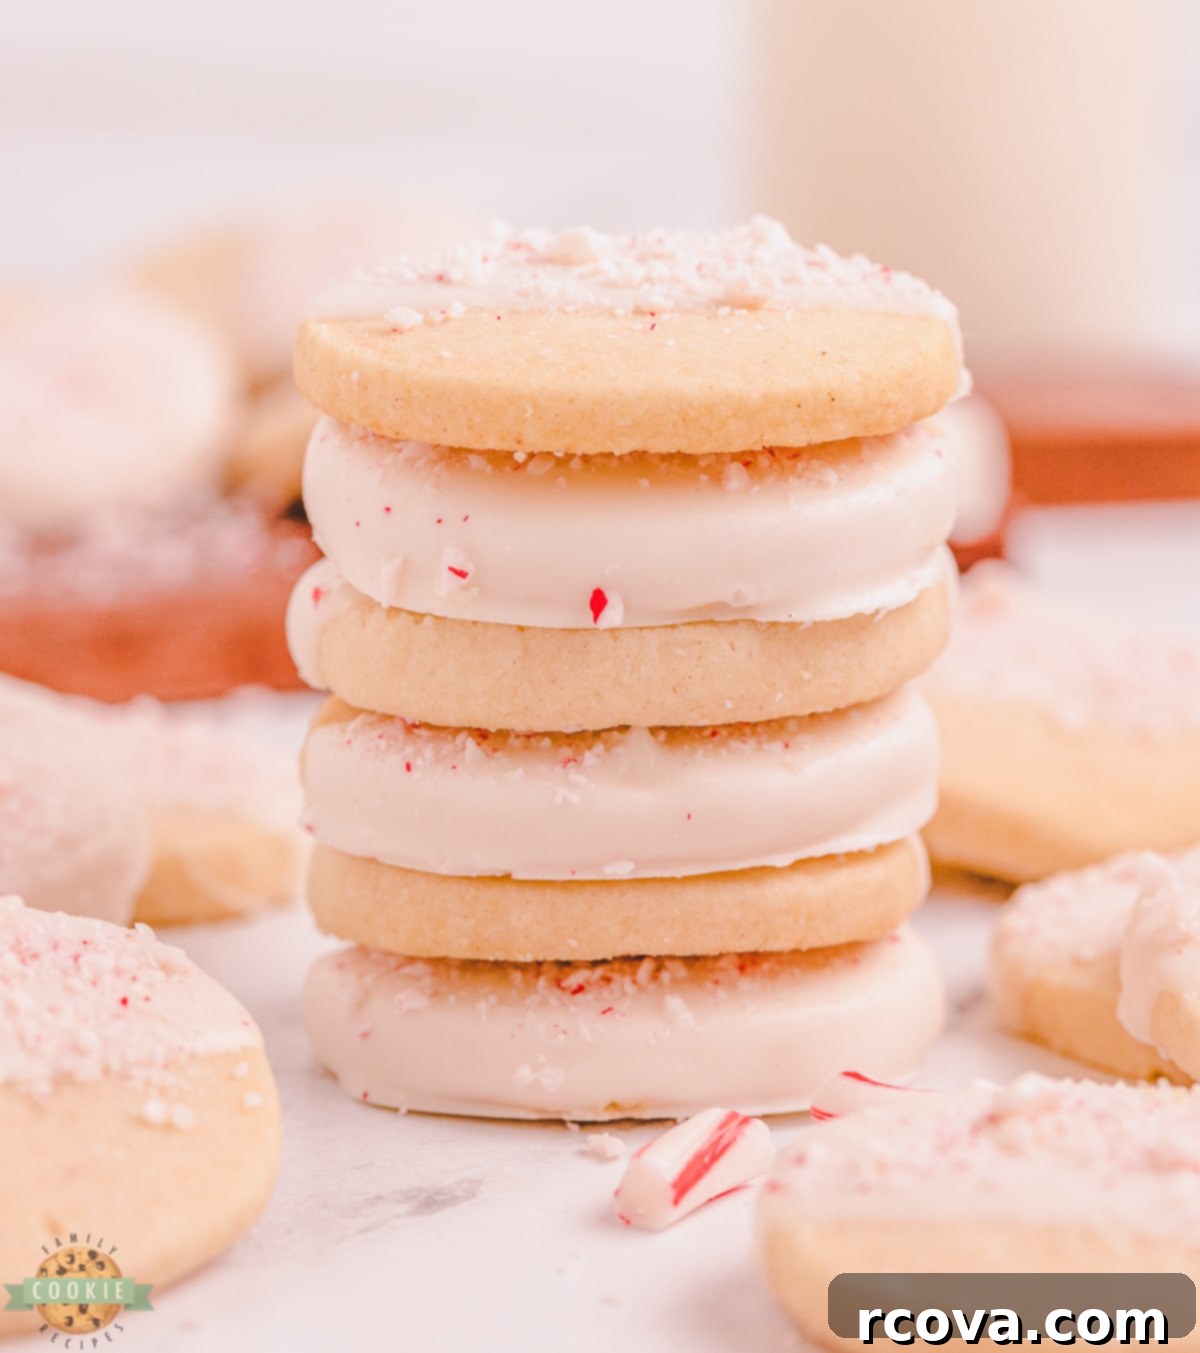
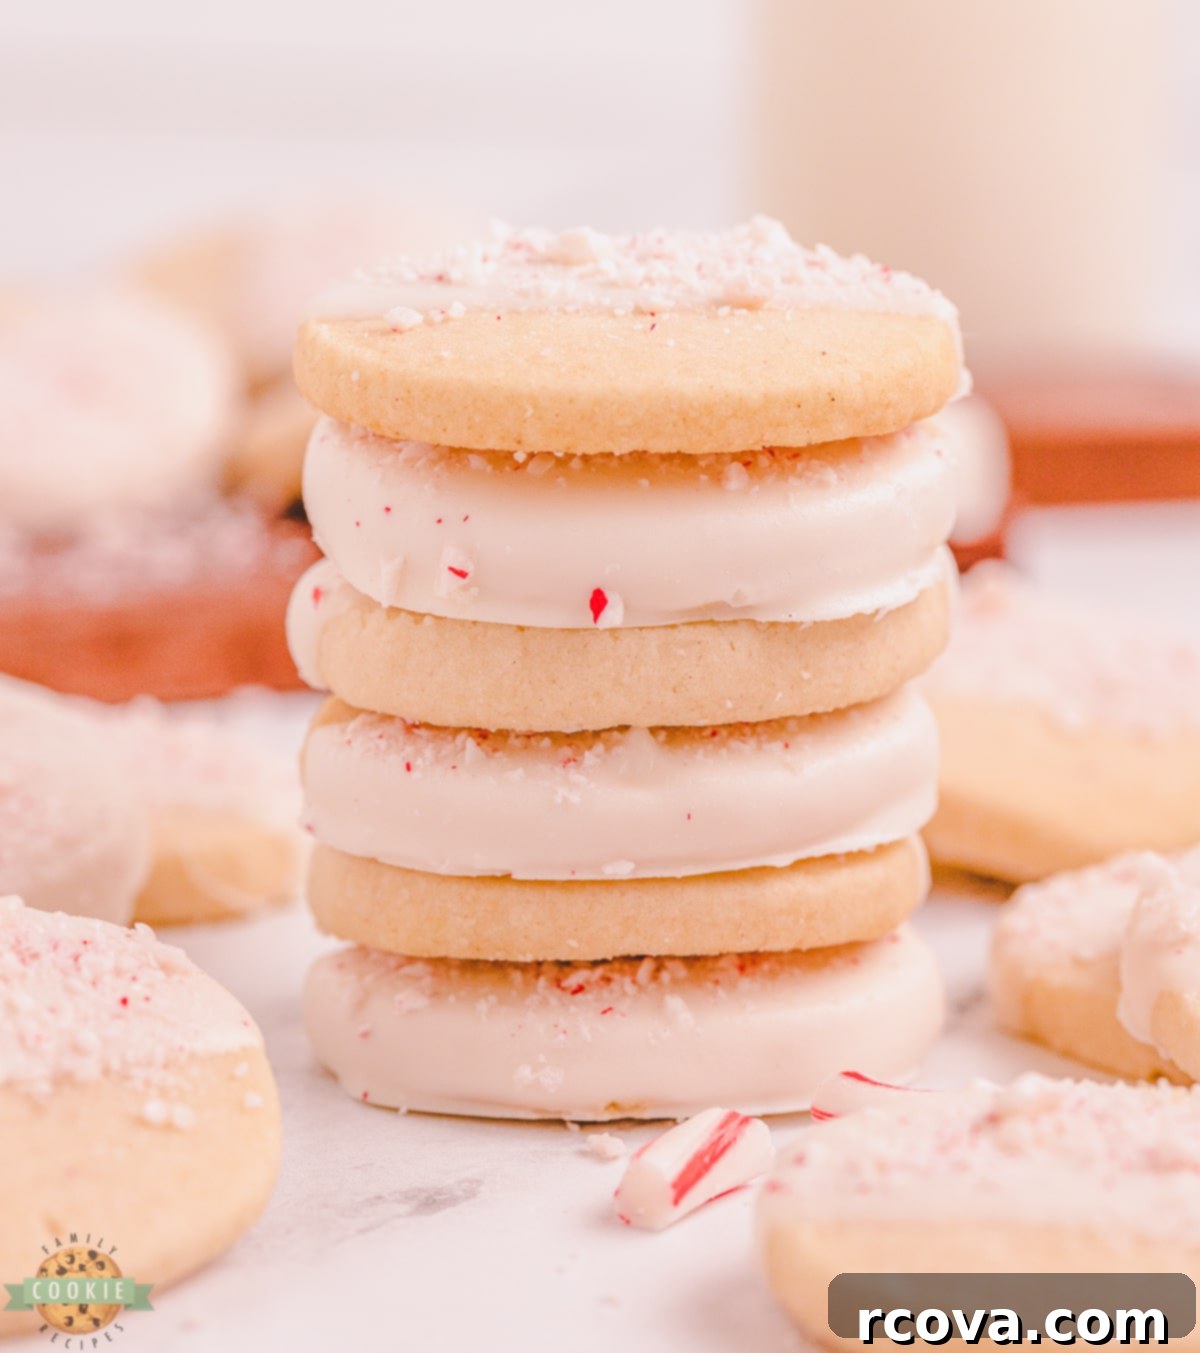
There’s nothing quite like the magic of homemade cookies during the holiday season, and these **Peppermint Shortbread Cookies** perfectly capture that festive spirit. Imagine tender, buttery shortbread, infused with refreshing peppermint, then dipped in creamy white chocolate and adorned with crunchy candy cane pieces. These cookies are a true celebration of winter flavors, making them an absolute must-have for Christmas gatherings, cozy evenings, or as thoughtful edible gifts.

This **peppermint shortbread recipe** offers versatility and comfort all winter long. Whether you enjoy them fresh from the oven, at room temperature, or alongside a steaming mug of hot cocoa, their delightful flavor profile remains consistent. They are robust enough for holiday parties and elegant enough to be cherished gifts, yet simple enough to keep in your cookie jar for everyday indulgence. Get ready to bake a batch that will bring joy and a wonderful aroma to your home!
Why White Chocolate and Peppermint are a Classic Duo
Some flavor combinations are simply destined to be together, and peppermint with chocolate is undoubtedly one of them. This iconic pairing creates a harmonious balance of cool, refreshing mint and rich, sweet chocolate that has captivated taste buds for generations. Think of popular seasonal favorites like peppermint mochas and peppermint bark – these treats are eagerly anticipated year after year because they evoke the essence of winter holidays. For our shortbread, we elevate this classic by dipping the cookies in luxurious melted white chocolate, providing a creamy, sweet counterpoint to the crisp, minty shortbread and creating the ultimate winter wonderland experience in every bite.
Why You’ll Adore This Peppermint Shortbread Recipe
- Effortlessly Simple Ingredients: You don’t need exotic or hard-to-find items to create these delightful candy cane shortbread cookies. Most of what you’ll need – staples like butter, sugar, flour, and a touch of baking powder and salt – are likely already in your pantry. This simplicity makes it an accessible recipe for bakers of all skill levels, ensuring delicious results without a trip to a specialty store.
- Straightforward and Rewarding Steps: The process for making this dough is remarkably simple, involving basic techniques like mixing, chilling, slicing, and baking. While the steps themselves are minimal, the recipe does require a bit of patience during the crucial chilling phase. This hands-off time allows the dough to firm up, making it easier to handle and contributing significantly to the perfect shortbread texture. The minimal effort involved truly pays off with a stunning and delicious cookie.
- The Ultimate Party and Gift Cookie: These dipped peppermint shortbreads are an absolute showstopper, making them perfect for any festive occasion. Whether you’re hosting a holiday party, participating in a Christmas cookie exchange, or looking for a charming homemade gift, these cookies are a wonderful treat worth sharing. Their vibrant colors and festive flavors make them a delightful addition to any seasonal spread, sure to impress friends and family alike.
Essential Ingredients for Peppermint Christmas Cookies
Crafting perfect shortbread begins with quality ingredients. Here’s what you’ll need to create these festive treats:
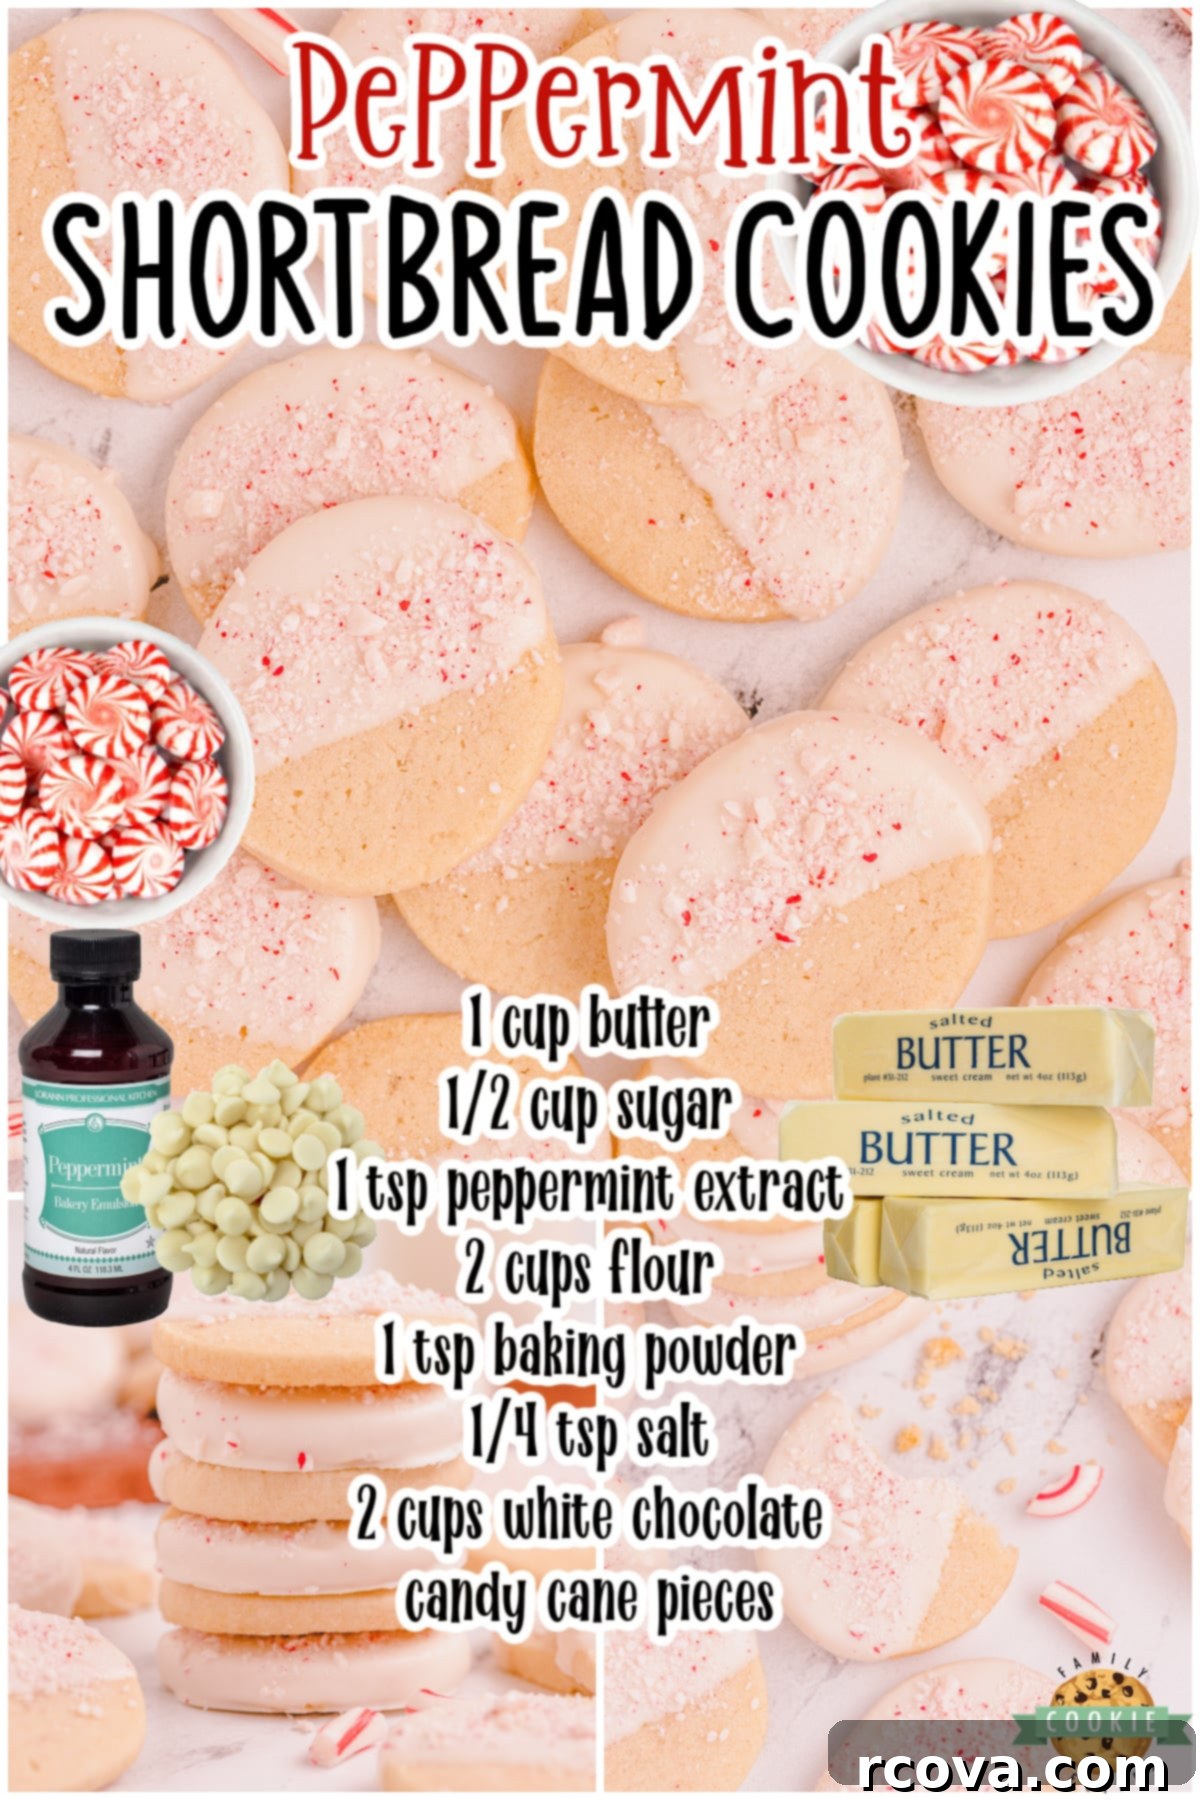
Butter: You will need 1 cup (or two sticks) of softened unsalted butter. Using softened butter is crucial as it creams easily with sugar, incorporating air for a tender crumb. Ensure it’s not melted, just pliable.
Sugar: Use 1/2 cup of granulated white sugar. This provides the ideal sweetness and helps create that signature crisp shortbread texture. Fine granulated sugar will blend seamlessly into the butter.
Peppermint Extract: 1 teaspoon of pure peppermint extract is key for that distinct, refreshing mint flavor. Be mindful of using pure extract for the best taste; avoid mint flavorings that might have artificial notes.
Flour: 2 cups of all-purpose flour forms the structural base of these sturdy yet delicate cookies. Proper measurement is important – spoon and level your flour to avoid over-measuring, which can lead to tough cookies.
Baking Powder: 1 teaspoon of baking powder provides a slight lift, ensuring the cookies aren’t too dense and have a pleasant, slightly crisp yet tender bite as they bake. While shortbread is traditionally dense, a touch of leavening improves texture.
Salt: A mere 1/4 teaspoon of salt is added to enhance and balance the sweetness, bringing out the depth of the other flavors in the dough. Don’t skip it, as it makes a noticeable difference.
White Melting Chocolate: For dipping, you’ll need 2 cups of high-quality white melting chocolate. This type of chocolate melts smoothly and sets beautifully. Alternatively, you can use 2 cups of white chocolate chips combined with 1 teaspoon of coconut oil or shortening. The oil/shortening helps the chips melt more smoothly for a perfect dipping consistency.
Candy Canes: Finally, for a vibrant and seasonal garnish, use finely crushed candy cane pieces. These not only add a delightful crunch and extra peppermint punch but also make the cookies visually stunning and unmistakably festive.
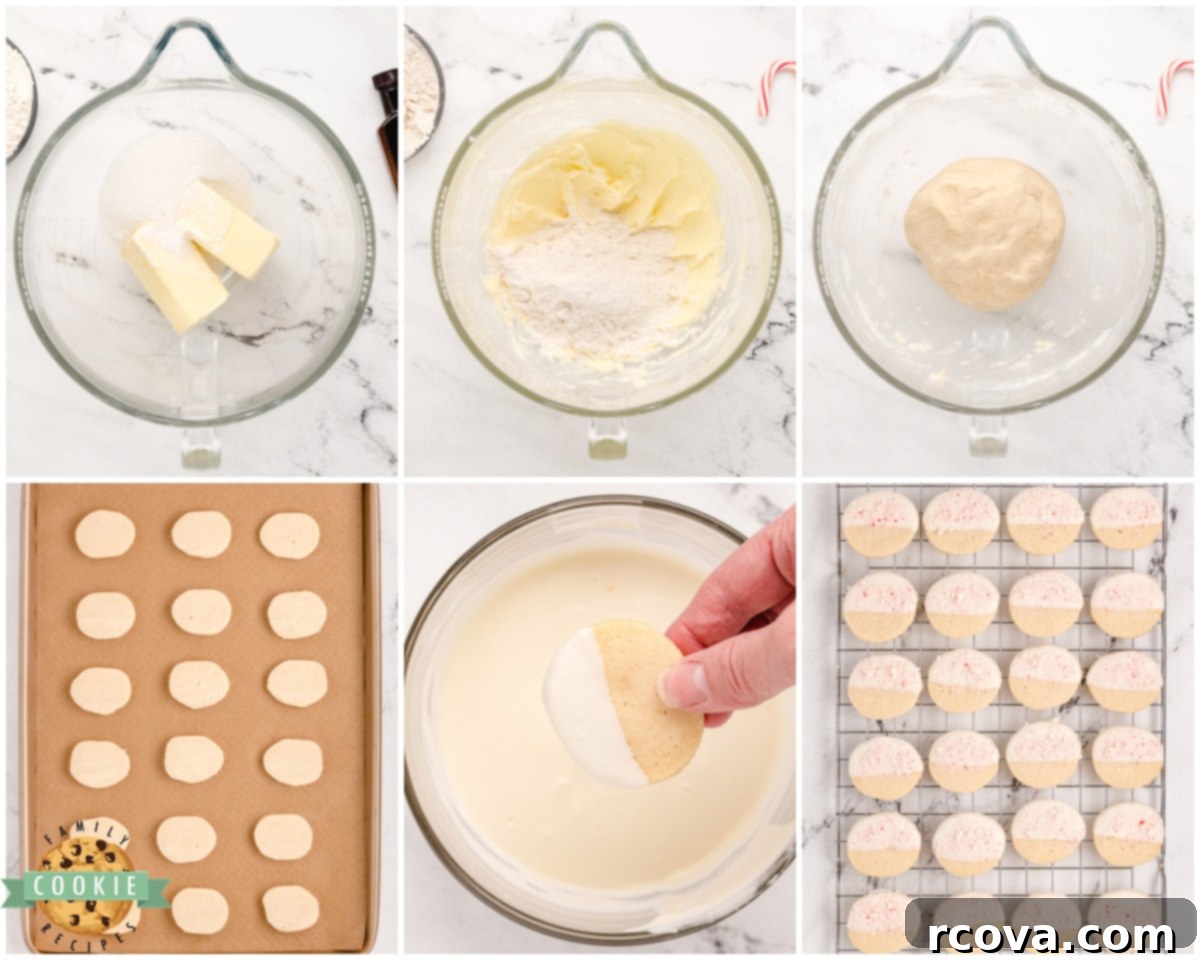
How to Make Peppermint Shortbread Cookies: A Step-by-Step Guide
Follow these detailed steps to create your perfect batch of peppermint shortbread cookies, ensuring every cookie is as delicious as it is beautiful.
Step 1: Preparing the Dough
In a large mixing bowl, combine the softened butter and granulated sugar. Using an electric mixer, beat them together on medium speed until the mixture becomes light, fluffy, and pale in color. This process, known as creaming, incorporates air into the butter, which is essential for the shortbread’s tender texture. Next, add the peppermint extract and mix again until fully incorporated. You can also add a few drops of red or green food coloring here if you desire a festive hue for your cookies.
Gradually add the all-purpose flour, baking powder, and salt to the butter mixture. Mix on low speed until a soft, cohesive dough forms. Be careful not to overmix, as this can develop the gluten in the flour, leading to tough cookies. Stop mixing as soon as the flour streaks disappear and the dough just comes together.
Step 2: Chilling for Perfection
Divide the freshly made dough into two equal halves. On separate sheets of wax paper, gently form each half into an 8-inch long log. Aim for a relatively uniform thickness to ensure even baking. While a perfectly round log is ideal, an oval shape works just as well.
Wrap each dough log tightly in its wax paper. Place the wrapped logs into the refrigerator and chill for at least 2 hours, or preferably overnight. This chilling period is crucial for several reasons: it allows the butter to re-solidify, which prevents the cookies from spreading excessively during baking, resulting in perfectly shaped shortbread. It also allows the flavors to meld and deepen, enhancing the overall taste. If you’re short on time, you can place the logs in the freezer for about 30 minutes for a quicker firming, but a longer chill yields the best results.
Step 3: Preparing for Baking
Once your dough is thoroughly chilled, preheat your oven to 300 degrees F (150 degrees C). Line several baking sheets with parchment paper; this prevents sticking and ensures easy cleanup. Set these prepared baking sheets aside.
Remove the chilled dough logs from the refrigerator. Using a sharp knife, carefully cut each log into uniform 1/4-inch thick slices. Consistency in thickness is important for even baking. Arrange the sliced cookies on your prepared baking sheets, leaving about 2 inches of space between each cookie to allow for slight spreading.
Step 4: Baking the Cookies
Bake your shortbread cookies on the top rack of your preheated oven for 22-26 minutes. The exact baking time may vary depending on your oven, so keep an eye on them. The cookies should be set and lightly golden around the edges, but the centers should still be pale. Avoid over-baking, as shortbread is meant to be tender, not crispy.
Once baked, carefully transfer the cookies from the hot baking sheets to a wire rack using a spatula. Allow them to cool completely before proceeding to the next step. Cooling fully is essential to ensure the white chocolate adheres properly and the cookies achieve their desired crisp-tender texture.
Step 5: Assembling and Decorating
While the cookies are cooling, prepare your white chocolate. Place the white melting chocolate (or chocolate chips with coconut oil/shortening) in a microwave-safe bowl. Heat in the microwave for 1 minute. Remove and stir gently. Continue heating in 15-second intervals, stirring thoroughly after each interval, until the chocolate is completely smooth and melted with no lumps. Be careful not to overheat, as white chocolate can seize.
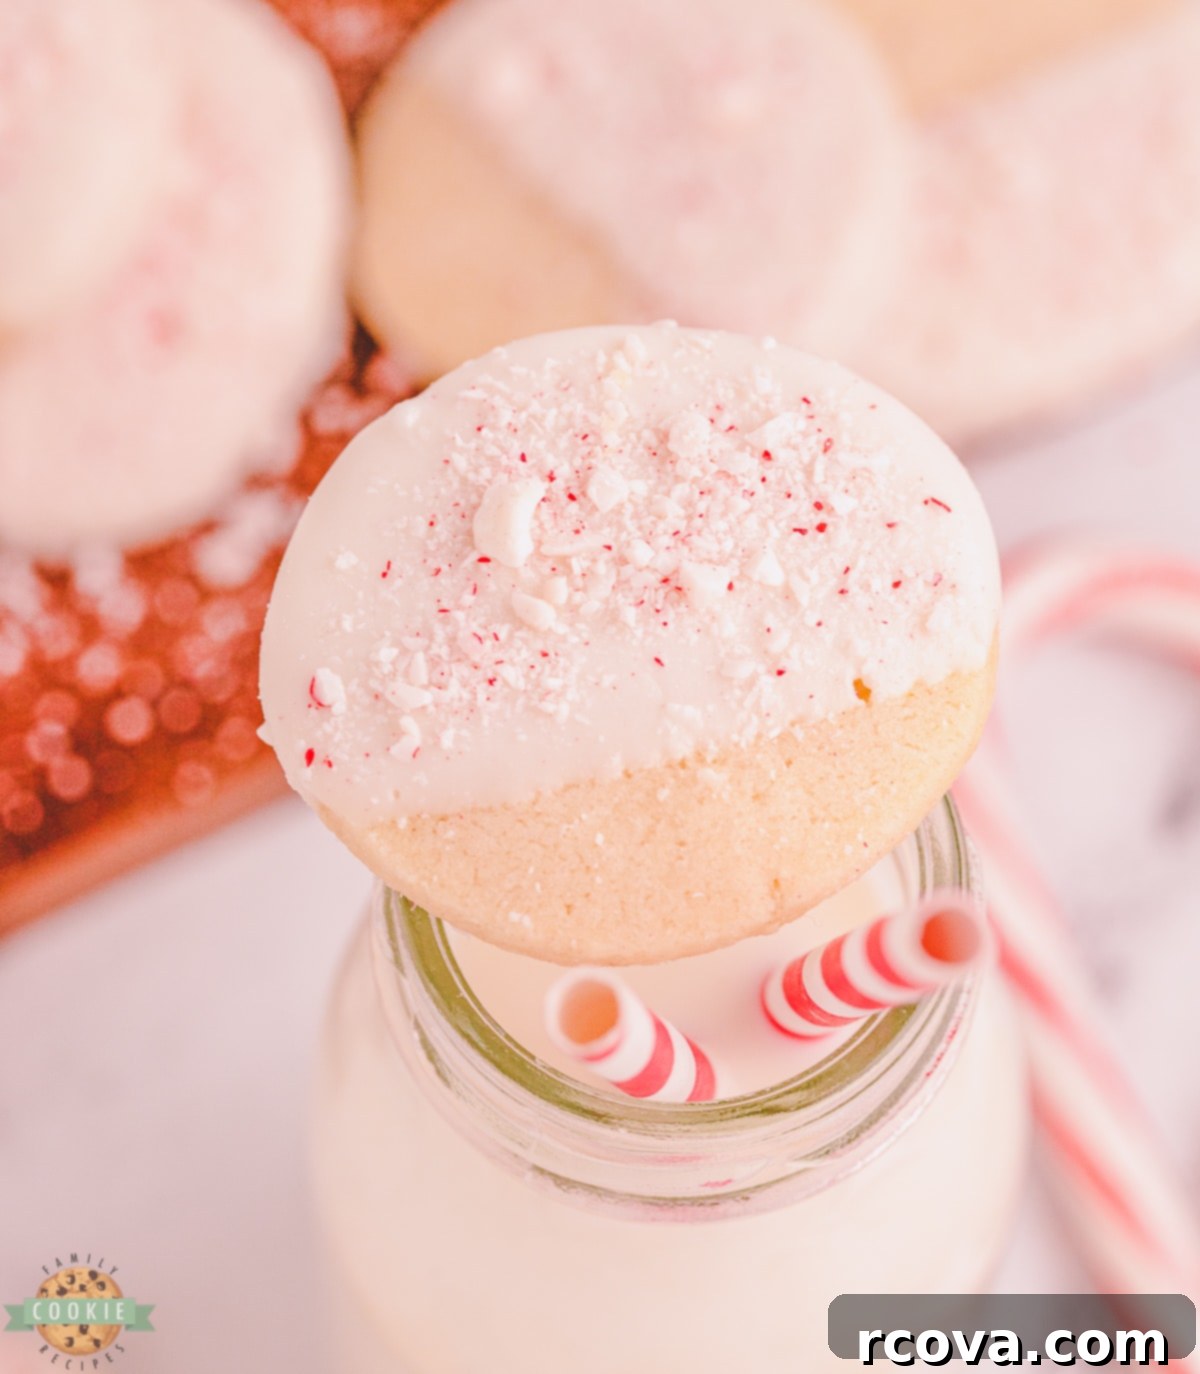
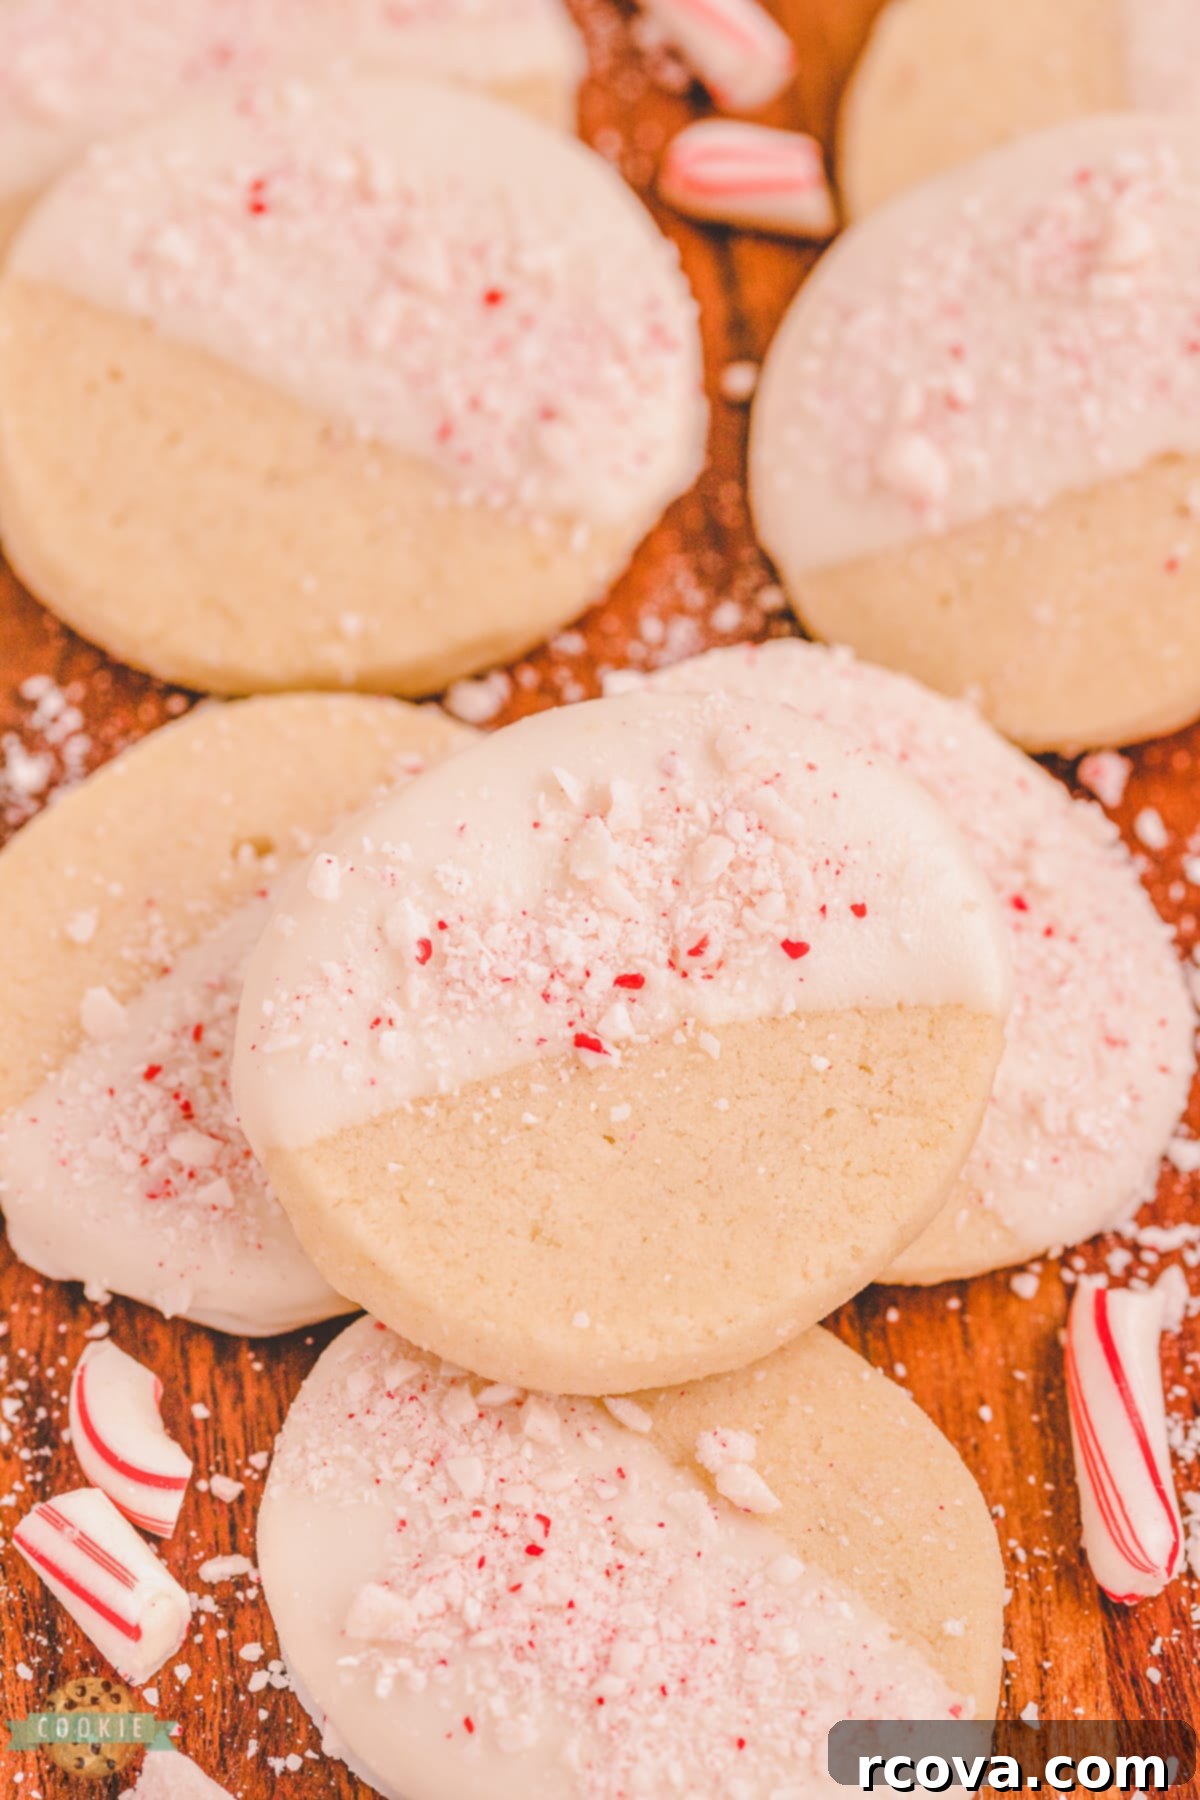
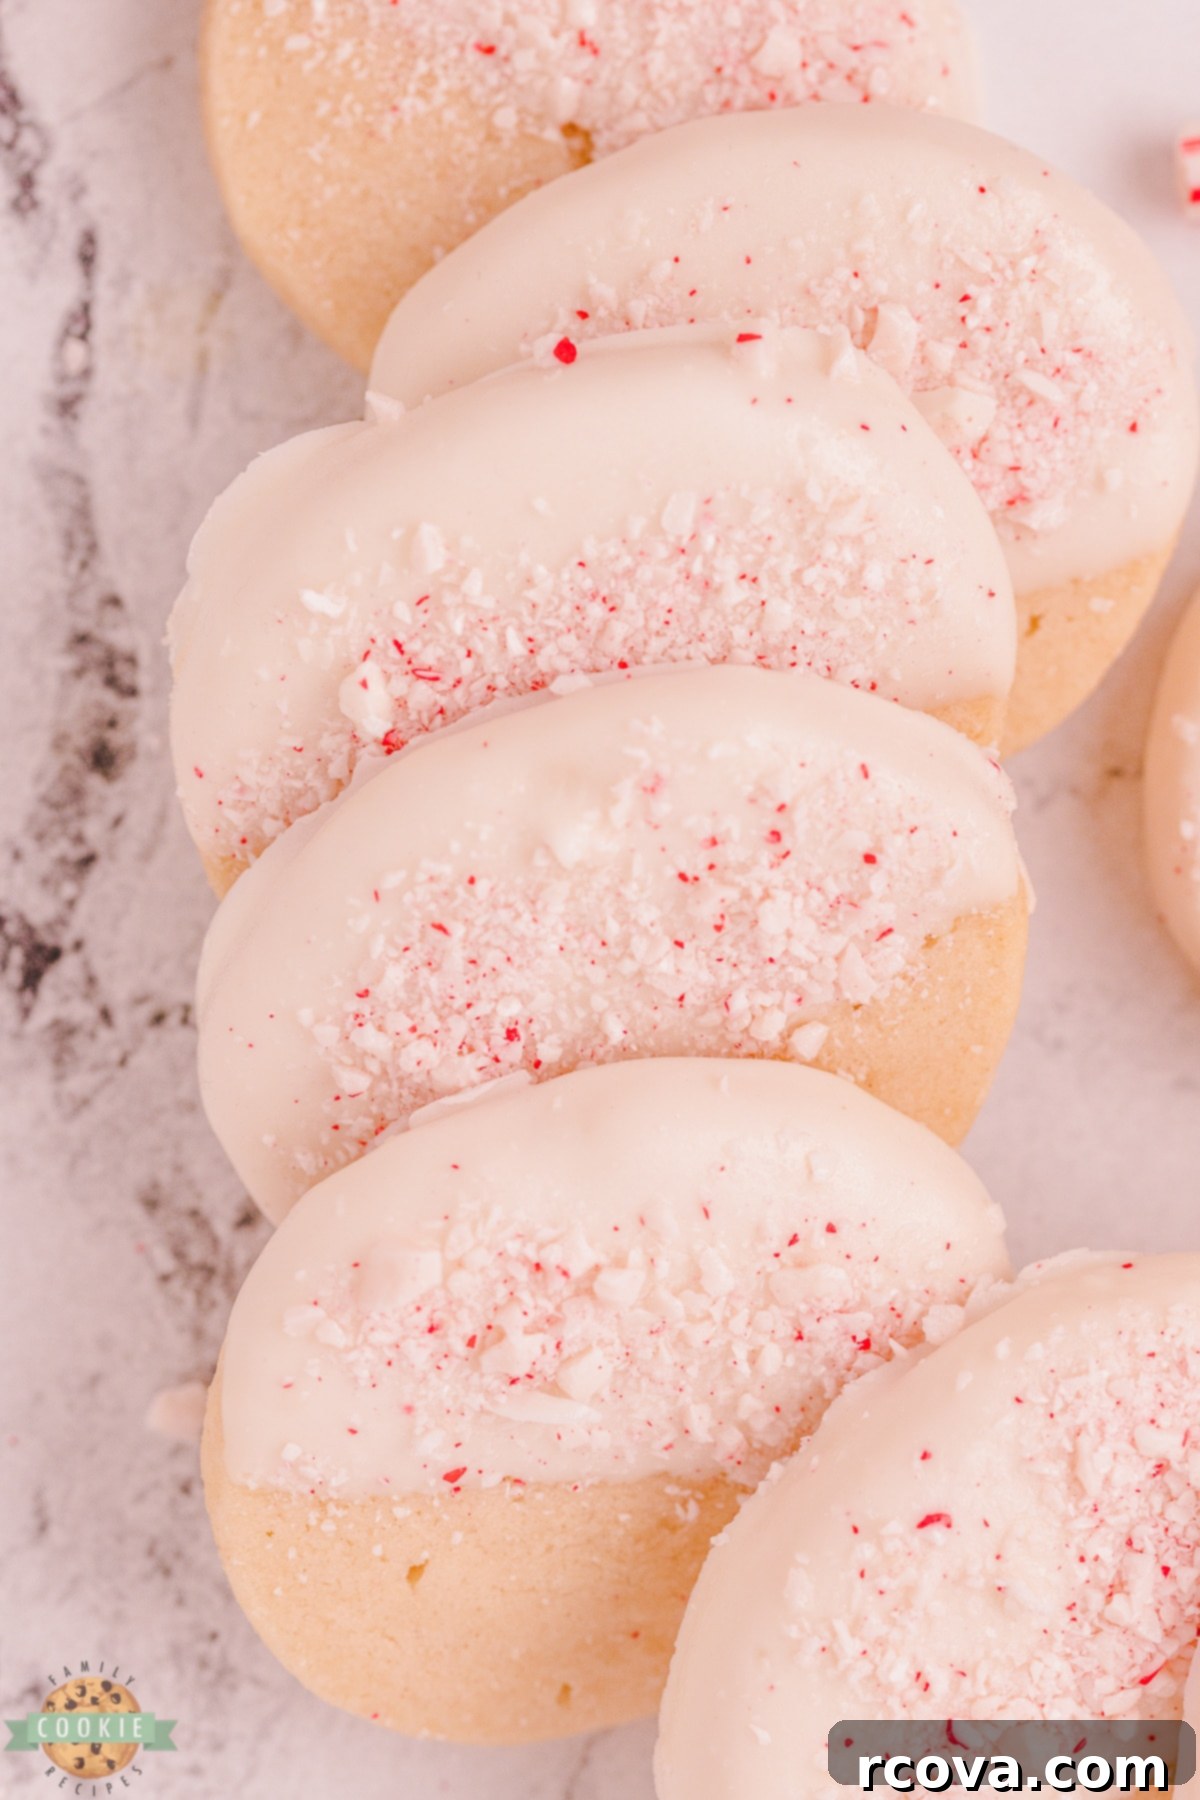
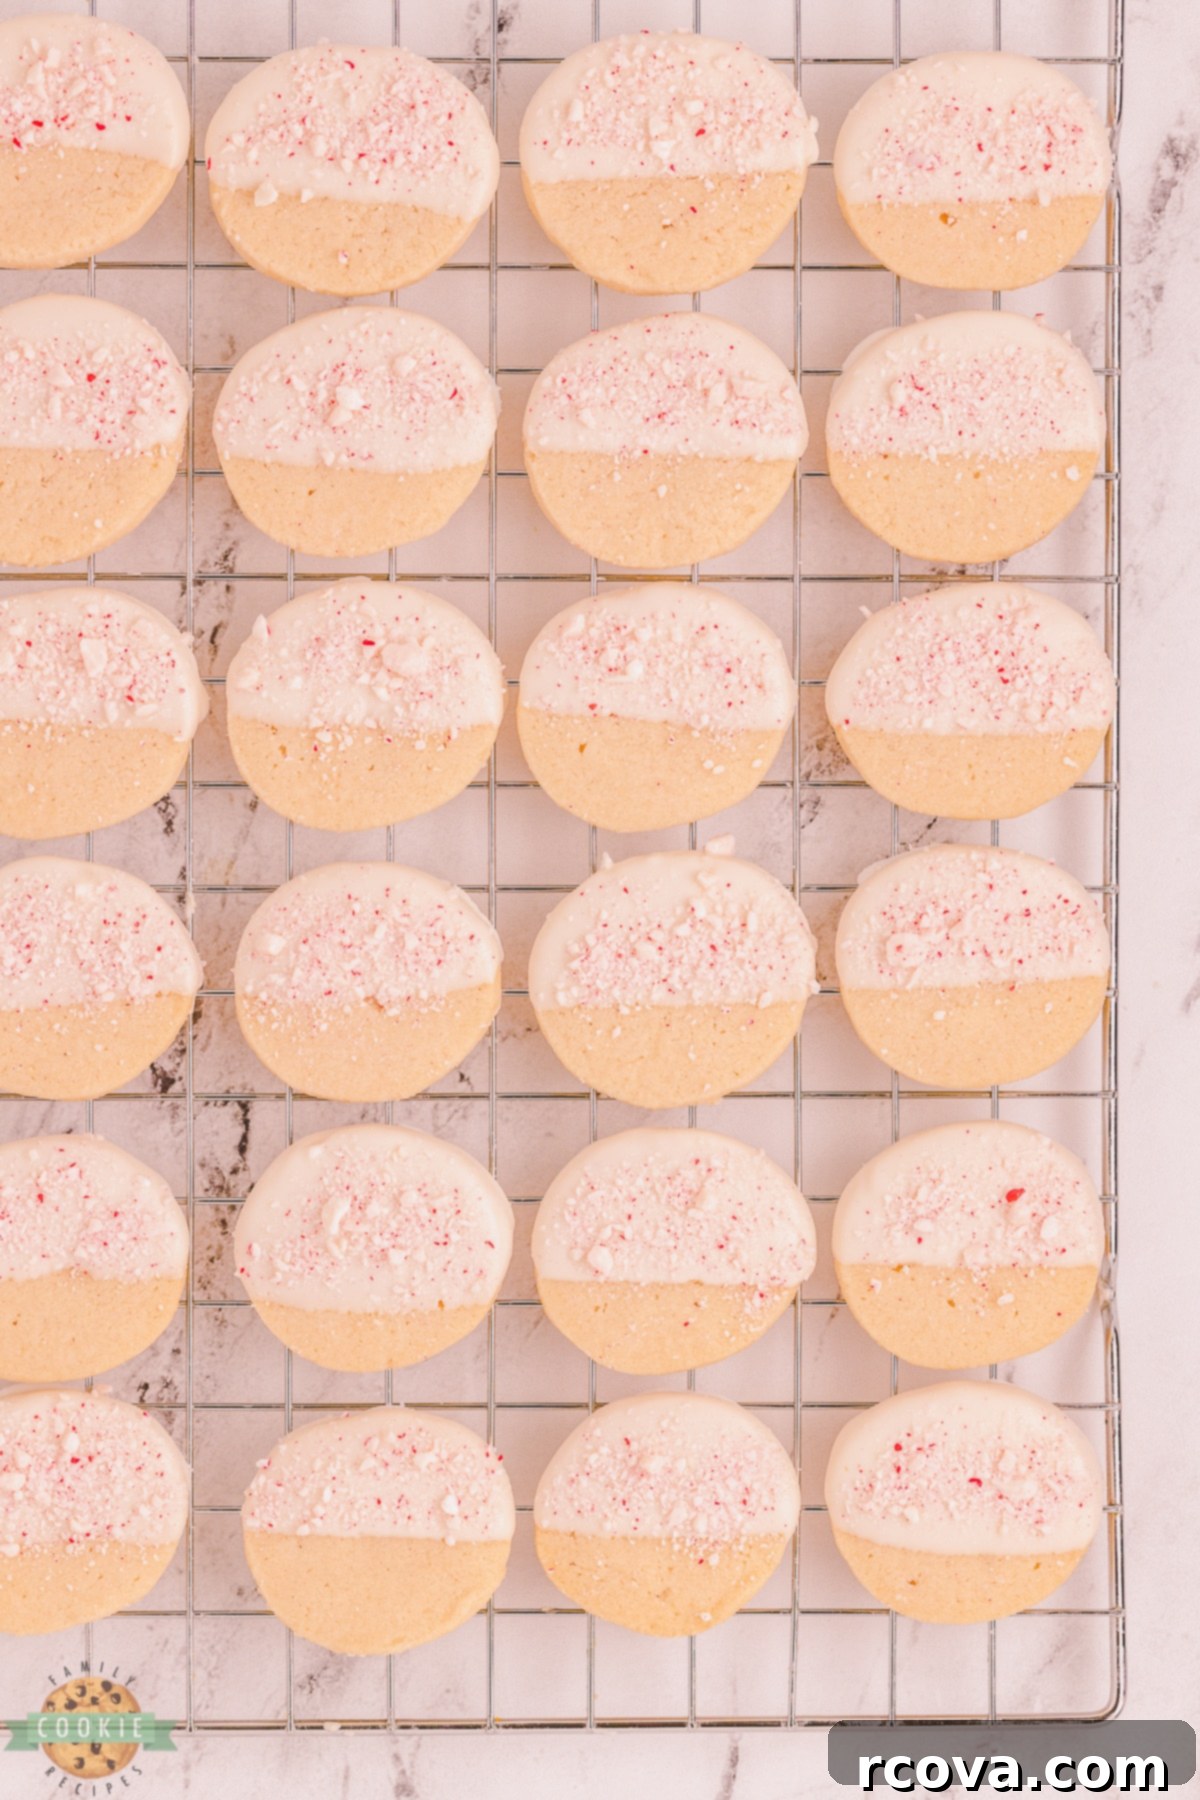
Once the chocolate is ready and the cookies are cool, dip about three-quarters of each cookie into the melted white chocolate. Allow any excess chocolate to drip off, then immediately place the dipped cookie onto a sheet of wax paper. While the chocolate is still wet, generously sprinkle with the finely crushed candy cane pieces. Repeat with all remaining cookies.
Let the cookies remain undisturbed on the wax paper until the white chocolate has fully set. This can take a while at room temperature; to speed up the process, you can place them in the refrigerator for 10-15 minutes. Once set, your beautiful and delicious Peppermint Shortbread Cookies are ready to be enjoyed!

PEPPERMINT SHORTBREAD COOKIES
Print
Pin
Rate
Ingredients
- 1 cup butter softened (2 sticks) – ensure it’s unsalted and at room temperature.
- ½ cup granulated sugar – for sweetness and crisp texture.
- 1 tsp peppermint extract – for a distinct, refreshing mint flavor.
- 2 cups all-purpose flour – spooned and leveled for accurate measurement.
- 1 tsp baking powder – to give a slight lift and tender texture.
- ¼ tsp salt – to balance sweetness and enhance flavors.
- 2 cups white melting chocolate* – for smooth dipping and coating.
- finely crushed candy cane pieces – for garnish, flavor, and festive crunch.
Instructions
-
In a large bowl, using an electric mixer, cream the softened butter with the granulated sugar until the mixture is light, fluffy, and noticeably paler in color. Add in the peppermint extract and mix thoroughly. If desired, incorporate a few drops of red or green food coloring for a festive touch.
-
Gradually add the all-purpose flour, baking powder, and salt to the creamed mixture. Mix on low speed until a cohesive dough just begins to form. Be careful not to overmix, as this can result in tough shortbread cookies.
-
Divide the prepared dough in half. On separate sheets of wax paper, gently roll or shape each half into an 8-inch log. Wrap the logs securely in the wax paper. Chill the wrapped dough logs in the refrigerator for at least 2 hours, or ideally overnight, to allow the butter to firm up and flavors to deepen. (For quicker results, you can chill in the freezer for 30 minutes, though longer chilling is recommended.) Don’t worry if your logs aren’t perfectly round; an oval shape works beautifully too!
-
Preheat your oven to 300°F (150°C). Prepare your baking sheets by lining them with parchment paper.
-
Using a sharp knife, carefully cut the chilled dough logs into uniform ¼-inch-thick slices. Arrange these slices on the prepared baking sheets, ensuring they are spaced approximately 2 inches apart to allow for proper airflow and slight spreading.
-
Bake the cookies on the top rack of the oven for 22-26 minutes. The cookies should be lightly golden at the edges and set, but still pale in the center. Avoid over-baking for the best tender shortbread texture.
-
Once baked, transfer the cookies to wire racks to cool completely. While cooling, prepare your white chocolate: heat it in a microwave-safe bowl for 1 minute, then stir gently. Continue heating in 15-second increments, stirring after each, until the chocolate is smooth and fully melted.
-
Dip approximately 3/4 of each cooled cookie into the melted white chocolate. Allow excess chocolate to drip off, then place the dipped cookies onto wax paper. Immediately sprinkle generously with finely crushed candy cane pieces while the chocolate is still wet. Let the cookies remain on the wax paper until the chocolate coating is completely cool and set before handling or serving. Enjoy your festive shortbread!
Notes
Nutrition
Storage Tips: How Long Do Peppermint Shortbread Cookies Last?
Proper storage is key to maintaining the deliciousness and festive appearance of your peppermint shortbread cookies. These delightful treats can be stored in an airtight container at room temperature for up to 5 days. For optimal freshness, a cool, dry pantry is ideal. Ensure they are completely cooled before storing to prevent condensation, which can make them soggy.
However, I do not recommend storing them in the refrigerator or freezer once decorated. The moisture and cold temperatures can cause the candy cane pieces on top to become soft, sticky, and lose their vibrant color and crunch. This can quickly turn your beautiful, crisp garnish into a somewhat messy and unappealing topping. If you plan to freeze them, it’s best to freeze the plain shortbread cookies after baking and cooling, then dip and decorate them with white chocolate and candy canes after thawing. This ensures the best texture and appearance for your festive treats.
The Importance of Chilling Cookie Dough
You might wonder why so many cookie recipes, including this peppermint shortbread, emphasize chilling the dough. It’s not just a suggestion; it’s a critical step for achieving the best possible results. There are several key reasons why chilling dough is beneficial:
- Flavor Development: Chilling allows the ingredients to fully hydrate and the flavors to meld and deepen over time. This results in a more complex and satisfying taste in the final cookie.
- Prevents Spreading: The primary reason for chilling shortbread dough, especially due to its high butter content, is to solidify the fats. When butter is cold and firm, it melts more slowly in the oven, giving the cookies structure before they spread too much. This helps maintain the desired shape and thickness, preventing thin, flat, or overly crumbly cookies. This is particularly important on warmer days or if your kitchen is warm.
- Improved Texture: Chilled dough bakes more evenly, leading to a superior texture. For shortbread, this means a cookie that is perfectly crisp yet tender, with that characteristic melt-in-your-mouth quality that makes shortbread so beloved.
- Easier to Handle: Cold dough is much less sticky and easier to roll, cut, or slice into uniform shapes, making the entire baking process smoother and more enjoyable.
So, while it requires a bit of patience, the chilling step is an investment in perfectly textured, incredibly flavorful peppermint shortbread cookies.

Achieving Perfect Softened Butter: Essential Tips
Many baking recipes, including shortbread, call for “softened” or “room temperature” butter, which ideally is around 65°F (18°C). This specific temperature is crucial because it allows the butter to cream properly with sugar, incorporating air that creates a light and tender crumb. Butter that is too cold won’t combine well, leading to a lumpy mixture, while melted butter can result in greasy, flat cookies. If you find yourself with cold butter and no time to let it sit out, here are some simple methods to quickly bring it to the perfect softened consistency without melting it:
- Countertop Method: The simplest approach is to plan ahead. Take your butter out of the refrigerator approximately 1 hour before you intend to start baking your cookie recipe. This gives it ample time to naturally reach room temperature.
- Warm Glass Method (Slices): If you’re in a hurry, slice your cold butter into tablespoon-sized pieces. Warm a glass by filling it with hot water, letting it sit for a minute, then emptying and drying it. Invert the warm glass over the butter slices on your counter. The residual heat will gently soften the butter in about 10-15 minutes. This method works well for smaller quantities.
- Warm Glass Method (Whole Sticks): A variation of the above, which I personally prefer for whole sticks: warm a tall drinking glass (as described above). Place the wrapped sticks of butter (still in their wrappers) inside the warmed cup, then invert the cup onto the countertop. The trapped warmth will create a mini-greenhouse effect, softening the butter in just a few minutes without direct contact.
- Warm Towel Method: Grab a clean kitchen towel and run it under warm water, then wring out all excess water until it’s just damp and warm. Wrap your sticks of butter (still in their wrappers) in this warm towel for a few minutes. Check periodically to ensure it’s softening evenly and not melting.
By using these techniques, you can ensure your butter is at the optimal temperature for creating perfectly consistent and delicious cookie dough.

On a slightly different note, my little one recently got her own room, and it’s been such a joy to watch her make it her own space. I remember wishing for my own room at her age, and it’s wonderful to see her embrace the creativity. She’s been making all sorts of charming design decisions, adding personal touches that truly reflect her personality. My favorite choice of hers so far? A cozy reading nook on the lower bunk, beautifully adorned with magical fairy lights! It’s a sweet reminder of the simple joys of creating a special corner just for yourself.

Discover More Festive Holiday Cookie Recipes!
The holiday season is a perfect time for baking and sharing. If you loved these peppermint shortbread cookies and are looking for more festive inspiration, explore some of our other fabulous holiday cookie recipes. From classic favorites to unique flavor combinations, there’s something to delight every palate and bring cheer to your baking endeavors:
- LINZER COOKIES: Elegant and flavorful, these jam-filled cookies are a holiday staple.
- ICED GINGER MOLASSES COOKIES: Spiced and comforting, with a sweet, delicate icing.
- ORANGE CARDAMOM COOKIES: A fragrant and zesty treat with a hint of exotic spice.
- DANISH WEDDING COOKIES: Melt-in-your-mouth shortbread-like cookies, also known as Mexican Wedding Cookies.
- CHOCOLATE STRAWBERRY THUMBPRINT COOKIES: A delightful fusion of rich chocolate and sweet strawberry jam.
- PEPPERMINT BUTTER COOKIES: More minty goodness in a simple, tender butter cookie.
- CRANBERRY ORANGE COOKIES: Bright, tangy, and bursting with citrus and fruit flavors.
- MINT CHOCOLATE CHIP COOKIE BARS: A convenient and delicious way to enjoy the mint-chocolate pairing.
- BEST GINGERBREAD CUT OUT COOKIES: Classic gingerbread, perfect for decorating with family.
- ICED GNOME COOKIES: Whimsical and fun, perfect for a themed holiday party.
- FROSTED EGGNOG COOKIES: Capture the essence of holiday eggnog in a soft, frosted cookie.
- SANTA’S WHISKERS COOKIES: Rolled in coconut and cherries, these cookies are as festive as they sound.
No matter which recipe you choose, sharing homemade cookies is a wonderful tradition that brings warmth and happiness to the holiday season. Enjoy your baking and create lasting memories!
We hope you thoroughly enjoy creating and indulging in these **peppermint shortbread cookies**. They truly offer a winter wonderland treat that’s impossible to forget – buttery, perfectly crisp, and wonderfully refreshing. The delicate balance of cool peppermint with creamy white chocolate and a sprinkle of festive candy cane pieces makes these cookies the quintessential addition to your seasonal baking repertoire. Happy holidays and happy baking!
