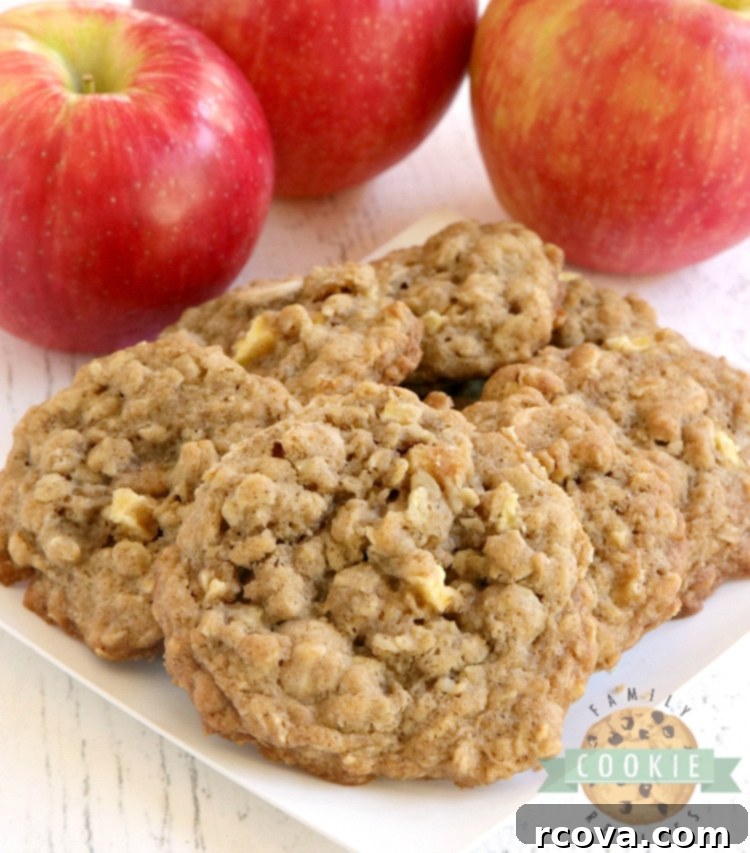
Irresistibly Soft & Chewy Caramel Apple Oatmeal Cookies: Your Perfect Fall Treat
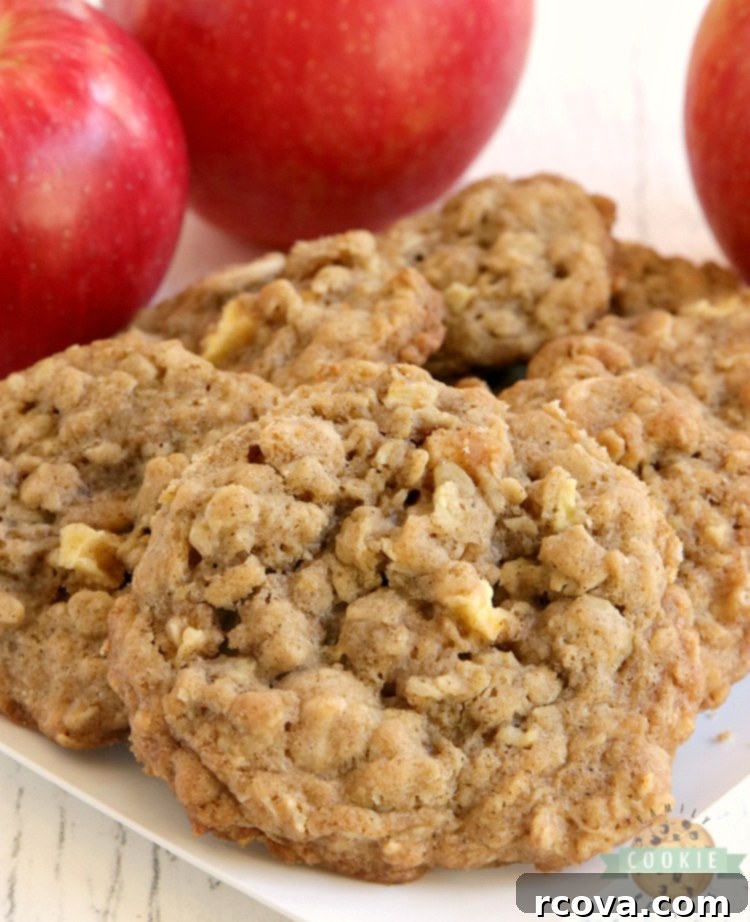
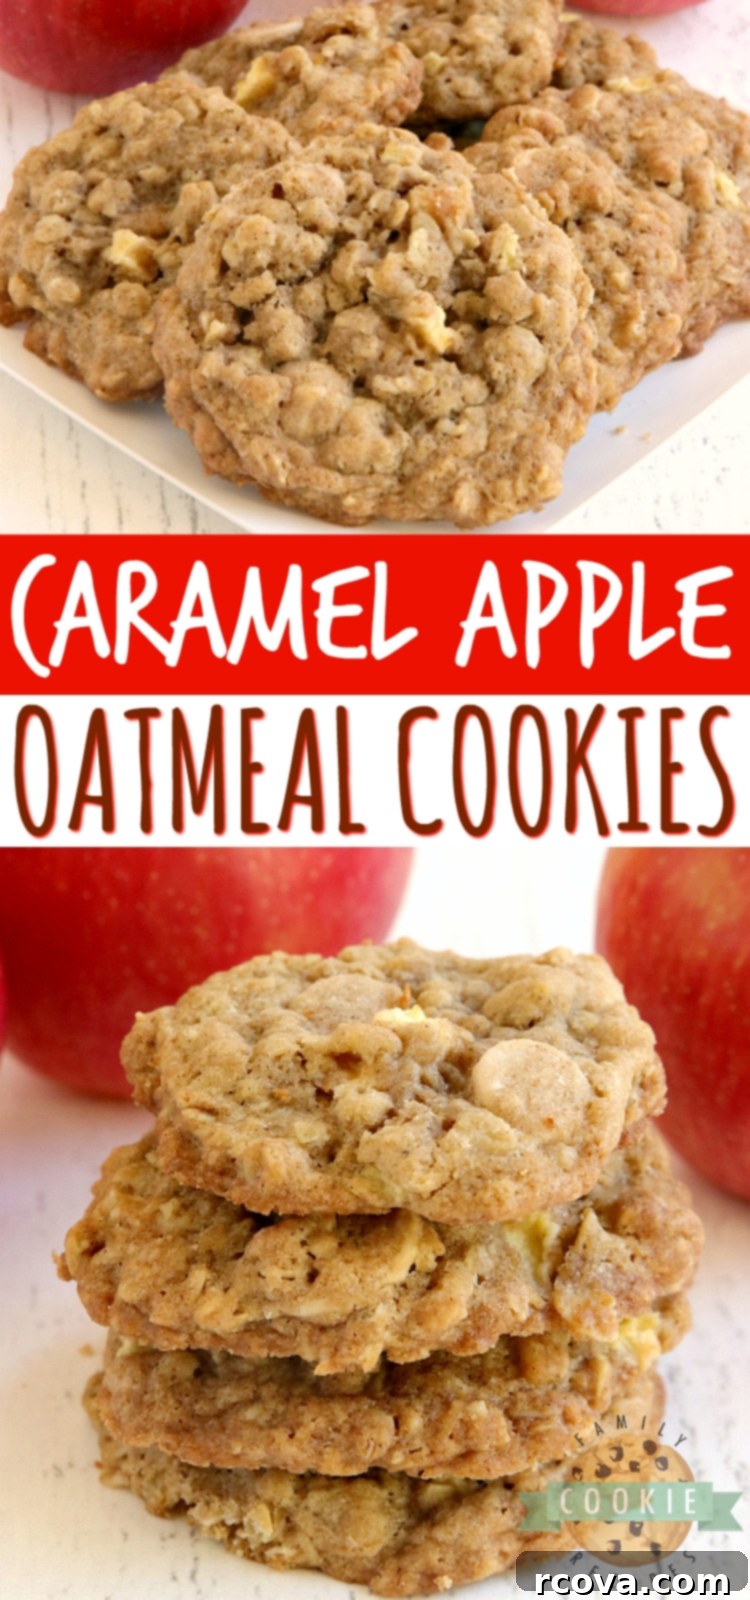
Embrace the cozy flavors of autumn with these truly incredible Caramel Apple Oatmeal Cookies! Imagine sinking your teeth into a cookie that’s perfectly soft, delightfully chewy, and bursting with the sweet, tart essence of fresh apples complemented by rich, buttery caramel baking chips. This isn’t just a cookie; it’s a taste of fall in every bite, making it the ultimate addition to your seasonal baking repertoire.
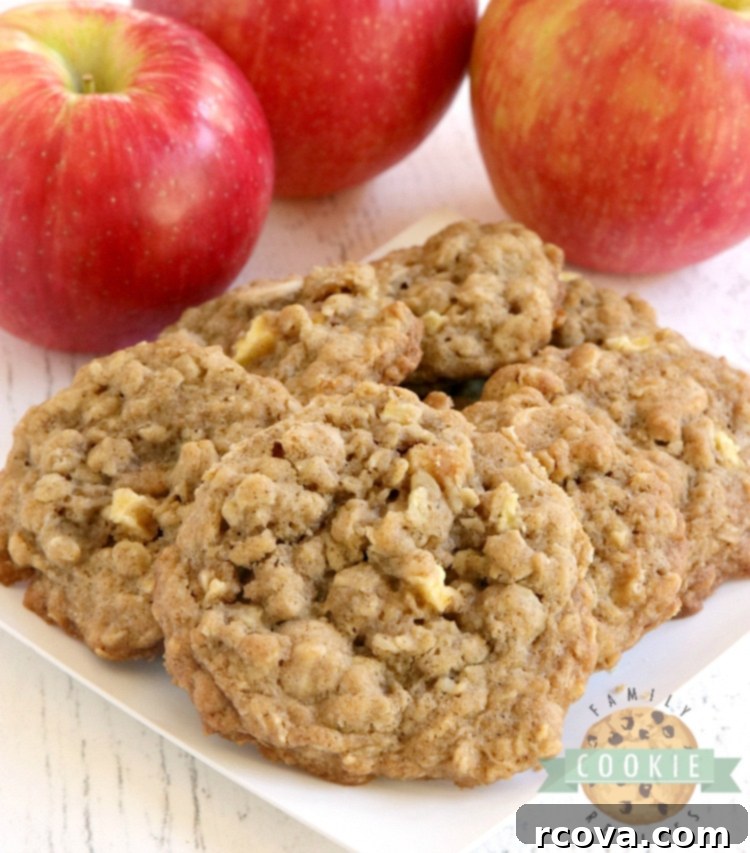
This oatmeal cookie recipe stands out from the rest. It’s not just about the classic combination of oats and cinnamon; it’s about achieving an unparalleled texture and consistency that truly sets it apart. The generous addition of aromatic cinnamon infuses warmth throughout the dough, while the star ingredients – tender, diced apples and luscious caramel baking chips – elevate these cookies to an extraordinary level. Each bite offers a harmonious blend of flavors and textures that are simply “off the charts” delicious.
MASTERING THE ART OF OATMEAL COOKIES: ESSENTIAL TIPS FOR PERFECTION
Through countless batches and years of baking experimentation, I’ve gathered several invaluable tips that guarantee the absolute BEST oatmeal cookies every single time. Follow these guidelines to transform your baking from good to truly exceptional:
- Achieve the Right Dough Consistency: Flour is critical for cookie structure. If your dough feels overly sticky after mixing, it might need a slight adjustment. Gradually add a tablespoon or two of extra all-purpose flour until the dough is manageable and no longer sticks excessively to your hands or the mixing bowl. A well-balanced dough ensures your cookies spread beautifully without becoming too thin or dense.
- Cream Butter and Sugars Thoroughly: This step is often overlooked but is fundamental for a light and airy cookie texture. Take the time to cream your softened butter with both brown and granulated sugars for a full 2-3 minutes. This process incorporates air into the mixture, resulting in cookies that are not only softer and chewier but also have a more delicate crumb. You’ll notice the mixture becoming visibly lighter in color and fluffier in consistency.
- Always Preheat Your Oven: Consistency is key in baking, and a properly preheated oven is non-negotiable. Placing cookie dough into a cold or partially heated oven can lead to uneven baking, unpredictable spreading, and a less desirable final texture. Ensure your oven reaches the target temperature of 350°F (175°C) before you even think about putting those cookie sheets in.
- Utilize a Cookie Scoop for Uniformity: For professional-looking cookies that bake evenly, a cookie scoop is your secret weapon. It ensures each cookie is the same size and shape, which is vital for consistent baking times. No more guessing or unevenly browned edges! Plus, it makes the scooping process much faster and cleaner.
- Invest in Parchment Paper or Silicone Baking Mats: Say goodbye to stuck-on cookies and tedious cleanup. Lining your baking sheets with parchment paper or using a silicone baking mat provides a non-stick surface that allows your cookies to slide off effortlessly once baked. This not only preserves their perfect shape but also makes transferring them to a cooling rack a breeze.
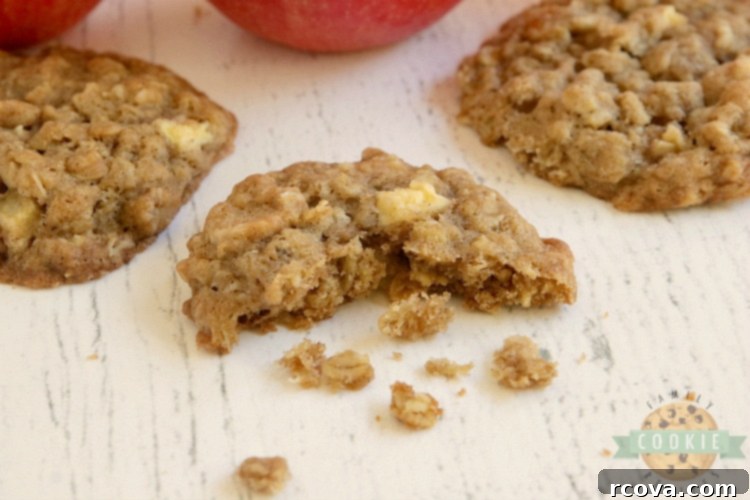
- Resist the Urge to Overbake: This might be the most crucial tip for achieving soft and chewy cookies. When you remove your oatmeal cookies from the oven, they should still appear slightly underbaked in the center, with edges just beginning to turn a light golden brown. Cookies continue to bake and set on the hot baking sheet for a few minutes after being removed, so pulling them out when they look “just right” in the oven often means they’ll be overbaked and dry once fully cooled. Trust the process for that ideal tender texture!
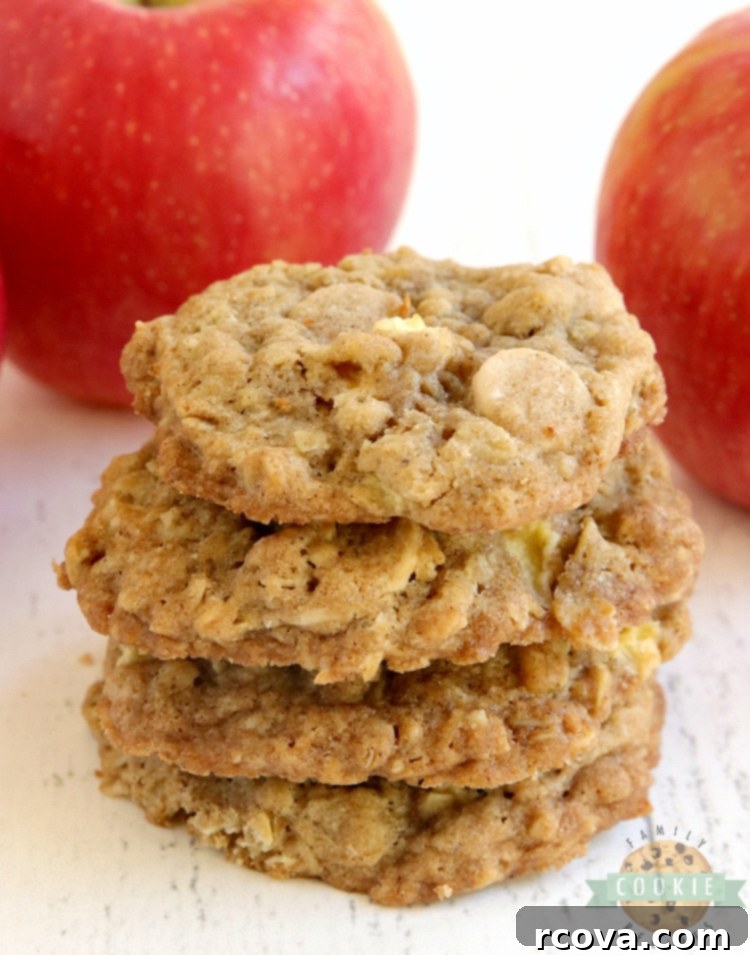
QUICK OATS VS. OLD-FASHIONED OATS: CHOOSING THE BEST FOR YOUR COOKIES
When it comes to baking oatmeal cookies, the type of oats you choose can significantly influence the final texture. Both quick oats and old-fashioned rolled oats have their merits, and the decision often boils down to personal preference. However, understanding the differences can help you achieve your desired cookie experience.
I personally find that old-fashioned rolled oats truly shine in this recipe. Their larger, flatter flakes provide a more substantial and satisfying chew, contributing to that delightful “chewy” characteristic we all love in an oatmeal cookie. When you use old-fashioned oats, you get a texture that feels wholesome and hearty, almost like you’re eating real oatmeal – a subtle psychological trick that makes it easier to justify enjoying a few extra cookies for breakfast (or any time of day!).
On the other hand, if you opt for quick oats, your cookies will tend to be a bit denser and slightly puffier. Quick oats are pre-cooked, dried, and then rolled into thinner, smaller pieces, which means they absorb liquid more rapidly during mixing and baking. This faster absorption leads to a less distinct oat texture and a more cake-like consistency in the finished cookie.
Feel free to experiment with what you have on hand. If your pantry only contains quick oats, they will certainly work. For those who enjoy a blend of textures, a combination of both quick and old-fashioned oats can offer a unique compromise, yielding a cookie that’s both tender and slightly chewy. Just remember that the goal is always a delicious cookie, so use what you love!
INGREDIENTS FOR INDULGENT CARAMEL APPLE OATMEAL COOKIES
Gathering your ingredients is the first step to creating these irresistible fall cookies. Ensure your butter is softened to room temperature for optimal creaming, and have your apple peeled and diced finely for even distribution. While Ghirardelli caramel chips may be difficult to find now, Hershey’s and other brands offer excellent caramel baking chip alternatives widely available at most grocery stores.
Here’s what you’ll need:
1 3/4 cup all-purpose flour + 2 Tbsp flour (for coating apples)
1 Tbsp ground cinnamon
1 tsp baking soda
1/2 tsp salt
1 1/2 cups butter, softened to room temperature
1 cup light brown sugar
1/2 cup granulated sugar
2 large eggs
1 Tbsp vanilla extract
3 cups old-fashioned rolled oats
1 medium apple, peeled and finely diced (such as Fuji, Gala, or Honeycrisp)
1 pkg (10 oz) caramel baking chips (Hershey’s or your preferred brand)
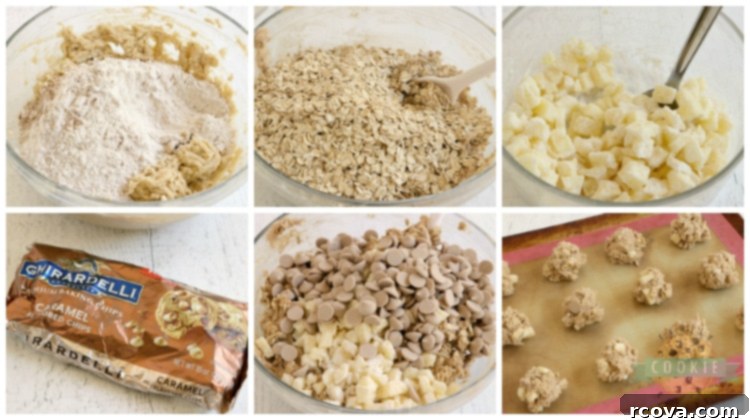
STEP-BY-STEP GUIDE: HOW TO BAKE CARAMEL APPLE OATMEAL COOKIES
Follow these detailed steps to create a batch of perfectly chewy, flavorful caramel apple oatmeal cookies:
- Prepare Your Oven: Begin by preheating your oven to 350°F (175°C). This ensures a consistent baking temperature from the moment your cookies enter the oven, promoting even baking and perfect texture.
- Combine Dry Ingredients: In a small bowl, whisk together the 1 3/4 cups of all-purpose flour, ground cinnamon, baking soda, and salt. Mixing these dry ingredients separately helps distribute them evenly throughout the dough, ensuring every cookie has a balanced flavor and rises correctly. Set this mixture aside.
- Cream Butter and Sugars: In a larger mixing bowl, using an electric mixer, cream together the softened butter, light brown sugar, and granulated sugar for at least 2-3 minutes. Continue mixing until the mixture becomes light, fluffy, and visibly creamy. This aeration step is crucial for achieving soft and tender cookies.
- Incorporate Eggs and Vanilla: Add the eggs one at a time to the creamed butter and sugar mixture, mixing well after each addition. Then, stir in the vanilla extract. Continue to mix for another 2-3 minutes, allowing the wet ingredients to fully combine and emulsify, further enhancing the cookie’s texture.
- Add Dry to Wet Ingredients: Gradually add the reserved dry ingredient mixture to the wet mixture. Mix on low speed, just until the flour streaks disappear and the ingredients are barely combined. Be careful not to overmix at this stage, as overworking the gluten can lead to tough cookies.
- Fold in the Oats: Gently stir in the old-fashioned rolled oats. Mix just until they are fully incorporated into the dough. Overmixing the oats can sometimes break them down, affecting the desired chewy texture.
- Prepare the Apples: In a separate small bowl, toss the finely diced apple pieces with the remaining 2 tablespoons of all-purpose flour. Coating the apples prevents them from sinking to the bottom of the cookies during baking and helps distribute them more evenly throughout the dough, ensuring a burst of apple in every bite.
- Gently Fold in Add-ins: Carefully fold in the flour-coated apples and the caramel baking chips into the cookie dough. Mix just until they are barely combined. Remember, excessive mixing after adding the chips and apples can bruise the fruit and overdevelop the gluten, so a light touch is best.
- Scoop and Prepare for Baking: Use a cookie scoop (about 1.5 to 2 tablespoons) to portion the dough onto prepared cookie sheets. For best results and easy removal, I highly recommend using silicone baking mats. Alternatively, parchment paper or lightly greased cookie sheets will also work well. Leave ample space between cookies to allow for spreading.
- Bake to Perfection: Bake the cookies for approximately 10-12 minutes. Look for edges that are just barely beginning to brown, while the centers still appear slightly soft. This indicates they are perfectly baked for a soft and chewy interior. Once out of the oven, let the cookies cool on the baking sheets for a few minutes to allow them to set. Then, carefully transfer them to a wire rack to cool completely, preventing them from becoming soggy on the bottom.
CARAMEL APPLE OATMEAL COOKIES
Print
Pin
Rate
Ingredients
- 1 ¾ cup all-purpose flour + 2 Tbsp flour
- 1 Tbsp ground cinnamon
- 1 tsp baking soda
- ½ tsp salt
- 1 ½ cups butter softened to room temperature
- 1 cup light brown sugar
- ½ cup sugar
- 2 eggs
- 1 Tbsp vanilla extract
- 3 cups old-fashioned rolled oats
- 1 apple peeled and diced
- 1 pkg 10 oz caramel baking chips
Instructions
-
Preheat oven to 350°F (175°C).
-
In a small bowl, mix the 1 3/4 cups all-purpose flour, cinnamon, baking soda, and salt together until well combined. Set aside.
-
In a larger bowl, using an electric mixer, cream the softened butter and both sugars together for at least 2-3 minutes, until the mixture is light, fluffy, and creamy.
-
Add the eggs one at a time, mixing well after each addition. Then, add the vanilla extract and mix for another 2-3 minutes until fully incorporated.
-
Gradually add the reserved dry mixture to the wet ingredients, mixing on low speed just until combined and no streaks of flour remain. Be careful not to overmix.
-
Stir in the old-fashioned oats until they are fully incorporated into the dough.
-
Place the diced apples in a bowl and gently toss them with the remaining 2 Tbsp of flour to coat evenly.
-
Gently fold in the flour-coated apples and the caramel chips into the cookie dough. Mix just until barely combined; avoid overmixing.
-
Use a cookie scoop to portion the dough onto prepared cookie sheets. I highly recommend using silicone baking mats, but parchment paper or lightly greased cookie sheets also work well. Leave about 2 inches between each cookie.
-
Bake for about 10-12 minutes, or until the edges are lightly golden and the centers still look slightly soft and underbaked. Remove from the oven and let the cookies cool on the baking sheets for a few minutes before transferring them to a wire rack to cool completely. Enjoy!
EXPERT TIPS FOR SOFTENING BUTTER TO ROOM TEMPERATURE
Achieving perfectly softened butter is a crucial step for many baking recipes, especially cookies, as it directly impacts the texture of your final product. Butter that’s too cold won’t cream properly, leading to dense cookies, while melted butter can make your cookies greasy and spread too much. Here are the best ways to get your butter to that ideal room temperature:
- The Patient Method (Recommended): The absolute best way to soften butter is simply to plan ahead. Take your butter out of the refrigerator a few hours before you intend to bake. Depending on your room’s temperature, this could take anywhere from 1 to 3 hours. The butter should be pliable when gently pressed but still hold its shape, not greasy or shiny.
- The Microwave Method (Quick & Careful): For those spontaneous baking urges, the microwave can be your friend, but it requires precision. Place the whole stick of butter (ensure it’s unwrapped from any foil) in the microwave. Microwave it on a low power setting (or even defrost) for about 6-7 seconds. Check its softness. If it’s still quite firm, give it another 5-7 seconds. Continue in short bursts, reducing the time to just a few seconds as it starts to feel softer. The goal is to soften without melting any part of it. Melted spots will negatively affect your cookie dough.
- Using the Defrost Setting: My personal preference for a slightly safer microwave method is to use the defrost setting. While it might take a bit longer – closer to 30 seconds for a full stick – it provides a more gradual and even softening, significantly reducing the risk of accidental melting. I find this method consistently yields perfectly softened butter without the worry of liquid puddles.
- The Grating Method: If you’re really short on time, you can grate cold butter using a box grater. The smaller pieces will come to room temperature much faster. Once grated, let it sit for about 10-15 minutes, then proceed with your recipe.
- The Water Bath Method: Place a stick of butter (still wrapped) in a bowl of warm (not hot!) water for about 5-10 minutes. The warm water will gently heat the butter, softening it from the outside in. Just be sure to dry it thoroughly before adding it to your mix.
TROUBLESHOOTING: WHY ARE MY OATMEAL COOKIES BURNING ON THE BOTTOM BUT STILL RAW IN THE MIDDLE?
Few things are as frustrating in baking as pulling out a batch of cookies only to find the bottoms charred while the centers remain gooey and undercooked. If this sounds like a recurring issue for your oatmeal cookies, the culprit is most likely your baking sheet. Here’s what you need to know to prevent bottom-burning cookies:
- Dark-Colored Baking Sheets: Dark metal baking sheets absorb and conduct heat more intensely and quickly than lighter-colored ones. This can cause the bottoms of your cookies (and other baked goods) to brown, or even burn, at an accelerated rate before the heat has had a chance to fully penetrate and cook the centers. If you frequently experience this problem, consider switching to lighter-colored, reflective aluminum baking sheets.
- Excessive Cooking Spray: While a light coating of cooking spray is sometimes helpful, using too much can act as an oil slick that superheats the bottom of your cookies, leading to burning. Many non-stick pans require little to no spray, especially when combined with parchment paper or silicone mats.
- The Magic of Silicone Baking Mats: Over the years, I’ve become a huge advocate for silicone baking mats. They create a fantastic insulating layer between your cookies and the hot metal of the baking sheet, promoting more even heat distribution and preventing burning. Furthermore, their non-stick surface means cookies effortlessly slide off the tray, eliminating any need for cooking spray and ensuring perfect shapes every time. No more scraping or worrying about sticking – just flawlessly baked cookies!
- Oven Hot Spots: Sometimes, an oven might have inconsistent heating, creating “hot spots.” If you suspect this, rotate your cookie sheets halfway through the baking time to ensure even exposure to heat. An oven thermometer can also help you confirm your oven’s actual temperature.
DISCOVER MORE DELICIOUS OATMEAL COOKIE RECIPES WE ADORE!
If you’ve fallen in love with the comforting taste and wholesome texture of oatmeal cookies, you’re in luck! There’s a whole world of variations to explore. Here are some of our other cherished oatmeal cookie recipes that are sure to become new favorites:
- Fudgy Oatmeal Cookie Bars
- Homemade Oatmeal Cream Pies
- White Chocolate Cherry Oatmeal Cookies
- Oatmeal Chocolate Chip Cookie Bars
- Chocolate Chip Oatmeal Cookies
- Microwave Oatmeal Chocolate Chip Cookies
- Toffee Oatmeal Cookies
- Blackberry Oatmeal Cookies
- Best Oatmeal Raisin Cookies
- Peanut Butter Oatmeal Chocolate Chip Cookies
- Best Monster Cookies
- Banana Oatmeal Cookies


Beyond the kitchen, life’s adventures continue! We recently embarked on a new chapter, moving to the beautiful landscapes of Southern Utah. It’s been an absolute joy to explore our new surroundings, especially with so many breathtaking natural wonders right at our doorstep. This particular spot, captured in the photo below, is nestled within Snow Canyon, a stunning state park just about 30 minutes from our home. Its majestic rock formations and fascinating caves offer endless opportunities for discovery. We’ve only managed a couple of visits so far, but we’re eagerly anticipating spending much more time exploring its trails and hidden gems. It’s truly wonderful to experience late October with weather still warm enough to comfortably enjoy the great outdoors!

