Homemade Twix Cookie Bars: Your Ultimate Recipe for Shortbread, Caramel & Chocolate Perfection
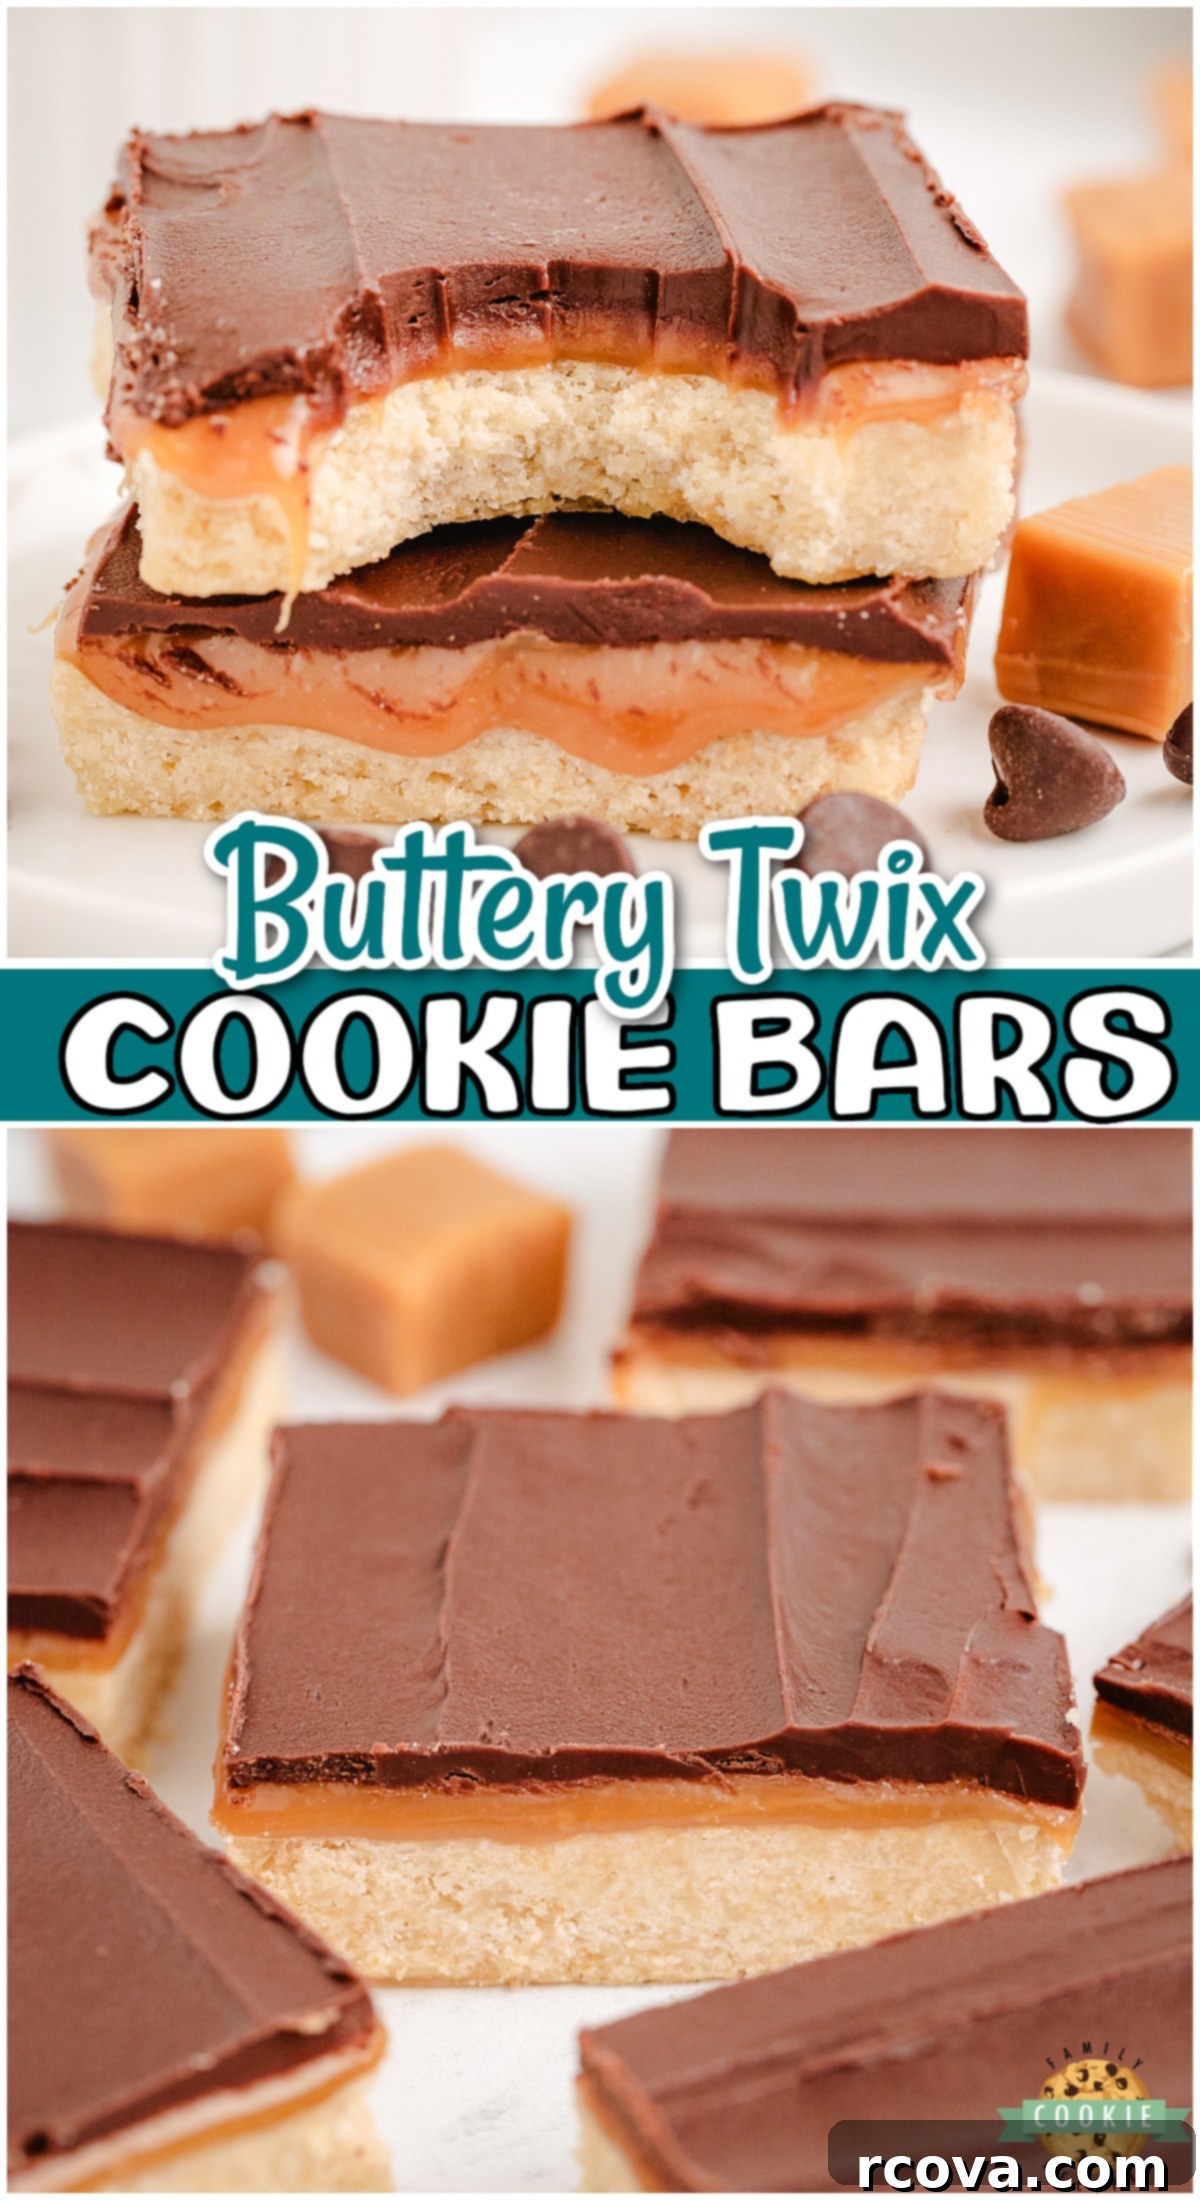
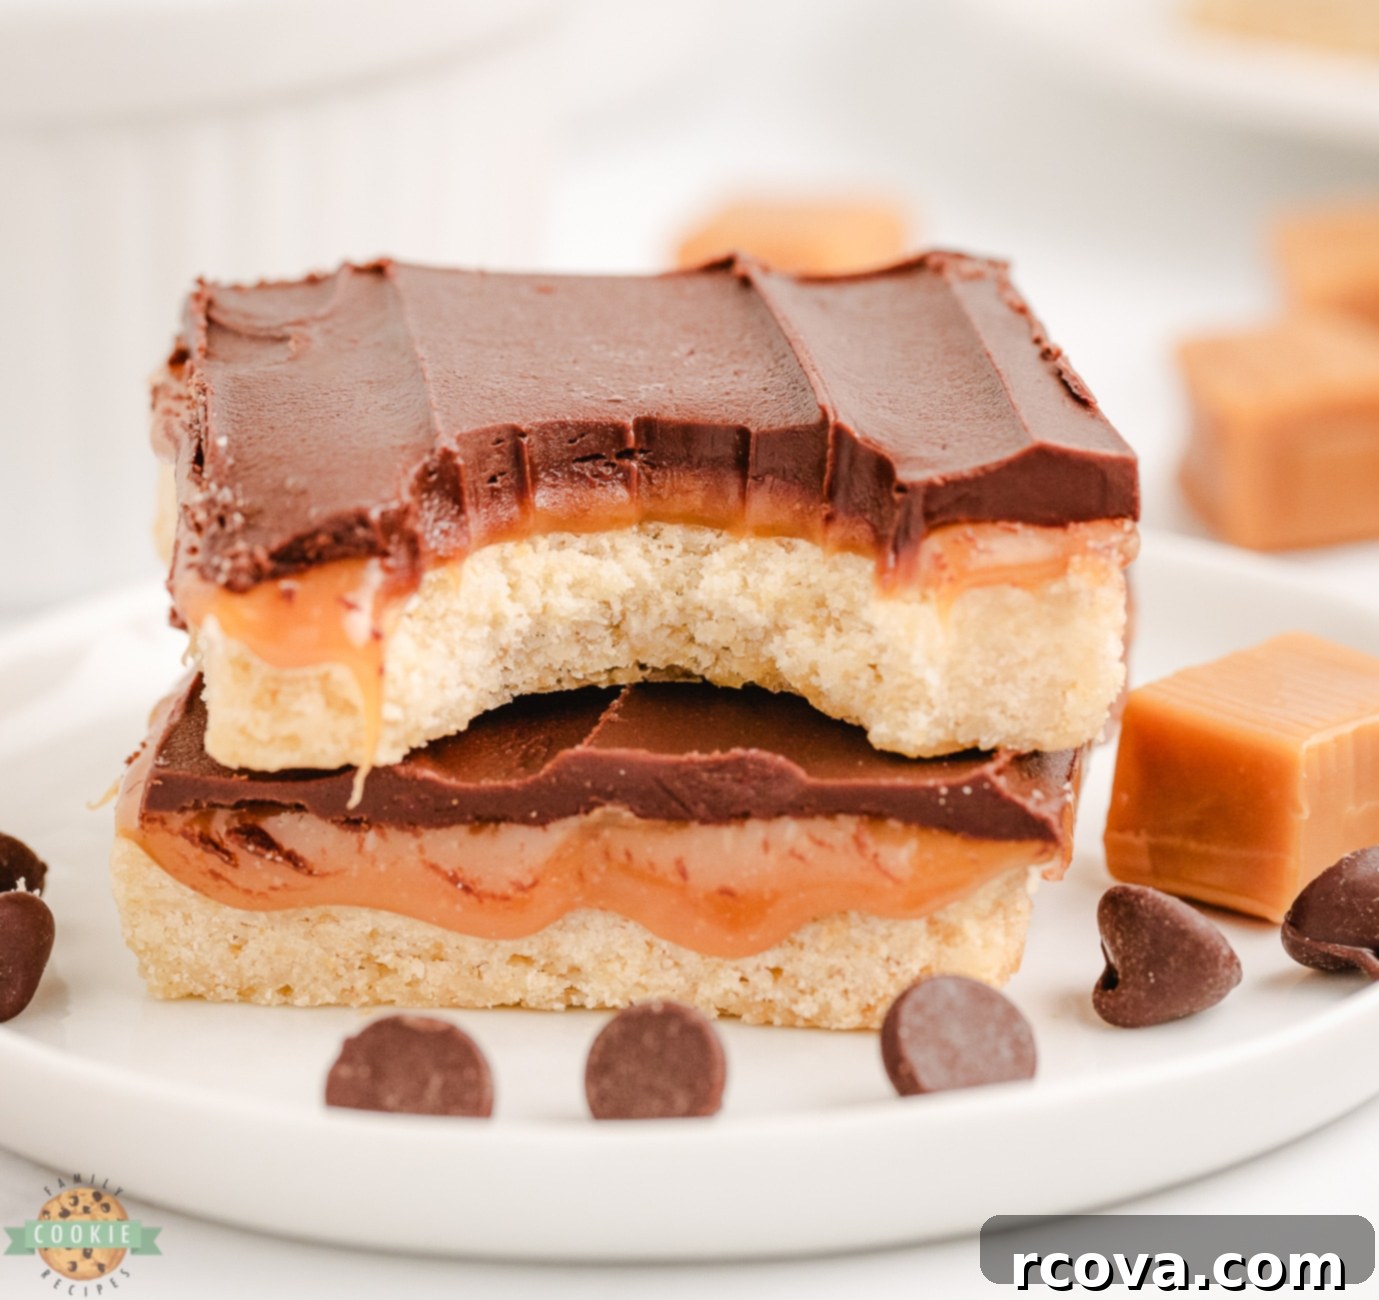
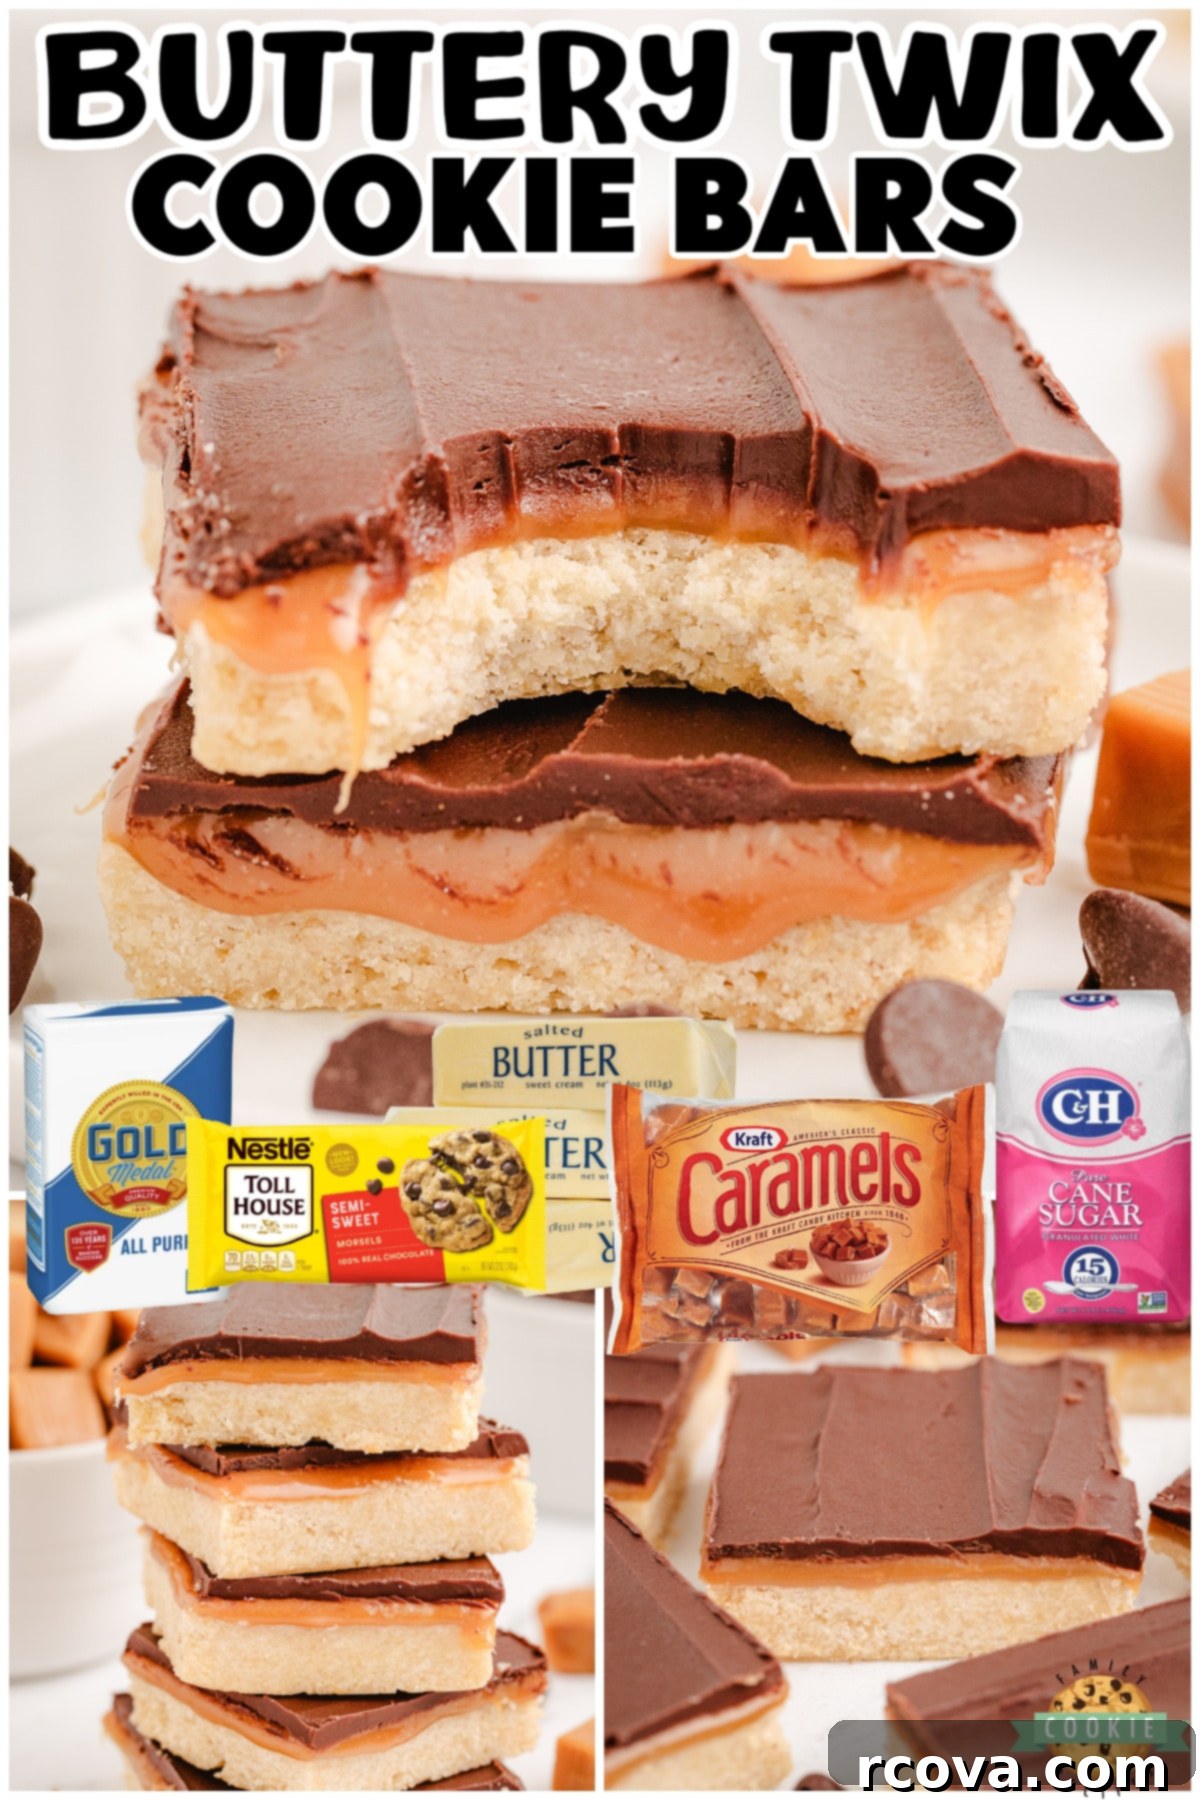
Indulge in the irresistible magic of Homemade Twix Cookie Bars – a delightful twist on a classic candy bar that’s easier to make than you think! These delectable dessert bars feature a rich, buttery shortbread cookie base, generously topped with a luscious layer of chewy caramel, and finished with a smooth, glossy coating of melted chocolate. Designed to satisfy any sweet tooth, this recipe is perfect for sharing with a crowd, serving at parties, or simply enjoying as a special treat at home. Forget store-bought; these homemade caramel shortbread dessert bars are a true showstopper, offering a perfect balance of textures and flavors that will leave everyone craving more.
For more delightful treats inspired by your favorite confections, be sure to check out our collection of our favorite Candy Bar Cookie recipes!
Whether you’re embarking on a fun baking project or simply aiming to fulfill a craving for something sweet and extraordinary, this Twix cookie recipe is guaranteed to be an instant hit. The harmonious blend of crisp shortbread, gooey caramel, and velvety chocolate creates an experience that’s both comforting and exciting. These homemade Twix bars offer a superior taste and texture compared to their commercial counterparts, making them a worthwhile endeavor for any dessert enthusiast. Prepare to impress your family and friends with a batch of these glorious bars today!
Why You’ll Love Making Homemade Twix Cookie Bars
There’s something truly special about recreating a beloved classic in your own kitchen. Homemade Twix Cookie Bars provide all the nostalgic joy of the original candy bar, but with a freshness and quality that only homemade can deliver. These bars are incredibly versatile; they can be enjoyed as a simple snack, a decadent shared dessert, or a showstopping addition to any party spread, especially when served alongside a scoop of vanilla ice cream. The process itself is rewarding, offering a creative outlet for bakers of all skill levels.
Beyond their delicious taste, these caramel shortbread bars are a fantastic choice for gatherings because they are easy to transport and serve. Unlike delicate cookies, bars hold their shape well and can be cut into uniform portions, making them ideal for potlucks, bake sales, or family events. The simple yet satisfying combination of flavors and textures mirrors the enduring popularity of the original Twix candy, which has captivated sweet tooths for over 50 years. By making them at home, you control the ingredients, ensuring a premium experience with every bite.
The Perfect Balance: A Closer Look at the Layers
The magic of Twix Cookie Bars lies in their distinct, yet perfectly harmonious, layers:
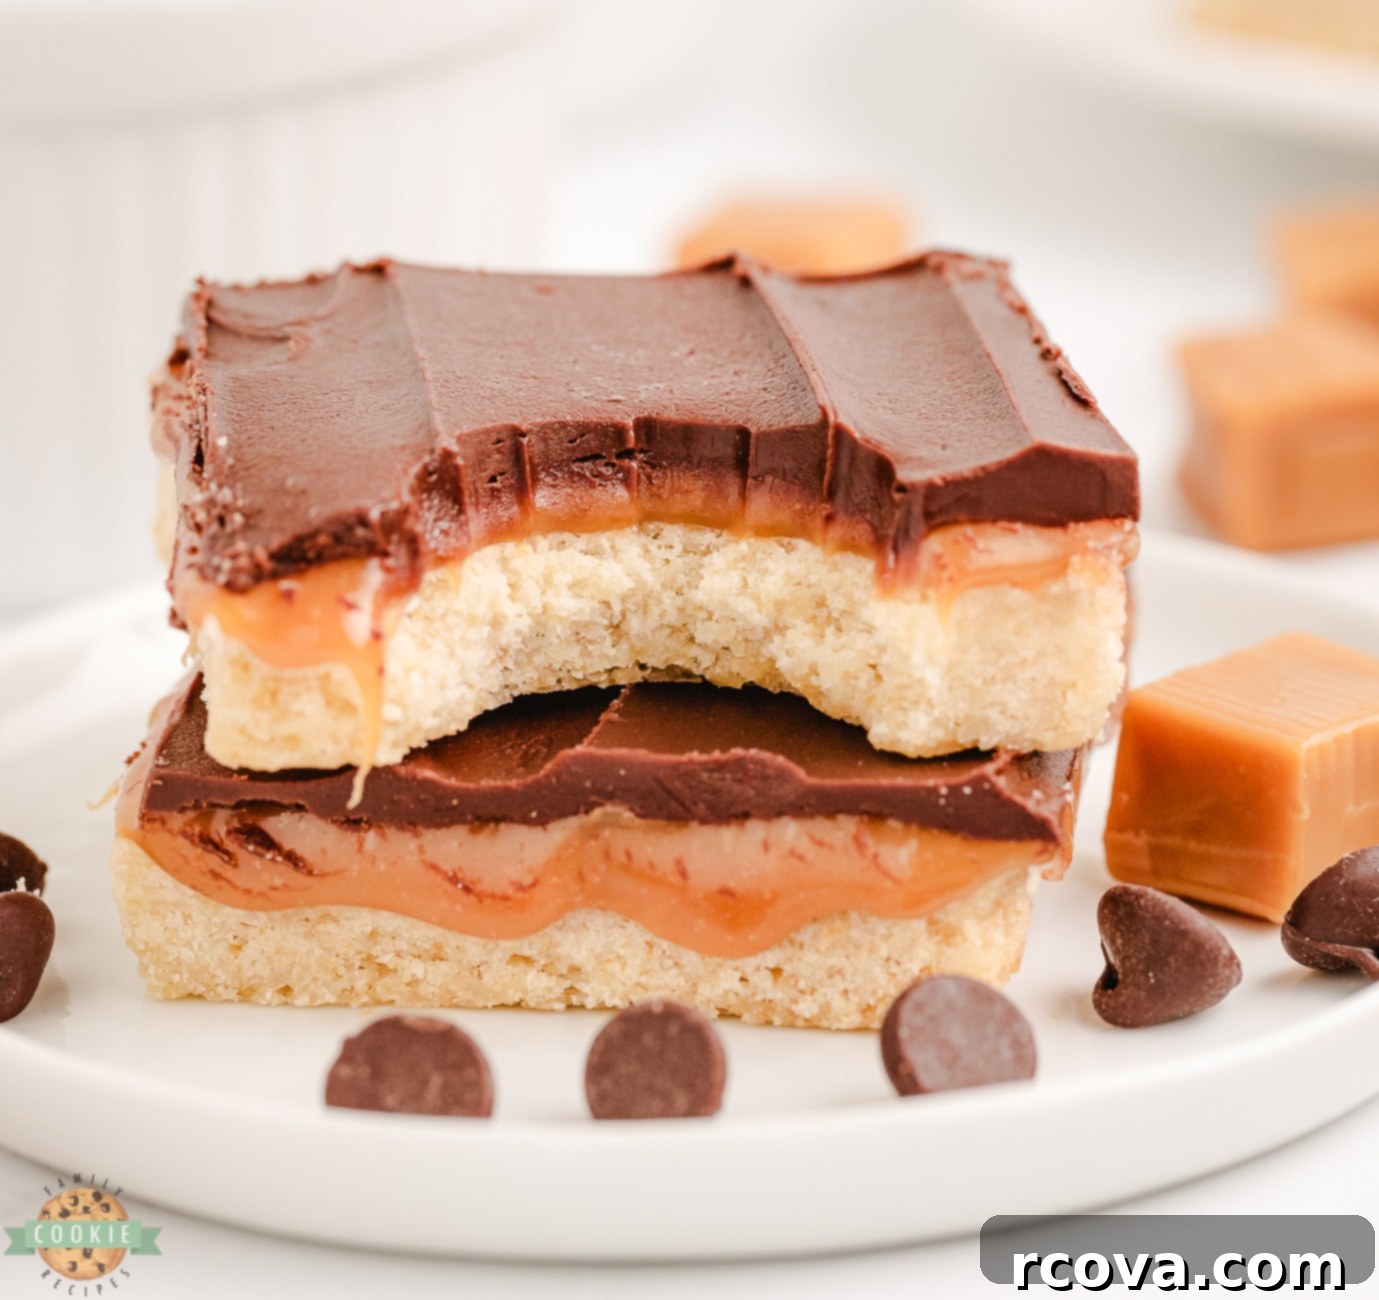
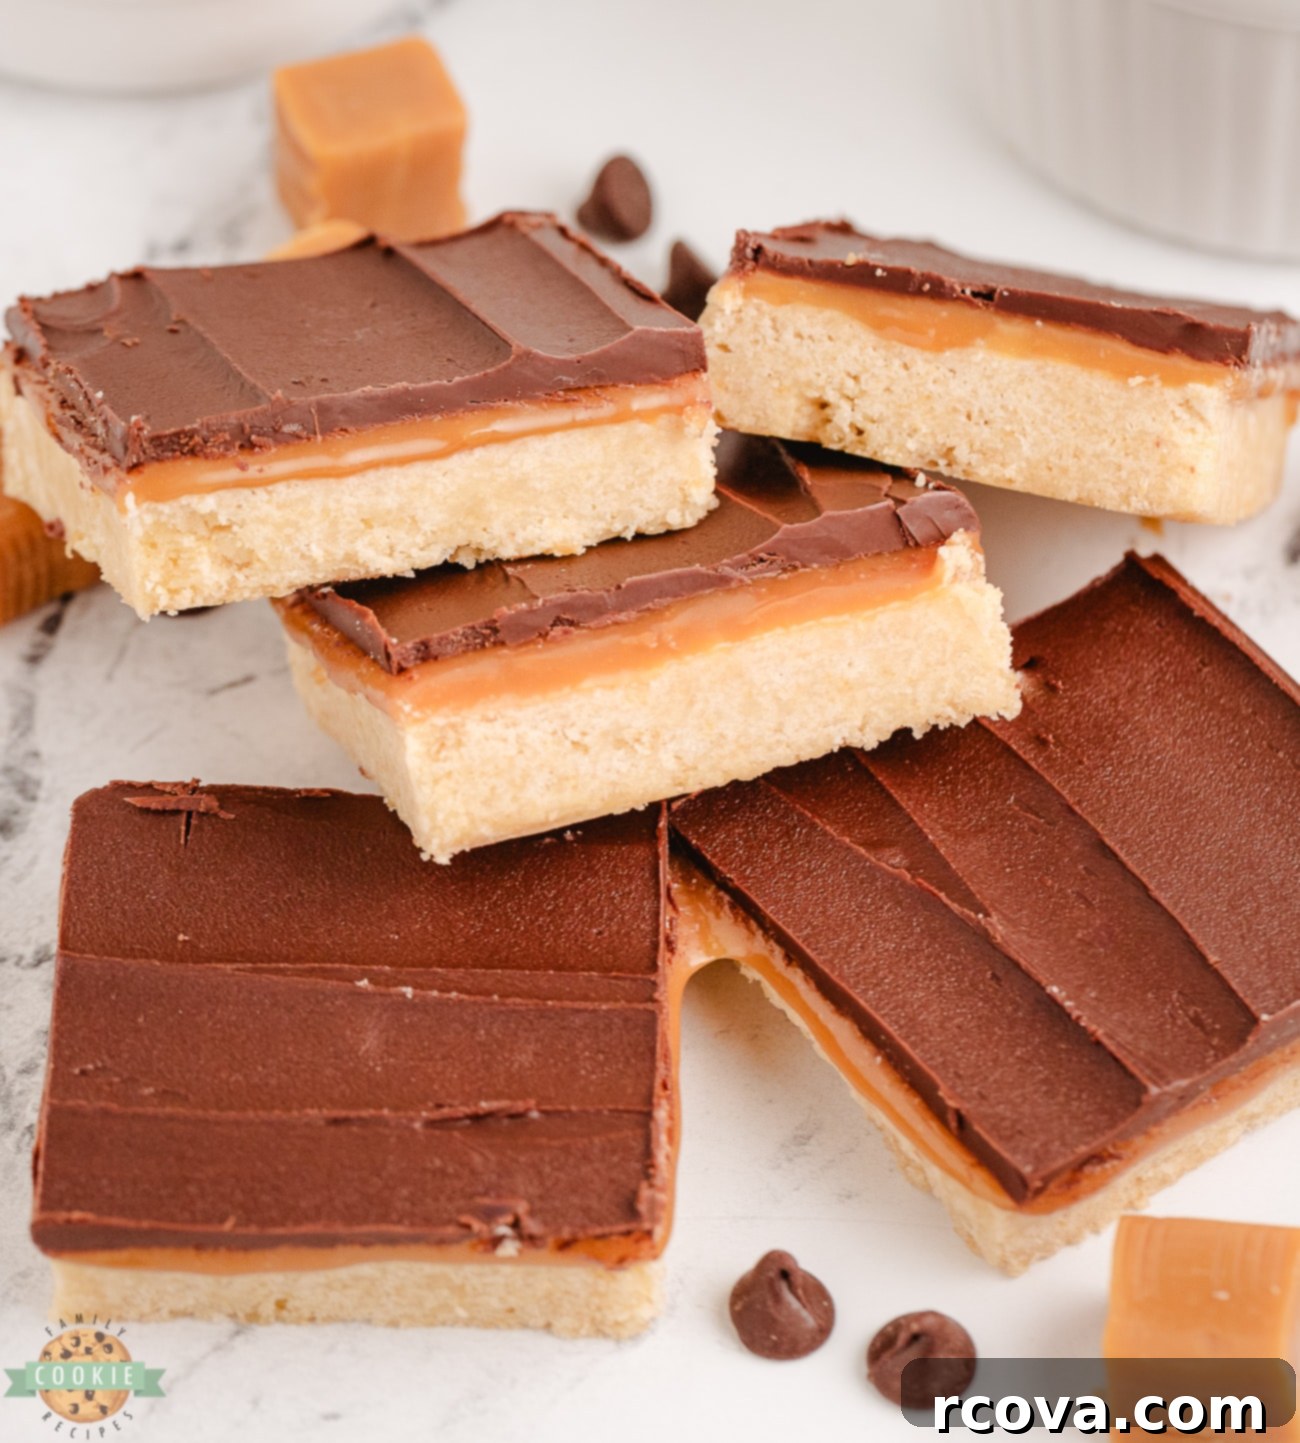
- The Buttery Shortbread Base: This is the foundation of our homemade Twix bars. A classic shortbread provides a delightfully crumbly, slightly crisp, and rich base that melts in your mouth. Its subtle sweetness offers the perfect counterpoint to the richer layers above, ensuring the entire bar isn’t overly sweet. We aim for a golden-brown finish that signals its perfect doneness and structural integrity.
- The Gooey Caramel Layer: The heart of any Twix-inspired treat is its caramel. For our cookie bars, we create a smooth, buttery, and incredibly chewy caramel layer that adheres beautifully to the shortbread. This layer provides that signature stretch and rich, sweet flavor that distinguishes a Twix. Using pre-made caramels and a touch of milk makes this step surprisingly simple, allowing for a consistently delicious result.
- The Velvety Chocolate Topping: No Twix is complete without its chocolate shell. Our final layer is a generous coating of smooth, melted chocolate that provides a satisfying snap when bitten into, contrasting beautifully with the soft caramel and tender shortbread. A final drizzle of chocolate adds that iconic Twix bar aesthetic, making these homemade treats as visually appealing as they are delicious.
Essential Tips for Making Perfect Twix Cookie Bars
Achieving bakery-quality homemade Twix Cookie Bars is straightforward when you keep a few key tips in mind. These insights will help ensure your bars are consistently perfect, from the golden shortbread to the glossy chocolate topping:
- Embrace High-Quality Ingredients: The foundation of any exceptional baked good is the quality of its ingredients. Always opt for fresh, high-quality butter, sugar, flour, and chocolate. Using premium butter, for instance, significantly enhances the flavor and texture of your shortbread base, making it truly melt-in-your-mouth. Subpar or expired ingredients can compromise the overall taste and consistency of your bars, so investing in good quality is always worth it.
- Line the Pan with Parchment Paper: This simple step is a game-changer for easy removal and clean-up. Lining your 9×13 inch pan with parchment paper, leaving an overhang on the sides, prevents the bars from sticking to the pan. Once cooled, you can easily lift the entire slab of bars out before cutting, ensuring beautifully neat squares every time.
- Avoid Overbaking the Shortbread: The shortbread base should be baked until its edges are lightly golden brown and the center appears set but still slightly soft. Overbaking will result in a dry, hard, and crumbly cookie base, detracting from the desired tender texture. Keep a close eye on your oven and err on the side of slightly underbaked rather than overbaked, as it will firm up as it cools.
- Allow Layers to Cool Completely: Patience is a virtue in baking, especially with multi-layered treats. Each layer—the shortbread, the caramel, and the chocolate—needs adequate cooling time to set properly. Rushing this process can lead to messy, unformed bars where the layers bleed into each other. Cooling ensures clean cuts and distinct, delicious layers. For the caramel and chocolate, a brief stint in the refrigerator can speed up setting, but avoid freezing unless specified.
- Store in an Airtight Container for Freshness: To maintain the optimal taste and texture of your caramel cookie bars, proper storage is crucial. Once fully cooled and cut, transfer your Twix Cookie Bars to an airtight container. Storing them at room temperature will keep them fresh and delicious for up to a week, preserving their chewiness and preventing them from drying out.
- Bring Butter to Room Temperature: For the shortbread dough, using softened butter (at room temperature) is vital. It creams much better with sugar, incorporating air and resulting in a lighter, more tender cookie base. If your butter is too cold, it won’t cream properly, leading to a denser dough. If it’s too warm, the dough might become greasy.
- Achieve Even Layers: When pressing the shortbread dough into the pan and spreading the caramel and chocolate layers, strive for evenness. This ensures consistent texture and flavor in every bite and makes for a more professional-looking bar. Use an offset spatula or the back of a spoon for spreading.
Key Ingredients for Delicious Twix Cookie Bars
Creating these incredible homemade Twix bars requires a few staple baking ingredients. Here’s a detailed look at what you’ll need and the role each plays in achieving that perfect taste and texture:
For the Buttery Shortbread Base:
- Butter (1 cup / 2 sticks, softened): Unsalted butter is preferred to control the overall saltiness. Softened butter is crucial for creaming with sugar, creating a light and fluffy mixture that forms the tender, crumbly texture of our shortbread base. It also provides the rich, unmistakable flavor characteristic of classic shortbread.
- Sugar (½ cup granulated sugar): Granulated sugar adds the essential sweetness to the shortbread. Its fine crystals help in creating a delicate crumb when creamed with butter. Using just the right amount ensures the base complements the sweet caramel and chocolate layers without being overpowering.
- Flour (2 cups all-purpose flour): All-purpose flour provides the primary structure for the cookie layer. It combines with the butter and sugar to form a dough that bakes into a firm yet tender shortbread, capable of holding up the subsequent layers without becoming tough.
- Baking Powder (1 tsp): While shortbread is traditionally dense, a small amount of baking powder gives the cookie base a slight lift and a more tender crumb, preventing it from being too hard or cracker-like. This makes the texture more approachable and enjoyable.
- Salt (¼ tsp): A pinch of salt is vital for balancing the sweetness and enhancing all the flavors in the shortbread. It brings out the buttery notes and ensures the cookie doesn’t taste flat.
For the Gooey Caramel Layer:
- Caramels (one 11-oz bag, individually wrapped): Using pre-made, individually wrapped caramels significantly simplifies the caramel layer, saving time and ensuring a consistent, chewy texture. This amount provides a generous, thick layer of sweet and savory goodness that is the hallmark of a Twix bar.
- Milk (2 TBSP): A small amount of milk (any type will work) is added to the caramels during melting. This helps thin out the thick caramel, making it smooth, pourable, and easy to spread evenly over the shortbread base. It also contributes to the caramel’s gooey consistency once set.
For the Velvety Chocolate Layer:
- Chocolate Chips (1 cup + 2 TBSP semi-sweet chocolate chips): Semi-sweet chocolate chips are a classic choice for their balanced sweetness, which pairs perfectly with the rich caramel. The larger quantity (1 cup) is for the main topping layer, while the extra 2 TBSP are for the signature drizzle, adding both flavor and visual appeal.
- Butter (2 TBSP): Adding butter to the chocolate chips as they melt helps create a beautifully smooth, glossy, and spreadable chocolate layer. It also enriches the chocolate flavor and ensures a lovely snap when the bars are cold, mimicking the texture of a real Twix bar.
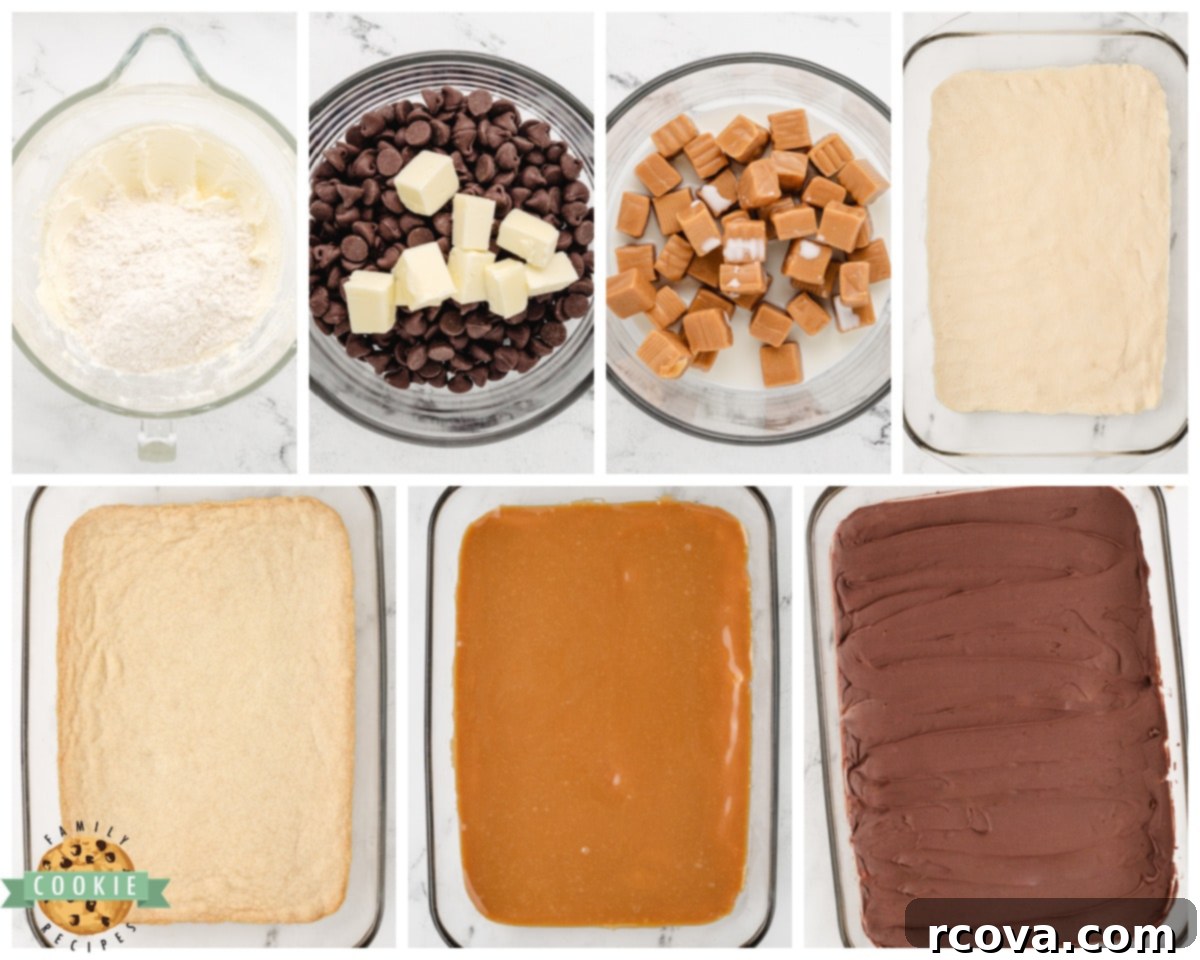
Step-by-Step Guide: How to Make Easy Twix Cookie Bars
Follow these simple instructions to create your own irresistible Twix Cookie Bars at home. Each step is designed for ease and delicious results!
Prep Work for Success
Begin by preheating your oven to 300°F (150°C). This ensures your oven is at the correct temperature when the dough is ready. Next, prepare a 9×13-inch baking pan by spraying it generously with nonstick cooking spray. For even easier removal and cleaner cuts, you can also line the pan with parchment paper, leaving an overhang on two sides to create “handles.” Set the prepared pan aside.
Crafting the Buttery Cookie Base
In a large mixing bowl, using an electric mixer (either a stand mixer with a paddle attachment or a hand mixer), cream together the softened butter and granulated sugar. Beat on medium-high speed until the mixture becomes light, fluffy, and pale in color, typically taking about 2-3 minutes. This step incorporates air, contributing to the tender texture of the shortbread. Once creamed, gradually add in the all-purpose flour, baking powder, and salt. Mix on low speed until a cohesive dough forms. Be careful not to overmix; stop as soon as the flour is just incorporated.
Baking the Golden Shortbread
Evenly press the prepared shortbread dough into the bottom of your nonstick-sprayed or parchment-lined 9×13-inch pan. Use your hands or the back of a flat spatula to ensure the dough is spread in an even layer from edge to edge. Place the pan in the preheated oven and bake for 30-35 minutes, or until the edges are beautifully golden brown and the center appears set. Once baked, remove the cookie bar from the oven and let it cool completely in the pan on a wire rack for at least 10-15 minutes before proceeding to the next step. This allows the shortbread to firm up.
Creating the Silky Caramel Layer
While the cookie base is cooling, prepare your caramel layer. In a medium microwave-safe bowl, combine the unwrapped caramels and 2 tablespoons of milk. Microwave on high for 1 minute, then stir well. Continue to microwave in 30-second increments, stirring after each, until the caramels are mostly melted and the mixture is smooth and easily pourable. This process usually takes 2-3 minutes in total. Immediately pour the warm, smooth caramel mixture over the cooled shortbread cookie base in the pan, spreading it evenly with an offset spatula or the back of a spoon. For the caramel to set properly, place the pan in the refrigerator for 10-15 minutes, or until the caramel is firm enough to touch without sticking.
Adding the Rich Chocolate Topping
In another small microwave-safe bowl, combine 1 cup of chocolate chips and 2 tablespoons of butter. Microwave on high for about 1 minute 30 seconds, or until the butter is melted and the chocolate chips are soft. Stir vigorously until the mixture is completely smooth and glossy. Carefully spread this melted chocolate mixture evenly over the set caramel layer. Return the pan to the refrigerator for another 10 minutes to allow the main chocolate layer to firm up.
For the signature Twix bar look, melt the remaining 2 tablespoons of chocolate chips in a very small microwave-safe bowl for 15-30 seconds, stirring until smooth. Using a spoon or a piping bag with a tiny hole, drizzle thin stripes of this melted chocolate over the set chocolate layer, mimicking the pattern found on store-bought Twix bars. This adds both visual appeal and an extra touch of chocolatey goodness.
Cooling, Cutting, and Serving
Once all layers are set and firm (which can be confirmed by gently touching the chocolate surface), remove the pan from the refrigerator. For the cleanest cuts, it’s best to cut the cookie bars into squares or rectangles while they are still cold. Use a sharp knife and wipe it clean between cuts for perfectly neat edges. Serve immediately and watch these delicious caramel cookie bars disappear! Enjoy the delightful combination of shortbread, caramel, and chocolate in every bite!
Customization Ideas for Your Twix Cookie Bars
One of the fantastic aspects of baking homemade Twix Cookie Bars is their incredible versatility. While the classic recipe delivers an unbeatable combination, you can easily customize these bars to suit your personal preferences or dietary needs. Here are some creative ideas to inspire your next batch:
Alternative Toppings & Flavor Twists:
Beyond the traditional caramel and chocolate, the possibilities for enhancing your cookie bars are endless. Experiment with these exciting flavor combinations:
- Nutty Peanut Butter Layer: For a delightful nutty twist, spread a thin, even layer of smooth peanut butter over the shortbread base before adding the caramel. The combination of peanut butter, caramel, and chocolate creates a truly indulgent treat reminiscent of other popular candy bars.
- S’mores Inspired Marshmallow: If you’re a fan of the classic campfire treat, swap the caramel layer for marshmallow fluff. Spread a generous layer of marshmallow fluff on top of the cooled cookie base, then add the chocolate layer. You can even lightly toast the marshmallow layer with a kitchen torch for an authentic s’mores experience.
- Chopped Nuts: Before the chocolate layer sets, sprinkle chopped toasted pecans, walnuts, or almonds on top for added crunch and flavor. This provides a lovely textural contrast to the soft layers.
- Sea Salt Flakes: A sprinkle of flaky sea salt over the top of the chocolate layer enhances the flavors, particularly the caramel and chocolate, by providing a delightful sweet-and-salty contrast.
- Different Chocolate Varieties: Instead of semi-sweet, try milk chocolate for a sweeter profile, dark chocolate for a richer, less sweet bar, or even white chocolate for a creamy, distinct flavor. You could also marble different types of chocolate for a decorative finish.
- Holiday Sprinkles: To make these bars festive for any occasion, add a scattering of colorful sprinkles on top of the wet chocolate layer before it sets.
Dietary Variations:
Don’t let dietary restrictions deter you from enjoying these delicious bars! With a few simple substitutions, everyone can indulge:
- Gluten-Free Twix Bars: To make these bars suitable for those with gluten sensitivities, simply replace the all-purpose flour in the shortbread base with a 1:1 gluten-free baking flour blend. Ensure your chosen blend contains xanthan gum for optimal texture. You can also experiment with a gluten-free graham cracker crust as an alternative for the base if you prefer.
- Low-Sugar / Sugar-Free Options: For individuals managing their sugar intake, these bars can still be enjoyed. Use a sugar-free caramel sauce (or sugar-free caramels) and sugar-free chocolate chips for the topping layers. For the shortbread base, you can substitute the granulated sugar with a sugar substitute suitable for baking, and consider using almond flour or coconut flour (with appropriate liquid adjustments) instead of all-purpose flour to reduce the carb count.
- Dairy-Free Adaptation: To make these bars dairy-free, use a plant-based butter substitute (like vegan butter sticks) for the shortbread base and the chocolate layer. Opt for dairy-free caramels and dairy-free chocolate chips. For the caramel layer, use a non-dairy milk alternative such as almond milk or oat milk.
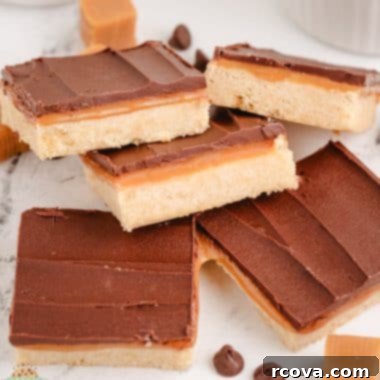
Twix Cookie Bars
Print
Pin
Rate
Ingredients
- 1 cup butter 2 sticks, softened
- ½ cup sugar
- 2 cups flour
- 1 tsp baking powder
- ¼ tsp salt
Caramel & Chocolate Layers
- 11 oz bag caramels
- 2 TBSP milk
- 1 cup + 2 TBSP chocolate chips
- 2 TBSP butter
Instructions
-
Prep: Preheat the oven to 300°F. Spray a 9×13 pan with nonstick spray and set aside.
-
Batter: With an electric mixer, cream the butter with the sugar until the mixture is light and fluffy.
-
Add flour, baking powder and salt. Mix until it forms a dough.
-
Bake: Press dough into prepared pan. Bake dough for 30-35 minutes, until golden brown.
-
Remove from oven and let it cool for 10-15 minutes.
-
Caramel Layer: Melt caramels and 2 TBSP milk in the microwave for 1 minute, adding 30 second increments as needed until caramels melt and mixture is mostly smooth. Pour on top of cooled cookie bars in pan. Refrigerate until set.
-
Chocolate Layer: Melt 1 cup chocolate chips and 2 TBSP butter in the microwave for about 1 minute 30 seconds. Stir until smooth, then spread on top of the caramel, until even.
-
Return pan to fridge for about 10 minutes. Melt remaining 2 TBSP chocolate chips and drizzle stripes on top, like the top of store-bought Twix bars have. Cut into squares while bars are still cold. (this makes cutting nice and even!) Enjoy!
Notes
Place them in an airtight container or freezer bag and freeze for up to 3 months. Thaw at room temperature before serving.
Nutrition
Frequently Asked Questions About Twix Cookie Bars
Here are answers to some common questions about making and enjoying your homemade Twix Cookie Bars:
What is the best way to melt chocolate for the topping?
While microwaving is convenient, the best way to melt chocolate for a smooth, even, and professional-looking layer is using a double boiler method. This technique ensures gentle, indirect heat, preventing the chocolate from scorching or seizing. To do this, fill a small saucepan with a few inches of water and bring it to a gentle simmer. Place a heatproof bowl (like glass or stainless steel) over the saucepan, ensuring the bottom of the bowl does not touch the simmering water. Add your chocolate chips and butter to the bowl and stir occasionally with a rubber spatula until the chocolate is fully melted and beautifully smooth and glossy. Remove from heat immediately once melted to prevent overheating.
How can I make a no-bake version of a Twix cookie bar?
For a quicker, no-bake alternative to Twix Cookie Bars, you can create a simplified version. Start with a base of crushed shortbread cookies (or graham crackers) mixed with melted butter, pressed into your pan and chilled until firm. Then, spread a layer of store-bought caramel sauce over the crust. Finally, top with a layer of melted chocolate, spread evenly. Allow the bars to chill completely in the refrigerator until all layers are set before cutting and serving. While not identical to the baked version, this offers a delicious and convenient alternative.
Can I use a different type of crust for these bars?
Absolutely! While the classic shortbread crust is traditional for Twix bars, you can certainly experiment. A graham cracker crust (crushed graham crackers mixed with melted butter and sugar) or even a crushed Oreo cookie crust could offer interesting variations. Just ensure your chosen crust is pressed firmly into the pan and chilled or baked according to its specific recipe before adding the caramel and chocolate layers.
How do I get perfectly clean cuts for my Twix Cookie Bars?
Achieving neat, professional-looking cuts is key to presentation. Here’s how: First, ensure your bars are thoroughly chilled and firm, ideally straight from the refrigerator. Use a long, sharp chef’s knife. For the cleanest cuts, run your knife under hot water, wipe it completely dry, then make one smooth, decisive cut. Clean the knife again between each slice. This prevents the chocolate from cracking and the caramel from sticking and dragging, resulting in beautifully distinct layers in every bar.
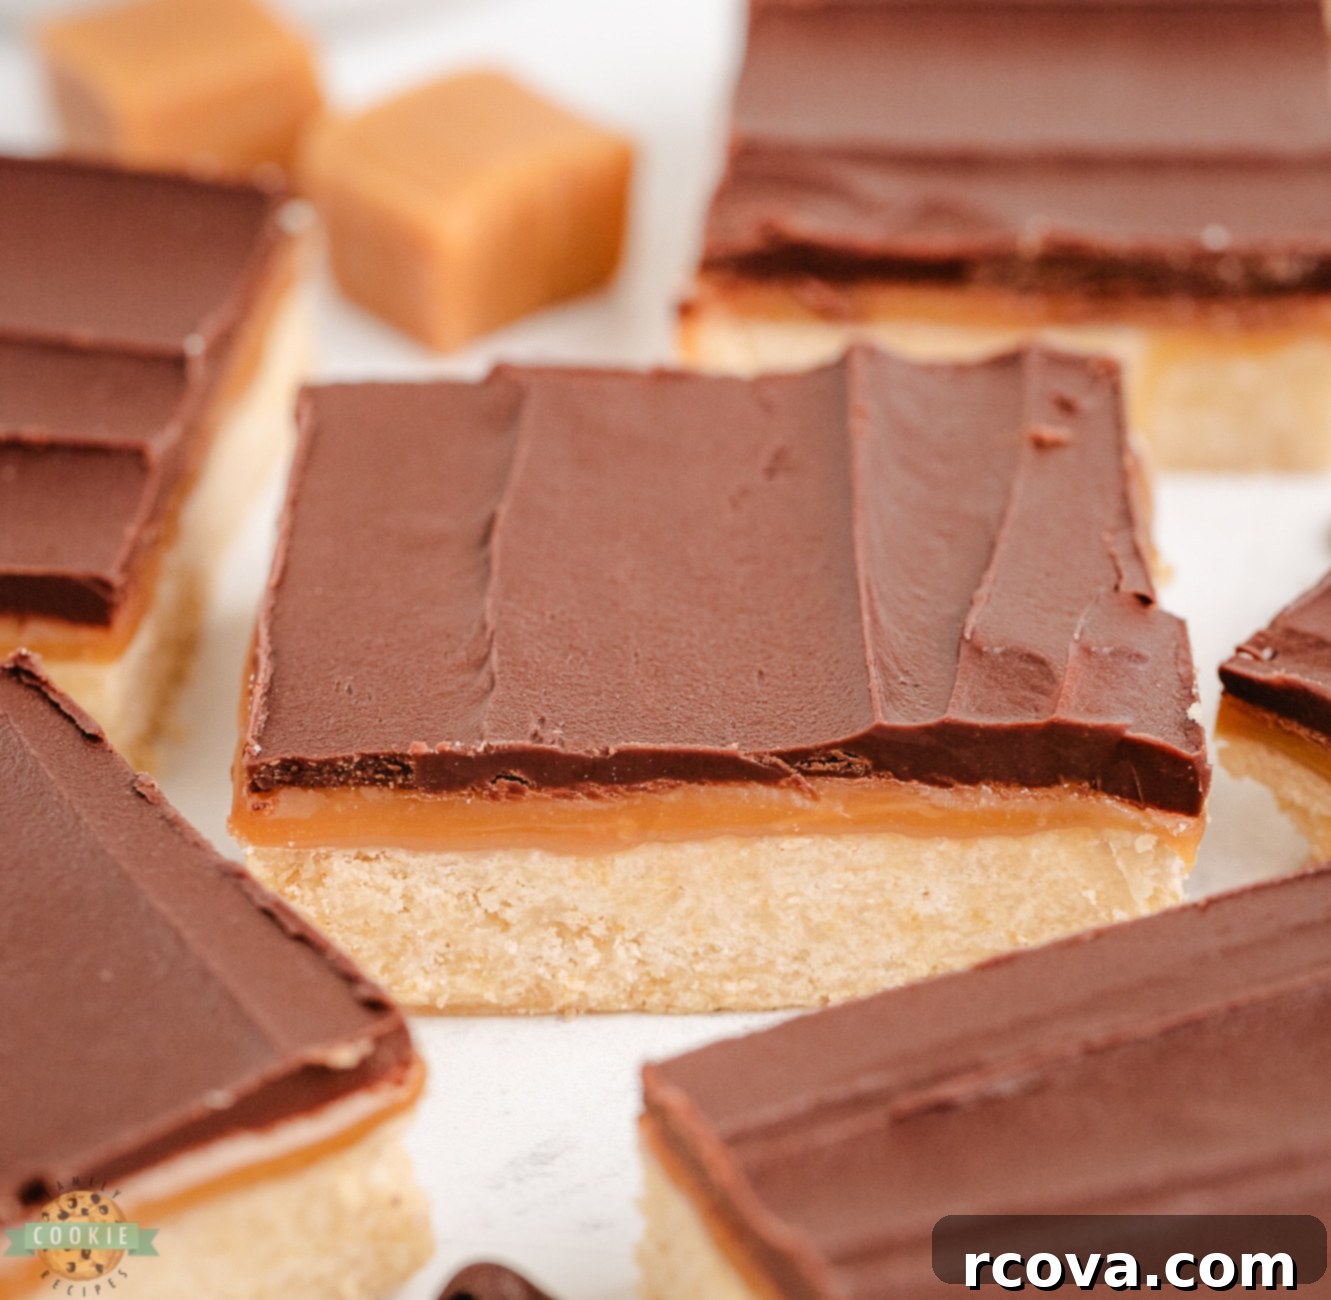
Optimal Storage Tips for Your Homemade Cookie Bars
Proper storage is essential to keep your Homemade Twix Cookie Bars fresh, delicious, and at their best for as long as possible. Here’s a comprehensive guide to ensuring longevity:
- Room Temperature (Short-Term): If you plan to enjoy your cookie bars within 3-5 days, storing them at room temperature is perfectly acceptable. Place the fully cooled and cut bars in an airtight container to protect them from air exposure. This prevents them from becoming stale or dry and helps maintain the chewy texture of the caramel and the tender shortbread. Keep the container in a cool, dry place away from direct sunlight or heat sources.
- Refrigerator (Extended Freshness): For longer storage, especially if you live in a warm or humid climate, storing your Twix Cookie Bars in the refrigerator is recommended. This will help them stay fresh for up to two weeks. However, be aware that refrigeration can sometimes cause the shortbread to become a bit harder and the chocolate to firm up considerably. Always bring them closer to room temperature for a few minutes before serving to enjoy the best texture. Store them in an airtight container to prevent them from absorbing odors from other foods.
- Separate Layers When Stacking: If you need to stack your cookie bars within the storage container, it’s crucial to separate them with layers of parchment paper or wax paper. This simple step prevents the chocolate from sticking to the caramel of the bar above it, avoiding a messy clump and ensuring each bar remains pristine.
- Avoid Moisture at All Costs: Moisture is the arch-nemesis of cookies and bars, leading to sogginess or spoilage. Always store your bars in a dry environment, away from any sources of moisture. This includes avoiding placement near sinks, open windows on humid days, or alongside fresh fruits and vegetables that release moisture. A desiccant packet (like the ones found in shoe boxes or vitamin bottles, ensuring they are food-safe) can even be placed in the container if humidity is a major concern.
- Freezing for Long-Term Storage (with considerations): While the original recipe advises against freezing due to potential texture changes, if you absolutely need to store them for longer periods, it can be done with care. Freeze the completely cooled and cut bars in a single layer on a baking sheet until firm. Once frozen, transfer them to an airtight freezer-safe container or heavy-duty freezer bags, separating layers with parchment paper. They can be frozen for up to 2-3 months. Thaw frozen bars at room temperature for several hours or overnight in the refrigerator before serving. Be prepared for a slightly different texture, particularly in the shortbread, which might be a bit softer or crumblier after thawing.
Explore More Chocolate Caramel Delights
If you find yourself utterly captivated by the wonderful combination of chocolate and caramel, similar to our Twix Cookie Bars, you’ll be thrilled to discover more recipes that celebrate this iconic pairing. Expand your baking repertoire with these irresistible treats:
- If you love Twix like we do, you’ll want to check out these Twix Cookie Cups, which are essentially bite-sized shortbread cups filled with luscious melted caramel and decadent chocolate.
- For a festive twist, see our special Christmas Twix Cookie here! Perfect for holiday gatherings.
- These Twix Cookie Bites are incredibly easy to whip up with just 3 ingredients, making them a perfect last-minute treat.
- Our Caramel Brownie Cookies offer a rich brownie-like base starting with a cake mix, generously stuffed with soft, gooey caramels for an extra indulgent experience.
- These Stuffed Rolo Cookies are tender sugar cookies with a delightful surprise center: the classic chocolate caramels.
- And for a chocolatey twist on the stuffed cookie concept, this chocolate version is super similar, only they’re made with a chocolate cake mix for double the chocolate flavor!
Ultimately, Twix Cookie Bars are a testament to how simple ingredients can come together to create something truly extraordinary. With a straightforward shortbread base, a layer of smooth, luscious caramel, and a generous topping of silky melted chocolate, these caramel cookie bars are an absolute dream come true for any Twix enthusiast. They are easy to make, incredibly satisfying, and perfect for sharing joy with all the sweet-toothed individuals in your life!
