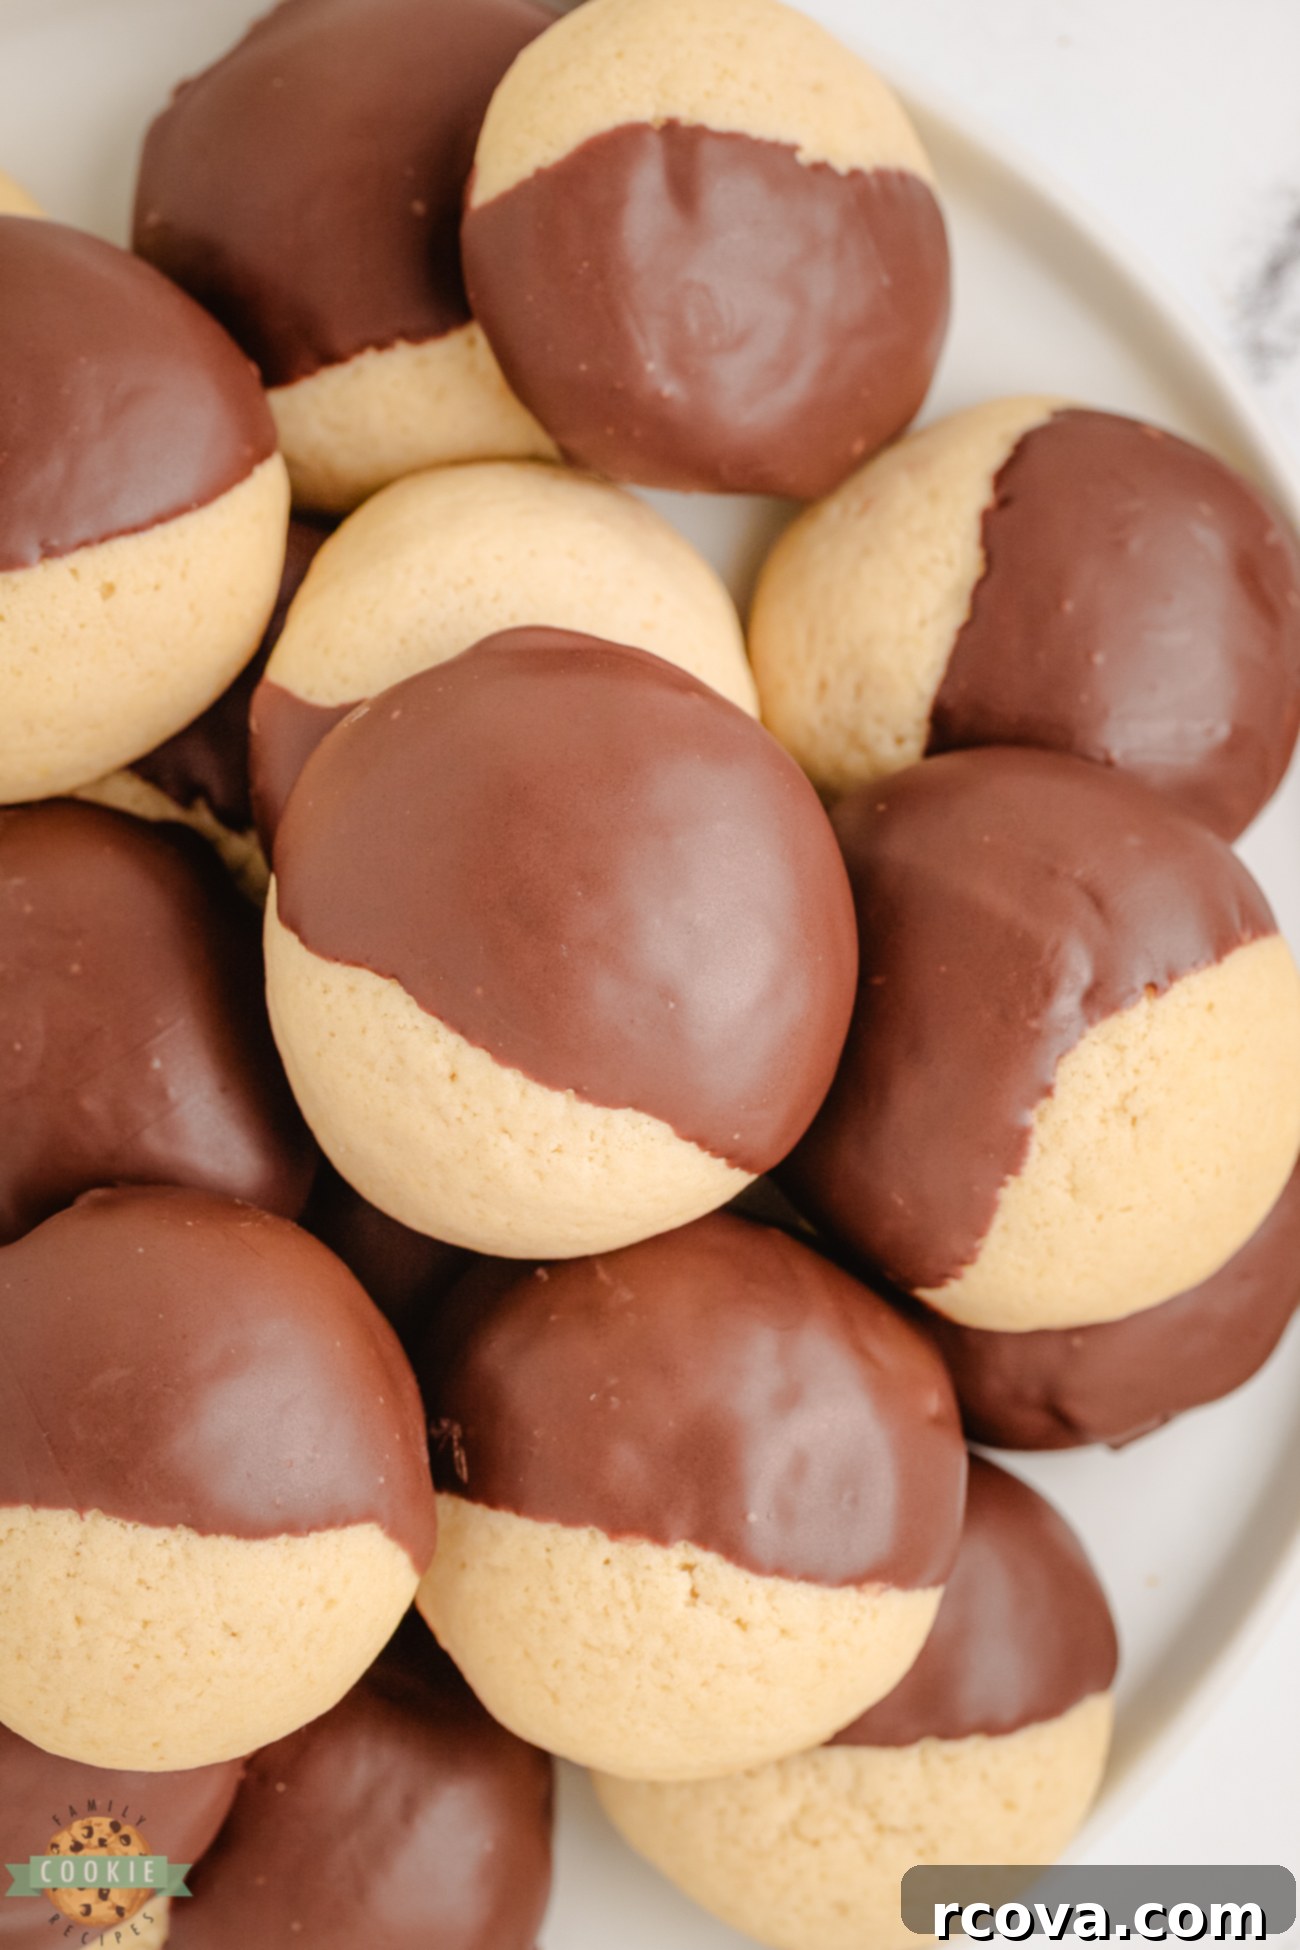
Decadent Chocolate Dipped Vanilla Cookies: Your New Favorite Homemade Treat
Indulge in the irresistible charm of these Chocolate Dipped Vanilla Cookies – a delightful homemade twist on classic vanilla wafers. Crafted with a perfect blend of all-purpose flour, tenderizing cornstarch, rich unsalted butter, and fragrant vanilla extract, these cookies are baked to golden perfection and then lovingly enrobed in a smooth, decadent chocolate coating. Each bite offers a harmonious balance of sweet vanilla and rich chocolate, creating a treat that’s simply unforgettable. Whether you’re a seasoned baker or just starting, this recipe for homemade vanilla cookies is designed to be straightforward, yielding a batch of cookies that are incredibly soft, flavorful, and wonderfully satisfying.
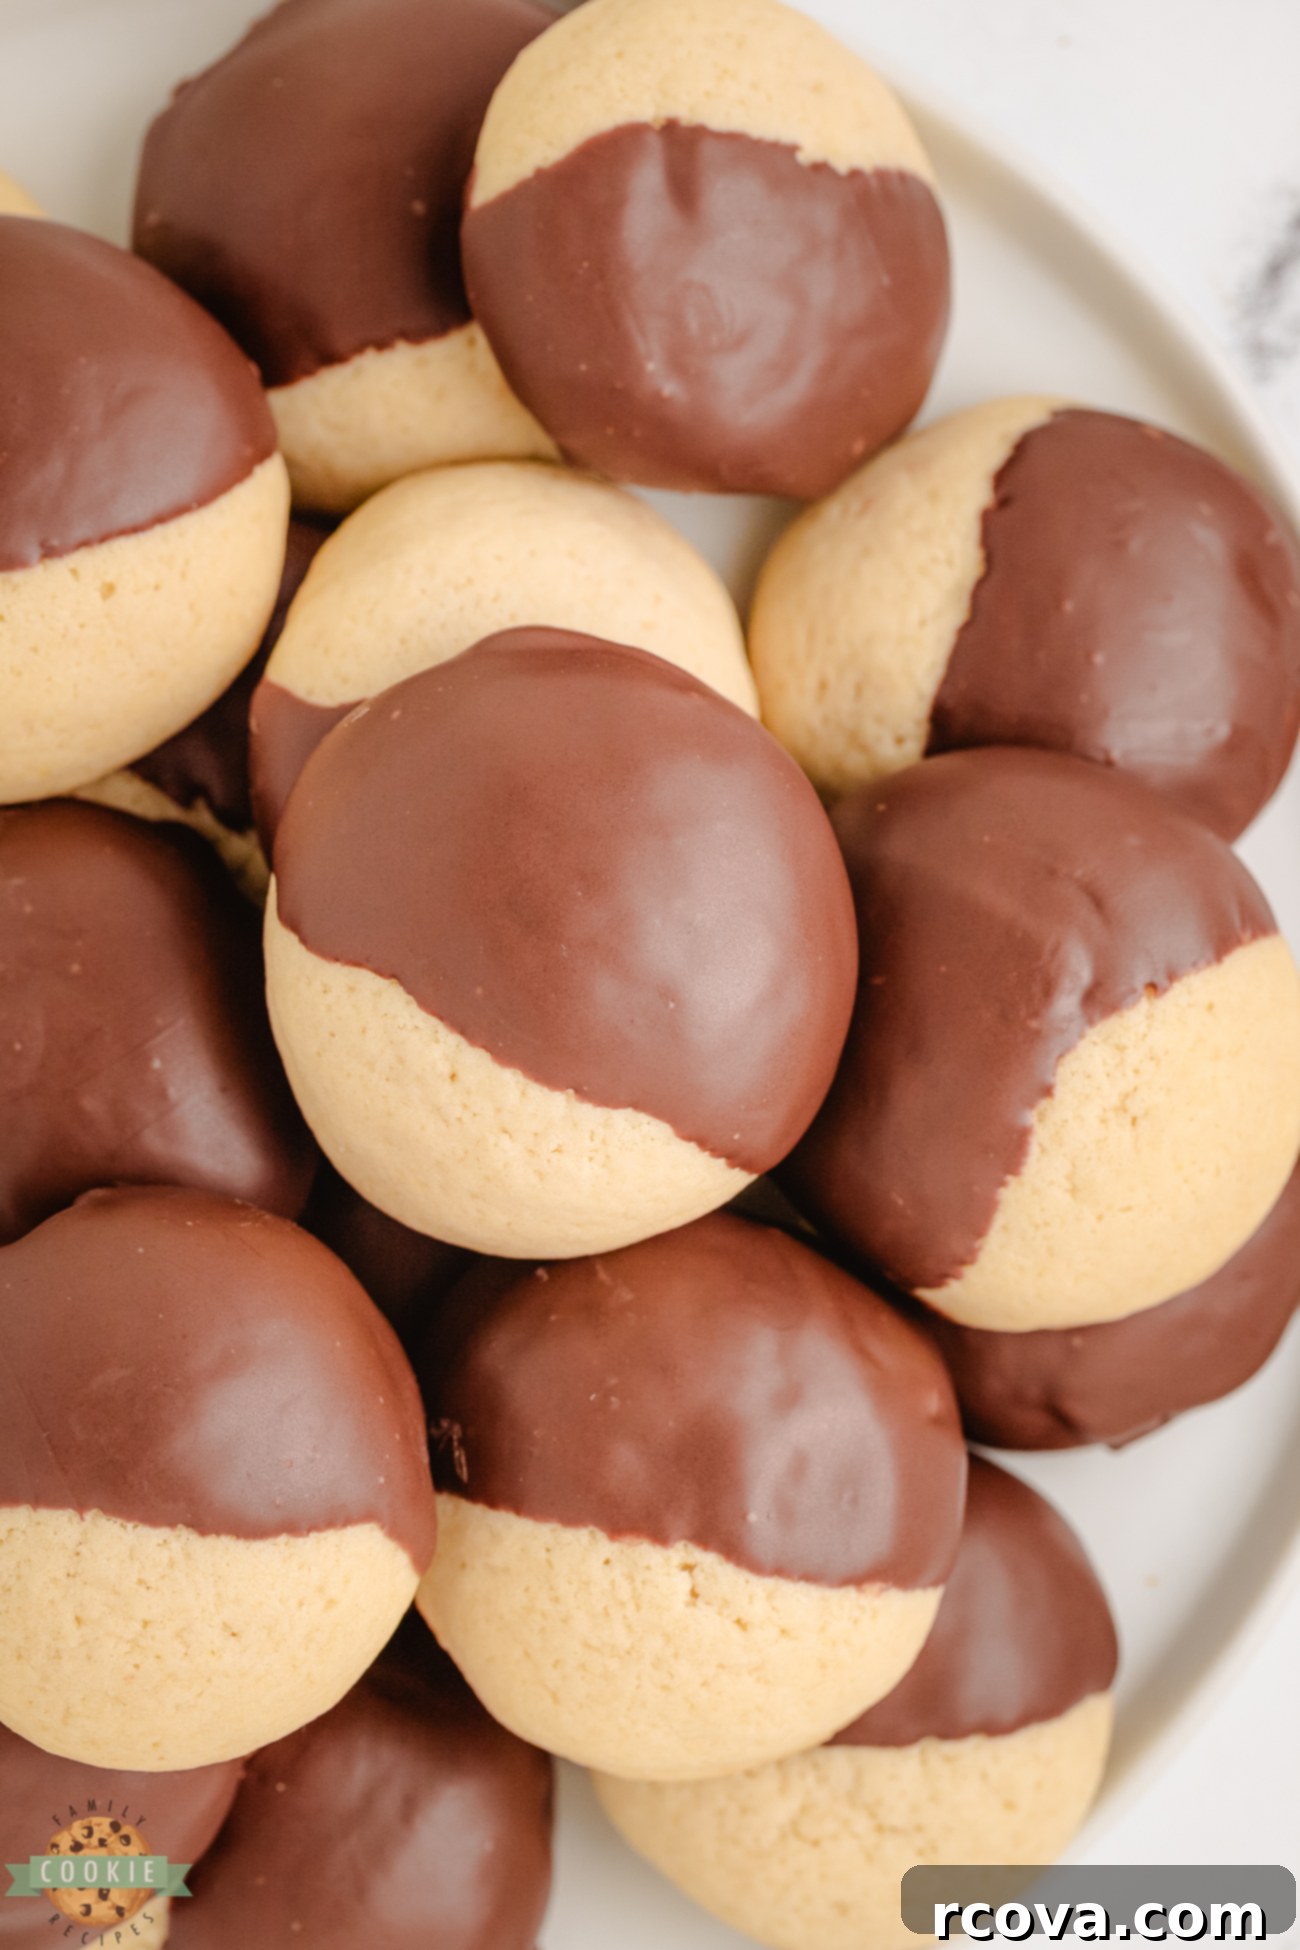
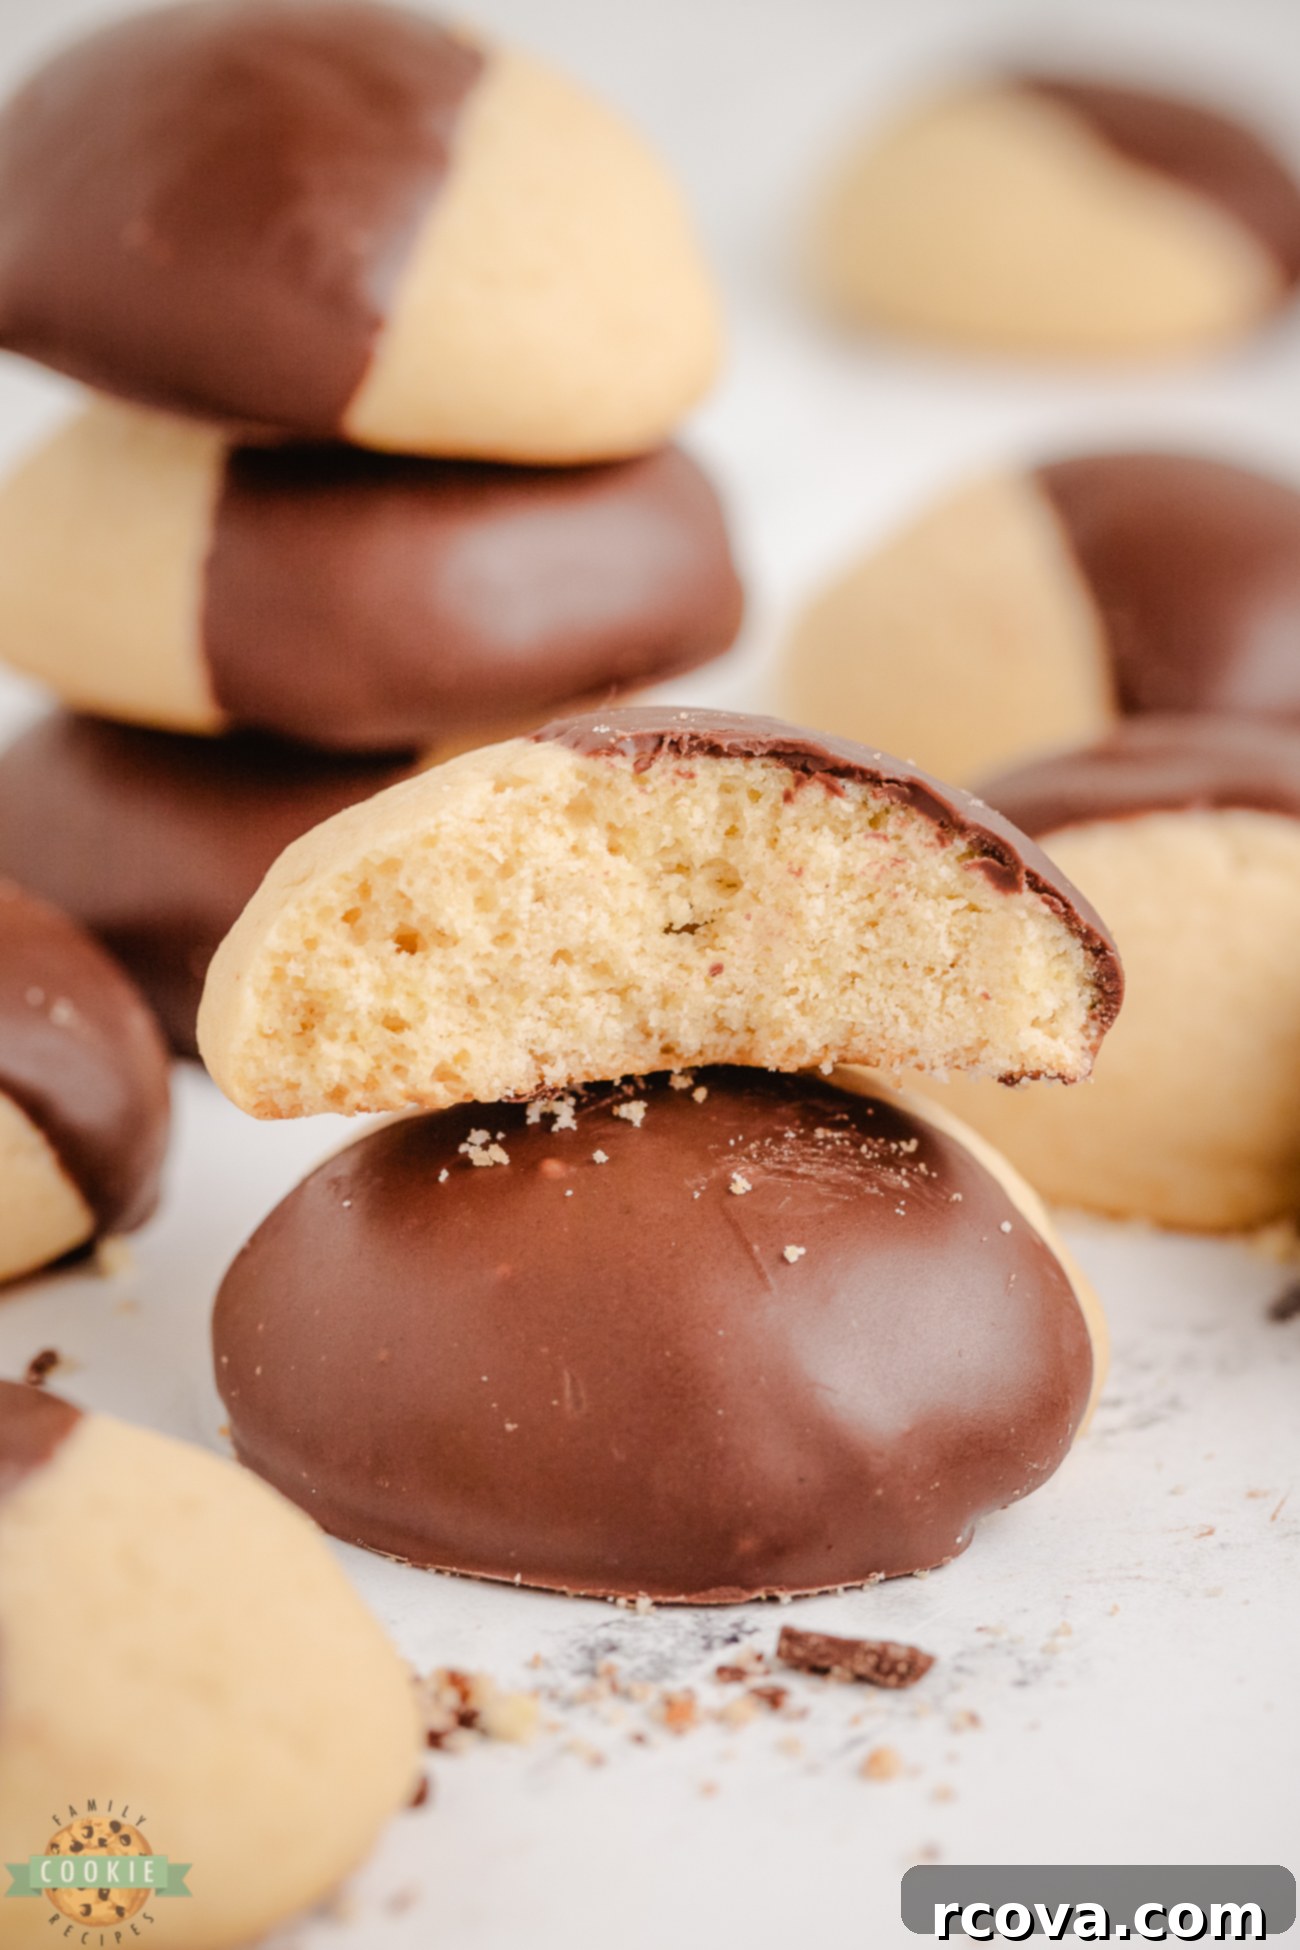
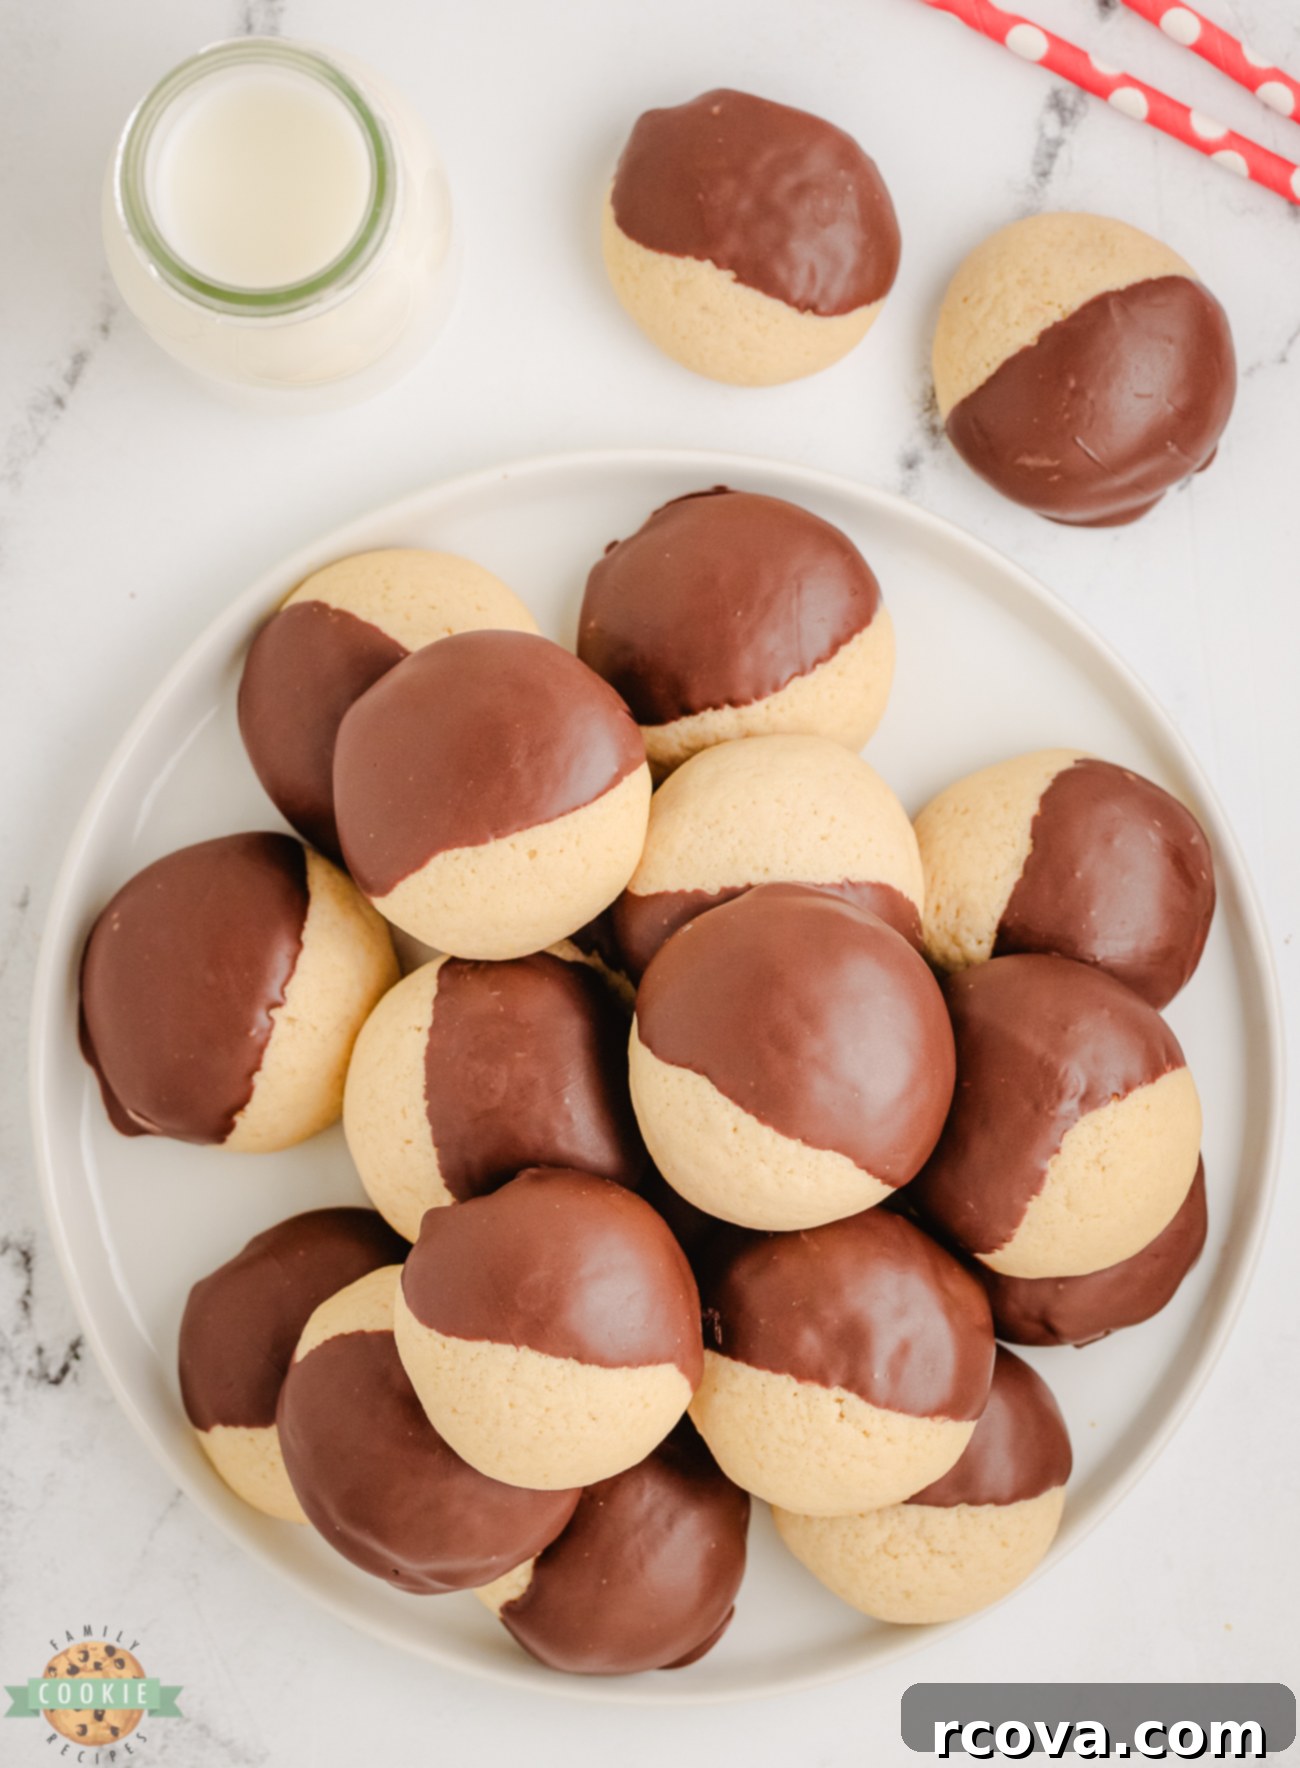
We’ve taken our beloved vanilla cookie recipe and elevated it to new heights by introducing a luscious melted chocolate dip. This exquisite chocolate layer adds a touch of pure decadence that beautifully complements the sweet and aromatic vanilla flavor of the cookies. The contrast in textures – a tender, melt-in-your-mouth cookie beneath a crisp, smooth chocolate shell – makes these treats truly special. With just a few basic ingredients readily available in most pantries and a little dedicated time, you can easily whip up a batch of these enchanting chocolate dipped cookies that are perfect for any occasion, from casual snacking to elegant dessert platters.
Why You’ll Fall in Love with This Vanilla Cookie Recipe
This recipe isn’t just about making cookies; it’s about creating a memorable baking experience and a truly superior treat. Here’s why these soft vanilla cookies will quickly become a household favorite:
- Unrivaled Softness: What sets this recipe apart is the clever inclusion of cornstarch alongside the all-purpose flour. This secret ingredient is the key to achieving an incredibly soft, tender, and almost melt-in-your-mouth texture that standard cookie recipes often miss. You’ll be amazed at how delicate and airy these cookies turn out!
- Gourmet Chocolatey Finish: Instead of simply mixing chocolate chips into the dough, we elevate the experience with a rich chocolate bark coating applied after baking. This method provides a clean, smooth, and visually appealing chocolate shell that not only looks professional but also delivers a more intense and consistent chocolate flavor with every bite. The contrast between the sweet vanilla cookie and the deep chocolate is simply divine.
- Effortlessly Shareable: These beautiful chocolate covered vanilla cookies are more than just a dessert; they’re a crowd-pleaser and ideal for spreading joy. Their appealing appearance and delightful taste make them perfect for sharing with friends and family. They’re an excellent choice for bake sales, adding a touch of homemade elegance to potlucks, or serving as a standout dessert at parties and gatherings. Prepare for compliments and requests for the recipe!
- Simple Ingredients, Incredible Results: Despite their gourmet appearance and taste, these cookies rely on accessible, everyday ingredients. You won’t need to hunt for obscure items; everything you need is likely already in your kitchen or easily found at your local grocery store.
- Versatile and Customizable: While utterly delicious as is, these cookies also lend themselves beautifully to various customizations, from sprinkles to different chocolate types, making them a fun recipe to experiment with.
Essential Ingredients for Your Chocolate Dipped Vanilla Cookies
Crafting the perfect homemade vanilla cookies begins with a careful selection of quality ingredients. Each component plays a vital role in achieving the desired flavor and texture. Here’s a detailed look at what you’ll need:
- All-Purpose Flour: This forms the fundamental structure of our cookie dough. For best results, measure your flour by weight if possible, or use the spoon-and-level method to avoid compacting it, which can lead to dense cookies.
- Cornstarch: A true game-changer! Adding just 2 teaspoons of cornstarch is the secret to creating those exceptionally soft, tender, and slightly chewy cookies that define this recipe. It helps tenderize the gluten in the flour.
- Baking Powder: This leavening agent is crucial for helping the cookies rise beautifully as they bake, giving them a light and airy texture. Ensure your baking powder is fresh for optimal results.
- Salt: A pinch of salt is essential for balancing and enhancing the sweet flavors of the cookie. It brings out the vanilla and prevents the cookies from tasting overly sugary.
- Unsalted Butter (Softened): Using softened unsalted butter is key to creating rich, moist, and flavorful cookies. Make sure it’s at room temperature but not melted, allowing it to cream properly with the sugar.
- Granulated Sugar: You’ll need ⅔ cup of granulated sugar to sweeten the cookies and contribute to their tender crumb. It also helps with browning.
- Large Egg: One large egg acts as a binder, holding all the ingredients together and adding moisture, richness, and structure to the dough.
- Vanilla Extract: The star flavor! A full tablespoon of high-quality vanilla extract is what gives these cookies their signature, delightful vanilla aroma and taste. Don’t skimp on this!
- Milk: A touch of milk adds just the right amount of extra moisture to the dough, ensuring the cookies remain tender and prevent them from drying out.
- Melting Chocolate: For dipping, use ½ cup of good quality melting chocolate or chocolate bark. These products are specifically formulated to melt smoothly and set firm, creating a beautiful, glossy coating without the need for tempering. Chocolate chips can also work, but may require a bit of shortening or coconut oil to achieve a smoother consistency for dipping.
Key Tips for Making Perfect Chocolate Dipped Vanilla Cookies
While the full, detailed instructions are provided in the recipe card below, here are some crucial tips to ensure a successful and enjoyable baking experience, resulting in the best chocolate covered vanilla cookies you’ve ever made!
- Butter Temperature Matters: Always make sure your butter is properly softened before you begin incorporating it into your cookie dough. Butter that is too cold won’t cream properly with the sugar, leading to a denser cookie. Conversely, butter that is melted will make the dough greasy and difficult to work with, and the cookies may spread too much. Aim for a consistency where you can easily indent it with your finger, but it still holds its shape. See our detailed tip below on the best way to soften butter quickly and effectively.
- The Importance of Chilling: Do not, under any circumstances, skip the chilling step! Our recipe specifically calls for chilling the dough for at least one hour, or ideally, overnight. Chilling serves several vital purposes: it allows the butter to re-solidify, making the dough much easier to handle and roll. More importantly, it helps prevent the cookies from spreading excessively during baking, ensuring they hold their perfect round shape and retain their desired thickness and tenderness. This step also allows the flavors to meld together, enhancing the overall taste.
- Mastering the Chocolate Dip: Once your vanilla cookies are baked and completely cooled, it’s time for the decadent chocolate coating. Ensure your chocolate bark is melted smoothly, free of any lumps. The easiest method is to use a microwave, heating in short bursts and stirring frequently. Dip each cooled cookie halfway into the melted chocolate. Allow any excess chocolate to drip off for a few seconds before placing the cookie on a parchment-lined tray. This prevents overly thick or messy layers of chocolate and ensures a clean, professional finish. Let the chocolate set completely at room temperature or in the refrigerator before serving.
- Don’t Overmix the Dough: Once you add the dry ingredients to the wet, mix only until just combined. Overmixing develops the gluten in the flour, which can lead to tough, rather than soft, cookies.
- Baking Time is Key: Keep a close eye on your cookies during the last few minutes of baking. They are done when the edges are lightly golden brown, and the centers are still slightly soft. Overbaking will result in dry cookies.
Cookie Storage and Freezing Instructions
To keep your delicious chocolate dipped vanilla cookies fresh and enjoyable for as long as possible, proper storage is key. Once the chocolate coating has fully set, transfer the cookies to an airtight container. They will remain wonderfully fresh and flavorful for up to 1 week when stored at room temperature. If you prefer your chocolate coating to be firmer or live in a warm climate, storing them in the refrigerator can extend their freshness slightly and keep the chocolate from softening.
For longer-term storage, these cookies freeze exceptionally well. Place them in an airtight freezer-safe container or a heavy-duty freezer bag, ensuring they are separated by parchment paper if stacking to prevent sticking. They can be frozen for up to 3 months without losing their quality. When you’re ready to enjoy them, simply thaw the cookies at room temperature for a few hours. This makes them a perfect make-ahead treat for future gatherings or simply to satisfy a sudden sweet craving!
Chocolate Dipped Vanilla Cookies
Print
Pin
Rate
Ingredients
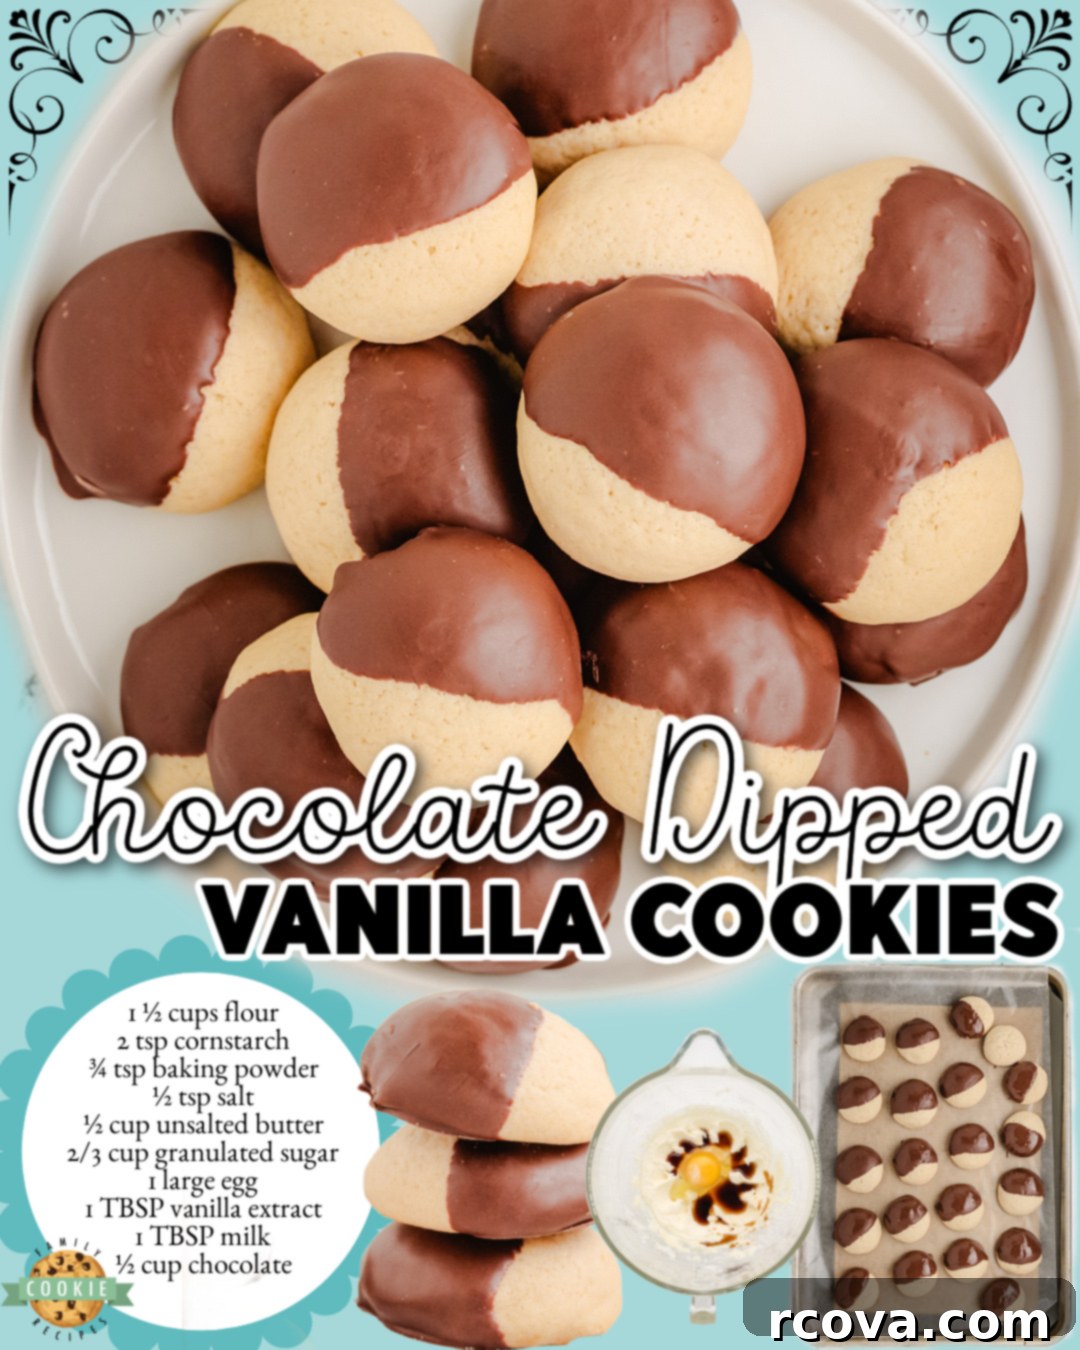
- 1 ½ cups all-purpose flour
- 2 tsp cornstarch
- ¾ tsp baking powder
- ½ tsp salt
- ½ cup unsalted butter softened to room temperature
- ⅔ cup granulated sugar
- 1 large egg
- 1 TBSP vanilla extract
- 1 TBSP milk any kind, at room temperature
- ½ cup Dipping Chocolate or chocolate bark, melted
Instructions
-
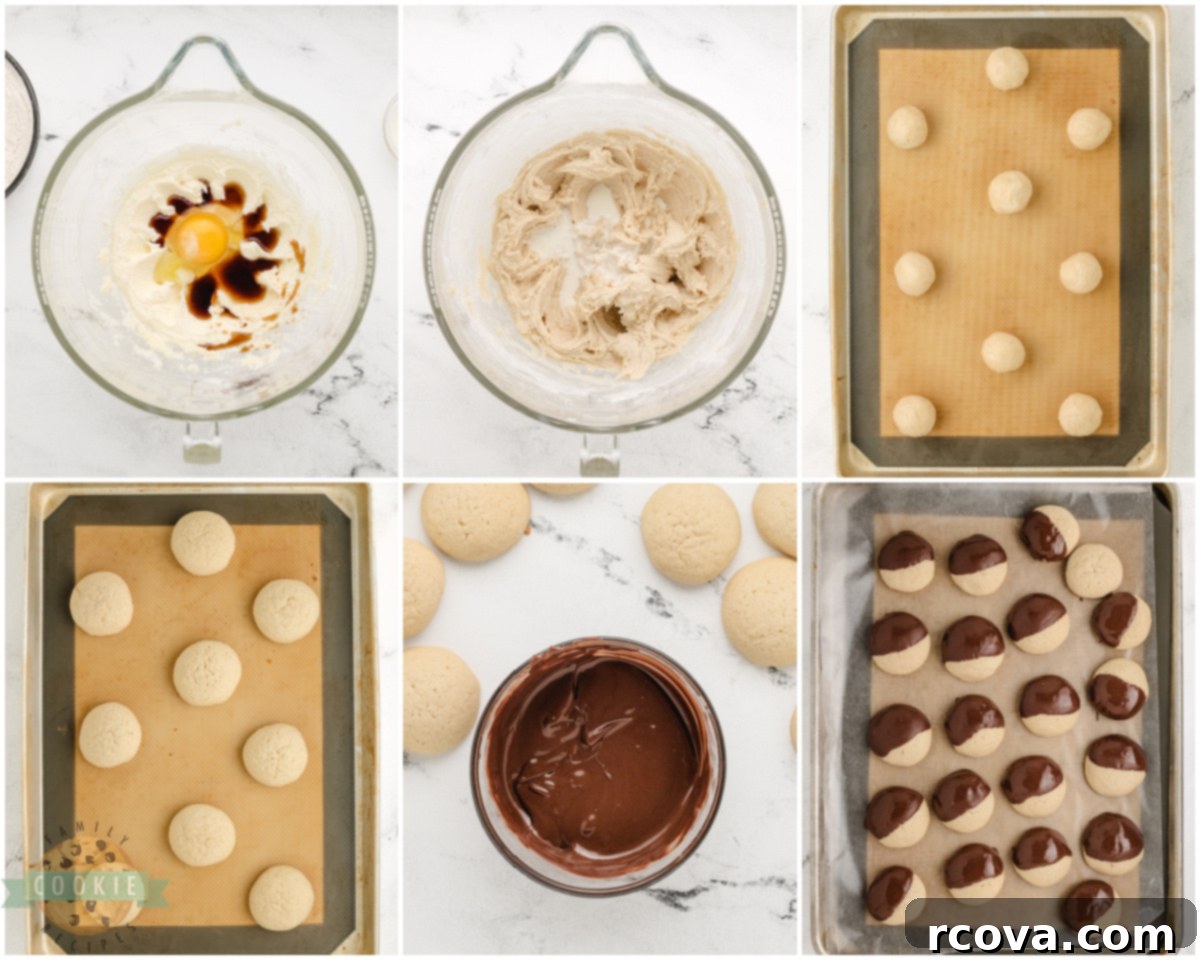
In a medium-sized mixing bowl, thoroughly whisk together the all-purpose flour, cornstarch, baking powder, and salt. Make sure these dry ingredients are well combined to ensure even distribution throughout the dough. Set this bowl aside for later.
-
Using an electric mixer (either a stand mixer with the paddle attachment or a hand mixer), beat the softened butter and granulated sugar together in a separate large bowl. Beat on medium speed until the mixture is light, fluffy, and creamy, usually for 2-3 minutes. Reduce the mixer speed to low, then beat in the large egg and vanilla extract until they are fully incorporated and the mixture is smooth. Scrape down the sides of the bowl as needed.
-
Gradually add the reserved flour mixture into the wet butter mixture. Mix on low speed until the dry ingredients are just combined and no streaks of flour remain. Be careful not to overmix. Add the milk and stir again briefly until the dough comes together. The dough should be soft but manageable.
-
Cover the bowl containing the cookie dough tightly with plastic wrap and place it in the refrigerator. Allow the dough to chill for at least 1 hour, or for best results and easier handling, chill it overnight. This step is crucial for preventing the cookies from spreading too much during baking.
-
When you’re ready to bake, preheat your oven to 350°F (175°C). Line two baking sheets with parchment paper to prevent sticking and aid in easy cleanup. Set them aside.
-
Once the dough is adequately chilled, scoop or roll it into 1-inch balls. Place these dough balls onto the prepared baking sheets, ensuring you space them at least 2 inches apart to allow for proper spreading during baking. Bake for approximately 11-12 minutes, or until the edges of the cookies are light golden brown and the centers are still slightly soft. Do not overbake.
-
While the cookies are cooling, prepare your chocolate dip. In a small microwave-safe bowl, melt the dipping chocolate or chocolate bark. Start by heating for 30 seconds, then stir well. Continue heating in 15-second increments, stirring after each, until the chocolate is completely melted and smooth. Be careful not to overheat the chocolate, as it can seize.
-
Once the cookies are completely cooled, dip each cookie halfway into the melted chocolate. Allow any excess chocolate to drip off back into the bowl for a few seconds to create a neat coating. Place the dipped cookies onto a sheet of wax paper or a clean parchment-lined tray to set. Let them sit at room temperature until the chocolate is dry to the touch and firm, or place them in the refrigerator for quicker setting. Serve and enjoy your beautiful and delicious chocolate dipped vanilla cookies!
Notes
For extended storage, these cookies can be easily frozen. Simply place them in an airtight container or a heavy-duty freezer bag, with layers separated by parchment paper, and freeze for up to 3 months. When you’re ready to enjoy them, thaw at room temperature for a few hours until soft.
Nutrition
Delicious Variations and Customizations for Your Vanilla Cookie Recipe
While these chocolate dipped vanilla cookies are undeniably delicious in their classic form, they also serve as a fantastic canvas for creative customizations. Feel free to unleash your inner pastry chef and experiment with these delightful variations:
- Fun Additions: To add a vibrant and festive touch, consider sprinkling some colorful rainbow sprinkles onto the chocolate coating immediately after dipping, before it sets. This is especially fun for birthdays or holiday celebrations! For those who adore nuts, try adding finely chopped pecans, walnuts, or even roasted almonds to the melted chocolate for a delightful crunchy texture and nutty flavor contrast. A sprinkle of sea salt flakes on top of the chocolate before it sets can also create a sophisticated sweet-and-salty flavor profile.
- Gluten-Free Option: Making this recipe accessible for those with gluten sensitivities is remarkably easy. Simply substitute the regular all-purpose flour with a high-quality gluten-free all-purpose flour blend (preferably one that contains xanthan gum for structure). Always double-check that all other ingredients, such as the chocolate bark and any sprinkles, are certified gluten-free to ensure a fully compliant treat.
- Vegan Option: To create a delicious vegan version of these cookies, a few simple swaps are all you need. Replace the large egg with a “flax egg” (prepared by mixing 1 tablespoon of ground flaxseed meal with 3 tablespoons of water, then letting it sit for 5-10 minutes until it thickens). Use a plant-based vegan butter alternative instead of regular butter. For the dipping chocolate, ensure you select a vegan-friendly chocolate bark or dairy-free chocolate chips. Always review the labels of all ingredients to confirm they are suitable for a vegan diet.
- Different Chocolate Types: Don’t limit yourself to semi-sweet chocolate! Experiment with dark chocolate for a more intense, less sweet flavor, or use white chocolate for a creamy, milder contrast. You could even use milk chocolate for a sweeter, more traditional cookie shop taste.
- Extract Variations: While vanilla is king here, a tiny drop of almond extract alongside the vanilla can add a subtle, intriguing depth of flavor. For a festive twist, a touch of peppermint extract can transform these into holiday treats.
The Magic Touch: How Cornstarch Affects the Texture of Cookies
If you’re wondering why a humble ingredient like cornstarch finds its way into a cookie recipe, especially one touting “extra soft cookies,” you’ve hit on one of the recipe’s best-kept secrets! The cornstarch in this vanilla cookie recipe is absolutely essential for achieving that sought-after soft, tender, and almost melt-in-your-mouth cookie texture. Here’s how it works its magic:
- Tenderizing Effect: Cornstarch is a pure starch, and when combined with flour, it helps to weaken the gluten development. Gluten is responsible for the structure and chewiness in baked goods. By reducing its strength, cornstarch results in a more tender crumb, preventing the cookies from becoming tough or overly chewy.
- Moisture Retention: Cornstarch has hygroscopic properties, meaning it attracts and retains moisture. This helps keep the cookies moist and fresh for longer, contributing to their soft texture even days after baking.
- Improved Spread Control: Believe it or not, cornstarch also plays a role in preventing the cookies from spreading too much during baking. It provides a subtle structure that helps the cookies hold their shape without making them hard.
For these reasons, skipping the cornstarch is not recommended if you’re aiming for the signature softness of these homemade vanilla cookies. It truly makes a noticeable difference!
Achieving Perfectly Softened Butter: A Quick Guide
Softened butter is a foundational ingredient in many baking recipes, and this vanilla cookie recipe is no exception. It’s crucial for achieving that light and creamy texture when beaten with sugar. However, “softened” does not mean melted! Melted butter will lead to greasy dough and flat, overly spread cookies. Here’s my favorite, foolproof method for softening butter quickly:
- Microwave Method (Careful!): My preferred method for quick softening is using the defrost function on my microwave. If you need a full stick (½ cup) of butter, you can often leave it in its paper wrapper. If you need a smaller amount, or for better control, place the required amount of butter in a microwave-safe glass or porcelain bowl.
- Low Power, Short Bursts: Set your microwave to its lowest defrost setting (usually around 20-30% power). Begin by microwaving the butter for just 20 seconds.
- Check and Repeat: After 20 seconds, immediately check the butter. Press it gently with a rubber spatula or your finger. It should yield easily and leave an indentation, but it should not be liquid or shiny. If it’s still too firm and doesn’t indent easily, return it to the microwave for another 5-10 seconds on defrost.
- Watch Closely: Butter softens very, very quickly, especially in a microwave. It can go from perfectly softened to slightly melted in a matter of seconds, so watch it like a hawk! A perfectly softened stick of butter will be pliable and slightly cool to the touch.
If you have more time, simply leaving butter on the counter for 30-60 minutes (depending on room temperature) is also a great option. However, the microwave defrost method is a lifesaver when you’re in a hurry to make these delightful chocolate dipped vanilla cookies!
Frequently Asked Questions About Chocolate Dipped Vanilla Cookies
Can I use chocolate chips instead of melting chocolate/bark?
Yes, you can use chocolate chips, but they might not melt as smoothly or set as firmly as melting chocolate or chocolate bark, which are designed for dipping. If using chocolate chips, consider adding a teaspoon of coconut oil or shortening to the melted chocolate to help achieve a smoother, more liquid consistency and a nicer finish.
Why did my cookies spread too much?
Several factors can cause cookies to spread excessively. The most common reasons are butter that was too warm or melted, not chilling the dough long enough (or at all), or your oven temperature being too low. Ensure your butter is just softened (not melted), always chill the dough for the recommended time, and use an oven thermometer to verify your oven’s accuracy.
How do I get a smooth chocolate coating without lumps?
The key is to melt the chocolate slowly and gently. Using the microwave in short bursts (15-30 seconds at a time) and stirring thoroughly between each interval is crucial. Avoid overheating. If your chocolate is still a bit thick, a tiny bit of coconut oil or shortening (about 1/2 teaspoon) can help thin it out for easier dipping.
Can I make the cookie dough ahead of time?
Absolutely! This dough is perfect for making ahead. You can prepare the dough and keep it tightly covered in the refrigerator for up to 2-3 days. This actually enhances the flavors and makes for even better cookies. You can also roll the dough into balls and freeze them on a baking sheet, then transfer to a freezer bag for up to 3 months. When ready to bake, place frozen dough balls on a baking sheet and add a couple of extra minutes to the baking time.
Discover More Irresistible Vanilla Cookie Recipes
If you’ve fallen in love with the classic, comforting flavor of vanilla, then you’ll be thrilled to explore these other fantastic vanilla-centric cookie recipes from our collection:
- Our Homemade Nilla Wafer cookies offer a nostalgic taste that far surpasses anything store-bought. They’re wonderfully crisp and utterly addictive!
- Experience the pure delight of our Vanilla Cream Cookies, which boast a lovely, rich flavor thanks to the clever addition of pudding mix right into the cookie dough!
- For your next festive holiday baking party, you absolutely must try these charming Peppermint Vanilla Shortbread Cookies. They are a delightful combination of cool mint and warm vanilla, perfect for the season.
- If you loved the tenderizing effect of cornstarch in this recipe, you’ll appreciate our soft and delicate Vanilla Meringue Cookies, which also feature cornstarch for that irresistible melt-in-your-mouth texture.
These Chocolate Covered Vanilla Cookies are truly an easy-to-make, elegant treat that is guaranteed to satisfy your sweet tooth and impress anyone you share them with. This simple sugar cookie recipe creates beautifully soft and chewy vanilla bases, perfectly complemented by a rich, glossy chocolate coating. They are a testament to how simple ingredients can come together to create something truly extraordinary. Get ready to bake, dip, and enjoy a batch of these delectable homemade cookies!
