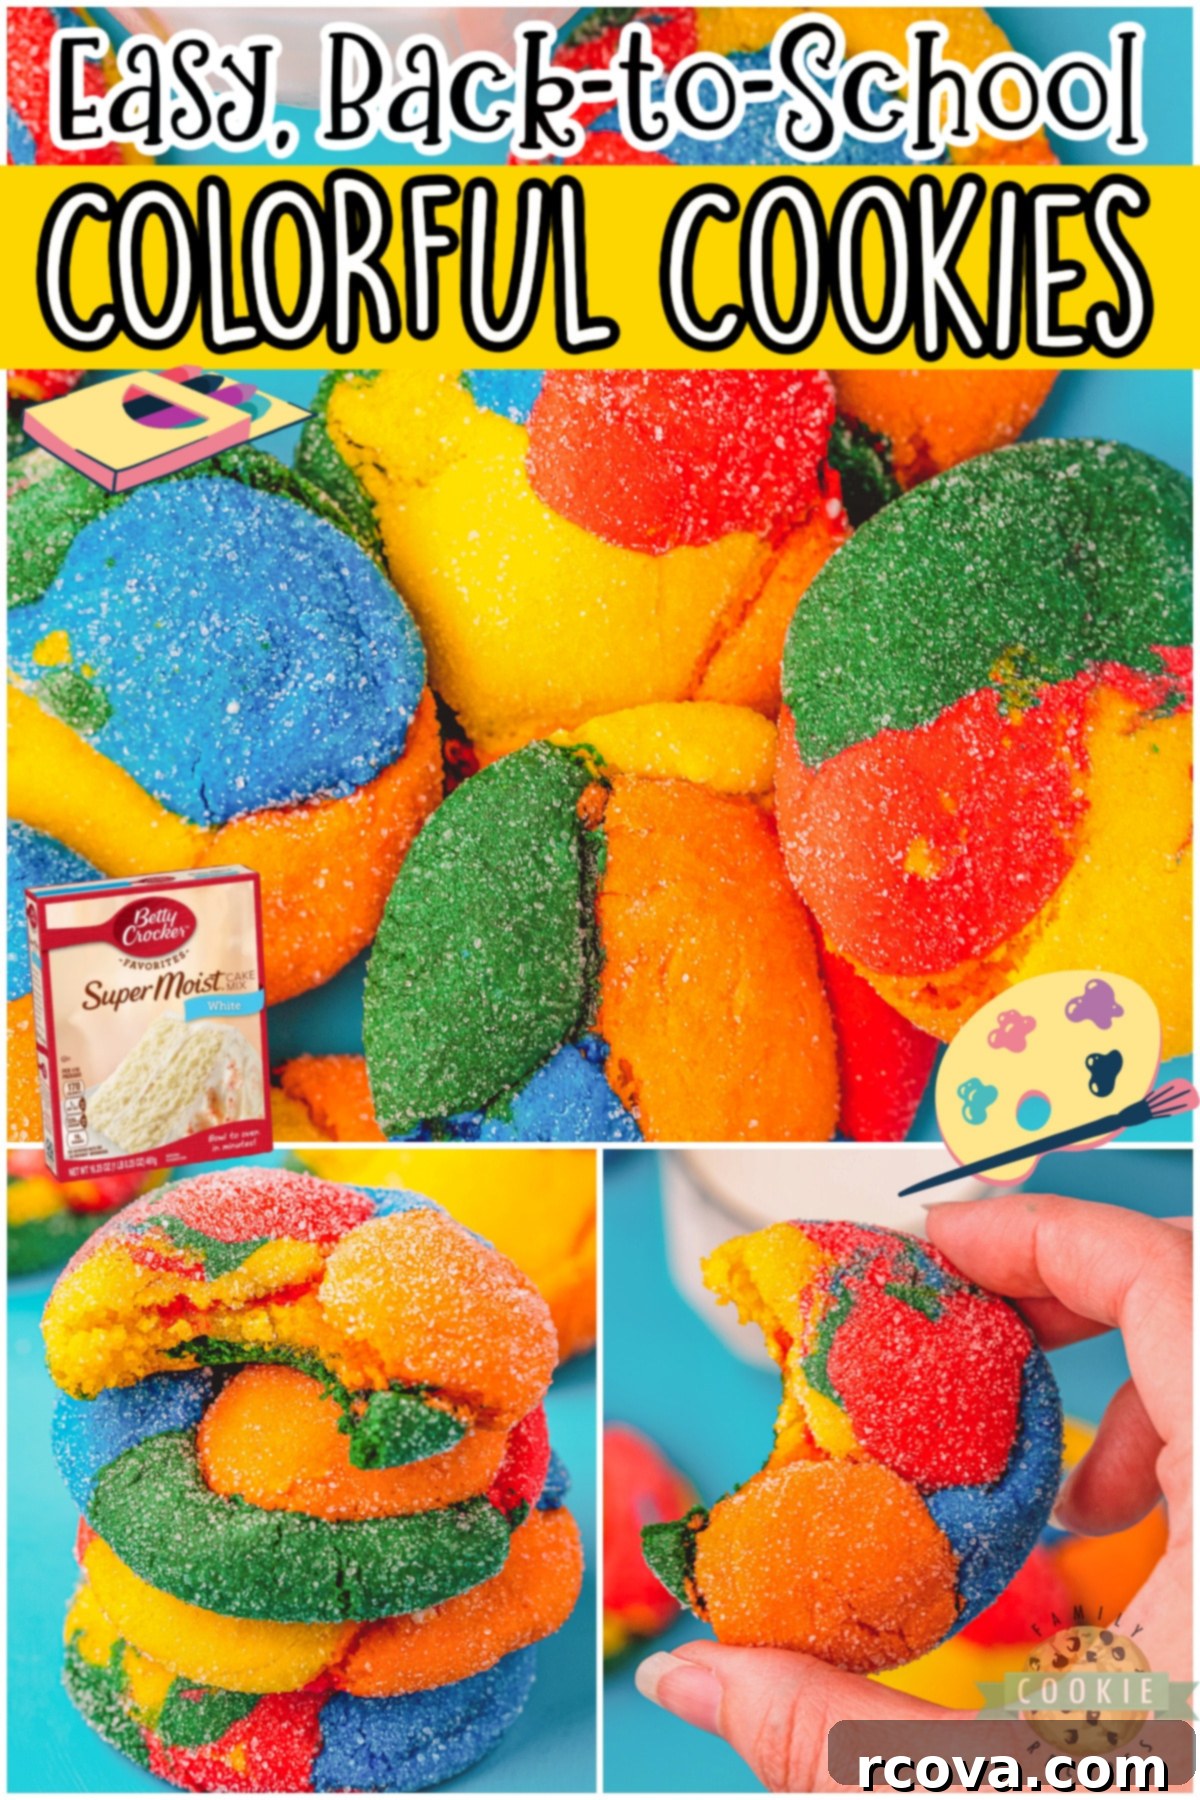
Bright & Fun Cake Mix Colorful Cookies: The Easiest Recipe for Soft, Festive Treats!
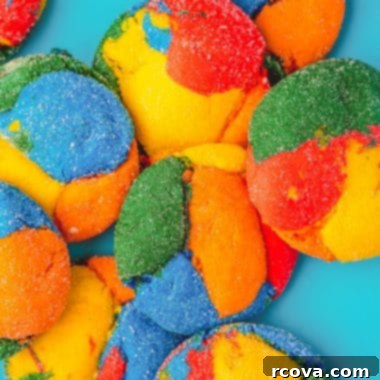
Get ready to unleash a burst of joy with these incredibly bright and fun Colorful Cookies, all made effortlessly from a simple cake mix! This recipe is a game-changer for anyone craving soft, festive cookies perfect for any occasion – from dazzling birthday parties to cheerful Back To School celebrations. Your ordinary boxed cake mix is about to receive an inventive, creative, and absolutely delicious upgrade that will have everyone reaching for more. These aren’t just cookies; they’re edible smiles, promising a delightful treat with minimal effort and maximum visual appeal.
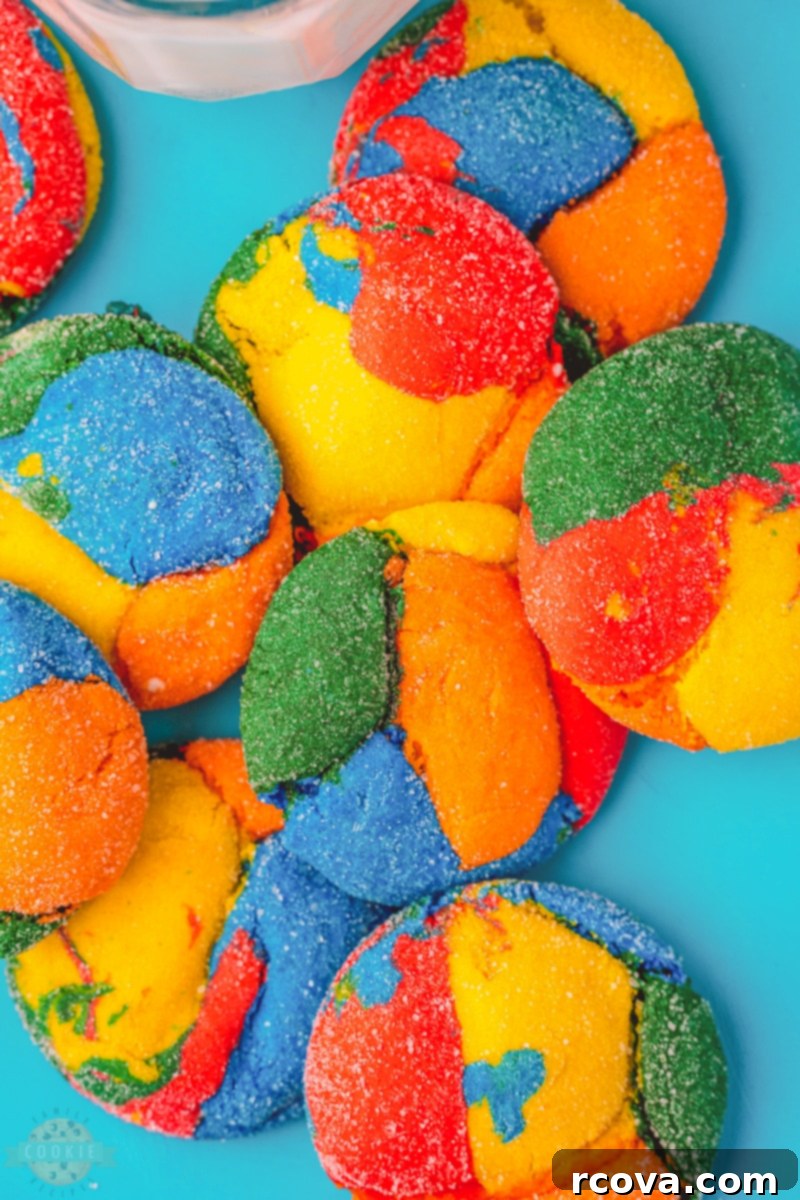
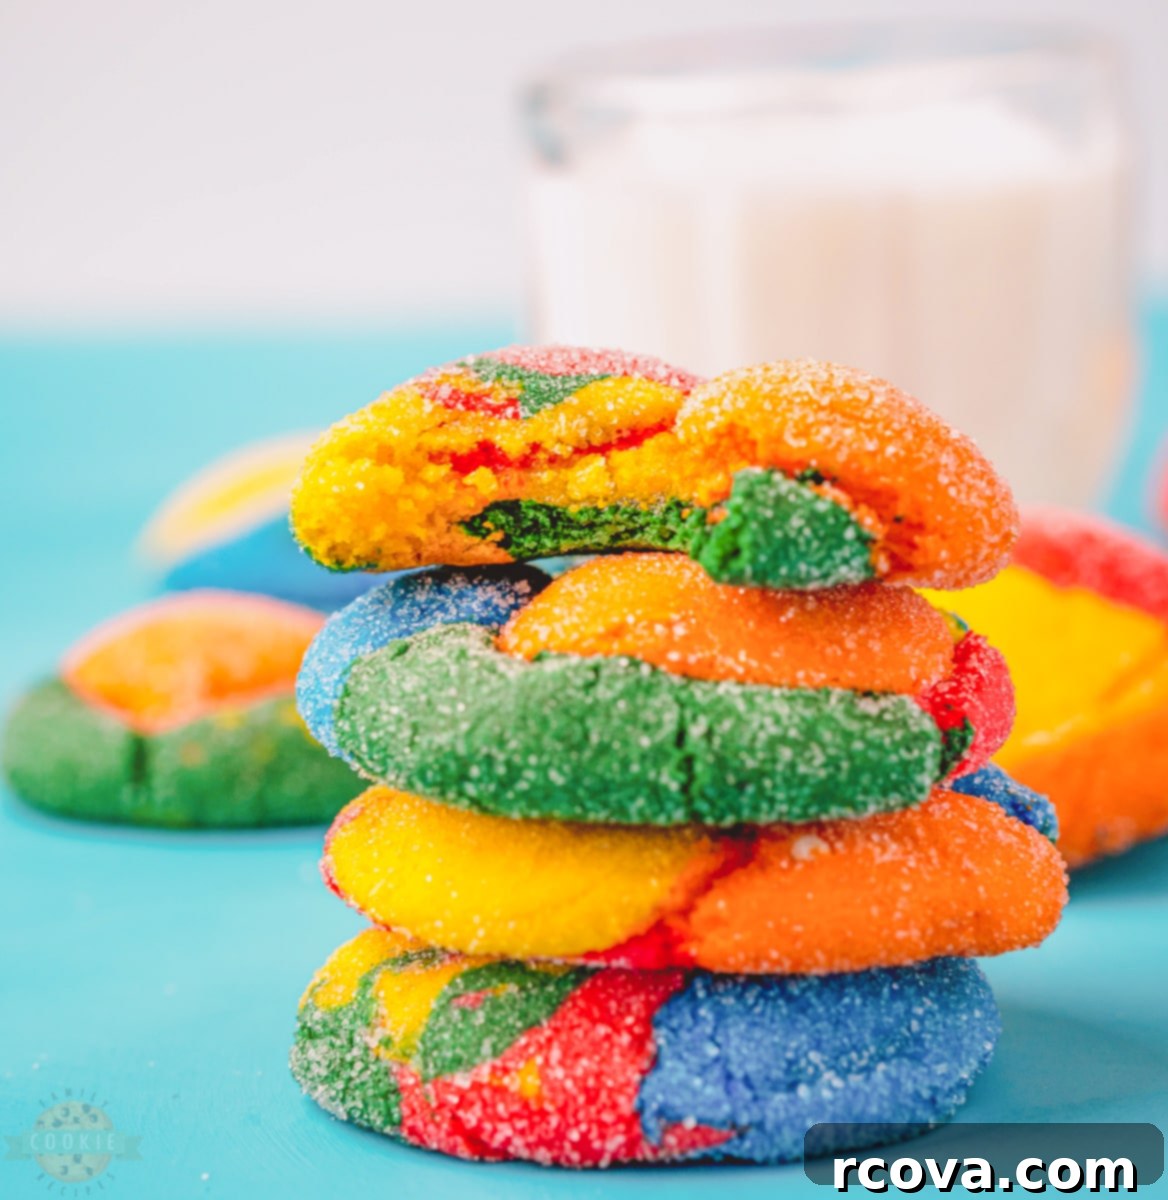
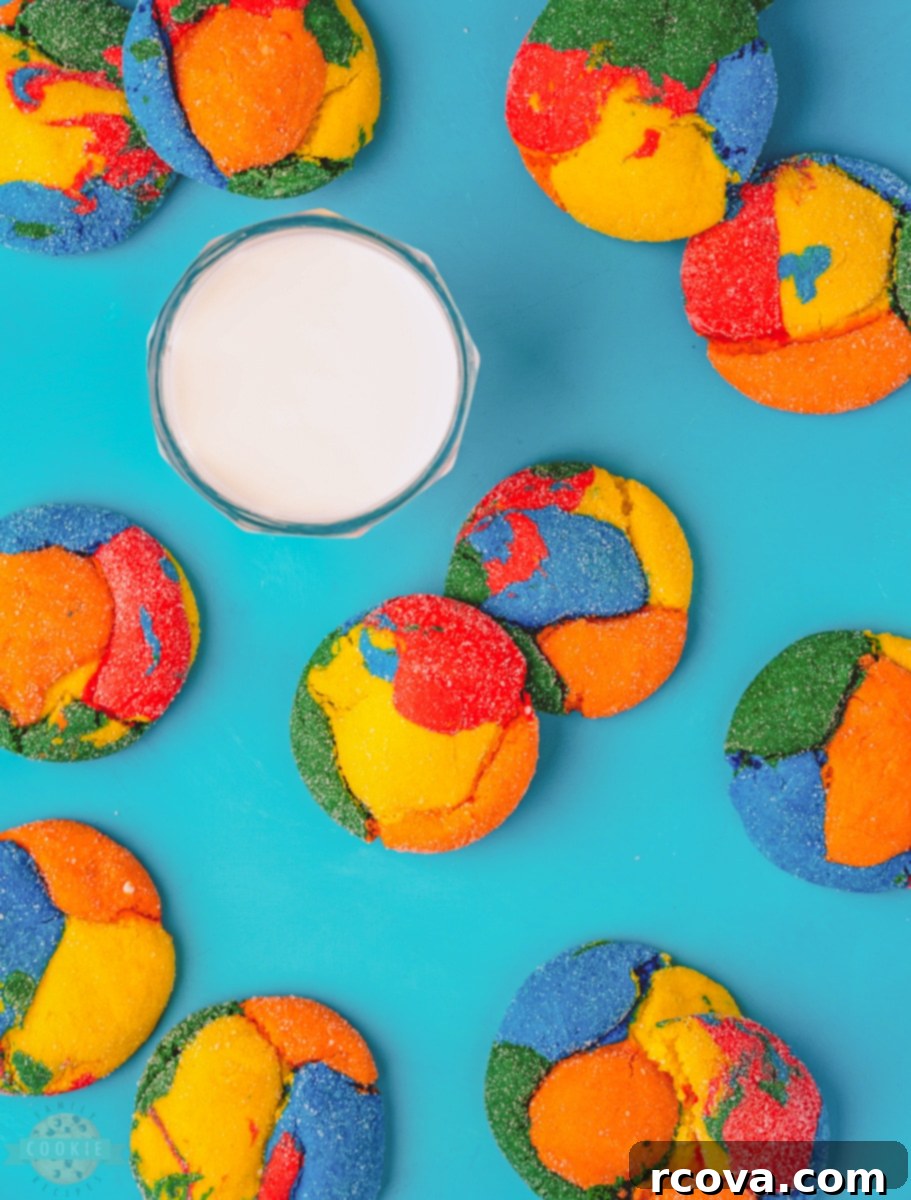
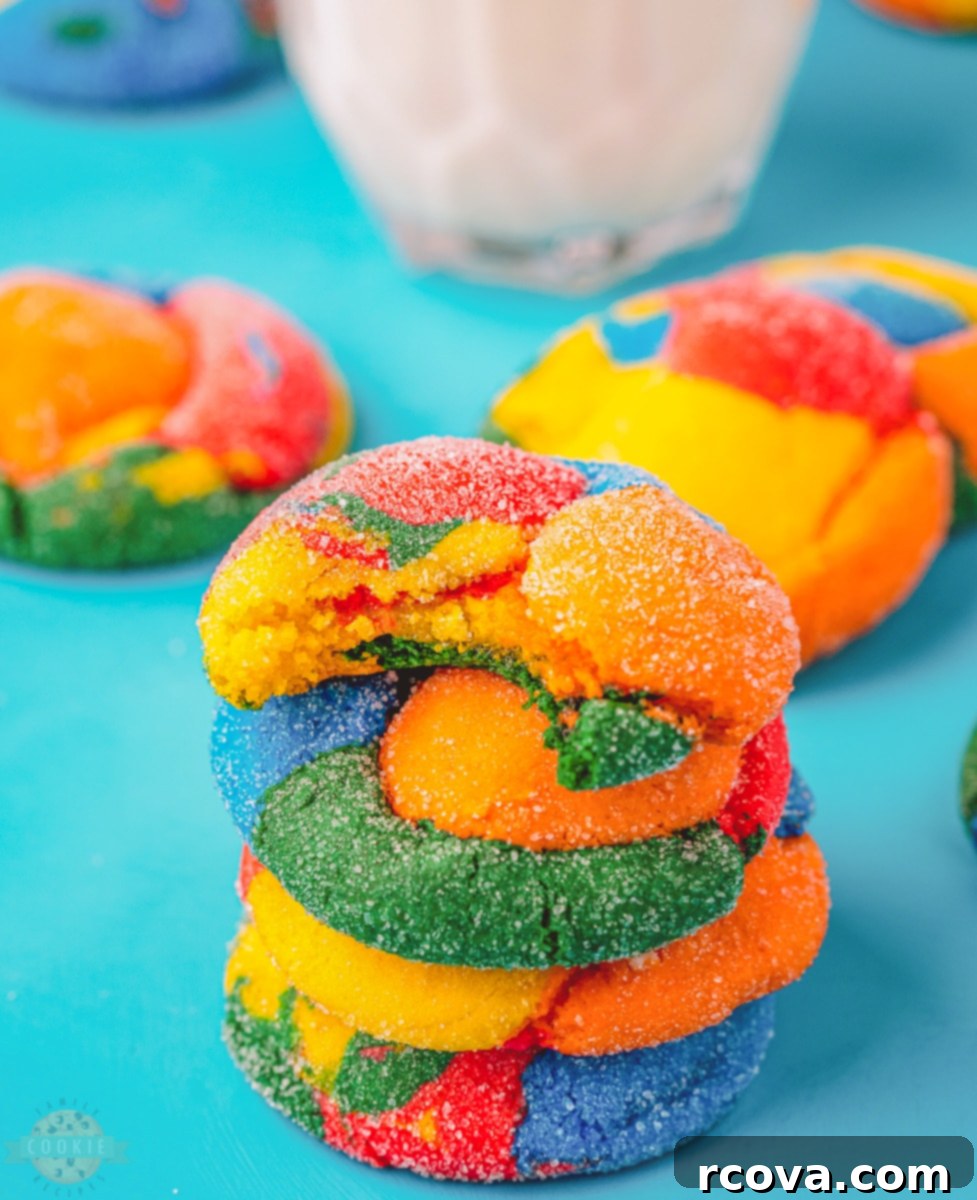
Imagine the excitement when these vibrant cookies make an appearance! They are guaranteed to be the hit of any gathering, and kids will absolutely adore choosing their favorite fun colors. What makes these cookies even better is how quickly they come together. Prepped in mere minutes and ready to eat in practically no time at all, you’ll soon find your hands full of these delightful creations. Just remember to have a tall glass of cold milk ready to complete the perfect cookie experience. These easy colorful cookies are not only a feast for the eyes but also a treat for the taste buds, offering a wonderfully soft and chewy texture that’s simply irresistible.
What Exactly Are Cake Mix Cookies?
If you’re new to the wonderful world of cake mix cookies, prepare to be delighted! This baking hack is a true lifesaver for busy individuals and anyone looking for a foolproof path to perfectly baked treats. The concept is simple: by combining a boxed cake mix with just a few additional ingredients, you can create soft, chewy, and incredibly flavorful cookies with minimal fuss, minimal steps, and minimal effort. The beauty of using a cake mix is that it already contains most of the dry ingredients needed for a delicious baked good, providing a consistent base that is difficult to mess up.
The result is a cookie that boasts a wonderfully tender crumb and a delightful chewiness that rivals those made from scratch. Each batch typically yields about two dozen cookies, ensuring there’s plenty to share with family, friends, or to stock up for spontaneous cravings. With these particular colorful rainbow cake mix cookies, you can easily turn them into a central theme for a party, adding an extra layer of fun and personalization. Their vibrant hues make them naturally celebratory, perfect for birthdays, school events, holidays, or just brightening up an ordinary day. Cake mix cookies are a testament to how simple ingredients can transform into something truly spectacular.
Essential Ingredients for Rainbow Cake Mix Cookies
Creating these stunning rainbow cake mix cookies requires only a handful of common ingredients. The magic truly begins with the humble boxed cake mix, which acts as the foundation for our colorful creations. Here’s a detailed look at what you’ll need and why each component is important:
- Cake Mix: You’ll want a standard-size (typically 15.25 ounces or around 432 grams) box of white cake mix. It’s crucial to use only the dry mix; do not follow the box instructions for making cake. A white cake mix is ideal because it provides a neutral base, allowing your food coloring to shine through in its truest, most vibrant form. While yellow cake mix can be used, be aware that its inherent yellow hue will subtly alter your colors, potentially making blues appear greenish or reds lean towards orange.
- Oil: Using ⅓ cup of vegetable oil is key to achieving that perfectly moist and tender cookie texture. Oil contributes to the dough’s richness and helps prevent the cookies from drying out during baking, ensuring every bite is wonderfully soft and worth savoring. Any neutral-flavored oil like canola or sunflower oil would also work well.
- Eggs: Two large eggs are essential for binding all the ingredients together, creating a cohesive cookie dough. Eggs add structure, moisture, and help with the overall texture, contributing to the characteristic chewiness of these cookies. Ensure your eggs are at room temperature for better incorporation into the dough.
- Food Coloring: This is where the fun truly begins! You can use any colorful food coloring you have on hand. Gel food coloring is highly recommended as it is more concentrated and produces more vivid, intense colors with less liquid, which is important for maintaining the dough’s consistency. However, liquid food coloring can also work fine, though you might need to use a bit more to achieve your desired vibrancy. Choose a variety of colors to create a beautiful rainbow effect.
- Sugar: To achieve a delightful exterior texture and an extra touch of sweetness, you will need about ½ cup of granulated sugar for rolling the cookie dough balls. This sugar coating caramelizes slightly during baking, giving the cookies a lovely crinkly appearance, a pleasant chewiness, and a sparkling finish that makes them even more appealing.
How to Make These Delightful Colorful Cookies
Making these easy colorful cookies is a straightforward and enjoyable process. Follow these simple steps to bring your vibrant cookie dreams to life:
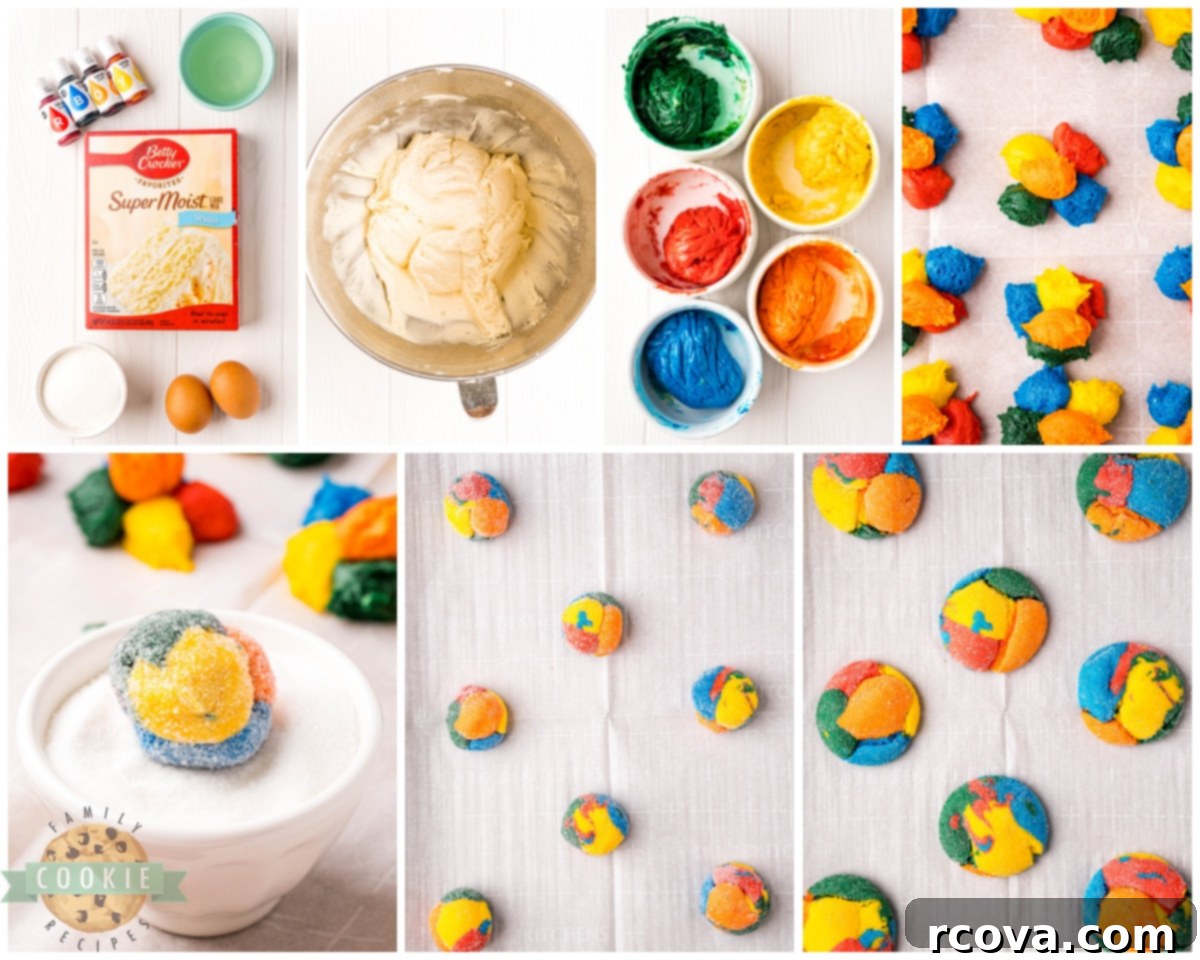
- Combine Ingredients: In a large mixing bowl or the bowl of a stand mixer fitted with a paddle attachment, combine the dry cake mix, vegetable oil, and large eggs. Beat them together on medium speed until all ingredients are well combined and a soft, uniform dough forms. Scrape down the sides of the bowl as needed to ensure everything is fully incorporated.
- Divide the Dough: Carefully divide the prepared cookie dough into as many separate portions as you desire colors. For a classic rainbow effect, typically 5-6 portions work best (red, orange, yellow, green, blue, purple). You can use a kitchen scale for more precise division if you want uniform cookie sizes, but eyeballing it is perfectly acceptable for homemade charm.
- Color the Dough: Add a few drops (or a small amount of gel) of your chosen food coloring to each portion of dough. Start with a small amount and add more gradually to achieve your desired intensity. Using a separate spoon or rubber spatula for each color helps prevent cross-contamination of colors. Mix each portion of dough until the food coloring is thoroughly and evenly blended, resulting in beautifully saturated colors. For best results, use a single hand mixer beater for each color for the most even color distribution and easiest mixing.
- Chill the Dough: This step is critical for the success of your cookies! Cover each bowl of colored dough with plastic wrap and chill the dough in the refrigerator for at least 45 minutes. Do not exceed 1 hour of chilling time for optimal texture (more on this below). Chilling allows the dough to firm up, making it easier to handle and preventing excessive spreading during baking.
- Prepare for Baking: While the dough is chilling, preheat your oven to 350 degrees F (175 degrees C). Line a baking sheet with parchment paper or a silicone baking mat. This will prevent the cookies from sticking and ensure even baking.
- Portion and Combine Colors: Once chilled, the dough will still be somewhat sticky. Use two teaspoons to portion out small dollops of each colored dough. For a multi-colored cookie, drop one dollop of each desired color next to each other on the baking sheet, forming a cluster. The spoons will help you work the dough back and forth until it drops onto the parchment.
- Roll in Sugar: Once you have a dollop of mixed colors for one cookie, use a medium-sized cookie scoop or your hands (lightly floured if needed) to gently scoop the colorful dollops together and roll them into a cohesive ball. Try to avoid handling the dough too much to prevent the colors from blending excessively and to keep your hands clean. Then, roll each cookie dough ball generously in the granulated sugar to coat it completely. This sugar coating adds a delicious crunch and a beautiful sparkly finish. Place the sugared dough balls on your prepared cookie sheet, ensuring they are at least 2 inches apart to allow for spreading.
- Bake to Perfection: Bake the cookies in the preheated oven for 8 to 9 minutes. It’s crucial not to overbake these cookies! They will appear slightly puffy and possibly a little underdone when they first come out of the oven. This is perfectly normal and desired, as they will continue to bake and set on the hot baking sheet, resulting in that wonderfully soft and chewy texture.
- Cool Completely: Allow the cookies to cool on the baking sheet for about 5 minutes before carefully transferring them to a wire rack to cool completely. This crucial resting period on the hot tray helps them firm up without becoming hard, preserving their tender interior.
Enjoy your beautiful, homemade colorful cookies!
COLORFUL Cake Mix Cookies
Print
Pin
Rate
Ingredients
- 15.25 oz white cake mix (dry mix only)
- ⅓ cup vegetable oil
- 2 large eggs (room temperature for best results)
- Food coloring of choice (gel food coloring for vibrant colors)
- ½ cup granulated sugar (for rolling)
Instructions
-
In a large bowl or the bowl of a stand mixer fitted with a paddle attachment, add the dry cake mix, vegetable oil, and eggs. Beat them together until fully combined and a soft, cohesive dough forms. Ensure there are no dry pockets of cake mix remaining.
-
Divide the cookie dough into your desired number of portions for different colors. For a beautiful rainbow effect, we recommend dividing it into 5 or 6 equal parts.
-
Add a few drops of your chosen food coloring to each dough portion. Mix each portion individually until the color is evenly distributed and vibrant. Using a single hand mixer beater for each color can help achieve the most even color and make mixing easier, preventing color bleed.
-
Cover the bowls of colored dough with plastic wrap and chill the dough in the refrigerator for 45 minutes. This step is crucial for firming up the dough and preventing excessive spreading during baking. Do not chill for longer than 1 hour for optimal softness.
-
While the dough chills, preheat your oven to 350 degrees F (175 degrees C). Line a baking sheet with parchment paper to ensure the cookies don’t stick and bake evenly.
-
Using two teaspoons, portion out small dollops of each colored dough. For each cookie, drop one dollop of each chosen color onto the parchment paper, forming a small cluster. The dough will be sticky, so use the spoons to gently work the dough back and forth until it releases onto the sheet.
-
Take a medium cookie scoop and use it to gently scoop the clustered dollops of dough together. Then, carefully roll them into smooth balls. Avoid overworking the dough to keep the colors distinct and prevent them from fully blending. Immediately roll the dough balls generously in the granulated sugar until fully coated. Place the sugared dough balls on the prepared baking sheet, ensuring they are at least 2 inches apart to allow for proper spreading.
-
Bake in the preheated oven for 8 to 9 minutes. It is vital not to overbake these cookies! When you remove them from the oven, they will appear puffy and slightly underdone in the center. This is intentional, as they will continue to firm up and finish baking on the hot baking sheet, resulting in a perfectly soft and chewy texture.
-
Allow the freshly baked cookies to cool on the baking sheet for approximately 5 minutes. This helps them set without breaking. After 5 minutes, carefully transfer them to a wire rack to cool completely.
Notes
Nutrition
Can I Freeze Cake Mix Cookies?
Absolutely! These colorful cake mix cookies are fantastic for meal prepping or simply having a stash of delightful treats ready for any occasion. They freeze beautifully, allowing you to enjoy their soft, chewy goodness long after they’re baked. To freeze them, ensure the cookies have cooled completely on a wire rack first. Then, place them in an airtight container or a freezer-safe bag. For best results, you can place a piece of parchment paper between layers of cookies to prevent them from sticking together. They will keep well in the freezer for up to 3 months.
When you’re ready to enjoy them, simply take out the desired number of cookies and let them thaw at room temperature on the counter. This usually takes only a few minutes, making them a super convenient last-minute dessert or snack. Freezing is a great way to manage portions, prevent waste, and ensure you always have a vibrant treat on hand for unexpected guests or a quick pick-me-up.
Which Food Coloring Works Best for Vibrant Cookies?
The type of food coloring you choose can significantly impact the vibrancy and intensity of your colorful cookies. While liquid food coloring is readily available and will certainly work, for truly eye-popping and rich colors, gel food coloring is highly recommended. I personally used Wilton color performance dye, which is a type of gel coloring, and it consistently delivers exceptional results.
Gel food colorings are much more concentrated than liquid food colorings. This means you need to use less of it to achieve a deeper, more saturated hue, which helps maintain the proper consistency of your cookie dough. Liquid food coloring can add excess moisture to your dough if too much is used, potentially affecting the cookie’s texture. Additionally, some liquid colors may not be as vibrant or fade during baking. Regardless of which type you use, it’s worth noting that certain colors might “transfer” or bleed into adjacent dough portions slightly, especially if the dough is handled extensively. Gel colors tend to be more stable. Always start with a small amount and gradually add more until you reach your desired shade.
Do I Have to Chill Cookie Dough Before Baking?
Yes, chilling the cookie dough is an absolutely crucial step for these cake mix cookies, and it’s one you definitely shouldn’t skip! The instructions specify chilling for at least 45 minutes, but not longer than 1 hour, and there’s a scientific reason behind this precise timing. When you first mix the dough, it’s quite soft and sticky, making it difficult to shape and roll into balls. Chilling the dough allows the fats (from the vegetable oil and cake mix) to solidify, and the flour to fully hydrate. This process firms up the dough significantly, making it much easier to handle and preventing the cookies from spreading too much on the baking sheet.
More importantly, the chilling period directly impacts the texture of your final cookie. Dough that is properly chilled for the recommended 45 minutes to 1 hour will yield cookies that puff up beautifully in the oven, boasting that coveted soft and delightfully chewy texture. If you chill the dough for too short a time, the cookies might spread excessively and become thin and crispy. Conversely, if you leave the dough to chill for much longer than 1 hour, it can become overly stiff and dry, leading to hard and crunchy cookies that lack the desired chewiness. So, stick to that sweet spot of 45 minutes to an hour for the perfect, soft colorful cookies!
Tips for Perfect Colorful Cake Mix Cookies
- Room Temperature Eggs: While not strictly necessary, using room temperature eggs helps them incorporate more smoothly into the dough, leading to a more uniform texture.
- Don’t Overmix: After combining the main ingredients, mix only until just combined. Overmixing can develop the gluten in the cake mix, leading to tougher cookies.
- Get Creative with Colors: Don’t limit yourself to primary colors! Experiment with pastels, neons, or combine colors to create unique shades for themed events.
- Consider Flavor Extracts: While the cake mix provides flavor, you can enhance it by adding a few drops of vanilla extract, almond extract, or even a complementary fruit extract to your dough portions.
- Even Scooping: For uniform cookies that bake evenly, use a cookie scoop to portion out the dough.
- Storage: Always store your baked cookies in an airtight container at room temperature to keep them soft and fresh for up to a week.
Delicious Variations to Try
These easy colorful cookies are incredibly versatile! Once you master the basic recipe, you can easily adapt it to create a variety of different flavors and textures:
- Chocolate Chip Rainbow: Fold in white chocolate chips, milk chocolate chips, or even colorful candy-coated chocolates into your dough portions before chilling. This adds an extra layer of sweetness and crunch.
- Sprinkle Fun: Mix sprinkles directly into the dough for a confetti effect, or roll the dough balls in sprinkles instead of sugar for an extra festive touch. Great for birthday parties!
- Different Cake Mix Flavors: While white cake mix is best for pure colors, don’t hesitate to try other flavors. Lemon cake mix with yellow and green colors, or strawberry cake mix with pink and red for a Valentine’s theme, could be delicious!
- Frosted Delights: Once cooled, these cookies are perfect for a simple glaze or buttercream frosting. A thin glaze of powdered sugar, milk, and a tiny bit of food coloring can add another dimension of color and sweetness.
- Holiday Themes: Adjust your food coloring and sprinkles to match any holiday! Red and green for Christmas, pastels for Easter, orange and black for Halloween – the possibilities are endless.
More Easy Cake Mix Cookie Recipes You’ll Enjoy
If you love the simplicity and delicious results of these cake mix cookies, you’re in for a treat! The world of cake mix baking is vast and full of delightful surprises. Here are a few more fantastic recipes that leverage the convenience of a boxed cake mix to create irresistible cookies:
- CAKE MIX PEANUT BUTTER BLOSSOMS
- COOKIE MONSTER CAKE MIX COOKIES
- CARAMEL SPICE CAKE MIX COOKIES
- CHOCOLATE PEANUT BUTTER CAKE MIX COOKIES
- CARAMEL APPLE CAKE MIX COOKIES
- CHOCOLATE CAKE MIX COOKIES
- CHOCOLATE CARAMEL CAKE MIX COOKIES
- MINT CHOCOLATE CAKE MIX COOKIES
- STRAWBERRY CAKE MIX COOKIES
- VALENTINE’S CAKE MIX COOKIES

As summer gently winds down, there’s a unique excitement building up for the change of seasons and new beginnings. While we still cherish the last warm days and fresh garden delights (even sharing a bit with the local deer!), the anticipation for Back To School season brings a different kind of joy. I’ve always embraced change, and while summer is wonderful, this time of year always sparks an excitement for school, new routines, and perhaps, new baking adventures!

For now, we’re still savoring every moment of summer, enjoying the bounty of our garden — a bounty that even the deer seem to appreciate sharing with us! But soon, it will be time to dive headfirst into back-to-school prep, and what better way to kick things off than with a batch of these cheerful, homemade treats?
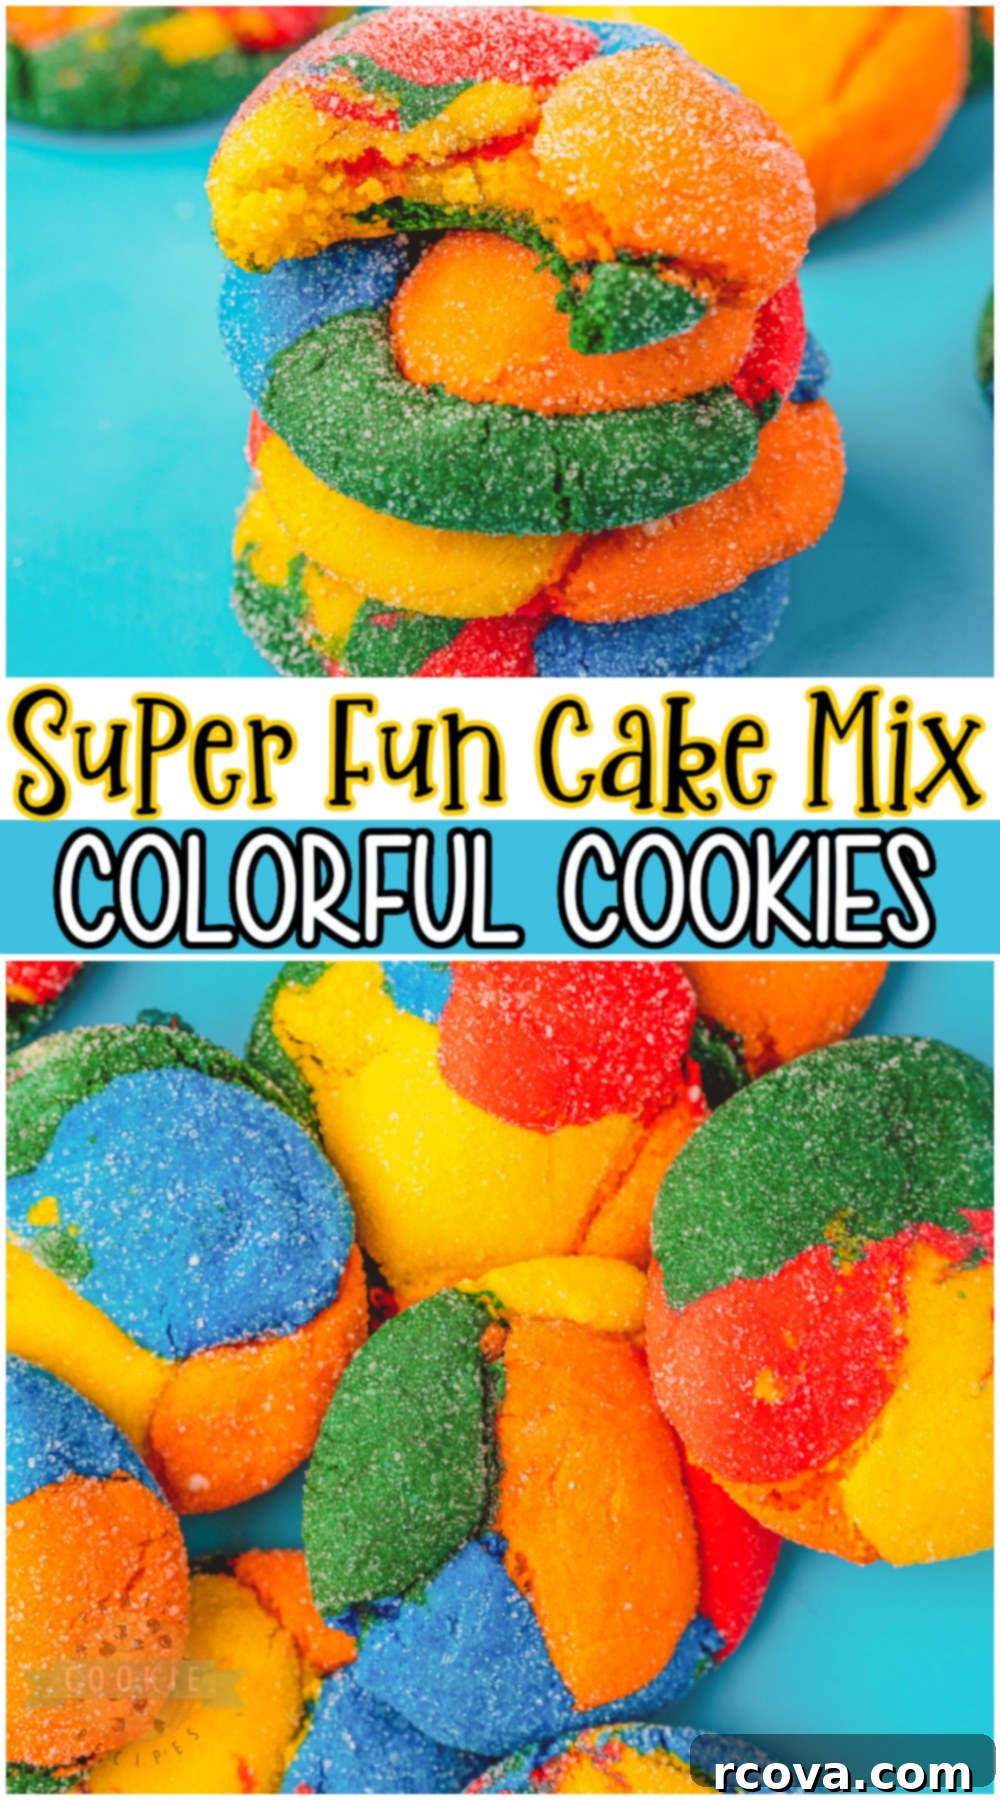
You are truly going to adore these easy colorful cookies. Crafted with a convenient boxed cake mix, these cookies offer a wonderfully simple yet impressive treat that’s perfectly suited for any school lunchbox, after-school snack, or a fun family dessert. Their soft texture and vibrant colors make them an instant favorite, proving that delicious and beautiful homemade treats don’t have to be complicated. Get baking and bring some extra color and joy into your day!
