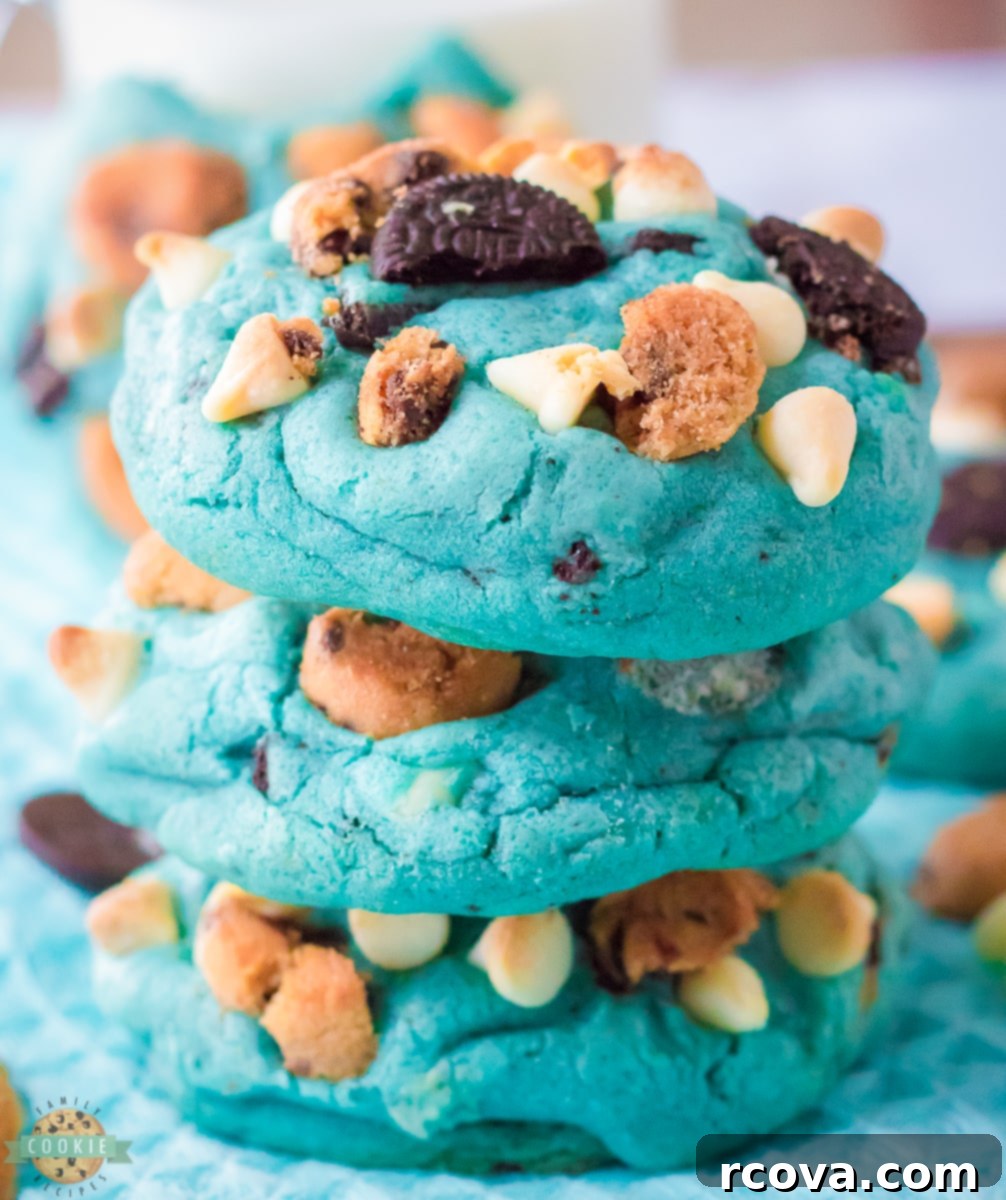
Irresistible Blue Cookie Monster Cookies: The Ultimate Chewy, Fun, and Flavorful Treat
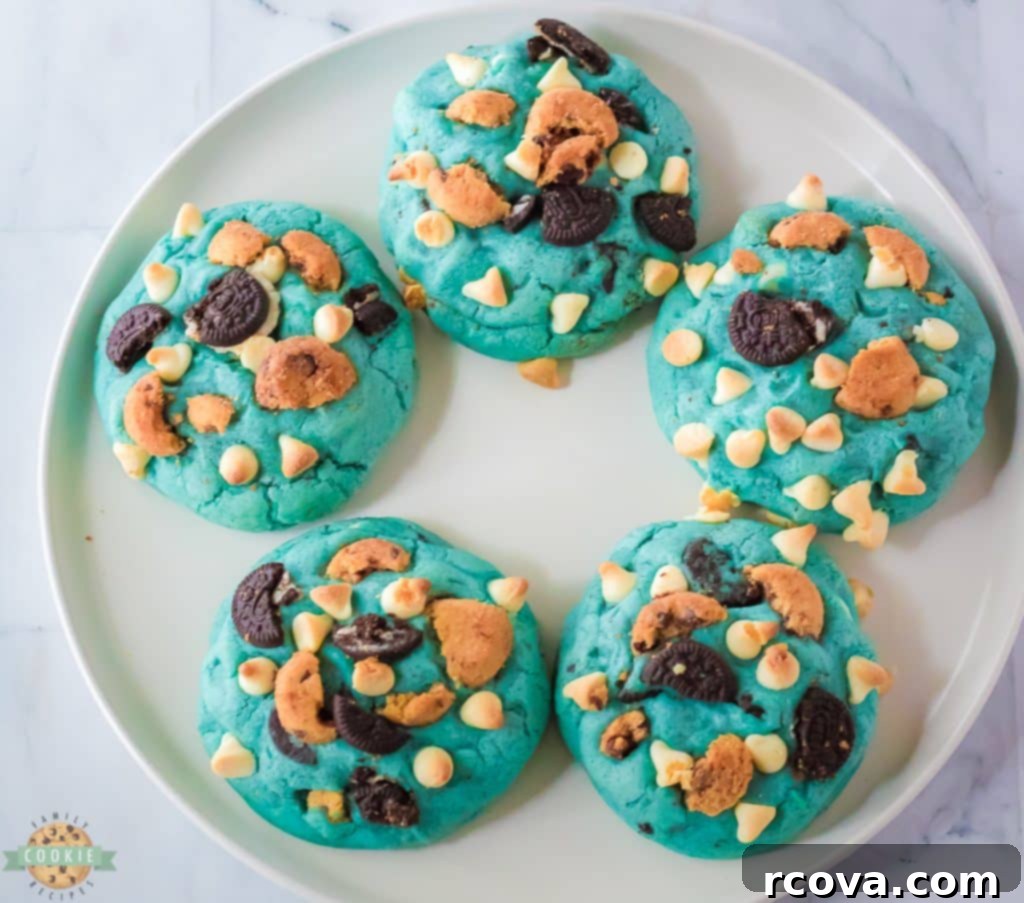
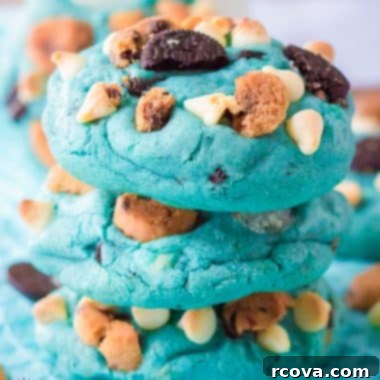
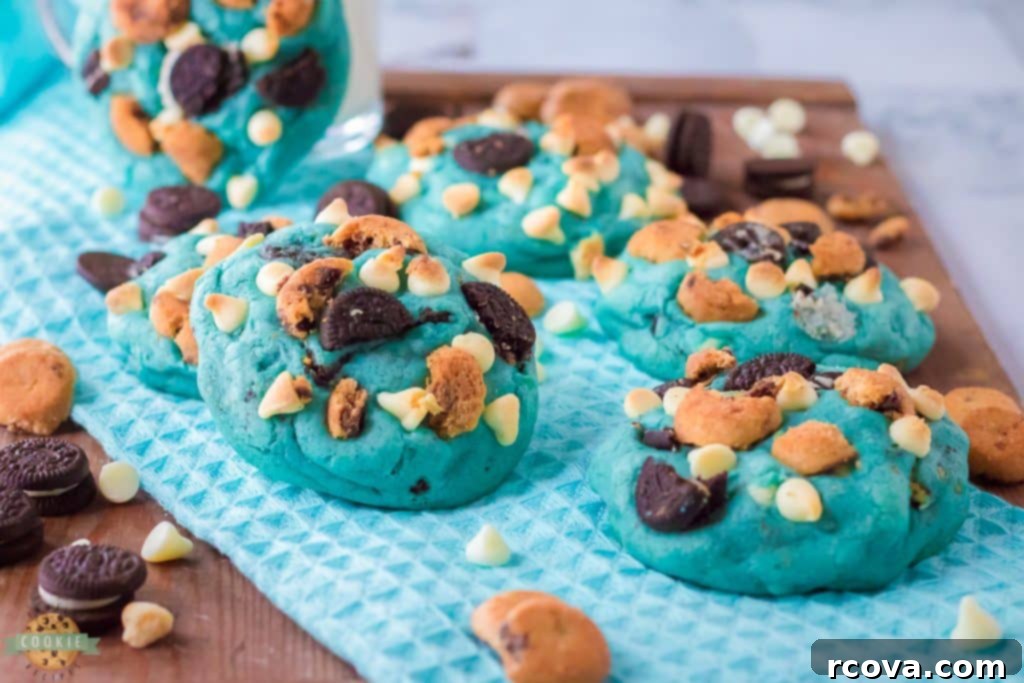
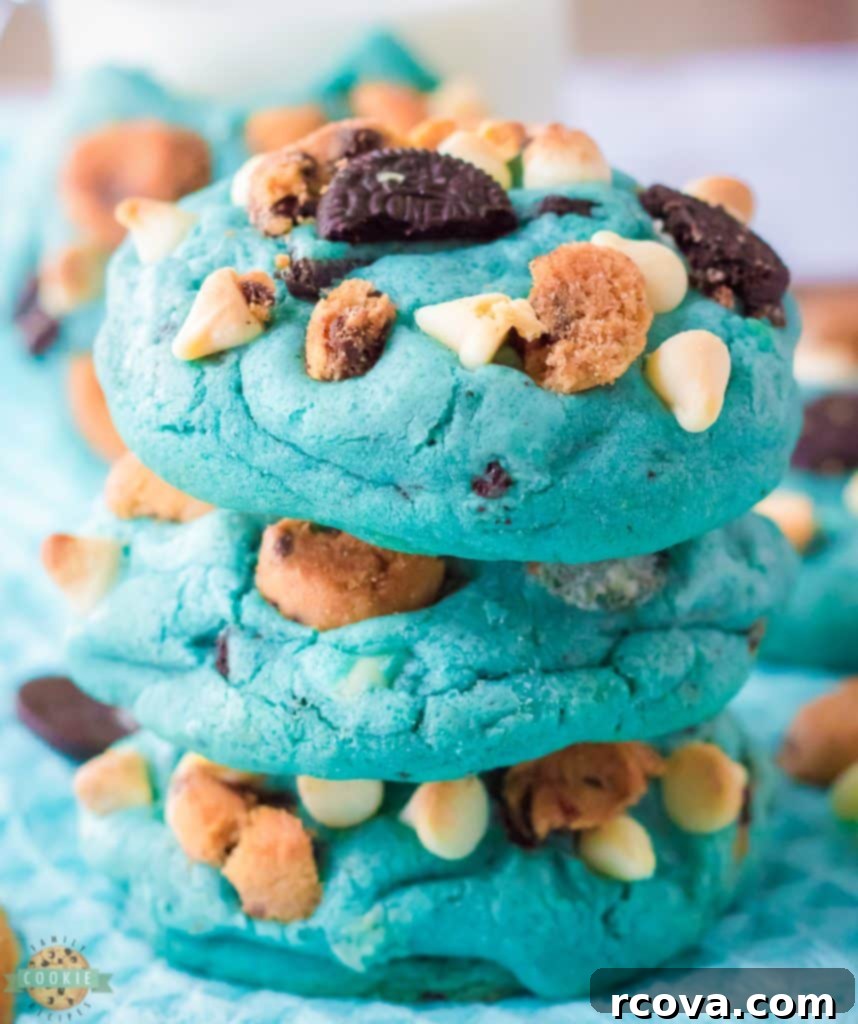
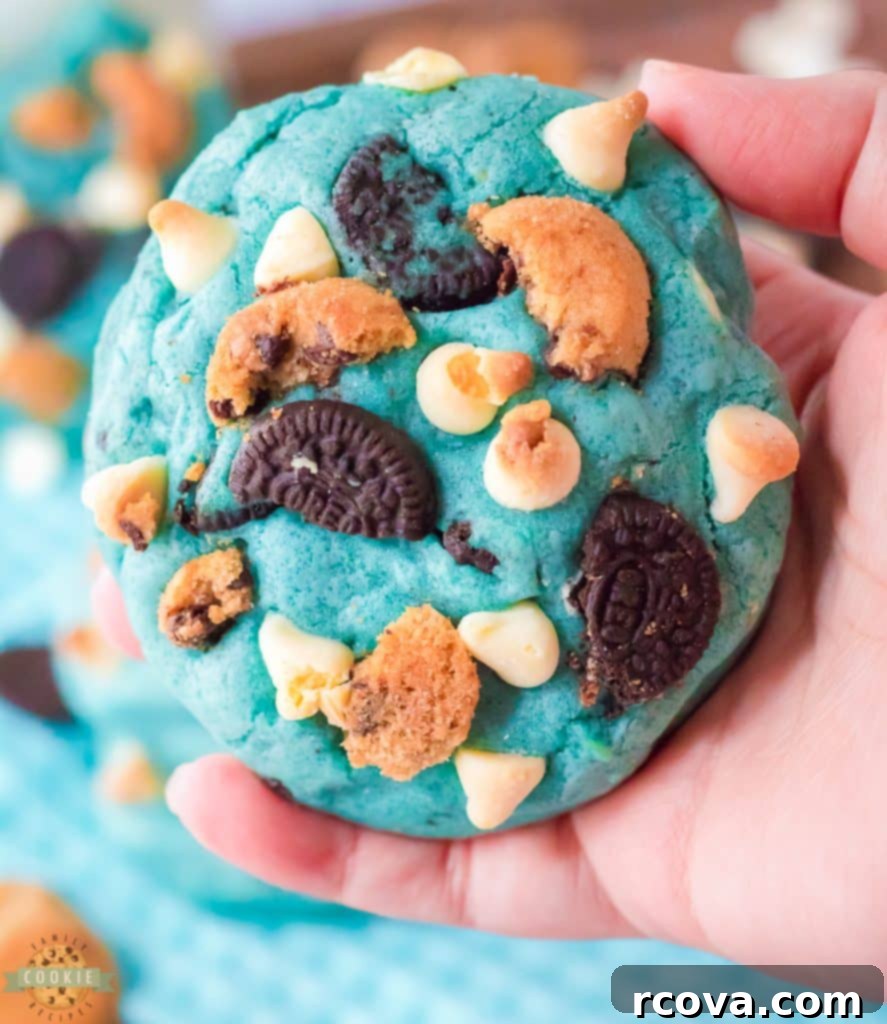
Get ready to unleash your inner Cookie Monster with these incredibly fun, delightfully cute, and undeniably delicious **Cookie Monster Cookies**! Imagine biting into a jumbo-sized cookie, vibrantly blue just like everyone’s favorite Sesame Street character, generously studded with creamy white chocolate chips, crunchy mini Oreos, and classic mini chocolate chip cookies. These aren’t just any cookies; they’re an experience, promising a soft, chewy center, perfectly crisp edges, and an explosion of texture and flavor with every bite.
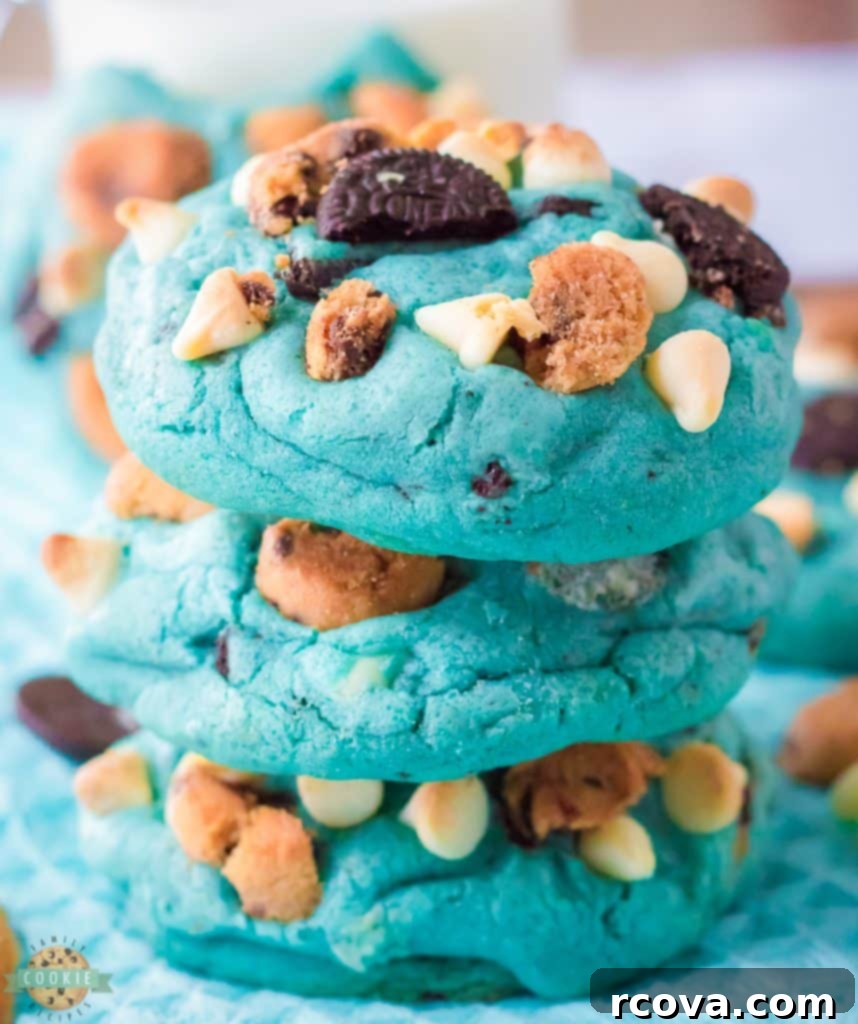
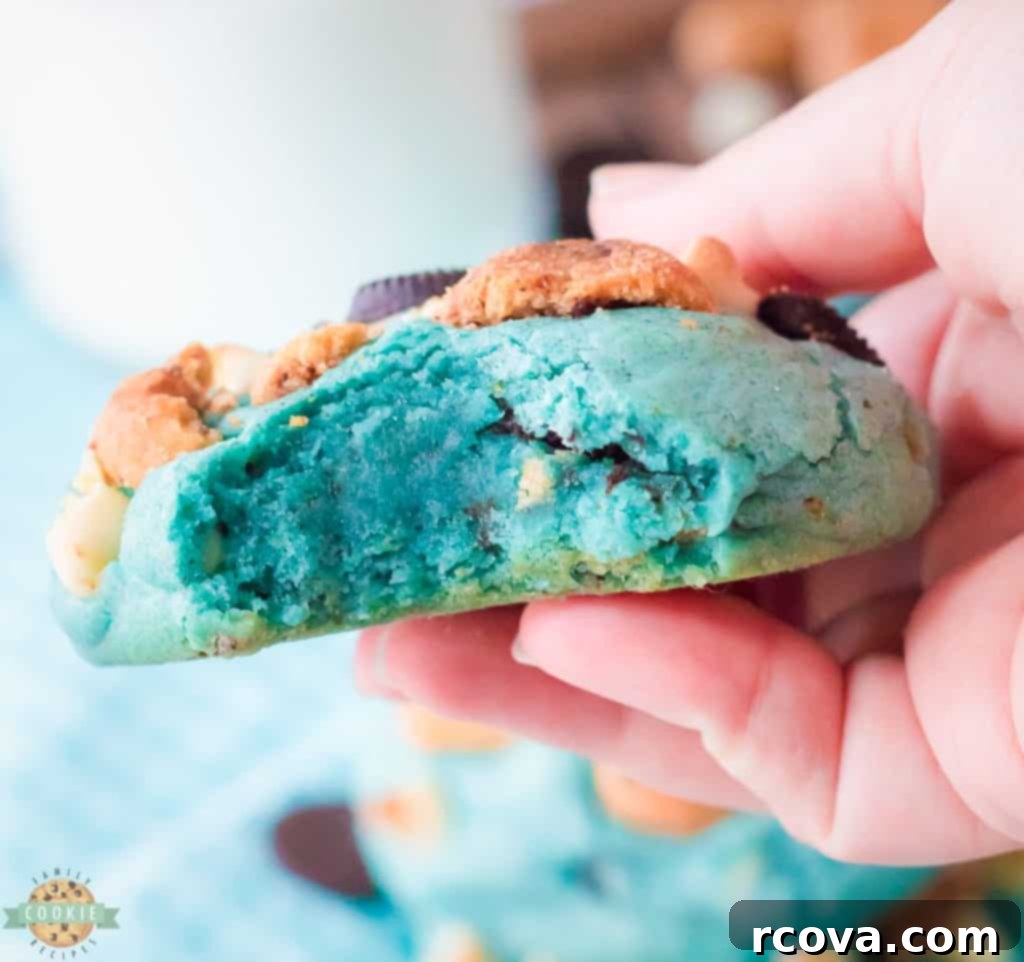
For those of us who grew up with Sesame Street, the iconic blue hue of these **blue Cookie Monster cookies** instantly brings back nostalgic memories. Their vibrant color makes them a true homage to Cookie Monster himself, inviting a sense of playfulness to any occasion. Beyond their charming appearance, these **Sesame Street cookies** deliver on taste and texture. Each one boasts a beautifully soft interior, wonderfully chewy edges, and the delightful crunch of Oreo bits that makes them exceptionally tasty and utterly addictive. They are more than just a dessert; they’re a celebration in cookie form!
What Exactly Are Cookie Monster Cookies?
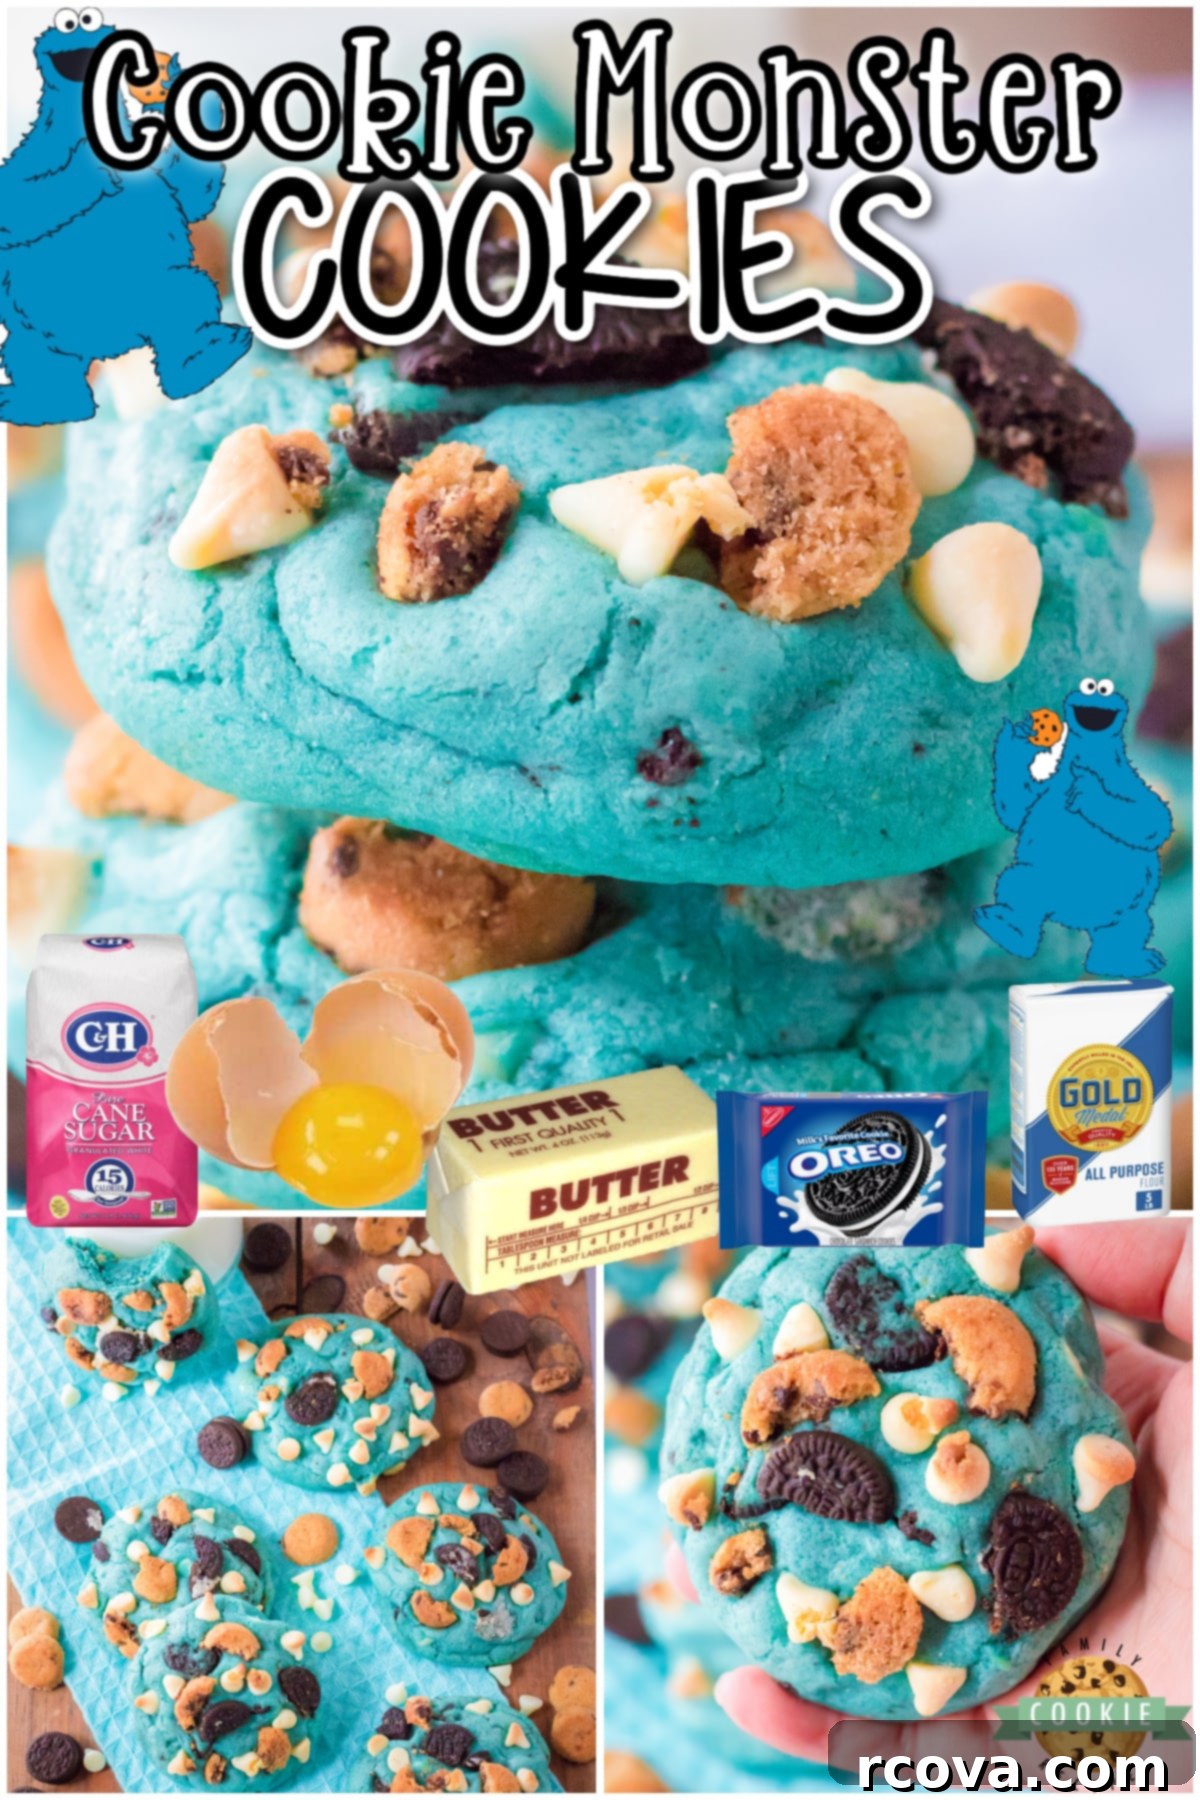
These captivating cookies soared to popularity on TikTok, capturing hearts and taste buds with their unique charm and incredible flavor profile. It’s easy to see why they became a viral sensation! **Cookie Monster Cookies** are essentially oversized, bakery-style treats, dyed a cheerful blue and loaded with an assortment of popular mix-ins. Designed to emulate the beloved blue puppet, they’re packed with an irresistible combination of white chocolate chips, crushed mini Oreos, and miniature chocolate chip cookies, creating a textural wonderland in every bite.
These **homemade Cookie Monster cookies** are a fantastic project for families, especially if you have young children. Watching their eyes light up at the sight of these bright blue, cookie-filled delights is truly priceless. They’re an instant hit at birthday parties, holiday gatherings, school events, or simply as a special treat to brighten an ordinary day. Appealing to both kids and adults alike, their vibrant color and delightful medley of flavors make them a memorable dessert for any celebration.
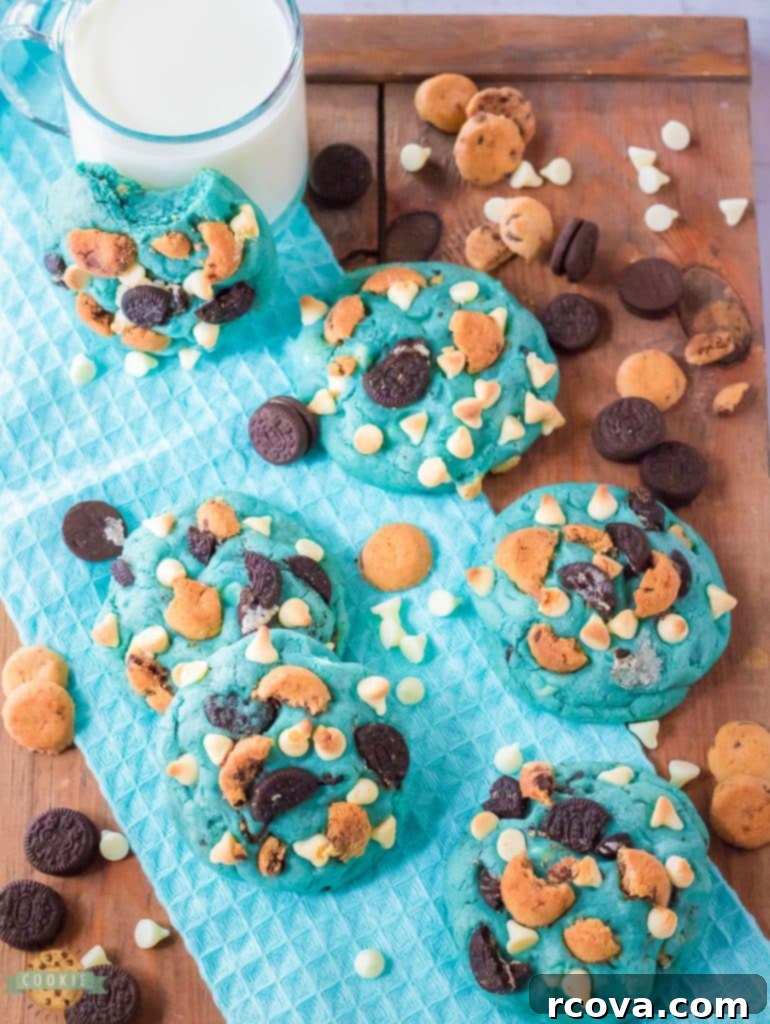
Why You Will Absolutely Adore This Cookie Monster Cookie Recipe!
If you’re looking for compelling reasons to bake these fantastic **monster cookies** today, look no further! This recipe offers a multitude of benefits that make it a standout choice for home bakers:
- Effortlessly Simple Baking: Say goodbye to complicated steps! This recipe requires **no rolling or intricate cutting**. The dough comes together easily with minimal equipment. Simply mix your ingredients, roll the dough into balls, and you’re ready to bake. It’s a straightforward process that even novice bakers can master with confidence.
- Gourmet Bakery-Style Cookies at Home: Why spend a fortune at a high-end cookie shop when you can create impressive, **jumbo cookies** right in your own kitchen? These cookies mimic the luxurious texture and rich flavor of specialty bakery treats, but at a fraction of the cost. You can easily adjust the size, making them smaller if preferred, but the essence of a premium cookie remains.
- Unforgettable Fun and Festive Treat: Planning a birthday party, a themed gathering, or just want to add a splash of color to your dessert table? These **blue cookies** are the perfect solution. Their playful appearance and delicious taste make them a show-stopping dessert that guests of all ages will talk about. What could be more fun than serving up baked goods inspired by the ultimate cookie enthusiast, Cookie Monster himself? They are guaranteed to bring smiles and laughter to any occasion!
- Perfect for All Ages: From toddlers to grandparents, everyone loves a good cookie. These particular cookies, with their vibrant color and familiar inclusions, hold a special appeal. They’re a fantastic way to engage kids in the baking process and a comforting treat for adults who appreciate a nostalgic twist on a classic.
- Customizable Delights: While the core recipe is a winner, it’s also highly adaptable. Feel free to experiment with different types of chocolate chips or mini cookies to make them uniquely yours. This versatility ensures that you can tailor them to your family’s preferences or dietary needs.
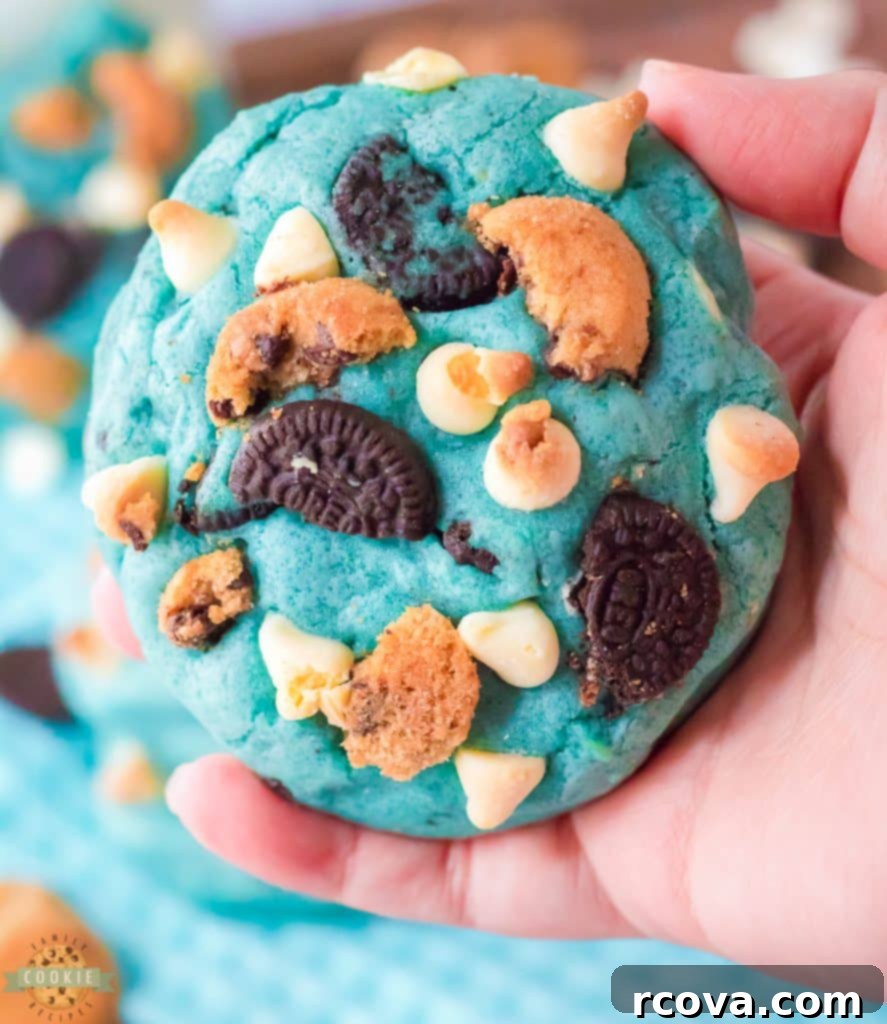
Essential Ingredients for Your Blue Cookie Monster Cookies
Crafting the perfect **Cookie Monster cookie** starts with a selection of quality ingredients. Here’s a breakdown of what you’ll need and why each component is crucial:
Unsalted Butter (½ cup / 1 stick), softened: Butter is the foundation of any great cookie, providing richness and flavor. Using softened butter is key for proper creaming with the sugars, ensuring a smooth, uniform dough texture.
Brown Sugar (¾ cup): This provides moisture, contributing to the desirable chewy texture of the cookie edges and adding a deeper, caramel-like flavor that enhances the overall taste profile.
Granulated Sugar (¼ cup): Granulated sugar works in harmony with brown sugar, helping the cookies to spread slightly during baking, preventing them from becoming too cakey and contributing to a balanced sweetness.
Large Egg (1): The egg acts as a binder, holding all the ingredients together and adding structure to the dough. It also contributes to the rich flavor and helps with the tender crumb.
Vanilla Extract (1 teaspoon): A staple in most cookie recipes, vanilla extract deepens and rounds out all the other flavors, adding a warm, aromatic note that is essential for a delicious cookie.
Blue Gel Food Coloring: To achieve that iconic, vibrant blue hue reminiscent of Cookie Monster, gel food coloring is highly recommended over liquid. Gel colors are more concentrated, requiring less product to achieve a bright shade without altering the dough’s consistency significantly.
All-Purpose Flour (2 cups): This is the primary structural component of your cookie dough, providing the necessary bulk and texture. Ensure it’s measured correctly for the best results.
Salt (½ teaspoon): A pinch of salt is vital for balancing the sweetness and enhancing the flavors of all the ingredients, making the cookies taste more complex and well-rounded.
Baking Powder (½ teaspoon): This leavening agent helps the cookies rise and spread, resulting in a soft, thick, and perfectly textured cookie that is light yet satisfying.
White Chocolate Chips (⅔ cup, divided): These add pockets of creamy sweetness that melt beautifully, providing a delightful contrast to the other mix-ins. Dividing them allows for some to be incorporated into the dough and some sprinkled on top for visual appeal.
Mini Oreos (⅔ cup, divided): Crushed mini Oreos contribute a wonderful crunch and a familiar, delightful chocolatey flavor. Their small size integrates perfectly into the cookie matrix, ensuring a bit of crunch in every bite.
Mini Chocolate Chip Cookies (⅔ cup, divided): For an extra layer of cookie goodness and an amazing flavor boost, mini chocolate chip cookies add another element of texture and a classic taste that makes these “monster” cookies truly live up to their name.
Step-by-Step Guide: How to Bake Perfect Cookie Monster Cookies
Crafting the Cookie Dough
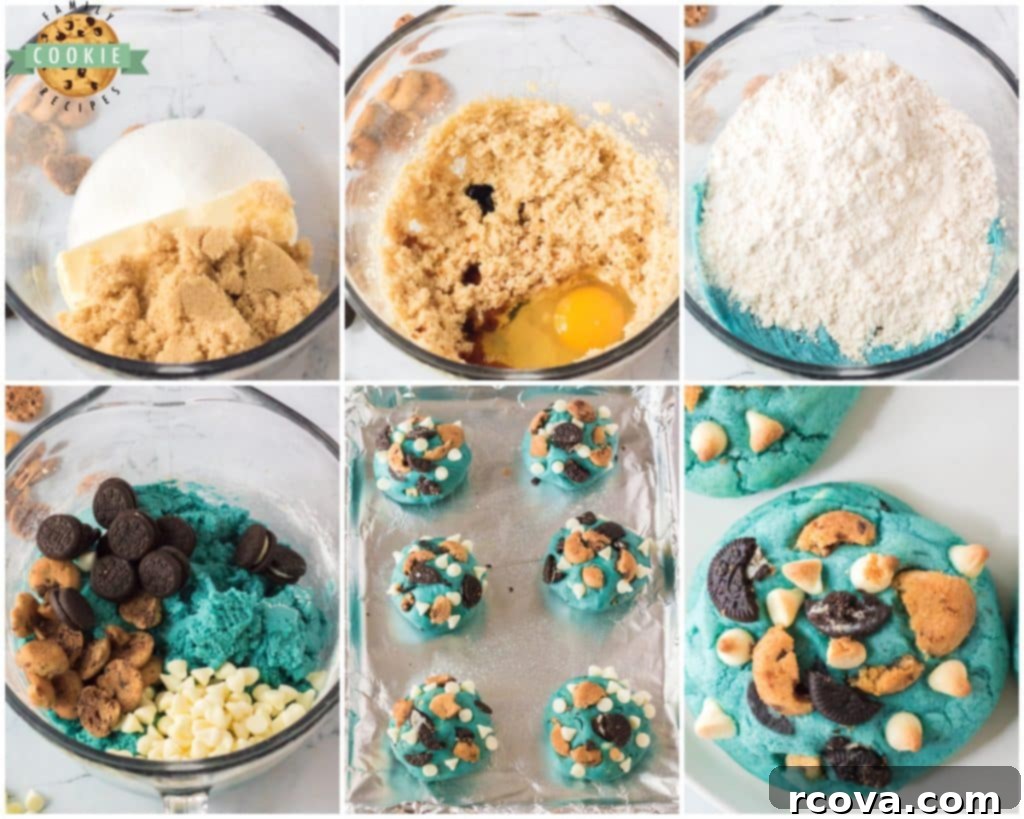
1. Cream Butter and Sugars: In a spacious mixing bowl, use an electric mixer to cream together the softened unsalted butter, brown sugar, and granulated sugar. Continue mixing until the mixture becomes light, fluffy, and well combined. This step is crucial for incorporating air and achieving a tender cookie texture.
2. Incorporate Wet Ingredients: Next, beat in the large egg, vanilla extract, and approximately 3 drops of blue gel food coloring. If you desire a more intense or deeper shade of blue, feel free to add a few more drops until your preferred vibrant color is achieved. Ensure all wet ingredients are thoroughly mixed into the creamy base.
3. Add Dry Ingredients: Gently add the all-purpose flour, baking powder, and salt to the bowl. Mix on a low speed until the dry ingredients are just combined with the wet mixture. Be careful not to overmix, as this can lead to tough cookies.
4. Fold in the Mix-ins: Now, it’s time for the fun additions! Stir in ⅓ cup of white chocolate chips, ⅓ cup of mini Oreos (lightly crushed), and ⅓ cup of mini chocolate chip cookies (also lightly broken). You can use your electric mixer on a very low setting or a sturdy spoon to gently incorporate these delicious elements into the dough, breaking them up just a bit as you go.
5. Portion the Dough: Divide the richly blue dough into 6 equal portions. For truly jumbo cookies, make each portion quite substantial. Roll each portion into a smooth ball. Place these dough balls onto a lightly greased cookie sheet, ensuring there’s enough space between them for spreading.
6. Garnish for Extra Flair: To make your cookies even more visually appealing and packed with flavor, take the remaining mini Oreos and mini chocolate chip cookies and break them into smaller pieces. Press the remaining white chocolate chips, crushed mini Oreos, and mini chocolate chip cookie pieces generously over the top and sides of each cookie dough ball. This creates that iconic “monster” look and ensures every bite is loaded with goodies.
Chilling the Dough for Optimal Texture
Place the prepared cookie dough balls on the baking sheet into the refrigerator and chill for a minimum of 30 minutes. This chilling period is crucial for preventing excessive spreading and ensuring your cookies maintain their thick, chewy texture. While the dough chills, preheat your oven to 350 degrees Fahrenheit (175 degrees Celsius).
Baking to Perfection
Bake the chilled cookies for 15-18 minutes. Keep a close eye on them; you want the edges to be just lightly golden brown, but the centers should still appear soft. This ensures the ultimate chewy interior. Once baked, remove the cookie sheet from the oven and let the cookies cool on the sheet for 5 minutes. This allows them to set slightly before transferring them carefully to a wire rack to cool completely. Then, it’s time to enjoy your perfectly baked **Cookie Monster Cookies**!
Cookie Monster Cookie
Print
Pin
Rate
Ingredients
- ½ cup Butter softened
- ¾ cup Brown sugar
- ¼ cup Granulated sugar
- 1 Egg
- 1 tsp Vanilla extract
- Blue food coloring
- 2 cups Flour
- ½ tsp Salt
- ½ tsp Baking powder
- ⅔ cup White chocolate chips divided
- ⅔ cup Mini Oreos divided
- ⅔ cup Mini chocolate chip cookies divided
Instructions
-
Cookie Dough: In a large bowl, with an electric mixer, cream together the softened butter and both sugars, until fluffy.
-
Then, beat in the egg, vanilla extract and 3 drops of blue food coloring. Feel free to add more food coloring if it is not your desired shade.
-
Next, add in the flour, baking powder and salt. Mix until just combined.
-
After that, stir in ⅓ cup of white chocolate chips, ⅓ cup of mini Oreos, ⅓ cup of mini chocolate chips. Use your mixer or a spoon to break up the cookies just a bit while stirring them in.
-
Proceed to divide the dough into 6 equal portions and form each portion into a ball. Place on a lightly greased cookie sheet.
-
Lastly, break up the remaining mini Oreos and mini chocolate chip cookies. Place the remaining white chocolate chips, mini Oreos and mini chocolate chips cookies all over the top of the cookie dough.
-
Chill Dough: Place the cookie dough in the fridge and refrigerate for at least 30 minutes. Meanwhile preheat the oven to 350 degrees.
-
Bake: Bake the cookies for 15-18 minutes, you want the edges to just be golden brown, we want the cookies to stay chewy. Cool 5 minutes and then transfer to a rack to cool completely. Enjoy!
Video
Notes
Nutrition
Top Tips and Tricks for Baking Perfect Cookie Monster Cookies
Achieving the best possible **monster cookies** is easy with a few expert tips. Here’s how to ensure your cookies are always a success:
- Don’t Skip the Chill Time: Refrigerating your cookie dough before baking is absolutely essential for these cookies. This step allows the butter and fats in the dough to solidify, which prevents the cookies from spreading too much in the oven. The result is a thicker, chewier cookie with a more concentrated flavor – exactly what you want!
- Gel Food Coloring is Your Best Friend: For that vibrant, unmistakable Cookie Monster blue, gel food coloring is highly recommended. Unlike liquid food coloring, gel is concentrated, meaning you need only a few drops to achieve a rich, deep color without adding excess moisture to your dough. This helps maintain the perfect consistency.
- Customize Your Mix-Ins: While white chocolate chips are featured in this recipe, feel free to switch them out for regular milk or semi-sweet chocolate chips if that’s your preference. You can also experiment with other types of mini cookies or candies. The beauty of these **jumbo cookies** is their versatility!
- Adjust Cookie Size and Bake Time: This recipe yields 6 generously sized **jumbo cookies**. If you prefer smaller cookies, you can easily divide the dough into 12 or even 18 balls to make regular or mini-sized treats. Just remember to adjust your baking time accordingly; smaller cookies will bake faster, usually between 8-12 minutes.
- Measure Flour Correctly: For consistent results, spoon your flour into your measuring cup and then level it off with a straight edge (like the back of a knife). Scooping flour directly from the bag can pack it too tightly, resulting in too much flour and a dry, crumbly cookie.
- Room Temperature Ingredients: Ensure your butter and egg are at room temperature. This allows them to cream together more effectively with the sugars, creating a smoother emulsion that traps more air, leading to a lighter, more tender cookie.
Storage and Shelf Life: Keeping Your Cookie Monster Cookies Fresh
Once your delightful **Cookie Monster Cookies** have cooled, proper storage will ensure they stay fresh and delicious. These cookies can be stored in an airtight container at room temperature for up to 3-5 days. To maintain their wonderfully chewy texture, which is a hallmark of this recipe, it’s often best to store them in the refrigerator. Just be sure to bring them back to room temperature or warm them slightly before serving for the best experience.
Cooling Your Cookies for Optimal Enjoyment
The cooling process is more important than you might think for achieving perfect cookies. After removing your **homemade Cookie Monster cookies** from the oven, allow them to rest on the baking sheet for about 3-4 minutes. This crucial step lets the cookies firm up slightly, preventing them from crumbling or falling apart when you try to move them. Once they’ve set, carefully transfer them to a wire cooling rack to cool completely. While warm cookies are an undeniable pleasure, letting them cool fully on a rack ensures the bottoms don’t get soggy and maintains their ideal texture. Typically, after a few minutes on the rack, they’re cool enough to handle and devour!

The Importance of Chilling Cookie Dough
You might wonder why many cookie recipes, including this one, emphasize chilling the dough. There are several excellent reasons for this crucial step! Firstly, chilling allows the flavors in the dough to meld and deepen over time, resulting in a more complex and delicious cookie. However, the most significant reason relates to the butter and other fats in your dough.
When butter is warm or excessively soft, it melts quickly in the oven, causing your cookies to spread out too rapidly and too thinly. By chilling the dough, you allow these fats to solidify. As the chilled dough bakes, the butter melts more slowly, giving the cookie structure time to set before it spreads. This process is essential for achieving the thick, chewy texture that these **jumbo cookies** are known for. It’s especially important on warmer days or if your kitchen is naturally warm, ensuring your cookies maintain their perfect shape and texture.
Can You Freeze Cookie Monster Cookies?
Absolutely! Freezing cookies is a fantastic way to prepare ahead or ensure you always have a fresh batch ready to bake or eat. There are two primary methods for freezing that yield excellent results:
1. Freezing Unbaked Cookie Dough Balls: This is my preferred method for ultimate freshness.
- Scoop and shape your cookie dough into individual balls, just as you would for baking.
- Place these dough balls in a single layer on a parchment-lined cookie sheet. You can place them relatively close together as long as they aren’t touching.
- Freeze until solid (a couple of hours should suffice).
- Once solid, transfer the frozen dough balls to a freezer-safe zip-top bag or airtight container. Label with the date.
- When you’re ready to bake, simply place the frozen dough balls on a baking sheet. You can either let them thaw at room temperature while your oven preheats (about 15-20 minutes) or bake them directly from frozen. If baking from frozen, add an extra 2-4 minutes to the original bake time to ensure they cook through.
This method provides the freshest “baked from scratch” experience whenever a cookie craving strikes!
2. Freezing Baked Cookies: This is a convenient option if you have leftover baked cookies or want to prep a large batch.
- Allow your freshly baked cookies to cool completely on a wire rack.
- Once cool, place them in a single layer on a cookie sheet and freeze until firm.
- Transfer the frozen cookies to a freezer-safe zip-top bag or airtight container, separated by parchment paper to prevent sticking. Label with the date.
- To enjoy, simply remove the desired number of cookies from the freezer and let them thaw at room temperature for about 20-30 minutes. While this method is very convenient, some people find that frozen and thawed cookies can be slightly drier or a bit more crumbly than freshly baked ones. However, for a quick treat, they are still delightful! Remember, trying to eat them straight from the freezer can be quite a challenge for your teeth!
Making These Cookies Gluten-Free
Good news for those with gluten sensitivities or allergies – you absolutely can make these delicious **Cookie Monster Cookies** gluten-free! The primary adjustment will be swapping out the regular all-purpose flour for your favorite gluten-free all-purpose flour blend (look for blends designed for baking). Additionally, you’ll need to find gluten-free alternatives for the mini Oreo cookies and mini chocolate chip cookies. Fortunately, the market now offers a wide array of excellent gluten-free cookie brands, making this substitution simple. Don’t let a gluten allergy prevent you from enjoying these amazing, vibrant, and incredibly tasty treats!
Expert Tips for Baking Even Better Cookies Every Time
Elevate your cookie baking skills with these tried-and-true techniques that will lead to consistently amazing results:
Utilize an Electric Mixer for Superior Blending
While you can certainly mix cookie dough by hand, investing in an electric mixer is truly worthwhile. Whether you opt for a versatile handheld mixer or a powerful stand mixer, either tool will ensure that your ingredients are evenly and thoroughly combined. This even mixing prevents pockets of unmixed ingredients and contributes to a uniform texture throughout your cookies. A stand mixer, with its hands-free operation, is often preferred for its convenience, but a good handheld mixer will work wonders too.
Cream Butter and Sugars for an Extended Period
Don’t rush the creaming process! This initial step of mixing butter and sugars together is more critical than many realize. Spend an extra 2-3 minutes creaming them until the mixture becomes visibly light, fluffy, and pale in color. This process incorporates air into the butter, which creates tiny pockets that expand in the oven, giving your cookies a lighter, more tender texture and preventing them from becoming dense.
Always Preheat Your Oven
This simple step is often overlooked but profoundly impacts your cookies. Always allow your oven to fully preheat to the specified temperature before placing your cookie dough inside. A properly preheated oven ensures that the cookies begin baking immediately and evenly, preventing them from spreading too quickly or baking inconsistently. This consistency is key to achieving that perfect golden-brown edge and soft center every time!
Achieve Uniformity with a Cookie Scoop
If you desire perfectly shaped cookies that are all the same size and bake at the same rate, a cookie scoop is an invaluable tool. It eliminates guesswork, makes portioning dough quick and mess-free, and ensures that each cookie receives the same amount of heat exposure, leading to uniform baking and presentation.
Prevent Sticking: The Pan Liner Secret!
To effortlessly remove your delicious cookies from the baking sheet without any sticking or scraping, always line your pan with either parchment paper or a silicone baking mat. This creates a non-stick surface, allowing your cookies to glide right off in perfect shape, preserving their appearance and making cleanup a breeze.
Master the Art of Underbaking
Resist the urge to overbake! Many cookies, especially those designed to be soft and chewy, benefit from being removed from the oven when they still look slightly underdone in the center. The residual heat from the baking sheet will continue to cook them as they cool, a process known as “carryover cooking.” If the edges are just starting to turn golden, and the tops still look a bit soft, that’s often the perfect time to pull them out. This technique guarantees a wonderfully tender, chewy interior.


More Fantastic Cookie Recipes for Kids’ Birthday Parties and Fun Occasions:
- HAMBURGER COOKIES
- HALLOWEEN CAT COOKIES
- CHOCOLATE BASEBALL COOKIES
- DIRT CAKE COOKIES
- COSMIC BROWNIE COOKIES
- POOL PARTY COOKIES
- POPSICLE SUGAR COOKIES
- ICE CREAM CONE COOKIES
- UNDER THE SEA COOKIES
- EASY UNICORN COOKIES
- COLORFUL COOKIES
- CHOCOLATE GLAZED DONUT COOKIES
These **Cookie Monster Cookies** are truly an enjoyable, eye-catching, and delicious treat. Each **monster cookie** is a soft, chewy delight, generously loaded with a delightful mix of white chocolate chips, crunchy mini Oreos, and classic mini chocolate chip cookies, making them an instant favorite for any cookie lover!
