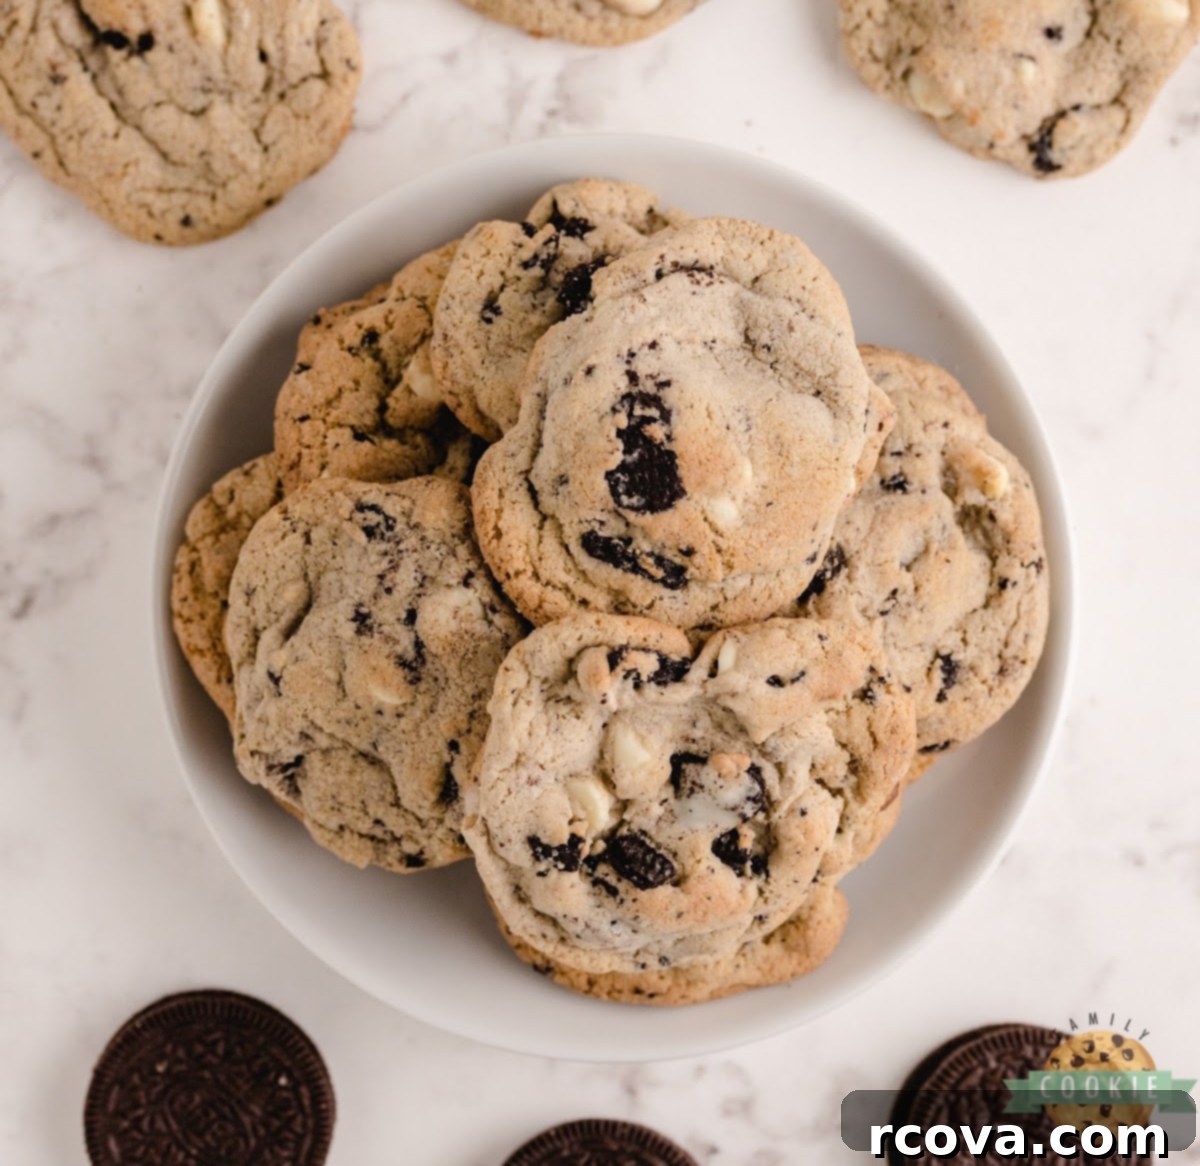
Indulge in the Best Cookies and Cream Cookies: Your Ultimate Guide to Soft, Chewy Oreo Delights
Welcome to your new favorite cookie recipe! These extraordinary Cookies and Cream Cookies are an absolute dream for any dessert lover. Crafted with a magical combination of Oreo instant pudding mix, generously crushed Oreo cookies, and optional white chocolate chips, these treats promise an unparalleled soft and chewy texture that will have everyone reaching for more. If you’re searching for a cookie that truly stands out, packed with that iconic cookies and cream flavor, look no further!
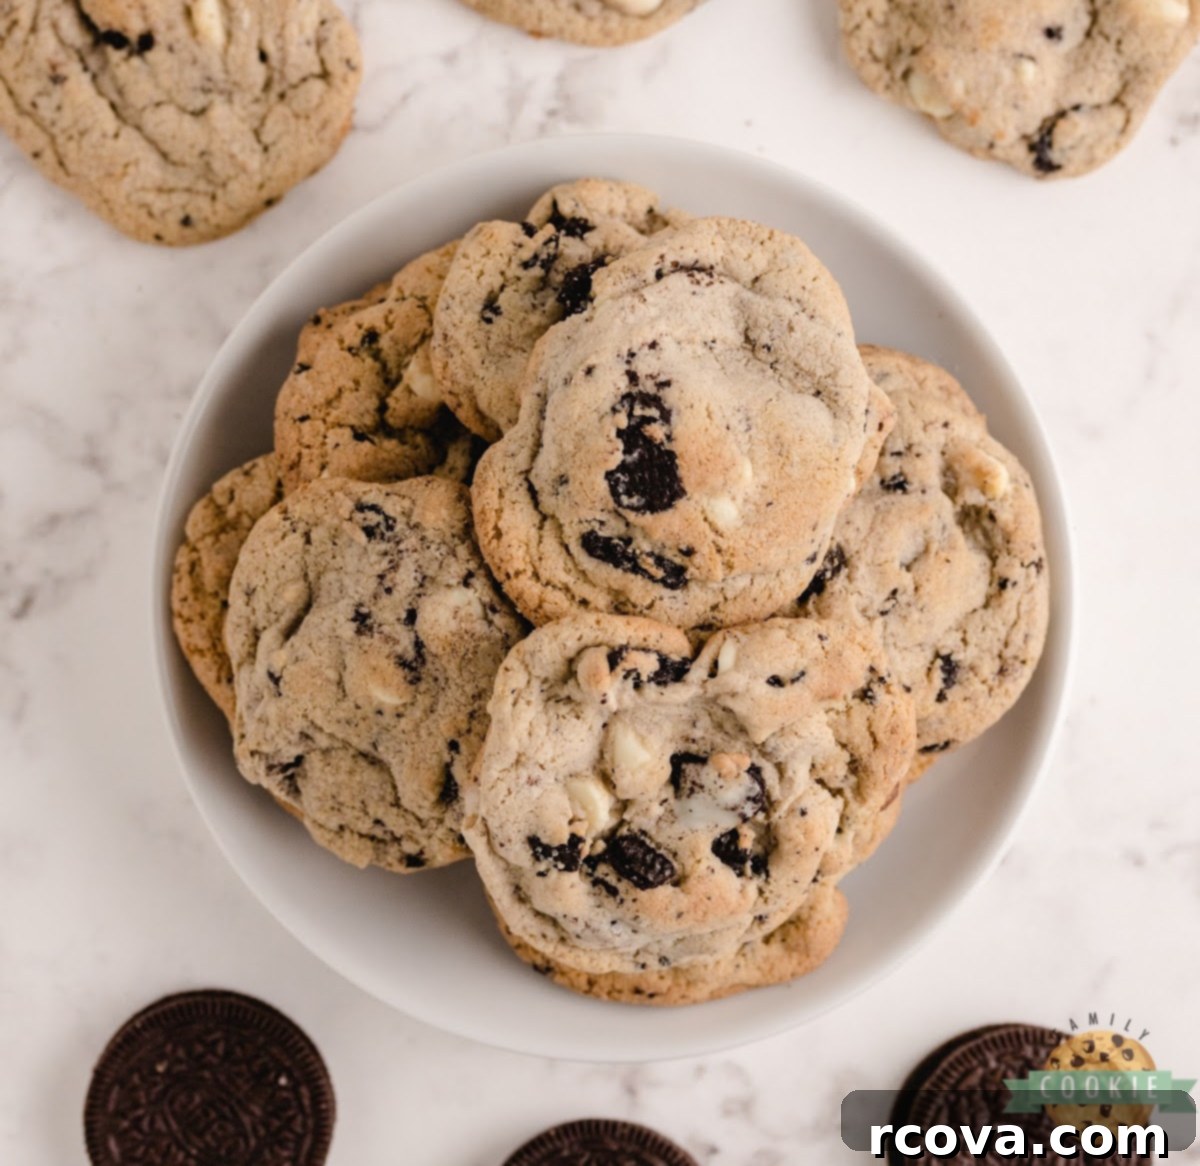
As an avid baker, I’ve tried countless cookie recipes, but these Cookies & Cream Cookies consistently rank in my top five. This incredible recipe was introduced to me by my sister several years ago, and it has remained a cherished favorite ever since. What makes them so special? It’s the secret ingredient: Oreo pudding mix integrated directly into the dough. This, combined with an abundance of crushed Oreo cookies, creates a cookie that is incredibly soft, delightfully chewy, and bursting with an authentic cookie and cream flavor that regular recipes simply can’t achieve. Each bite is a delightful fusion of chocolatey crunch and creamy sweetness, making these a truly irresistible homemade dessert.
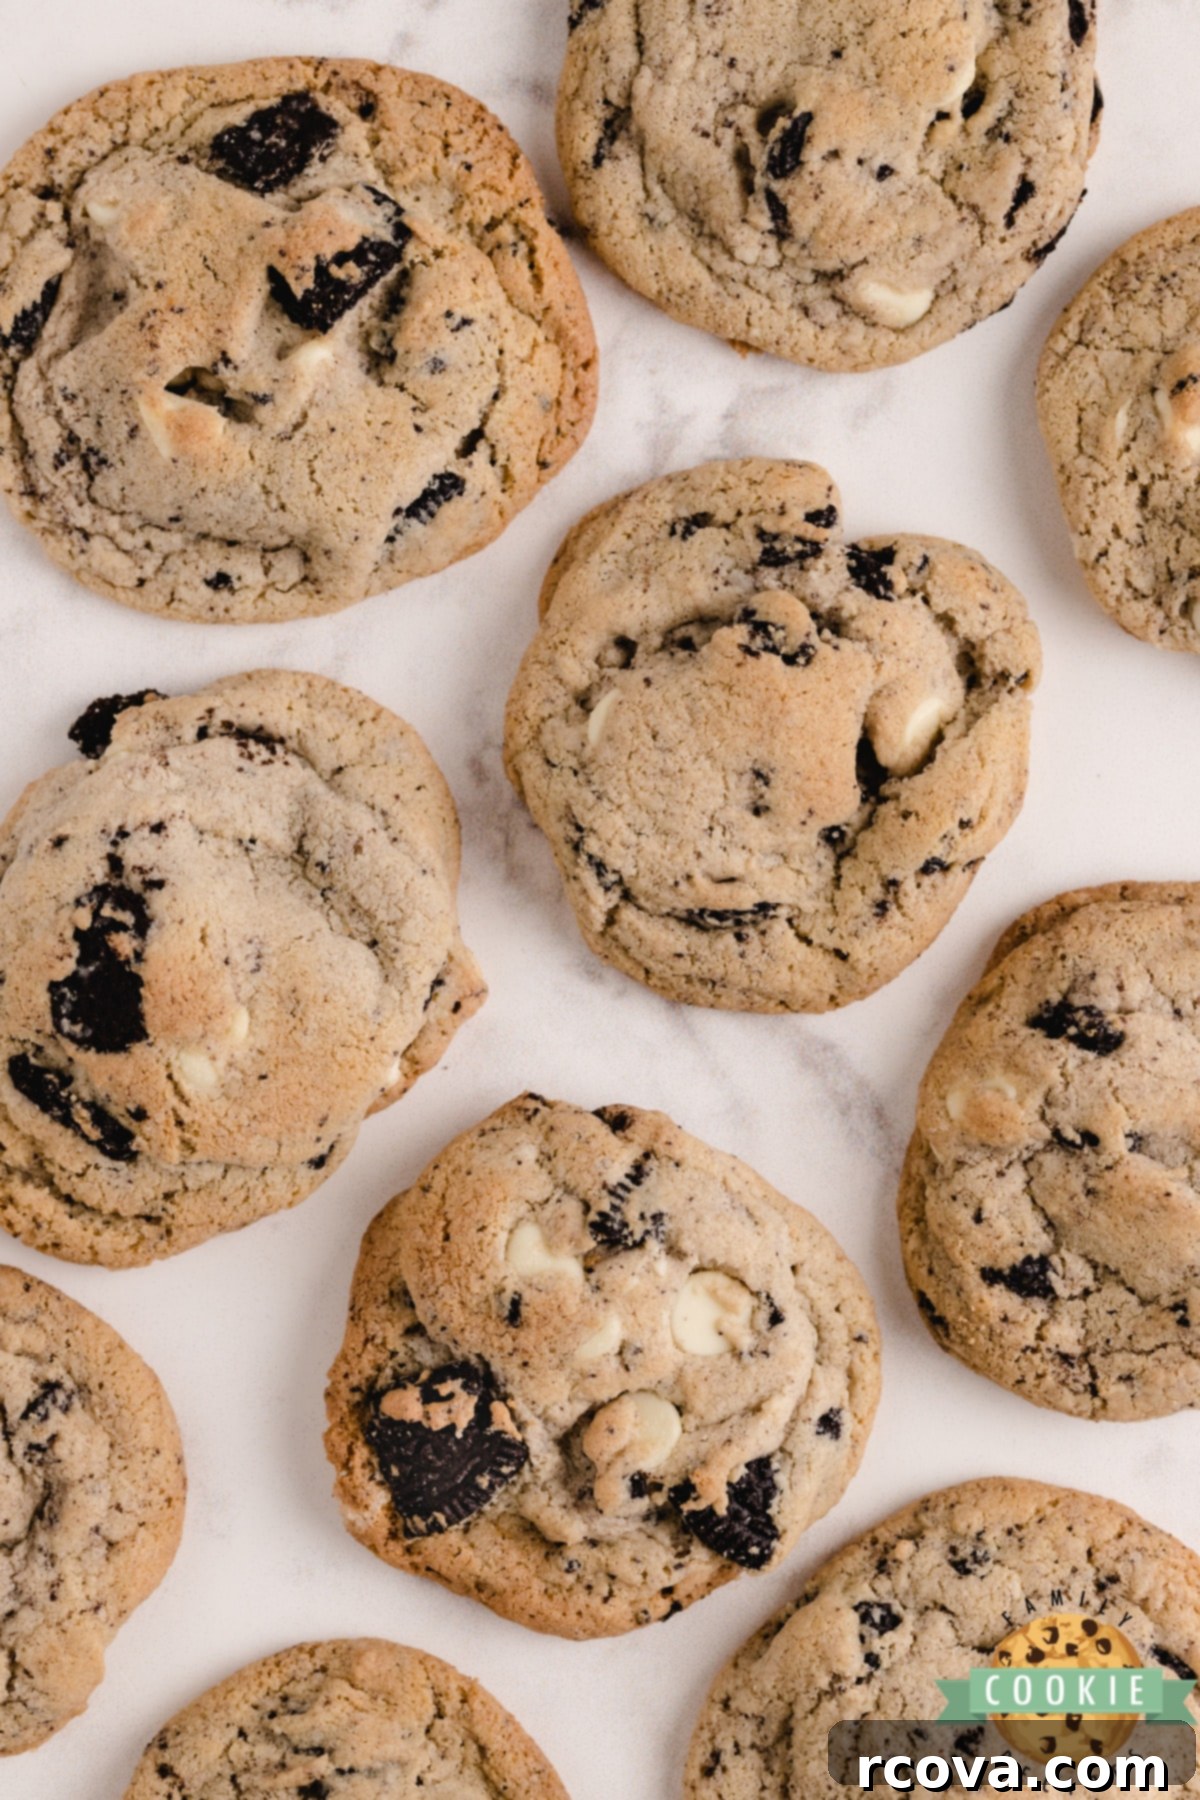
Our devoted readers can’t get enough of these amazing cookies either! Here’s what some of them have to say:


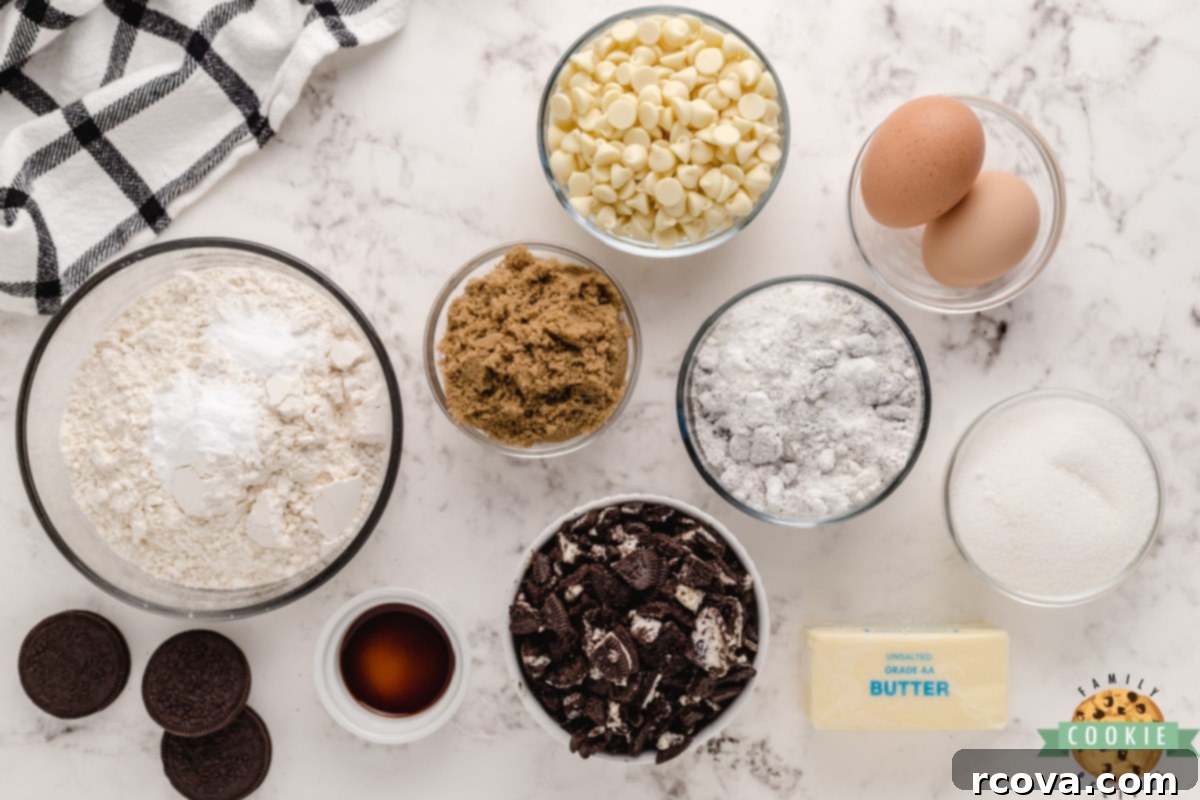
Key Ingredients for Perfect Cookies & Cream Cookies
Crafting these delectable Oreo-infused cookies requires a few essential ingredients, each playing a vital role in achieving their signature soft and chewy texture and rich flavor. Here’s a detailed look at what you’ll need:
Butter: For truly exceptional cookies, ensure your butter is completely softened to room temperature. This is crucial for proper creaming with the sugars, resulting in a light and airy dough. Always opt for real butter for the best flavor and texture; margarine or butter substitutes can alter the outcome significantly.
Brown Sugar: I consistently use light brown sugar in this recipe. Its molasses content adds moisture, tenderness, and a lovely depth of flavor to the cookies. Make sure your brown sugar is fresh and soft. If it’s dried out and hard, it won’t incorporate properly and can negatively impact the chewiness of your final product.
Granulated Sugar: Regular white granulated sugar works alongside brown sugar to provide the ideal level of sweetness and contributes to the crisp edges and chewy centers that make these cookies so irresistible.
Oreo Cookies & Cream Instant Pudding Mix: This is the star ingredient that gives these cookies their incredible softness, chewiness, and intense Oreo flavor! The pudding mix helps to bind the moisture in the dough, preventing dry or crumbly cookies. While it might sometimes be tricky to find, I’ve had great success locating it at larger supermarkets like Walmart. If the Oreo variety is absolutely unavailable, an instant vanilla pudding mix can be used as a substitute, though the cookies will have a slightly different flavor profile.
Eggs: You’ll need two large eggs for this recipe. Eggs act as a binder, provide moisture, and contribute to the rich structure of the cookies. Always use large eggs for consistent results in baking.
Vanilla Extract: Don’t skimp on quality here! A good quality vanilla extract or a Vanilla Bean Paste will significantly enhance the overall flavor, adding a warm, aromatic note that complements the chocolate and cream perfectly.
All-Purpose Flour: Standard all-purpose flour works wonderfully in this recipe, providing the necessary structure without making the cookies tough. While all-purpose is typically used, you can experiment with bread flour for a slightly chewier cookie or pastry flour for an even more tender crumb, adjusting liquid content if needed.
Baking Soda: This leavening agent is essential for giving the cookies their lift and contributes to their soft texture. Ensure your baking soda is fresh and active – old or expired baking soda won’t perform correctly, leading to flat or dense cookies.
White Chocolate Chips: The original recipe includes white chocolate chips, which add an extra layer of sweetness and a delightful textural contrast. However, I often omit them, and the cookies are still fantastic! It’s entirely up to your personal preference. They do, however, amplify the “cream” aspect of the cookies and cream flavor.
Oreo Cookies: This is the definitive ingredient for our Cookies and Cream Cookies! Feel free to be generous and add a few more than the recipe suggests if you’re an extreme Oreo lover. The key is to crush them coarsely – you want substantial chunks of Oreos distributed throughout your cookies, not fine crumbs. These larger pieces provide bursts of chocolatey crunch and the visual appeal that makes these cookies so special.
Expert Tips for Baking Perfect Cookies and Cream Cookies
While the detailed instructions are conveniently located in the recipe card below, these additional tips will help you achieve perfectly soft, chewy, and irresistibly delicious cookies every single time:
- Invest in a Cookie Scoop! This simple tool is a game-changer for consistency. Using a cookie scoop ensures that all your cookies are uniformly sized, which means they will bake evenly and look professionally made. This also helps prevent some cookies from being overbaked while others are underbaked.
- Utilize Parchment Paper or a Silicone Baking Mat. Lining your baking sheets with either parchment paper or a silicone mat is essential. It creates a non-stick surface, making it incredibly easy to remove your cookies from the pan without any sticking or breaking. Plus, it promotes even heat distribution and makes cleanup a breeze!
- Do Not Overbake Your Cookies! This is perhaps the most crucial tip for achieving that coveted soft and chewy texture. When I remove my cookies from the oven, they often still appear slightly under-baked in the center. This is perfectly normal! They will continue to “set” and bake gently on the hot cookie sheet for a few extra minutes after being removed. Overbaking is the quickest way to end up with hard, crispy cookies instead of delightfully tender ones. Look for edges that are just barely golden brown, not fully browned.
Storing & Freezing Your Cookies and Cream Cookies
These delightful cookies are so good, they rarely last long, but it’s always good to know how to keep them fresh!
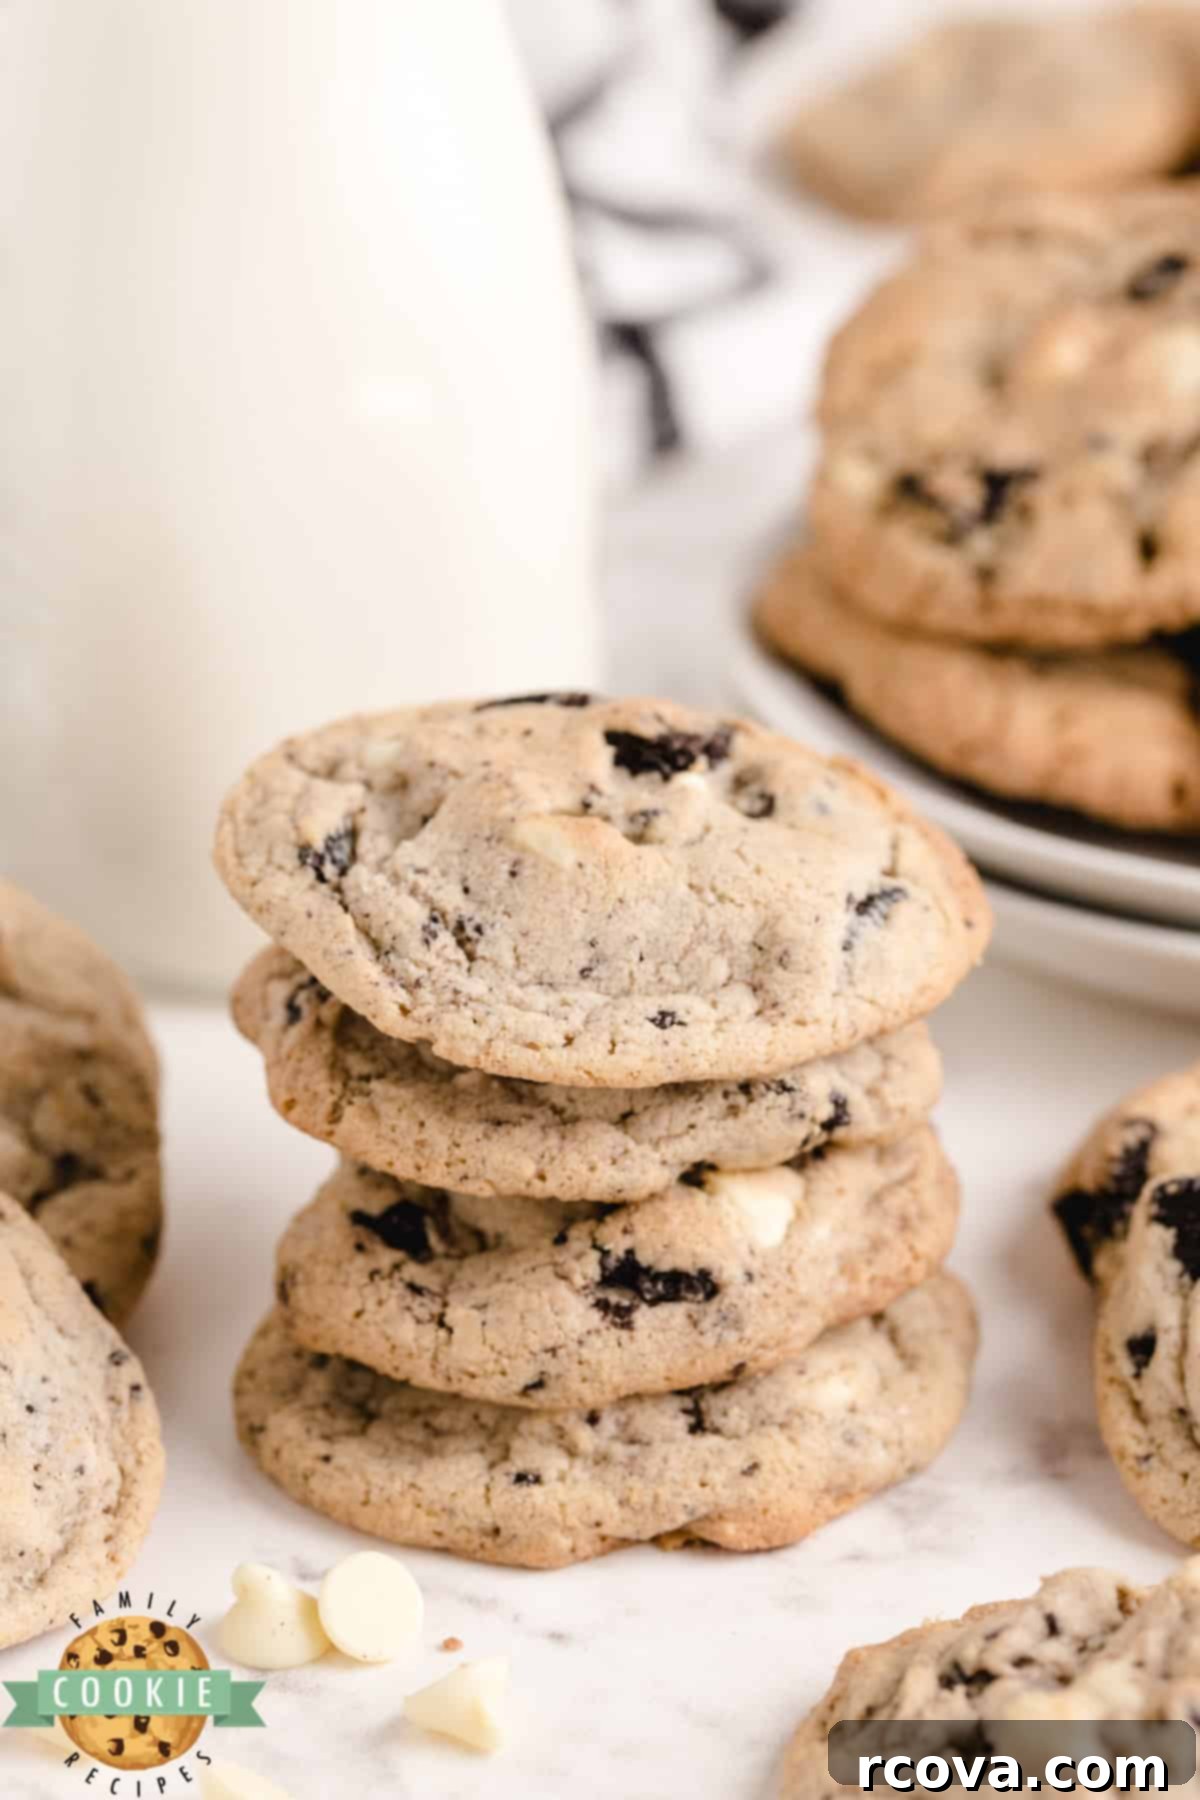
Storing Baked Cookies: Store your baked Cookies and Cream Cookies in an airtight container at room temperature. They will remain wonderfully soft and fresh for up to 4-5 days. In my experience, they vanish much quicker than that!
Freezing Baked Cookies: For longer storage, these cookies freeze beautifully for up to 3 months. Once completely cooled, place them in a single layer in an airtight freezer-safe container or a heavy-duty Ziplock freezer bag, separating layers with parchment paper if stacking. Thaw at room temperature when ready to enjoy.
Freezing Cookie Dough: For ultimate convenience, you can freeze the unbaked cookie dough balls. This allows you to bake fresh cookies on demand whenever a craving strikes! Simply scoop the dough into uniform balls (using your cookie scoop!), arrange them in a single layer on a baking sheet, and freeze for about an hour until firm. Once frozen, transfer the dough balls to an airtight container or a large Ziplock freezer bag. When you’re ready to bake, place the frozen dough balls on a prepared baking sheet and bake as directed, adding an extra 1-2 minutes to the baking time as needed.
Classic Cookies & Cream Cookie Recipe
Print
Pin
Rate
Ingredients
- 1 cup unsalted butter softened to room temperature
- ½ cup light brown sugar packed
- ½ cup granulated sugar
- 1 4.2 oz pkg Oreo Cookies & Cream instant pudding mix (or vanilla instant pudding mix)
- 2 large eggs
- 1 tsp pure vanilla extract
- 2 ¼ cups all-purpose flour
- 1 tsp baking soda
- 1 cup white chocolate chips (optional, but highly recommended for extra creaminess)
- 15 Oreo cookies coarsely crushed (aim for delightful, large chunks!)
Instructions
-
Preheat your oven to 350°F (175°C). Prepare your baking sheets by lining them with parchment paper or silicone baking mats.
-
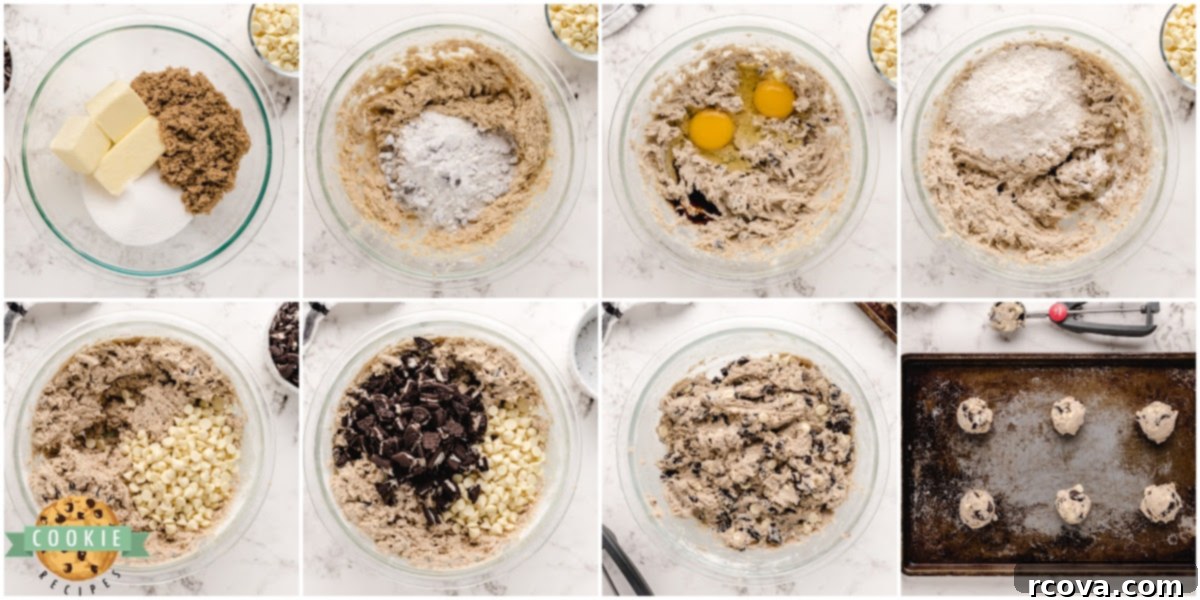
In a large mixing bowl, use a hand mixer or stand mixer to cream together the softened butter, brown sugar, and granulated sugar. Beat for at least 2-3 minutes until the mixture is light, fluffy, and well combined. This step incorporates air, contributing to the cookies’ soft texture. Next, add the instant pudding mix and continue to beat until fully blended into the creamy sugar mixture.
-
Crack in the two large eggs one at a time, mixing well after each addition. Stir in the vanilla extract. Continue to beat the mixture for another 2-3 minutes until it is smooth and well emulsified.
-
Gradually add the all-purpose flour and baking soda to the wet ingredients. Mix on low speed until just combined, being careful not to overmix the dough. Overmixing can lead to tougher cookies.
-
Once your cookie dough is thoroughly mixed, gently fold in the white chocolate chips (if using) and the coarsely crushed Oreo cookie chunks using a wooden spoon or spatula. Ensure the add-ins are evenly distributed throughout the dough.
-
Drop rounded teaspoonfuls of dough (I highly recommend using a cookie scoop for consistency) onto your prepared cookie sheet, spacing them a few inches apart. Bake for 8-10 minutes, or until the edges are lightly golden and the centers still look slightly soft. Remember, slight underbaking is key to chewiness!
Video Tutorial
Notes
To keep your cookies at their freshest, store them in an airtight container at room temperature for up to 5 days. For longer enjoyment, baked cookies can be placed in an airtight container or freezer bag and frozen for up to 3 months. For an extra special treat, you can also freeze the raw cookie dough balls and bake them fresh whenever you desire!
Nutrition Information
How to Achieve a Perfectly Round Cookie Shape
Ever wonder how bakeries get those perfectly round cookies? There’s a clever little trick you can use at home! After your cookies have baked and are still hot and cooling on the baking pan, grab a medium-sized round cookie cutter or even a round glass/drinking mug. The key is to use an object that is slightly larger in diameter than your baked cookies.
Place the round cutter or glass over the top of a warm cookie, ensuring the cookie is completely encased. Gently swirl the cutter or object around the cookie, nudging its edges inward as you go. This motion helps to reshape the warm, pliable cookie into a beautiful, perfectly circular form. The more you swirl, the slightly smaller and thicker the cookie will become, resulting in that desirable bakery-style appearance. Allow the cookies to cool completely on the pan before moving them. This technique works wonders for most drop cookies and rolled cookies, although it isn’t suitable for cutout cookies.
Best Methods for Crushing Oreo Cookies
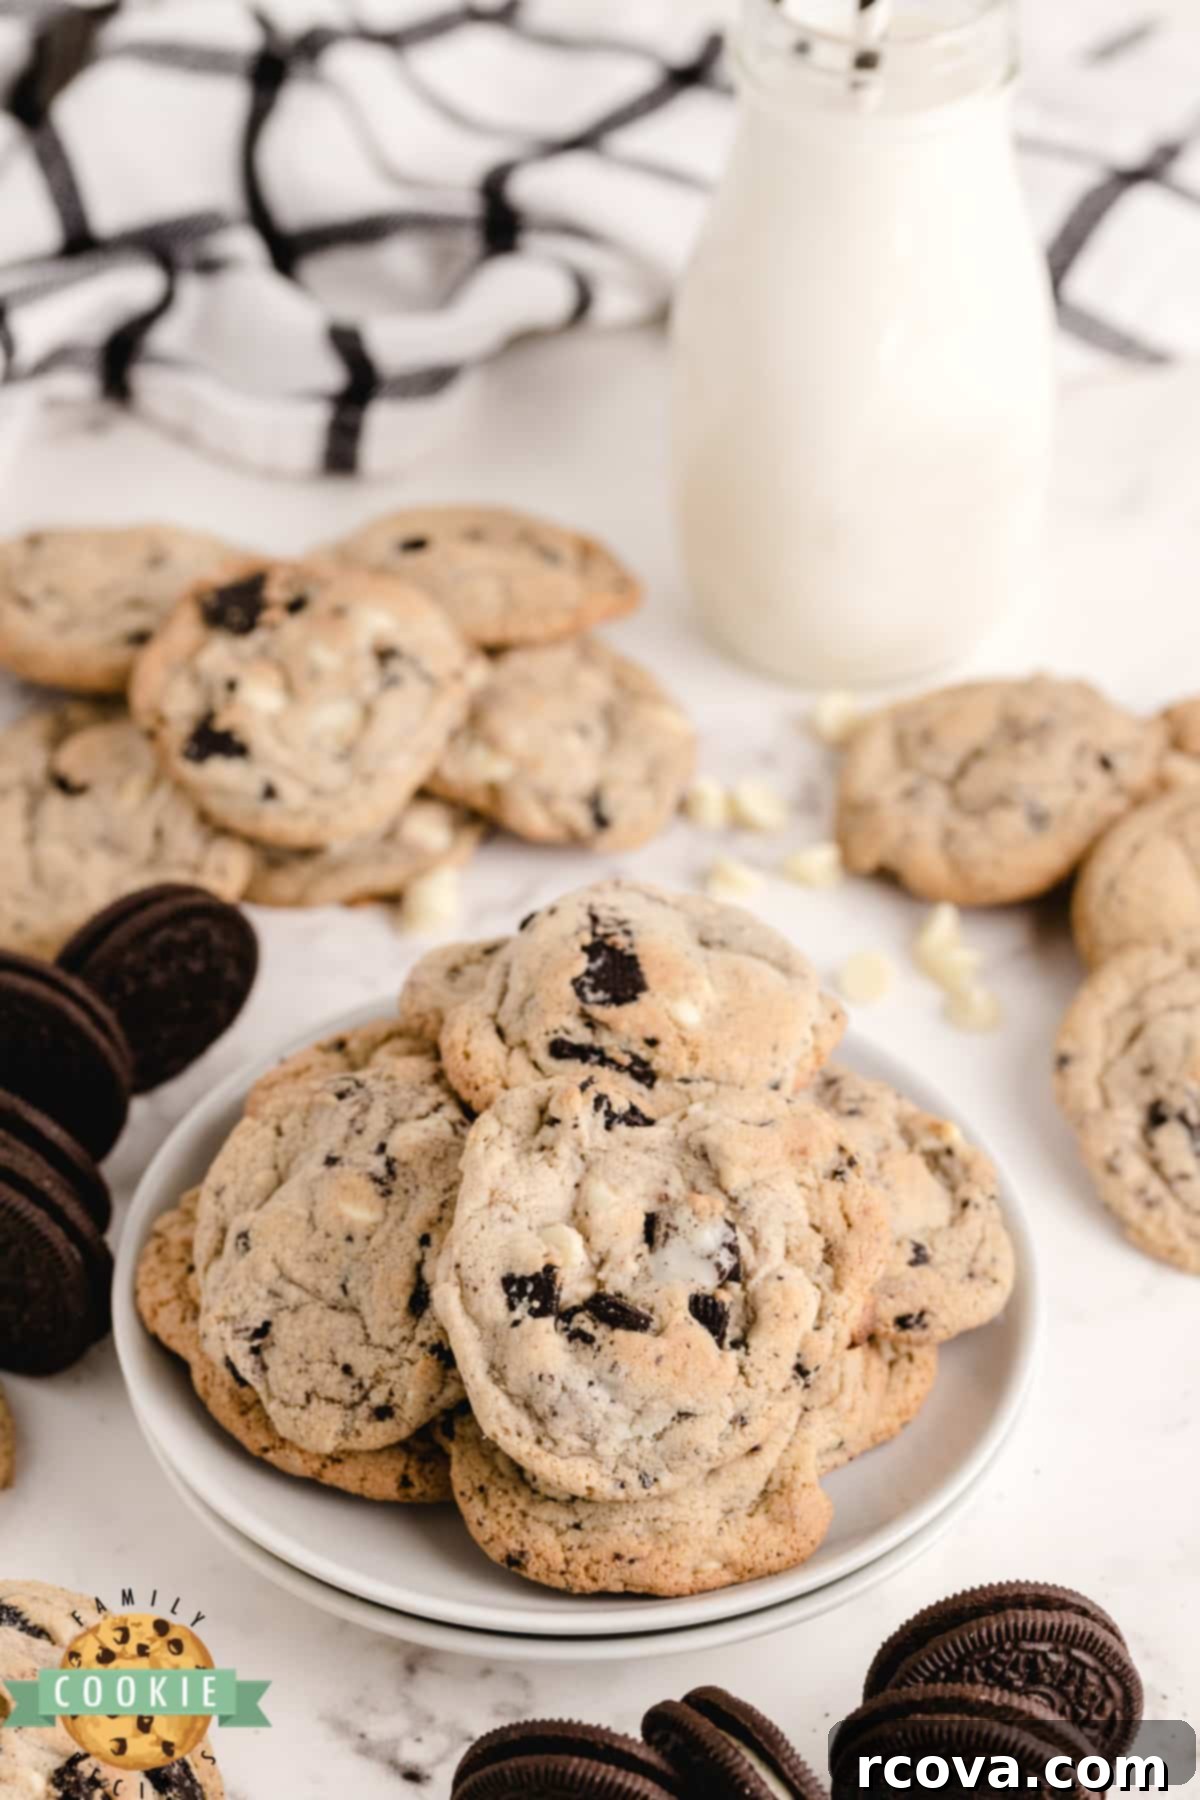
For these Cookies and Cream Cookies, the texture of the crushed Oreos is paramount. You want delightful, noticeable chunks, not fine crumbs. This ensures every bite delivers that satisfying crunch and intense Oreo flavor. Here are my preferred methods for crushing Oreos to perfection:
Ziplock Bag & Rolling Pin/Meat Mallet: This is my absolute favorite method because it offers the most control over the size of your Oreo pieces. Simply place your Oreo cookies in a sturdy Ziplock bag (or any heavy-duty freezer bag). Seal it, removing as much air as possible. Then, use a rolling pin or a meat mallet to gently smash the cookies. Start with light taps, then increase pressure as needed. You can easily feel the cookies breaking apart and stop when you’ve reached your desired chunky consistency.
Blender or Food Processor (with caution!): While convenient, using a blender or food processor requires a delicate touch to avoid over-processing. Add your Oreos to the appliance and pulse them for only a quick second at a time. Check the consistency after each pulse. This method is excellent if you’re aiming for fine crumbs, perhaps for an Oreo crust, but it’s trickier to achieve larger chunks. If you blink, you might end up with dust instead of delectable bits!
How to Quickly Soften Butter to Room Temperature
Softened butter is critical for baking perfect cookies, as it creams properly with sugar to create an airy base. While letting it sit out for a few hours is ideal, life often calls for quicker solutions. Here are a few tricks to get your butter perfectly soft in minutes:
The Patience Method: Setting it Out at Room Temperature
The absolute best way to soften butter is naturally: simply set it out on your counter for at least 1-2 hours (depending on your room’s temperature) before you plan to bake. This allows the butter to warm evenly without melting, achieving the ideal pliable consistency needed for creaming.
The Microwave Magic: Quick Softening
If you’re short on time, the microwave is your fastest friend, but it requires precision! Place the entire stick of butter (unwrapped from foil) in the microwave. Microwave it on high for about 6-7 seconds. If it’s still very cold, try another 5-7 seconds. Repeat in very short intervals (3-5 seconds) and check after each, pressing gently to test for softness. The goal is soft, not melted! Melted butter will negatively affect the cookie texture, making them greasy and flat.
Pro Tip: Use the Defrost Setting! Many microwaves have a defrost setting. While it takes a little longer (closer to 30 seconds to a minute, depending on your microwave’s power), it’s generally safer and more effective for softening butter without accidentally melting it. It provides a gentler, more even heat distribution.
Some modern microwaves even feature a dedicated “Soften Butter” function. If you’re lucky enough to have one, this is usually the most foolproof method! My new microwave has this, and while I often need to run the cycle twice to get it to the perfect pliable consistency, it works like a charm.
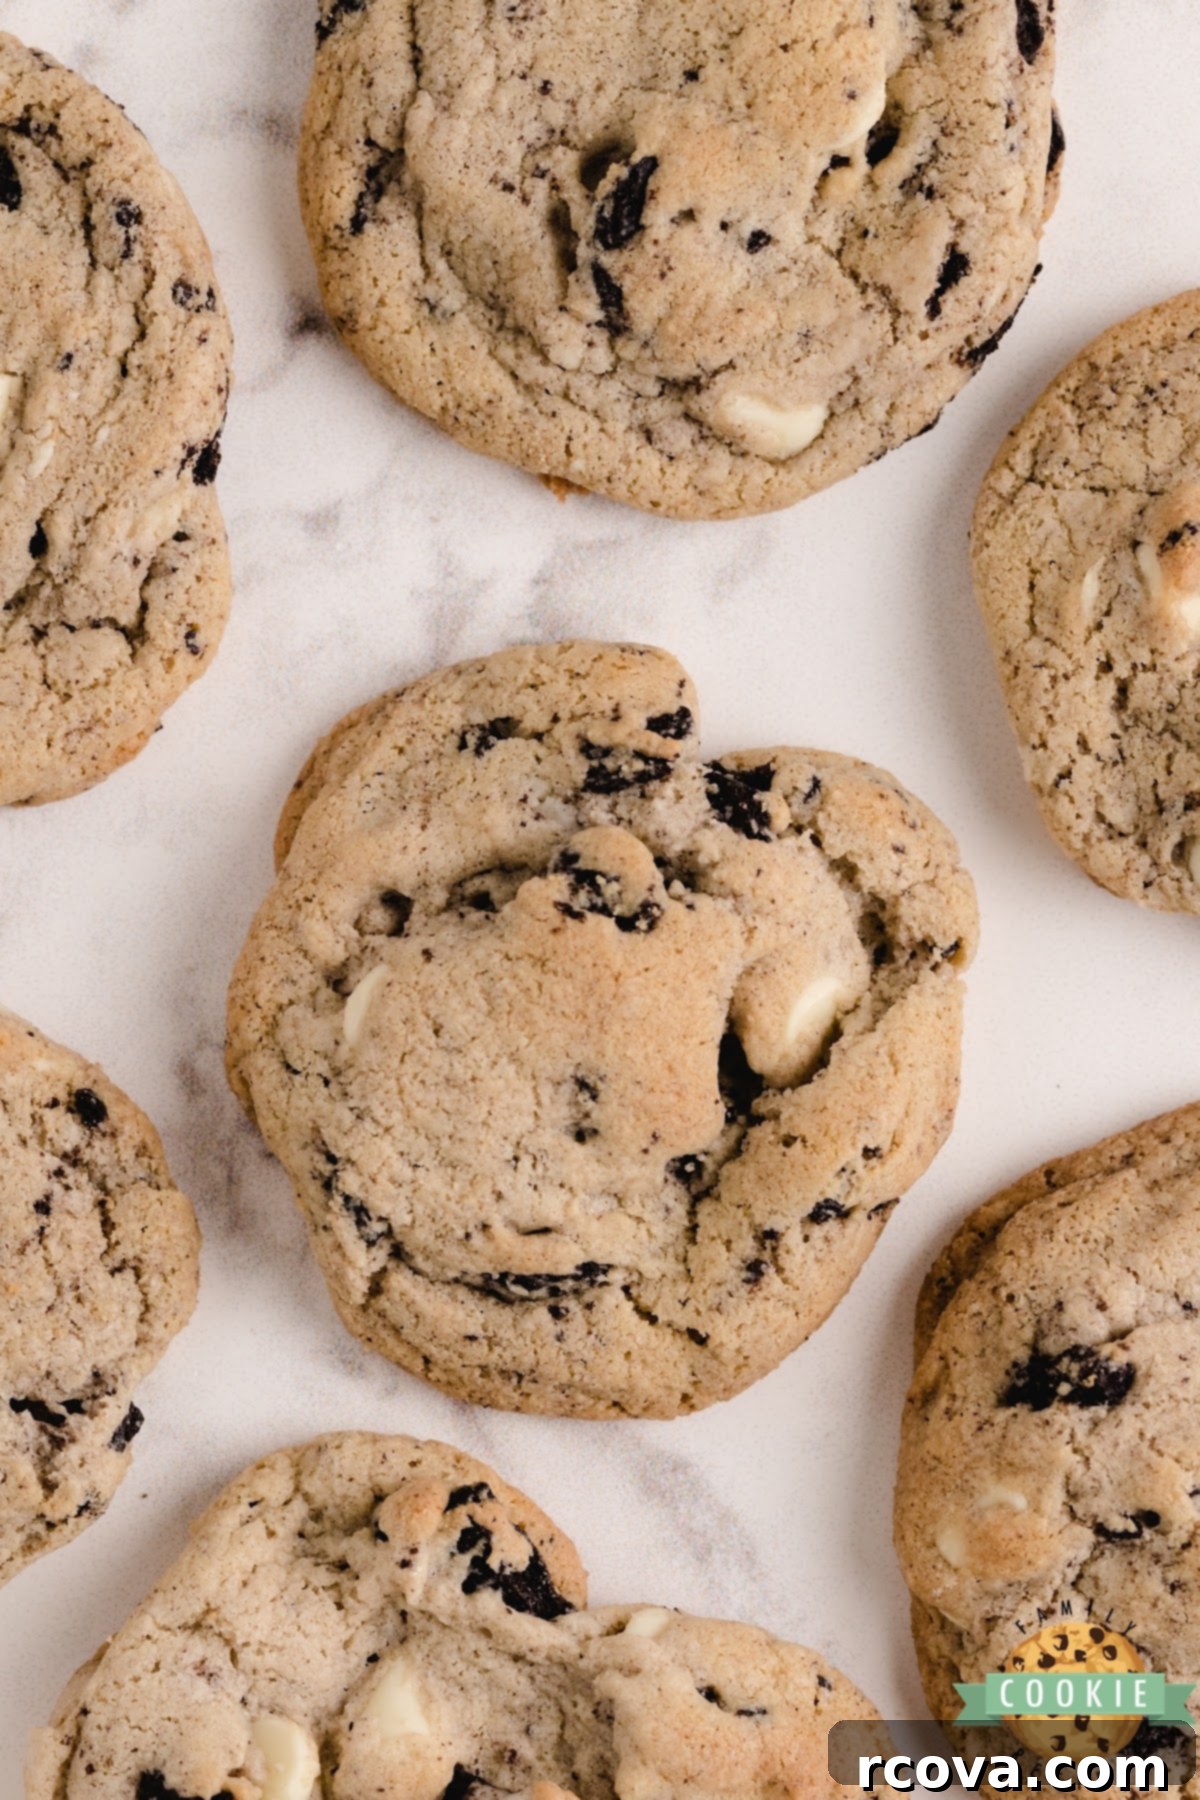
Why Are My Cookies and Cream Cookies Crispy and Hard?
There’s nothing more disappointing than expecting a soft, chewy cookie and getting a hard, crispy one instead! If your Cookies and Cream Cookies turn out crunchy, the most common culprit is overbaking. It’s a very easy mistake to make, especially with recipes that yield truly soft cookies.
Remember this golden rule for soft cookies: they continue to bake for a couple of minutes on the hot baking sheet even after you pull them out of the oven. This residual heat, known as “carryover baking,” means you absolutely don’t want to wait until they are golden brown all over before removing them!
For most of my cookie recipes, including these Oreo-packed delights, I bake them until they are just barely done. This means I don’t even wait for the tops to start turning golden brown. Instead, I carefully observe the edges on the bottom of the cookies. If those edges look like they’re just starting to turn a light golden brown, they’re ready! The centers will still look a bit pale and soft, which is exactly what you want for that perfect chewy texture. Trust your eyes on the edges, not the overall color of the top!
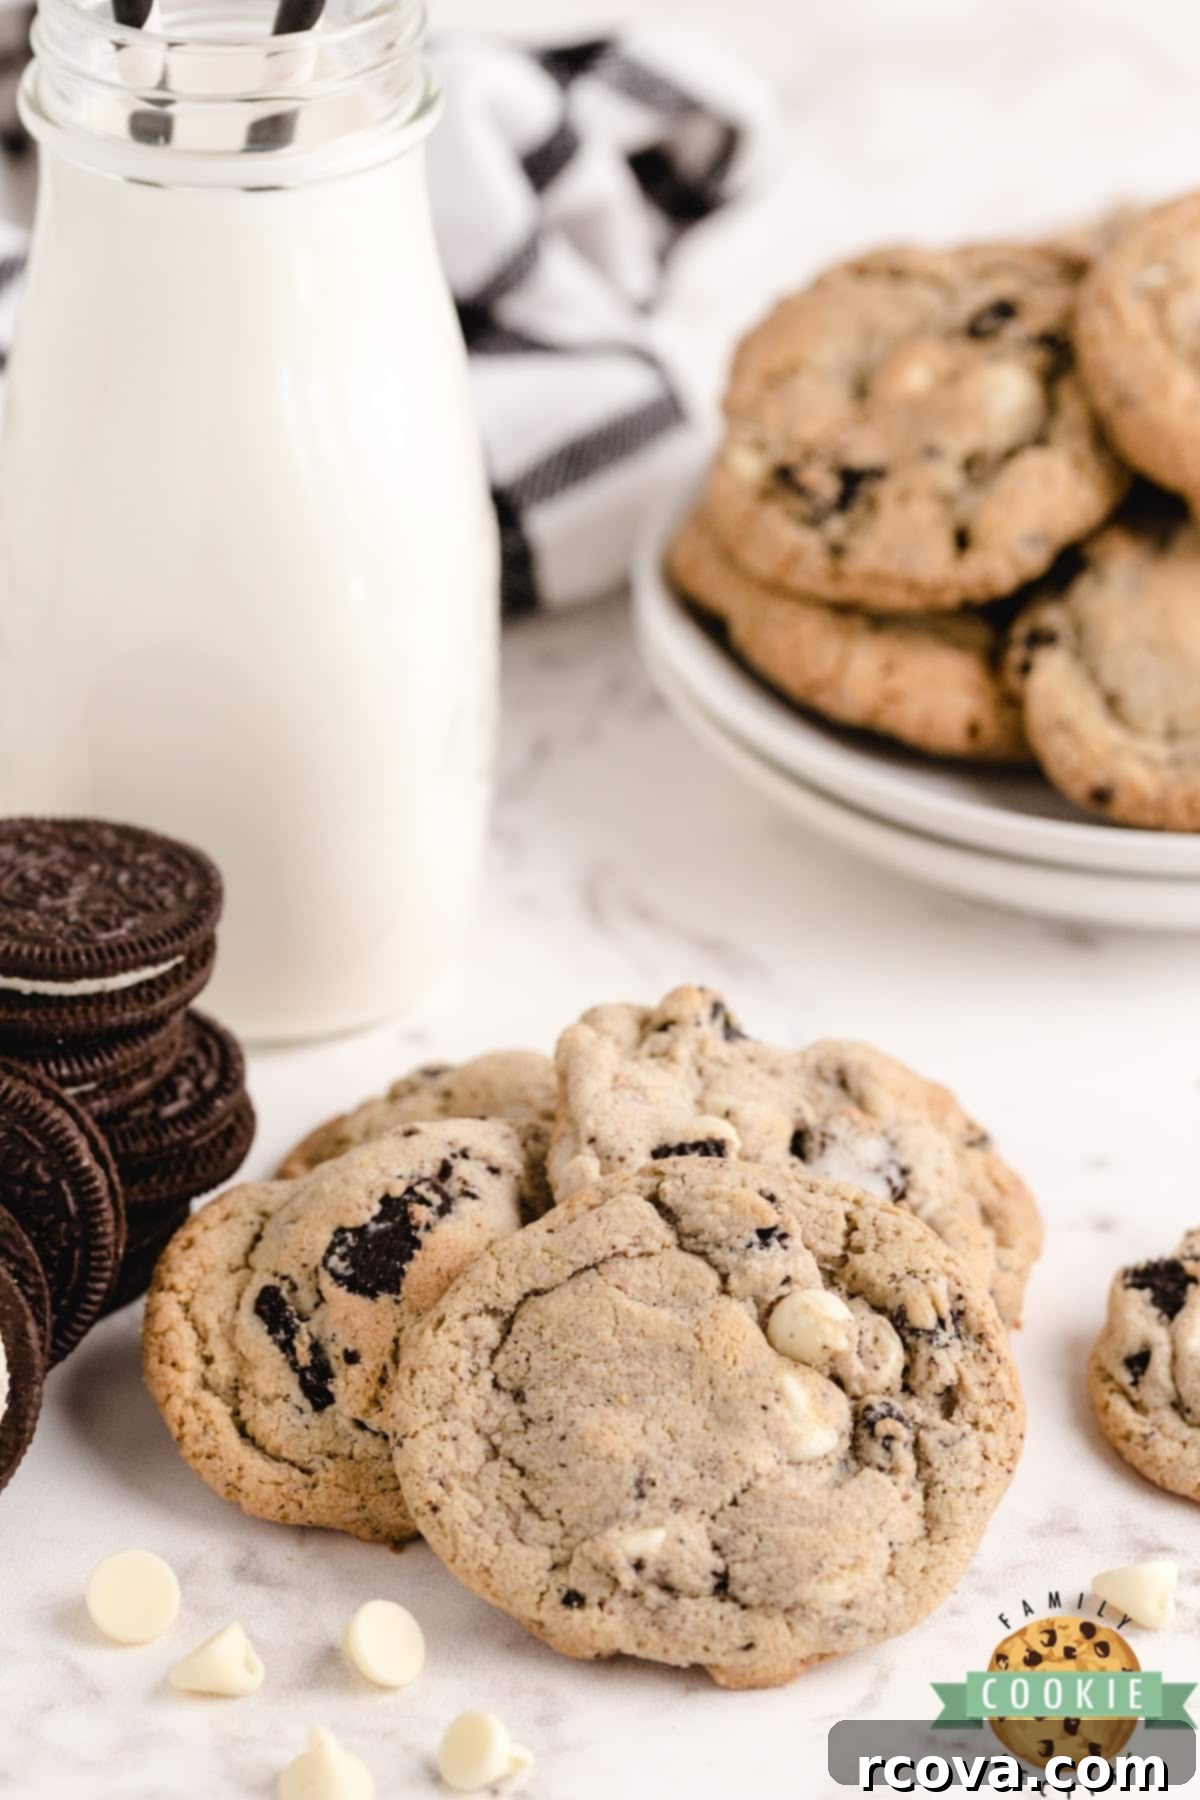
How to Effectively Add Pudding Mix to Your Cookies
Incorporating instant pudding mix into cookie dough is a fantastic trick for achieving an incredibly soft and moist texture. The beauty of it is that there’s no need to prepare the pudding first – you simply add the dry powder directly to your cookie dough! The starch in the pudding mix helps to absorb moisture during baking, preventing the cookies from drying out and ensuring they stay wonderfully chewy for days. This simple addition is a secret weapon for elevating homemade cookies to bakery-level perfection.
Ideal Cooling Time for Freshly Baked Cookies
Properly cooling your cookies is just as important as baking them correctly. When you first pull your Cookies and Cream Cookies out of the oven, they will be very soft and delicate. To prevent them from falling apart, it’s crucial to let them rest and firm up on the hot baking sheet for 3-4 minutes. This allows the carryover heat to finish baking the centers and for the structure to set.
After this initial rest, carefully transfer the cookies to a wire cooling rack. Cooling racks allow air to circulate all around the cookies, preventing them from becoming soggy on the bottom and ensuring they cool evenly. After another couple of minutes on the cooling rack, your cookies should be firm enough to handle and enjoy – and nothing beats a warm, freshly baked cookie!
Can You Prepare Cookies and Cream Cookie Dough in Advance?
Absolutely! Preparing the cookie dough in advance is a brilliant time-saver, especially when planning for parties, events, or simply wanting to enjoy fresh cookies without the entire baking process on the same day. You can prepare the dough as directed, then transfer it to a well-covered bowl or an airtight container and store it in the refrigerator for up to a day. This “chill time” can actually enhance the flavors and texture of the cookies, making them even more delicious.
When you’re ready to bake, simply scoop the chilled dough onto your prepared baking sheets and proceed with the baking instructions. This flexibility means you can enjoy the aroma and taste of freshly baked Oreo cookies with minimal effort right when you want them.
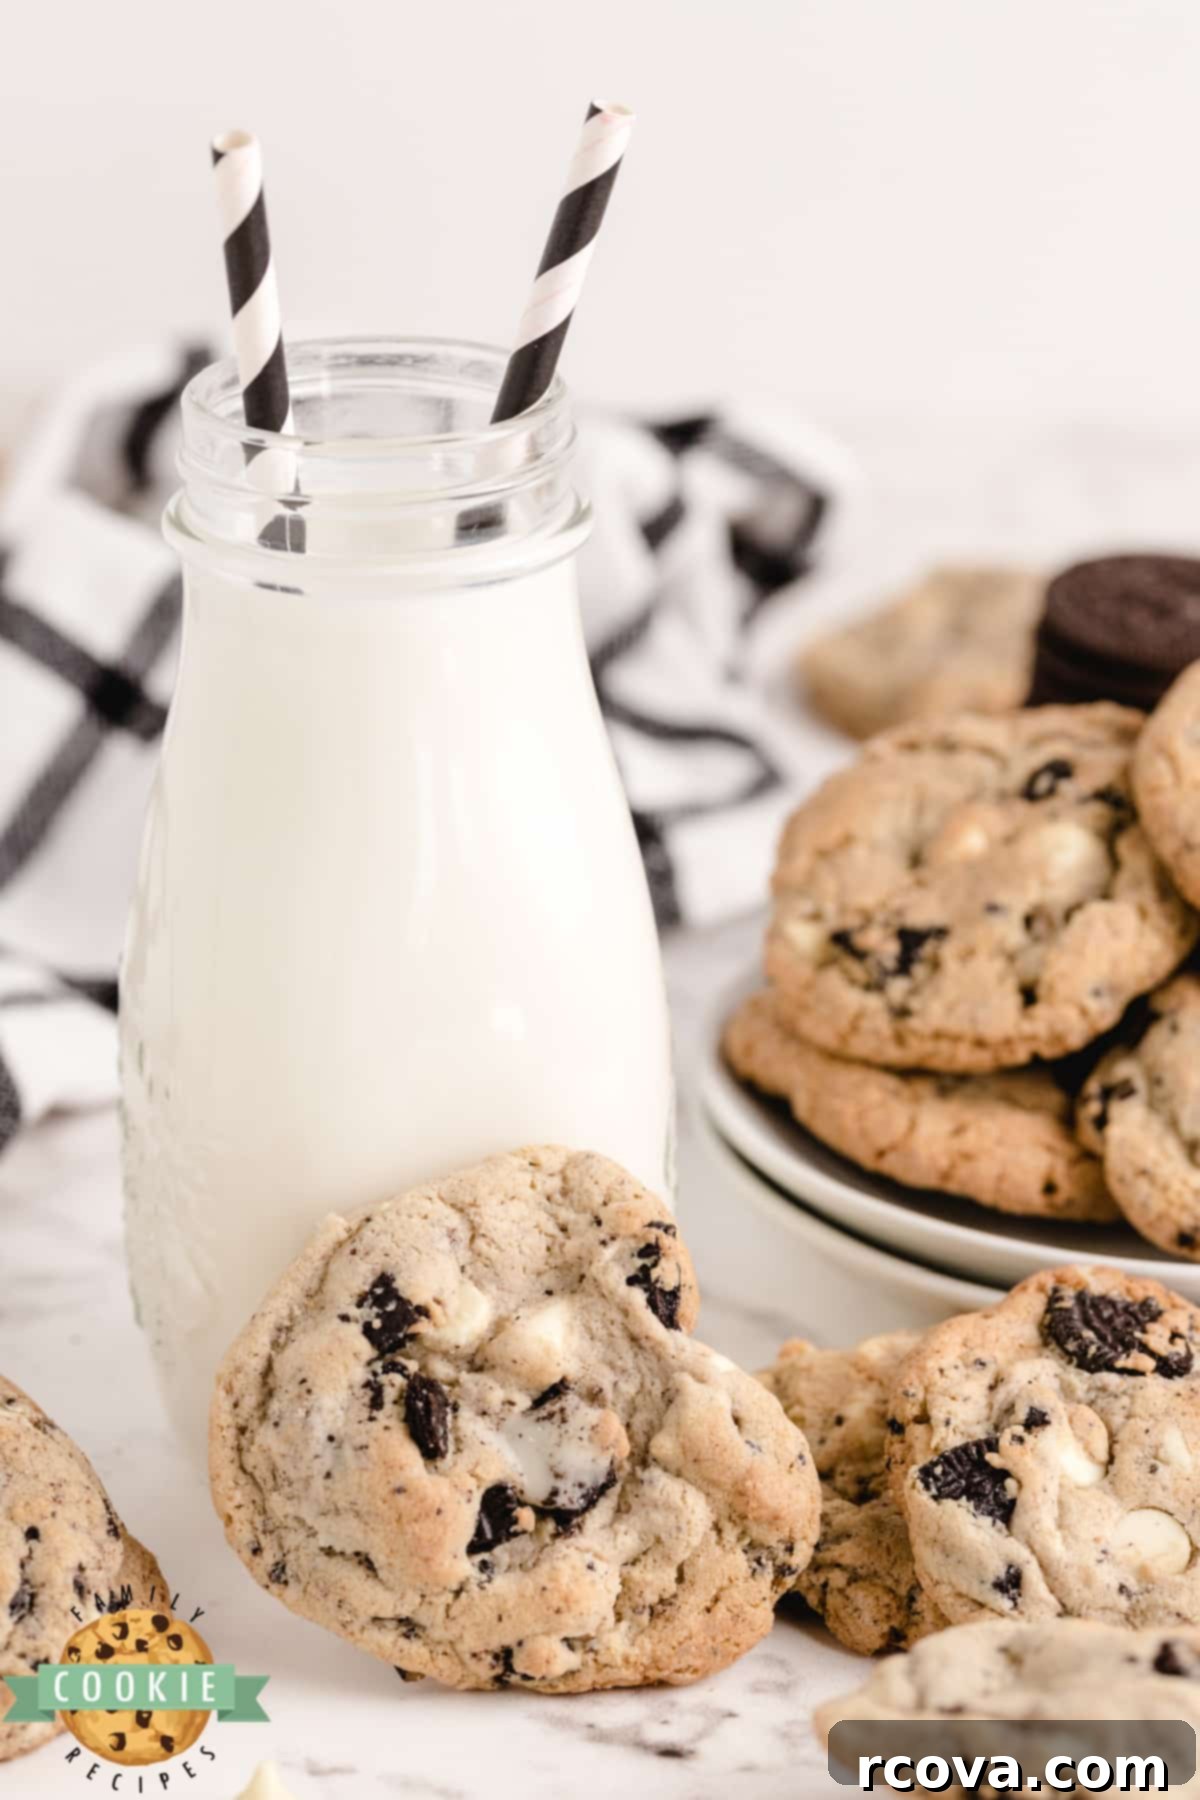
More Irresistible Oreo-Inspired Recipes to Try:
If you’re a true fan of Oreo cookies, you’ll love exploring these other incredible recipes that put a delicious twist on the classic treat:
- Oreo Cookie Bars: When time is of the essence but you still crave that rich Oreo flavor, these cookie bars are your perfect solution. Packed with crushed Oreos and baked in a single pan, they’re incredibly easy to make and ideal for feeding a crowd without the fuss of scooping individual cookies.
- Oreo No-Bake Cookies: For those hot days or simply when you want a quick treat without turning on the oven, these no-bake wonders are a lifesaver. Fast, simple, and packed with that beloved Oreo taste, they come together in minutes.
- Want to elevate your baking skills and create something truly special? These Homemade Oreo Cookies are a revelation! Far softer and arguably even more delicious than their store-bought counterparts, they allow you to experience the classic cookie in a whole new way.
- Prefer the lighter side of Oreos? You can also try our delightful Homemade Golden Oreo Cookies. These vanilla-flavored sandwich cookies are just as addictive as their chocolate cousins. Why choose when you can make both?
- For the adventurous foodies out there, you absolutely *must* try these Bacon Wrapped Oreos. I know, it sounds a little wild, but trust me on this one – the salty, savory bacon perfectly complements the sweet chocolate and cream for an unexpectedly delicious experience. Don’t knock it ’til you’ve tried one!

These Cookies & Cream Cookies are truly a standout recipe, utilizing the magic of instant pudding mix and abundant crushed Oreo cookies to create a perfectly soft, incredibly chewy, and undeniably delicious cookie. They are guaranteed to become a cherished favorite in your recipe collection!
