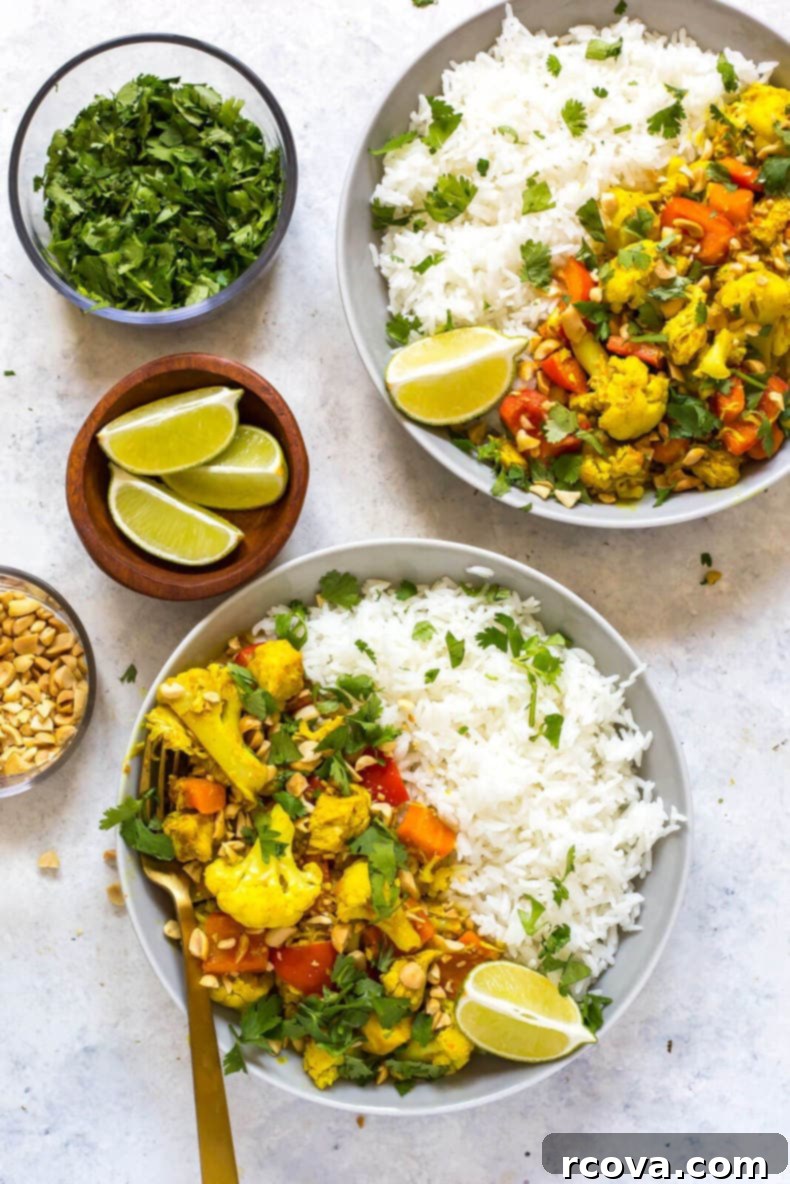
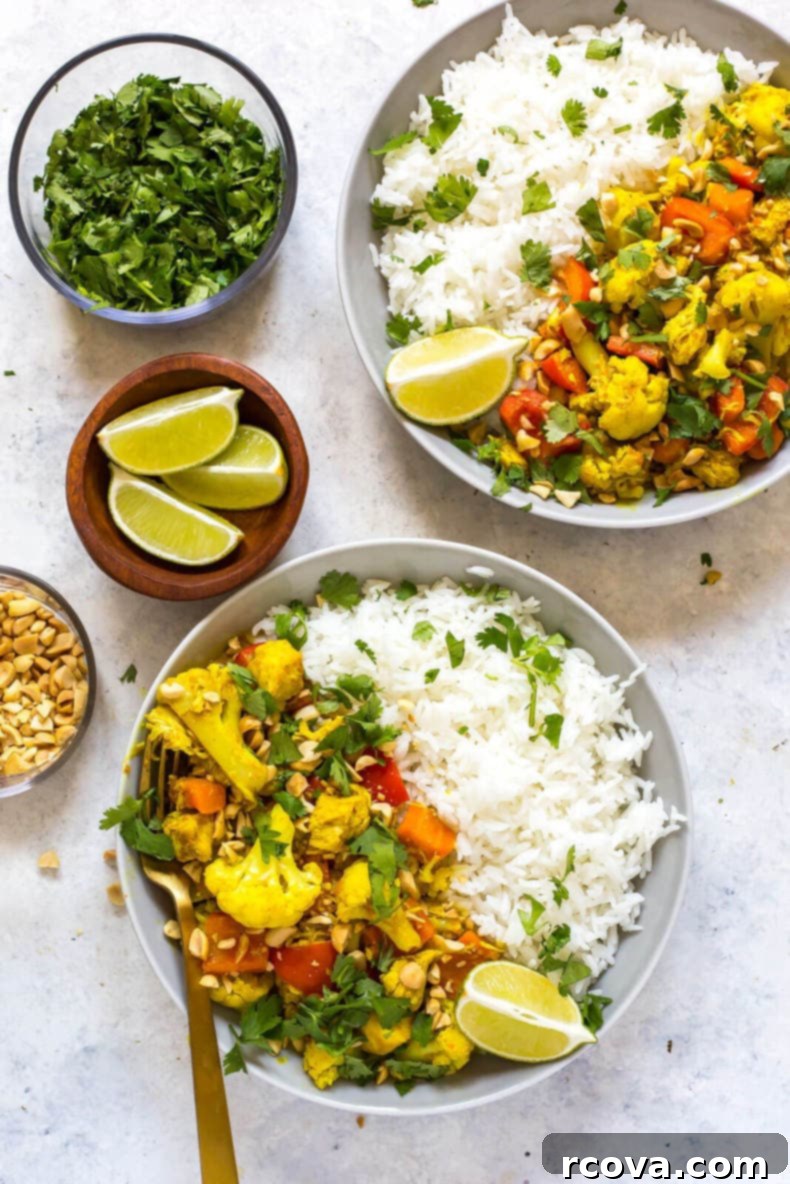
Instant Pot Peanut Coconut Chicken Curry: Your Ultimate Healthy & Easy One-Pot Meal
This Instant Pot Peanut Coconut Chicken Curry is an incredibly healthy, effortlessly easy one-pot dinner idea that’s both hearty and wholesome. It’s the perfect comforting meal to warm you up on chilly nights, bringing vibrant flavors and satisfying textures right to your table with minimal fuss. Dive into a world of aromatic spices, creamy coconut, and tender chicken, all ready in your Instant Pot!
Unlock Your FREE Budget-Friendly Meal Plan!
Transform your grocery budget and savor delicious meals! Save thousands of dollars on food every year with my free budget-friendly meal plan ebook. Get instant access to smart meal planning strategies and tasty recipes.
Why You’ll Love This Instant Pot Peanut Coconut Chicken Curry
This Instant Pot Peanut Coconut Chicken Curry recipe isn’t just another dinner idea; it’s a game-changer for busy weeknights. The Instant Pot works its magic, transforming simple ingredients into a rich, deeply flavored curry in a fraction of the time it would take on the stovetop. We’re talking tender chicken, perfectly cooked vegetables, and a luscious, savory, and slightly sweet peanut-coconut sauce that will have everyone asking for seconds. It’s naturally gluten-free (just double-check your peanut butter and coconut milk labels), packed with protein, and an excellent way to sneak in extra vegetables.
Beyond its incredible taste, the convenience factor is unbeatable. As a one-pot wonder, it means less cleanup and more time enjoying your meal or unwinding after a long day. Whether you’re a seasoned Instant Pot user or just starting, this recipe is straightforward and designed for success. It’s also incredibly versatile, allowing for easy substitutions to fit whatever you have on hand or your dietary preferences. Get ready to add this healthy, quick, and satisfying curry to your regular meal rotation!
How to Make This Delicious Instant Pot Peanut Coconut Chicken Curry
Creating this flavorful curry in your Instant Pot is surprisingly simple, designed for maximum taste with minimal effort. Follow these steps to achieve a perfectly cooked, rich, and aromatic dish:
- Layer the Ingredients: Start by adding coconut oil to the Instant Pot. Then, layer in the diced chicken breast, followed by the chopped carrots. Next, add the rich peanut butter, fragrant minced garlic, pungent curry powder, vibrant turmeric, a pinch of salt, and earthy cumin. Finally, pour in the creamy full-fat coconut milk. It’s important to add the ingredients in this order to help prevent the peanut butter from sticking to the bottom of the pot, which can sometimes trigger a “Burn” notice.
- Initial Pressure Cook: Secure the lid on your Instant Pot and set it to pressure cook on high for 3 minutes. Keep in mind that the Instant Pot will take about 15 minutes to come to pressure before the actual cooking time begins. Once the cooking cycle is complete, carefully perform a quick release of pressure according to your Instant Pot’s instructions. This stops the cooking process rapidly.
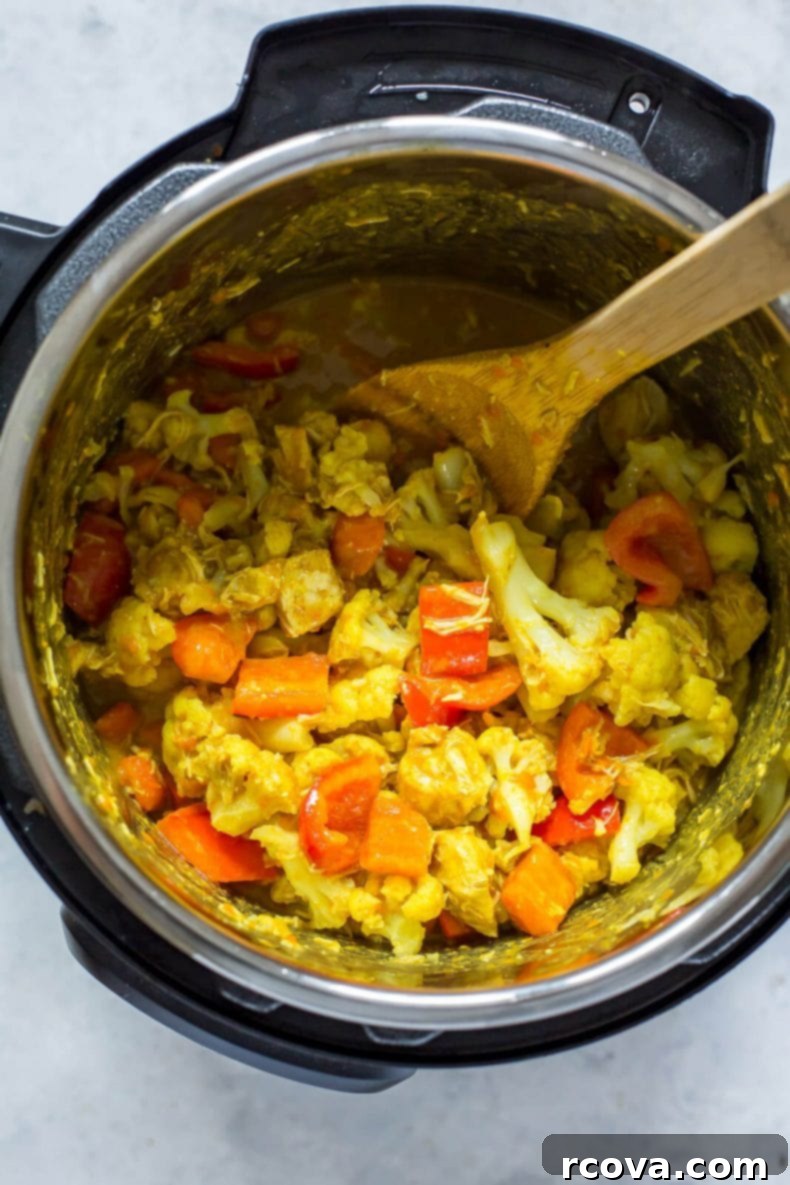
- Add Cauliflower for Zero-Minute Cook: Once the pressure has been fully released and the lid is safe to open, add the cauliflower florets to the pot. Close the lid again and pressure cook for 0 minutes. Yes, zero minutes! This setting is perfect for tender vegetables like cauliflower because the residual heat and steam inside the pot will gently steam the florets without overcooking them, ensuring they remain firm-tender and not mushy. Once the 0-minute cycle is done, do another quick release of pressure (there won’t be much pressure this time).
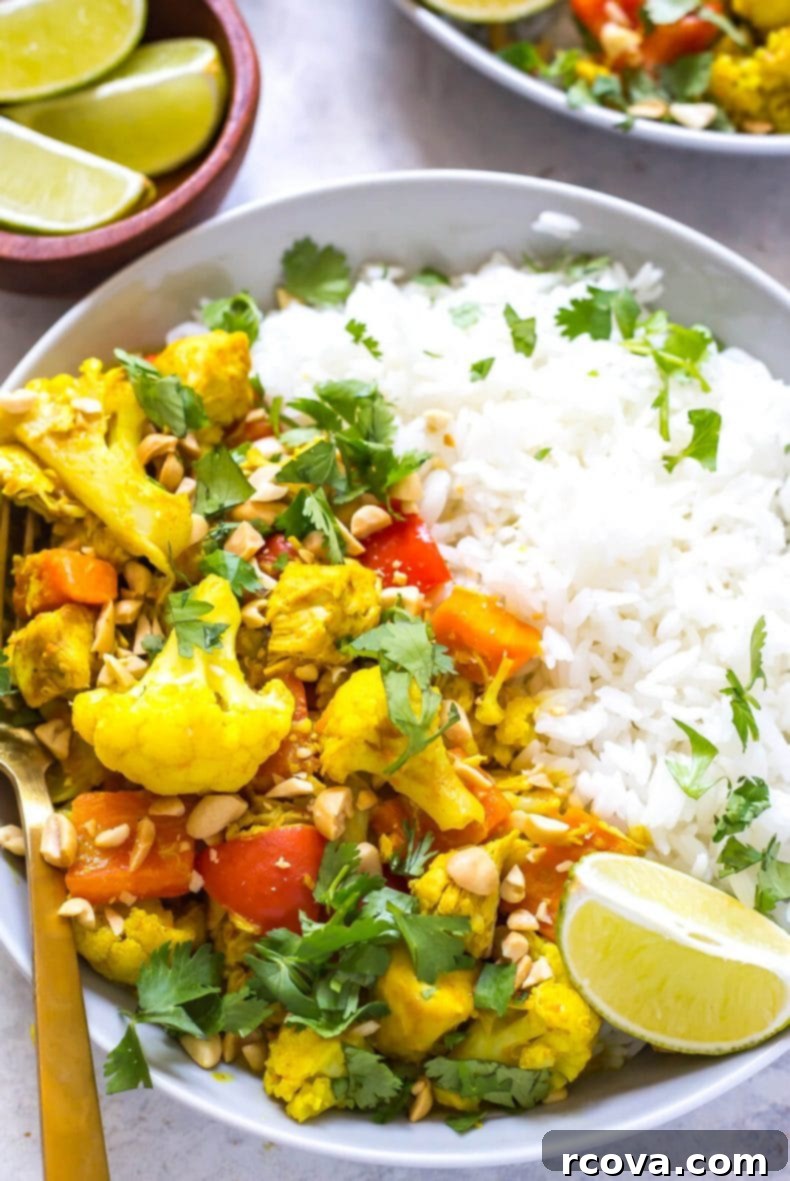
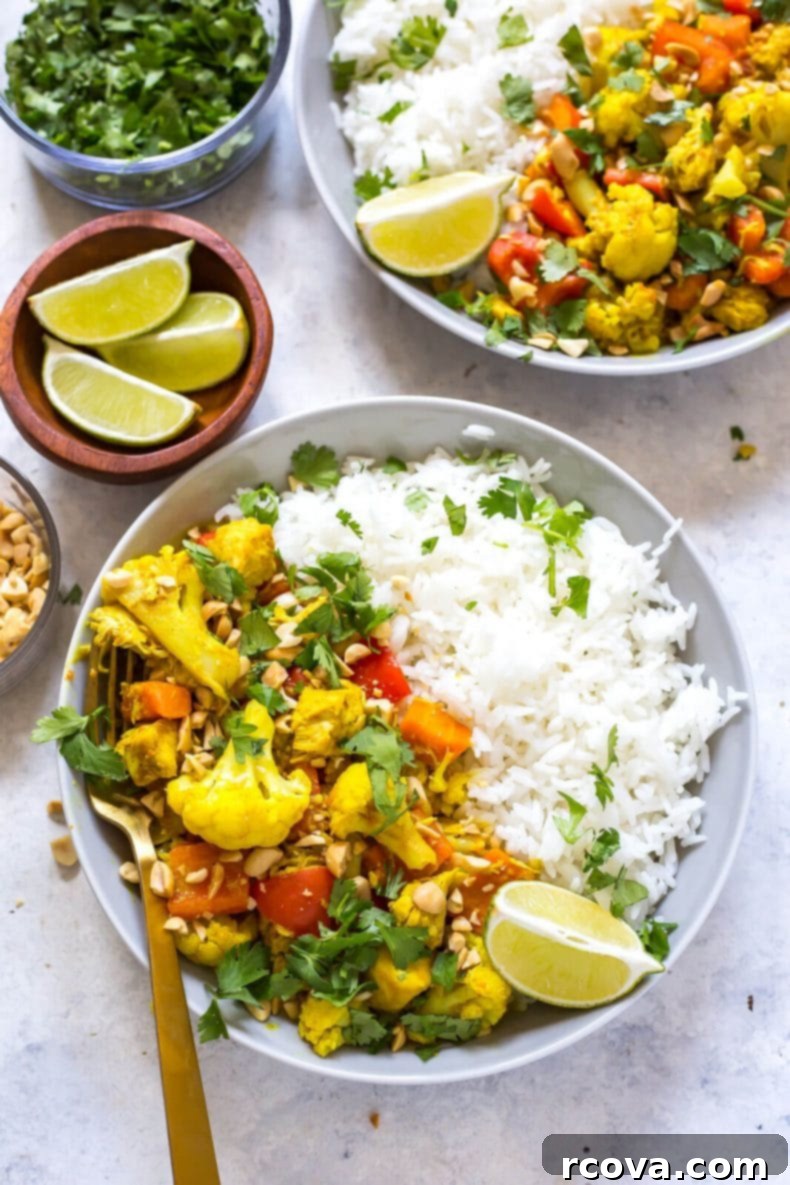
- Final Touches and Serving: Once the lid is safely open, stir in the chopped red pepper. The heat from the curry will gently soften the pepper, adding a delightful crunch and fresh flavor. Ladle your delicious peanut coconut chicken curry over a generous bed of fluffy basmati or jasmine rice. Garnish generously with crunchy chopped peanuts and fresh, aromatic cilantro. Serve immediately and enjoy the complex layers of flavor!
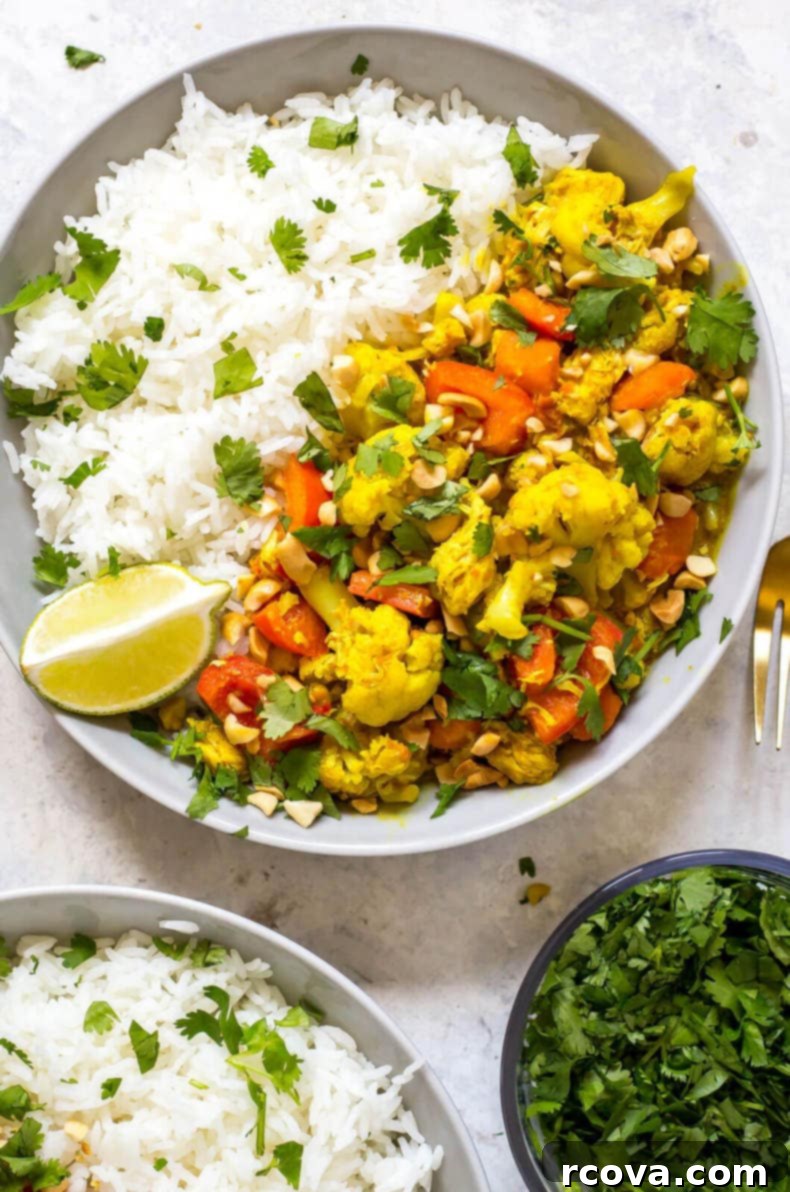
Ingredients and Smart Substitutions for Your Curry
This recipe is designed to be flexible, allowing for easy ingredient swaps based on what you have on hand or your dietary needs. Here’s a deeper look into each component and its potential alternatives:
- Coconut oil: This provides a rich, slightly sweet base flavor that complements the curry. If you don’t have it, butter, olive oil, or any neutral cooking oil like canola or vegetable oil can be used to replace coconut oil. The flavor profile will shift slightly, but the dish will still be delicious.
- Chicken breast: Lean and versatile, chicken breast cooks up tender in the Instant Pot. For a richer, juicier curry, chicken thighs will make for a fantastic alternative. Be aware that using thighs might require a very slight adjustment to the cook time (perhaps reducing by 1 minute) or a natural pressure release for maximum tenderness.
- Carrot: Carrots add natural sweetness and a pop of color. Feel free to substitute carrot with other root vegetables or firm vegetables like celery, daikon radish, parsnips, or even zucchini if you prefer a less sweet element.
- Peanut butter: The star of the sauce, peanut butter adds creamy texture and nutty depth. For those with peanut allergies or seeking different flavors, almond butter, cashew butter, any other nut butter, or even sunflower seed butter can be used in place of peanut butter. Ensure it’s unsweetened for best results.
- Garlic: Fresh garlic provides an essential aromatic base. Both freshly minced garlic or convenient jarred minced garlic will work perfectly. In a pinch, garlic powder can be used (about ½ teaspoon for every clove of fresh garlic).
- Curry powder: This blend is key to the curry’s signature taste. If you don’t have curry powder available, you can create your own blend using individual spices such as coriander, cumin, turmeric, and ginger. Adjust ratios to your taste.
- Turmeric: Known for its earthy flavor and vibrant yellow color, turmeric is a powerhouse spice. Saffron (though more expensive), ground ginger, or dry mustard can be used as substitutes, each offering a slightly different nuance.
- Salt: Always adjust to taste to balance the flavors of the curry.
- Cumin: Cumin adds warmth and earthiness. Alternatives include ground coriander, garam masala (which has a more complex, sweet-spicy profile), or even paprika for a milder flavor.
- Coconut milk: Essential for the curry’s creaminess and characteristic flavor. You can use either bottled or canned full-fat coconut milk in this recipe. Full-fat milk is recommended for the richest texture.
- Cauliflower: Cauliflower adds bulk and absorbs the curry flavors beautifully. Other excellent vegetable substitutes include broccoli florets, chopped cabbage, or other quick-cooking root vegetables.
- Red pepper: Added at the end, red bell pepper provides a fresh crunch and a sweet, slightly tangy contrast. Feel free to use any color bell pepper of choice—yellow, orange, or green will work equally well.
- Peanuts: (to garnish) A crucial textural element, providing a satisfying crunch.
- Cilantro: (to garnish) Fresh cilantro adds brightness and a herbaceous finish.
- Jasmine rice: The perfect accompaniment to soak up the delicious sauce. Basmati rice, long-grain white rice, brown rice (adjust cooking time), or even quinoa can be used in this recipe as a base.
Storing and Reheating Your Curry Bowls
This Instant Pot Peanut Coconut Chicken Curry is an excellent candidate for meal prep, making your future self very happy! Properly stored, these curry bowls can provide delicious, convenient meals throughout the week.
How to Store:
Once your curry has cooled completely, transfer individual portions of the curry and rice into airtight meal prep containers. Glass containers are ideal as they don’t absorb food odors or colors and are microwave-safe. Place your sealed containers into the fridge, where your delicious curry will stay fresh for up to four days. This makes it a perfect dish for busy weekdays when you need a quick and healthy lunch or dinner solution.
How to Reheat:
When you’re ready to enjoy your peanut chicken coconut curry, simply remove a container from the fridge. For best results and to prevent the rice and chicken from drying out or developing that “leftover” taste, sprinkle a tablespoon or two of water over the top of the curry before heating. Reheat your dish in the microwave for 1-2 minutes, stirring halfway through, until it is thoroughly warmed. The added water helps to rehydrate the rice and keeps the sauce creamy, tasting almost as fresh as when it was first made.
Freezing Peanut Chicken Coconut Curry for Later
This curry freezes beautifully, making it an excellent freezer-friendly meal to have on hand for even quicker future dinners. You can freeze this curry dish for up to 3 months without significant loss of quality. For optimal freezing, ensure the curry is completely cooled before transferring it to freezer-safe containers or bags. If using bags, squeeze out as much air as possible to prevent freezer burn.
You have two options for freezing: freeze the curry with the desired serving of rice already mixed in, or freeze your rice separately. Freezing rice separately allows for more flexibility, as you can then pair the curry with freshly cooked rice, quinoa, or even noodles when you’re ready to eat.
How to Reheat from Frozen:
When you’re ready to enjoy your frozen curry, you can reheat it directly from the freezer. Sprinkle some water over the top of the frozen curry (this is crucial for maintaining moisture) and microwave for 6-7 minutes, stirring halfway through, until piping hot. While the texture of the vegetables, particularly the cauliflower, might be slightly softer after freezing and reheating, the overall flavor and heartiness of this dish remain excellent, making it a reliable and delicious freezer meal.
Other Delicious Instant Pot Recipes to Try
If you’ve enjoyed the ease and flavor of this peanut coconut chicken curry, you’ll love exploring more recipes designed for your Instant Pot. It’s a versatile appliance that can drastically cut down cooking time for a variety of meals. Here are some other fantastic Instant Pot recipes that are just as easy and delicious:
- Easy Instant Pot Pepper Steak: A classic dish made quicker with tender beef and crisp bell peppers.
- Instant Pot Beef and Broccoli: Your favorite takeout, made healthier and faster at home.
- Instant Pot Beef Barbacoa (Chipotle Copycat): Perfect for tacos, burritos, or bowls, this flavorful shredded beef is incredibly versatile.
Essential Meal Prep Tools for Instant Pot Cooking
To make your Instant Pot cooking and meal prep experience even smoother, consider stocking up on a few key tools:
- Grab some glass meal prep bowls if you plan on turning this recipe into your weekly lunches. They are durable, microwave-safe, and perfect for storage.
- For high-quality ingredients, I often get my free-range chicken breasts from Butcher Box. Sourcing good meat can make a big difference in your dishes.
- Ensure you have plenty of creamy coconut milk on hand by stocking up here. It’s a pantry staple for many delicious curries and other dishes.

Instant Pot Peanut Chicken Curry
This Instant Pot Peanut Coconut Chicken Curry is a healthy, easy one pot dinner idea that’s hearty, wholesome and perfect for chilly nights!
Servings: 6 servings
Calories: 493 kcal per serving
Author: Taylor Stinson
Prep Time: 20 minutes
Cook Time: 20 minutes
Total Time: 40 minutes
Ingredients
- 1 tbsp coconut oil
- 1 lb medium-sized chicken breasts, diced
- 2 carrots, chopped
- 1/4 cup peanut butter
- 4 cloves garlic, minced
- 1 tbsp curry powder
- 2 tsp turmeric
- 1 tsp salt
- 1/2 tsp cumin
- 1 (8 oz) can full-fat coconut milk
- 1 head cauliflower, chopped into florets
- 1 red pepper, chopped
- 1/4 cup peanuts, chopped (for garnish)
- 1/4 cup cilantro, chopped (for garnish)
- 3 cups cooked basmati or jasmine rice (for serving)
Instructions
- Add coconut oil, chicken, carrots, peanut butter, garlic, curry, turmeric, salt, cumin, and coconut milk to your Instant Pot in that exact order. This layering helps prevent sticking and ensures proper cooking. Close the lid and set to high pressure for 3 minutes. Note: The Instant Pot will take approximately 15 minutes to come to pressure before the 3-minute cook time begins. Once finished, perform a quick release of the pressure.
- Once the pressure is fully released, open the lid and add the cauliflower florets. Close the lid again and pressure cook for 0 minutes. This “zero-minute” cook time steams the cauliflower perfectly using the residual heat, ensuring it remains tender-crisp. After the cycle, do another quick release of any remaining pressure.
- When safe, open the lid and stir in the chopped red pepper. Serve the hot curry over a bed of fluffy basmati or jasmine rice. Garnish generously with chopped peanuts and fresh cilantro for added texture and freshness. Enjoy this incredibly flavorful and easy meal!
Video Guide
Nutrition Information (per serving)
- Calories: 493kcal (25% Daily Value)
- Carbohydrates: 34g (11% Daily Value)
- Protein: 23g (46% Daily Value)
- Fat: 31g (48% Daily Value)
- Saturated Fat: 14g (88% Daily Value)
- Polyunsaturated Fat: 4g
- Monounsaturated Fat: 6g
- Cholesterol: 43mg (14% Daily Value)
- Sodium: 377mg (16% Daily Value)
- Potassium: 507mg (14% Daily Value)
- Fiber: 5g (21% Daily Value)
- Sugar: 4g (4% Daily Value)
- Vitamin A: 4250IU (85% Daily Value)
- Vitamin C: 24.8mg (30% Daily Value)
- Calcium: 30mg (3% Daily Value)
- Iron: 2.3mg (13% Daily Value)
Loved this recipe? Share it with your friends!
Email |
Pin |
Facebook
