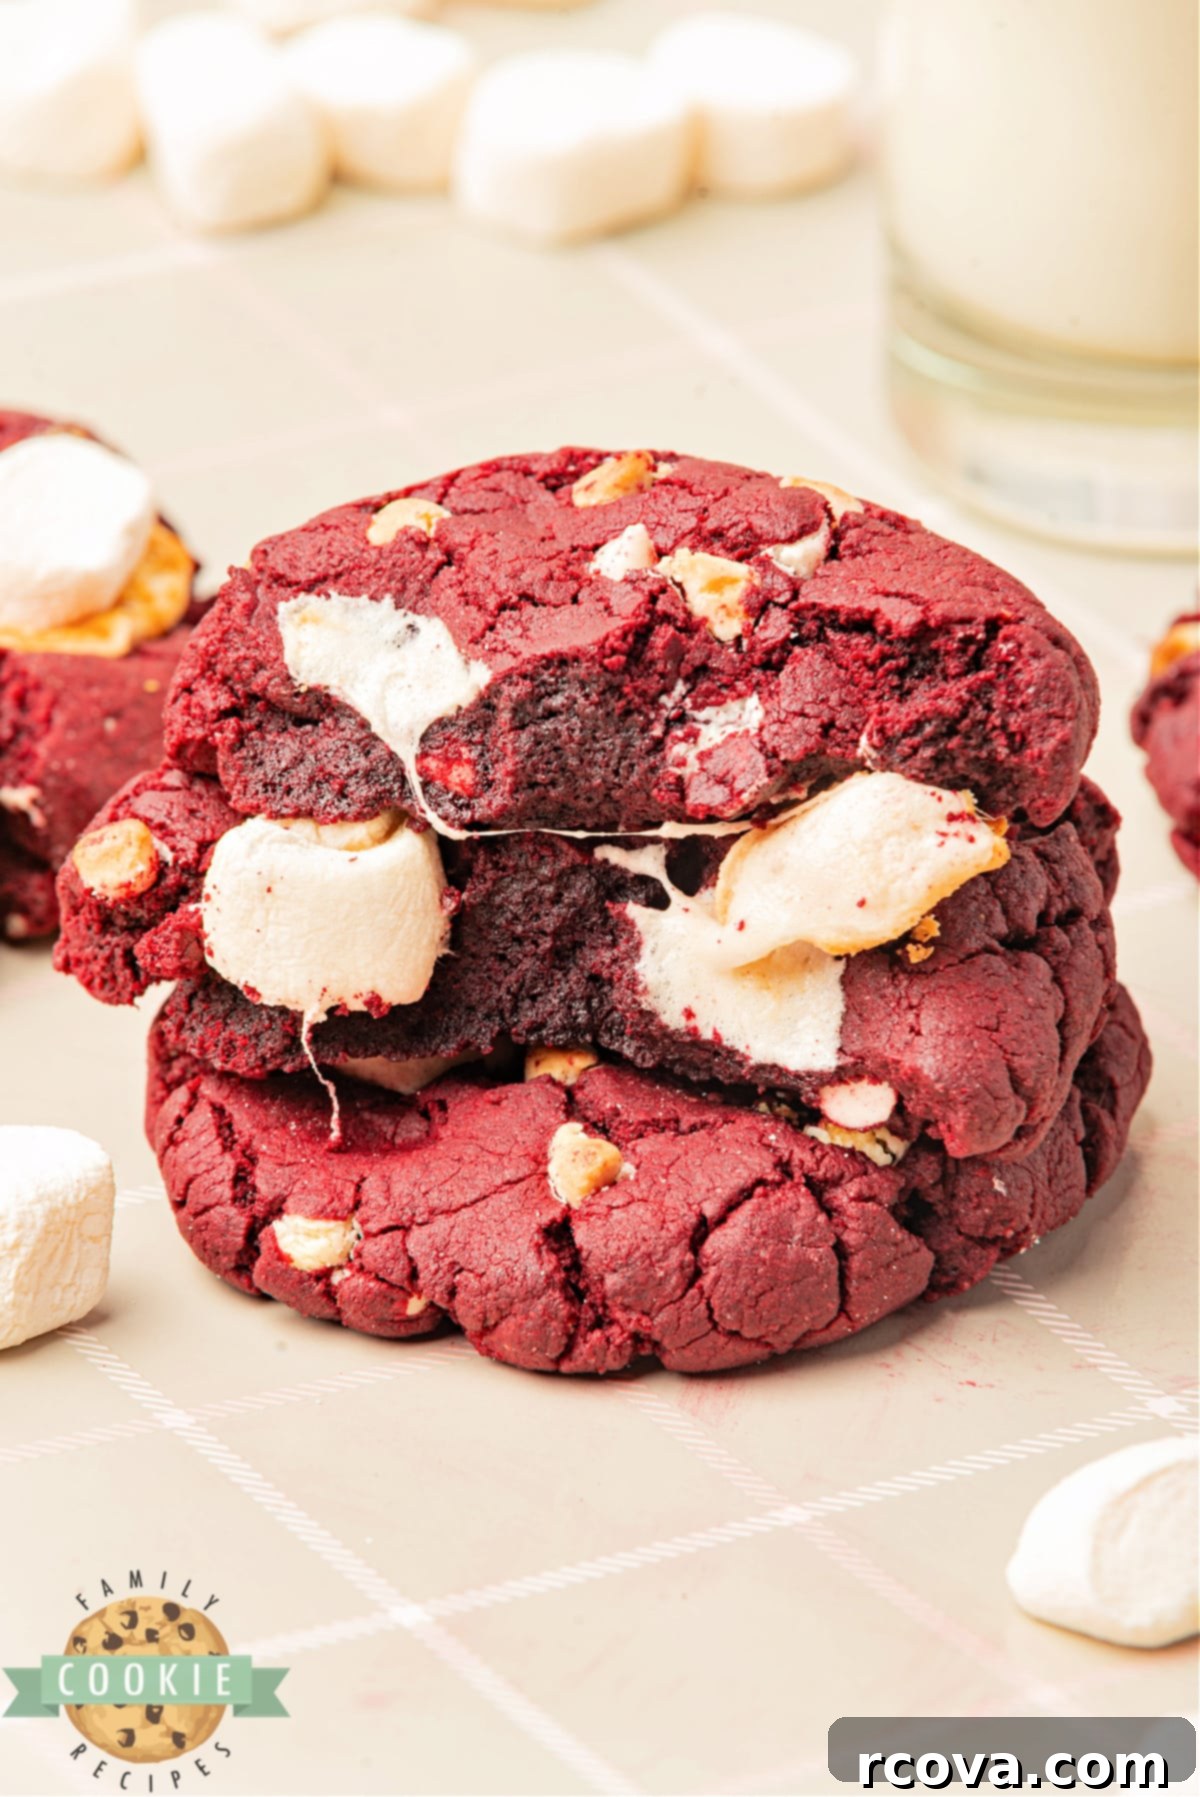
Irresistible Red Velvet Marshmallow Cookies: A Soft, Chewy, and Flavorful Delight
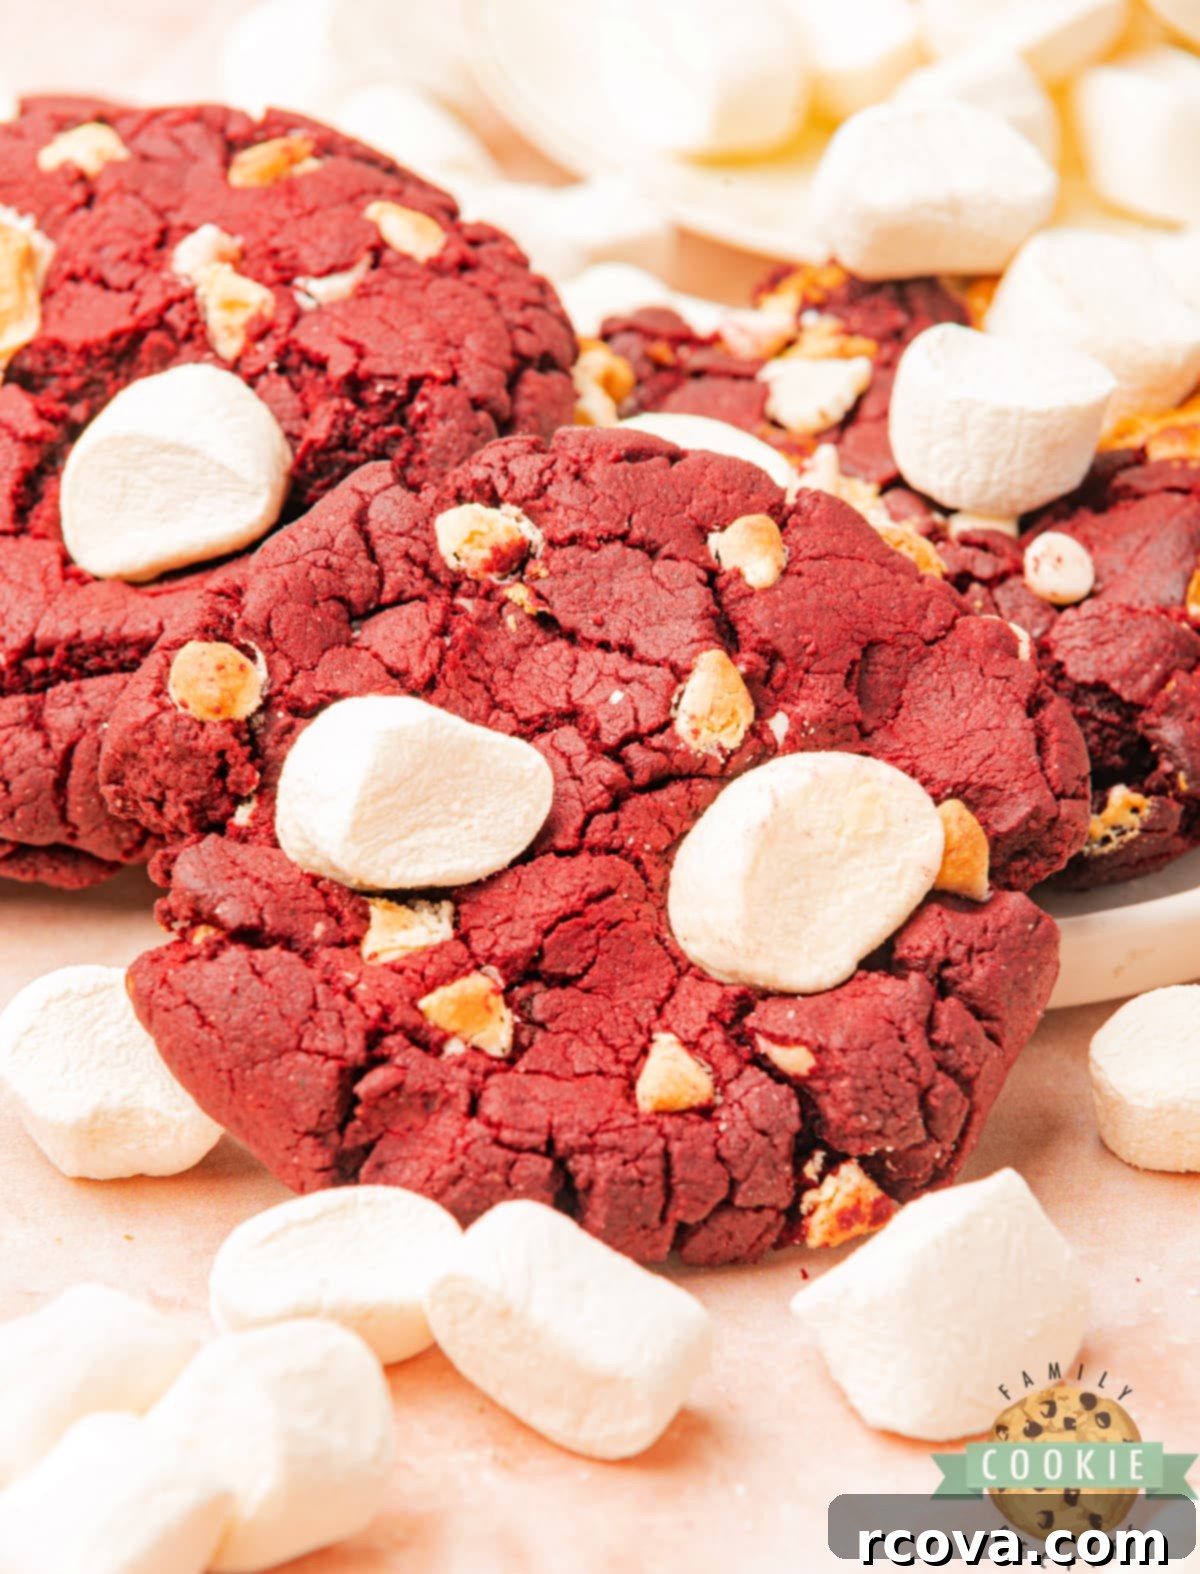
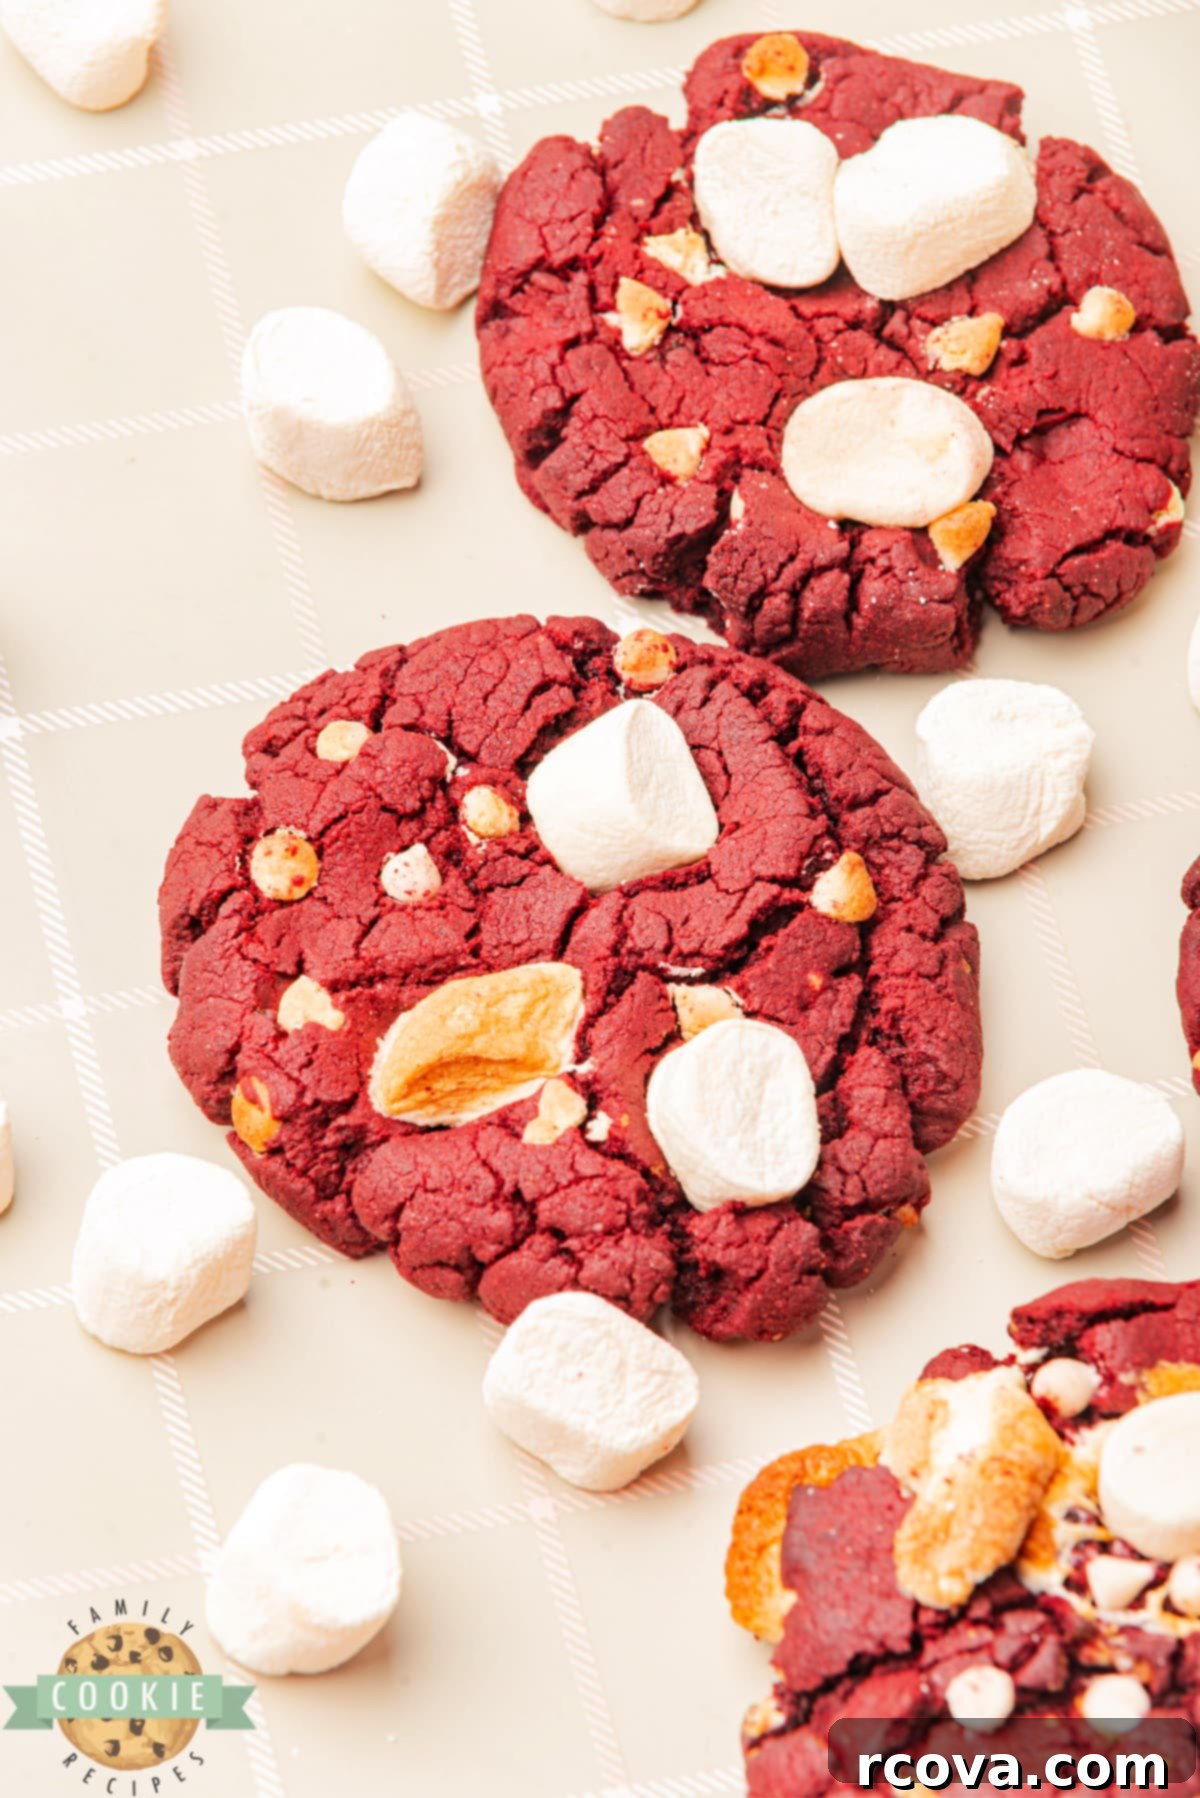
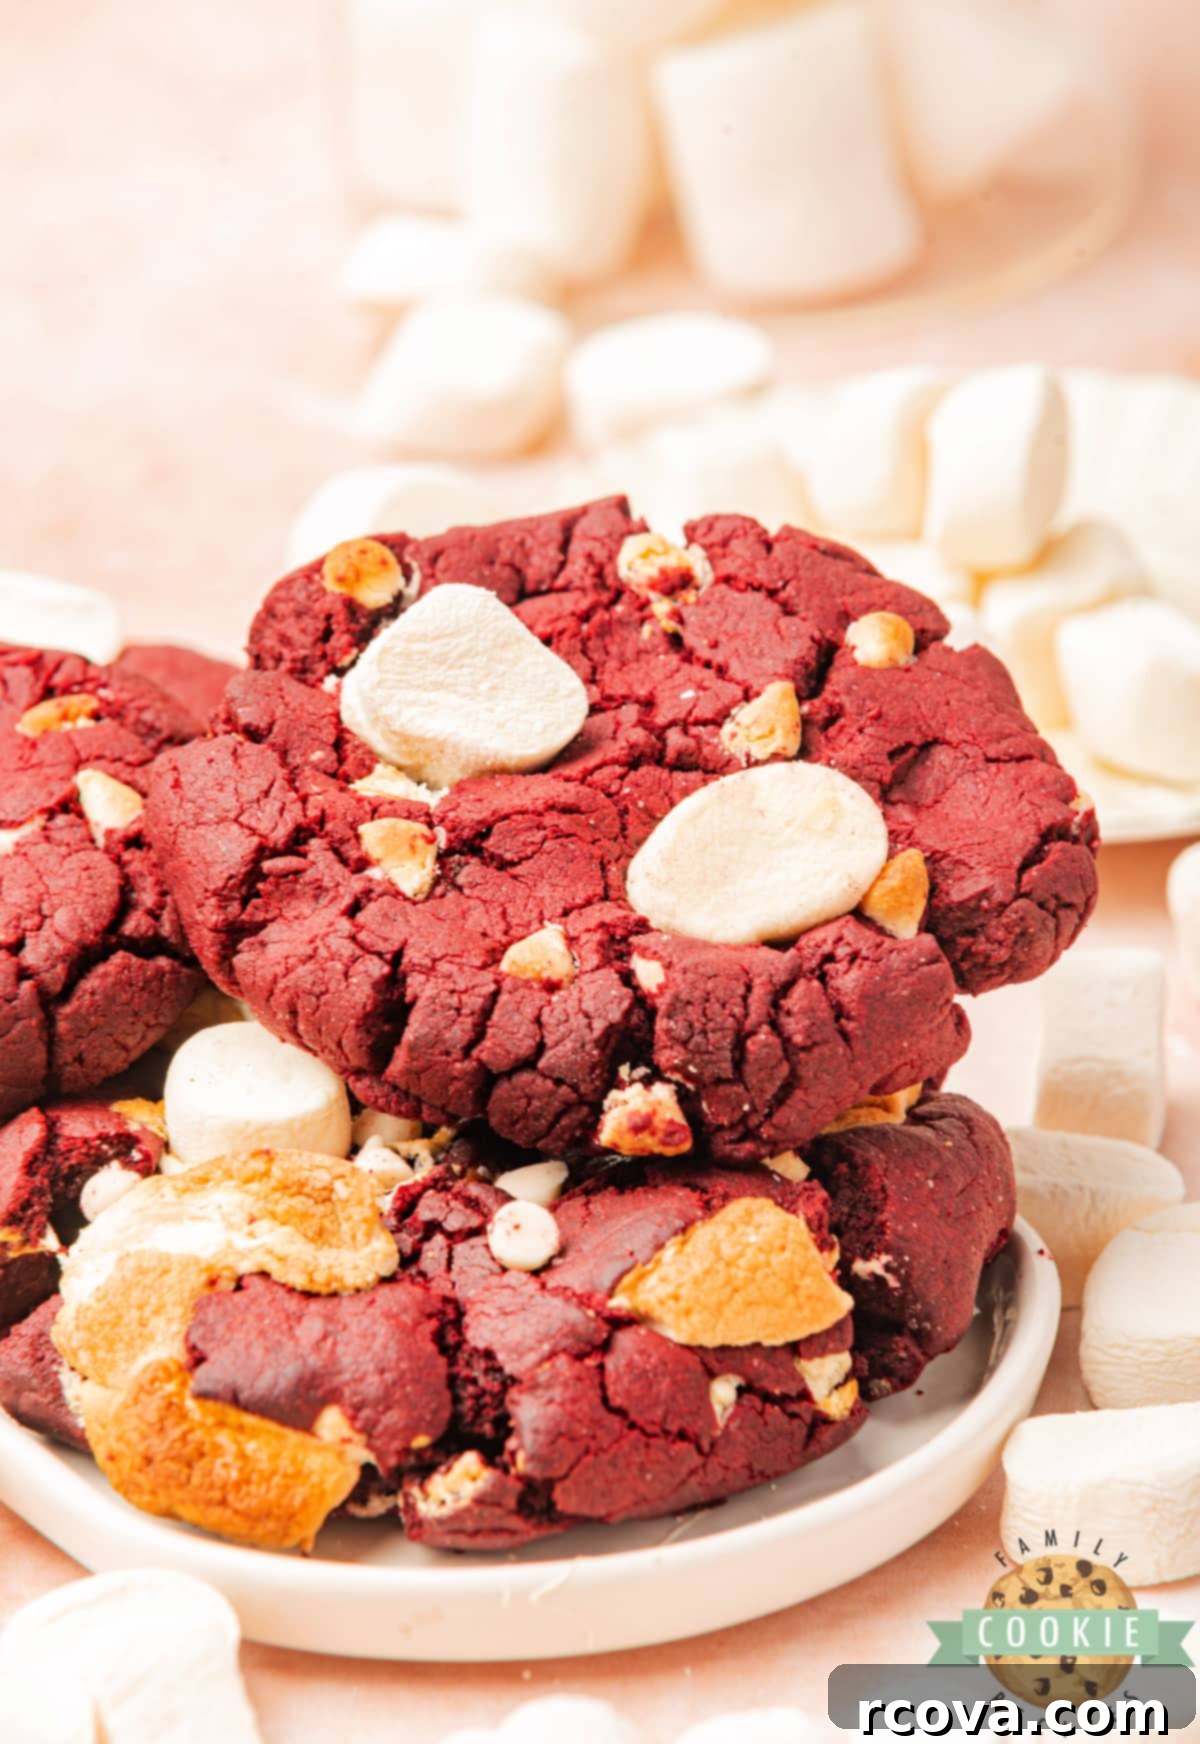
Prepare to fall in love with these incredible Red Velvet Marshmallow Cookies, crafted entirely from scratch to deliver an unforgettable dessert experience. Each bite offers a harmonious blend of rich red velvet flavor, gooey mini marshmallows, and pockets of sweet white chocolate chips. These cookies are not just a treat for the taste buds; their vibrant red hue makes them a show-stopping addition to any celebration, from festive holidays to everyday indulgence. They are remarkably soft, wonderfully chewy, and simply put, absolutely delicious!
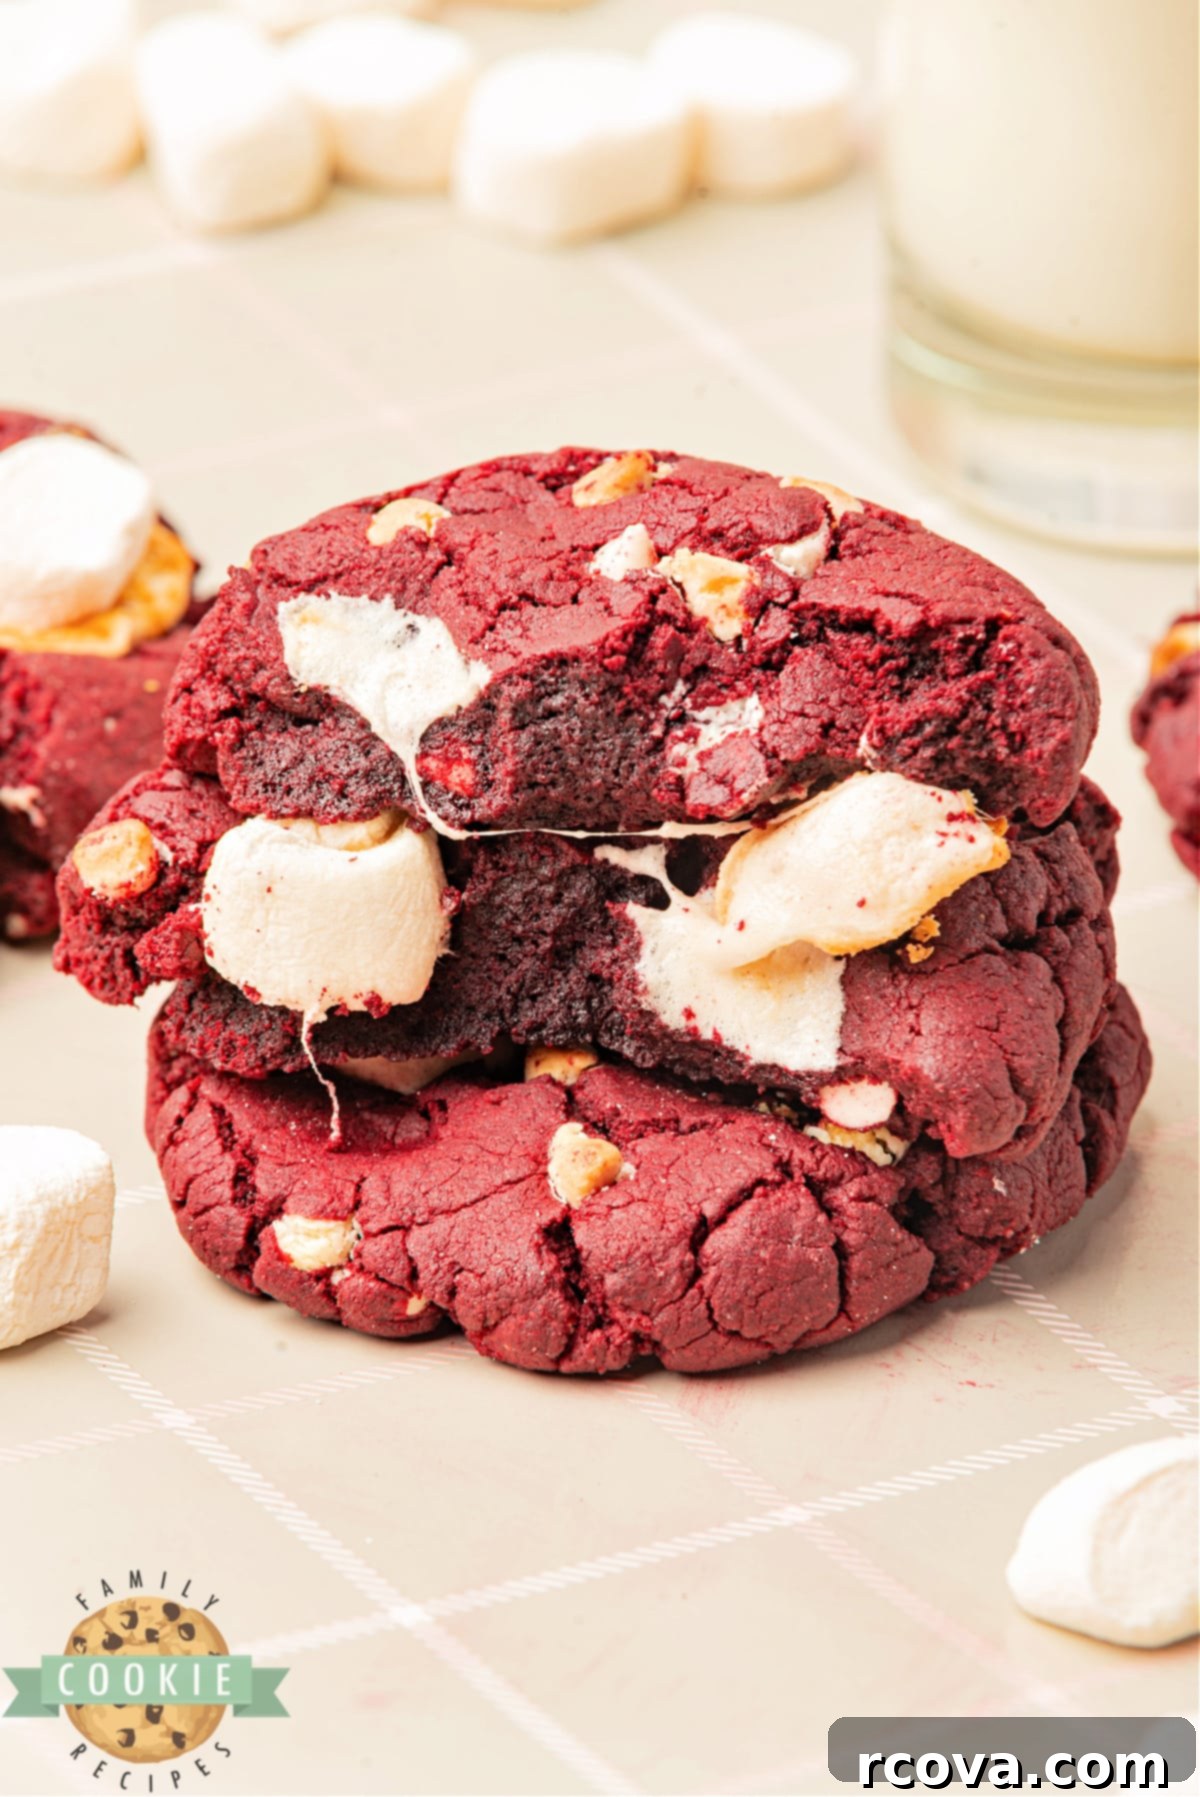
Red velvet has always held a special place in my heart, a classic flavor profile that evokes a sense of comfort and celebration. But when you elevate it with the delightful addition of soft, melting marshmallows and the sweet creaminess of white chocolate chips, these cookies transcend ordinary and become truly next-level amazing. The intense, deep red color isn’t just visually appealing; it makes these cookies exceptionally versatile for a myriad of occasions. Imagine them gracing your table for Valentine’s Day, adding a patriotic splash of color for the 4th of July, bringing holiday cheer during Christmas, or simply brightening any ordinary day of the year with their festive presence.
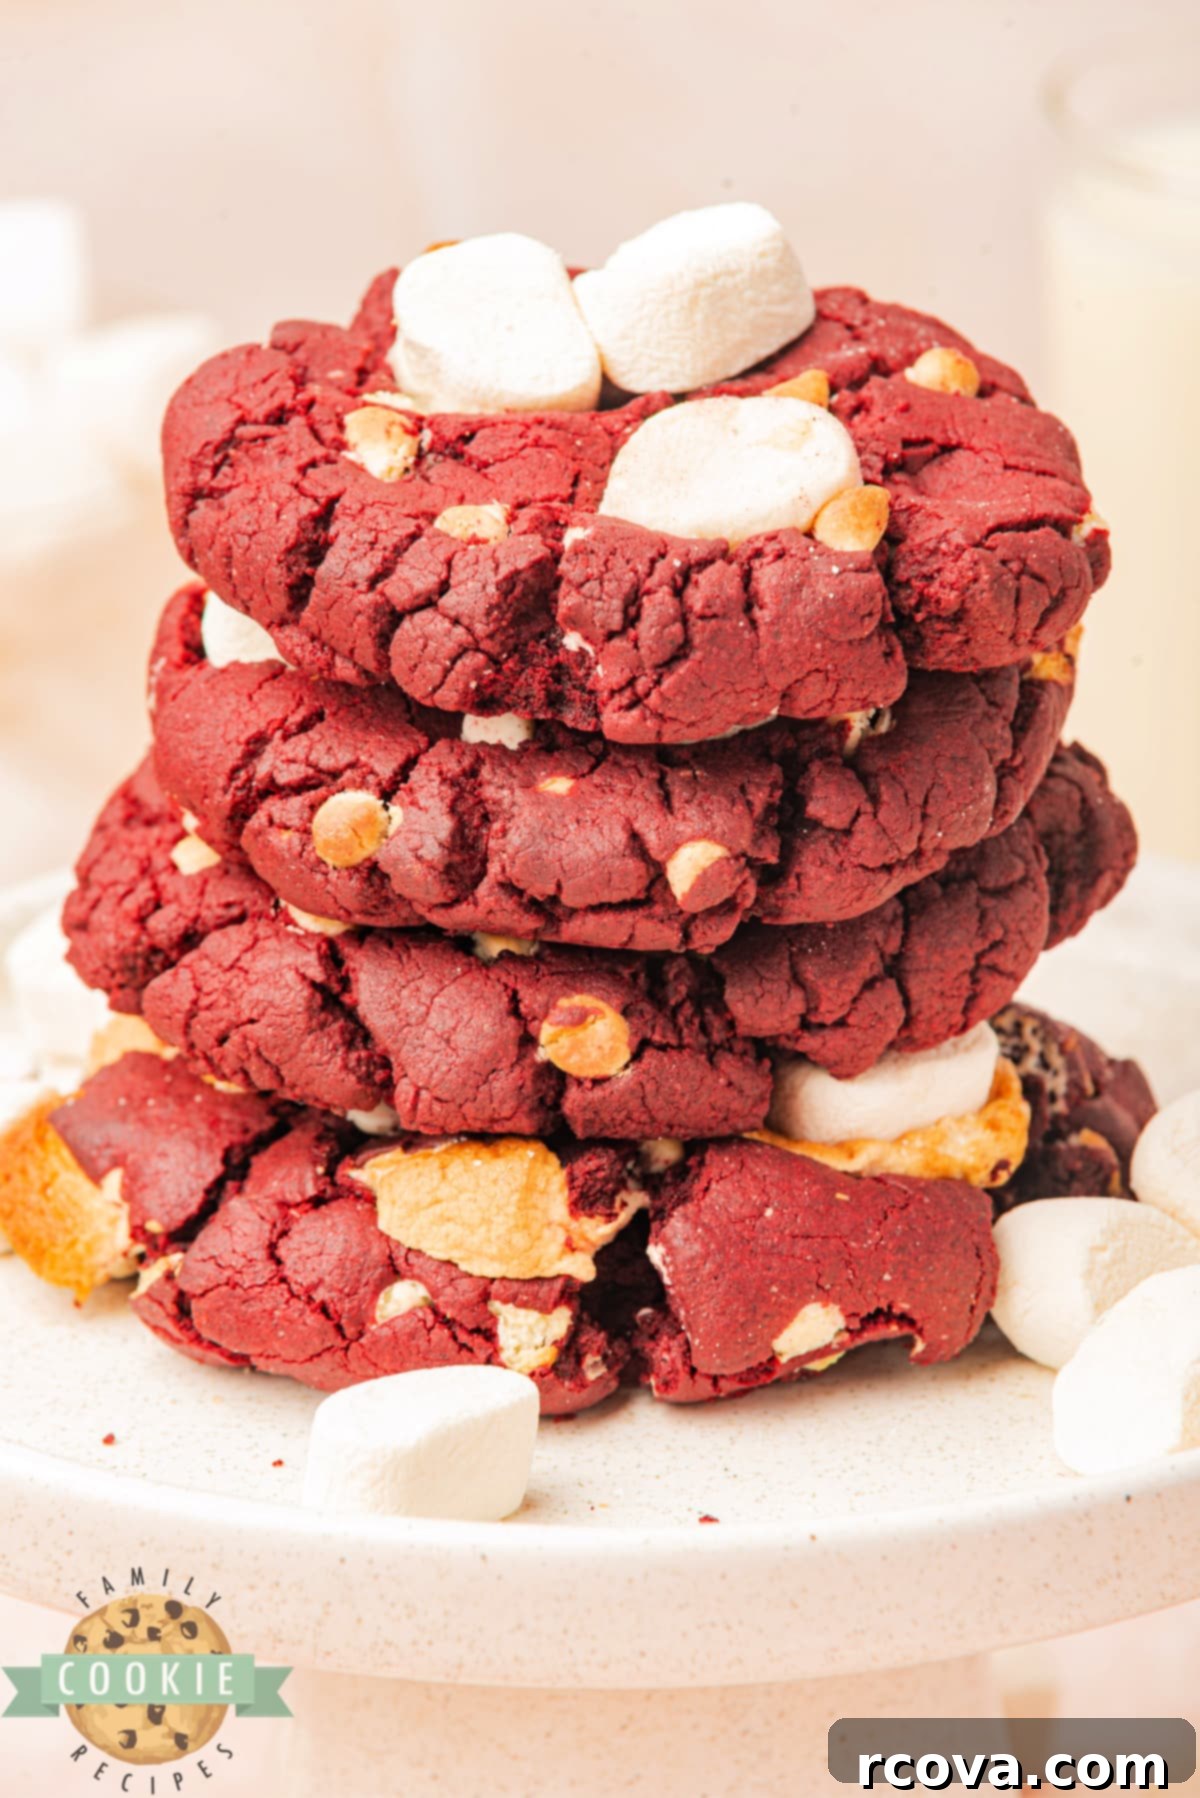
WHY YOU’LL ADORE THESE RED VELVET MARSHMALLOW COOKIES:
There are countless reasons why these Red Velvet Marshmallow Cookies will quickly become a favorite in your recipe collection. They offer a delightful combination of classic flavor and playful textures that appeal to everyone.
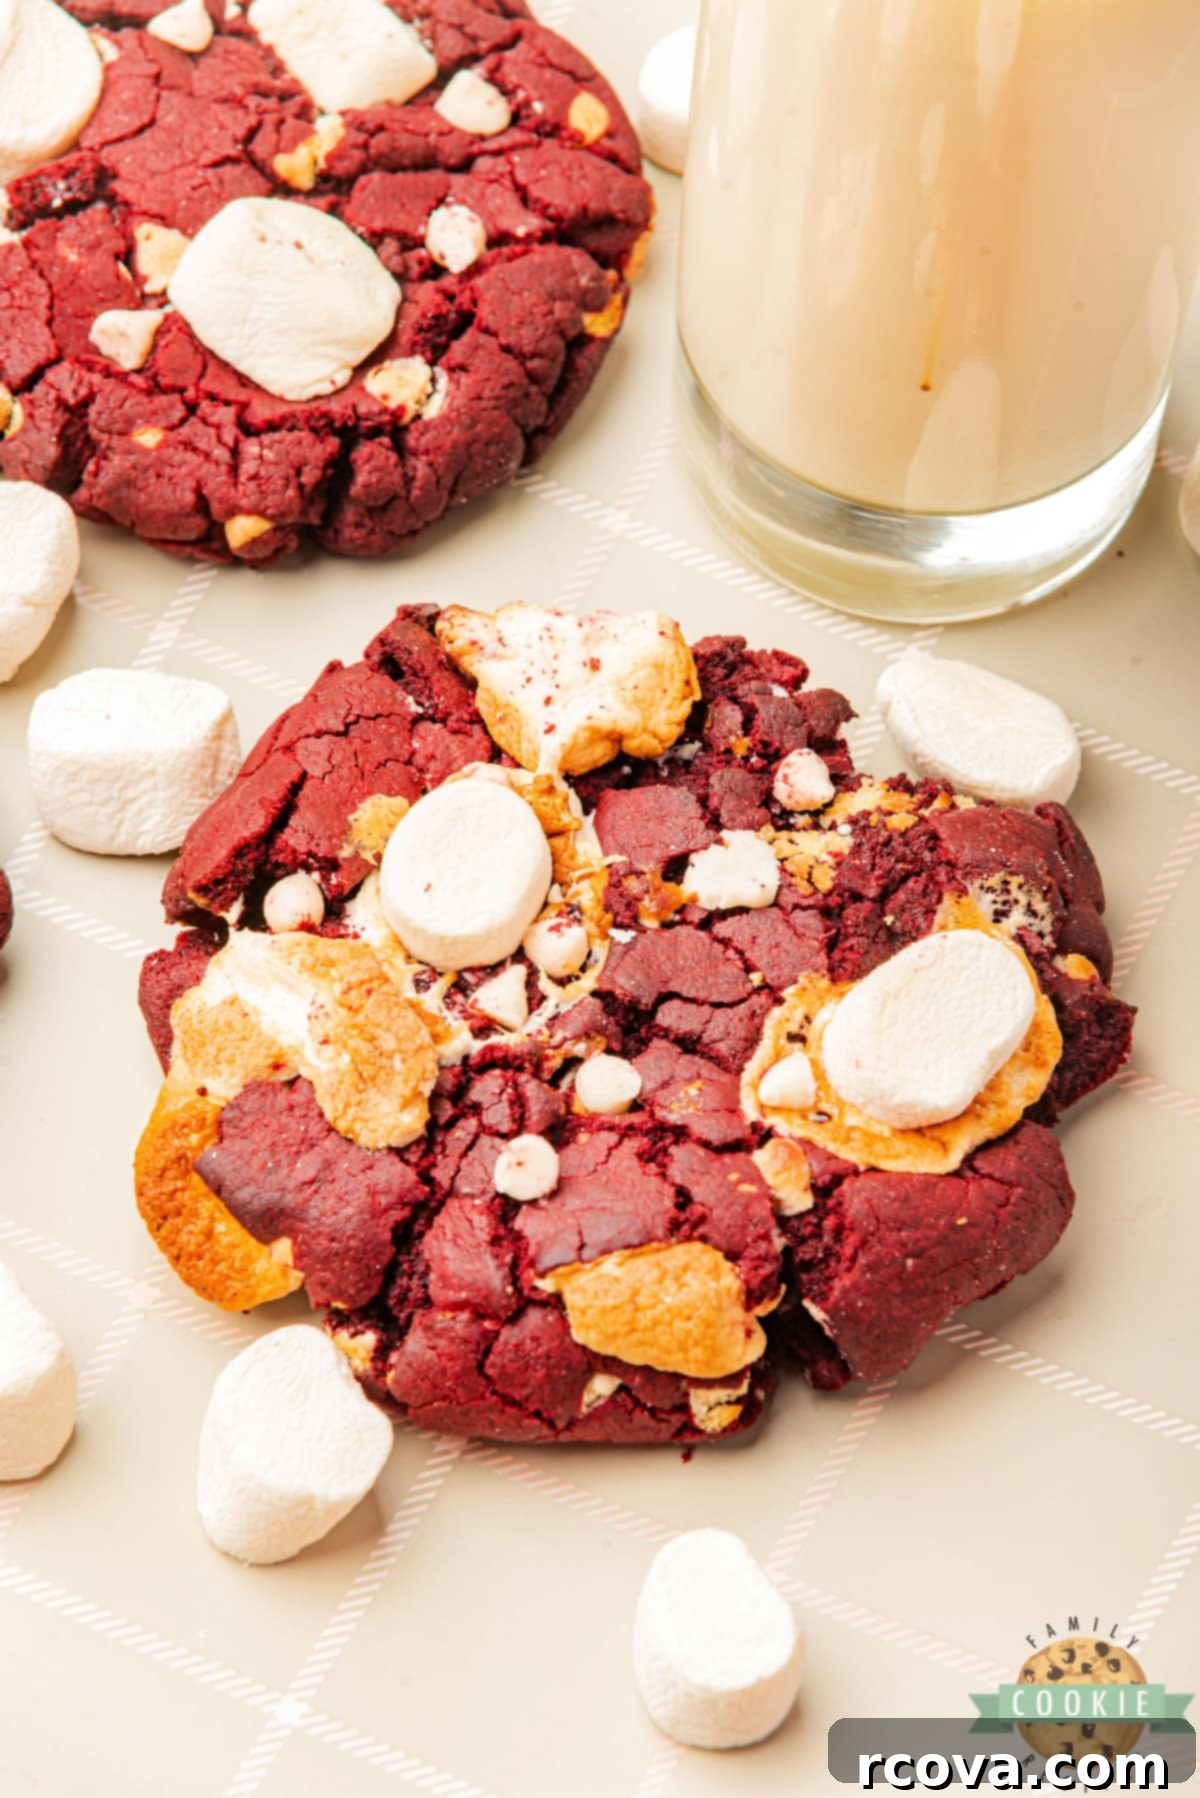
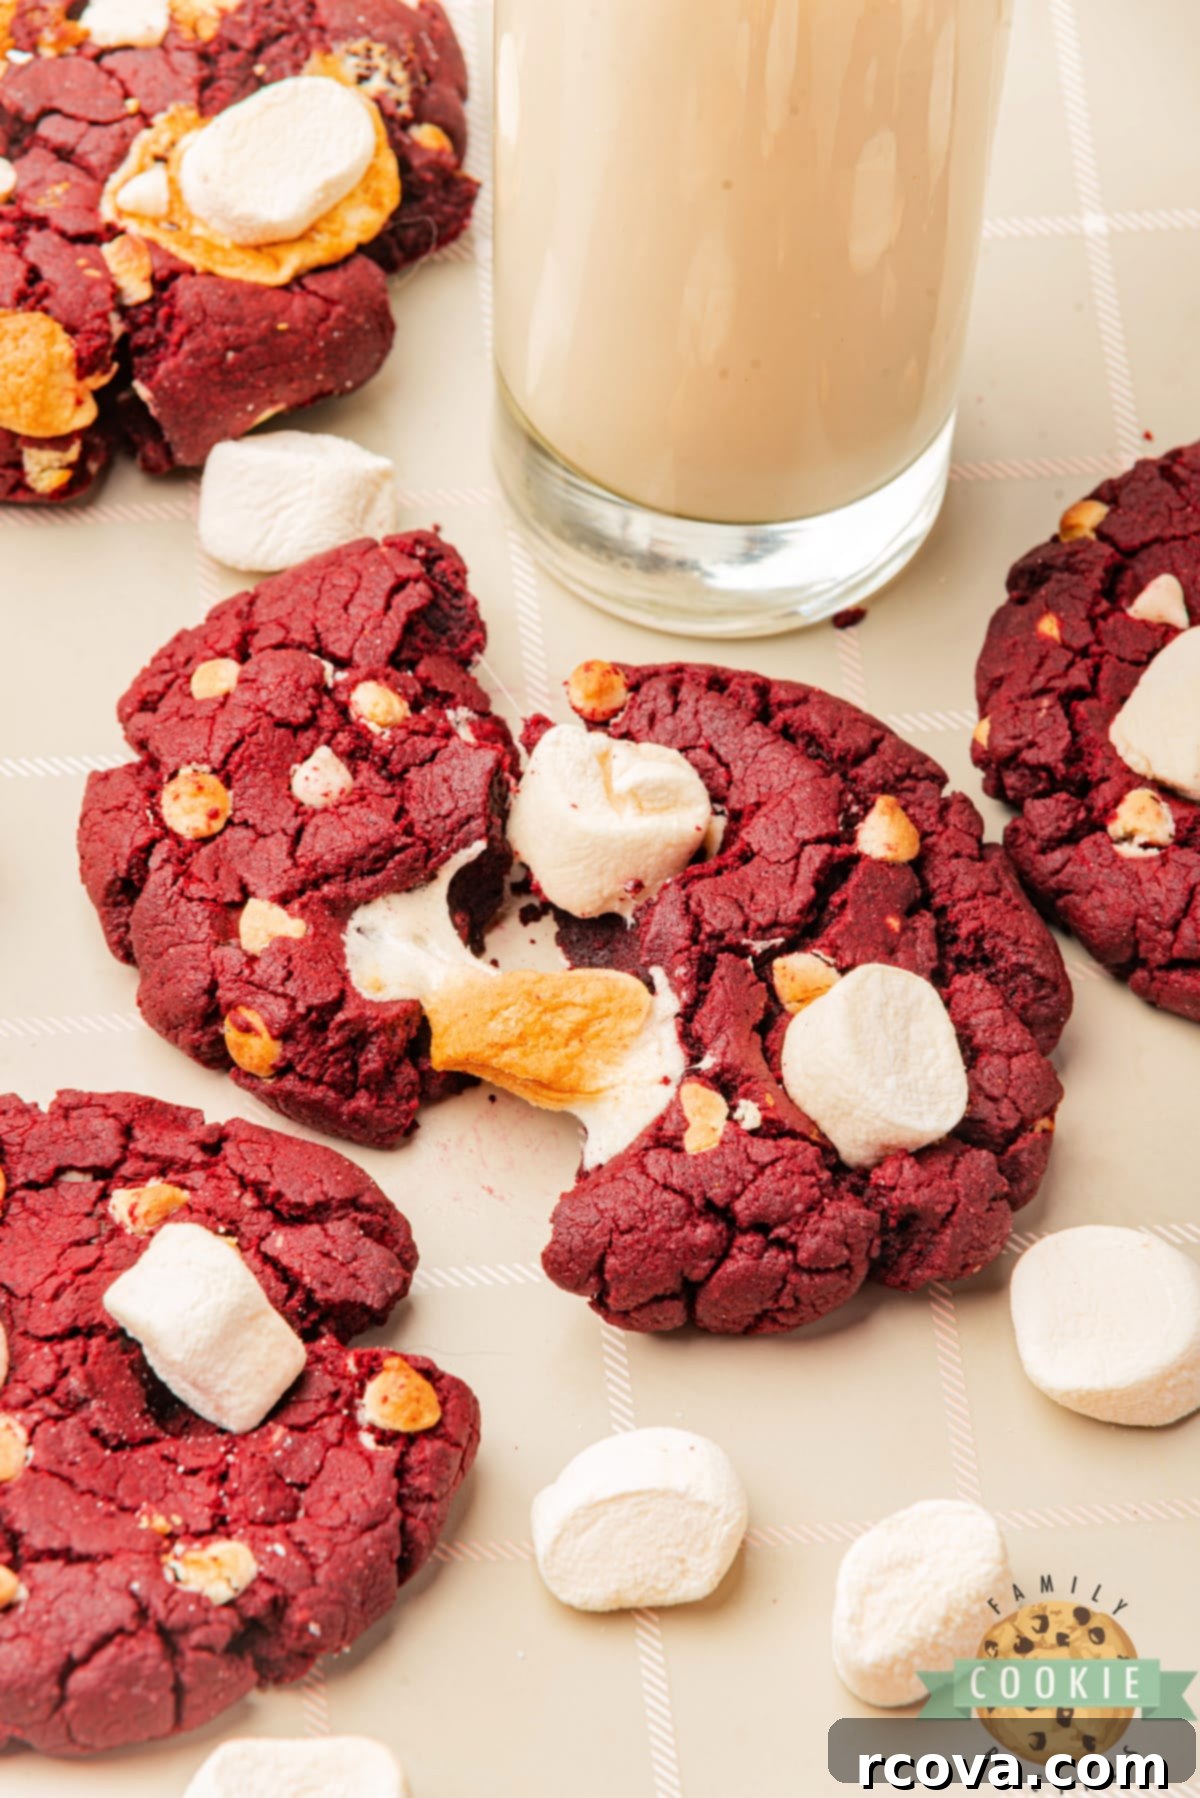
- Irresistible Marshmallow Gooeyness: The inclusion of mini marshmallows takes these cookies from great to extraordinary. As they bake, the marshmallows soften and melt slightly, creating pockets of wonderfully chewy, gooey sweetness within the cookie. This unique texture contrasts beautifully with the soft cookie base, adding an element of surprise and an extra layer of deliciousness that traditional red velvet cookies simply can’t match. It’s a textural dream come true for marshmallow lovers!
- Effortless with Pantry Staples: You don’t need exotic ingredients to create these gourmet-tasting cookies. All the components are readily available at your local grocery store, and chances are, many of them are already staples in your pantry. This makes whipping up a batch of these exquisite cookies convenient and accessible, perfect for a spontaneous baking session or when you need a quick dessert.
- A Festive Treat for Every Occasion: The stunning, deep red color of these cookies makes them inherently festive and versatile for almost any holiday or special event. They are a romantic choice for Valentine’s Day, a spirited addition to Christmas cookie platters, and a patriotic splash for the 4th of July. Beyond holidays, their vibrant appearance and delicious taste make them perfect for birthdays, potlucks, bake sales, or simply as a cheerful everyday indulgence. They’re guaranteed to impress both visually and gastronomically!
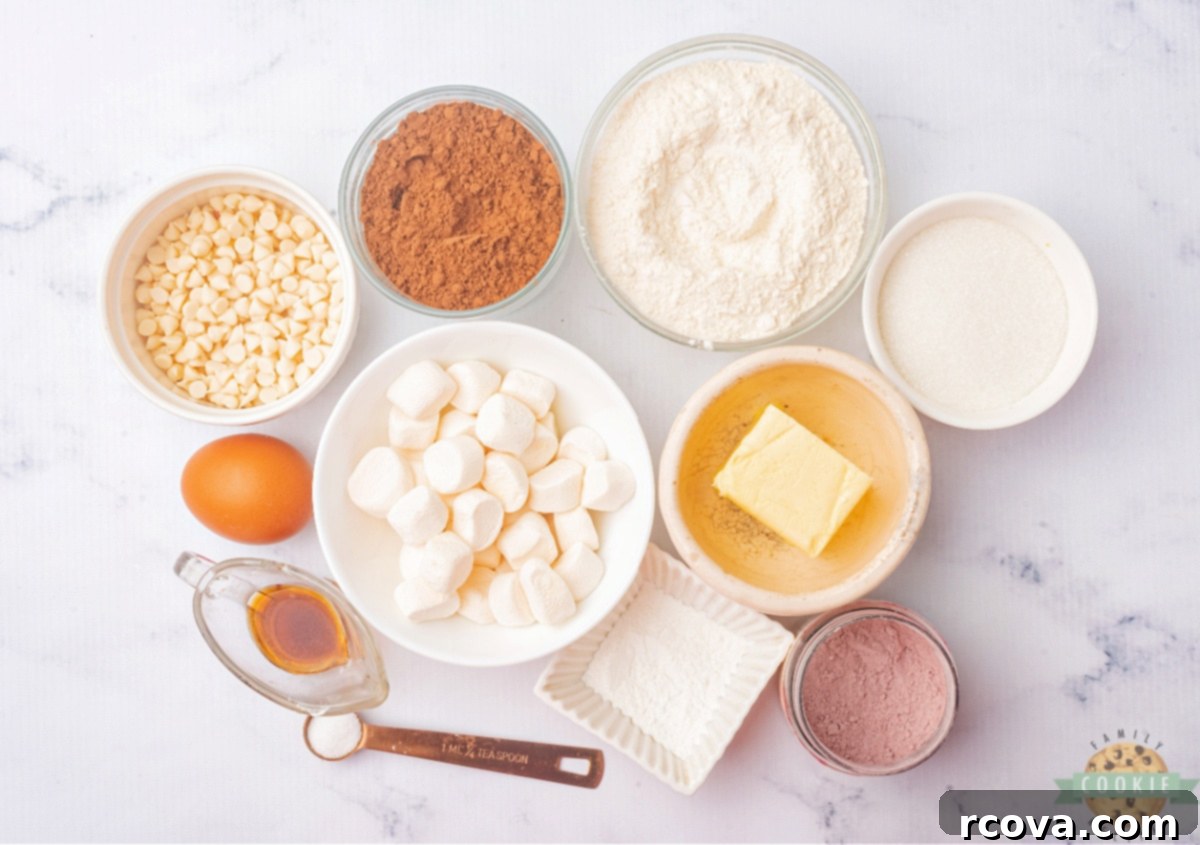
ESSENTIAL INGREDIENTS FOR PERFECT RED VELVET MARSHMALLOW COOKIES
Crafting these delectable cookies begins with a careful selection of high-quality ingredients. Each plays a crucial role in achieving that signature red velvet flavor, soft texture, and irresistible chewiness.
- Unsalted Butter: Opt for real unsalted butter to control the overall saltiness of your cookies. It’s crucial for the butter to be softened to room temperature – not melted! This ensures it creams properly with the sugar, incorporating air for a light and tender crumb.
- Granulated Sugar: Essential for sweetness and achieving that perfect crisp edge and chewy center. Sugar also contributes to the spreading of the cookies.
- Large Eggs: Two large eggs act as a binder, holding all the ingredients together and adding moisture to the dough. Using room temperature eggs also helps them emulsify better with the butter and sugar, resulting in a smoother batter.
- All-Purpose Flour: The structural backbone of our cookies. For best results, measure your flour correctly (using a kitchen scale or the spoon-and-level method) to prevent dry or dense cookies. A gluten-free all-purpose blend can be substituted if needed, but results may vary slightly in texture.
- Baking Powder: Our primary leavening agent. It provides lift and contributes to the cookies’ soft and slightly cake-like texture. Always ensure your baking powder is fresh for optimal results; old baking powder can lead to flat, dense cookies.
- Unsweetened Cocoa Powder: This is what gives red velvet its characteristic subtle chocolatey depth and works with the red food coloring to create that iconic rich red hue. Use good quality unsweetened cocoa powder for the best flavor.
- Red Gel Food Coloring: To achieve that striking, vibrant red velvet color, gel food coloring is highly recommended over liquid varieties. Gel coloring is more concentrated, requiring less liquid, which helps maintain the dough’s consistency. Start with 3-4 tablespoons and add more gradually until you reach your desired shade of deep red.
- Vanilla Extract: A crucial flavor enhancer that complements the chocolate and red velvet notes. Use high-quality pure vanilla extract for the best possible aroma and taste.
- Salt: A pinch of salt is vital for balancing the sweetness and enhancing all the other flavors in the cookie, making them pop and preventing the cookies from tasting bland.
- White Chocolate Chips: These add pockets of creamy sweetness that melt beautifully into the cookie. While white chocolate chips are traditional for red velvet, you can easily swap them out for milk chocolate or semi-sweet chocolate chips if you prefer a different chocolate profile.
- Mini Marshmallows: The star addition! These mini marshmallows melt down to create wonderfully gooey pockets within the cookies, adding a delightful chewiness and a creamy texture that pairs exceptionally well with the rich red velvet. Make sure they are mini for even distribution and melting.
HOW TO BAKE PERFECT RED VELVET MARSHMALLOW COOKIES
Creating these delightful cookies is a straightforward process, but following these detailed steps will ensure you achieve the perfect soft, chewy, and gooey results every time.
- Prepare Your Baking Station: Start by preheating your oven to 350°F (175°C). Line a large baking sheet with parchment paper or a silicone baking mat. This prevents sticking and ensures easy removal of your freshly baked cookies.
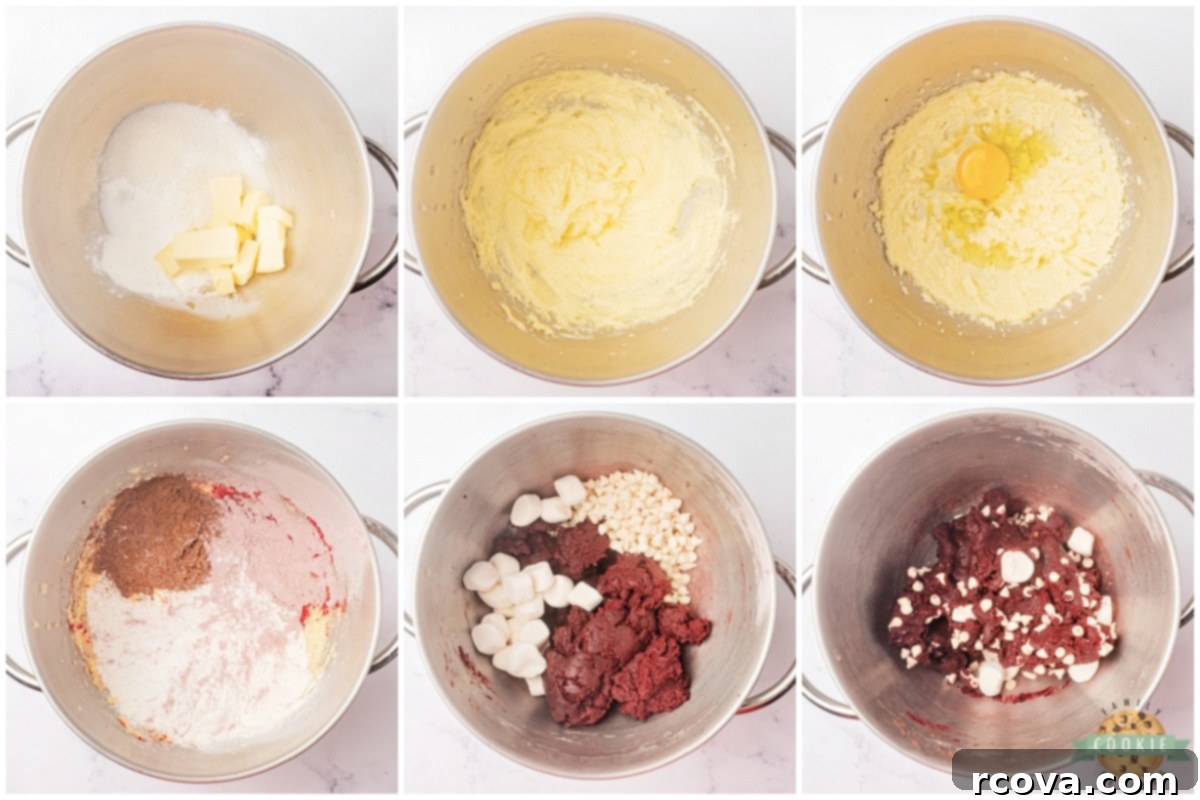
- Cream Butter and Sugar: In a large mixing bowl, using an electric mixer, cream together the softened butter and granulated sugar. Beat on medium speed for 2-3 minutes until the mixture is light, fluffy, and pale in color. This step is crucial for incorporating air into the dough, which contributes to the cookies’ tender texture.
- Add Eggs: Crack in the two large eggs, one at a time, mixing well after each addition. Continue to beat for another 2-3 minutes until the mixture is fully combined and smooth.
- Combine Dry Ingredients and Color: In a separate bowl, whisk together the all-purpose flour, baking powder, cocoa powder, and salt. Gradually add this dry mixture to the wet ingredients, mixing on low speed until just combined. Now, it’s time to add the red gel food coloring and vanilla extract. Mix thoroughly until a vibrant red dough forms and the color is evenly distributed throughout. Scrape down the sides of the bowl as needed to ensure everything is well incorporated.
- Gently Fold in Mix-Ins: With the mixer off, use a spatula to gently fold in the white chocolate chips and mini marshmallows. Be careful not to overmix at this stage; just mix until they are evenly distributed throughout the dough.
- Scoop, Bake, and Cool: Use a cookie scoop (about 1.5-2 tablespoons) to drop uniform balls of dough onto your prepared baking sheet, leaving about 2 inches between each cookie. Bake for 9-11 minutes. The edges should be set, but the centers might still look slightly soft and gooey – that’s perfectly normal! For an extra touch, if you desire browned and slightly toasted marshmallows on top, broil the cookies for about 1 minute after baking, keeping a close eye on them to prevent burning. Remove from the oven and let the cookies cool on the baking sheet for 5 minutes before transferring them to a wire rack to cool completely. This allows them to set properly and maintain their soft, chewy texture.
RED VELVET MARSHMALLOW COOKIE RECIPE
Print
Pin
Rate
Ingredients
- ½ cup unsalted butter softened to room temperature
- 2 cups granulated sugar
- 2 large eggs room temperature
- 2 ½ cups all-purpose flour
- 1 teaspoon baking powder
- 4 tablespoons unsweetened cocoa powder
- 3-4 tablespoons red gel food coloring or more, to achieve desired color
- 2 teaspoons pure vanilla extract
- 1 teaspoon salt
- ½ cup white chocolate chips
- 2 cups mini marshmallows
Instructions
-
Preheat your oven to 350°F (175°C). Line a baking sheet with parchment paper or a silicone baking mat.
-
In a large mixing bowl, cream the softened butter and granulated sugar together for 2-3 minutes until light and fluffy.
-
Add the large eggs to the butter mixture, one at a time, mixing well after each addition. Continue to mix for another 2-3 minutes until thoroughly combined.
-
In a separate bowl, whisk together the all-purpose flour, baking powder, unsweetened cocoa powder, and salt. Gradually add this dry mixture to the wet ingredients, mixing on low speed until just combined. Incorporate the red gel food coloring and vanilla extract, mixing until the dough is uniformly red and the desired vibrant color is achieved.
-
Gently fold in the white chocolate chips and mini marshmallows with a spatula until evenly distributed throughout the dough.
-
Use a cookie scoop to portion the dough onto the prepared cookie sheet, leaving ample space between each cookie. Bake for 9-11 minutes, or until the edges are lightly golden and the centers are still slightly soft. For a golden marshmallow top, broil the cookies for about 1 minute after baking, watching carefully to prevent burning. Allow cookies to cool on the baking sheet for 5 minutes before transferring them to a wire rack to cool completely.
Notes
These cookies are also freezer-friendly! Place them in an airtight container or a heavy-duty freezer bag and freeze for up to 3 months. When you’re ready to enjoy them, simply thaw the cookies at room temperature before serving.
Nutrition
ACHIEVING THE PERFECT SOFTENED BUTTER FOR COOKIES
One of the most critical, yet often overlooked, steps in cookie making is ensuring your butter is at the correct temperature. For these Red Velvet Marshmallow Cookies, and most cookie recipes, softened butter is essential – not melted, and not cold and hard. Using butter that is too cold will result in a crumbly dough that’s difficult to mix and won’t cream properly with sugar, leading to denser cookies. Conversely, butter that is too warm or melted will cause your cookies to spread excessively, resulting in flat, greasy discs.
The ideal “softened” butter should yield slightly when pressed with a finger, but still hold its shape. If you’re a planner, simply leave your butter out on the counter for about 1-2 hours before you plan to bake. This gentle, natural warming ensures even softening throughout. However, if a sudden cookie craving strikes (and let’s be honest, they often do!), you can expedite the process with your microwave. Place the butter in the microwave and use short bursts, typically 5-second intervals. It’s crucial to be extremely careful and remove it just as it begins to soften, well before it starts to melt. I personally find that using the defrost setting on my microwave works wonders for softening butter more evenly and gradually, reducing the risk of accidental melting. This slight extension in time under a lower power setting seems to produce a perfectly pliable butter consistency every time.
PRO TIPS FOR BAKING PERFECT COOKIES EVERY TIME
Beyond perfectly softened butter, a few simple techniques can elevate your cookie game and ensure consistently perfect results with every batch of Red Velvet Marshmallow Cookies.
- Embrace a Cookie Scoop: For professional-looking, uniformly sized cookies, a cookie scoop is your secret weapon. Using a scoop ensures that each cookie bakes at the same rate and yields an even, aesthetically pleasing shape. Consistency in size means no overbaked small cookies and no underbaked large ones.
- Utilize Parchment Paper or Silicone Mats: Say goodbye to scraped-off cookies and sticky pans! Lining your baking sheets with parchment paper or a silicone baking mat provides a non-stick surface. This not only makes transferring the baked cookies effortless – they’ll simply slide right off in perfect shape – but it also helps them bake more evenly and prevents the bottoms from becoming too dark.
- Master the Art of Underbaking: This is arguably the most important tip for chewy cookies! When you remove your Red Velvet Marshmallow Cookies from the oven, they should still look slightly underbaked, especially in the center. The edges should be set, but the middle might appear soft or a bit puffy. Don’t worry, they will continue to set and firm up on the hot baking sheet for a few more minutes outside the oven. Pulling them out at this stage prevents them from becoming dry or crumbly, preserving that coveted soft and chewy texture.
- Chill the Dough (Optional, but Recommended): If you find your cookies are spreading too much, or if you simply want to enhance their flavor and texture, consider chilling the dough for at least 30 minutes (or even overnight) before baking. Chilling solidifies the fat in the butter, which helps prevent excessive spreading and concentrates the flavors.
- Know Your Oven: Oven temperatures can vary significantly. If your cookies consistently bake too quickly or too slowly, consider investing in an oven thermometer to ensure your oven is truly heating to the temperature you set.
FREQUENTLY ASKED QUESTIONS ABOUT RED VELVET MARSHMALLOW COOKIES:
Here are some common questions and helpful answers to ensure your Red Velvet Marshmallow Cookies turn out perfectly every time.
Can I substitute mini marshmallows with regular marshmallows?
Absolutely! While mini marshmallows are recommended for even distribution and melting throughout the cookie, you can certainly use regular-sized marshmallows as a substitute. If you opt for regular marshmallows, it’s best to chop them into smaller pieces (roughly the size of mini marshmallows) before folding them into the dough. This ensures they melt properly and distribute more evenly within the cookie, providing that desired gooey texture without creating excessively large pockets of melted marshmallow.
How can I prevent the cookies from spreading too much during baking?
Preventing cookies from spreading excessively is a common challenge, but there are several effective strategies. First, ensure your butter is softened, not melted. Melted butter significantly contributes to spreading. Secondly, chilling the cookie dough in the refrigerator for at least 30 minutes before shaping and baking can make a huge difference. This solidifies the butter, helping the cookies hold their shape better in the hot oven. Additionally, correctly measuring your flour (using the spoon-and-level method or a kitchen scale) is vital, as too little flour can also lead to thinner, spread-out cookies. Lastly, ensure your baking powder is fresh and your oven temperature is accurate.
Can I use milk chocolate chips instead of white chocolate chips?
Yes, you can absolutely customize these cookies by swapping out the white chocolate chips. Milk chocolate chips will lend a sweeter, classic chocolate flavor, while semi-sweet or even dark chocolate chips would offer a richer, more intense chocolate contrast to the subtle cocoa of the red velvet. Feel free to experiment with your favorite type of chocolate to create a unique flavor profile that suits your preference!
Can I freeze the cookie dough for later use?
Freezing cookie dough is a fantastic time-saver! To freeze the dough for later, first shape the dough into individual balls using your cookie scoop, just as you would for baking. Place these dough balls on a baking sheet lined with parchment paper and freeze them until they are completely solid (this usually takes 1-2 hours). Once frozen, transfer the solid dough balls to a freezer-safe zip-top bag or an airtight container. They can be stored in the freezer for up to 3 months. When you’re ready to bake, simply place the frozen dough balls on a prepared baking sheet and bake directly from frozen, adding a few extra minutes (typically 2-4 minutes) to the regular baking time. This method allows you to enjoy freshly baked cookies whenever the craving strikes!
How can I make these cookies gluten-free?
Making these cookies gluten-free is quite simple. You can substitute the regular all-purpose flour with a high-quality gluten-free all-purpose flour blend. Look for blends that are specifically designed for baking and often contain a mix of flours like rice flour, potato starch, and xanthan gum for optimal texture. Always ensure that any other ingredients you use, such as baking powder and chocolate chips, are also certified gluten-free if you are catering to a strict gluten-free diet. The texture might be slightly different, but they will still be delicious!
Can I omit the red gel food coloring?
Yes, you can certainly omit the red gel food coloring if you prefer a more natural appearance or wish to avoid food dyes. If you leave out the red food coloring, your cookies will still have the classic red velvet flavor (due to the cocoa powder and vanilla), but they will bake up as a rich, dark chocolate cookie rather than a vibrant red one. They will still be incredibly tasty, just without the signature red velvet look!
How can I adjust the sweetness of these cookies?
The sweetness of these cookies can be easily adjusted to match your personal preference. If you prefer a less sweet cookie, you can reduce the amount of granulated sugar by ¼ to ½ cup. Keep in mind that sugar not only provides sweetness but also contributes to the cookie’s texture, helping with browning and chewiness, so significant reductions might slightly alter the final texture. Alternatively, if you enjoy a sweeter treat, you could add a sprinkle of powdered sugar on top after baking or drizzle with a cream cheese glaze.
Can I add nuts or other mix-ins to these cookies?
These Red Velvet Marshmallow Cookies are highly adaptable to other delicious additions! You can absolutely customize them by incorporating chopped nuts like pecans or walnuts for an extra crunch, or even dried fruits such as dried cranberries or cherries for a tangy burst of flavor. Consider adding a different type of chocolate chip (dark chocolate, butterscotch, peanut butter chips) or even a sprinkle of festive sprinkles for a holiday touch. Just be mindful of the total quantity of mix-ins to ensure they don’t overpower the dough or affect the cookie’s structure.
How to store red velvet cookies?
To keep your Red Velvet Marshmallow Cookies fresh and delicious, store them in an airtight container at room temperature. They will maintain their soft, chewy texture and flavor for up to 3 to 5 days. For longer storage, these cookies freeze exceptionally well. Once completely cooled, place them in an airtight freezer-safe container or a heavy-duty freezer bag. They can be frozen for up to 3 months. Thaw them at room temperature for a few hours before enjoying, and they’ll be almost as good as freshly baked!
MORE DELICIOUS RED VELVET RECIPES TO SATISFY YOUR CRAVINGS:
If you’ve fallen in love with the rich flavor of red velvet, there’s a whole world of delightful recipes waiting to be explored. Here are some other fantastic red velvet treats that are sure to become new favorites:
- Decadent Cream Cheese Red Velvet Cookies: Have you ever experienced the joy of a stuffed cookie? These CREAM CHEESE RED VELVET COOKIES take the classic red velvet cookie to a new level by encasing a luscious, tangy cream cheese filling inside. They are an absolute dream for anyone who loves the iconic cream cheese frosting pairing with red velvet.
- Brownie Bliss with a Red Velvet Twist: If you’re short on time for individual cookie scooping or simply crave a fudgy, rich dessert, brownies are the answer! Our traditional RED VELVET BROWNIES are wonderfully moist and chocolatey. But for those who desire a little extra flair, you can easily elevate them by making indulgent OREO RED VELVET BROWNIES for an added cookie crunch, or exquisite RED VELVET CHEESECAKE BROWNIES for a swirl of creamy deliciousness.
- No-Bake Red Velvet Oreo Balls: My personal favorite for a quick and easy, yet incredibly impressive, treat! These RED VELVET OREO BALLS require absolutely no baking at all. They come together in just a few minutes of prep time and are perfectly portioned for a delightful bite-sized dessert. They’re ideal for parties, gifting, or when you need a sweet fix without turning on the oven.

Whether you’re celebrating a special occasion or simply treating yourself, these Red Velvet Marshmallow Cookies are a perfect choice. Made completely from scratch with the finest ingredients, including premium white chocolate chips and soft mini marshmallows, they promise a truly delightful experience. Their soft, chewy texture combined with the vibrant red velvet flavor ensures they are absolutely delicious and will leave everyone reaching for more!
