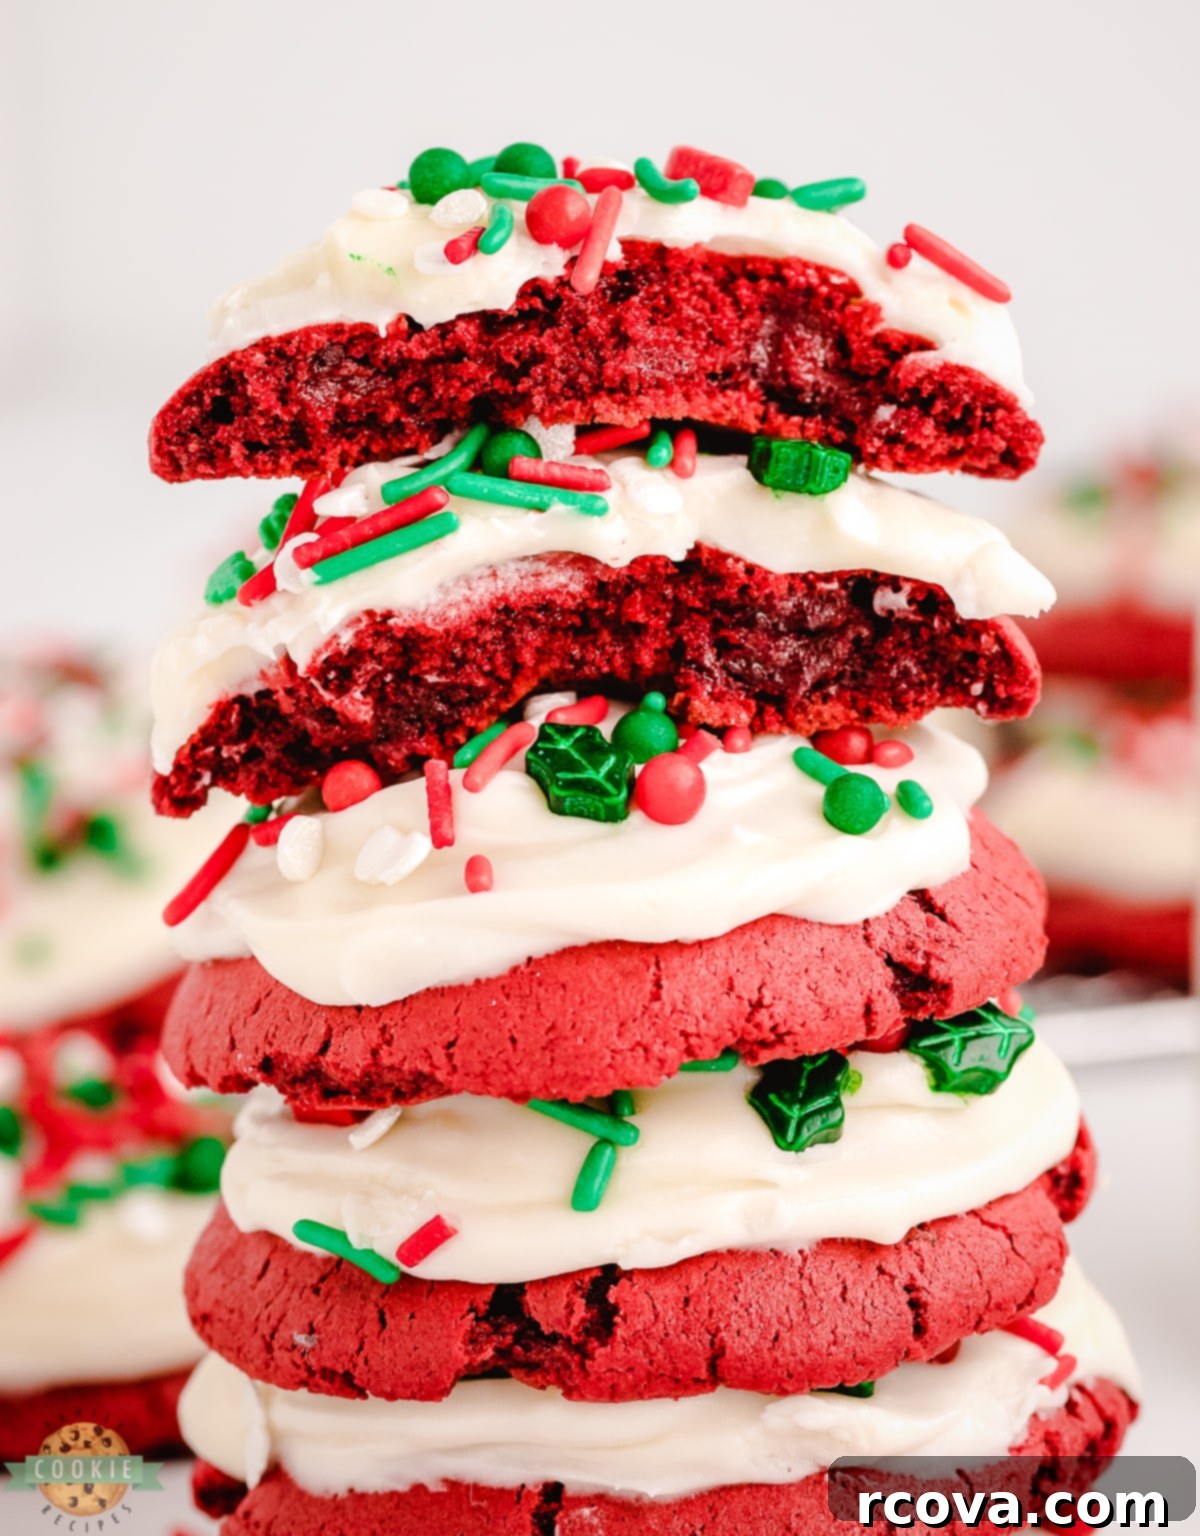
Easy Red Velvet Christmas Cookies: Your Go-To Holiday Recipe with Cream Cheese Icing
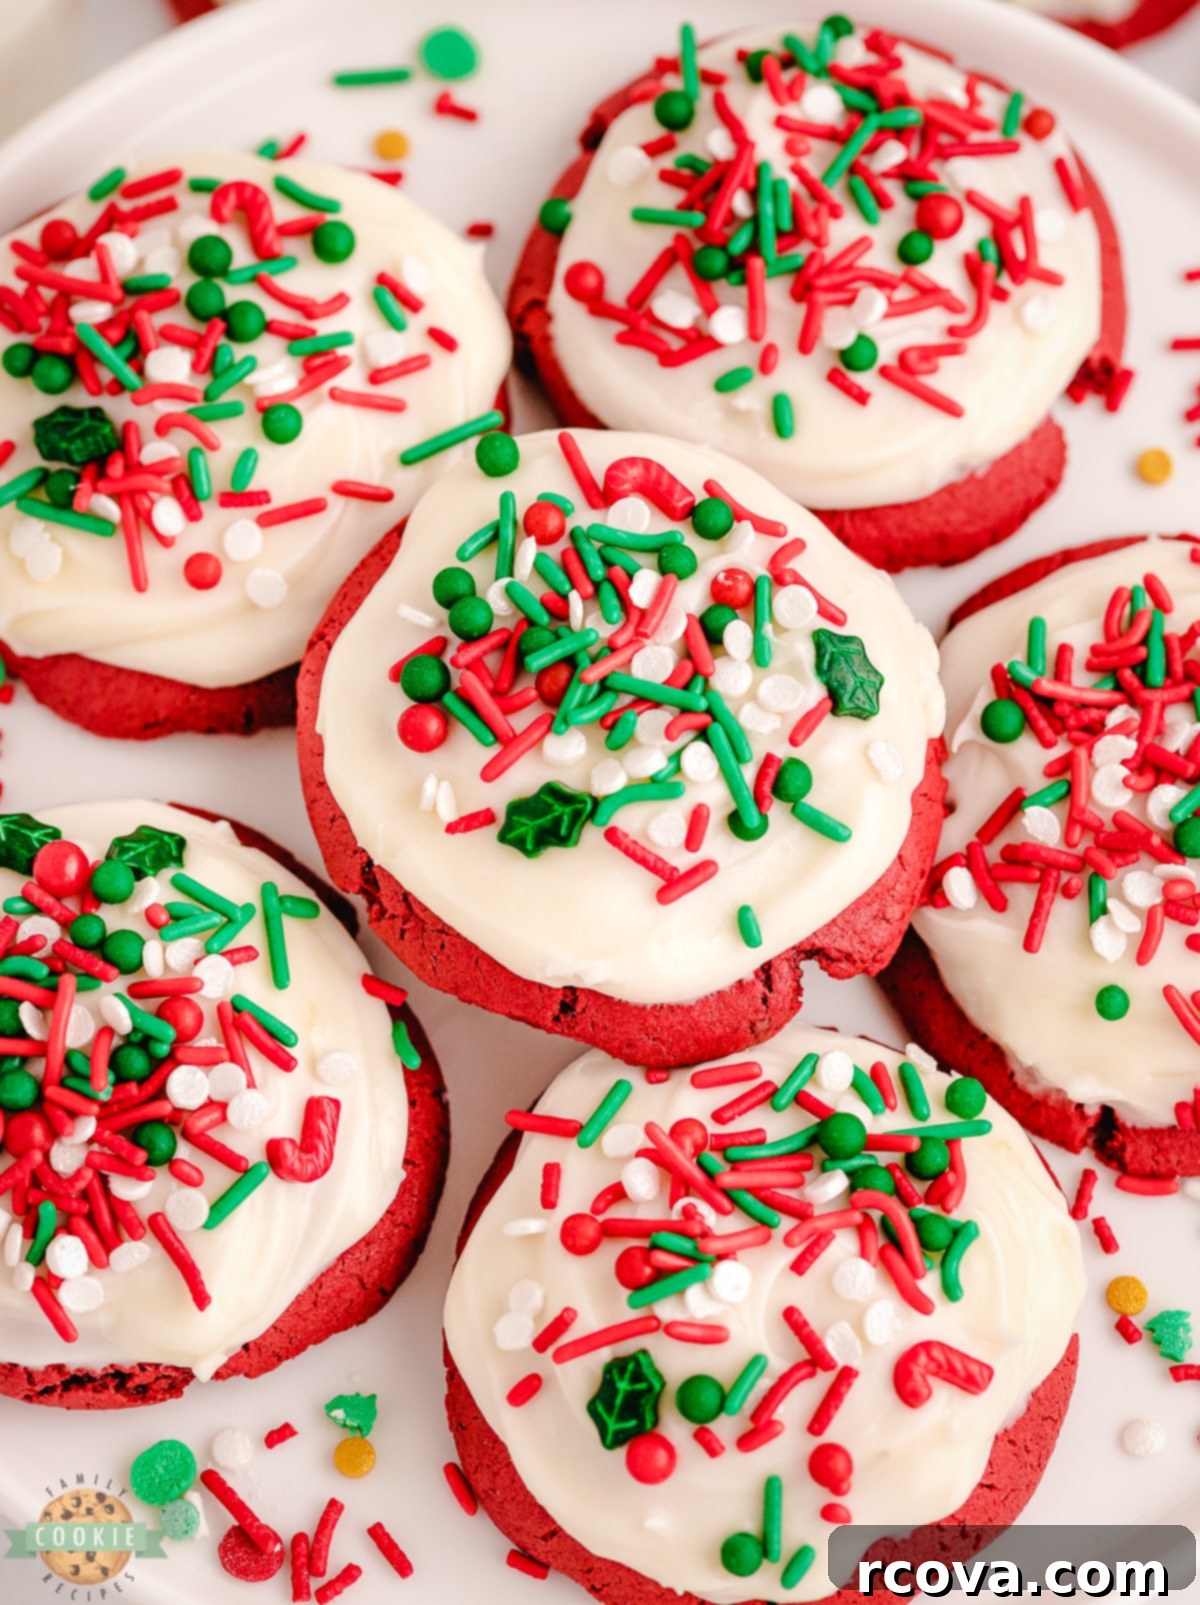
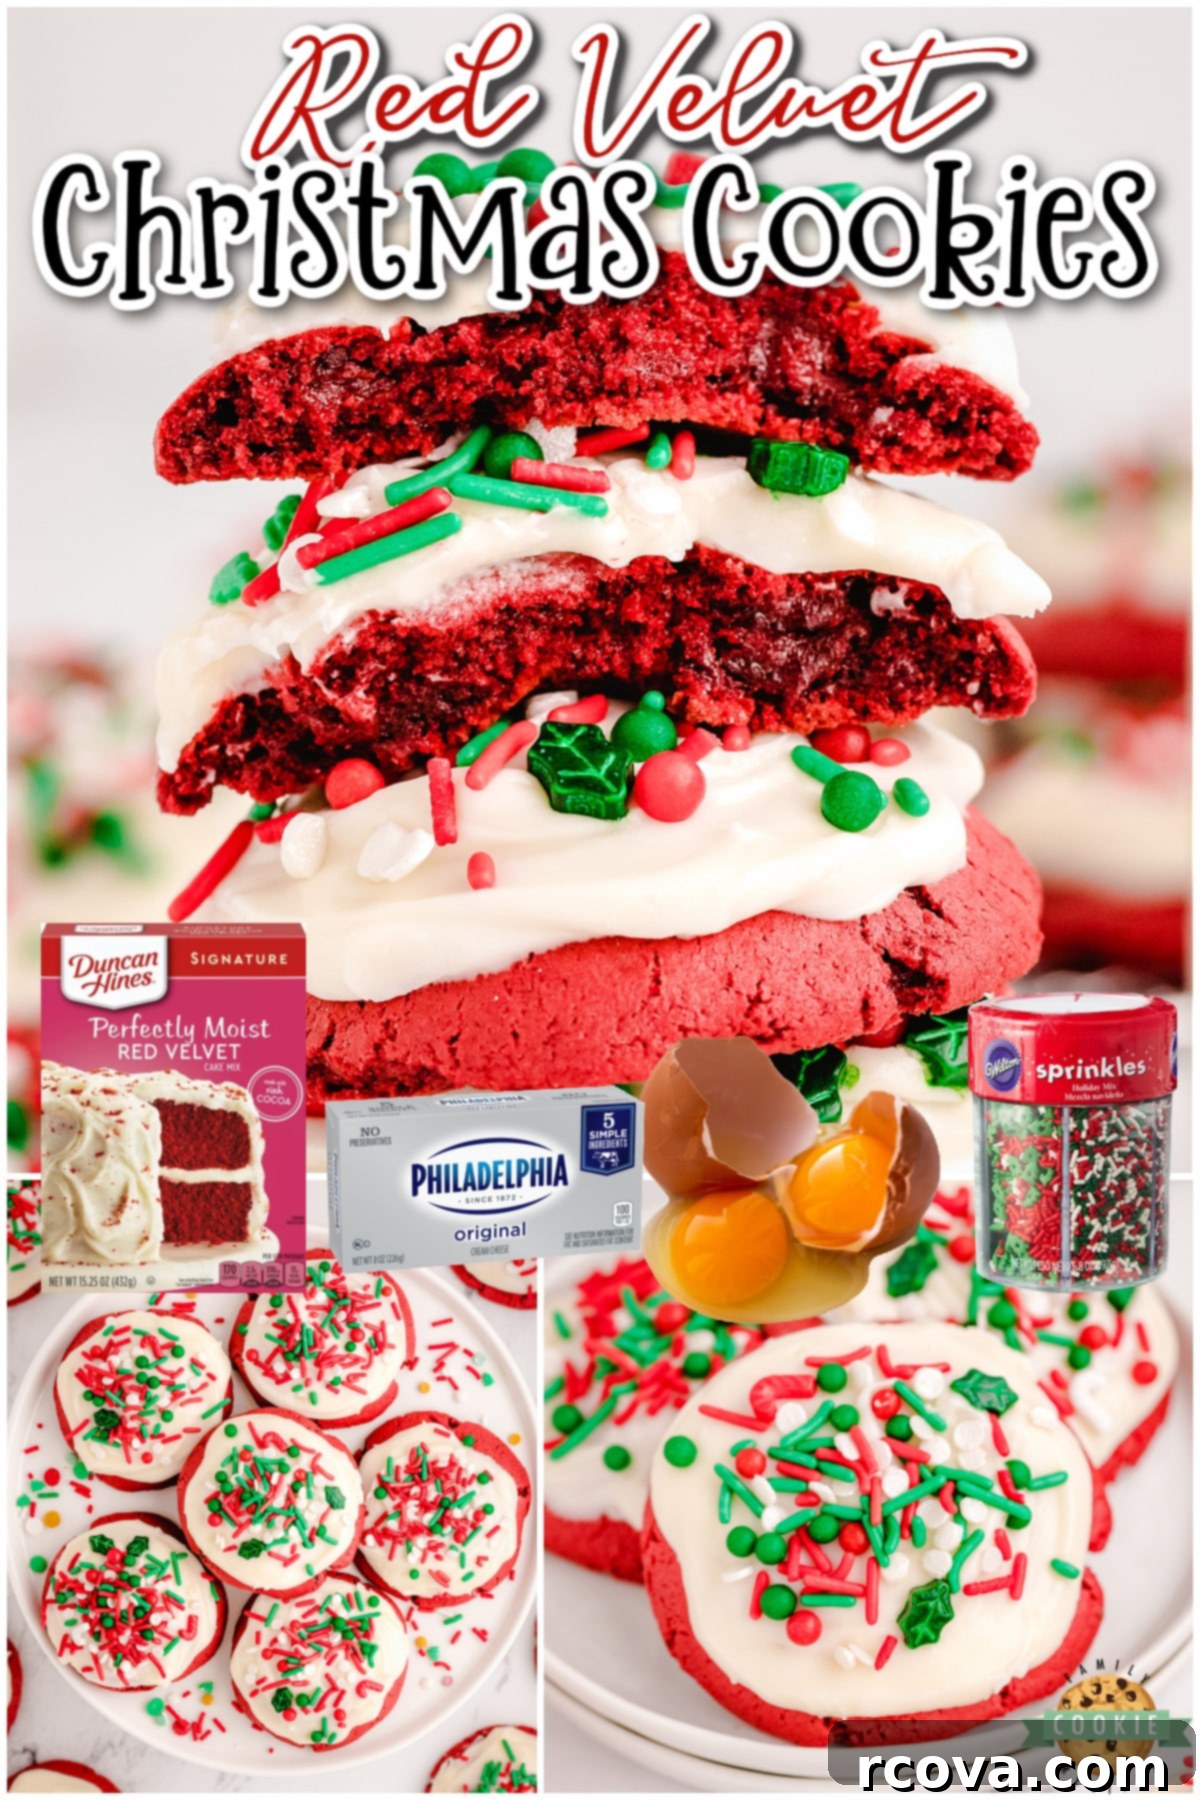
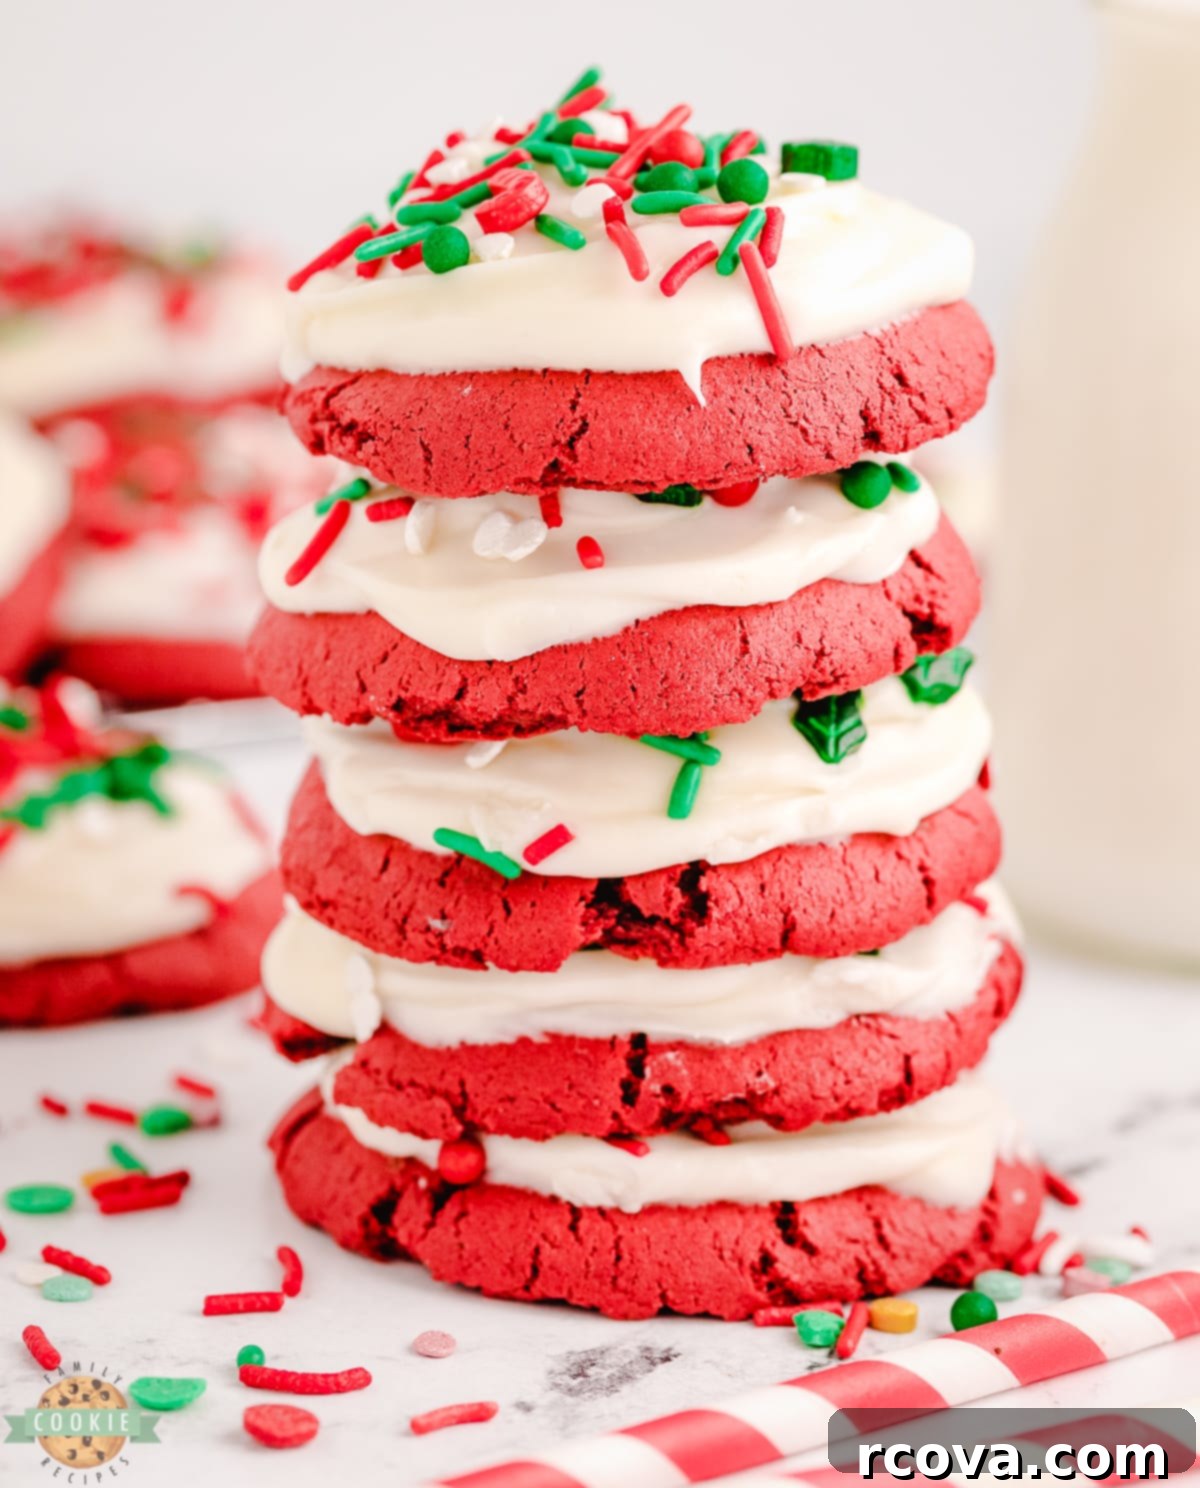
Embrace the festive spirit this holiday season with a batch of delightful Red Velvet Christmas Cookies! These vibrant red cookies, boasting a rich cocoa flavor and topped with a luxurious, tangy cream cheese icing, are an absolute showstopper. Their eye-catching color and irresistible taste make them an instant favorite for any holiday gathering, cookie exchange, or simply a cozy evening treat.
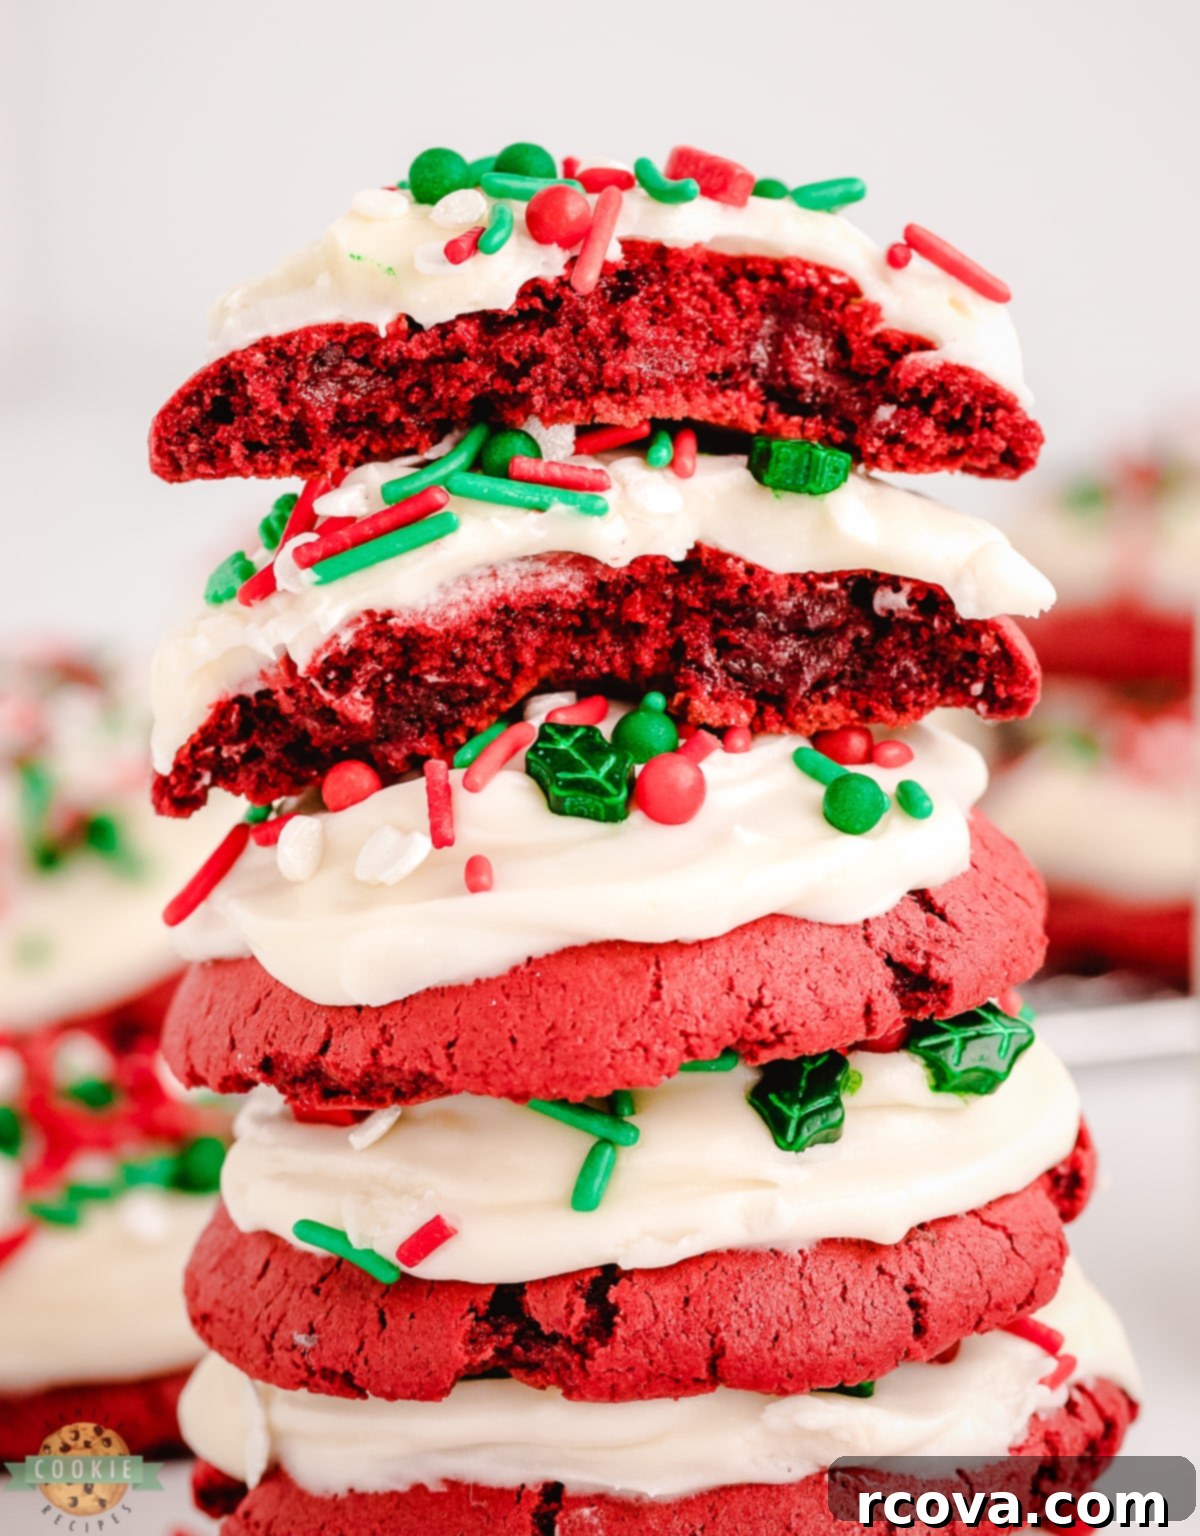
The holiday season is synonymous with baking, and we eagerly look forward to the excuse to whip up countless cookie recipes. While we might not bake *dozens* every week, the festive rush of holiday parties, family gatherings, and gift-giving definitely keeps our ovens busy. That’s why this recipe for red velvet Christmas cookies from cake mix is a brilliant “hack”! It significantly cuts down on prep time without sacrificing that homemade taste, ensuring delicious results every single time.
Why Red Velvet Cookies are Perfect for Christmas
Red velvet desserts are a timeless classic, and they shine even brighter during the Christmas season. When you envision festive holiday colors, red and green are typically the first to come to mind. The striking, deep red hue of these cookies is inherently festive and vibrant. But when you add a generous swirl of creamy white icing and a sprinkle of colorful Christmas-themed decorations, they transform into an edible work of art that’s even more inviting and merry. They truly capture the essence of holiday joy in every bite.
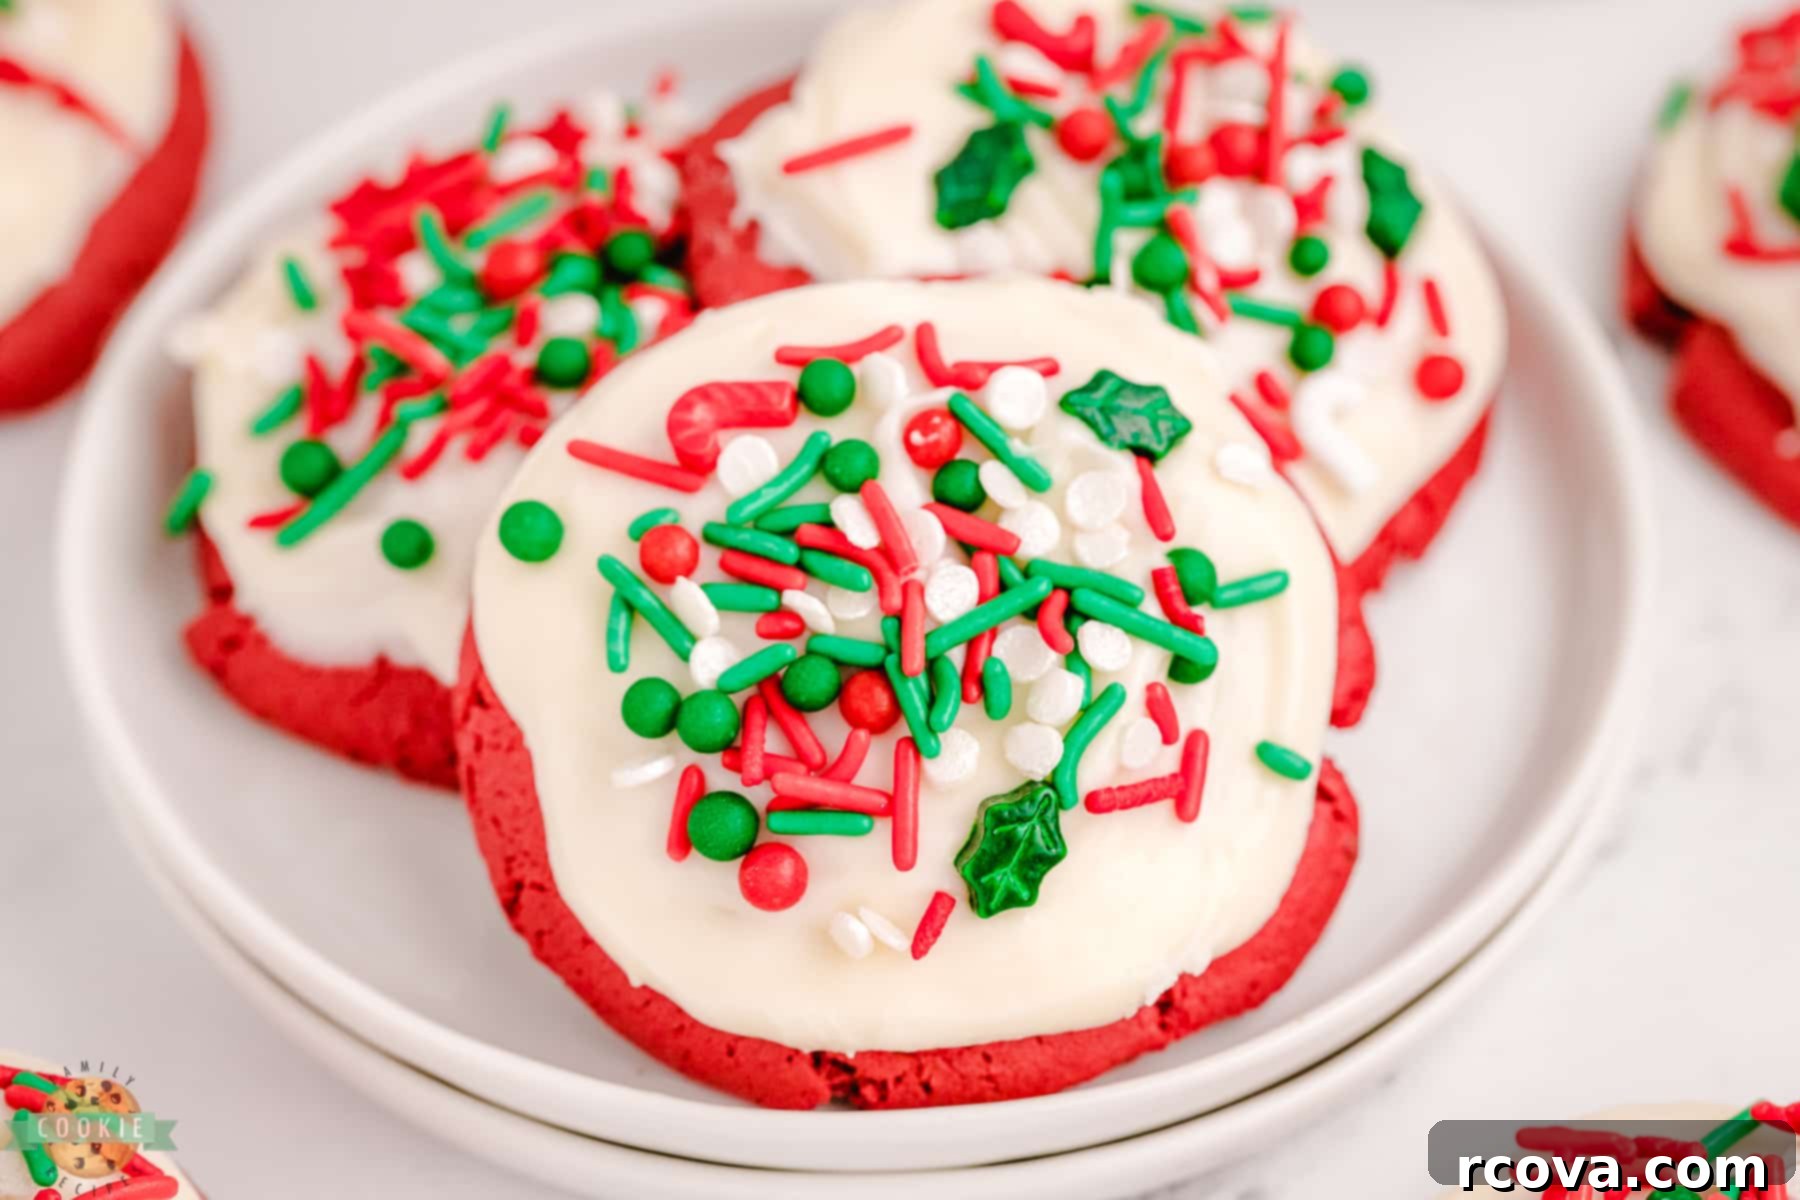
Why You’ll Adore This Red Velvet Cookie Recipe
This red velvet Christmas cookie recipe is designed for ease and maximum holiday enjoyment. Here’s why you’ll want to add it to your annual baking list:
- Effortless Preparation with Minimal Ingredients: The secret to their simplicity lies in using a box of red velvet cake mix as the foundation. This ingenious shortcut means you can skip measuring out flour, baking powder, various sugars, and cocoa powder. Instead, you’ll only need three basic ingredients for the cookies themselves, plus a few more for the luscious cream cheese icing. It’s a fantastic way to achieve complex flavors with minimal fuss.
- Simple, Kid-Friendly Steps: These cookies are so straightforward to make that even young bakers can lend a helping hand, making it a wonderful family activity. From mixing the dough to rolling the balls and decorating with sprinkles, there are tasks for everyone. The most challenging part might just be patiently waiting for the dough to chill in the fridge, as the temptation to sneak a taste will be strong!
- Perfect for Any Holiday Occasion: Whether you’re hosting a grand holiday feast, attending a cozy family get-together, participating in a lively cookie exchange, or contributing to a potluck, these easy red velvet Christmas cookies are an ideal choice. They’re guaranteed to impress and delight everyone who tries them. Of course, keeping a batch all to yourself to savor throughout the day is also a perfectly valid option!
Essential Ingredients for Red Velvet Xmas Cookies
Gathering your ingredients is the first step to holiday baking bliss. This recipe calls for simple items that come together to create something truly special.
For the Red Velvet Cookies, you will need:
- Red Velvet Cake Mix: A standard 15.25-ounce box is your secret weapon. This mix provides the perfect balance of red color, cocoa flavor, and sweetness, forming the delicious base for your cookies.
- Vegetable Oil: You’ll need 1/3 cup of vegetable oil. This ingredient adds essential moisture to the cake mix, transforming it into a soft, pliable cookie dough and contributing to the cookies’ tender texture.
- Large Eggs: Two large eggs are crucial for binding the ingredients together. They add structure and richness to the dough, ensuring your cookies hold their shape and have a delightful chewiness.
For the Cream Cheese Icing, you will need:
- Softened Butter: 1 tablespoon of softened unsalted butter enriches the icing, giving it a smoother texture and a deeper, more indulgent flavor. Make sure it’s at room temperature for easy blending.
- Room Temperature Cream Cheese: Four ounces of cream cheese form the delectable base of this classic frosting. Using cream cheese at room temperature is key to achieving a perfectly smooth, lump-free icing with that signature tangy flavor.
- Vanilla Extract: Half a teaspoon of vanilla extract enhances the overall sweetness and adds a warm, inviting aroma to your icing, perfectly complementing the red velvet flavor.
- Milk: You’ll need 2-3 tablespoons of milk (any kind works!). This is used to adjust the icing to your desired consistency – add a little at a time until it’s smooth and spreadable, but not too thin.
- Powdered Sugar: 1 ½ cups of powdered sugar gives the icing its characteristic sweetness and thick, creamy texture. Sifting it can help prevent lumps, ensuring a silky-smooth finish.
- Christmas-Colored Sprinkles (Optional but Recommended!): A generous scattering of festive sprinkles is highly encouraged! They add a delightful crunch, a burst of color, and instantly elevate your cookies to true holiday masterpieces.
How to Bake Irresistible Red Velvet Christmas Cookies
Making these festive cookies is surprisingly simple, making them an excellent choice for bakers of all skill levels. Follow these easy steps for delicious results.
Preparing the Cookies
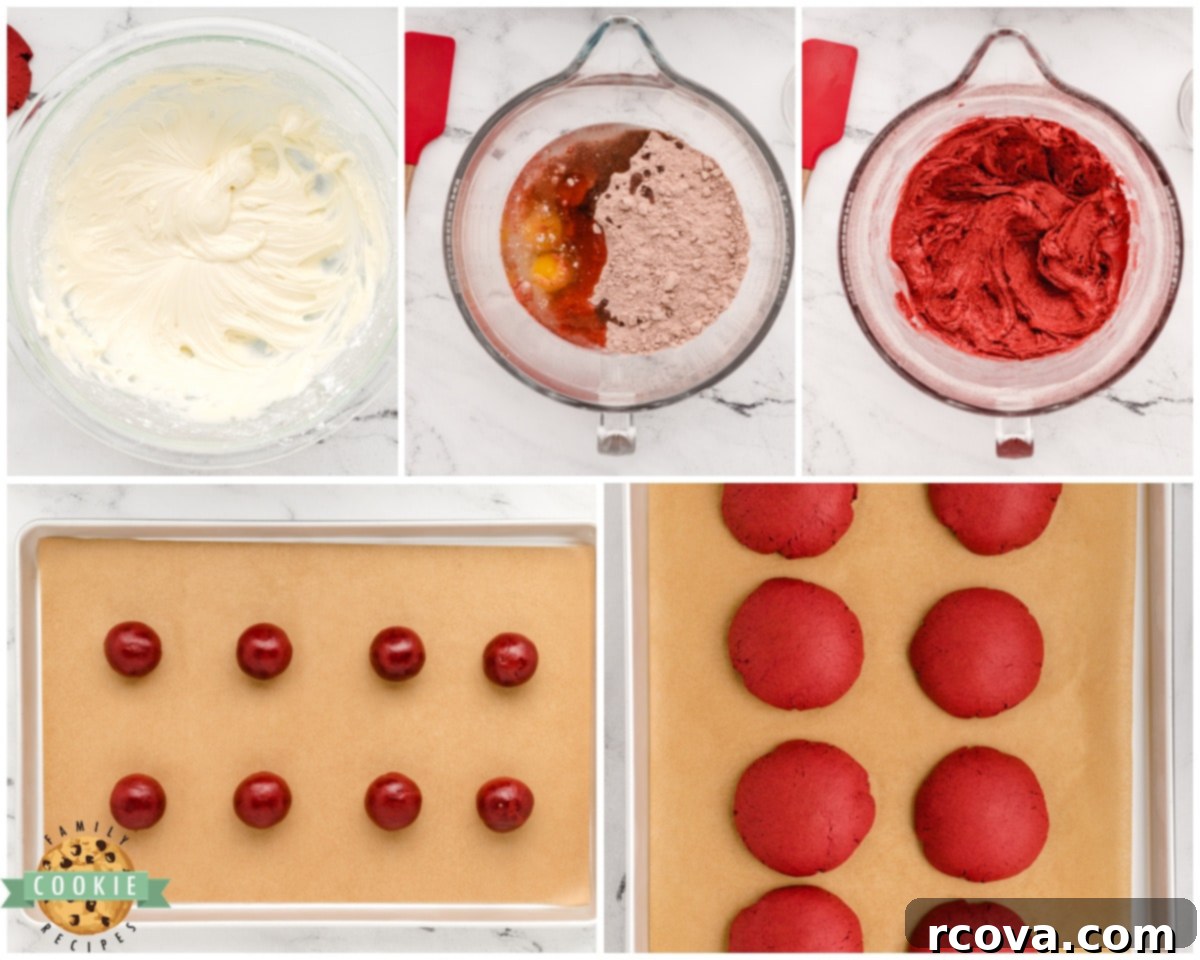
- Combine Ingredients: In a large mixing bowl, or the bowl of a stand mixer fitted with a paddle attachment, add the red velvet cake mix, vegetable oil, and eggs. Mix on medium speed until all the ingredients are thoroughly combined and a cohesive dough forms. Be careful not to overmix, as this can lead to tougher cookies.
- Chill the Dough (Recommended!): Cover the bowl with plastic wrap and refrigerate the dough for at least 1 hour. This crucial step makes the dough much easier to handle and prevents the cookies from spreading too much during baking, resulting in a more uniform shape. While chilling is optional if you’re really pressed for time, it’s highly recommended for the best texture and appearance. If skipping the chill, you might find the dough a bit sticky; spraying your cookie scoop with cooking spray will help.
- Preheat Oven & Prep Baking Sheet: While the dough is chilling (or just before you start if skipping the chill), preheat your oven to 350°F (175°C). Line a large baking sheet with parchment paper to prevent sticking and ensure easy cleanup.
- Scoop and Shape: Use a medium-sized cookie scoop to portion out the dough. Gently roll each scoop into a smooth ball between your palms. Place the dough balls onto the prepared baking sheet, ensuring they are spaced at least 2 inches apart to allow for spreading. For even easier scooping, especially if your dough is a bit sticky, spray your cookie scoop with non-stick cooking spray halfway through.
- Bake to Perfection: Bake the cookies in the preheated oven for 8-9 minutes. It’s vital not to overbake these cookies! They will still look somewhat puffy and slightly underdone in the center when you pull them out. This is perfectly normal. They will continue to cook and set on the hot baking sheet.
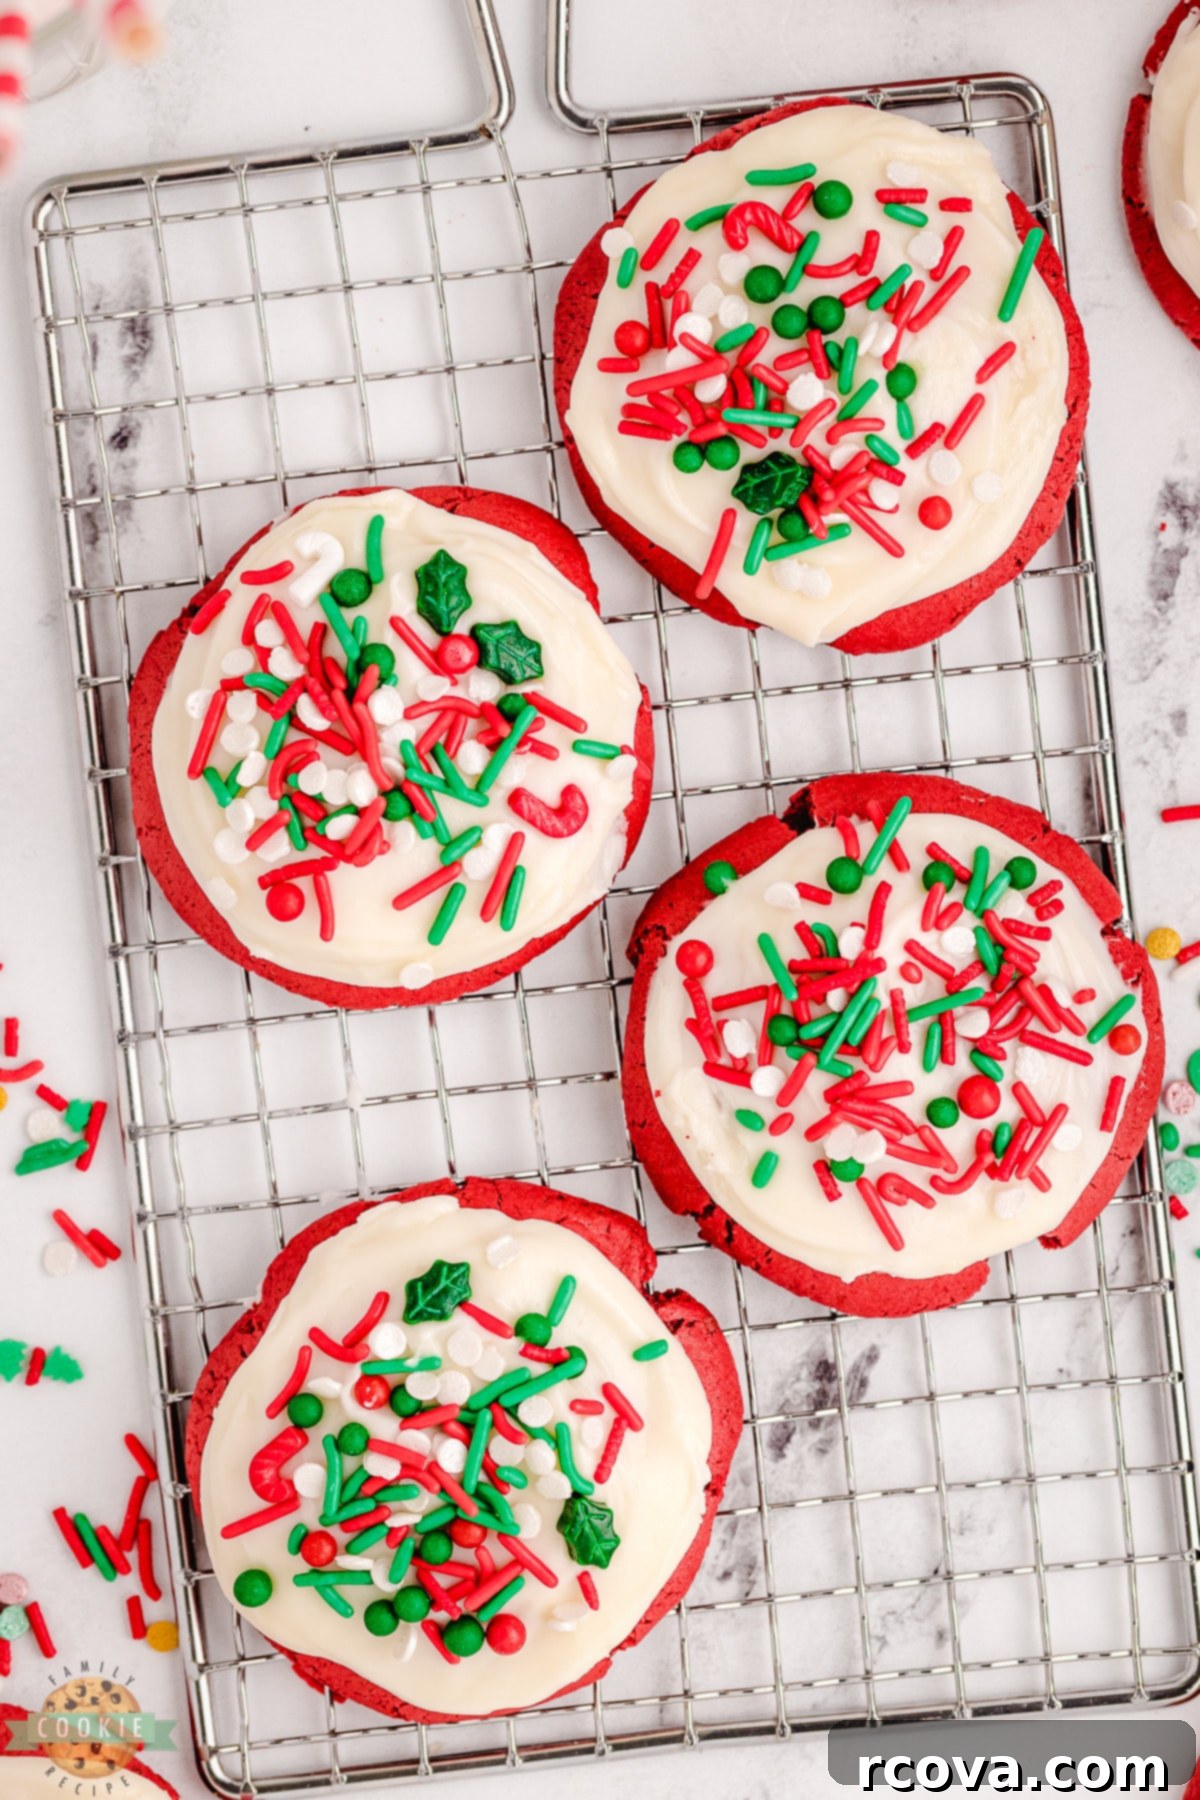
- Cooling Process: Allow the cookies to rest on the baking sheet for 3-4 minutes after removing them from the oven. This carry-over cooking helps them firm up without becoming dry. After this brief rest, carefully transfer the cookies to a wire cooling rack to cool completely. Ensure they are fully cooled before proceeding to the icing step, as warm cookies will melt the frosting.
Crafting the Cream Cheese Icing
- Whip Butter and Cream Cheese: In a medium-sized mixing bowl, combine the softened butter and room temperature cream cheese. Beat them together with an electric mixer until the mixture is smooth, light, and creamy, with no lumps of cream cheese remaining.
- Add Liquids: Pour in the vanilla extract and 2 tablespoons of milk. Mix thoroughly until these ingredients are fully incorporated into the butter and cream cheese mixture. If the icing seems too thick after adding the powdered sugar, you can add the remaining tablespoon of milk later.
- Gradually Add Powdered Sugar: Add the powdered sugar to the bowl. Start mixing on low speed to avoid a “sugar cloud,” then gradually increase the speed to medium-high. Beat until the icing is completely smooth, thick, and wonderfully sweet. If the icing is too thick, add the remaining tablespoon of milk, or even a tiny bit more, until you reach your desired spreadable consistency.
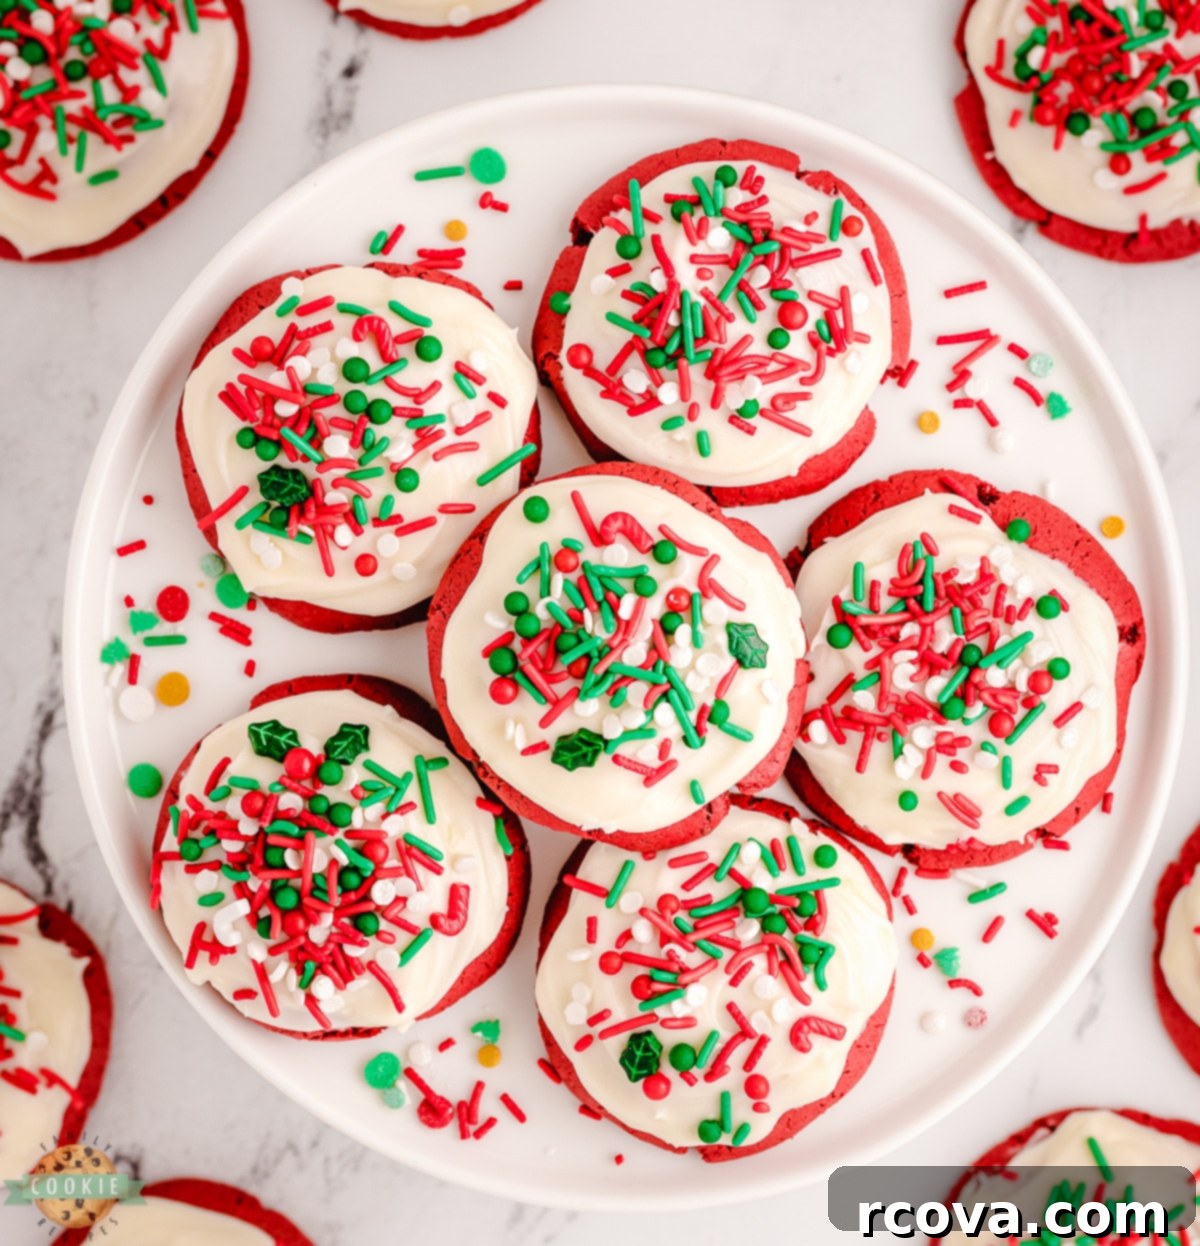
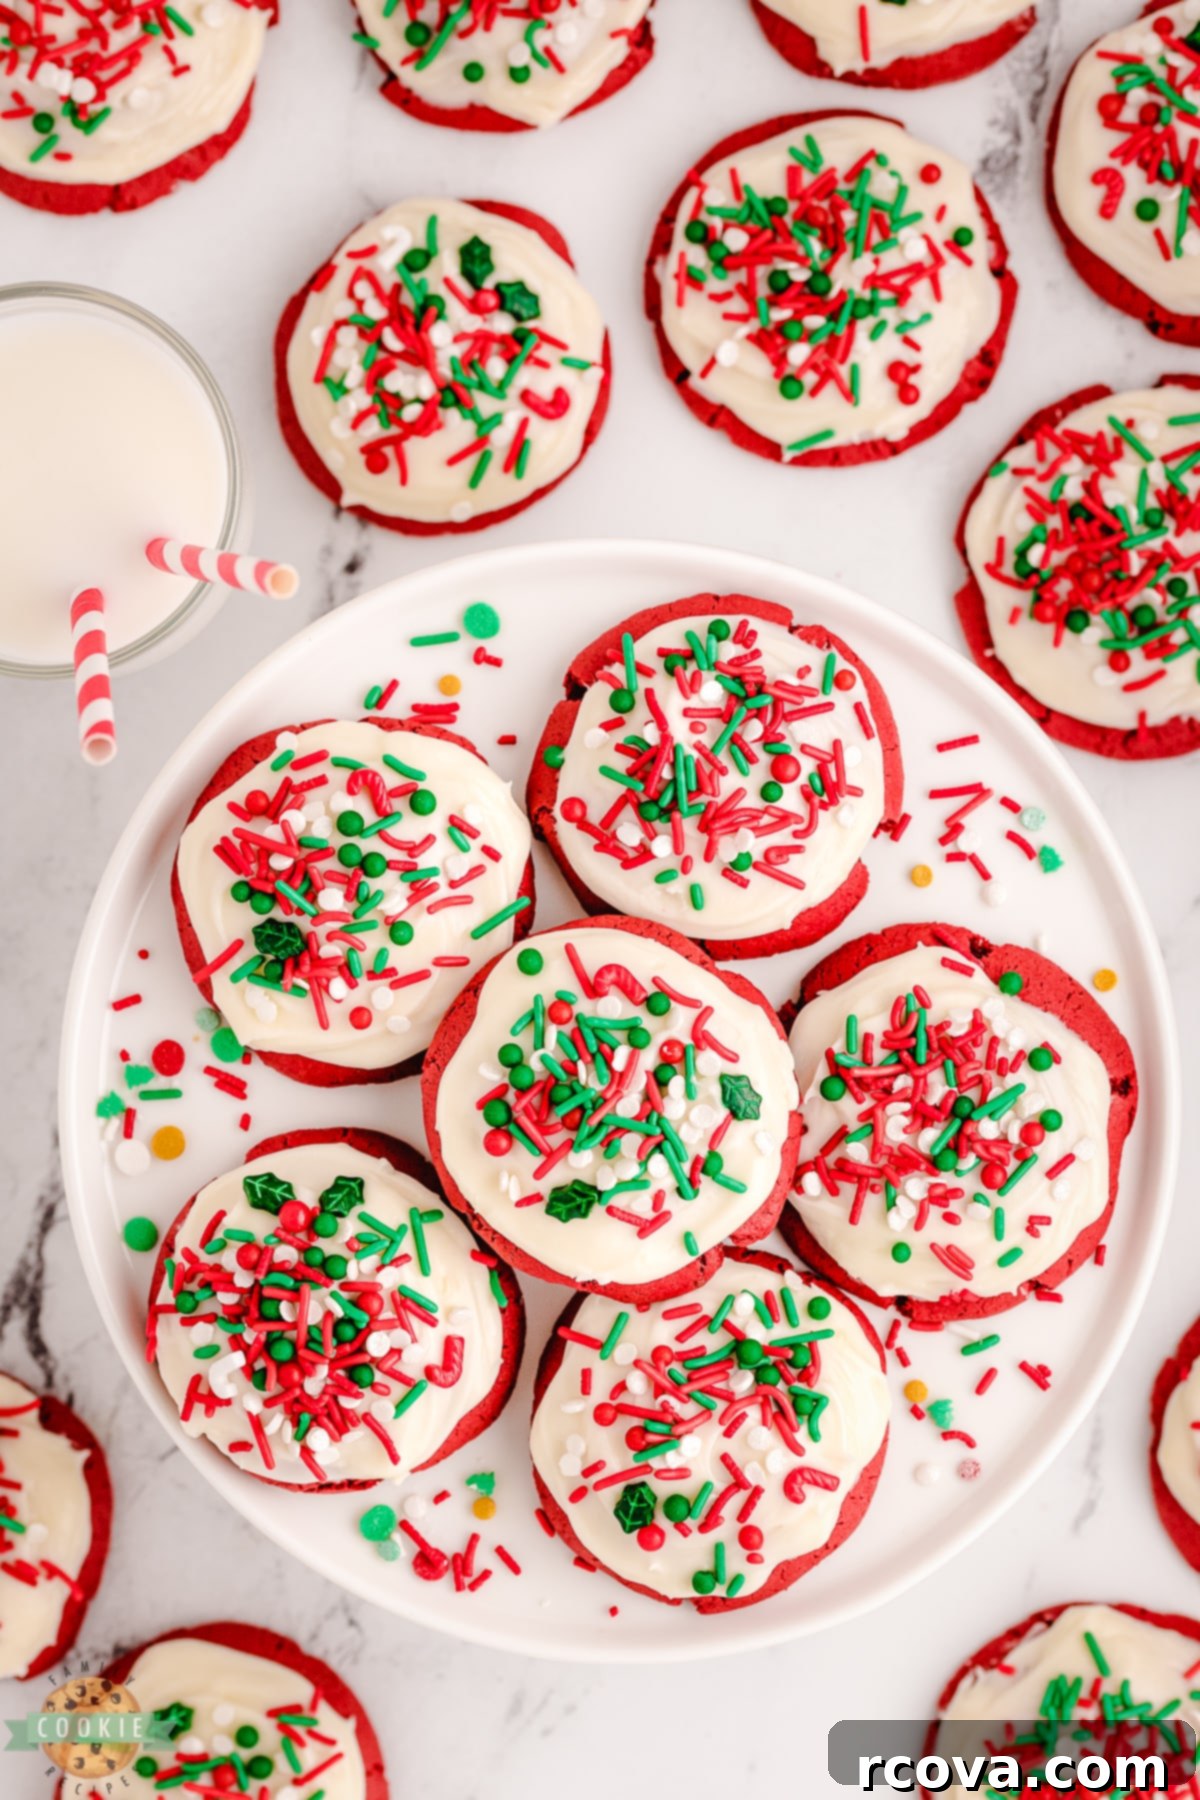
- Frost and Decorate: Once the cookies are completely cool, spoon a generous amount of the cream cheese icing onto the top of each cookie. Spread it evenly using the back of the spoon or an offset spatula. Immediately after icing, sprinkle with your festive Christmas sprinkles.
- Set the Icing: Allow the iced cookies to sit at room temperature for a short while, giving the icing a chance to set slightly. This prevents smudging when handling and storing. Once set, they are ready to be devoured!
Tips for Perfect Red Velvet Cake Mix Cookies
- Don’t Overmix: After adding the wet ingredients to the cake mix, mix just until combined. Overmixing can develop the gluten in the flour, leading to tougher cookies.
- Room Temperature Ingredients for Icing: Ensure your butter and cream cheese are truly at room temperature. This is key for a smooth, lump-free, and easily spreadable frosting.
- Quality Cake Mix: While any red velvet cake mix will work, a higher quality brand might yield a slightly better flavor and color.
- Even Scooping: Use a cookie scoop to ensure all your cookies are the same size. This helps them bake evenly and look uniform.
- Cool Completely: Resist the urge to frost warm cookies! The cream cheese icing will melt and slide off if the cookies aren’t completely cool.
Creative Additions to Your Cake Mix Cookies
One of the joys of using a cake mix base is how easily you can customize these cookies! Feel free to get creative and mix in up to 1 measuring cup of any of the following to your dough for extra flavor and texture:
- Chocolate Chips: White, semi-sweet, or dark chocolate chips all work wonderfully.
- M&M’s: Christmas-colored M&M’s add a fun pop of color and extra chocolatey goodness.
- White Chocolate Chips: These pair exceptionally well with the red velvet flavor.
- Extra Sprinkles: Beyond just the topping, you can mix sprinkles directly into the dough for a colorful interior.
- Chopped Nuts: Pecans or walnuts can add a delightful crunch.
Remember to add these delightful mix-ins after you’ve combined the main dough ingredients but before you chill the dough. Then, simply scoop and bake as directed. Enjoy customizing your festive treats!
RED VELVET CHRISTMAS COOKIES
Print
Pin
Rate
Christmas, Cookies
American
RED VELVET CHRISTMAS COOKIES
15 minutes
9 minutes
1 hour
1 hour
24 minutes
20
cookies
160
kcal
Jessica & Nellie
Prevent your screen from going to sleep
Ingredients
Cookies
-
15.25
oz
Red velvet cake mix -
⅓
cup
vegetable oil -
2
Eggs
Icing
-
1
Tbsp
butter
softened -
4
oz
Cream cheese room temperature -
½
tsp
Vanilla extract -
2-3
TBSP
milk -
1 ½
cups
Powdered sugar - Christmas colored sprinkles
Instructions
-
Add the cake mix, vegetable oil, and eggs to a large bowl or stand mixer fitted with a paddle attachment and beat until combined.
-
Cover & chill the dough for 60 minutes. (This makes the dough so much more manageable! If you’re pressed for time, however, you can skip this step. I recommend spraying your cookie scoop with non-stick spray and washing it half way through.)
-
Preheat the oven to 350 degrees F and line a baking sheet with parchment paper.
-
Use a medium cookie scoop to portion out the dough and gently roll into balls. Place the balls of dough on the prepared baking sheet at least 2 inches apart.
-
Bake for 8 to 9 minutes. Do not over bake these cookies, they will look puffy and slightly underdone, but they will finish cooking on the baking sheet after coming out of the oven. Let them sit on the baking sheet 3-4 minutes once out of the oven. Transfer to a cooling rack to finish cooling.
-
Cream Cheese Icing: Start with the icing by placing the butter and cream cheese in a medium sized mixing bowl. Beat until smooth and creamy.
-
Add in the vanilla and milk and mix until fully incorporated. Add in the powdered sugar and mix until smooth.
-
Spoon warm icing on cookies. Top with Christmas sprinkles immediately. Let cool to set. Enjoy!
Nutrition
Serving:
2
cookies
|
Calories:
160
kcal
|
Carbohydrates:
25
g
|
Protein:
2
g
|
Fat:
6
g
|
Saturated Fat:
2
g
|
Polyunsaturated Fat:
1
g
|
Monounsaturated Fat:
2
g
|
Trans Fat:
0.02
g
|
Cholesterol:
24
mg
|
Sodium:
208
mg
|
Potassium:
88
mg
|
Fiber:
1
g
|
Sugar:
17
g
|
Vitamin A:
120
IU
|
Calcium:
43
mg
|
Iron:
1
mg
Tried this recipe?
Mention @familycookierecipes or tag #familycookierecipes!
Frequently Asked Questions About Red Velvet Cookies
Can you substitute butter for oil in cake mix cookies?
Absolutely! If you prefer, you can certainly swap out the vegetable oil for an equal amount of canola oil, or even melted butter. If you opt for butter, it’s essential to melt it first and then allow it to cool slightly before incorporating it into the cake mix and eggs. This prevents the warm butter from accidentally “cooking” the eggs in the dough, which could affect the cookie’s texture. Using butter can add a slightly richer flavor, while oil typically results in a softer, more moist cookie.
How long do cake mix cookies last?
These delicious red velvet Christmas cookies, especially when topped with cream cheese icing, are best stored in an airtight container in the refrigerator. When stored properly, they will remain fresh and delightful for up to 5 days. If you choose to leave the icing off, the unfrosted cookies can be stored at room temperature in an airtight container for 3-4 days. Always ensure they are completely cooled before storing to prevent condensation.
Can I freeze frosted cake mix cookies?
Yes, these red velvet cookies freeze exceptionally well, making them perfect for make-ahead holiday baking! After the cream cheese icing has completely set, arrange the cookies in a single layer in an airtight freezer-safe container. If stacking, place a layer of parchment paper between each layer of cookies to prevent them from sticking together. They can be kept frozen for up to 3 months. When you’re ready to enjoy them, simply thaw them in the refrigerator overnight or at room temperature for a few hours. This is a great way to always have a festive treat on hand!
Explore More Fantastic Cake Mix Cookie Recipes!
If you loved the simplicity and deliciousness of these red velvet cookies, you’ll be thrilled to discover other wonderful cookie creations that start with a cake mix. It’s a versatile baking hack that opens up a world of easy dessert possibilities. Check out these other great cake mix cookie recipes to keep your baking adventures exciting and effortless:
- ORANGE CARDAMOM COOKIES
- APPLE CINNAMON OATMEAL COOKIES
- LEMON CAKE MIX COOL WHIP COOKIES
- STRAWBERRY LEMONADE CAKE MIX COOKIES
- WHITE CHOCOLATE STRAWBERRY CAKE MIX COOKIES
- CAKE MIX JELLO COOKIES
- FROSTED STRAWBERRY COOL WHIP COOKIES
- COLORFUL COOKIES
- EASY UNICORN COOKIES
- RED VELVET 4TH OF JULY COOKIES
- RED VELVET VALENTINES CAKE MIX COOKIES
- CAKE MIX PEANUT BUTTER BLOSSOMS
There’s always a new flavor to try, and the cake mix shortcut ensures consistent, delightful results every time. Happy baking!

