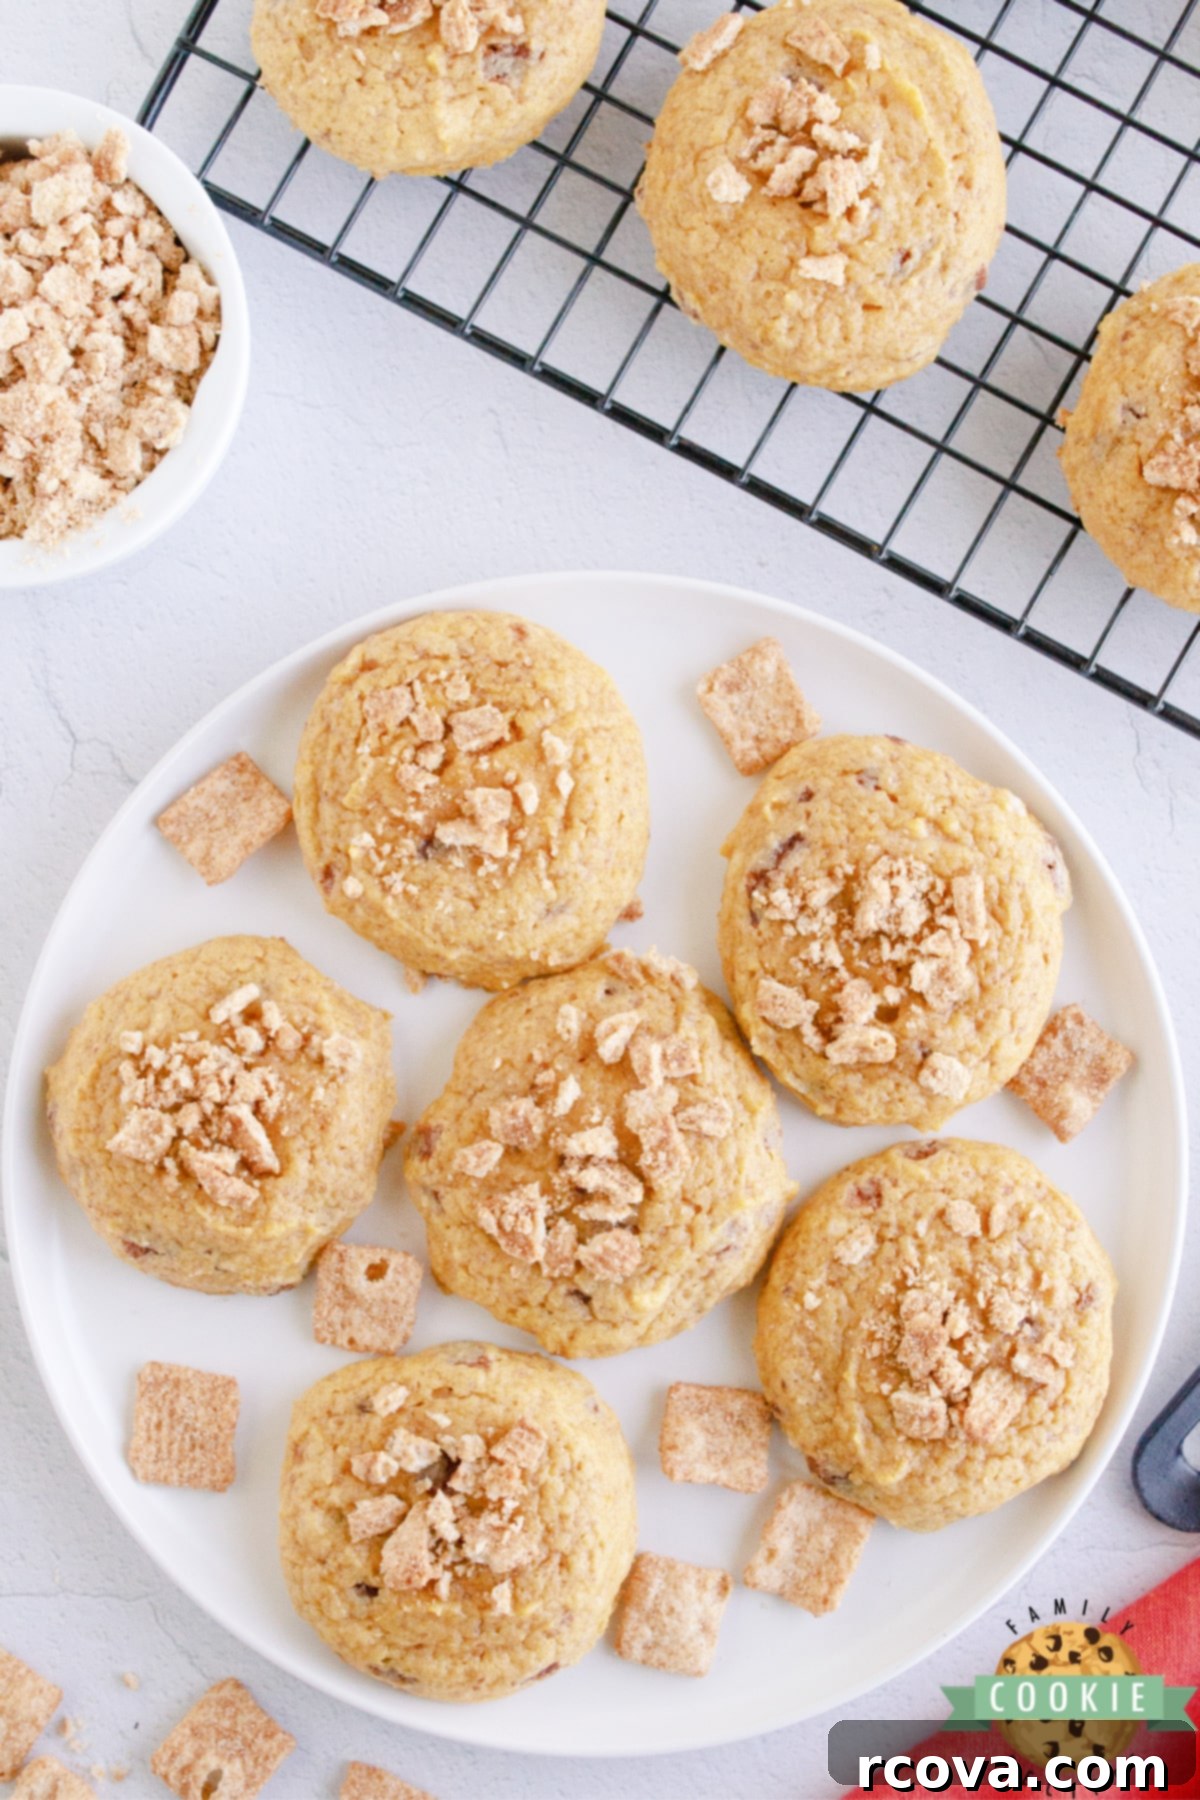
Effortless Fall Delight: 5-Ingredient Cinnamon Toast Crunch Pumpkin Cookies
Embrace the cozy flavors of autumn with these incredibly simple yet utterly delicious Cinnamon Toast Crunch Pumpkin Cookies. Crafted with a convenient cookie mix, wholesome canned pumpkin, and the iconic crunch of Cinnamon Toast Crunch cereal, this recipe is a true fall favorite. Requiring just 5 essential ingredients, you can whip up a batch of these delectable pumpkin cookies in no time, making them perfect for busy weeknights or spontaneous gatherings.
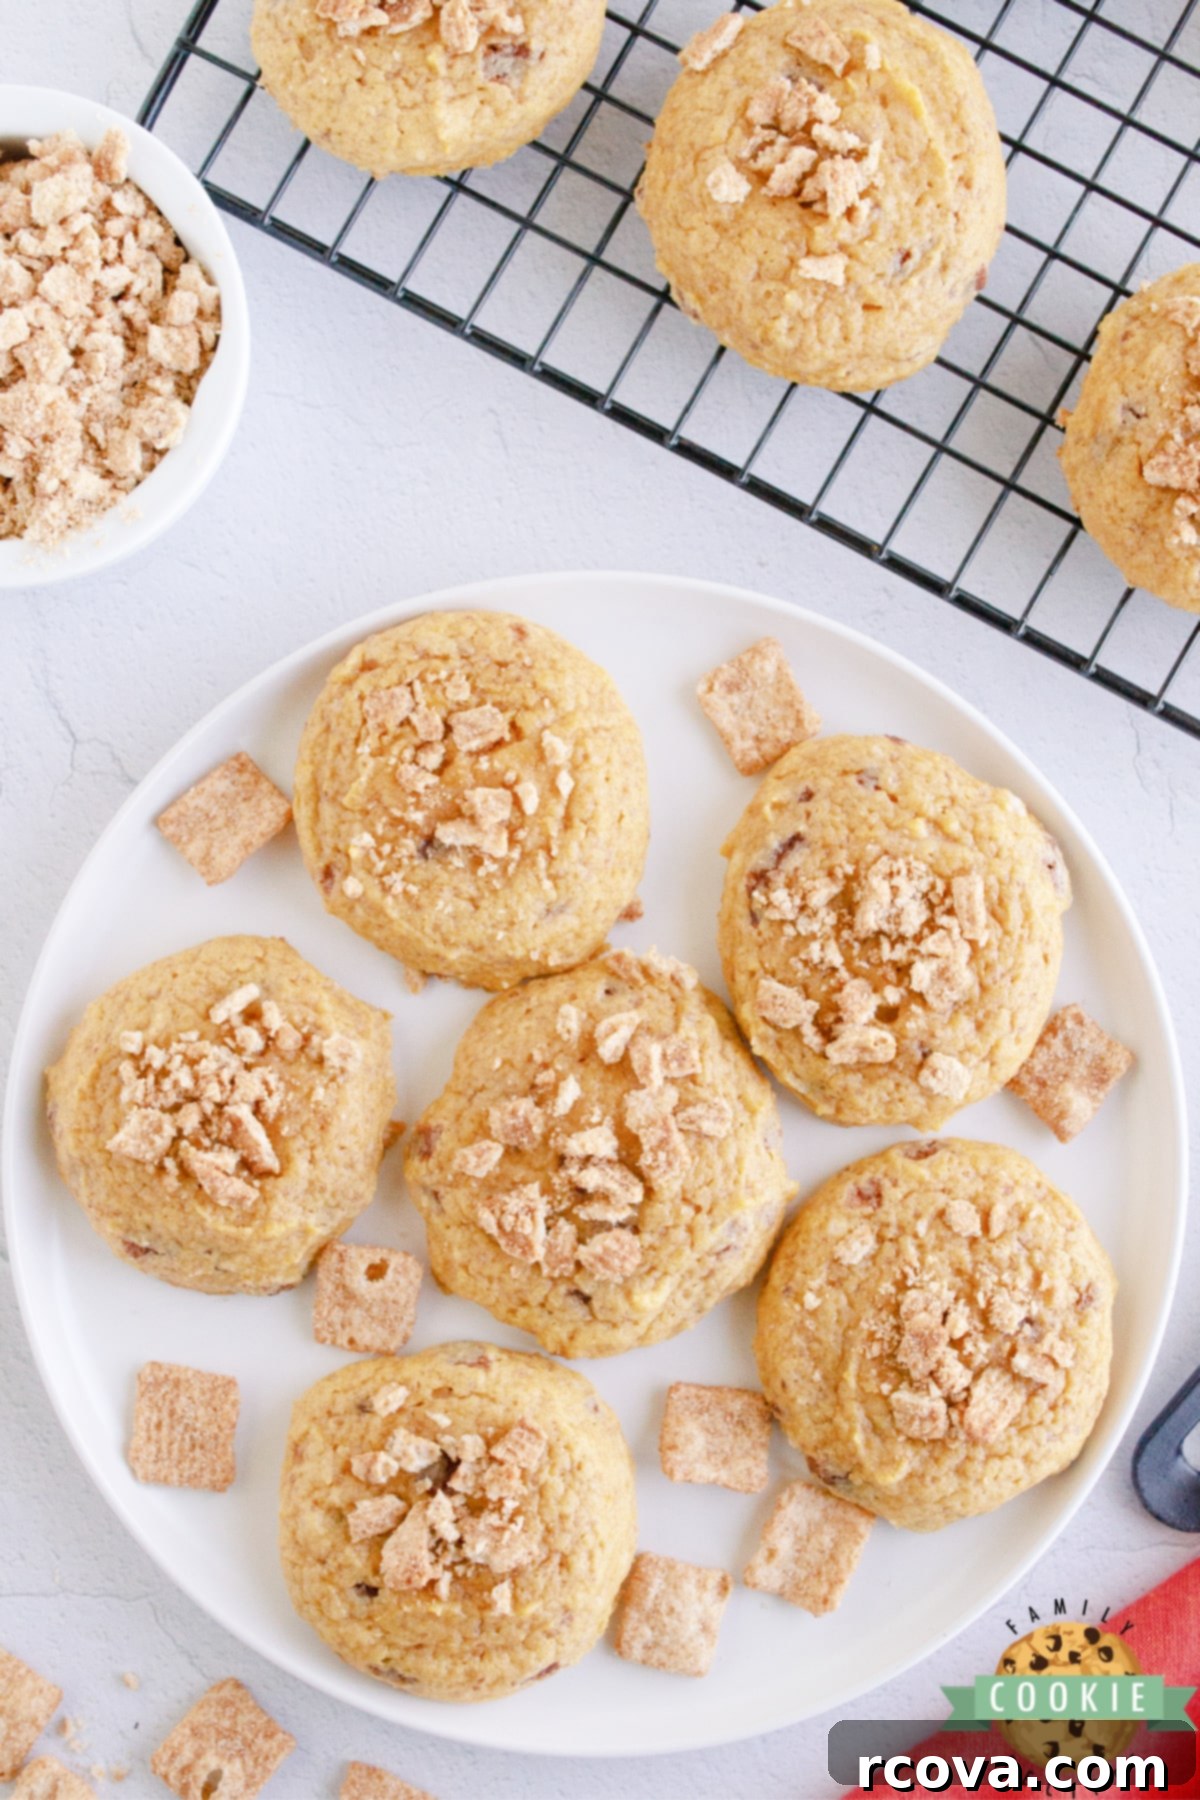
The culinary world has recently been abuzz with the introduction of the Cinnamon Toast Crunch Cookie Mix, and for good reason! This innovative mix, readily available at most major grocery stores, provides an excellent foundation for creating truly extraordinary cookies. While delicious on its own, these cookies reach a new level of autumnal bliss when combined with the subtle sweetness and moist texture of pumpkin. This recipe merges convenience with classic fall flavors, delivering a unique treat that’s hard to resist.
Discover the Magic of Cinnamon Toast Crunch Pumpkin Cookies
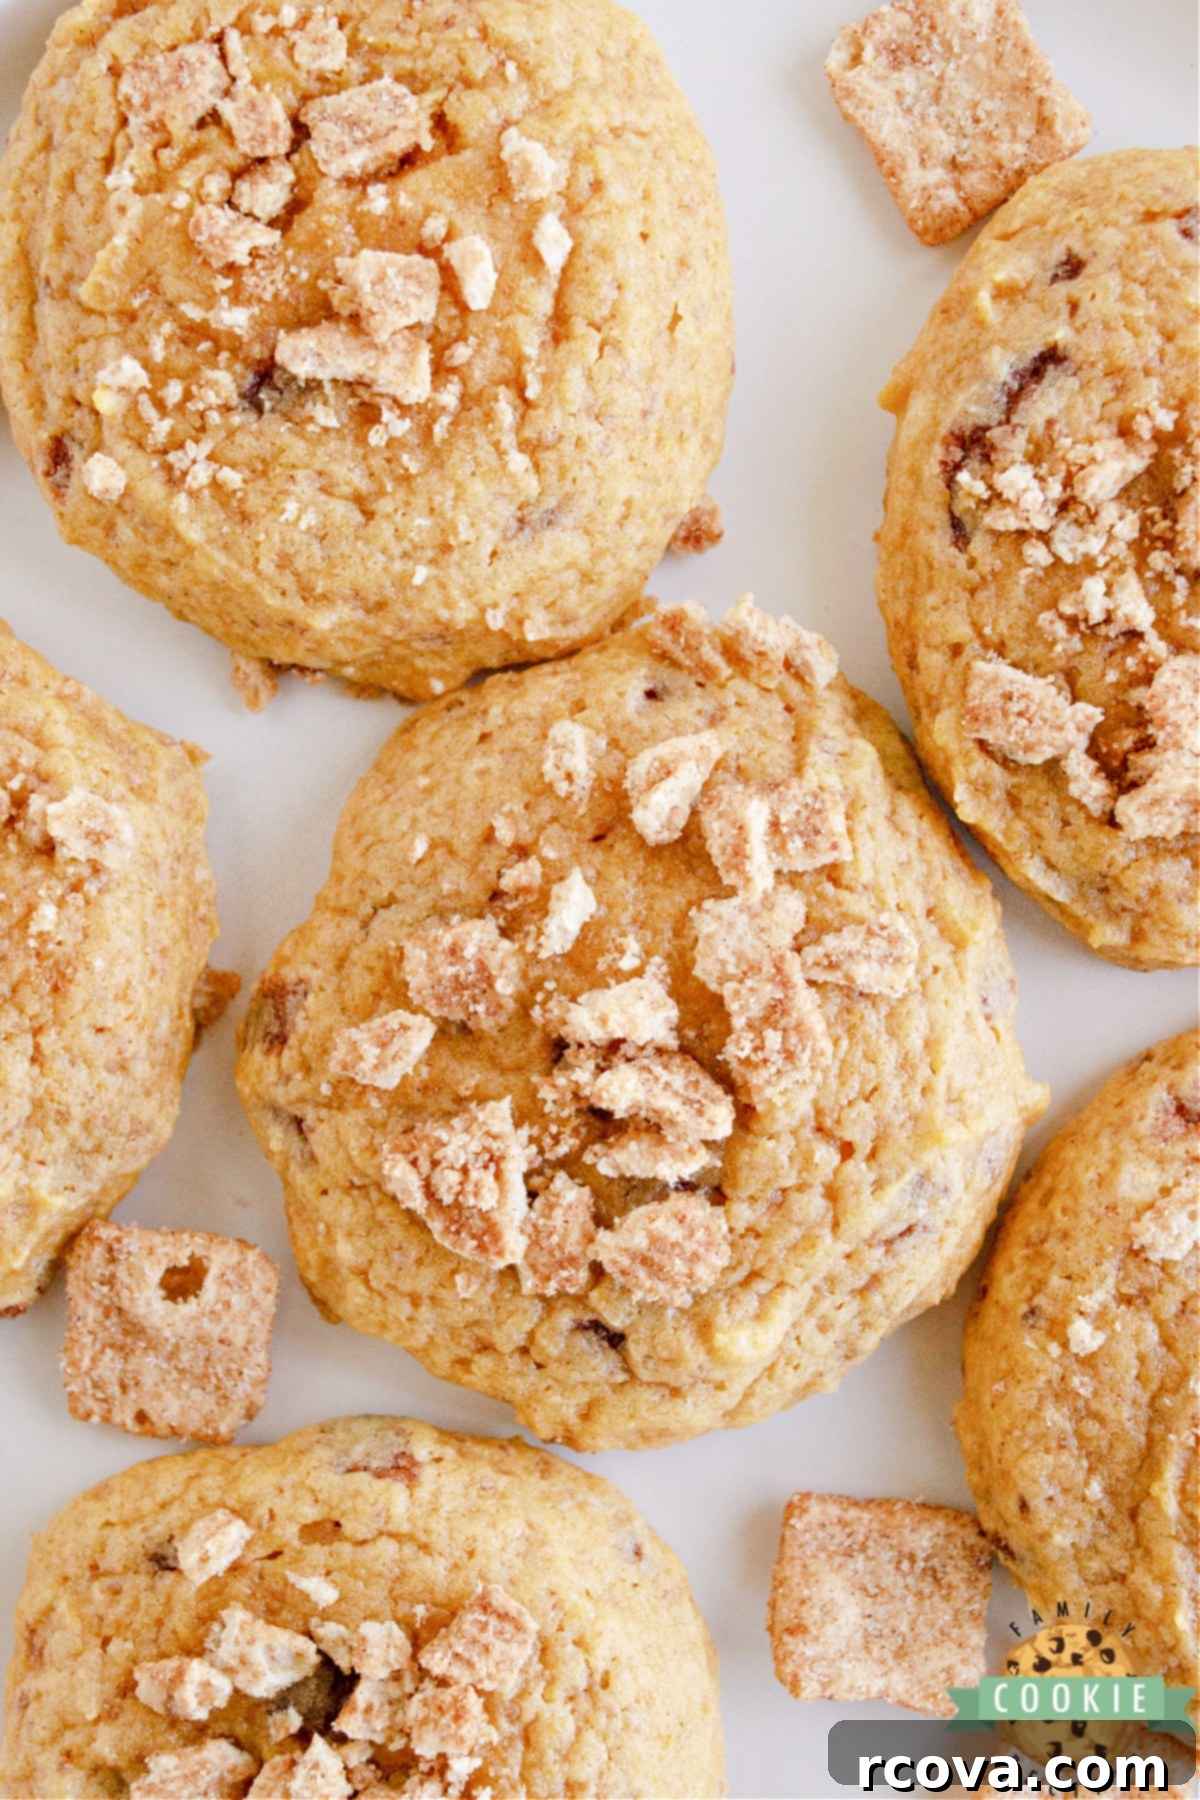
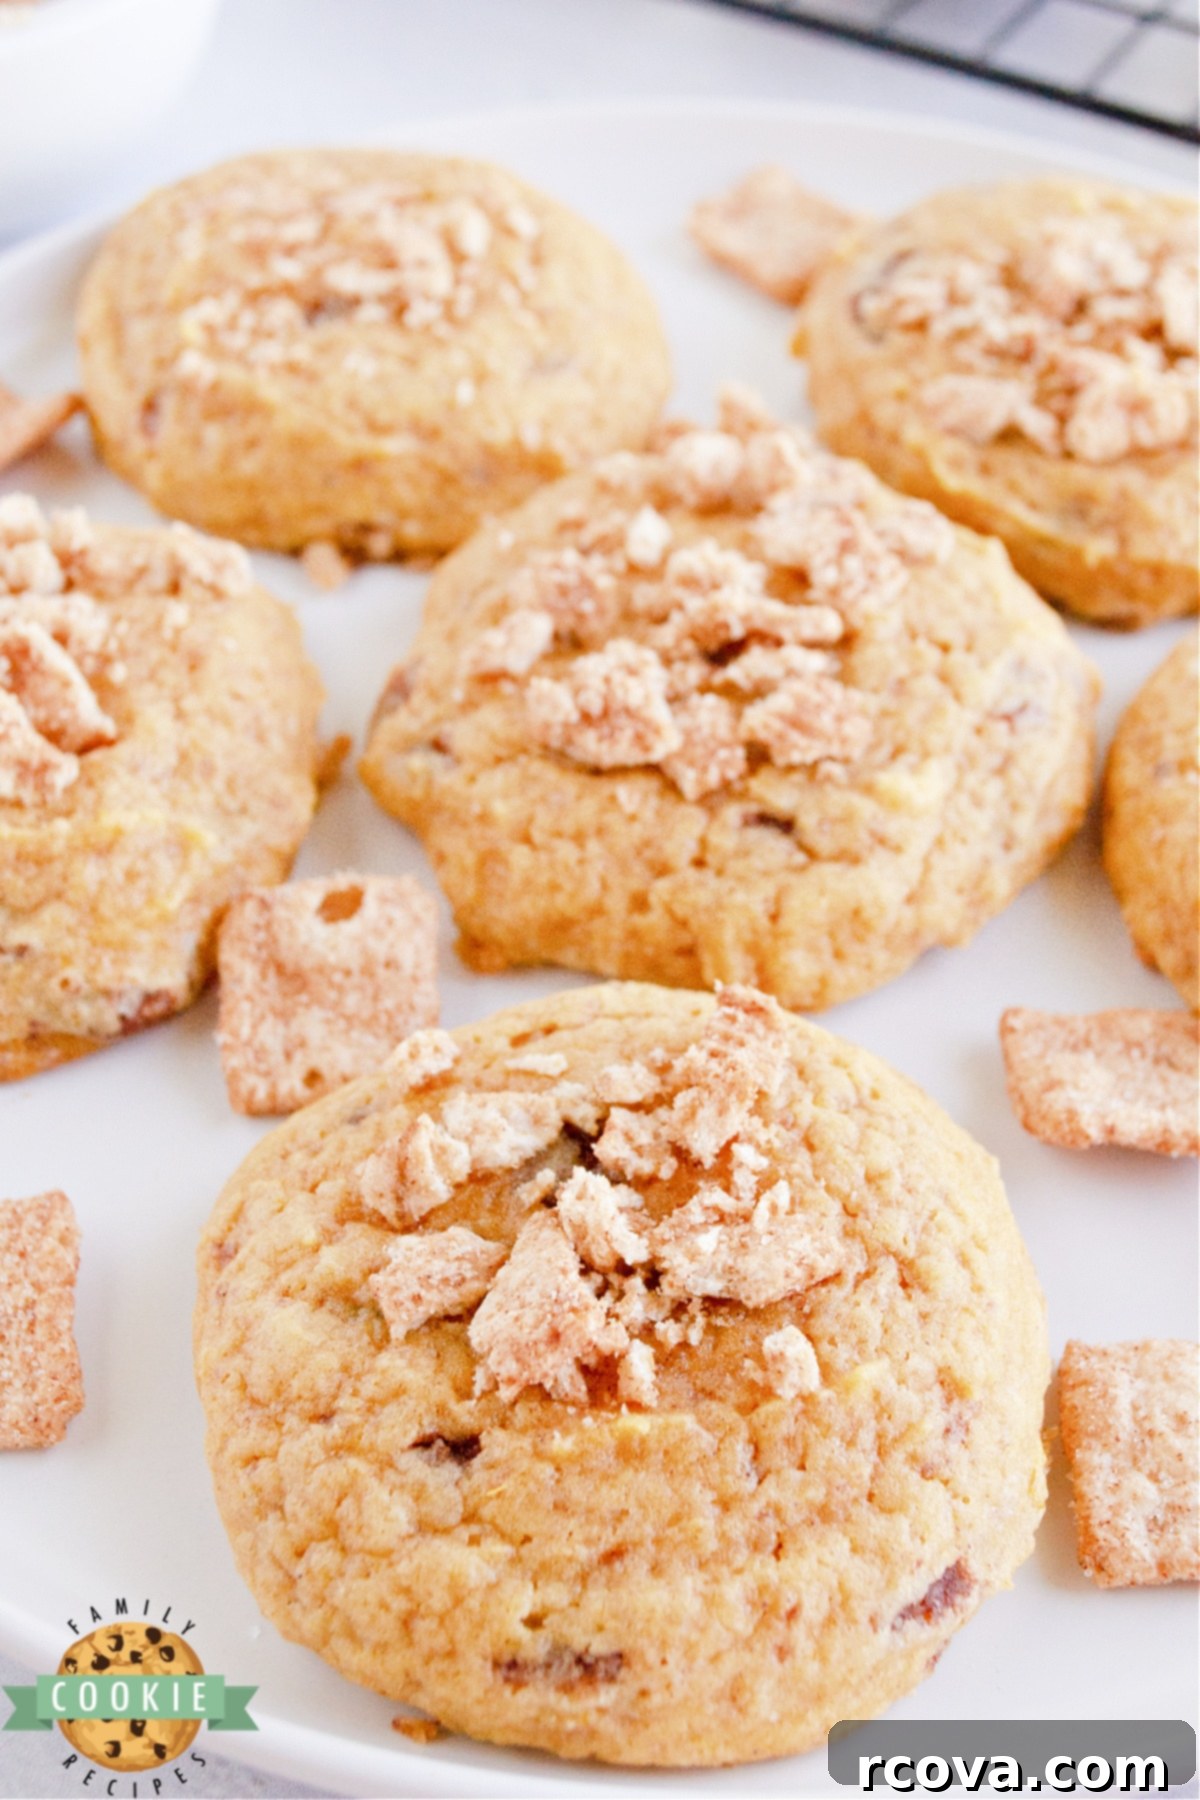
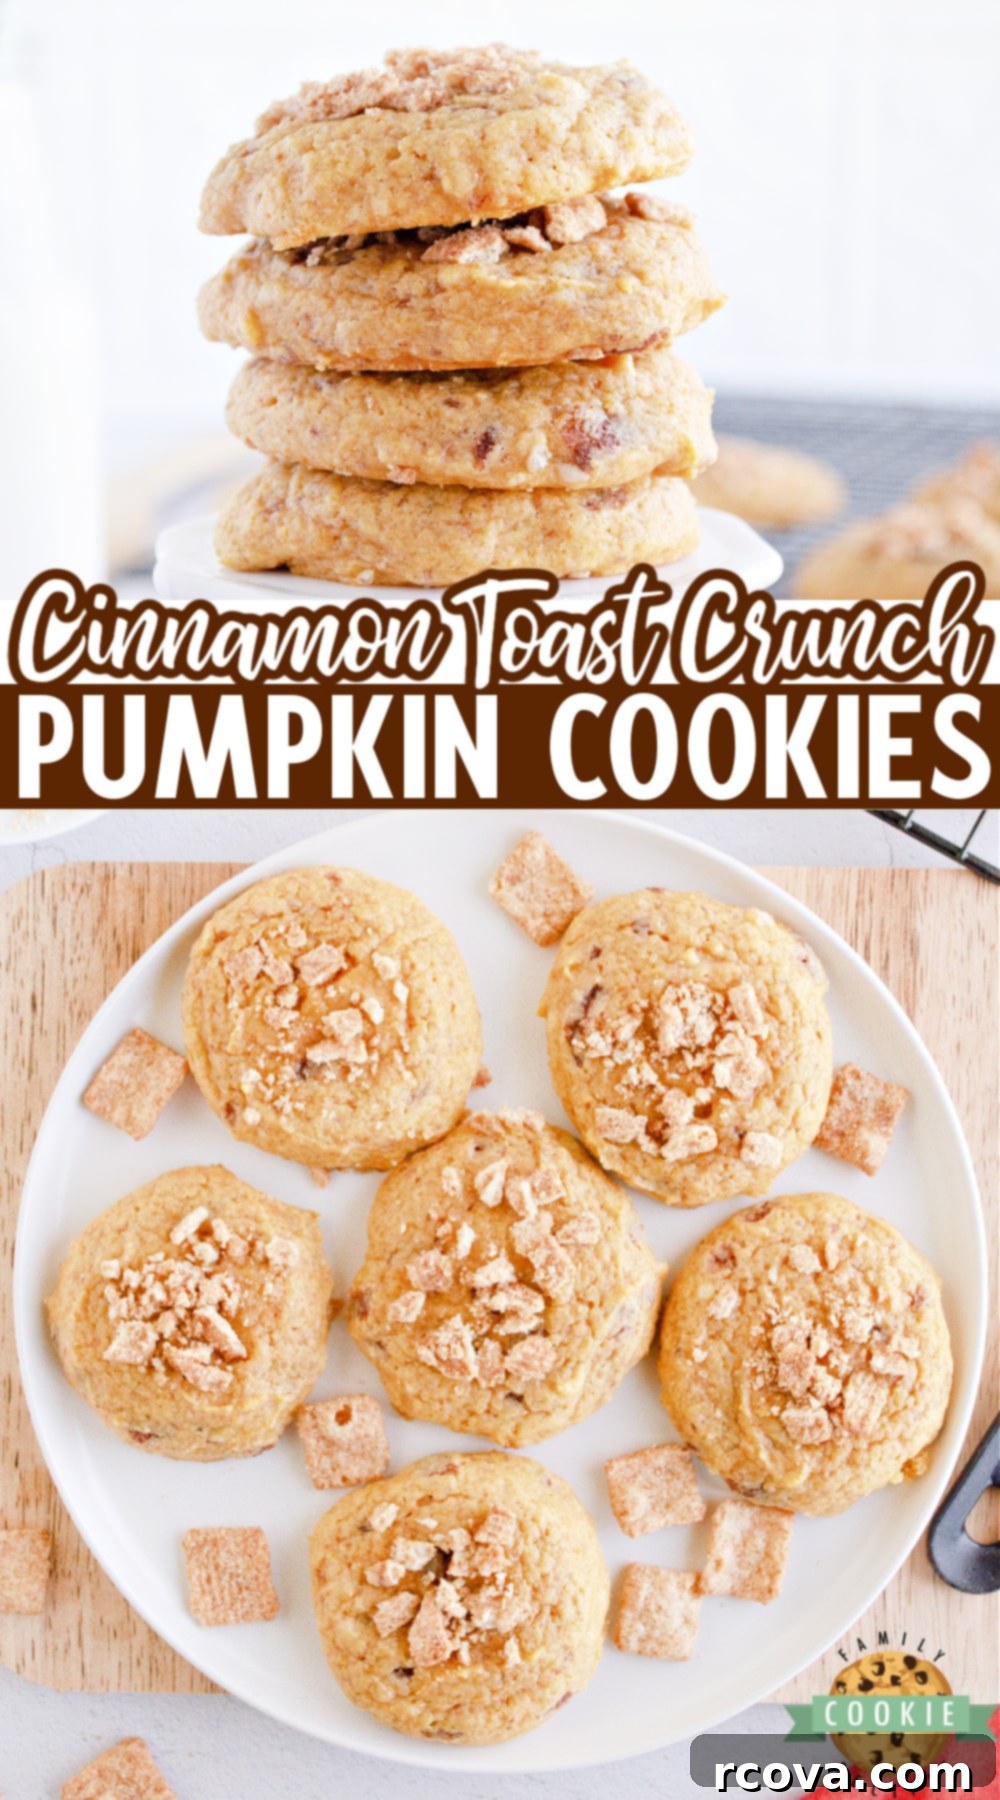
While pumpkin cookies are a beloved seasonal staple, the clever addition of Cinnamon Toast Crunch cereal elevates them from simply delicious to absolutely irresistible. Imagine the soft, spiced warmth of pumpkin meeting the sugary, cinnamon-infused crunch of your favorite breakfast cereal – it’s a match made in dessert heaven! To create these marvels, you’ll simply combine a pouch of Cinnamon Toast Crunch Cookie Mix with softened butter, an egg, and a touch of canned pumpkin. A generous sprinkle of crushed Cinnamon Toast Crunch cereal on top before baking adds that signature texture and an extra burst of flavor. It’s a minimal effort recipe that yields maximum enjoyment.
Key Ingredients for Your Cinnamon Toast Crunch Pumpkin Cookies
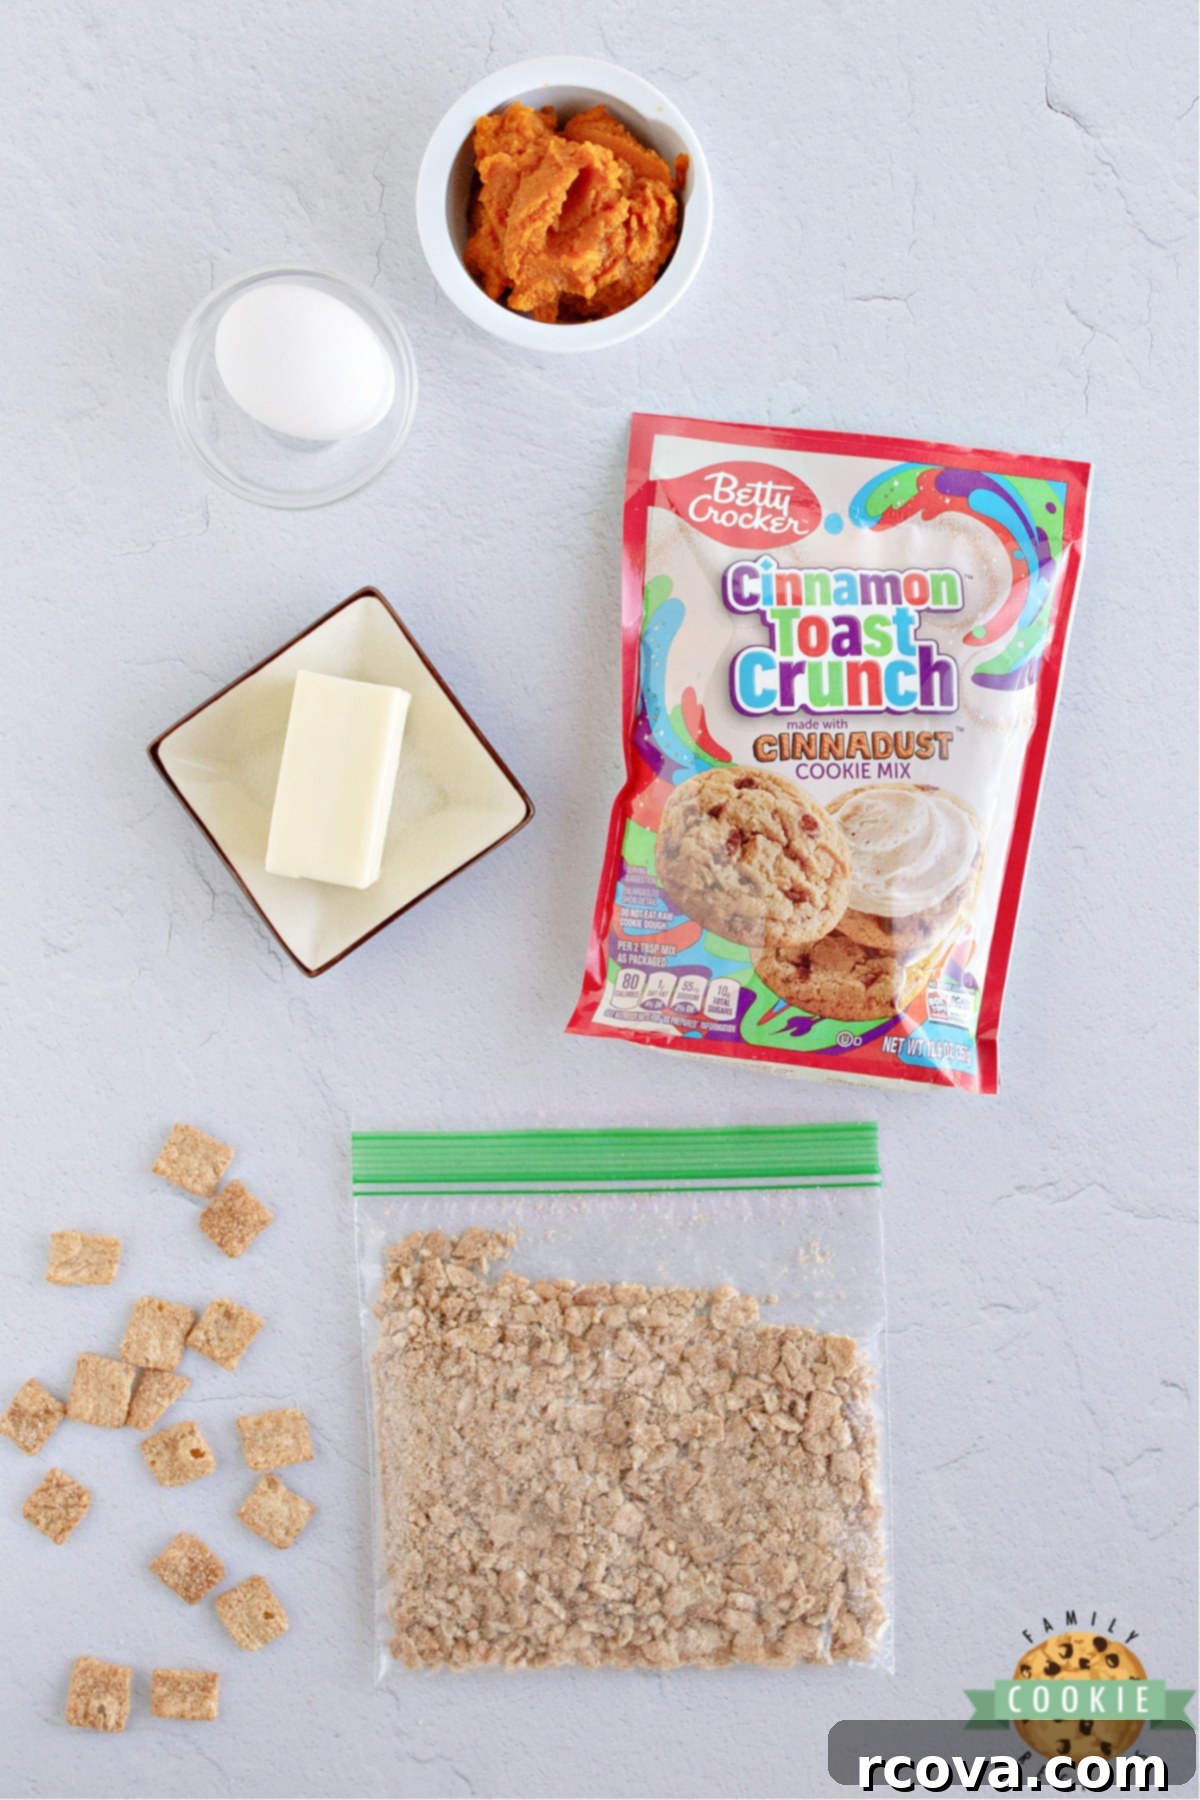
The beauty of this recipe lies in its simplicity and minimal ingredient list. Each component plays a vital role in creating these delightful cookies:
- Cinnamon Toast Crunch Cookie Mix: This is your primary shortcut to a fantastic cookie base. Look for a 12.6-ounce pouch of Betty Crocker Cinnamon Toast Crunch cookie mix in the baking aisle of your local supermarket, typically alongside other cookie and cake mixes. If this specific variety isn’t available, a Snickerdoodle cookie mix makes an excellent alternative, offering a similar cinnamon-sugar profile that pairs wonderfully with pumpkin.
- Butter: You’ll need one-third of a cup of butter, ideally softened to room temperature. Softened butter is crucial for achieving a smooth, well-combined dough and a tender, melt-in-your-mouth cookie texture. We’ll discuss effective methods for softening butter further down.
- Egg: Just one large egg is needed. The egg acts as a binder, helping to hold all the ingredients together, providing moisture, and contributing to the overall structure and richness of the cookie.
- Canned Pumpkin: This is where the autumnal magic truly shines! A third of a cup of pure canned pumpkin (be sure to use 100% pure pumpkin puree, not pumpkin pie filling, which contains added spices and sweeteners) imparts a wonderful moistness and the classic, earthy flavor of pumpkin. It’s the secret to those perfectly chewy pumpkin cookies.
- Cinnamon Toast Crunch Cereal: For the irresistible topping and added crunch, approximately half a cup of crushed Cinnamon Toast Crunch cereal is required. I find the easiest way to crush the cereal is to place it in a sturdy Ziplock bag and gently roll over it with a rolling pin or tap it with a meat mallet. The key is to aim for coarse crumbs rather than a fine powder. Larger pieces ensure distinct pockets of crunch and flavor in every bite, adding a fantastic textural contrast to the soft cookie.
*Pro Tip* If you’re struggling to find the exact Cinnamon Toast Crunch Cookie mix, don’t fret! A standard Snickerdoodle cookie mix will work beautifully as a direct substitute, allowing you to still enjoy these amazing pumpkin cookies.
How to Make Cinnamon Toast Crunch Pumpkin Cookies: A Simple Guide
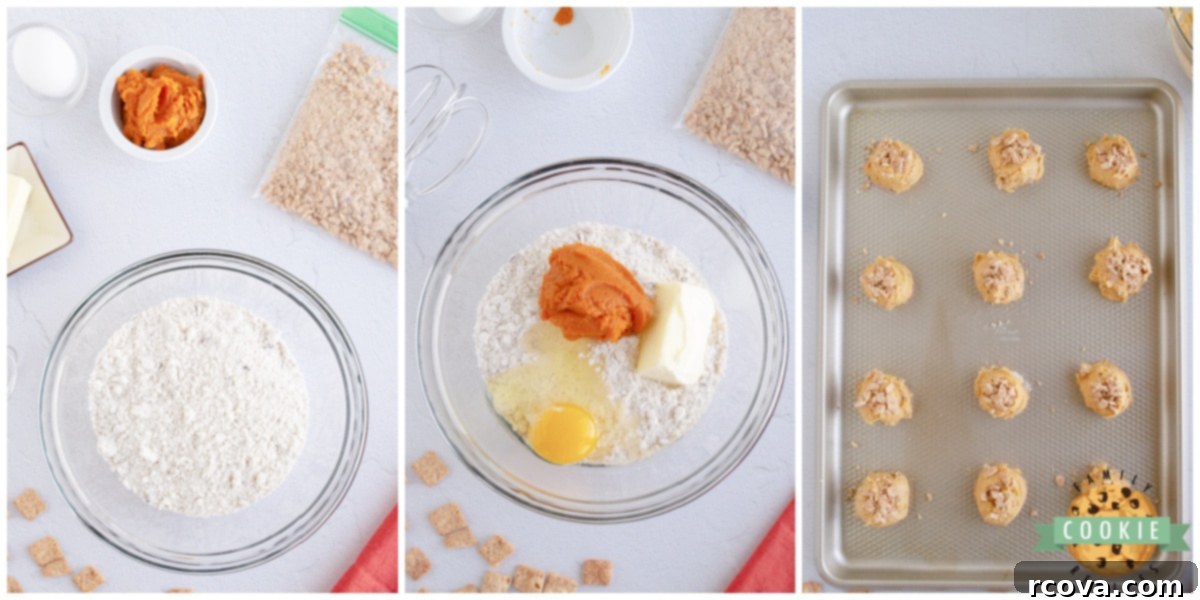
Baking these delightful cookies is a straightforward process, perfect for bakers of all skill levels. Follow these easy steps to bring your Cinnamon Toast Crunch Pumpkin Cookies to life:
- Prepare Your Oven: Begin by preheating your oven to 350° F (175° C). This ensures the oven is at the correct temperature for even baking as soon as your dough is ready.
- Combine Wet and Dry Ingredients: In a medium-sized mixing bowl, combine the entire pouch of Cinnamon Toast Crunch cookie mix (or Snickerdoodle mix), the softened butter, the egg, and the canned pumpkin puree. Using an electric mixer on low speed, or a sturdy spoon, mix these ingredients thoroughly until a cohesive and slightly sticky dough forms. Be careful not to overmix; just combine until no dry streaks remain.
- Portion the Dough: Prepare your baking sheet by lining it with parchment paper or a silicone baking mat (see tips below for why this is essential!). Using a 1-inch cookie scoop or two spoons, drop evenly sized balls of cookie dough onto the prepared baking sheet, leaving about 2 inches between each cookie to allow for spreading.
- Add the Signature Topping: Gently press a generous amount of your crushed Cinnamon Toast Crunch cereal onto the top of each cookie dough ball. This isn’t just for looks; it ensures every bite has that fantastic cinnamon-sugar crunch.
- Bake to Perfection: Place the baking sheet in your preheated oven and bake for approximately 10 minutes. The exact baking time may vary slightly depending on your oven, so keep an eye on them.
- Cool and Enjoy: Once baked, the cookies might still appear slightly soft in the center – this is perfectly normal and desired! Remove the baking sheet from the oven and allow the cookies to cool completely on the hot sheet for about 5-10 minutes. This allows them to set up and continue baking slightly from residual heat. After this initial cooling, transfer the cookies to a wire rack to cool down entirely before serving or storing. This prevents the bottoms from becoming soggy.
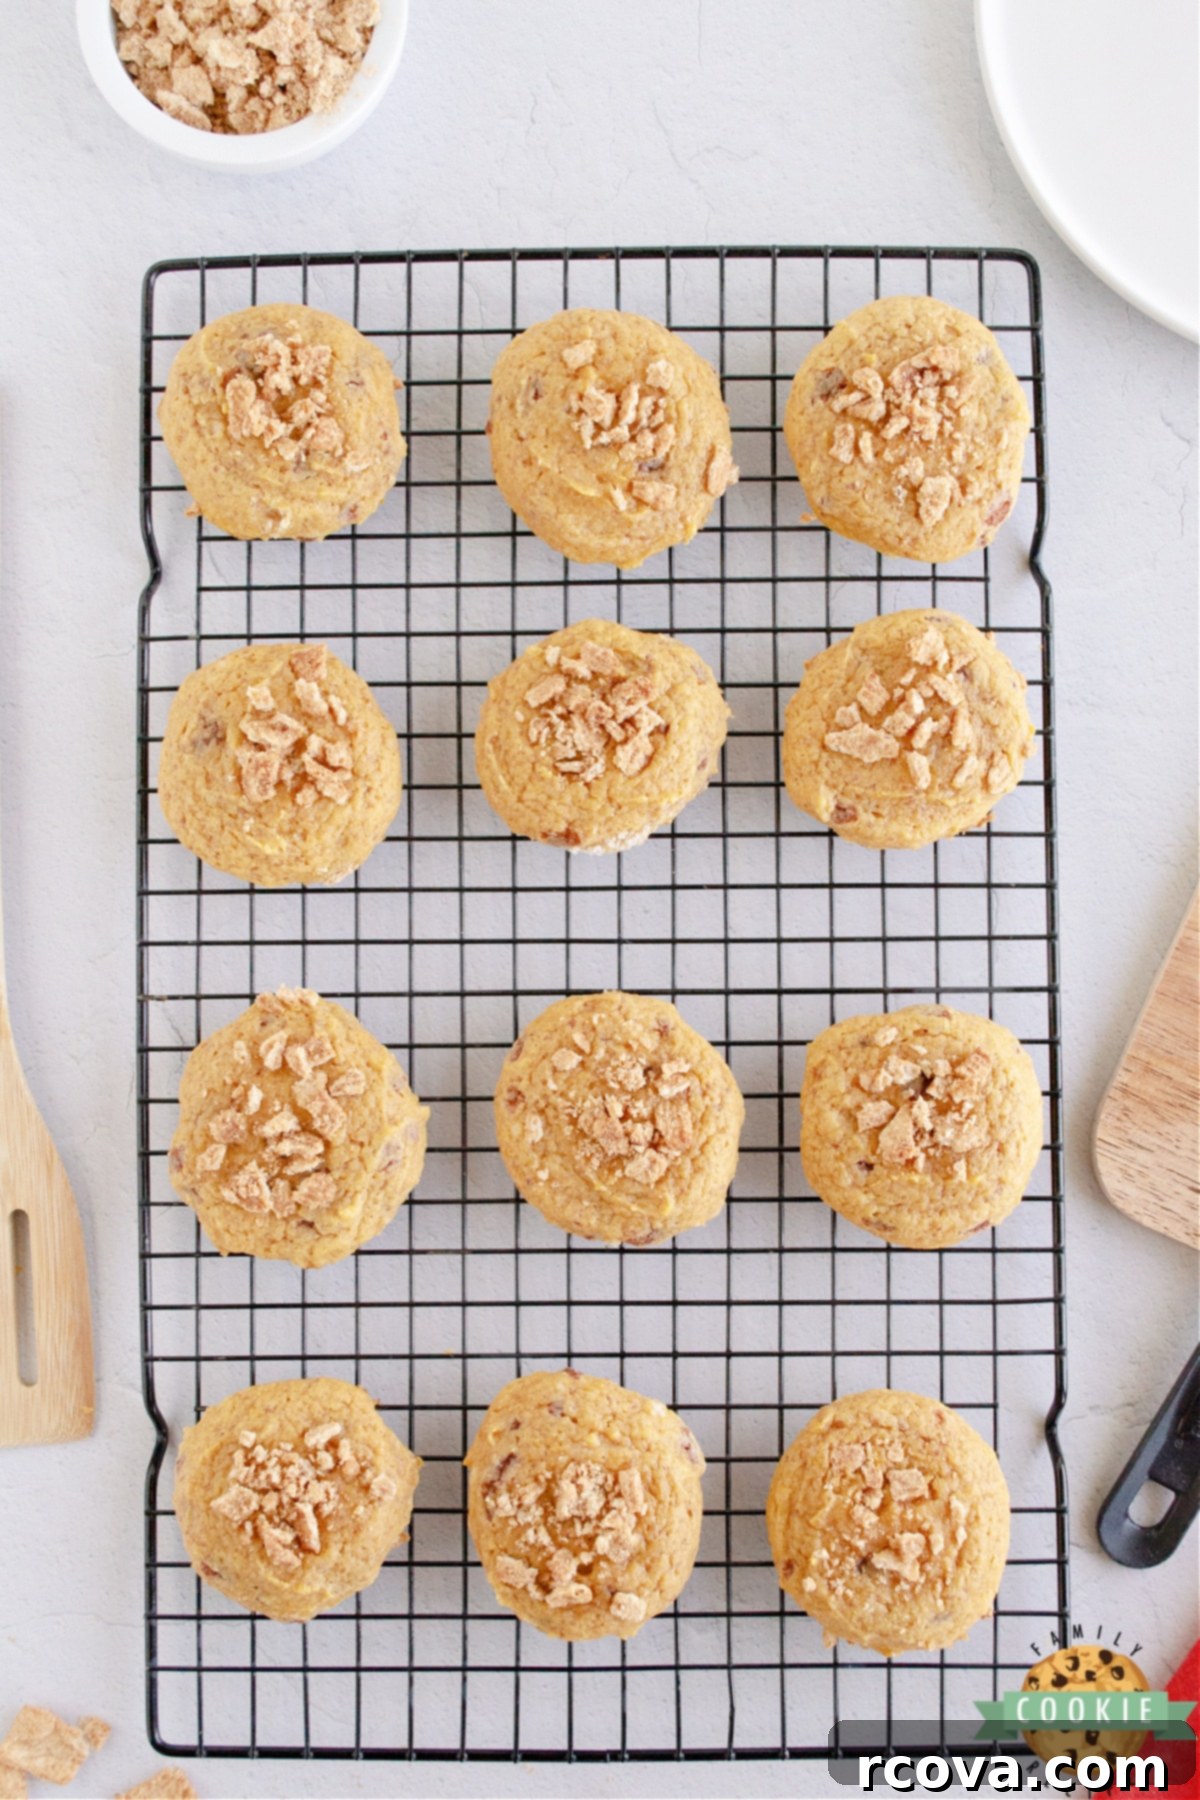
Cinnamon Toast Crunch Pumpkin Cookies
Print
Pin
Rate
Ingredients
- 1 pouch (12.6 ounces) Betty Crocker Cinnamon Toast Crunch Cookie Mix (or Snickerdoodle mix)
- ⅓ cup unsalted butter softened to room temperature
- 1 large egg
- ⅓ cup pure canned pumpkin (not pumpkin pie filling)
- ½ cup crushed Cinnamon Toast Crunch Cereal (for topping)
Instructions
-
Preheat the oven to 350° F (175° C). Prepare a baking sheet by lining it with parchment paper or a silicone baking mat.
-
In a medium-sized mixing bowl, combine the cookie mix, softened butter, egg, and pure canned pumpkin. Mix well using an electric mixer or a sturdy spoon until a uniform dough is formed. Avoid overmixing.
-
Using a 1-inch cookie scoop or your hands, roll the dough into even balls and place them about 2 inches apart on the prepared baking sheet.
-
Sprinkle a generous amount of crushed Cinnamon Toast Crunch cereal on top of each cookie dough ball, gently pressing it down to adhere.
-
Bake for 10 minutes, or until the edges are lightly golden and the centers are still slightly soft.
-
Remove cookies from the oven and let them cool on the baking sheet for 5-10 minutes before transferring them to a wire rack to cool completely.
Notes
Nutrition
Tips for Baking Perfect Pumpkin Cookies Every Time
Achieving consistently perfect pumpkin cookies is easier than you might think! Here are a few expert tips to ensure your cookies turn out beautifully baked, uniformly shaped, and delightfully chewy:
- Invest in a Cookie Scoop: For perfectly uniform cookies, a cookie scoop is your best friend. It ensures that each cookie is the same size, which leads to even baking across the entire batch. Plus, it makes the process quicker and less messy.
- Always Use Parchment Paper or a Silicone Baking Mat: This tip is a game-changer for easy cleanup and perfectly shaped cookies. Lining your baking sheets with parchment paper or a silicone baking mat prevents sticking, allowing your cookies to effortlessly slide off the pan once cooled. This means no scraping, no broken cookies, and a much smoother baking experience.
- Resist the Urge to Overbake: This is perhaps the most crucial tip for moist and chewy cookies. When you remove your cookies from the oven, they should still look slightly underbaked in the center. The residual heat from the baking sheet will continue to cook them for a few more minutes, a process known as “carryover cooking.” If you wait until they look fully set in the oven, they will be overbaked and dry once cooled. Trust the process and pull them out when they’re just set around the edges.
- Cool Completely on a Wire Rack: After the initial cooling on the baking sheet, transfer your cookies to a wire cooling rack. This allows air to circulate around all sides of the cookies, preventing the bottoms from becoming soggy and ensuring they achieve the ideal texture.
- Measure Ingredients Accurately: While using a mix simplifies things, precise measurement of butter, egg, and pumpkin is still important. Baking is a science, and even small variations can affect the final outcome.
How to Achieve Perfectly Softened Butter at Room Temperature
Softened butter is a critical ingredient for many cookie recipes, including these Cinnamon Toast Crunch Pumpkin Cookies. It creams easily with sugar, incorporates air, and results in a lighter, more tender cookie. The “room temperature” ideal typically means butter that yields slightly when pressed but isn’t greasy or melted. While the best method is to plan ahead and let it sit on the counter for a few hours, life doesn’t always allow for such foresight. Here are a few quick tricks:
- The Microwave Method (with caution!): This is the fastest approach, but it requires careful attention to avoid melting the butter. Place a whole stick of butter (unwrapped from foil) in the microwave. Microwave it for about 6-7 seconds. Check its softness. If it’s still quite firm, microwave again for another 5-7 seconds. Continue in short bursts until it reaches the desired soft consistency. It’s better to under-soften and add a few more seconds than to over-melt it.
- Defrost Setting: Many microwaves have a defrost setting. While it might take a bit longer (closer to 30-45 seconds, depending on your microwave and butter temperature), this mode often thaws more gently, making it easier to soften the butter without accidentally melting it into a liquid puddle.
- The Water Bath Method: If you prefer to avoid the microwave, place the wrapped stick of butter in a bowl of warm (not hot!) water for about 5-10 minutes. The warmth will penetrate the butter, softening it evenly.
- Cut into Smaller Pieces: For a slightly faster natural softening, cut your cold butter stick into small cubes (about 1-inch pieces) and spread them out on a plate. The increased surface area will help them come to room temperature more quickly, usually within 15-30 minutes, depending on your room’s temperature.
Why Are My Pumpkin Cookies Burning on the Bottom but Not Cooking in the Middle?
This common baking predicament can be frustrating, but it’s usually easily remedied. If you find your cookies are consistently burning on the bottom while remaining undercooked in the center, here are the most likely culprits and how to fix them:
- Your Cookie Sheets: The type of baking sheet you use plays a significant role. Dark-colored cookie sheets absorb more heat, leading to faster browning and sometimes burning on the bottom of baked goods before the interior has a chance to cook through. Light-colored, heavy-gauge aluminum baking sheets are generally preferred for even baking. If you only have dark pans, reduce your oven temperature by 25°F and shorten baking time slightly.
- Excessive Cooking Spray: While helpful, too much cooking spray can also cause the bottoms of your cookies to burn. The oils in the spray can heat up excessively and caramelize, leading to a burnt bottom. This is another reason why I enthusiastically recommend using silicone baking mats or parchment paper. They provide a non-stick surface without the need for additional fats, ensuring your cookies slide off perfectly without a trace of burning.
- Oven Hot Spots: Ovens often have hot spots where temperatures are higher than in other areas. If you notice consistent burning in specific areas of your baking sheet, try rotating the pan halfway through the baking process. An oven thermometer can also help you verify if your oven’s internal temperature matches its setting.
- Rack Position: Baking on the lowest rack can expose cookies to more direct heat from the bottom element, increasing the chances of burning. For most cookies, the middle rack is ideal for even heat distribution.
Explore More Favorite Pumpkin Cookie Recipes!
If you’ve fallen in love with the comforting flavors of pumpkin, there’s a whole world of delightful pumpkin cookie recipes waiting to be discovered! Pumpkin adds incredible moisture, a subtle sweetness, and that unmistakable essence of fall to any cookie. It’s an ingredient that truly shines in baked goods, bringing warmth and coziness to every bite. From classic spiced varieties to innovative combinations, pumpkin cookies are a perfect treat for the autumn season, holiday gatherings, or simply a comforting snack with a warm beverage. Here are some of our absolute favorite pumpkin cookie recipes that we know you’ll adore:
- Pumpkin Snickerdoodle Cookie Bars
- Pumpkin Cheesecake Ginger Cookies
- Pumpkin Oatmeal Chocolate Chip Cookies
- Iced Pumpkin Cookies
- Iced Cinnamon Pumpkin Cookies
- Apple Pumpkin Oatmeal Cookies
- No Bake Pumpkin Cookies
- Pumpkin Chocolate Chip Cookies
- Glazed Pumpkin Cookies
- Pumpkin Snickerdoodles
- Pumpkin Pudding Cookies
- Pumpkin Spice Snickerdoodle Cookies
There’s nothing quite like the start of a new school year, especially when your kids are growing up so fast! It feels like just yesterday I was sending them off to elementary school, and now I have a senior in high school. Time truly flies, and with each passing season, I’m reminded to cherish every precious moment with my wonderful children. Baking these simple yet comforting Cinnamon Toast Crunch Pumpkin Cookies is one of the many ways we create special memories together. Even with a house full of teenagers and a little one about to start preschool, there’s always time for a warm, homemade treat that brings everyone together. Whether it’s after school or during a weekend, these cookies are a sweet reminder of family, comfort, and the joy of simple pleasures.


