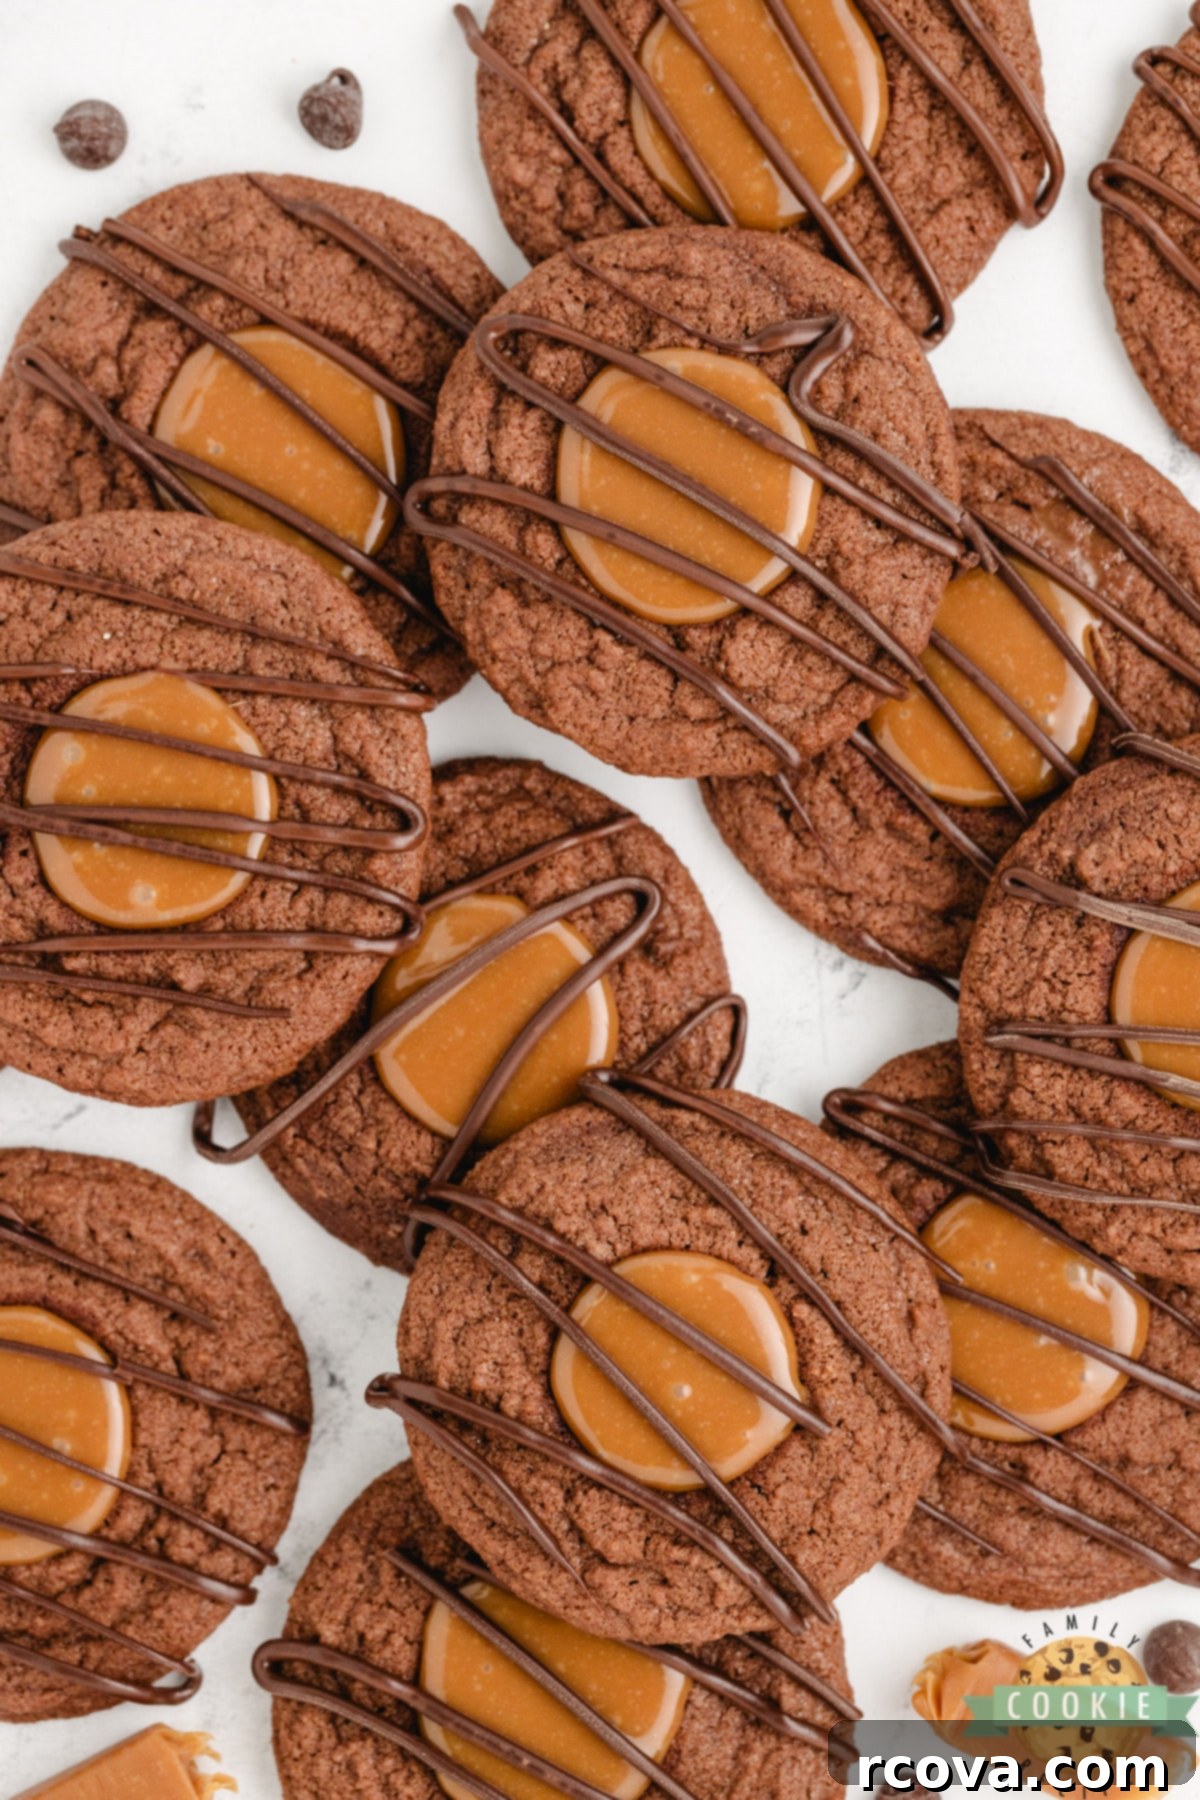
Irresistible Caramel Brownie Thumbprint Cookies: Your New Favorite Chewy, Gooey Recipe
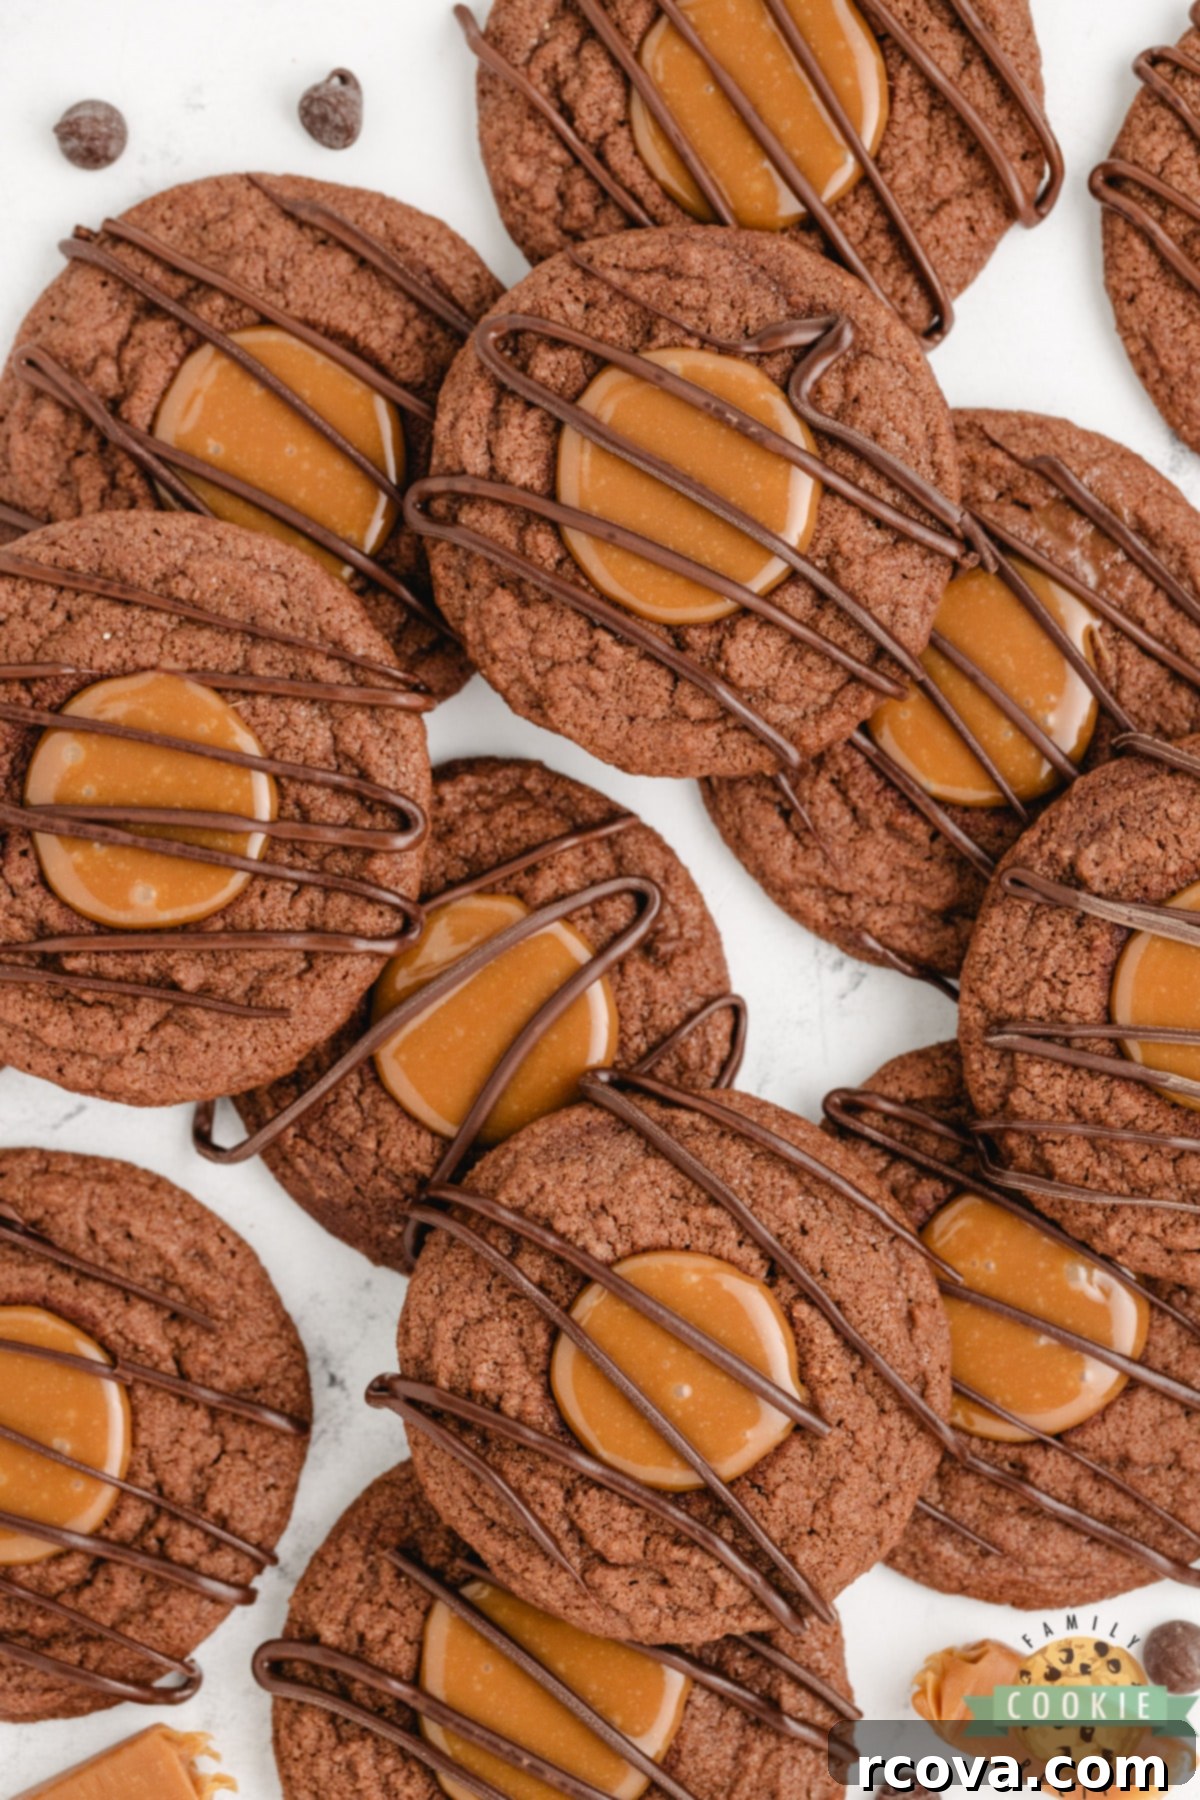
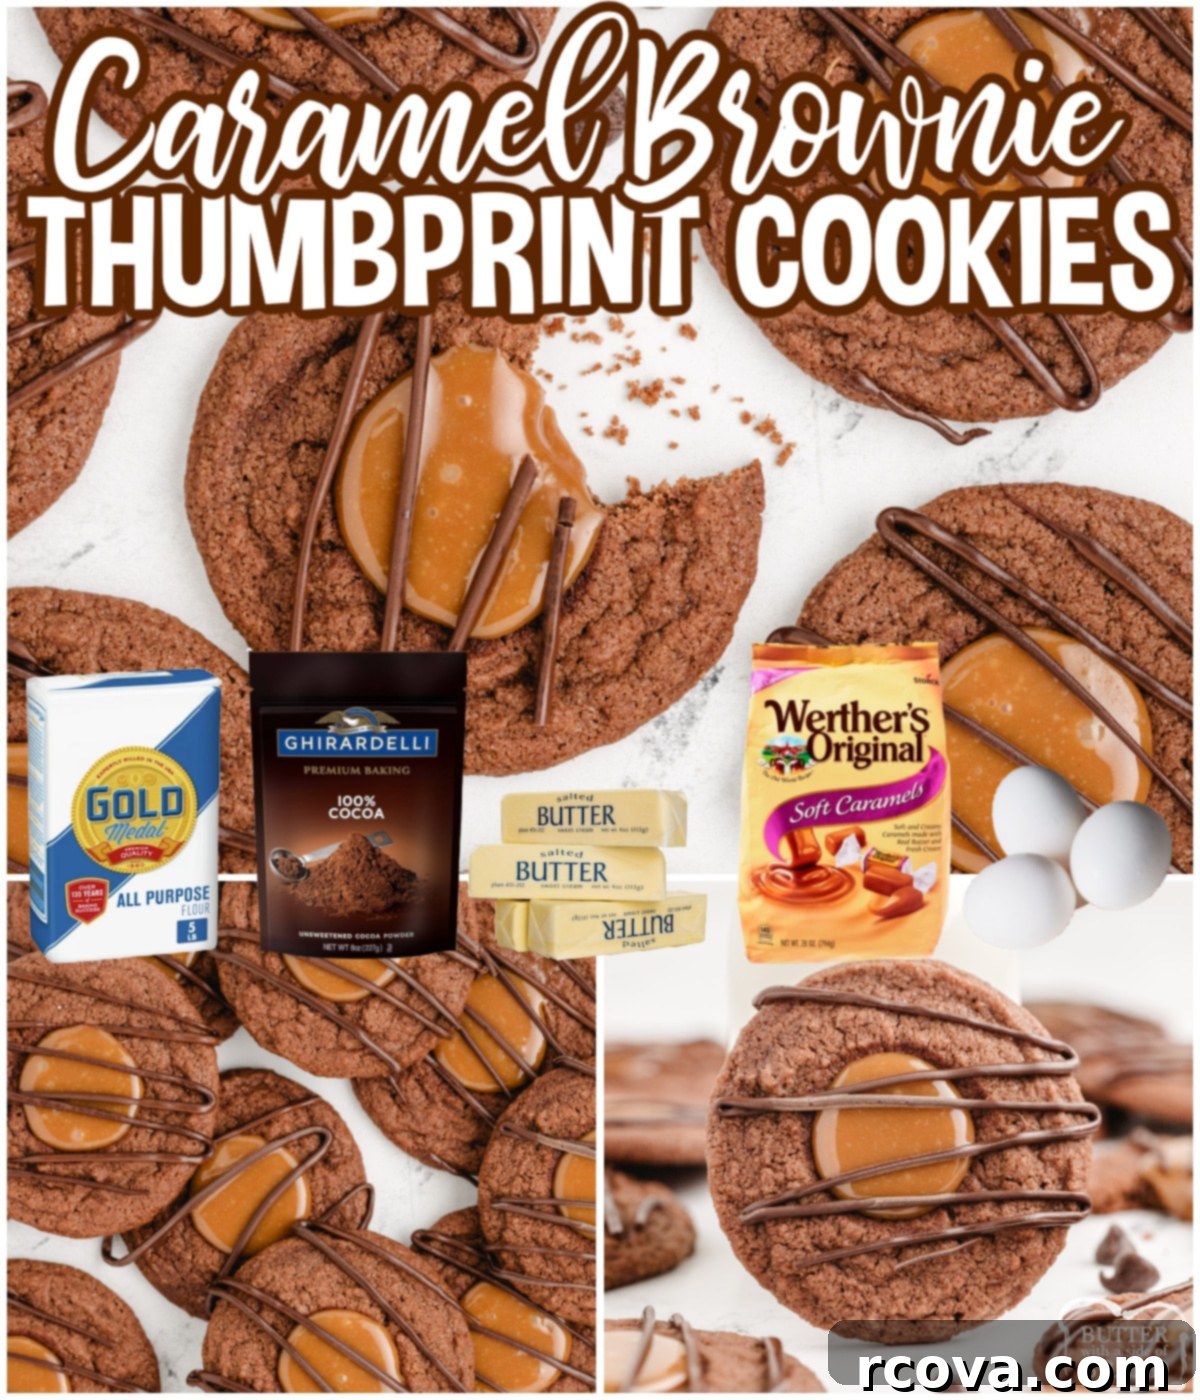
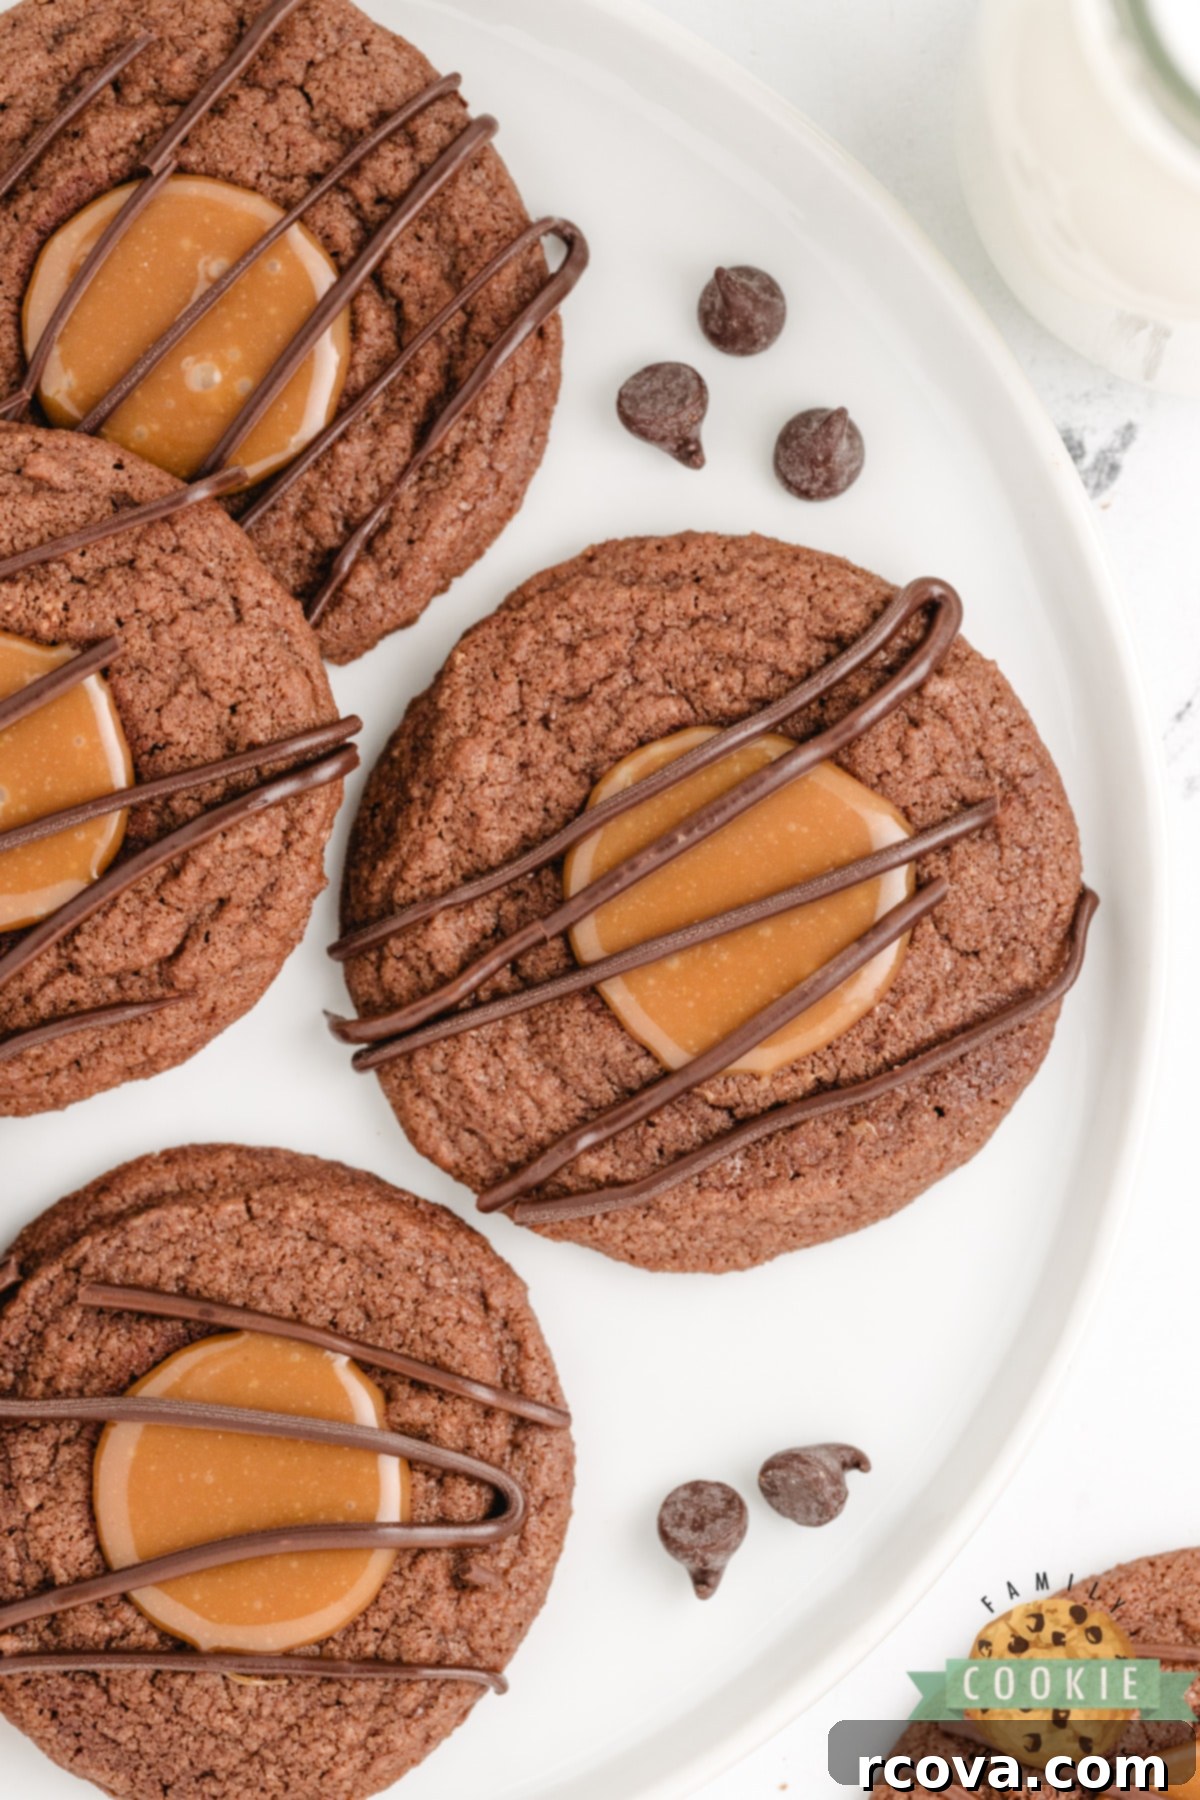
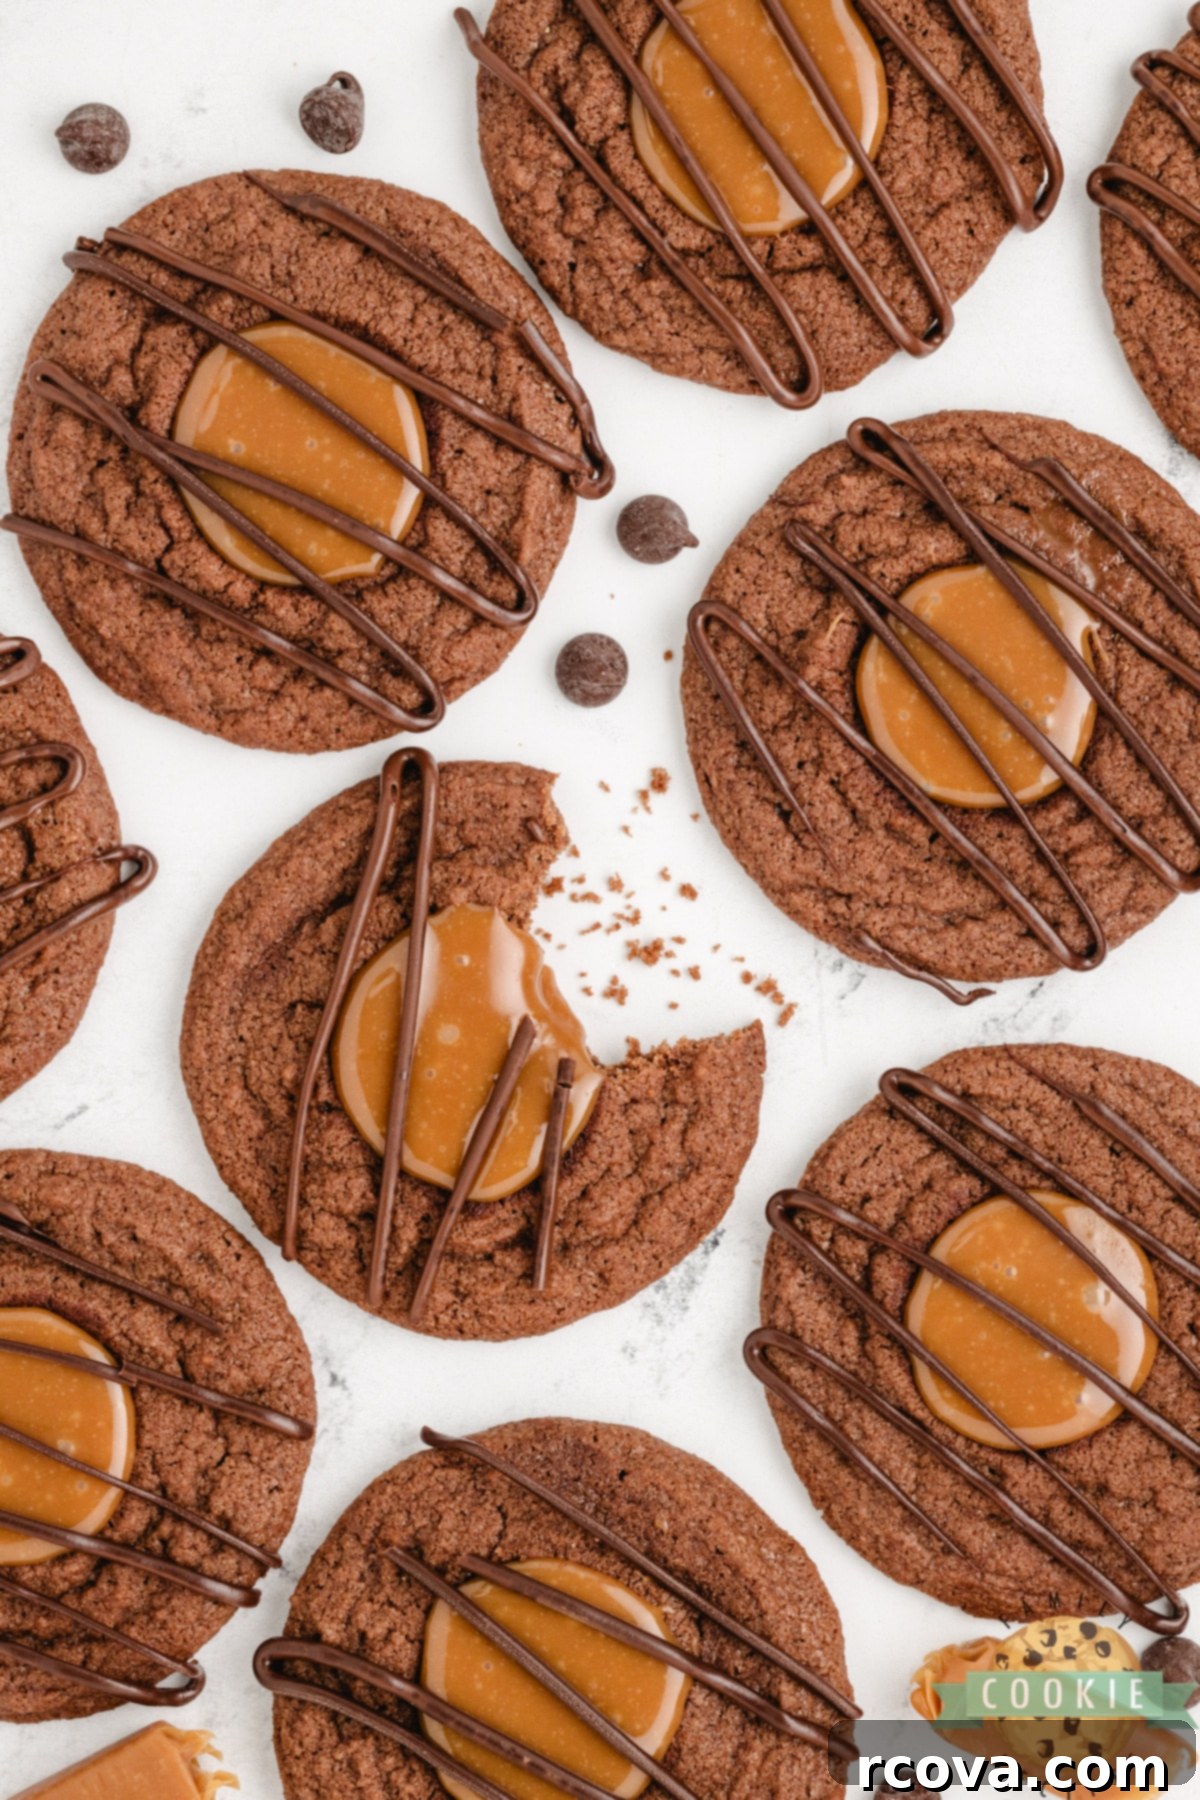
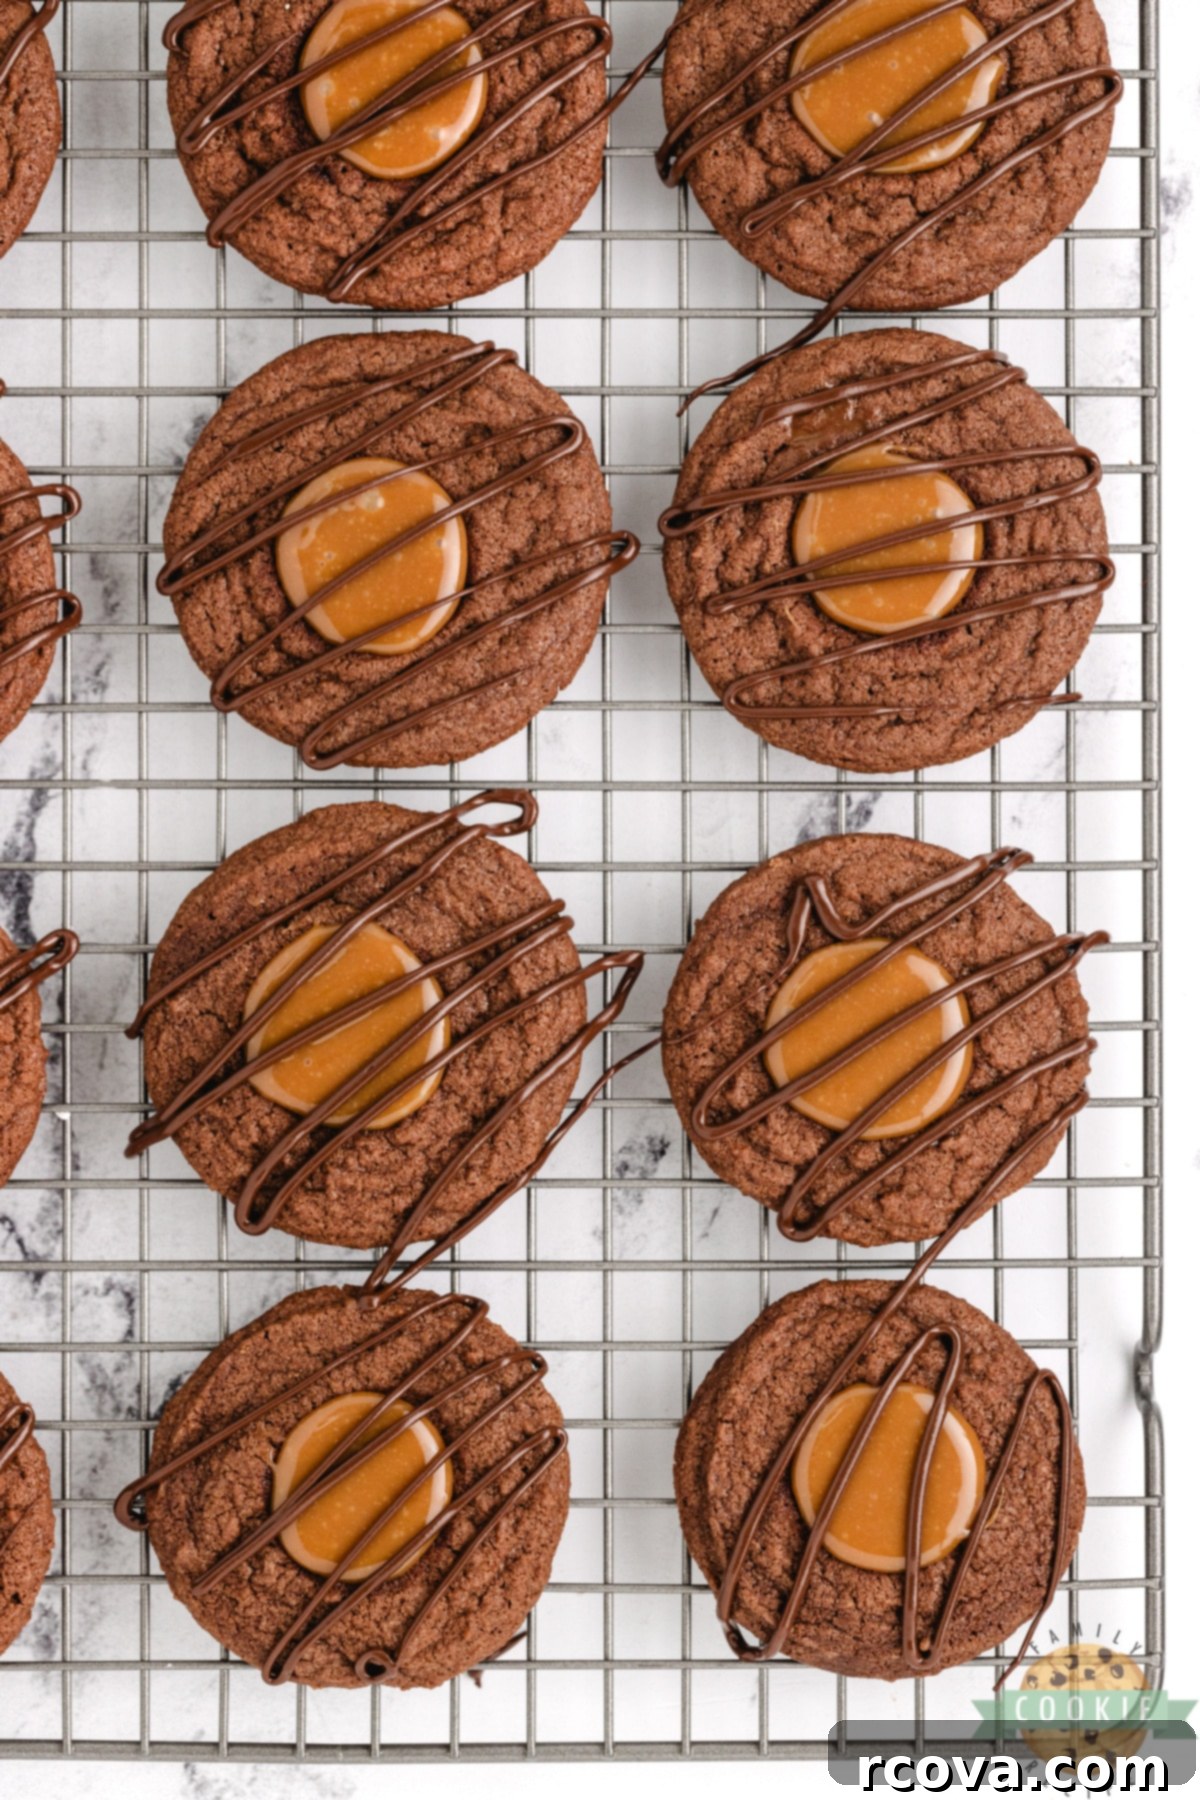
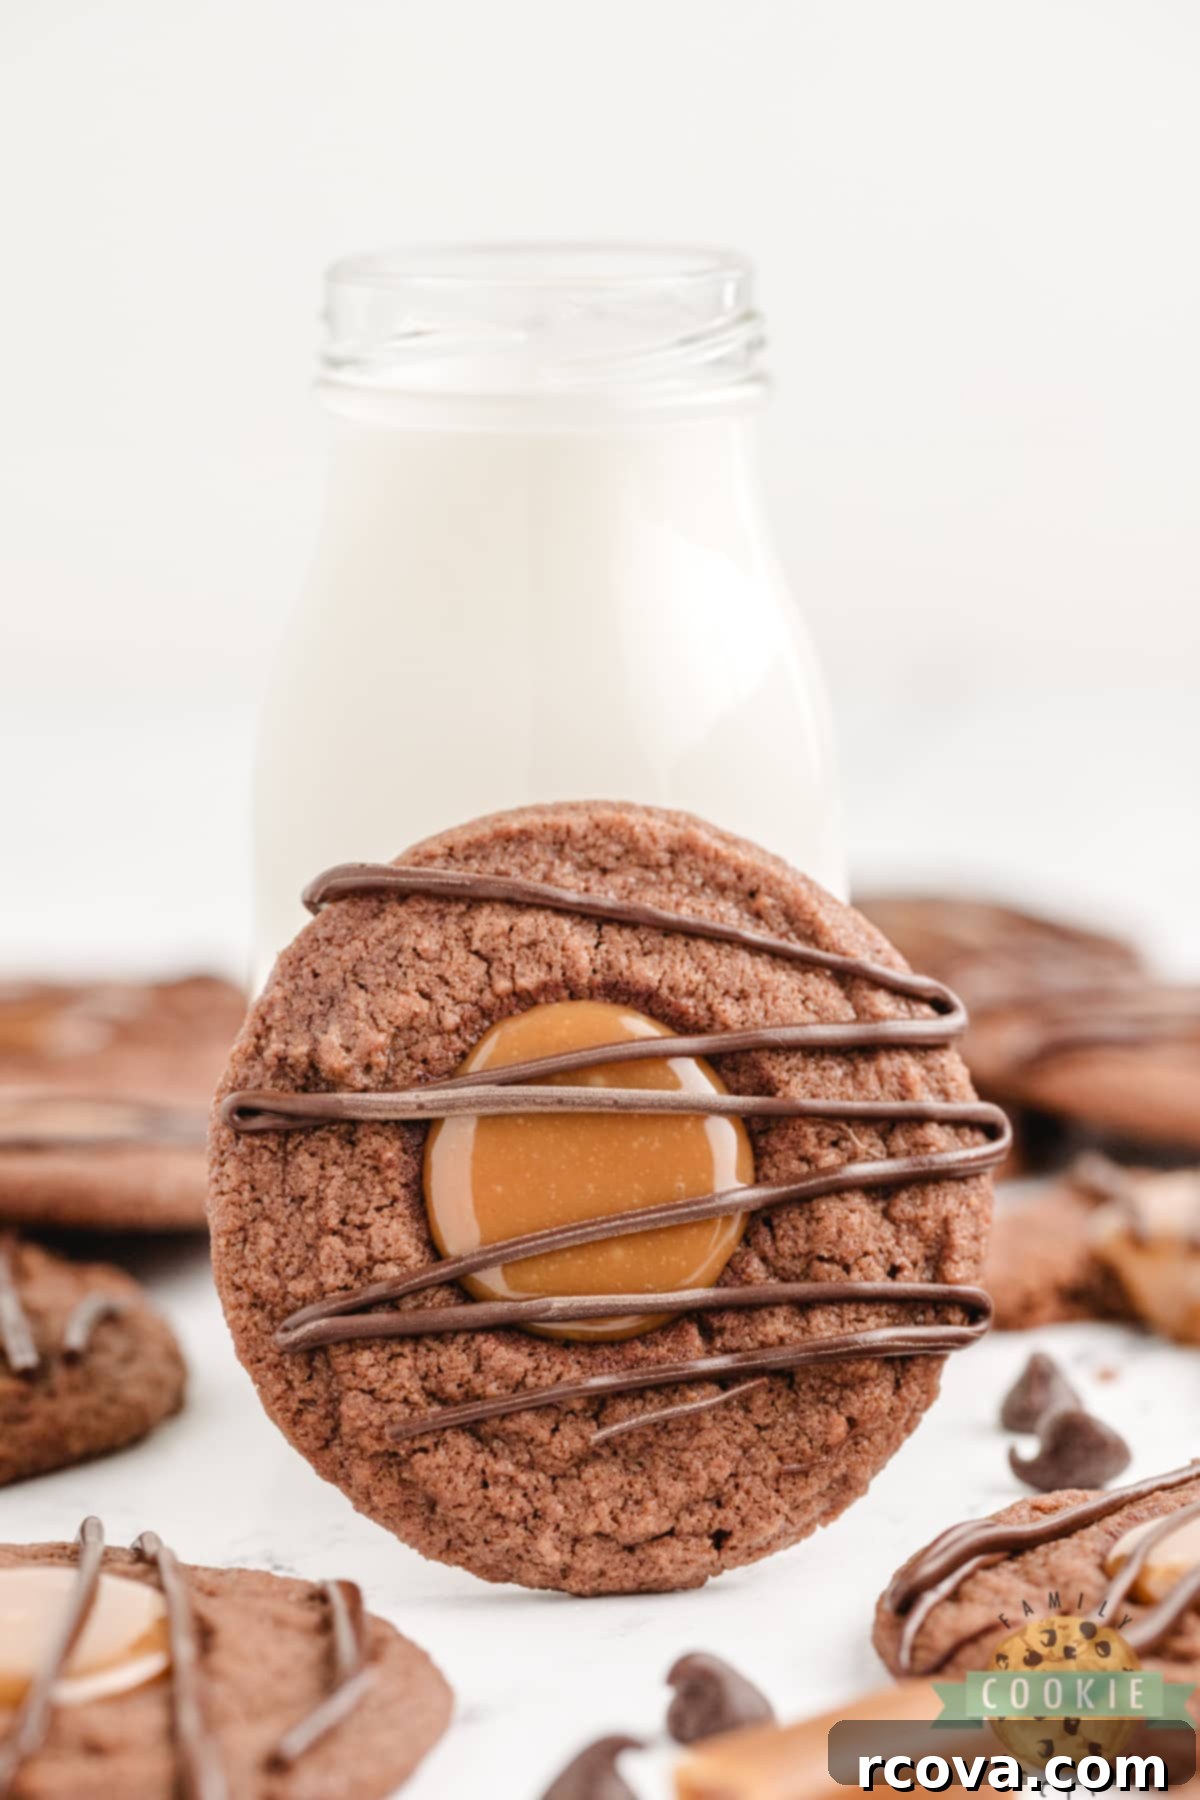
Indulge in the ultimate chocolate and caramel delight with these incredible Caramel Brownie Thumbprint Cookies. Imagine a rich, intensely chocolatey cookie base, boasting that beloved chewy texture reminiscent of a perfect brownie. Each bite-sized cookie cradles a luscious, creamy caramel filling, all brought together with a delicate zigzag of simple chocolate drizzle. These aren’t just cookies; they’re a symphony of flavors and textures designed to captivate your taste buds and become a cherished addition to your baking repertoire. Perfect for holiday gatherings, special occasions, or simply a cozy treat, this recipe promises pure decadence.
The Charming History of Thumbprint Cookies
While their exact origins remain a delightful mystery, thumbprint cookies are widely believed to have emerged from Sweden in the early 1900s. Known as “Hallongrottor,” or “raspberry caves,” these charming treats quickly gained popularity beyond Scandinavia. By the 1940s and 1950s, they had cemented their place as a baking staple in American homes, cherished for their simple elegance and delicious versatility. What makes thumbprint cookies so enduringly popular is their adaptable nature; a soft cookie base, indented and filled with a sweet surprise, allows for endless creative possibilities. This particular recipe takes the classic concept and elevates it with a rich chocolate brownie-like cookie and a dreamy caramel filling, making it a modern classic.
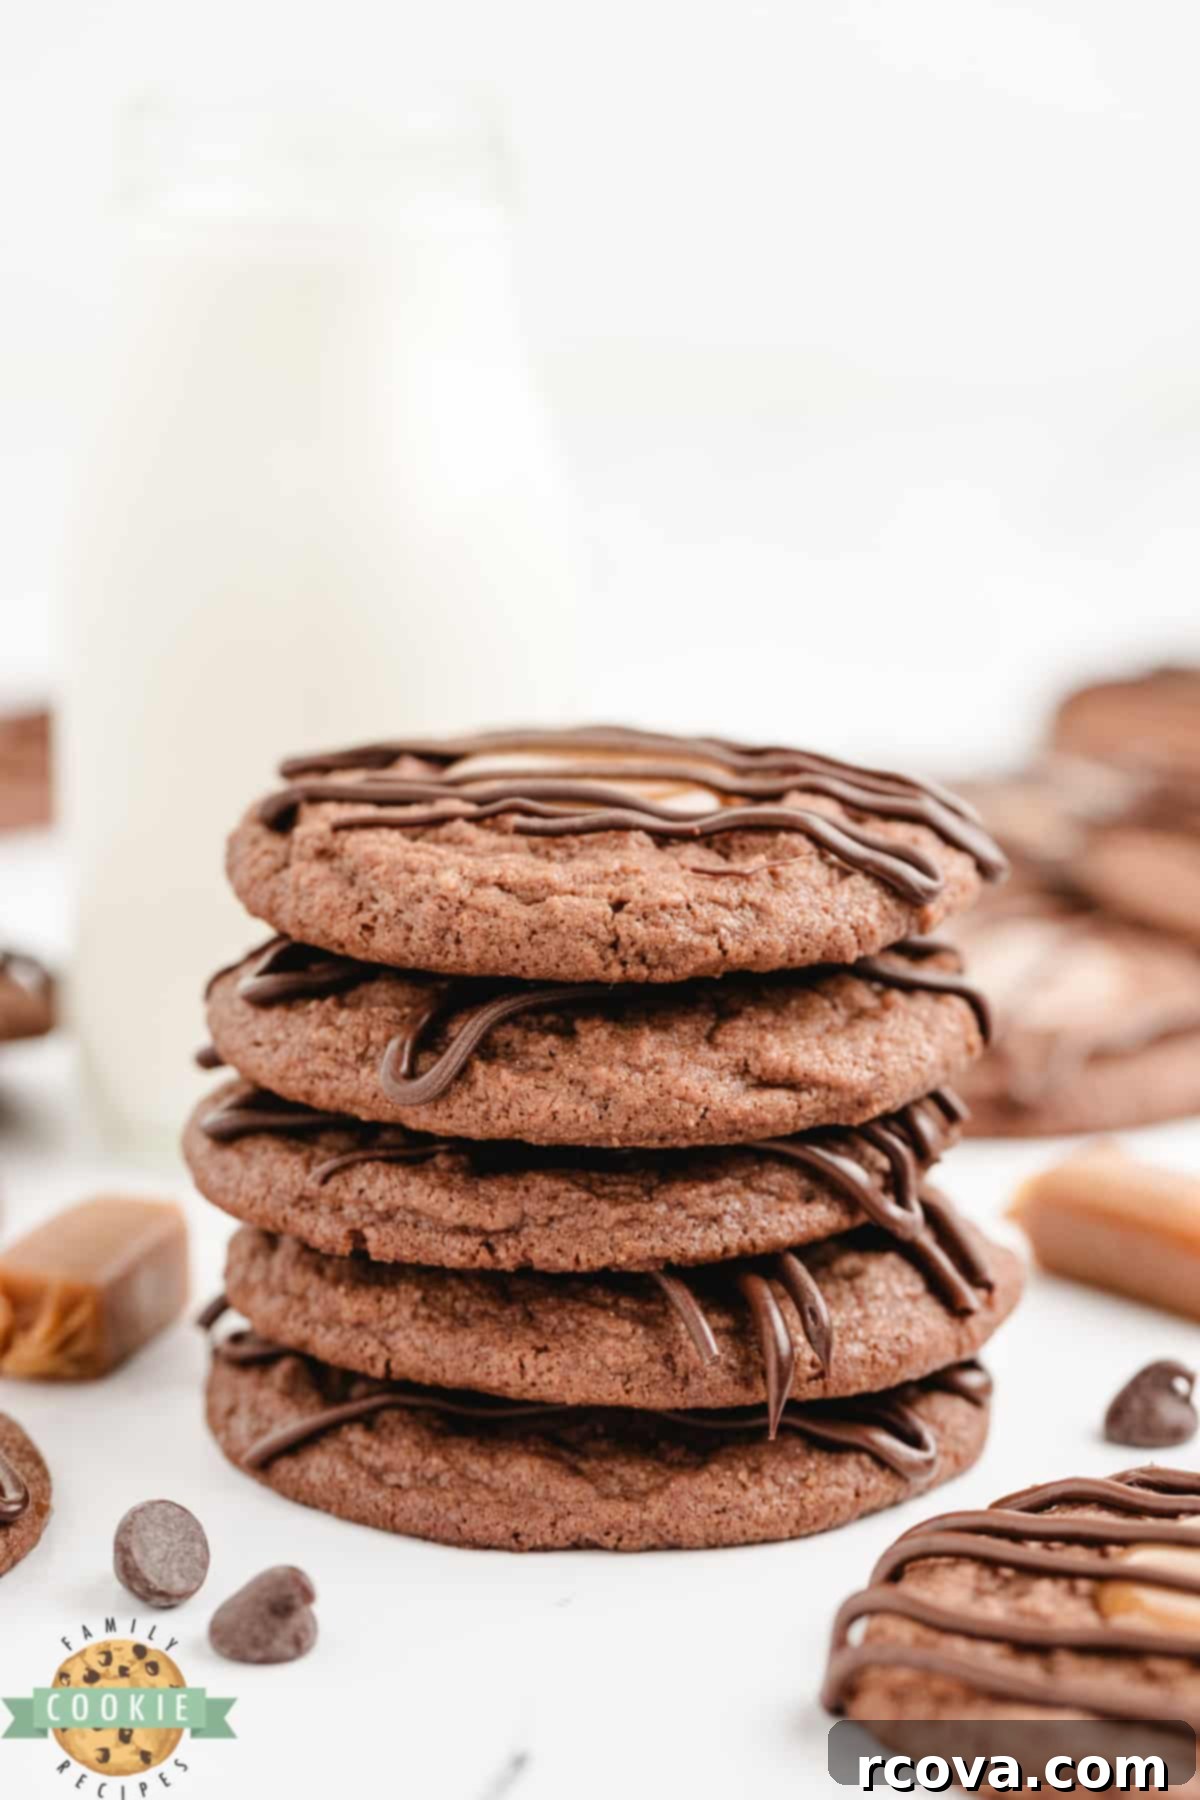
Our Caramel Brownie Thumbprint Cookies perfectly embody this tradition. They begin with a tender, chewy chocolate cookie dough that’s deeply flavored, echoing the richness of your favorite brownie. Each cookie is then gently pressed to create a “thumbprint” or well, which is generously filled with a smooth, buttery caramel. A final flourish of melted chocolate adds an extra layer of visual appeal and flavor, making these cookies as delightful to look at as they are to eat. They are truly a delicious twist on a timeless favorite.
Key Ingredients for Decadent Caramel Brownie Thumbprint Cookies
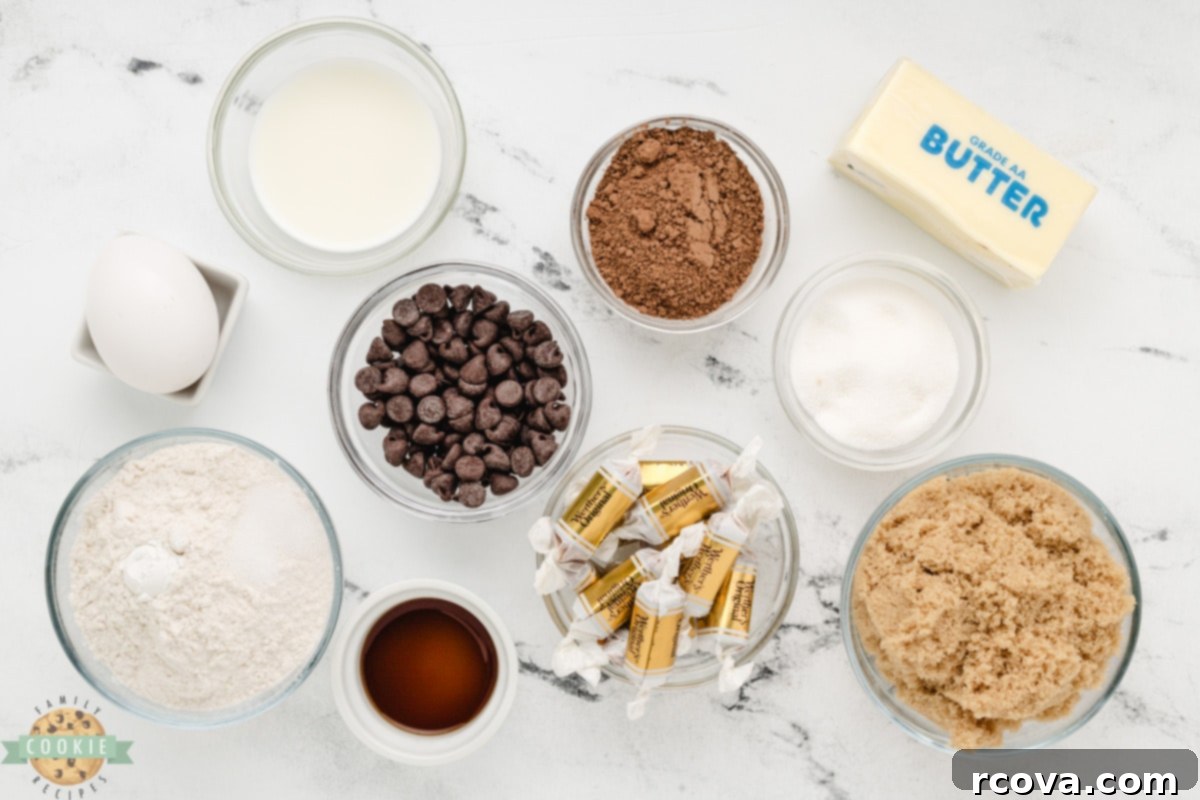
Crafting these extraordinary cookies requires a thoughtful selection of ingredients, each playing a crucial role in achieving the perfect flavor and texture. Here’s a detailed look at what you’ll need and why:
For the Rich Chocolate Cookies:
- All-Purpose Flour: The foundation of our chewy cookie. Using standard all-purpose flour provides the ideal structure without making the cookies tough.
- Cocoa Powder: This is where the “brownie” in “Caramel Brownie Thumbprint Cookies” comes from. Opt for good quality unsweetened cocoa powder for a deep, intense chocolate flavor. If you’re not a fan of chocolate, you can omit it for a classic shortbread thumbprint base.
- Salt: A pinch of salt is vital. It balances the sweetness, intensifies the chocolate and caramel flavors, and makes everything taste brighter and more complex.
- Baking Powder: Our leavening agent. Ensure your baking powder is fresh (not expired) for the best lift and tender crumb. It contributes to that slightly puffy, yet chewy texture.
- Unsalted Butter: The secret to rich, tender cookies. Always use real butter, softened to room temperature. This allows it to cream properly with the sugars, incorporating air and creating a light, fluffy base.
- Brown Sugar (Light, firmly packed): Contributes moisture and chewiness, characteristic of brownies. The molasses in brown sugar also adds a subtle depth of flavor. Make sure it’s soft and fresh for optimal results.
- Granulated Sugar: A small amount of white sugar works with the brown sugar to achieve the perfect level of sweetness and helps with crisp edges while maintaining a soft interior.
- Egg Yolk: This is a key ingredient for the brownie-like chewiness. Using only the yolk (not the whole egg) adds richness and tenderness without making the cookie cakey. Allow it to come to room temperature for easier incorporation.
- Vanilla Extract: High-quality vanilla extract enhances all the other flavors. Don’t skimp here; a good vanilla makes a noticeable difference.
For the Smooth Caramel Filling:
- Soft Caramels: Store-bought soft caramels are a convenient and delicious choice. Werther’s soft caramels are highly recommended for their excellent flavor and melting consistency.
- Milk: A small amount of milk helps to thin the melted caramel to a perfect pourable consistency. For an even richer, more decadent caramel, you can substitute with half-and-half or heavy cream.
- Salt: A tiny dash of salt elevates the caramel, creating a wonderful salted caramel effect that beautifully complements the chocolate.
For the Elegant Chocolate Drizzle:
- Semi-Sweet Chocolate Chips: These melt down beautifully to create a glossy, delicious drizzle. You can experiment with white chocolate or milk chocolate chips if you prefer a different flavor profile.
Crafting Your Caramel Brownie Thumbprint Cookies: A Step-by-Step Guide
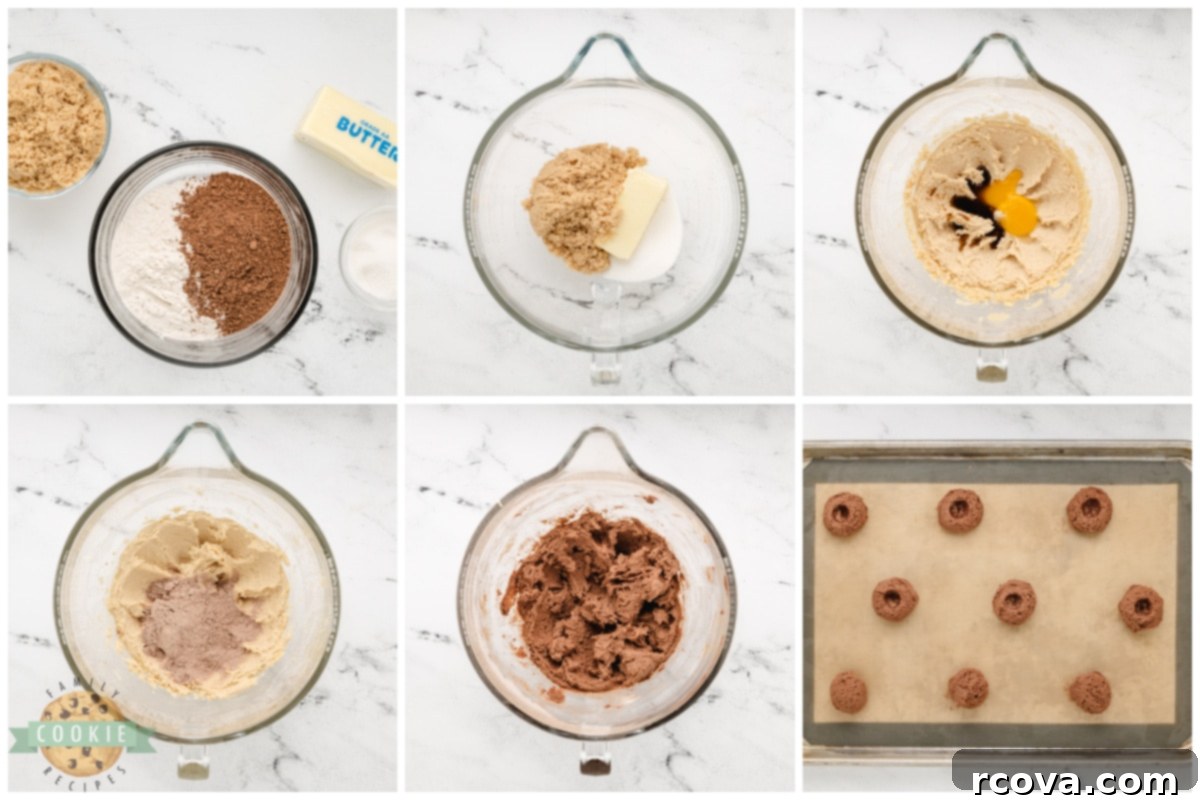
Step-by-Step Instructions:
Making these cookies is a joyous process, and following these steps will ensure perfect results every time:
Part 1: Prepare the Chewy Chocolate Cookie Base
- Prep Baking Sheets: Begin by lining two large baking sheets with parchment paper or silicone baking mats. This prevents sticking and makes cleanup a breeze. Set them aside.
- Combine Dry Ingredients: In a medium-sized bowl, whisk together the all-purpose flour, cocoa powder, salt, and baking powder. Whisking ensures these ingredients are evenly distributed, which is crucial for uniform cookies. Set this bowl aside.
- Cream Butter and Sugars: In a large mixing bowl, using an electric mixer, cream together the softened unsalted butter, light brown sugar, and granulated sugar on medium-high speed. Beat until the mixture is light, fluffy, and pale in color, typically 2-3 minutes. This step incorporates air, making the cookies tender.
- Add Egg Yolk and Vanilla: Scrape down the sides of the bowl as needed. Add the room temperature egg yolk and vanilla extract to the creamed mixture. Beat again for another 2-3 minutes until well combined and fluffy.
- Incorporate Dry Ingredients: Reduce the mixer speed to low. Gradually add the dry ingredient mixture to the wet ingredients, mixing just until combined. Be careful not to overmix, as this can lead to tough cookies.
- Scoop Dough: Using a small cookie scoop (about 1 tablespoon in size), drop uniform mounds of cookie dough onto the prepared baking sheets, leaving about 2 inches between each cookie for spreading.
- Create Indents: Take a 1/4 or 1/2 teaspoon measuring spoon and gently press down on the center of each dough ball to create a distinct indent. If the spoon starts to stick, dip it lightly into a little cocoa powder before pressing. This ensures a clean “thumbprint.”
- Chill the Dough: This is a critical step for preventing spread and enhancing flavor. Once all cookie dough balls are indented, transfer the baking sheets to the refrigerator and chill for at least 1 hour. Chilling solidifies the butter, helping the cookies maintain their shape during baking.
- Preheat Oven & Bake: Preheat your oven to 350ºF (175ºC). Bake the chilled cookies for 9 to 11 minutes, or until the edges are just set and the centers look slightly soft. Avoid overbaking to keep them chewy.
- Re-shape Wells (If Needed): As soon as you remove the hot cookies from the oven, gently press down again with the measuring spoon to re-shape the wells. The cookies might have puffed up slightly, and this ensures there’s enough space for the caramel. Be gentle to avoid cracking the cookies.
- Cool Completely: Allow the cookies to cool on the baking sheet for at least 5 minutes before carefully transferring them to a wire rack to cool completely. They must be entirely cool before filling with caramel to prevent the caramel from melting prematurely.
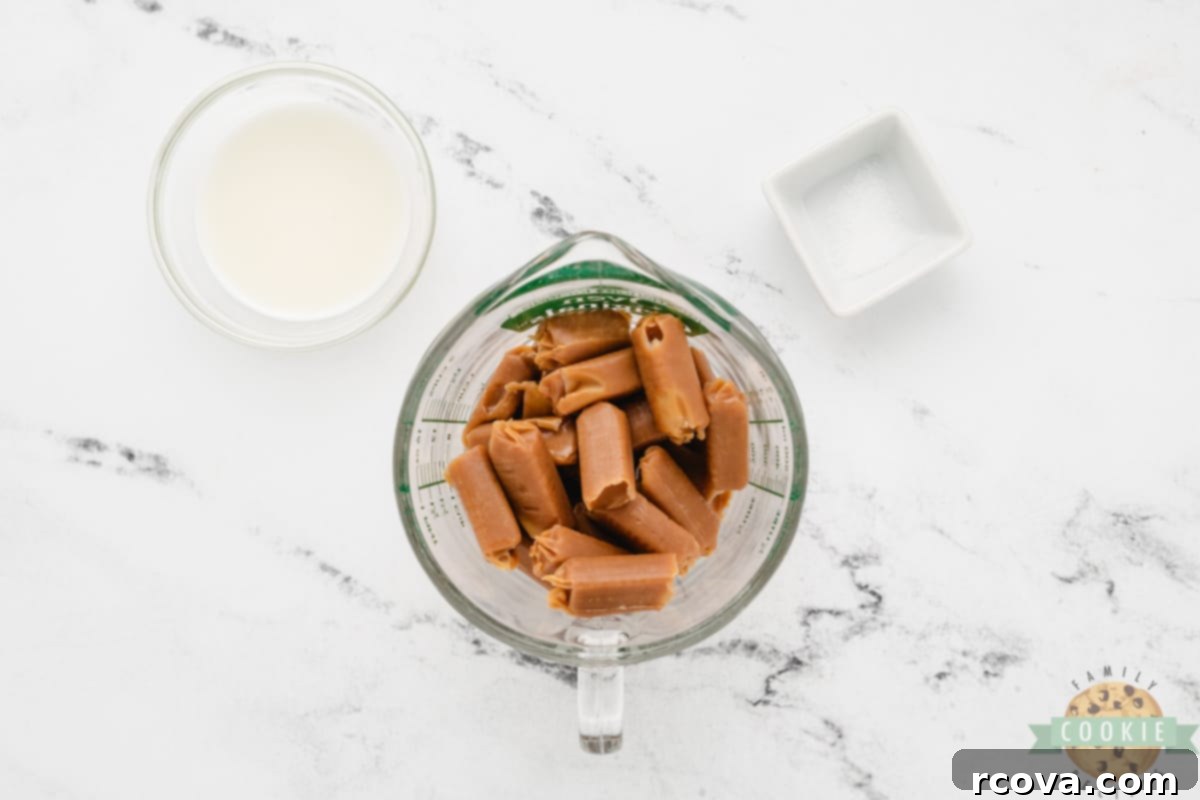
Part 2: Prepare the Luscious Caramel Filling
- Combine Caramel Ingredients: In a small, microwave-safe bowl with a spout (a glass measuring cup works perfectly for easy pouring), combine the unwrapped soft caramels, 2 teaspoons of milk, and the pinch of salt.
- Melt Caramel: Microwave the mixture on high for 30 seconds. Stir well. Continue to microwave in 15-second intervals, stirring thoroughly after each, until you achieve a smooth, pourable caramel consistency. This gradual melting prevents scorching.
- Adjust Consistency: If the caramel seems too thick, add an additional 1/2 teaspoon of milk and stir until it reaches your desired pourable texture.
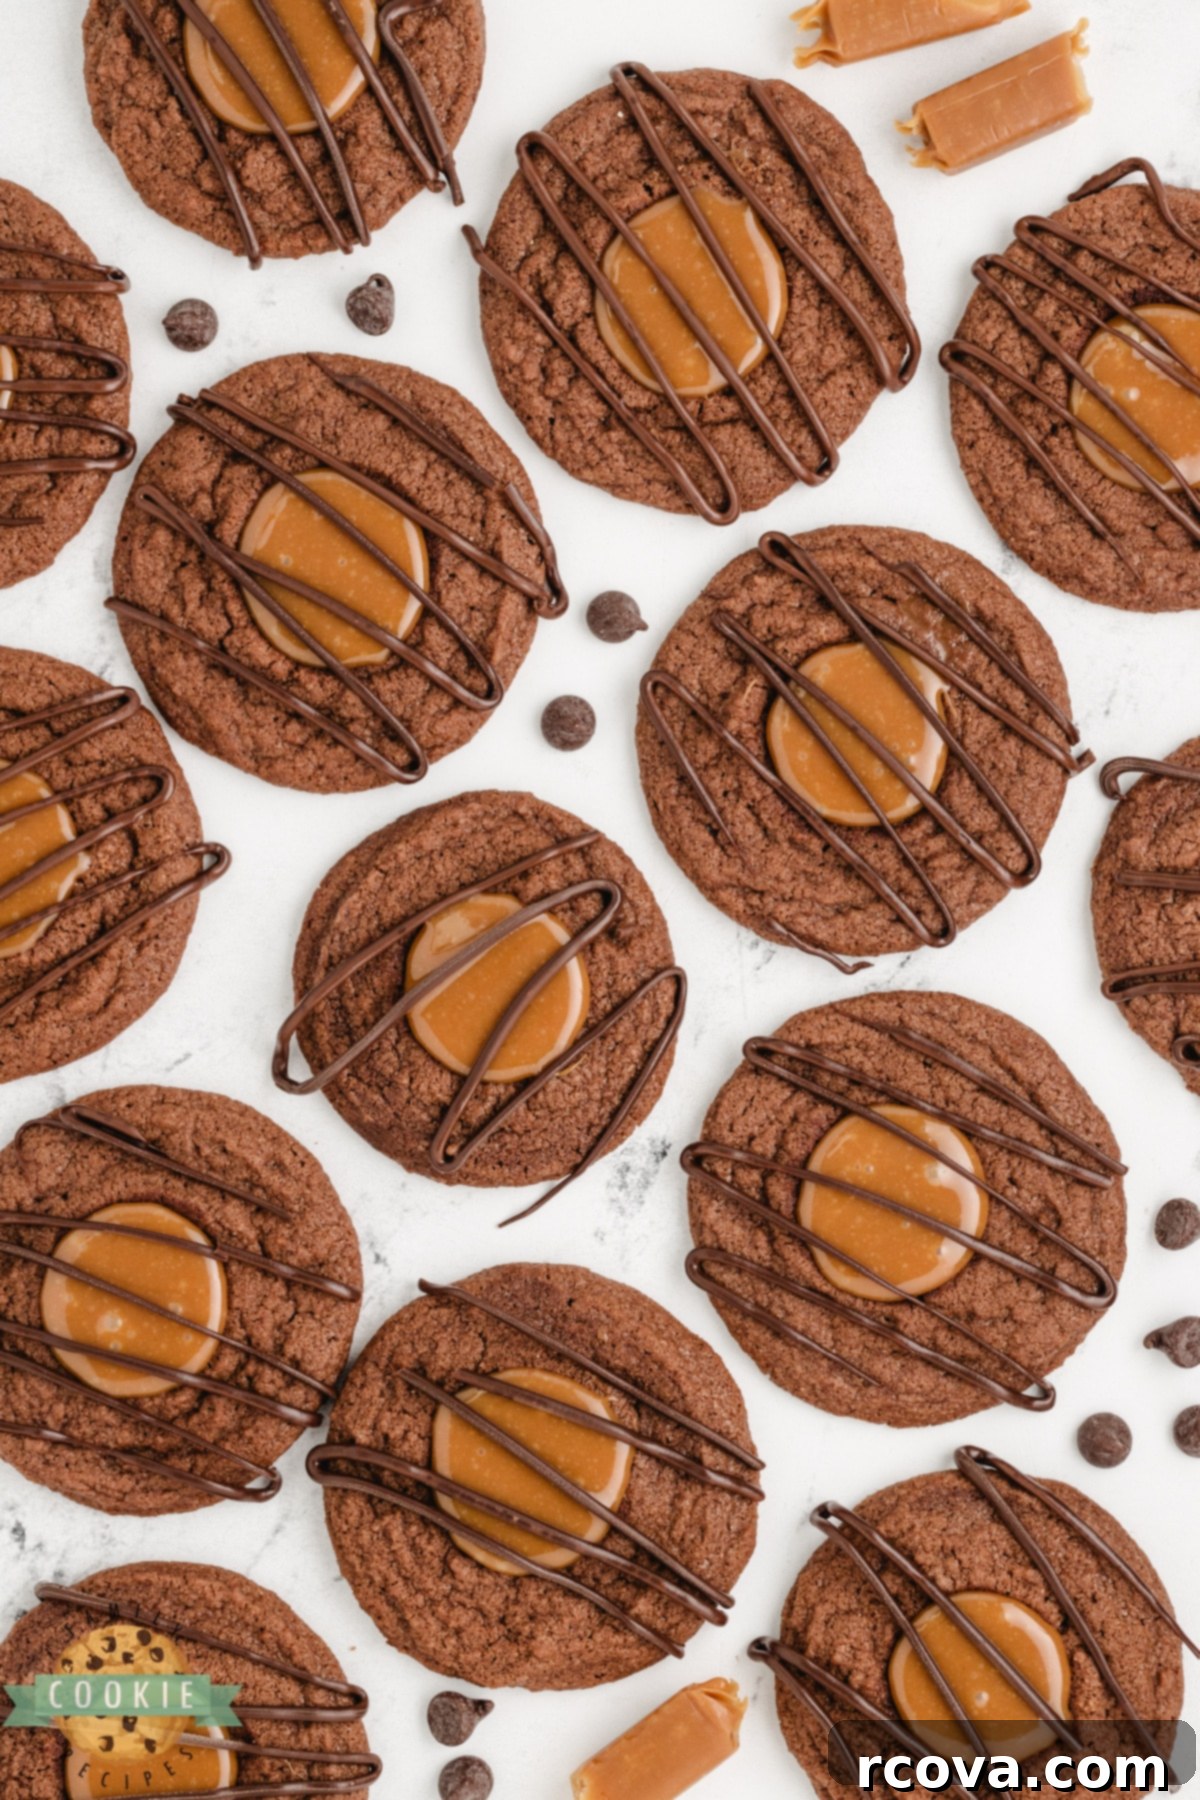
Part 3: Fill and Drizzle for the Grand Finale
- Fill the Cookies with Caramel: While the caramel is still warm and liquid, carefully and slowly fill each cooled chocolate cookie’s well. Avoid overfilling, as the caramel will spread slightly as it sets. Fill them about halfway, then add a little more to reach the brim.
- Allow Caramel to Set: Let the caramel-filled cookies sit at room temperature for a while, or in the refrigerator for 15-30 minutes, to allow the caramel to firm up slightly before adding the chocolate drizzle.
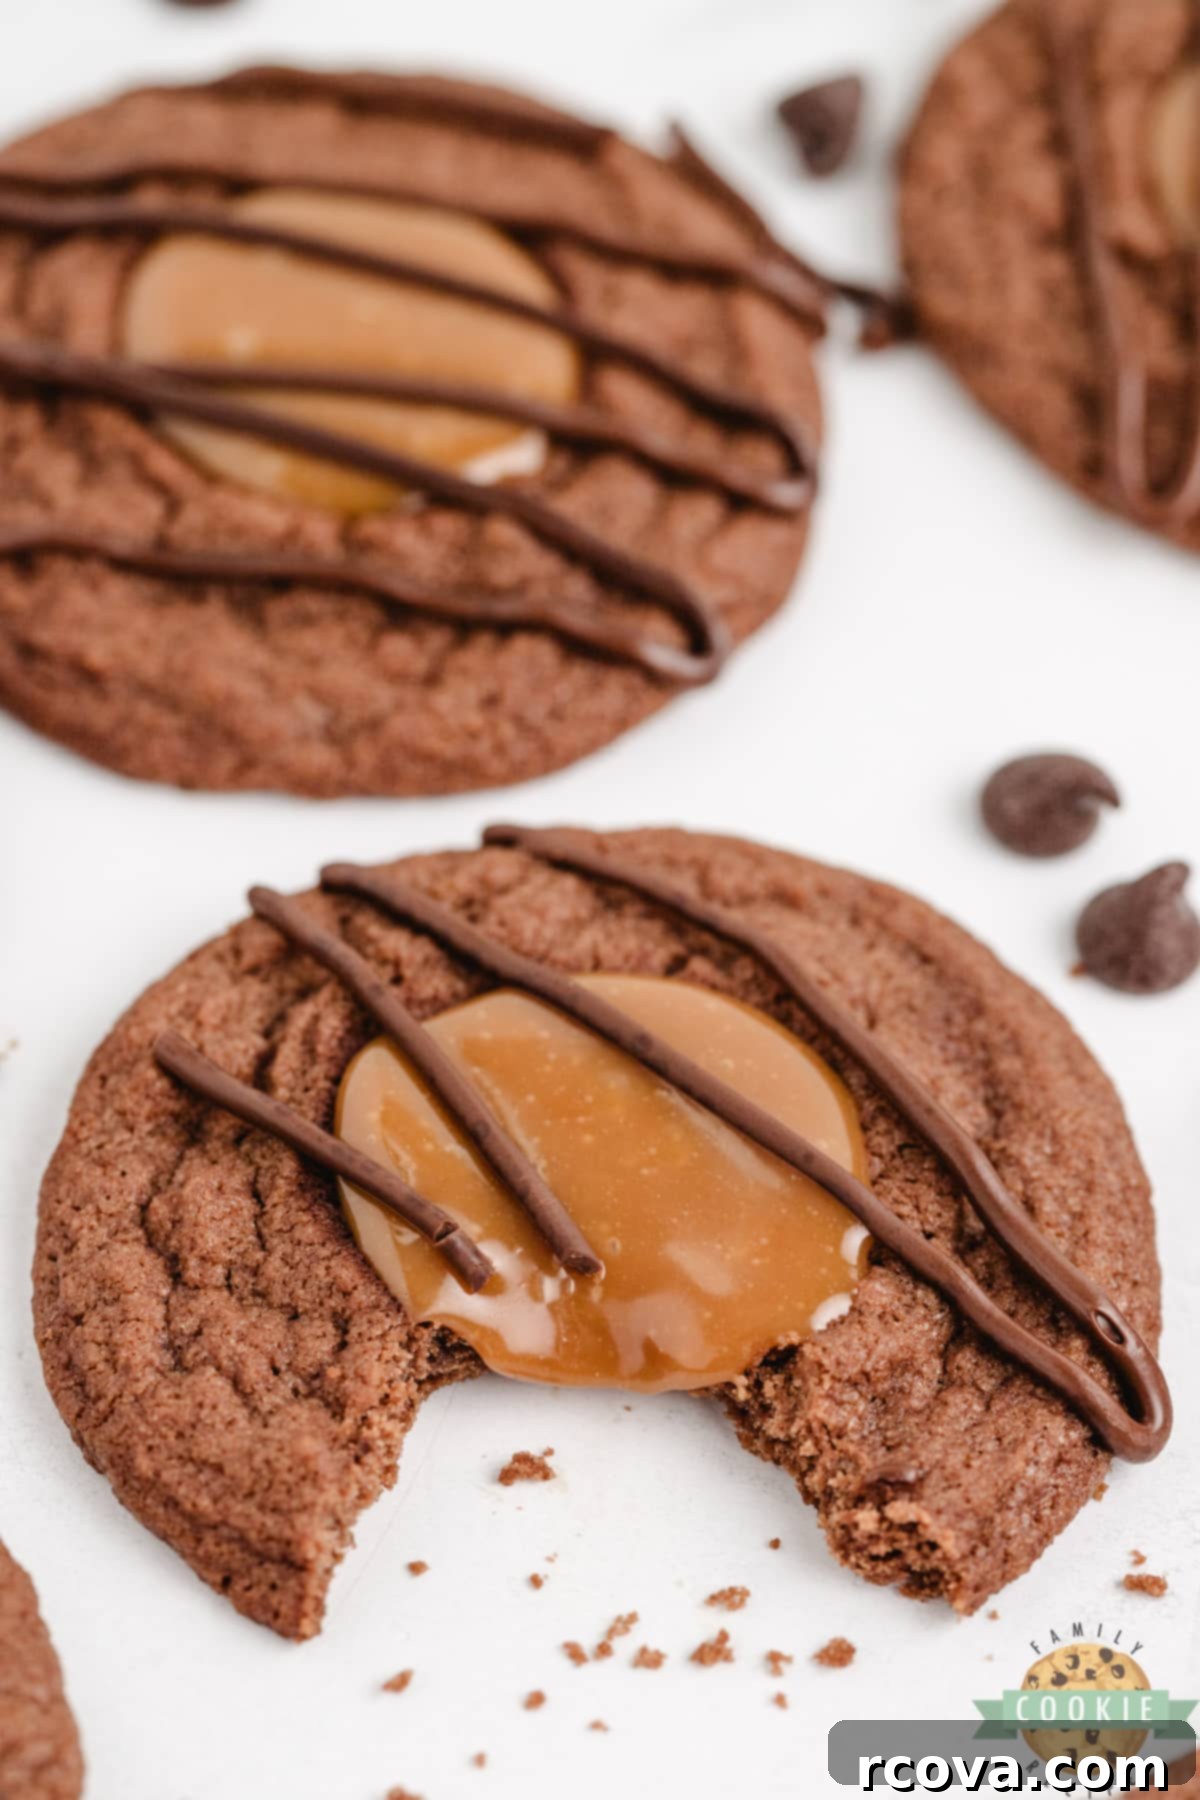
- Drizzle with Chocolate: Once the caramel has set, place the semi-sweet chocolate chips in a small microwave-safe bowl. Microwave for about 20 seconds, then stir. Continue microwaving in 10-second intervals, stirring after each, until the chocolate is completely melted and smooth. Using a spoon or a piping bag with a very small tip, drizzle the melted chocolate artistically over the set caramel in each cookie. Allow the chocolate to set before serving or storing.
CARAMEL BROWNIE THUMBPRINT COOKIES
Print
Pin
Rate
Ingredients
Chocolate Cookie:
- ¾ cup all-purpose flour
- ¼ cup cocoa powder
- ¼ tsp salt
- ¼ tsp baking powder
- 6 tbsp unsalted butter softened to room temperature
- ¾ cup firmly packed light brown sugar
- 2 tbsp granulated sugar
- 1 egg yolk room temperature
- 1 tsp vanilla extract
Caramel Filling:
- 1 bag 10.8 ounce soft caramels (Werther’s recommended)
- 2 to 3 tsp milk
- ¼ tsp salt
Chocolate Drizzle:
- 2 oz. semi-sweet chocolate chips
Instructions
-
MAKE THE CHOCOLATE COOKIES: Line two large baking sheets with parchment paper or silicone baking mats and set aside.
-
In a medium bowl, whisk together the flour, cocoa powder, salt, and baking powder. Set aside.
-
Cream together the butter and both sugars on medium-high speed until light and fluffy, about 2-3 minutes.
-
Add the egg yolk and vanilla extract, then beat again for about 2-3 minutes. Scrape down the sides of the bowl as necessary to ensure even mixing.
-
Turn the mixer speed to low, then slowly add the dry ingredients, mixing until just combined. Do not overmix.
-
Using a small cookie scoop, drop mounds of cookie dough onto the prepared baking sheets until all dough is used.
-
Using a 1/4 or 1/2 teaspoon measuring spoon, gently press down on the tops of the dough balls to create an indent in the center.
-
If the spoon starts sticking to the dough, dip it in a little cocoa powder to prevent this.
-
Once all cookie dough balls have been indented, chill them in the refrigerator for at least 1 hour. This is crucial for preventing spread.
-
Preheat your oven to 350ºF (175ºC). Bake the cookies for 9 to 11 minutes, or until the edges are set and the centers appear slightly soft.
-
Remove the cookies from the oven. While still hot, gently press down again with the measuring spoon to re-shape the wells. Be careful not to press too hard!
-
Allow the cookies to cool for at least 5 minutes on the baking sheet before transferring them to a cooling rack. Let them cool completely before filling with caramel.
-
MAKE THE CARAMEL FILLING: In a small, microwave-safe bowl with a spout (like a glass measuring cup), combine the unwrapped caramels, 2 teaspoons of milk, and the salt.
-
Melt in the microwave on high for 30 seconds. Stir well. Continue to microwave in 15-second intervals, stirring after each, until you have a smooth, pourable mixture.
-
Add an additional 1/2 teaspoon of milk if needed to reach your desired pourable consistency.
-
FILL THE COOKIES: While the caramel is still warm, slowly and carefully fill each chocolate cookie’s well. Take care not to overfill.
-
The caramel will naturally spread to the edges, so initially fill it about halfway, then add more to fill to the brim for a perfect presentation.
-
DRIZZLE WITH CHOCOLATE: Allow the caramel filling to set completely before adding the chocolate drizzle. Place the chocolate chips in a small microwaveable bowl and microwave for about 20 seconds. Stir, then microwave in 10-second intervals, stirring after each, until the chocolate is completely melted and smooth. Drizzle artfully over the set caramel on each cookie. Let the chocolate set before serving.
Nutrition Information (Estimated)
Explore Exciting Thumbprint Cookie Variations
Thumbprint cookies are celebrated for their incredible versatility, allowing bakers to endlessly customize flavors and textures. While our Caramel Brownie Thumbprint Cookies are a star, here are some other delightful variations to inspire your next baking adventure:
Filling Variations:
The filling is undoubtedly the most dynamic part of any thumbprint cookie. Don’t be afraid to get creative!
- Classic Fruit Preserves: Raspberry, strawberry, and apricot preserves are traditional and beloved choices. Their bright, fruity tang offers a lovely contrast to a buttery shortbread base.
- Decadent Chocolate: For serious chocoholics, fill the thumbprint with melted dark, milk, or white chocolate, or even a rich chocolate ganache. A sprinkle of sea salt can elevate the flavor.
- Nut Butters: Peanut butter, almond butter, or even cashew butter can create a unique, creamy, and nutty filling. Pair with a chocolate drizzle for a fantastic combination.
- Cream Cheese Frosting: A dollop of sweetened cream cheese frosting can transform your thumbprints into mini cheesecake-like treats.
- Lemon Curd: For a bright and zesty option, lemon curd provides a beautiful tart counterpoint, especially delicious with a vanilla or almond cookie base.
Topping Variations:
The final touches can add both visual appeal and an extra layer of flavor and texture to your thumbprint cookies.
- Toasted Nuts: Finely chopped pecans, walnuts, almonds, or pistachios sprinkled over the filling add a delightful crunch and nutty flavor. Toasting them beforehand deepens their taste.
- Powdered Sugar Dusting: A simple dusting of powdered sugar (confectioners’ sugar) offers a sweet, elegant finish, particularly lovely on fruit-filled cookies.
- Simple Glaze: A quick glaze made from powdered sugar and a touch of milk or lemon juice can add a shiny, sweet coating. You can color it for festive occasions.
- Sprinkles: For a fun and festive touch, add colorful sprinkles over the wet filling or chocolate drizzle before it sets.
- Coconut Flakes: Toasted coconut flakes can add a tropical flavor and interesting texture, especially with a pineapple or lime curd filling.
Frequently Asked Questions (FAQs) About Thumbprint Cookies
How Long Do Caramel Brownie Thumbprint Cookies Last?
To keep these delicious cookies fresh, store them in a single-layer, airtight container at room temperature for up to 1 week. For optimal freshness and texture, we recommend enjoying them within 3 to 4 days. If you need to stack them, place a piece of parchment paper between layers to prevent the caramel from sticking to the bottoms of other cookies. You can also refrigerate them to extend their shelf life slightly, but bring them to room temperature before serving for the best flavor and chewiness.
Why Did My Cookies Spread Too Much?
If your cookies spread more than desired during baking, it’s almost certainly due to the dough being too warm. Butter, when overly soft or melted, causes cookies to lose their structure and flatten out. This can happen if your kitchen is warm or if the dough wasn’t properly chilled. The good news is, it’s an easy fix! Simply pop the prepared cookie dough balls back into the freezer for about 30 minutes to an hour before baking. This solidifies the butter, helping the cookies hold their shape perfectly in the oven. Always ensure your butter is softened, not melted, for creaming.
Can I Make the Cookie Dough in Advance?
Absolutely! This recipe is excellent for meal prepping or entertaining. You can prepare the cookie dough up to one day in advance. Simply follow the instructions through forming the dough balls and indenting them, then cover the baking sheets (or transfer the dough balls to an airtight container) and refrigerate. When you’re ready to bake, you can pull them directly from the fridge and proceed with baking as directed, adding a few extra minutes to the baking time if they are very cold. This allows you to have freshly baked cookies without spending too much time in the kitchen on the day of your event.
Is Chilling the Cookie Dough Really Necessary?
Yes, chilling the cookie dough is a crucial step that significantly impacts the final result of your thumbprint cookies, especially for this Caramel Brownie Thumbprint Cookies recipe. There are two primary benefits:
- Flavor Development: Chilling allows the flavors in the dough to meld and intensify, resulting in a richer, more complex taste. This is especially true for the deep chocolate and vanilla notes in our brownie-like cookies.
- Texture and Shape Preservation: The most important reason for chilling is to firm up the butter and other fats in the dough. When cold, the butter melts more slowly in the oven, preventing the cookies from spreading too much. This ensures your cookies maintain their distinct thumbprint shape and achieve that desired chewy, yet tender, texture. On warmer days or if your butter was particularly soft to begin with, chilling is even more vital for perfect results.
Discover More Delicious Thumbprint Cookie Recipes to Try:
If you loved these Caramel Brownie Thumbprint Cookies, you’re sure to adore the endless possibilities of this cookie style. Here are some other fantastic thumbprint cookie recipes to inspire your baking creativity:
- Irresistible Cheesecake Thumbprint Cookies
- Sweetheart Valentine Thumbprint Cookies (Perfect for Gifting!)
- Festive Grinch Thumbprint Cookies
- Easy, Soft Jam Thumbprint Cookies (A Timeless Classic)
- Vibrant Raspberry Jam Thumbprint Cookies
- Sweet & Salty Salted Pumpkin Caramel Thumbprint Cookies
- Charming Double Thumbprint Heart Cookies
- Decadent Chocolate Strawberry Thumbprint Cookies
- Fresh & Fruity Strawberry Thumbprint Cookies
- Zesty Lemon Thumbprint Cookies
- Classic Caramel Thumbprint Cookies
- Rich Chocolate Raspberry Thumbprint Cookies

These Caramel Brownie Thumbprint Cookies are more than just a dessert; they are a delightful experience, blending the comforting chew of a brownie with the smooth luxury of caramel and a hint of extra chocolate. This recipe is designed to be straightforward and rewarding, ensuring you can bring these irresistible treats to life in your own kitchen. We hope you enjoy baking and sharing these decadent cookies as much as we do!
