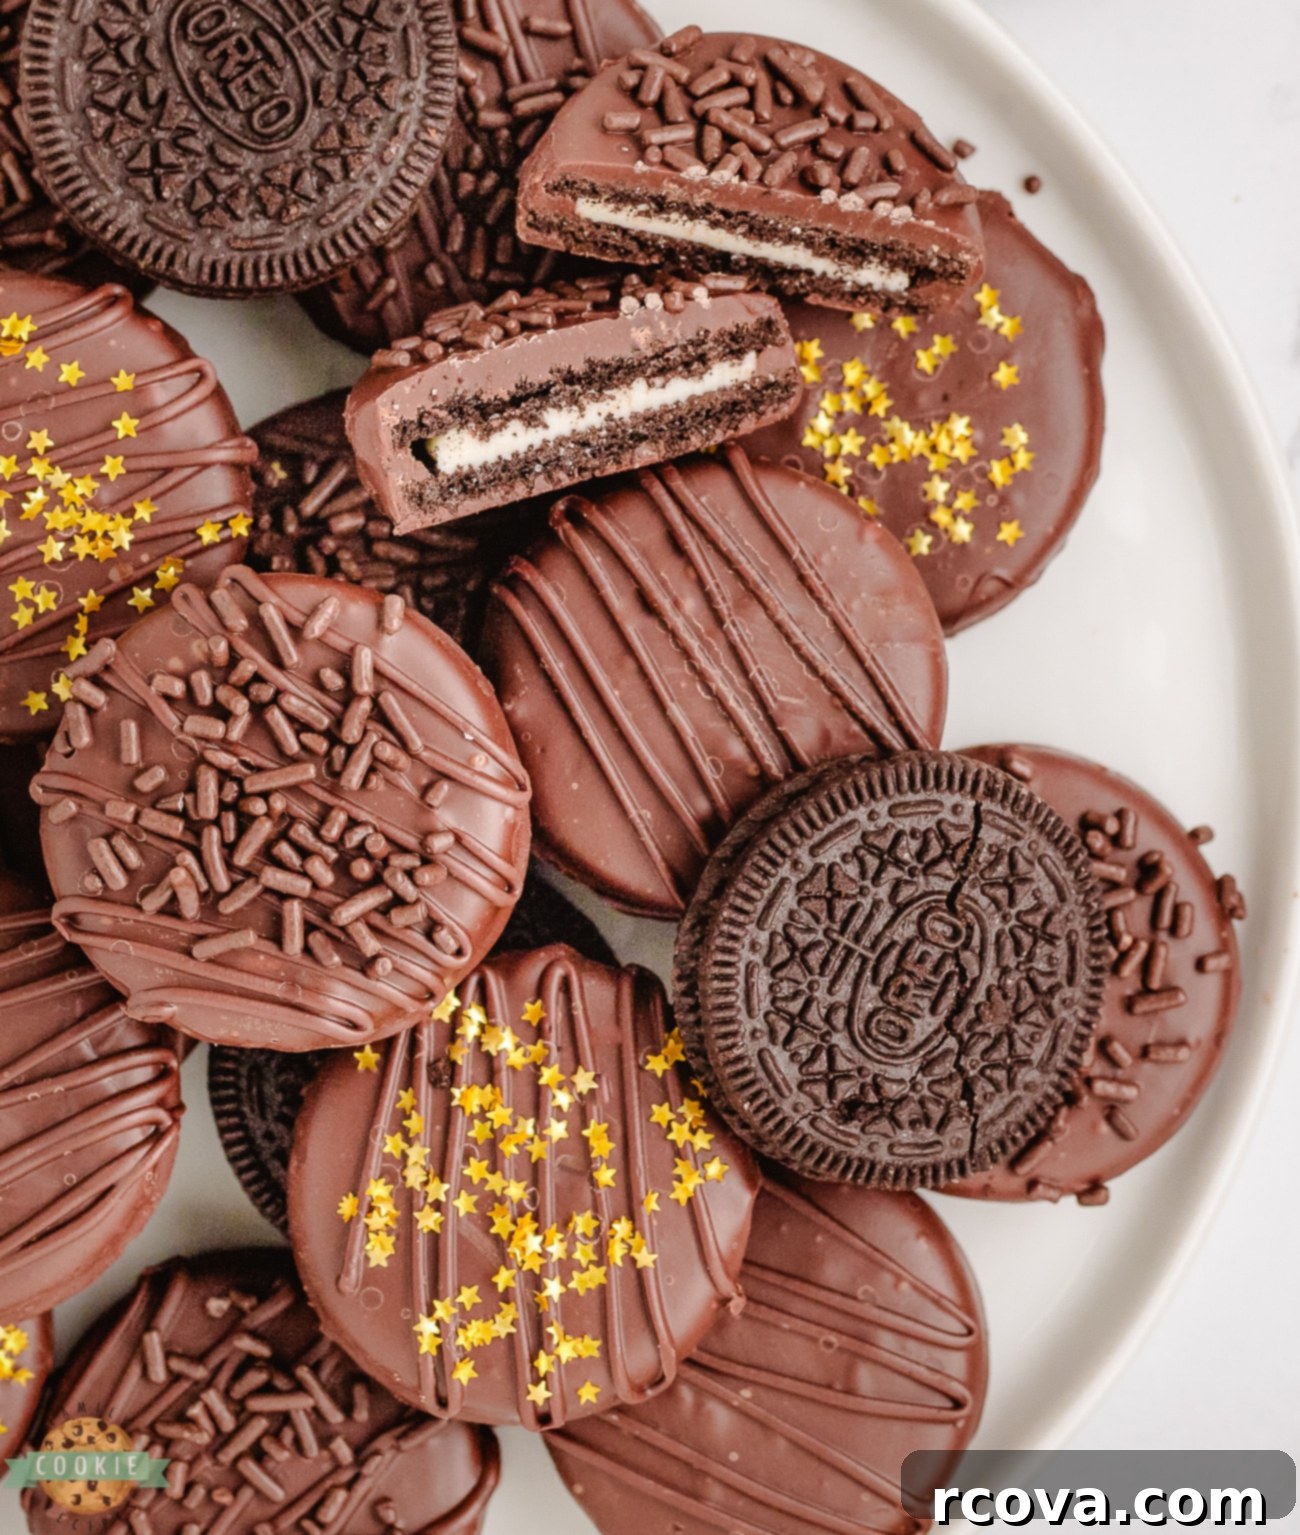
Easy Chocolate Dipped Oreos: The Ultimate Guide to a Decadent Homemade Treat
Indulge in the simplest yet most satisfying dessert with these **Chocolate Dipped Oreos**! Made with just a few basic ingredients, these treats are incredibly easy to prepare and deliver a truly decadent experience. Whether you’re looking to create a quick snack, a charming party favor, or a beautiful addition to a dessert table, these customizable chocolate-covered cookies are sure to impress. Drizzle them with extra chocolate, adorn them with colorful sprinkles, or experiment with various toppings to make them uniquely yours. Get ready to enjoy a delightful crunch, a creamy filling, and a rich chocolate coating in every bite!
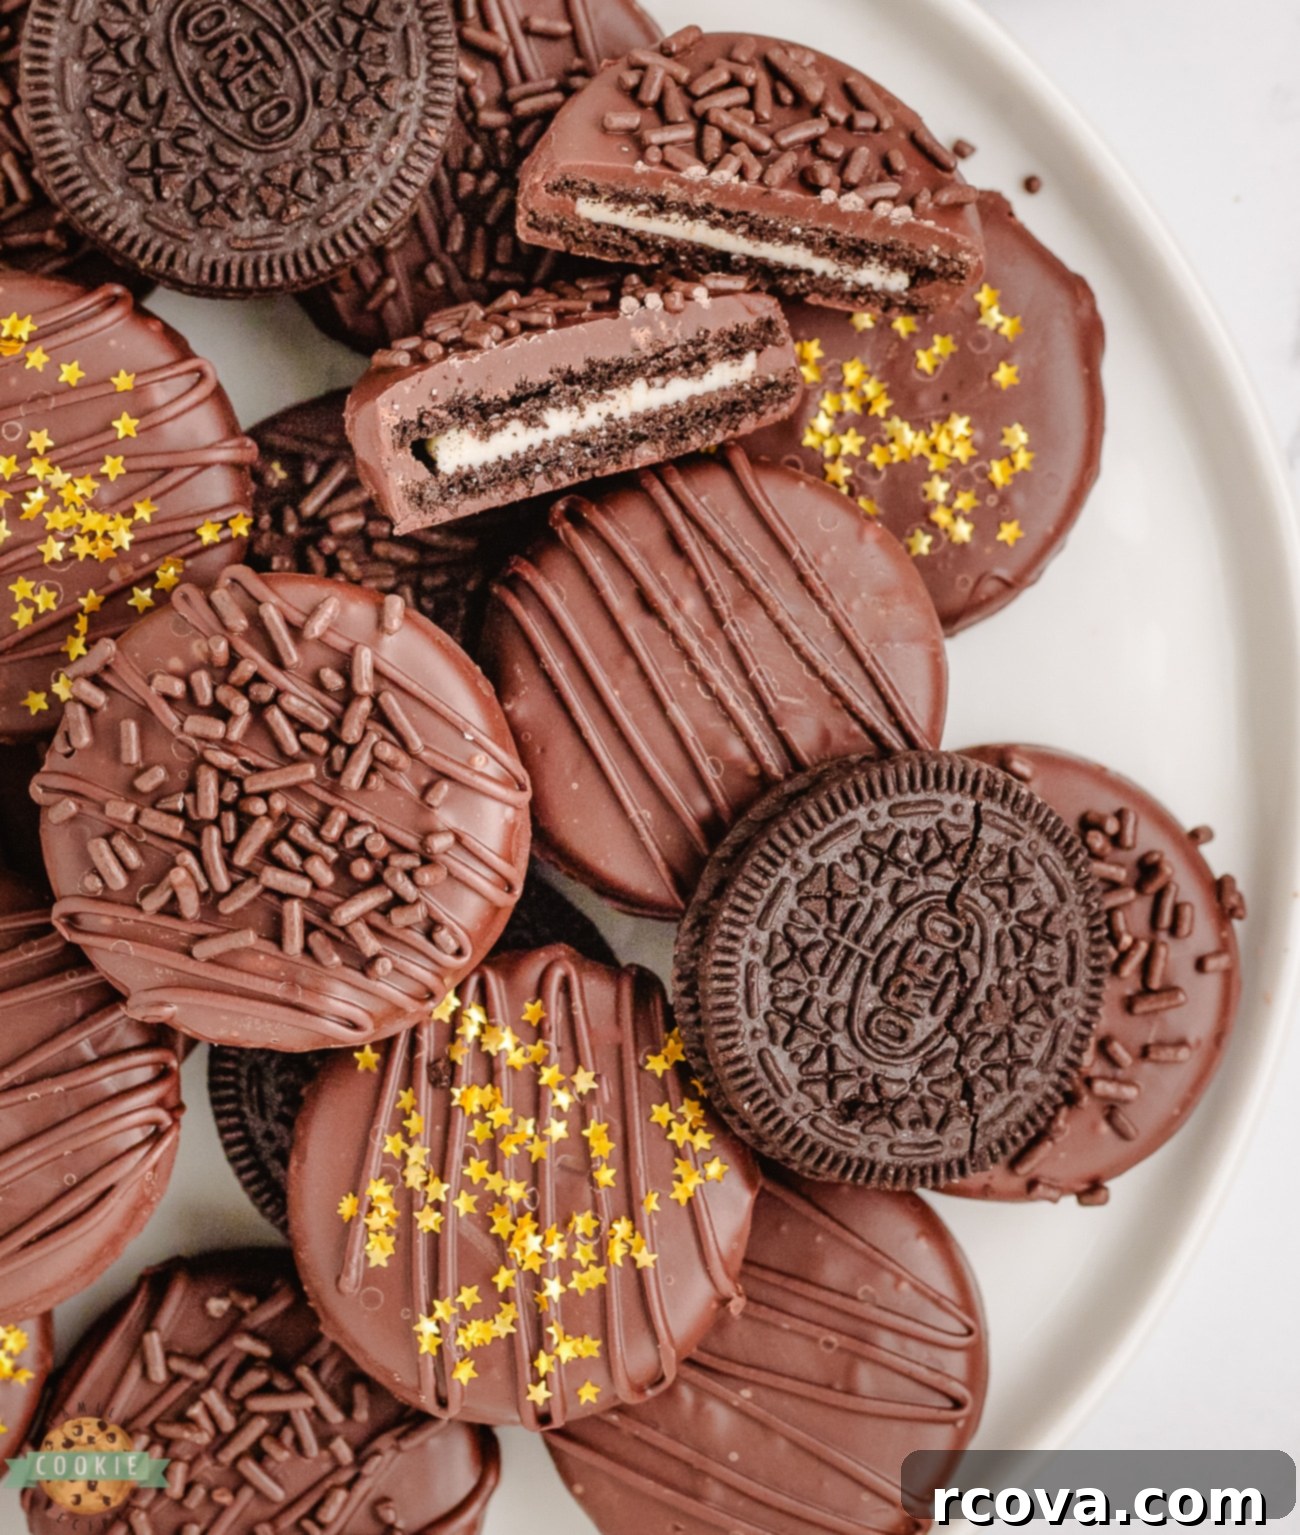
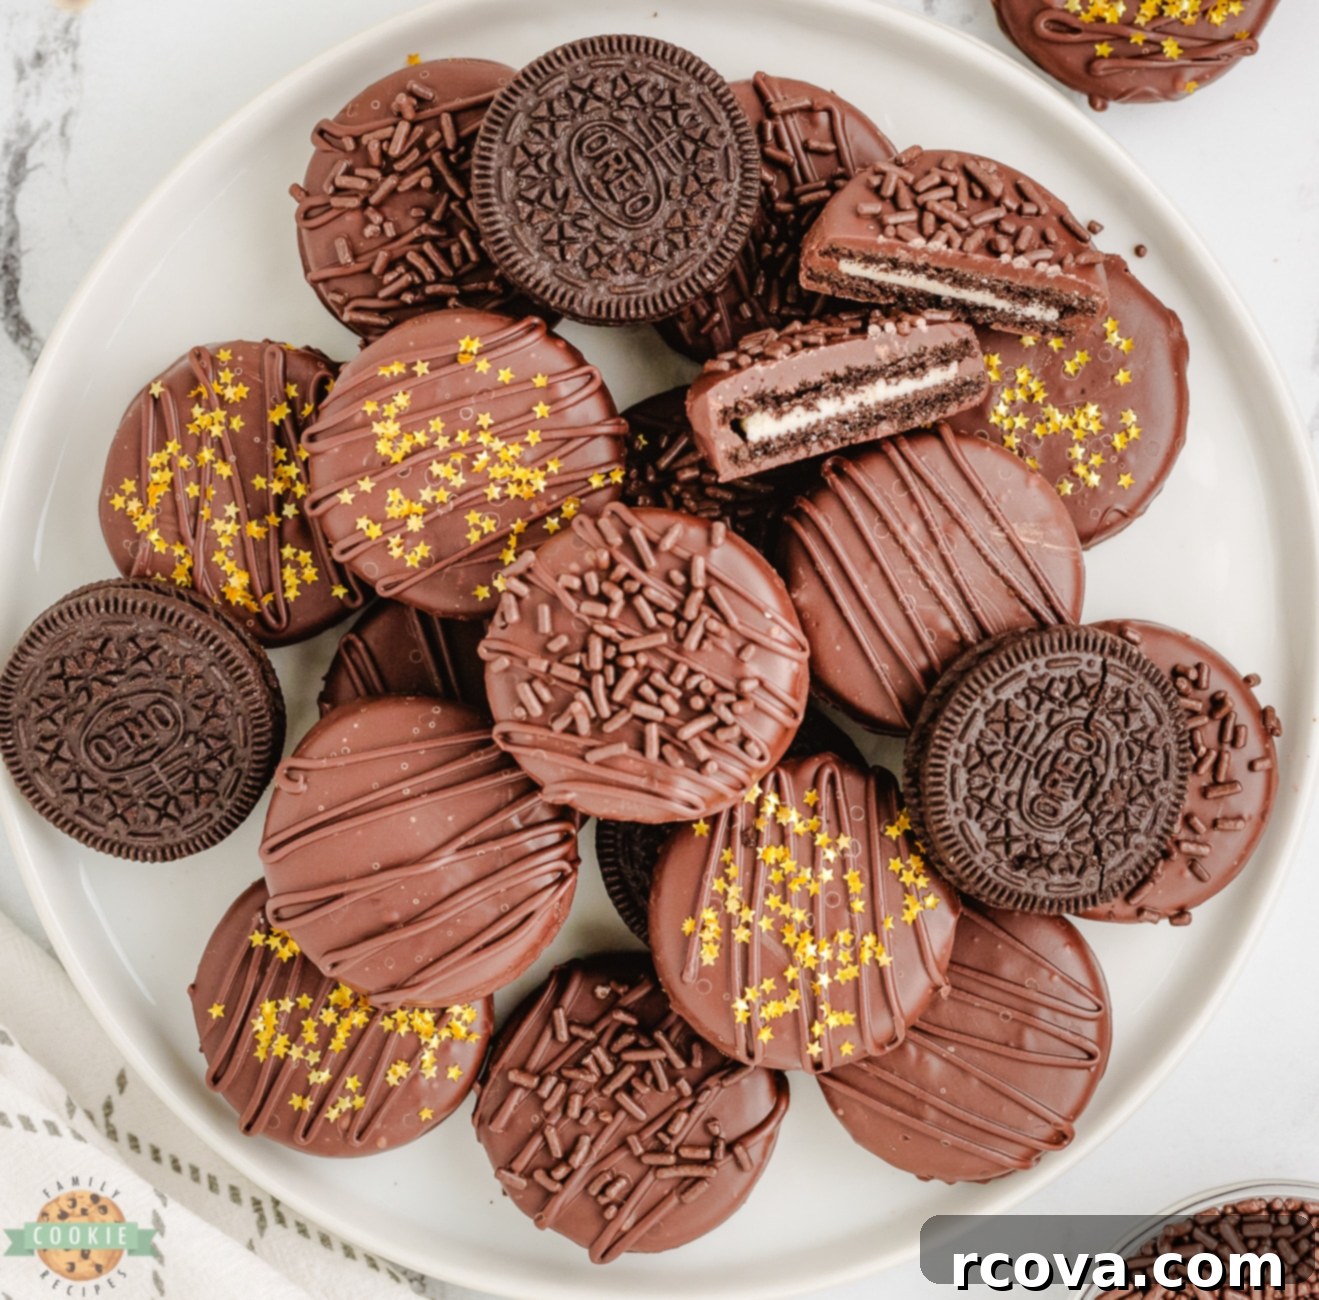
One of the many charms of chocolate dipped Oreos lies in their incredible versatility. They can be effortlessly decorated in countless ways, making them a perfect fit for any celebration or event. Imagine a fun and festive treat for a birthday party, an elegant dessert for a dinner gathering, or a charming favor for a baby shower or wedding. These cookies can be customized to match any theme, color scheme, or holiday, offering endless creative possibilities. Their broad appeal ensures they’re a popular choice that always brings smiles and satisfies any sweet craving.
Beyond their adaptability, chocolate dipped Oreos are a universally loved treat that captivates anyone with a sweet tooth. Their combination of a familiar crunchy cookie and a rich, smooth chocolate shell creates a delightful textural and flavor contrast. They are a fantastic, eye-catching addition to any dessert spread, candy buffet, or simply as a comforting homemade snack.
What Are Chocolate Dipped Oreos?
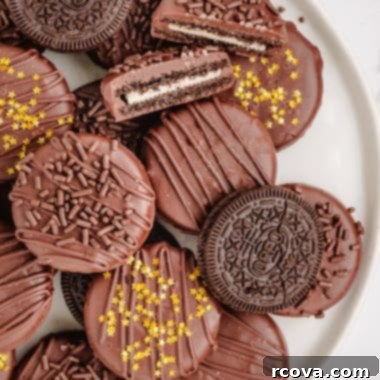
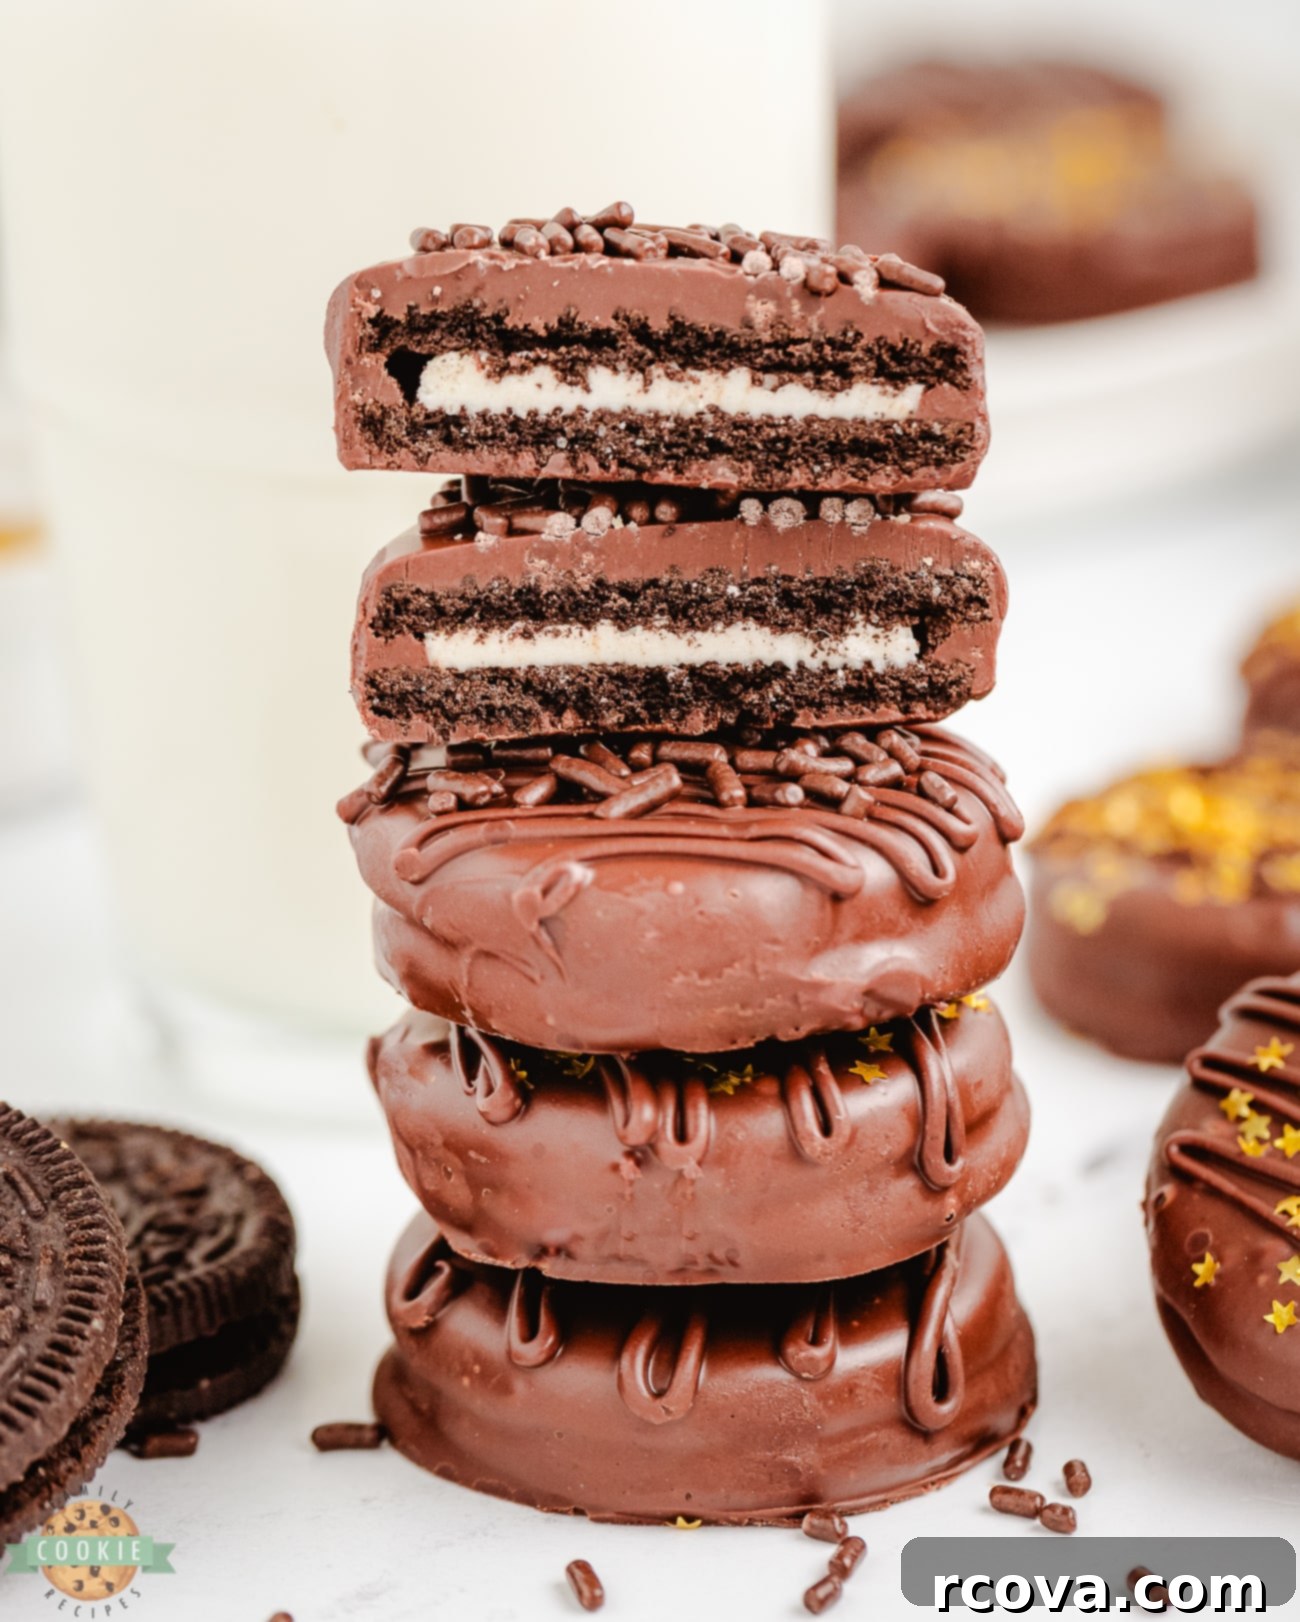
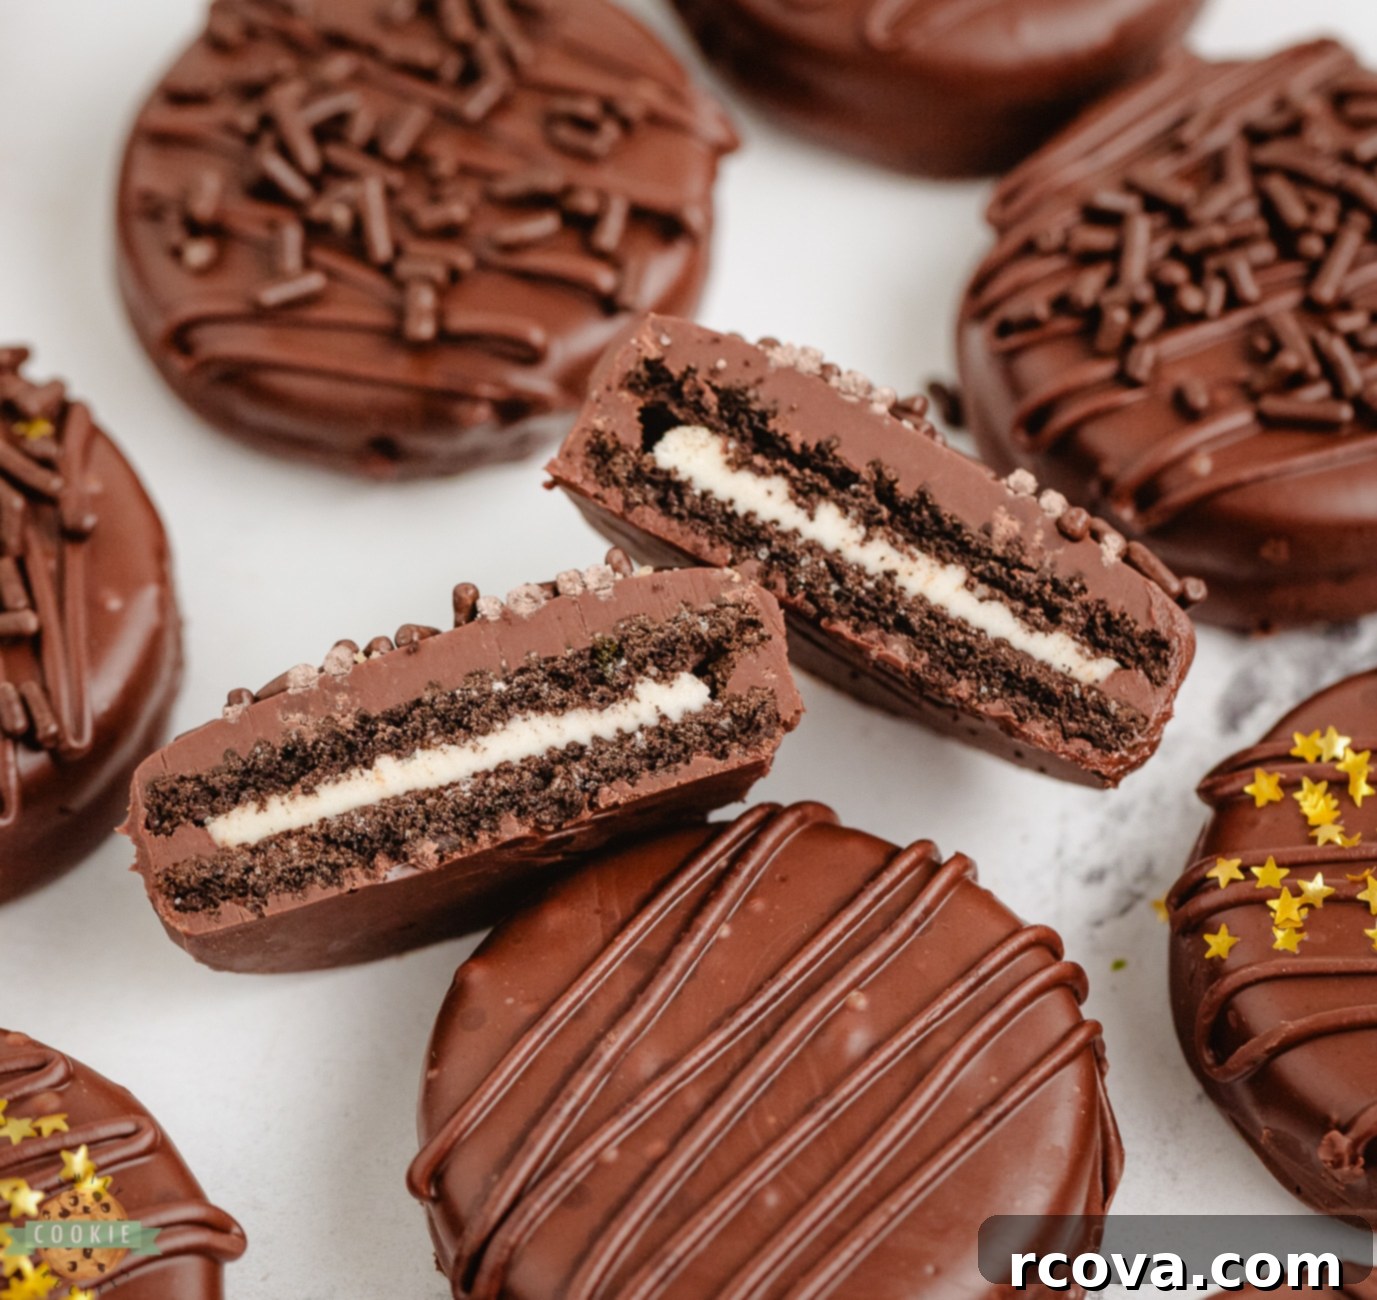
Chocolate dipped Oreos are a beloved confection created by taking the classic, iconic Oreo cookie and enrobing it in a generous layer of melted chocolate. The process is straightforward: an Oreo cookie is submerged in warm, liquid chocolate, then allowed to cool and harden, forming a crisp chocolate shell around the familiar sandwich cookie. This simple method elevates the humble Oreo into a gourmet-style treat.
The beauty of these confections also comes from the vast array of available variations. While traditional milk chocolate is a popular choice, you can explore options like rich dark chocolate for a more intense flavor, creamy white chocolate for a sweeter profile, or even flavored chocolate coatings such as mint, peanut butter, or caramel. To add further depth and visual appeal, many choose to decorate their chocolate dipped Oreos with colorful sprinkles, chopped nuts, shredded coconut, or a contrasting chocolate drizzle. These additions not only enhance the flavor but also transform the cookies into visually stunning edible art.
Making chocolate dipped Oreos is a gratifying kitchen project that requires minimal ingredients and effort, making it accessible even for novice bakers. They are frequently served as a delightful dessert or a quick, satisfying snack. Enjoy them on their own, or pair them with a cold glass of milk for the ultimate nostalgic experience. Their ease of creation and universal appeal make them a go-to choice for any occasion.
Simple Chocolate Dipped Oreo Ingredients
Gathering the ingredients for this delightful treat couldn’t be easier. You’ll only need a handful of items to transform ordinary Oreos into extraordinary chocolate-covered delights:
- 20 Oreo cookies (classic or your favorite flavor)
- 2 cups semi-sweet chocolate chips (or your preferred type of melting chocolate)
- 1 tsp shortening (to help the chocolate melt smoothly and harden with a nice sheen)
- Sprinkles (optional, for decoration)
How to Make Chocolate Dipped Oreos: Step-by-Step Instructions
Creating these irresistible treats is a fun and simple process that even beginners can master. Follow these steps to make your own batch of perfect chocolate dipped Oreos:
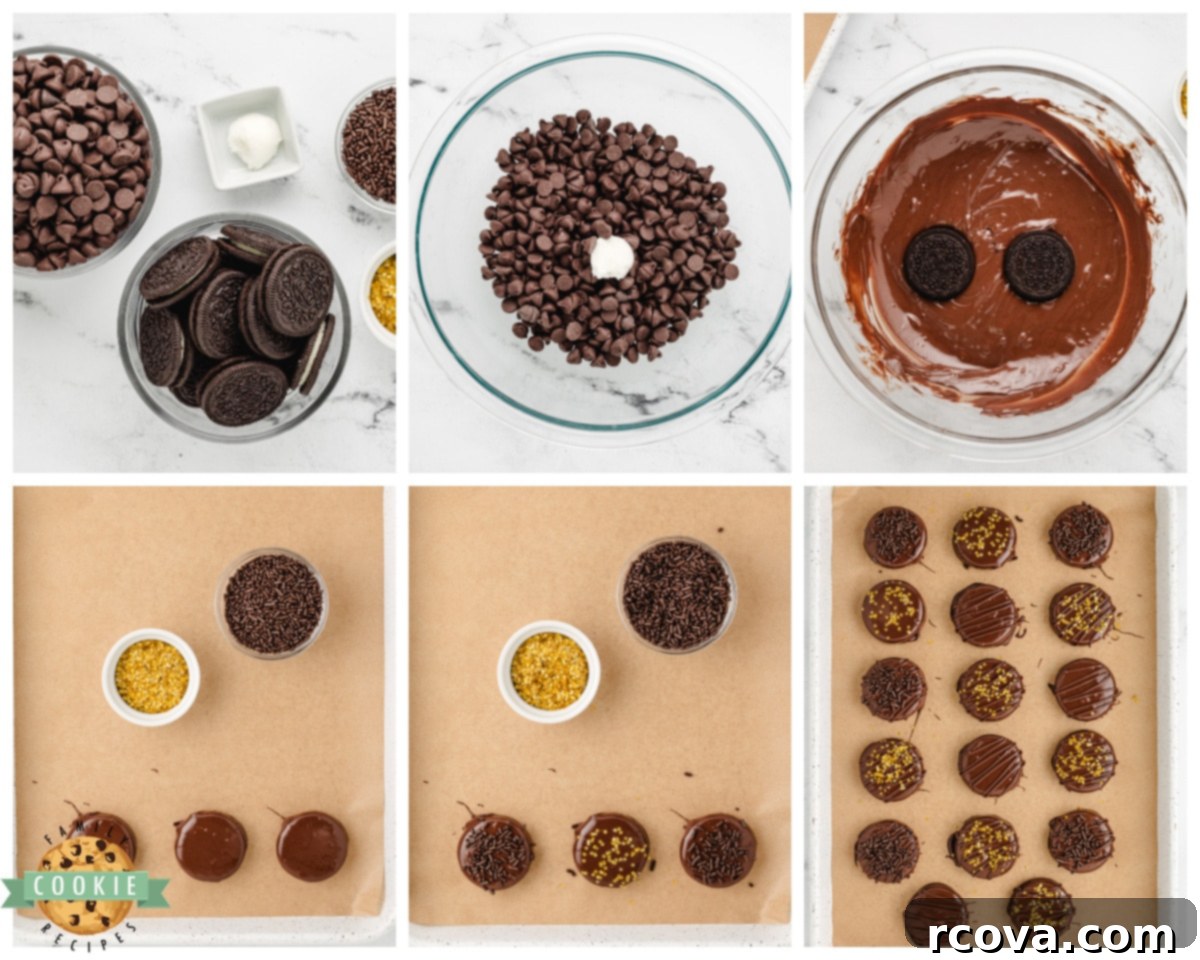
- Prepare Your Workspace: Begin by lining a baking sheet with parchment paper or a silicone baking mat. This will prevent the dipped Oreos from sticking as the chocolate sets, making for easy removal. Set this aside.
- Melt the Chocolate: In a microwave-safe bowl, combine your semi-sweet chocolate chips and shortening. Heat the mixture in the microwave in 30-second intervals. After each interval, remove the bowl and stir the chocolate thoroughly, even if it doesn’t look fully melted. The residual heat will continue to melt the chocolate. Continue heating and stirring until the mixture is completely smooth and luscious, with no lumps remaining. Alternatively, you can use a double boiler on the stovetop for a more controlled melting process.
- Dip the Oreos: Carefully dip each Oreo cookie into the melted chocolate. Use a fork (or a specialized Wilton dipping tool, which can make the process even easier) to submerge the cookie fully, ensuring it’s completely coated. Gently tap the fork against the side of the bowl to remove any excess chocolate, allowing it to drip back into the bowl. This prevents puddles of chocolate around the cookie and ensures a cleaner finish.
- Place and Decorate: Carefully transfer each chocolate-coated Oreo onto your prepared baking sheet. If you plan to add sprinkles or other toppings, do so immediately while the chocolate is still wet and tacky. For an extra decorative touch, melt an additional 2 tablespoons of chocolate chips in a small plastic baggie, snip off a tiny corner, and drizzle it artfully over the dipped cookies.
- Allow to Set: Once all the Oreos are dipped and decorated, let them cool undisturbed on the countertop at room temperature until the chocolate has fully set and hardened. For quicker setting, you can place the baking sheet in the refrigerator for about 10-15 minutes, but ensure the chocolate is truly firm before moving or stacking them. Enjoy your homemade, perfectly dipped Oreos!
Chocolate Dipped Oreo Cookies
Print
Pin
Rate
Ingredients
- 20 Oreo cookies
- 2 cups semi-sweet chocolate chips
- 1 tsp shortening
- Sprinkles optional, for decoration
Instructions
-
Line a baking sheet with parchment paper and set it aside.
-
In a microwave-safe bowl, melt the chocolate chips and shortening in the microwave. Heat the mixture for 30 seconds at a time, letting the chocolate sit after heating, stirring in between, until the mixture is smooth and fully melted.
-
Dip each Oreo into the melted chocolate, using a fork (or a Wilton dipping tool!) to fully coat the cookie. Tap off any excess chocolate and place the dipped Oreo onto the prepared baking sheet.
-
If desired, add sprinkles to the top of the chocolate-dipped Oreo while the chocolate is still wet. For an extra touch, melt another 2 tablespoons of chocolate chips in a small baggie, snip the corner, and drizzle over the dipped cookies.
-
Once all of the Oreos are dipped and decorated, let the cookies cool on the countertop until the chocolate has set, or place them in the refrigerator for 10-15 minutes to speed up the setting process. Enjoy your beautiful homemade treats!
Notes
To make your treats even more special, consider using different types of Oreos, like Golden or Mint, or experimenting with various chocolate coatings such as dark or white chocolate.
Freeze for Longer Storage: If you need to prepare your chocolate dipped Oreos well in advance, freezing is an excellent option. After they are completely cooled and the chocolate is fully set, arrange them in a single layer on a baking sheet and freeze for approximately one hour. Once firm, transfer them to an airtight container or a freezer-safe bag. They can be stored in the freezer for up to one month, ensuring you always have a delicious treat on hand.
Nutrition
Tips for Making Perfect Chocolate Dipped Oreos
While making chocolate dipped Oreos is generally simple, a few expert tips can elevate your treats from good to truly magnificent. Achieving a smooth, shiny coating and ensuring delightful presentation are key.
The Art of Tempering Chocolate
Tempering chocolate is a crucial step if you desire a professional-looking finish with a beautiful shine, a satisfying snap when bitten, and to prevent “fat bloom” (white streaks) on your chocolate. It involves carefully heating and cooling the chocolate to stabilize its crystals. Here are some essential tips for tempering:
- Choose Quality Chocolate: Always start with high-quality chocolate. Couverture chocolate, with a higher cocoa butter content, is ideal for tempering, but good quality chocolate chips or bars will also work well with the addition of shortening.
- Gentle Melting is Key: Melt your chocolate slowly and gently. A double boiler method (a heatproof bowl set over a saucepan of simmering water, ensuring the bowl does not touch the water) offers the best control. If using a microwave, heat in short bursts (30 seconds) at medium power, stirring thoroughly after each interval to prevent scorching.
- Incorporate Shortening: Once your chocolate is about 75-80% melted, remove it from the heat (or microwave). Stir in the shortening until it is completely melted and the chocolate mixture is smooth and fluid. Shortening helps create a thinner consistency, making dipping easier, and contributes to a nicer, firmer set.
- Monitor Temperature (If Aiming for True Temper): For a truly tempered chocolate, a candy thermometer is indispensable.
- Dark Chocolate: Aim for a melted temperature between 88-90°F (31-32°C).
- Milk Chocolate: Maintain a temperature between 86-88°F (30-31°C).
- White Chocolate: Keep it slightly cooler, between 82-84°F (28-29°C).
Dipping within these temperature ranges ensures proper crystallization for that perfect snap and shine.
- Reheating as Needed: If you’re working with a large batch and the chocolate begins to thicken or harden, gently reheat it over very low heat or in short microwave bursts, stirring constantly, until it reaches the desired dipping consistency and temperature again.
Creative Decorating Ideas
Chocolate dipped Oreos are a fantastic canvas for creativity. With a little imagination, you can transform them into visually stunning treats. Here are some inspiring decorating ideas:
- Festive Sprinkles: Immediately after dipping, generously sprinkle crushed candy canes for a holiday touch, chopped nuts for added crunch and flavor, or colorful sprinkles for a fun, celebratory look.
- Elegant Drizzles: After the main chocolate coating has set, melt a contrasting color of chocolate (white chocolate over dark, or dark over white) or colored candy melts. Use a spoon or a piping bag with a tiny snip to create beautiful zig-zag patterns or delicate lines over the top.
- Artistic Designs: For more intricate patterns, use a toothpick to swirl two colors of wet chocolate together or to draw simple designs like hearts, stars, or abstract patterns.
- Vibrant Candy Melts: For a pop of color that stands out, dip your Oreos entirely in brightly colored candy melts before or after a base chocolate layer. This is perfect for themed parties or specific holiday palettes.
- Seasonal Shapes: Get creative by using seasonal cookie cutters (e.g., stars, pumpkins, hearts) to cut your Oreos into fun shapes before dipping them. This works best with double-stuffed Oreos or by slightly softening them.
Always remember to let the chocolate coating and any decorations harden completely before handling, serving, or packaging your exquisite chocolate dipped Oreos. Enjoy the process and the delicious results!

Variations of Chocolate Dipped Oreos to Explore
The beauty of chocolate dipped Oreos extends far beyond the classic combination. Their inherent simplicity makes them a perfect base for endless experimentation. By changing just a couple of elements, you can create entirely new flavor profiles and visual delights.
Switch Up the Oreo Flavors
While the original Oreo cookie is a fantastic starting point, the vast array of Oreo flavors available provides an exciting opportunity to add an extra layer of complexity and taste to your chocolate-covered treats. Consider these popular Oreo variations:
- Golden Oreos: These offer a delightful vanilla cream and cookie base, providing a wonderful contrast to a dark or milk chocolate coating, creating a “cookies and cream” like experience with a golden touch.
- Mint Oreos: Dipped in dark chocolate, mint Oreos transform into a refreshing and sophisticated mint chocolate confection, reminiscent of a classic after-dinner mint.
- Peanut Butter Oreos: For peanut butter lovers, coating these in milk chocolate creates an irresistible flavor combination that mirrors a popular candy bar.
- Red Velvet Oreos: A vibrant and slightly tangy cookie, pairing red velvet Oreos with white chocolate or dark chocolate can create an elegant and visually striking dessert.
- Birthday Cake Oreos: With their festive sprinkles and vanilla cake flavor, these Oreos dipped in white chocolate or milk chocolate amplify the celebratory feel, perfect for parties.
Each of these distinct Oreo flavors can be used to craft a unique and unforgettable chocolate dipped Oreo that caters to different palates and occasions.
Experiment with Different Types of Chocolate
Beyond changing the cookie, the type of chocolate you choose for dipping plays a significant role in the final taste and appearance of your Oreos. While creamy milk chocolate is a beloved classic, venturing into other chocolate varieties opens up a world of possibilities:
- Dark Chocolate: For those who appreciate a more intense and sophisticated flavor, dark chocolate offers a beautiful bittersweet contrast to the sweetness of the Oreo. It also provides a stunning, glossy finish.
- White Chocolate: Sweet, creamy, and visually appealing, white chocolate acts as a wonderful canvas for bright sprinkles or colorful drizzles. It pairs exceptionally well with fruit-flavored Oreos or to create a “cookies and cream” aesthetic.
- Flavored Chocolates: Infused milk chocolate, such as raspberry-flavored or orange-flavored varieties, can add an unexpected twist, elevating your dipped Oreos to a gourmet level.
- Candy Melts: Available in a rainbow of colors, candy melts are a fantastic choice for festive or themed treats. They melt smoothly, harden quickly, and don’t require tempering, making them very user-friendly for vibrant creations.
In essence, the potential for variations in chocolate dipped Oreos is virtually limitless. By thoughtfully combining different Oreo flavors and chocolate types, you can effortlessly create a personalized and delectable treat that is guaranteed to impress and delight everyone.
Can You Make Chocolate Dipped Oreos Ahead of Time?
Chocolate dipped Oreos are a fantastic make-ahead dessert, perfect for busy hosts or anyone who enjoys preparing treats in advance. Their sturdy nature and chocolate coating make them quite resilient to storage. Preparing them ahead of time can significantly reduce stress on the day of an event or simply ensure you have a sweet snack readily available. Here’s how to do it effectively:
Optimal Room Temperature Storage
Once your chocolate dipped Oreos have fully cooled and the chocolate has completely hardened, careful storage is key to maintaining their fresh taste and texture. Place them in an airtight container, ensuring they are not exposed to air, which can cause them to become stale. Store the container in a cool, dry place away from direct sunlight and any heat sources. At room temperature, properly stored chocolate dipped Oreos can maintain their quality for up to a week, making them ideal for casual entertaining or weekly treat prepping.
Freezing for Extended Freshness
If you need to make your chocolate dipped Oreos much further in advance—perhaps for a future celebration or to simply stock up—the freezer is your best friend. After the cookies are fully cooled and the chocolate is completely set, arrange them in a single layer on a baking sheet. Freeze them for about one hour until they are solid. This prevents them from sticking together. Once frozen solid, transfer the Oreos to an airtight freezer-safe container or a heavy-duty freezer bag. They will keep beautifully in the freezer for up to one month without significant loss of quality. When ready to enjoy, simply remove them from the freezer and allow them to thaw at room temperature for a few hours before serving.
Why to Avoid Refrigeration
While room temperature and freezing are excellent storage methods, it’s generally best to avoid refrigerating chocolate dipped Oreos. The refrigerator’s moist environment can cause the chocolate to “sweat” (develop condensation) as it comes back to room temperature, potentially leading to a dull or sticky surface. Additionally, refrigeration can alter the texture of the Oreo cookie itself, making it softer and less crisp than desired. Stick to room temperature or the freezer for the best results.
By following these simple storage guidelines, you can confidently prepare your chocolate dipped Oreos in advance, ensuring they are perfectly delicious and ready to enjoy whenever you desire, without any last-minute hassle.

Can You Freeze Chocolate Covered Oreos?
Absolutely! Freezing chocolate covered Oreos is a fantastic way to extend their shelf life and prepare them well in advance for events or simply to keep a stash of these delightful treats on hand. However, to ensure they remain as delicious as when they were freshly made, a few key practices are recommended.
The primary concern when freezing any food is preventing freezer burn, which can lead to discoloration, dryness, and an altered taste. To combat this, it is crucial to store your chocolate covered Oreos in an **airtight container or a heavy-duty freezer bag**. This barrier protects them from air exposure and moisture loss, maintaining their texture and flavor. For best results, consider wrapping individual Oreos in plastic wrap before placing them in the airtight container for an extra layer of protection.
While chocolate covered Oreos can be frozen, it’s generally best to enjoy them within **2-3 months** for optimal taste and quality. Beyond this period, while still safe to eat, their texture or flavor might begin to subtly deteriorate.
When you’re ready to enjoy your frozen treats, the thawing process is important. The best method is to transfer them from the freezer to the **refrigerator for a few hours**, or even overnight. This slow thawing helps prevent condensation from forming on the chocolate, which can make it sticky or dull. Avoid thawing them directly at room temperature too quickly, as this can cause the chocolate to melt unevenly or “sweat.” Once thawed in the refrigerator, you can bring them to room temperature for about 15-30 minutes before serving for the best experience.
In summary, freezing chocolate covered Oreos is a perfectly viable and convenient option for storage. By taking simple precautions like using airtight containers and thawing slowly, you can enjoy these delightful cookies whenever the craving strikes, without compromising on their deliciousness.
Frequently Asked Questions About Chocolate Dipped Oreos (FAQ)
Here are answers to some of the most common questions about making, storing, and customizing chocolate dipped Oreos:
How long do chocolate dipped Oreos last?
When stored correctly in an airtight container at room temperature, away from direct heat and sunlight, chocolate dipped Oreos can remain fresh and delicious for up to **two weeks**. For longer storage, refer to the freezing guidelines above.
Can you freeze chocolate dipped Oreos?
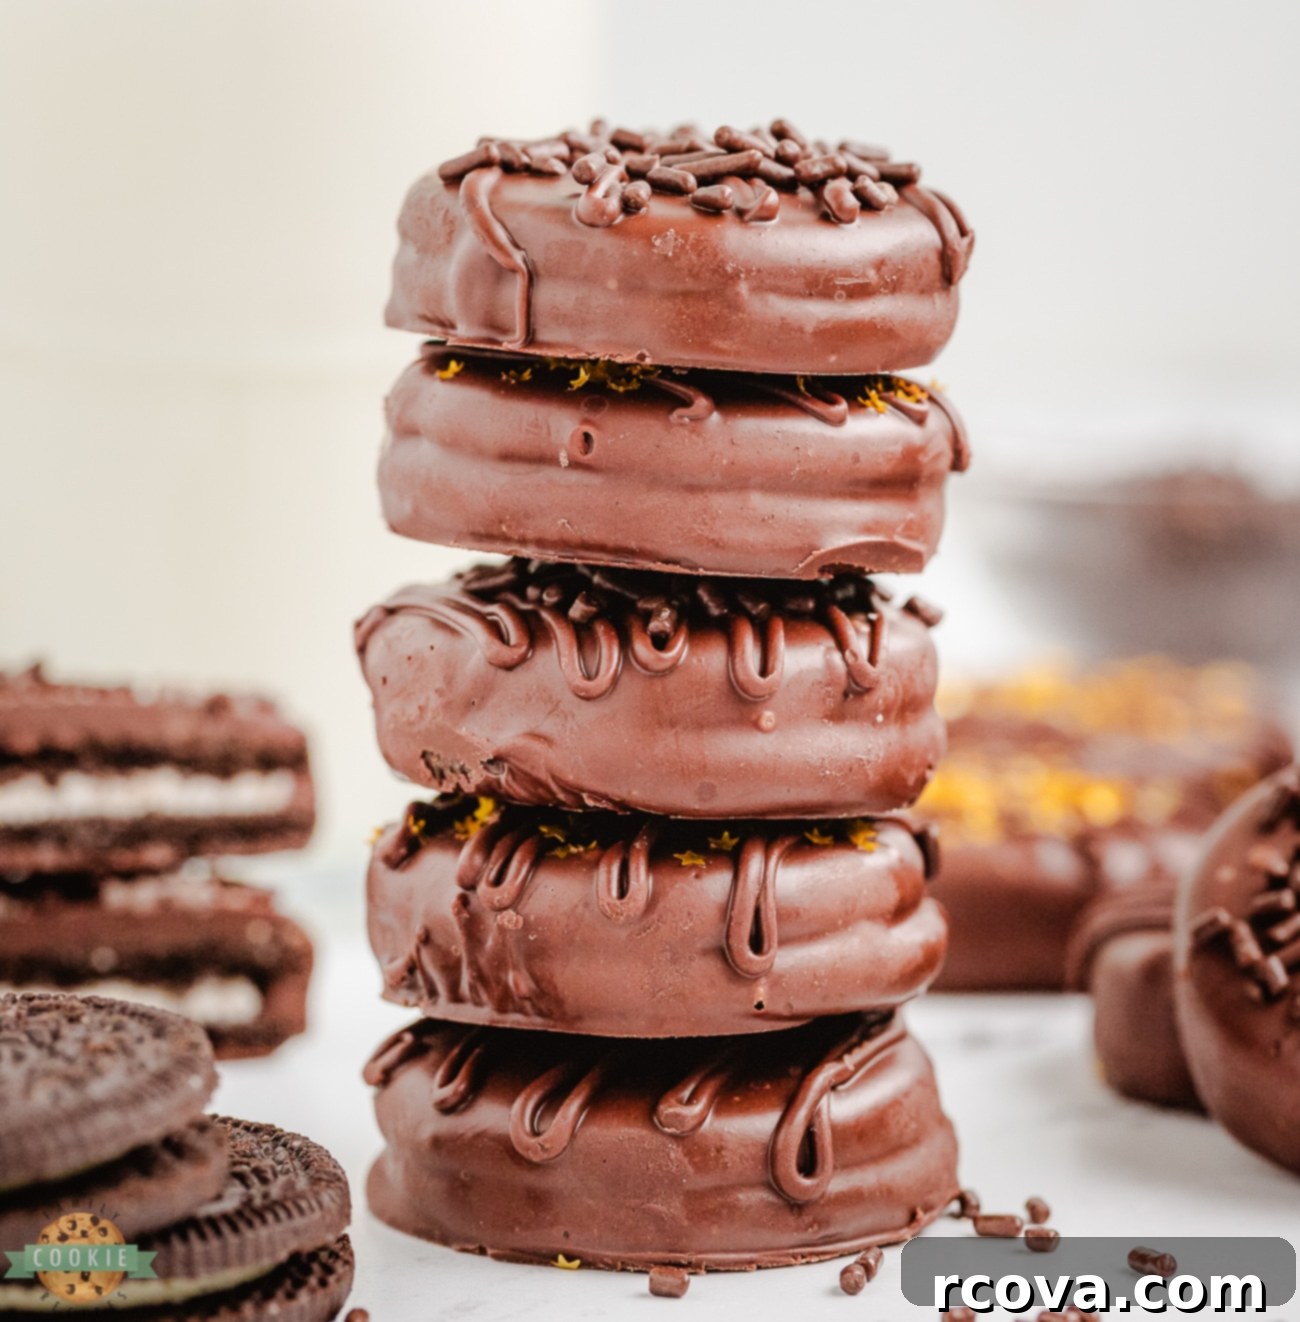
Yes, absolutely! To freeze them, first ensure the chocolate is completely set. Then, place them in an airtight container or a freezer-safe bag. They can be stored in the freezer for up to **three months**. For best results, thaw them gradually in the refrigerator for a few hours before serving, then bring them to room temperature if preferred.
Can you use different types of chocolate? What’s best?
Yes, the beauty of this recipe is its adaptability! You can use milk chocolate for a classic creamy taste, dark chocolate for a rich and intense flavor, or white chocolate for a sweeter, visually contrasting coating. A combination of different chocolates can also create unique marbled effects. The “best” type depends on your personal preference, but using high-quality chocolate (like good baking chips or melting wafers) will always yield the best flavor and texture.
How can I decorate chocolate dipped Oreos?
The decoration possibilities are endless! While the chocolate is still wet, you can add sprinkles, crushed nuts, shredded coconut, mini chocolate chips, or even crushed candy canes for a festive touch. Once the chocolate is set, you can drizzle contrasting melted chocolate (like white chocolate over dark) or colored candy melts for an artistic flair. Edible glitter or food coloring pens can also add special details after the chocolate has fully hardened.
Why is my chocolate seizing or clumpy?
Chocolate can seize (become thick and clumpy) if even a tiny amount of water or steam gets into it during melting. Ensure your bowl and utensils are completely dry. Overheating chocolate can also cause it to seize or burn. Always melt chocolate slowly, in short intervals, and stir frequently.
Do I need to temper the chocolate?
For a shiny, snappy finish that doesn’t melt easily at room temperature and avoids white streaks (bloom), tempering is recommended. However, for a simple home treat, adding a small amount of shortening (like Crisco) to your melting chocolate chips will help achieve a smoother consistency and a decent set without formal tempering.

More Delicious Cookies Made with OREOs:
- EASY HOMEMADE OREO COOKIES
- OREO STUFFED BROWNIE COOKIES
- OREO PEANUT BUTTER COOKIES
- BACON WRAPPED OREOS
- FROSTED OREO PIZZA
- OREO STUFFED COOKIES
Give Them a Try!
In conclusion, chocolate dipped Oreos are more than just a simple treat; they are a delightful fusion of convenience, decadence, and endless customization. Whether you are a devoted chocolate connoisseur, an ardent Oreo enthusiast, or simply in search of a quick and satisfying dessert to brighten your day, these homemade confections are guaranteed to hit the spot.
Their inherent versatility is truly one of their greatest strengths. You have the freedom to choose any type of chocolate that tantalizes your taste buds—from the rich complexity of dark chocolate to the comforting sweetness of milk chocolate, or the creamy elegance of white chocolate. Furthermore, the opportunity to personalize them with a myriad of toppings, such as vibrant sprinkles, crunchy crushed nuts, or playful candy pieces, makes each batch a unique masterpiece, tailored to any theme or personal preference.
The process of crafting chocolate dipped Oreos is remarkably straightforward, requiring only a handful of common ingredients and basic kitchen tools. This accessibility means that even budding bakers can achieve impressive results. Don’t hesitate to unleash your creativity with the dipping process—experiment with artful drizzles, graceful swirls, or even partial dips to create stunning visual appeal.
Ultimately, chocolate dipped Oreos stand out as a fun, incredibly delicious, and universally appealing treat that resonates with everyone. Whether you’re whipping up a batch for a lively party, a special family gathering, or simply as a well-deserved quick snack, they are destined to be a resounding success. So, take the plunge, gather your ingredients, and experience firsthand just how effortlessly delightful these homemade chocolate-covered Oreos can be!
