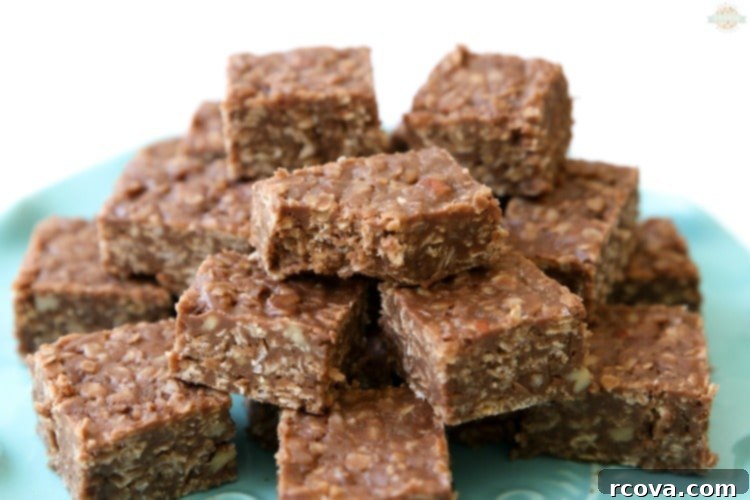
Irresistible No-Bake Cookie Bars: The Ultimate Easy Chocolate Oatmeal Treat
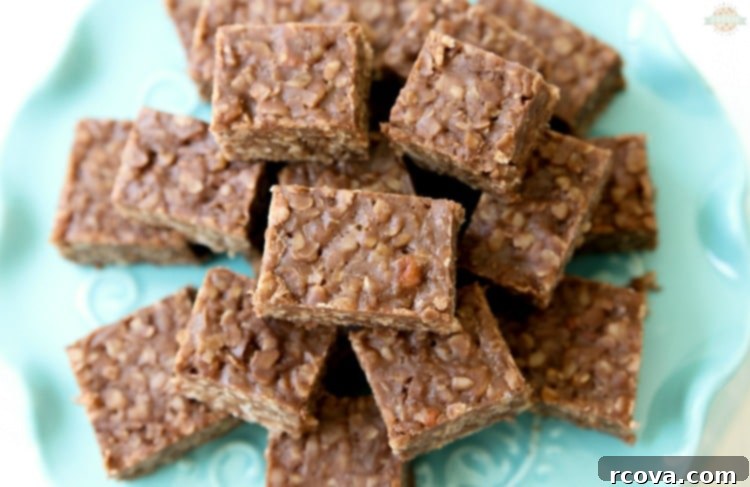
Craving something sweet, rich, and utterly satisfying without the hassle of baking? Look no further than these incredible **No-Bake Cookie Bars**! This recipe is a fantastic, quick, and undeniably delicious variation of classic **no-bake cookies**. Featuring wholesome quick oats and luscious semi-sweet chocolate chips, these **no-bake oatmeal cookies** are so easy to make, they’ll become your new favorite go-to treat. Forget the oven and whip up a batch of these amazingly tasty bars that are sure to be a hit with everyone!
I can confidently say this is hands down THE BEST no-bake cookie recipe I have ever encountered. Transforming traditional no-bake cookies into convenient bars streamlines the entire process, making it faster, easier, and perfect for sharing (or not!). The simplicity and delicious outcome are why I absolutely adore this method.
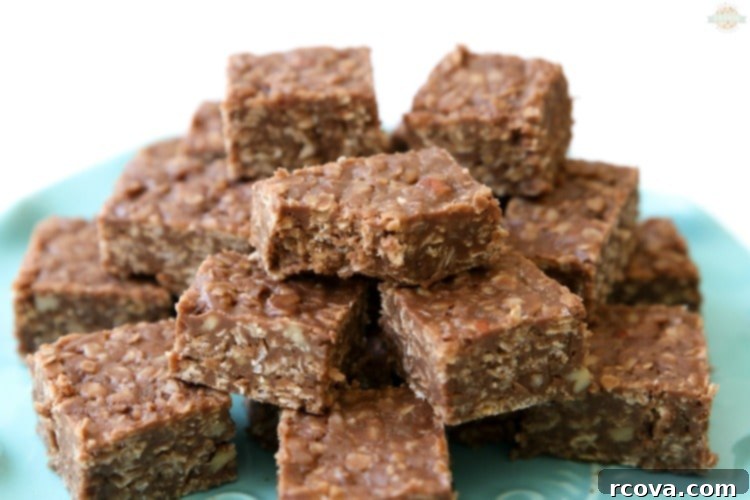
What Exactly Are No-Bake Cookies?
No-bake cookies are a magical, wonderfully addictive dessert that requires no oven time. They typically combine a delightful mixture of chocolate, peanut butter, and oats, all bound together by a cooked sugar and butter base. The beauty of these treats lies in their simplicity, making them a perfect dessert for any occasion, especially when you need a quick fix or want to avoid heating up your kitchen.
While many variations exist, what makes this specific recipe for **No-Bake Cookie Bars** incredibly tasty and stand out from others is the generous use of real semi-sweet chocolate chips, rather than just cocoa powder. This small but significant detail elevates the flavor profile, giving you a richer, more authentic chocolate experience that melts beautifully into the mix, creating a truly decadent taste.
These cookies often evoke a sense of nostalgia for many, associated with childhood kitchen memories where delicious treats appeared as if by magic. They are perfect for hot summer days when turning on the oven is a last resort, for busy weeknights when you need a quick dessert fix, or even as a thoughtful gift. The texture is unique—chewy, slightly fudgy, and packed with satisfying quick oats and crunchy walnuts (if you choose to add them!), offering a delightful mouthful every time.
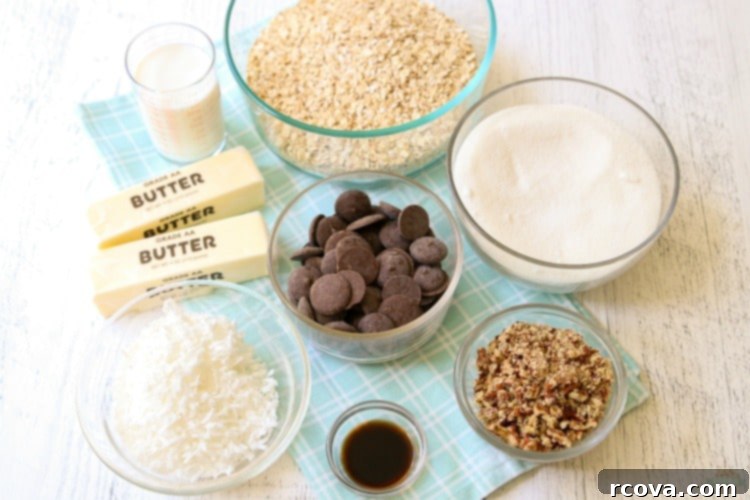
Essential Ingredients for the Best No-Bake Cookie Bars
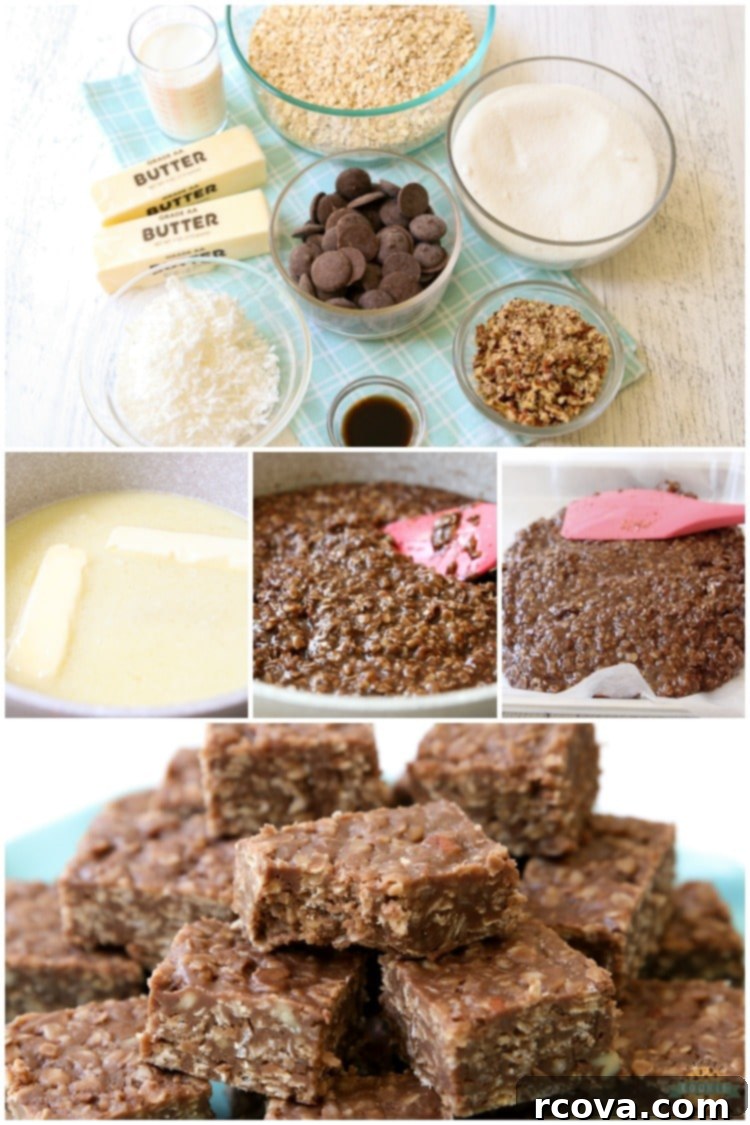
Creating these delightful **No-Bake Cookie Bars** requires a few simple, pantry-friendly ingredients. Each component plays a vital role in achieving that perfect texture and irresistible flavor profile. Gather these items to start your no-bake adventure:
- Butter: Forms the rich, creamy base of our cookie bars, essential for luscious flavor and binding all the ingredients together smoothly.
- Sugar: Provides the sweetness and, crucially, interacts with the other liquids during the boiling process to create the signature fudge-like texture that sets these bars apart.
- Milk: Helps dissolve the sugar and achieves the right liquid consistency for the cooked mixture, ensuring a smooth, pliable base for your cookies.
- Shredded Coconut: Adds a wonderful chewiness and a subtle tropical flavor dimension. While optional, it’s highly recommended for an extra layer of texture and taste that truly elevates the bars.
- Semi-Sweet Chocolate Chips: The undisputed star of the show! These melt into a smooth, decadent chocolate base, providing a far richer and more authentic chocolate flavor compared to just cocoa powder.
- Chopped Walnuts: Offer a lovely crunch and a nutty balance to the sweetness and richness of the chocolate. Feel free to substitute with pecans or other preferred nuts if walnuts aren’t your favorite.
- Quick Oats: The backbone of these bars, providing essential structure and that classic oatmeal cookie texture. Using quick oats is absolutely key for proper setting, as they absorb liquids effectively without making the bars tough.
- Vanilla Extract: A crucial flavor enhancer that adds a warm, aromatic depth, complementing and bringing out the best in the chocolate and oats.
These carefully selected ingredients, when combined and prepared correctly, transform into a batch of heavenly treats that are incredibly satisfying and remarkably simple to make.
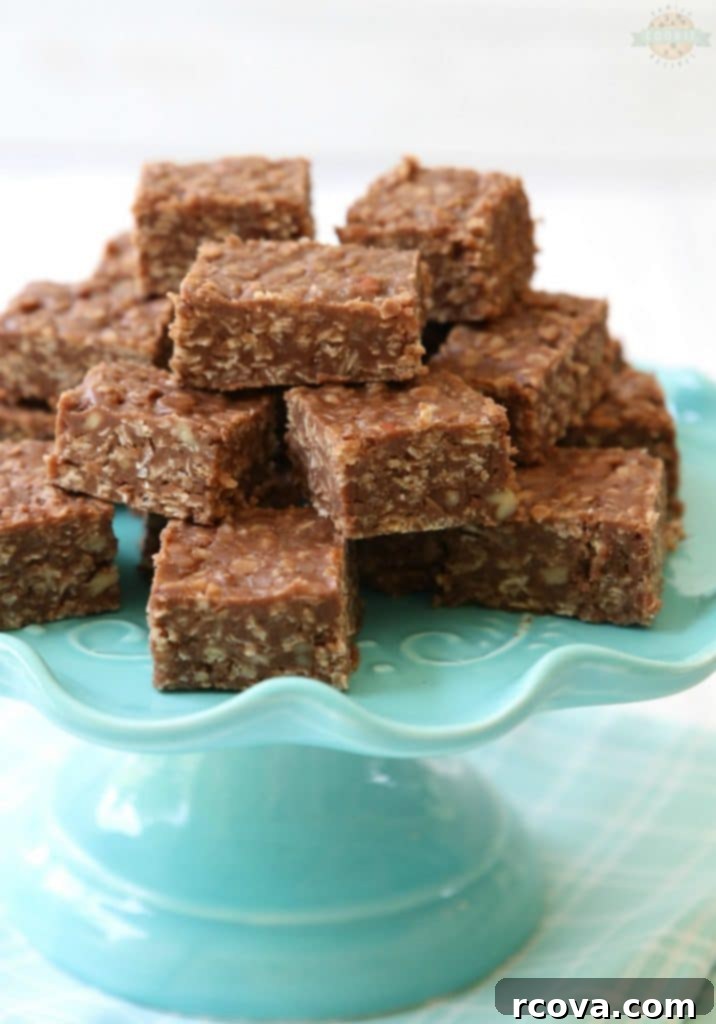
How to Master No-Bake Cookie Bars: A Step-by-Step Guide
Making these delightful **No-Bake Cookie Bars** is surprisingly simple, but a few key steps ensure perfect, firm, and delicious results every single time. Follow these detailed instructions closely for a batch of perfectly set, utterly delicious treats:
- Prepare Your Pan: First, ensure your workstation is fully prepared. Line a 9×13 inch cookie sheet (or a similar sized baking dish) with wax paper. This crucial step is vital for preventing the sticky mixture from adhering to the pan and makes it incredibly easy to remove and cut your bars once they’ve completely cooled and set. As an alternative, parchment paper can also be used with similar excellent results.
- Combine and Boil the Base: In a medium-sized, heavy-bottomed saucepan, combine the butter, granulated sugar, and milk. Place the pan over medium heat, stirring occasionally, until the mixture comes to a full, rolling boil. Once it reaches a vigorous boil, immediately set a timer and let it continue to boil for precisely 1 minute. This exact boiling time is the most critical step for the cookies to set properly, as it allows the sugar to reach the correct temperature and consistency.
- Remove from Heat Promptly: As soon as the 1-minute boiling time is up, remove the pan from the heat source immediately. Do not allow the mixture to boil for longer than 1 minute, as over-boiling can cause the sugar to crystallize too much, leading to an overly crumbly texture that won’t hold together, or even a hard, candy-like consistency in your finished bars.
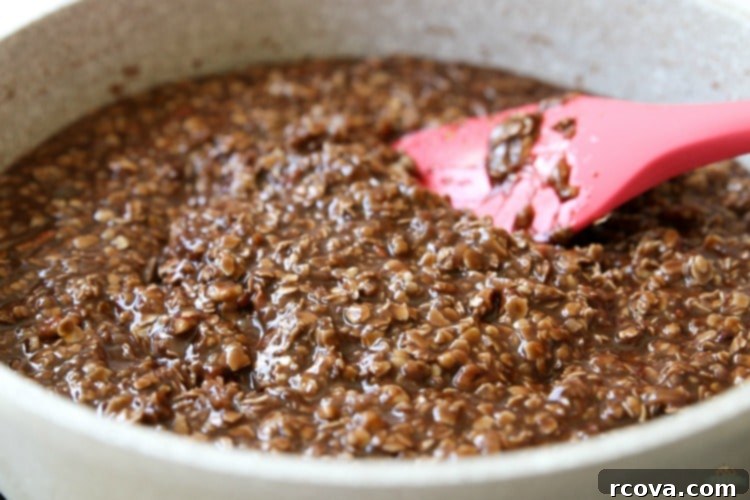
- Melt the Chocolate: While the mixture is still hot, add the semi-sweet chocolate chips directly into the pan. Stir continuously and vigorously with a sturdy spoon or spatula until the chocolate chips have completely melted and are smoothly incorporated into the hot sugar mixture. You should have a rich, uniform, glossy chocolate base.
- Fold in Remaining Ingredients: Next, add the shredded coconut, chopped walnuts, quick oats, and vanilla extract to the pan. Mix everything thoroughly and patiently until all ingredients are well combined and uniformly coated in the luscious chocolate mixture. Ensure there are no dry pockets of oats or nuts.
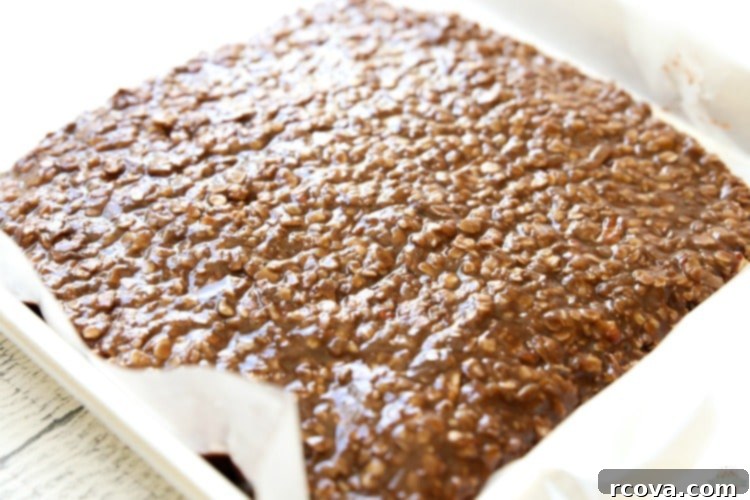
- Spread and Cool: Pour the entire warm mixture evenly onto the prepared cookie sheet. Gently spread and smooth it out across the pan using the back of your spoon or an offset spatula if needed, ensuring an even thickness. Allow the bars to cool completely at room temperature, which typically takes about 15-20 minutes, or significantly speed up the process by placing them in the refrigerator for 5-10 minutes.
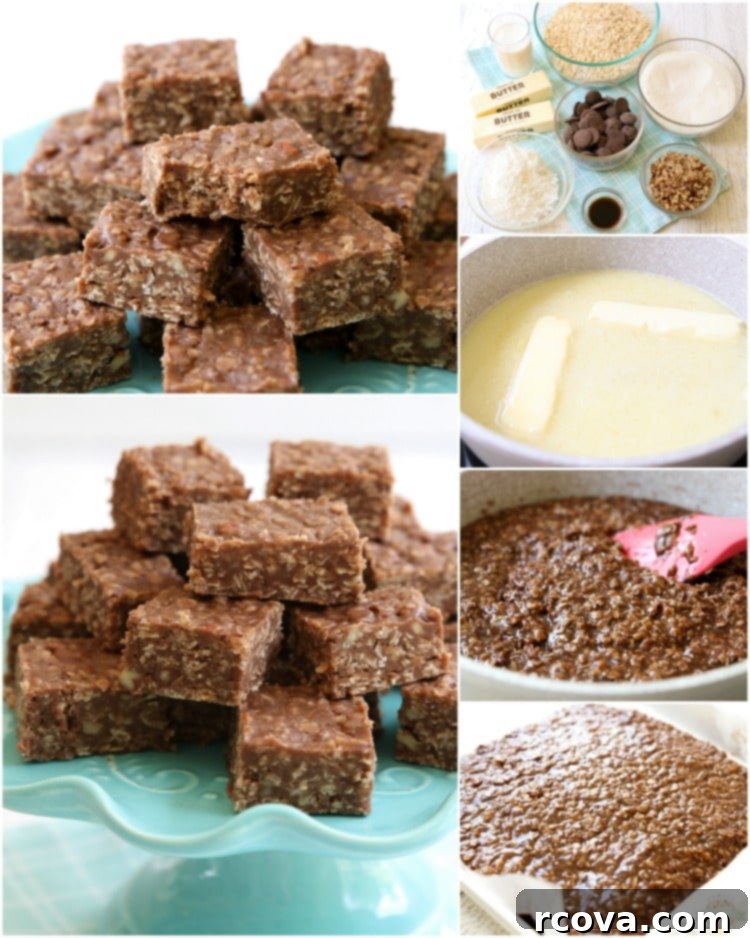
- Cut and Serve: Once the bars are fully cooled and firm to the touch, lift the wax paper (with the bars still on it) out of the pan and transfer it to a cutting board. Using a sharp knife, cut the large slab into your desired size of bar or square. Now they’re perfectly ready to enjoy!
Expert Tips for Perfect No-Bake Cookie Bar Consistency
Achieving the perfect consistency for your **No-Bake Cookie Bars** is paramount. Here are a few crucial pointers to ensure success every time:
- The 1-Minute Boil is Non-Negotiable: This is arguably the most critical step in the entire process. Boiling the butter, sugar, and milk mixture for exactly one minute allows the sugar to reach the precise temperature and concentration needed to form the correct crystalline structure upon cooling. Boiling for less time might result in cookies that remain too soft, gooey, and won’t set properly, while boiling for too long can cause them to become excessively hard, dry, and crumbly.
- Choose the Right Oats: Always, always use quick oats for this specific recipe. Quick oats are thinly rolled and cut into smaller pieces, allowing them to absorb liquids more readily and integrate smoothly into the mixture. This is crucial for providing structure and achieving that classic oatmeal cookie texture. Using old-fashioned (rolled) oats, which are thicker, will prevent your bars from setting correctly due to their different absorption rates, often resulting in a crumbly or too-soft batch.
- Thorough Mixing is Essential: Once the chocolate is melted and the remaining dry ingredients (oats, coconut, walnuts, and vanilla) are added, ensure everything is thoroughly and quickly combined. This guarantees an even distribution of all ingredients and, more importantly, helps the mixture bind together consistently, preventing any pockets of unmixed ingredients.
- Patience During Cooling: While it’s tempting to dig in immediately, patience is a virtue when it comes to setting. Although they can firm up adequately at room temperature, refrigerating them will significantly speed up the setting process and yield a much firmer, denser bar, which many prefer.
Troubleshooting: What to Do When Your No-Bake Cookies Won’t Set
It can be incredibly frustrating when your batch of **No-Bake Cookie Bars** doesn’t set correctly and remains too soft or gooey. Don’t worry, this is a common issue with relatively easy solutions for future batches! The most frequent culprits are improper boiling time and the type of oats used. Here’s a deeper dive into what might be happening and how to fix it:
- Boiling Time is Paramount: As emphasized in the instructions, the 1-minute boil is absolutely crucial. If your butter, sugar, and milk mixture didn’t boil for precisely long enough, the sugar molecules won’t reach the proper temperature to dissolve and then recrystallize correctly, which is what binds all the ingredients. If your cookies are consistently too soft, it’s almost always due to under-boiling. Unfortunately, once the mixture is cooled and mixed, it’s very difficult to rectify this specific issue with the current batch. For all subsequent batches, be extremely diligent with your timer!
- The Right Oats Make a Definitive Difference: I cannot stress enough the importance of using quick oats for this recipe. Quick oats are specifically processed to be thinner and cut into smaller pieces compared to old-fashioned (rolled) oats. This allows them to absorb the hot liquid mixture more rapidly and thoroughly, which is essential for the bars to firm up and hold their shape. Using old-fashioned oats will inevitably result in a different, often undesirable, texture—typically too soft, wet, or crumbly—because they don’t absorb the liquid in the same way or at the same rate. If your cookies are too loose, double-check that you used the correct type of oats.
- Chill for Emergency Firmness: If your cookies are a bit soft but not completely liquid, and you’ve already mixed everything, don’t despair! Placing them in the refrigerator or even the freezer can significantly help them firm up. The cold temperature will rapidly solidify the butter and chocolate, lending the bars a much sturdier, chewier consistency. In fact, many people prefer to eat their no-bake cookies cold for this very reason!
- Consider Humidity: Environmental factors like high humidity can sometimes influence how quickly and firmly no-bake cookies set. If you’re baking on a very humid day, you might find that the mixture takes longer to firm up. In such conditions, relying more heavily on refrigeration for cooling will be beneficial.
No Bake Cookie Bars
Print
Pin
Rate
Ingredients
Ingredients
- 1 cup butter 2 cubes
- 2 cups sugar
- 1/2 cup milk
- 1 cup semi-sweet chocolate chips
- 3/4 cup shredded coconut
- 1/2 cup chopped walnuts
- 3 cups quick oats
- 1 tsp vanilla
Instructions
Instructions
-
Line a 9×13 inch cookie sheet with wax paper for easy removal.
-
In a saucepan, combine butter, sugar, and milk. Bring to a rolling boil and continue to boil for exactly 1 minute. Remove pan from heat immediately.
-
Add the semi-sweet chocolate chips to the hot mixture. Stir until the chocolate chips have melted completely and the mixture is smooth.
-
Fold in the coconut, walnuts, quick oats, and vanilla extract. Stir until all ingredients are thoroughly mixed and coated.
-
Pour the mixture onto the prepared cookie sheet. Gently smooth it out evenly across the pan. Allow to cool completely.
-
Once completely cooled and firm, cut into desired bar or square sizes. Enjoy!
Video
Nutrition
Tried this recipe?Mention @familycookierecipes or tag #familycookierecipes!
Expand Your Dessert Repertoire: More Delicious Chocolate & No-Bake Recipes
If you’ve fallen in love with these simple yet sensational **No-Bake Cookie Bars**, then you’re sure to enjoy other equally delightful treats. Whether you adore rich Chocolate, appreciate the convenience of No-Bake options, or are a fan of versatile Bar Cookie Recipes, we have plenty more to explore. Here are some tasty recipes to try next:
- REESE’S CHOCOLATE COOKIE CUPS
- DOUBLE CHOCOLATE CHERRY COOKIES
- CHOCOLATE CARAMEL CAKE MIX COOKIES
- MARSHMALLOW PEANUT BUTTER NO BAKE COOKIES
- PEANUT BUTTER NO BAKE COOKIES
- NO BAKE MICROWAVE OATMEAL CHOCOLATE CHIP COOKIES
- OATMEAL CHOCOLATE CHIP COOKIES
- LEMON SUGAR COOKIE BARS
- SWIRLED PATRIOTIC COOKIE BARS
Can You Freeze No-Bake Cookie Bars?
Absolutely! Not only can **No-Bake Cookie Bars** be frozen, but doing so can actually enhance their texture and flavor, especially during warmer months. Freezing helps them firm up considerably, creating a chewier, almost fudge-like consistency that many people adore. For best results, allow the bars to cool completely and set before cutting them into individual portions. Once cut, arrange the bars in a single layer on a parchment-lined baking sheet and freeze for about an hour until they are solid. After they’ve firmed up, transfer them to an airtight freezer-safe container or a heavy-duty resealable freezer bag. They will keep beautifully in the freezer for up to 3 months without losing their quality. When you’re ready to enjoy them, simply thaw them at room temperature for a few minutes, or if you prefer a super refreshing treat, enjoy them straight from the freezer! The only real challenge is getting them into the freezer before they’re all devoured!
Which Oats Are Best for No-Bake Bars?
While some **No-Bake Cookie** recipes might suggest different types of oats, for this particular recipe (and many others of this style), **quick oats** are paramount. The reason is simple: quick oats are thinly rolled and finely cut compared to their counterparts. This processing allows them to absorb moisture rapidly and fully integrate into the chocolatey mixture without becoming overly chewy, tough, or mushy. This ensures your bars achieve the desired fudgy, yet firm, consistency that is characteristic of perfect no-bake treats.
Using other varieties, such as old-fashioned (rolled) oats or steel-cut oats, will significantly alter the texture of your bars. Old-fashioned oats, being thicker and less processed, won’t absorb enough liquid to set properly, often resulting in a crumbly, loose, or too-soft bar. Steel-cut oats, which are the least processed and much coarser, are far too hard and would remain unpalatable in a no-bake mixture. Therefore, to ensure your **No-Bake Cookie Bars** set correctly, hold their shape, and have that signature delightful texture, always stick exclusively to quick oats.
Do No-Bake Cookie Bars Need to Be Refrigerated?
Technically, **No-Bake Cookie Bars** do not *require* refrigeration for food safety, as all their ingredients are shelf-stable. You can comfortably store them in an airtight container at room temperature for up to 3-4 days. However, keeping them in the fridge offers several distinct advantages, which is why many prefer it:
- Firmer Shape and Texture: Refrigeration helps the cookies maintain a much firmer shape and a denser, chewier texture, especially in warmer climates or humid conditions. The chilled butter and chocolate solidify more effectively, making them less prone to melting or becoming too soft.
- Extended Shelf Life: Storing your bars in the refrigerator can significantly extend their freshness and quality for up to a week, preventing them from drying out or becoming overly soft.
- Enhanced Taste and Enjoyment: Many people, myself included, find that these bars taste even better when chilled. The cold temperature enhances the rich, fudgy texture and creates a delightful, refreshing contrast, particularly on a warm day.
Ultimately, whether you choose to refrigerate them or not comes down to your personal preference for texture, how quickly you plan to devour them, and your local climate!
How Long Does It Take for No-Bake Cookies to Set Up?
One of the most appealing qualities of **No-Bake Cookies** is their relatively quick setting time, making them an ideal last-minute dessert. At room temperature, these cookie bars typically take about 15-20 minutes to cool down and fully set. During this time, the melted chocolate and sugar mixture will firm up, binding all the ingredients into a cohesive bar. However, if you’re in a hurry or simply prefer a firmer, more chilled texture, you can significantly reduce this waiting period by placing them in the refrigerator. In a cold fridge, they can be ready in as little as 5-10 minutes.
While they are perfectly delicious when eaten cold, if you prefer the slightly softer, fudgier consistency they achieve at room temperature, simply remove them from the refrigerator once set and let them sit on the counter for a few minutes before serving. That said, I’m personally a huge fan of eating them chilled – I find they somehow taste even better when cold, offering a wonderfully refreshing twist to this classic, easy dessert!
Will Chocolate No-Bake Cookies Stick to Foil?
It’s a common concern that can lead to frustration: will your beautiful **Chocolate No-Bake Cookies** stick to aluminum foil? While it doesn’t always happen, it’s definitely a potential risk, and peeling off sticky bits of foil from your delicious dessert is no fun for anyone. To entirely avoid this hassle and the risk of damaging your perfectly formed bars, I highly recommend using wax paper or parchment paper to line your cookie sheet.
Both wax paper and parchment paper provide an excellent non-stick surface that allows the cooled and set bars to simply slide right off. This makes the process of removing them from the pan, cutting them, and cleaning up afterward incredibly easy and mess-free. From my extensive experience with no-bake treats, wax paper has consistently worked perfectly, ensuring every single bar comes off cleanly and intact, ready for you to enjoy. Don’t let sticky situations ruin your no-bake fun!
What Kind of Peanut Butter to Use in No-Bake Cookie Bars (Optional Variation)?
While this particular recipe for our primary **No-Bake Cookie Bars** focuses on a rich chocolate and oatmeal profile without peanut butter, it’s worth noting that peanut butter is a widely popular and incredibly delicious addition or variation in many no-bake recipes! If you decide to incorporate peanut butter into a similar no-bake creation, the traditional recommendation often calls for **creamy peanut butter**. This yields a smoother, more uniform, and velvety texture throughout your bars, allowing the peanut butter flavor to blend seamlessly.
However, if you’re someone who enjoys a delightful textural contrast and a bit of a bite, don’t hesitate to use **crunchy peanut butter**. The small peanut pieces scattered throughout will add an extra layer of crunch that complements the chewiness of the oats. Both types of peanut butter work wonderfully in no-bake recipes, so choose based on your preference!
Even more natural varieties of peanut butter, which often feature oil separation, will work just fine. Just be sure to give them a very thorough stir before adding them to your mixture to ensure consistent texture and flavor throughout your entire batch. The key is to ensure it’s well-mixed and smoothly incorporated into the warm base for the best results.
Pro Tip for Measuring Sticky Ingredients: The easiest and cleanest way to accurately measure sticky ingredients like peanut butter (or honey, molasses, shortening, etc.) is with a specialized push-out measuring cup like this one. These clever measuring cups feature an internal plunger that allows you to measure your ingredient precisely and then effortlessly push it out directly into your mixing bowl without any messy scraping or waste. It’s a small, inexpensive investment that makes a big difference in the kitchen, saving you time and reducing cleanup!

Life’s Sweet Moments: A Personal Reflection
This past week, we joyously celebrated the FIRST DAY OF SCHOOL! WAHOO. When I say “we celebrated,” I mean *I* celebrated with enthusiasm, and my kids, well, they happily went along with it, mostly motivated by the excitement of seeing their friends again. Ha! I genuinely love this time of year – there’s a welcome return to more structured schedules, my children are active and engaged all day long, and I get to reclaim some precious time for myself. This year, all five of my children are finally in school, and I honestly don’t quite know what I’m going to do with all my newfound freedom. But rest assured, I have a few delightful ideas in mind, perhaps involving more delicious baking (or, in this delightful case, no-baking!) experiments and exciting new recipe development!
These **No-Bake Cookie Bars** are truly the perfect treat to welcome back routine, celebrate any small victory, or simply enjoy a quiet moment to yourself. They are a delightful variation on classic **no-bake cookies**, made with real semi-sweet chocolate chips instead of just cocoa powder, ensuring an incredibly richer and more satisfying flavor. With quick oats providing the ideal texture and structure, these **no-bake oatmeal cookies** are easily one of the best and simplest dessert recipes you’ll ever try. Share them with loved ones or keep them all to yourself – either way, you’re in for a treat!

