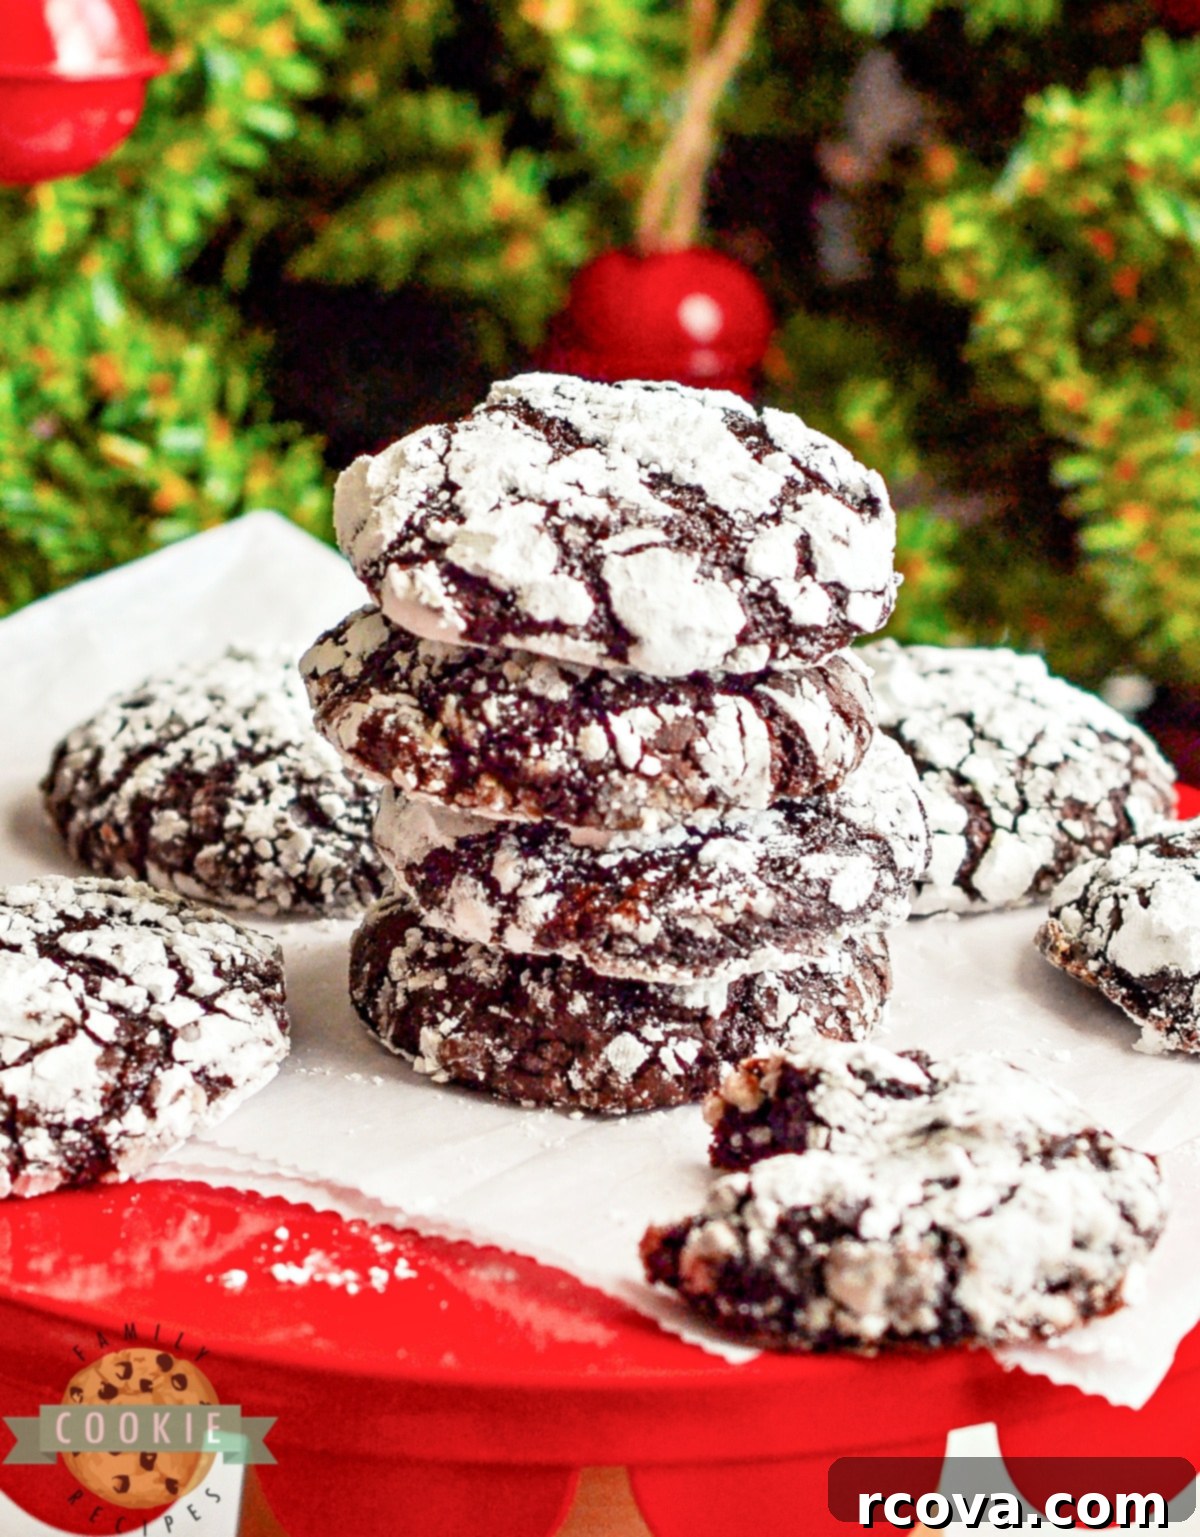
Decadent Raspberry Chocolate Crinkle Cookies: A Sweet Twist on a Classic
Indulge in the delightful combination of rich chocolate and tangy raspberry with these incredibly soft, chewy, and flavor-packed **Raspberry Chocolate Crinkle Cookies**. This recipe takes the beloved classic chocolate crinkle cookie and infuses it with the vibrant taste of raspberry preserves, creating a truly irresistible treat perfect for any occasion. Whether you’re baking for the holidays, a special celebration, or simply to satisfy a sweet craving, these cookies are guaranteed to become a new favorite in your recipe collection.
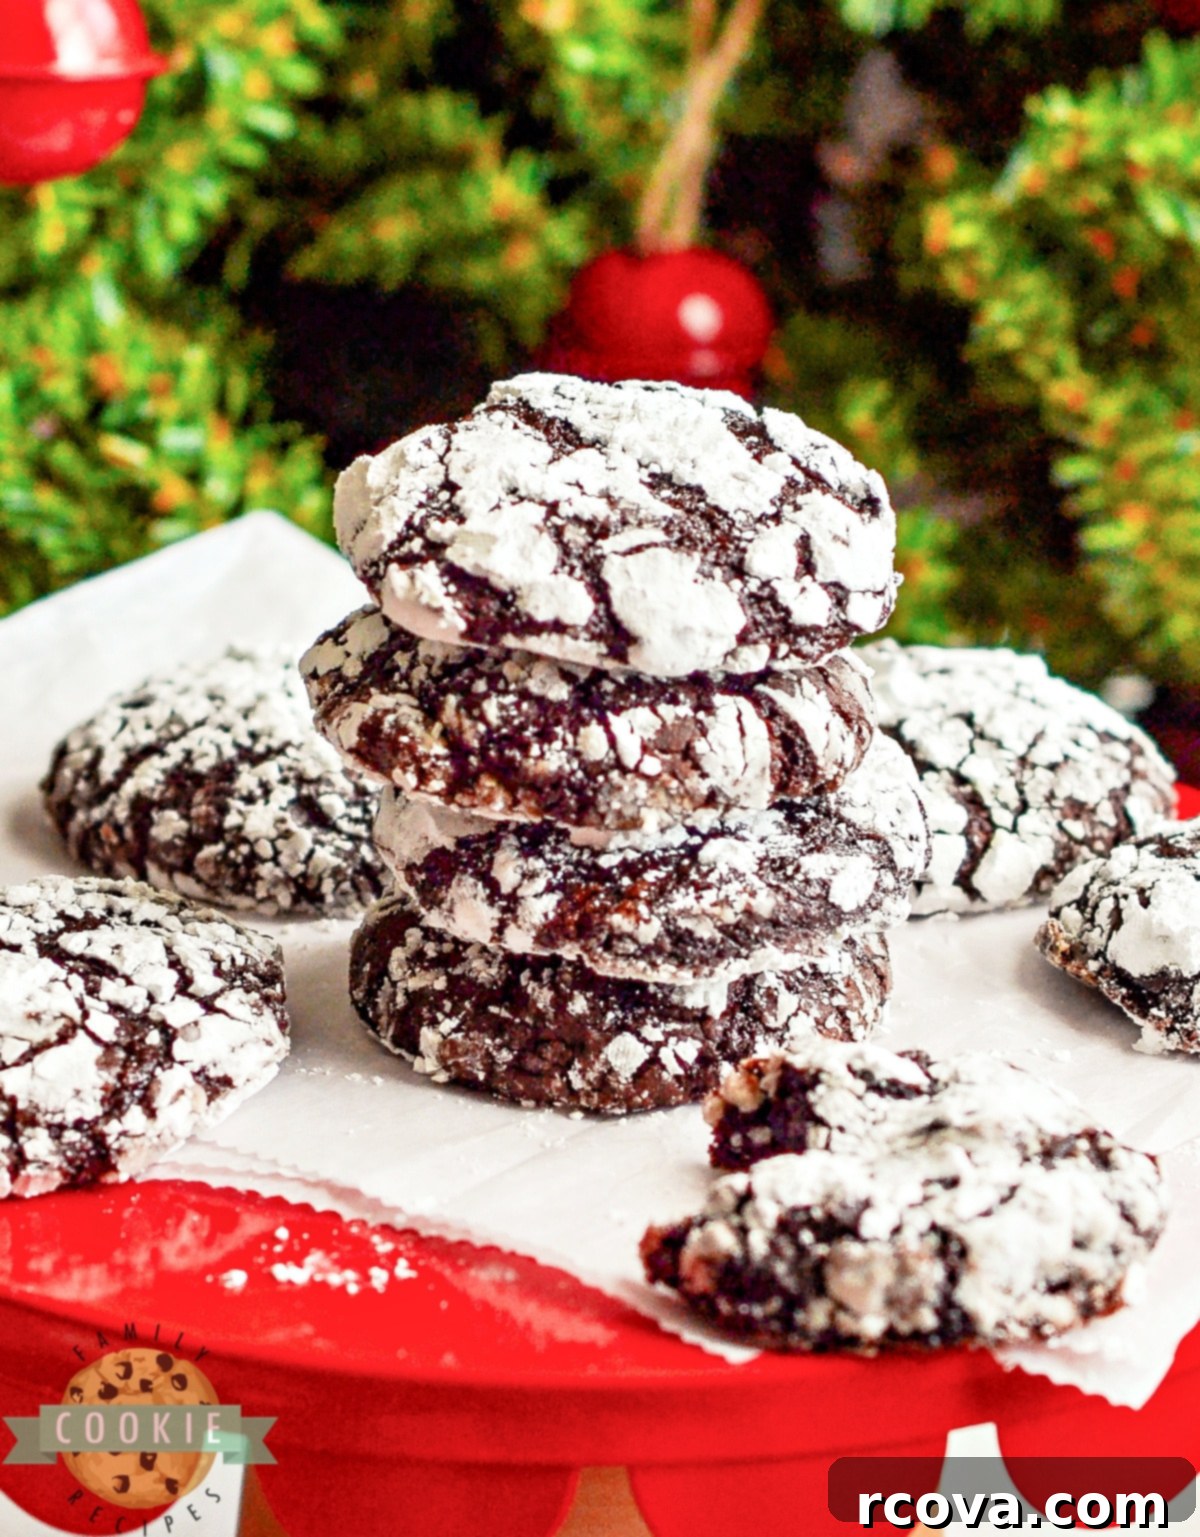
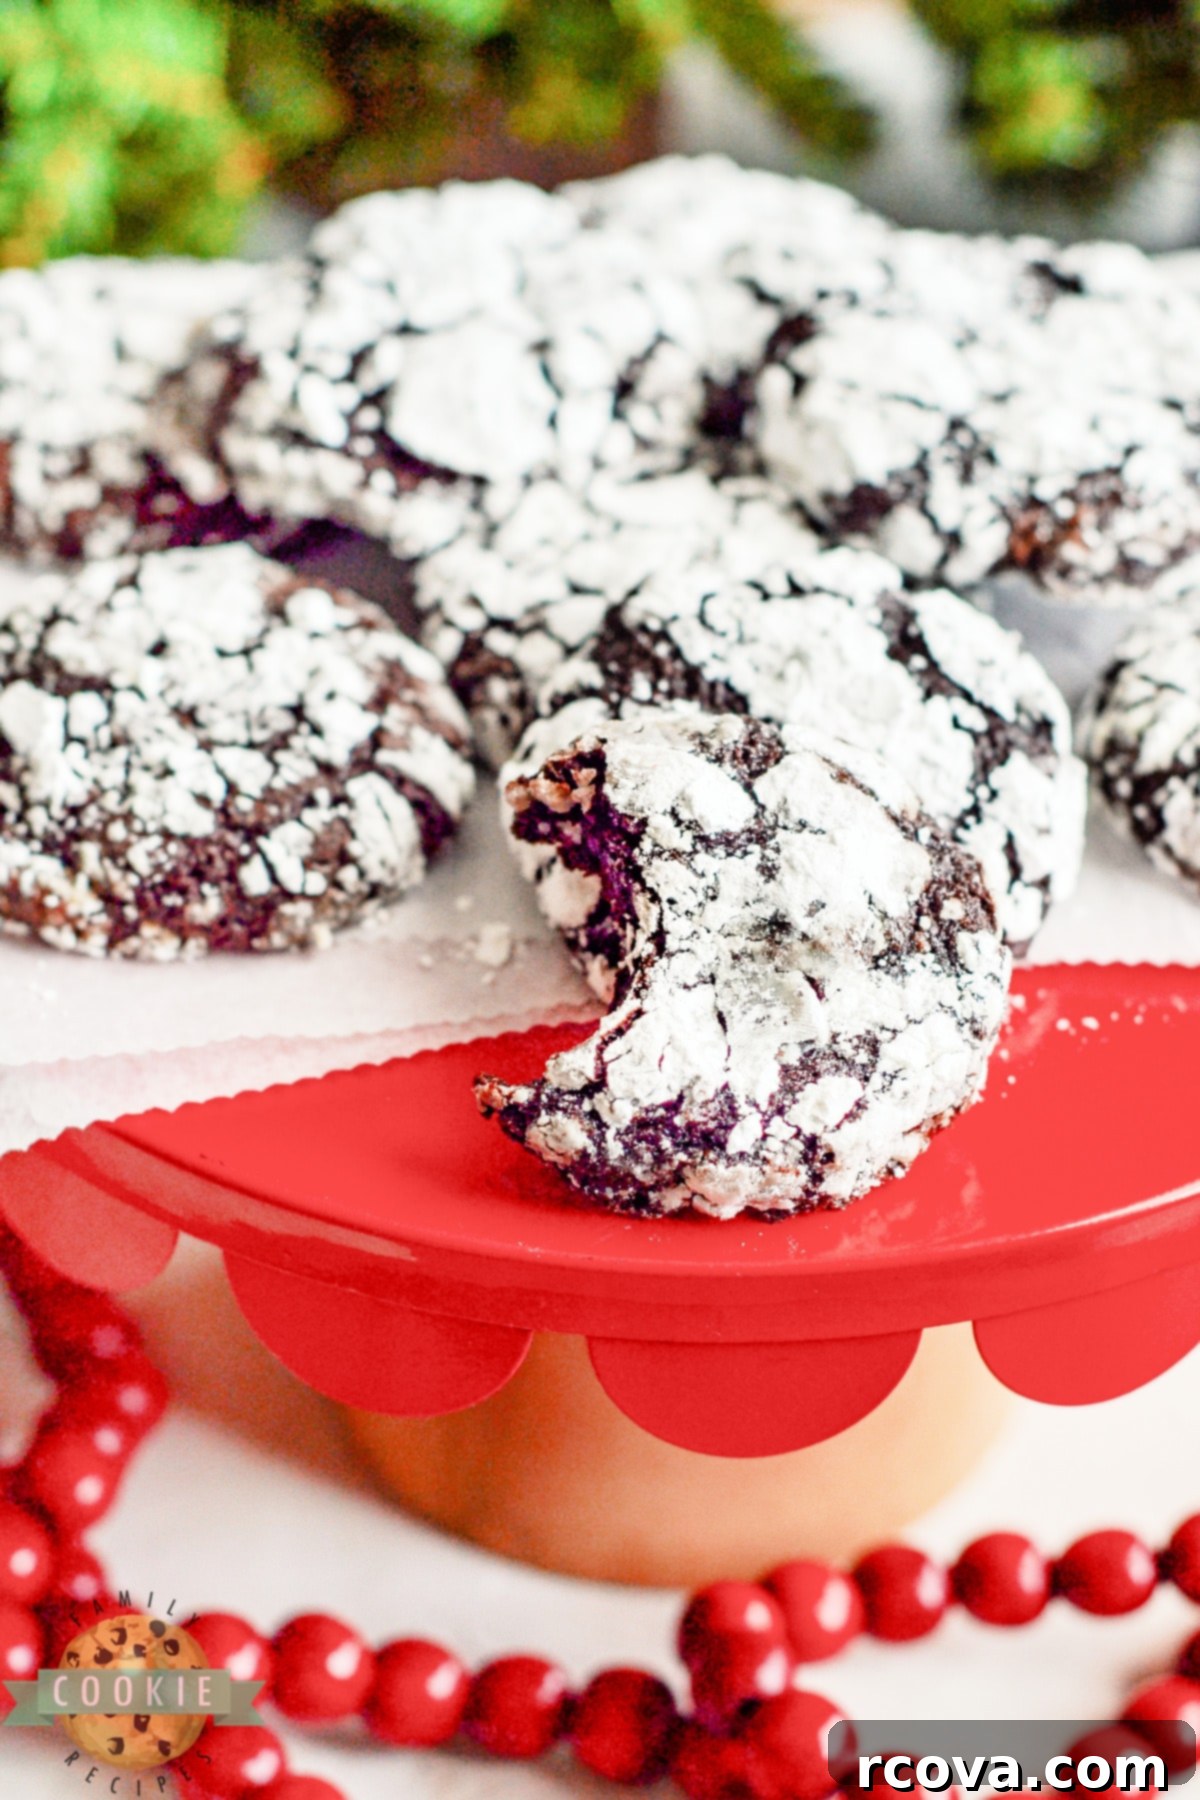
Imagine biting into a cookie that feels like a brownie – dense, fudge-like, and bursting with intense chocolate flavor. That’s the essence of a crinkle cookie! By adding the bright, fruity notes of raspberry, we elevate this experience to another level. The contrasting textures of the soft interior, slightly crispy edges, and the powdered sugar coating, combined with the sweet-tart raspberry pockets, create a harmonious symphony for your taste buds. While traditionally associated with festive holiday platters, these **chocolate crinkle cookies with raspberry** are so good, you’ll want to enjoy them all year long!
The Delicious Journey of the Crinkle Cookie
The crinkle cookie, a beloved staple in many baking traditions, boasts a fascinating history. Believed to have originated in American kitchens in the early 20th century, these unique cookies gained popularity quickly due to their distinctive appearance and rich flavor. The name “crinkle” perfectly describes their iconic look: as the dough bakes and spreads, the generous coating of powdered sugar cracks, creating a beautiful, frosted, crinkled surface. This visual appeal, combined with a wonderfully chewy texture reminiscent of a brownie, made them an instant hit.
Over the decades, the basic crinkle cookie recipe has seen countless adaptations. Bakers have experimented with various flavors, spices, and ingredients to put their own spin on this classic. Adding raspberry jam is a brilliant and incredibly delicious evolution of this traditional cookie. It introduces a burst of fruity freshness that complements the deep chocolate base perfectly. However, the beauty of crinkle cookies lies in their versatility; if raspberry isn’t your preference, feel free to explore other fruit preserves or extracts to create your own signature flavor combination!
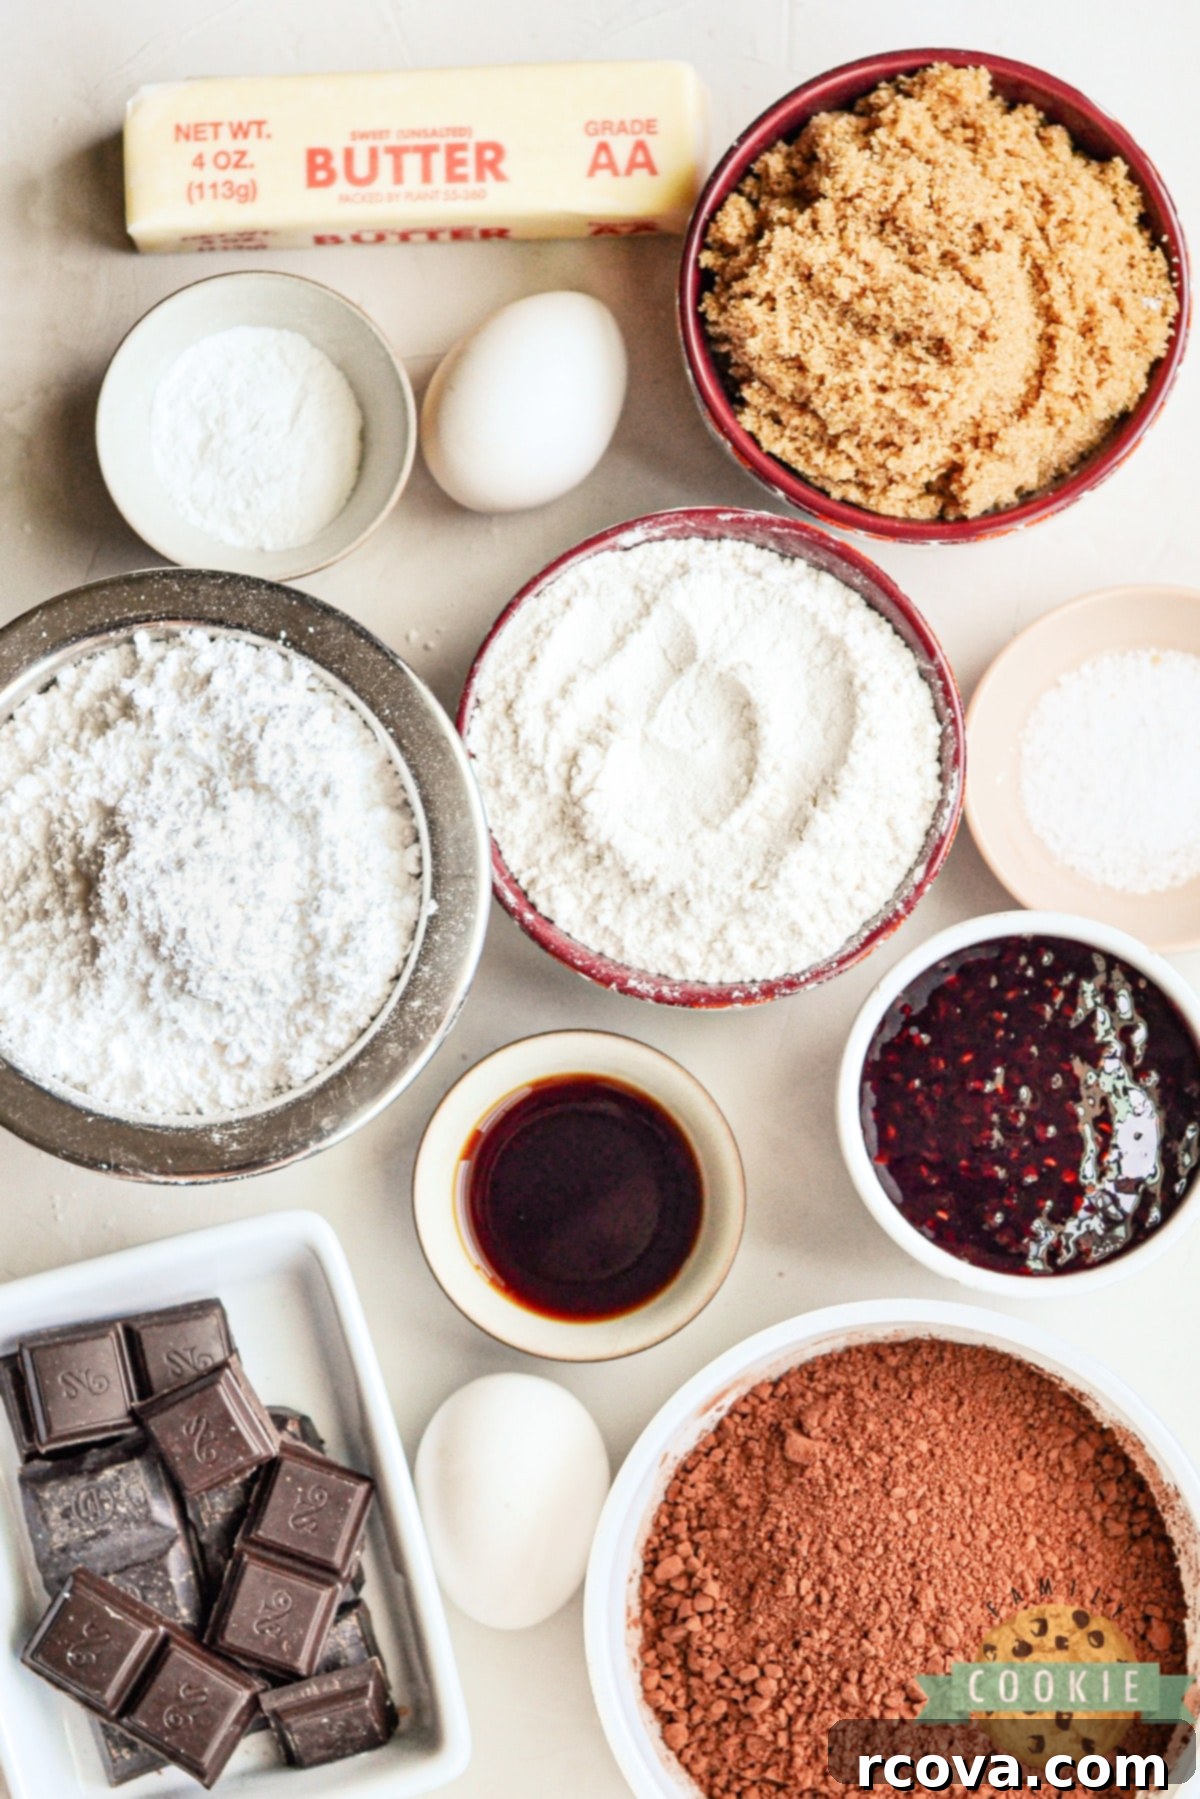
Key Ingredients for Your Raspberry Chocolate Crinkle Cookies
Creating these delightful **raspberry chocolate cookies** requires a few pantry staples, each playing a crucial role in achieving that perfect taste and texture. Using high-quality ingredients will always yield the best results, so let’s break down what you’ll need for this amazing recipe.
Detailed Ingredient Breakdown:
- Butter – You’ll need one stick (½ cup) of butter to start. Whether you use salted or unsalted butter is entirely up to your preference, as either will work well in this recipe. To ensure smooth melting with the chocolate, it’s helpful to cut the butter into smaller cubes beforehand. For the richest flavor and best texture, we highly recommend using real butter.
- Dark chocolate – Four ounces of good quality dark chocolate are essential for that deep, luxurious chocolate flavor that defines these cookies. You can opt for a baking chocolate bar, which you’ll chop into smaller pieces, or use dark chocolate chips for convenience. The darker the chocolate, the more intense the flavor will be.
- Light brown sugar – This ingredient provides the primary sweetness and contributes to the cookies’ chewy texture. Ensure your brown sugar is soft and fresh, as packed brown sugar also adds moisture to the dough, preventing dry, crumbly cookies.
- Eggs – Two large eggs act as a crucial binding agent, bringing all the other ingredients together to form a cohesive dough. Using room temperature eggs can help them incorporate more evenly into the mixture, leading to a smoother dough.
- Vanilla extract – A good quality vanilla extract enhances the overall flavor profile of the cookies, complementing the chocolate beautifully. While often subtle, high-quality vanilla makes a noticeable difference.
- All-purpose flour – Standard all-purpose flour is ideal for this recipe, providing the necessary structure. If you require a gluten-free option, a 1:1 gluten-free baking blend can be substituted successfully. Remember to measure your flour correctly, preferably by weight or by spooning it into the measuring cup and leveling it off, to avoid over-measuring.
- Cocoa powder – To achieve a richer, darker chocolate color and deeper flavor, Dutch-processed or dark cocoa powder is highly recommended. However, if you only have regular unsweetened cocoa powder on hand, it will still yield delicious results, perhaps with a slightly lighter color.
- Baking powder – This leavening agent is vital for giving the cookies a slight lift and contributing to their soft, chewy texture. Always check that your baking powder isn’t old or expired for optimal effectiveness.
- Salt – Just a small amount of salt is added to balance the sweetness and intensify all the other wonderful flavors in the cookies, making the chocolate taste even richer.
- Powdered sugar – This is the star ingredient for the “crinkle” effect! Each ball of cookie dough is generously rolled in powdered sugar before baking. As the cookies spread, the sugar coating cracks, creating the signature white “crinkles” against the dark chocolate.
- Raspberry preserves – The secret ingredient that gives these cookies their distinctive fruity twist! Raspberry preserves infuse the cookies with a bright, sweet-tart flavor. For delightful pockets of jam within the cookies, be careful not to overmix the preserves into the dough. If you prefer a different fruit flavor, feel free to substitute with another type of jam or preserves.
Step-by-Step Guide: Crafting Your Raspberry Chocolate Crinkle Cookies
Baking these delightful Raspberry Chocolate Crinkle Cookies is a straightforward process that yields impressive results. Follow these detailed steps to create perfectly crinkled, flavorful treats every time.
First, preheat your oven to 350°F (175°C). Prepare your baking sheets by lining them with parchment paper. This prevents sticking and makes cleanup a breeze, ensuring your cookies bake evenly and release easily. Set these aside while you prepare the dough.
Making the Decadent Cookie Dough
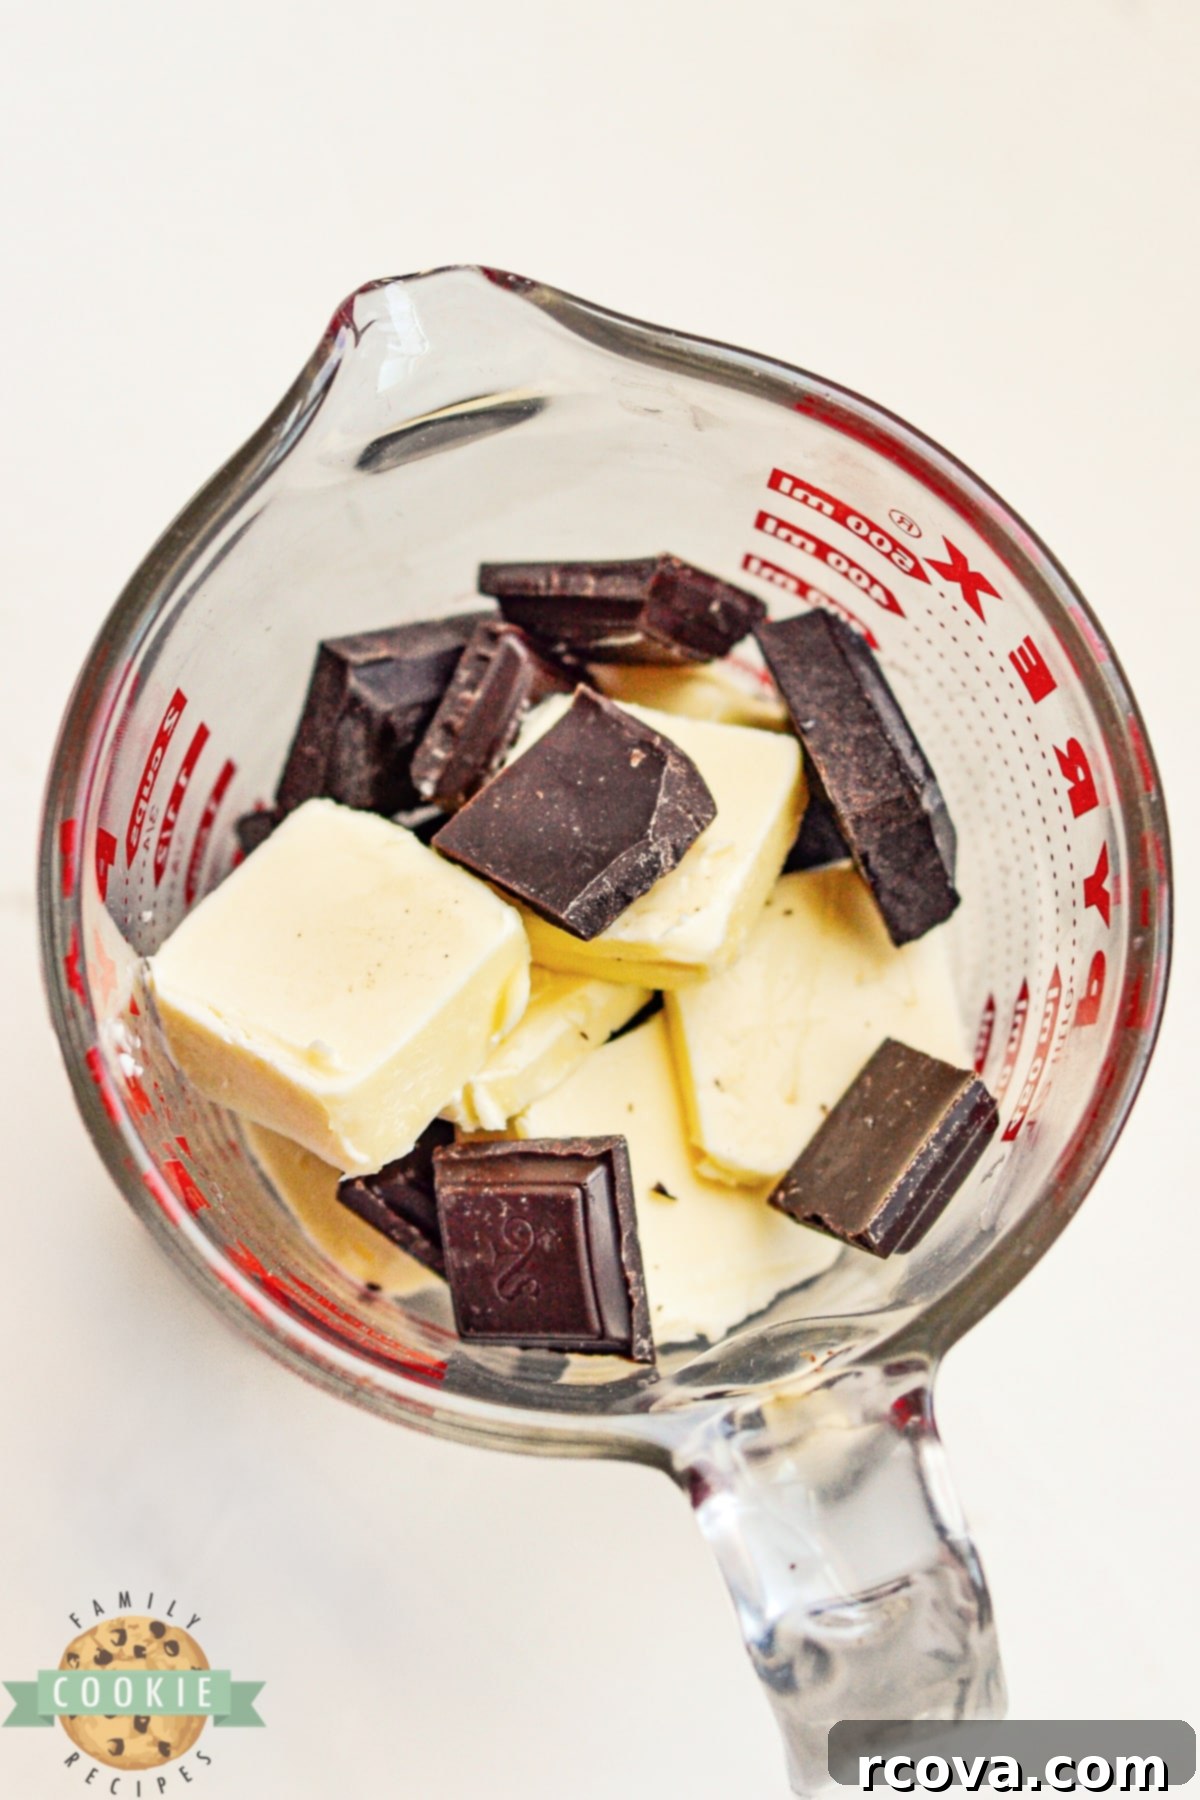
1. In a microwave-safe bowl or a sturdy tempered glass liquid measuring cup, combine the cubed butter and chopped dark chocolate. Microwave this mixture for 30 seconds initially. After this, continue microwaving in short 10-second intervals, stirring thoroughly between each burst, until the butter and chocolate are completely melted and form a smooth, glossy mixture. It’s crucial not to overheat the chocolate, as this can cause it to seize. Once melted, allow the mixture to cool down to near room temperature. This step is important to prevent the eggs from cooking when added.
2. Once the butter and chocolate mixture has cooled sufficiently, pour it into a large mixing bowl. This will be the base for your cookie dough.
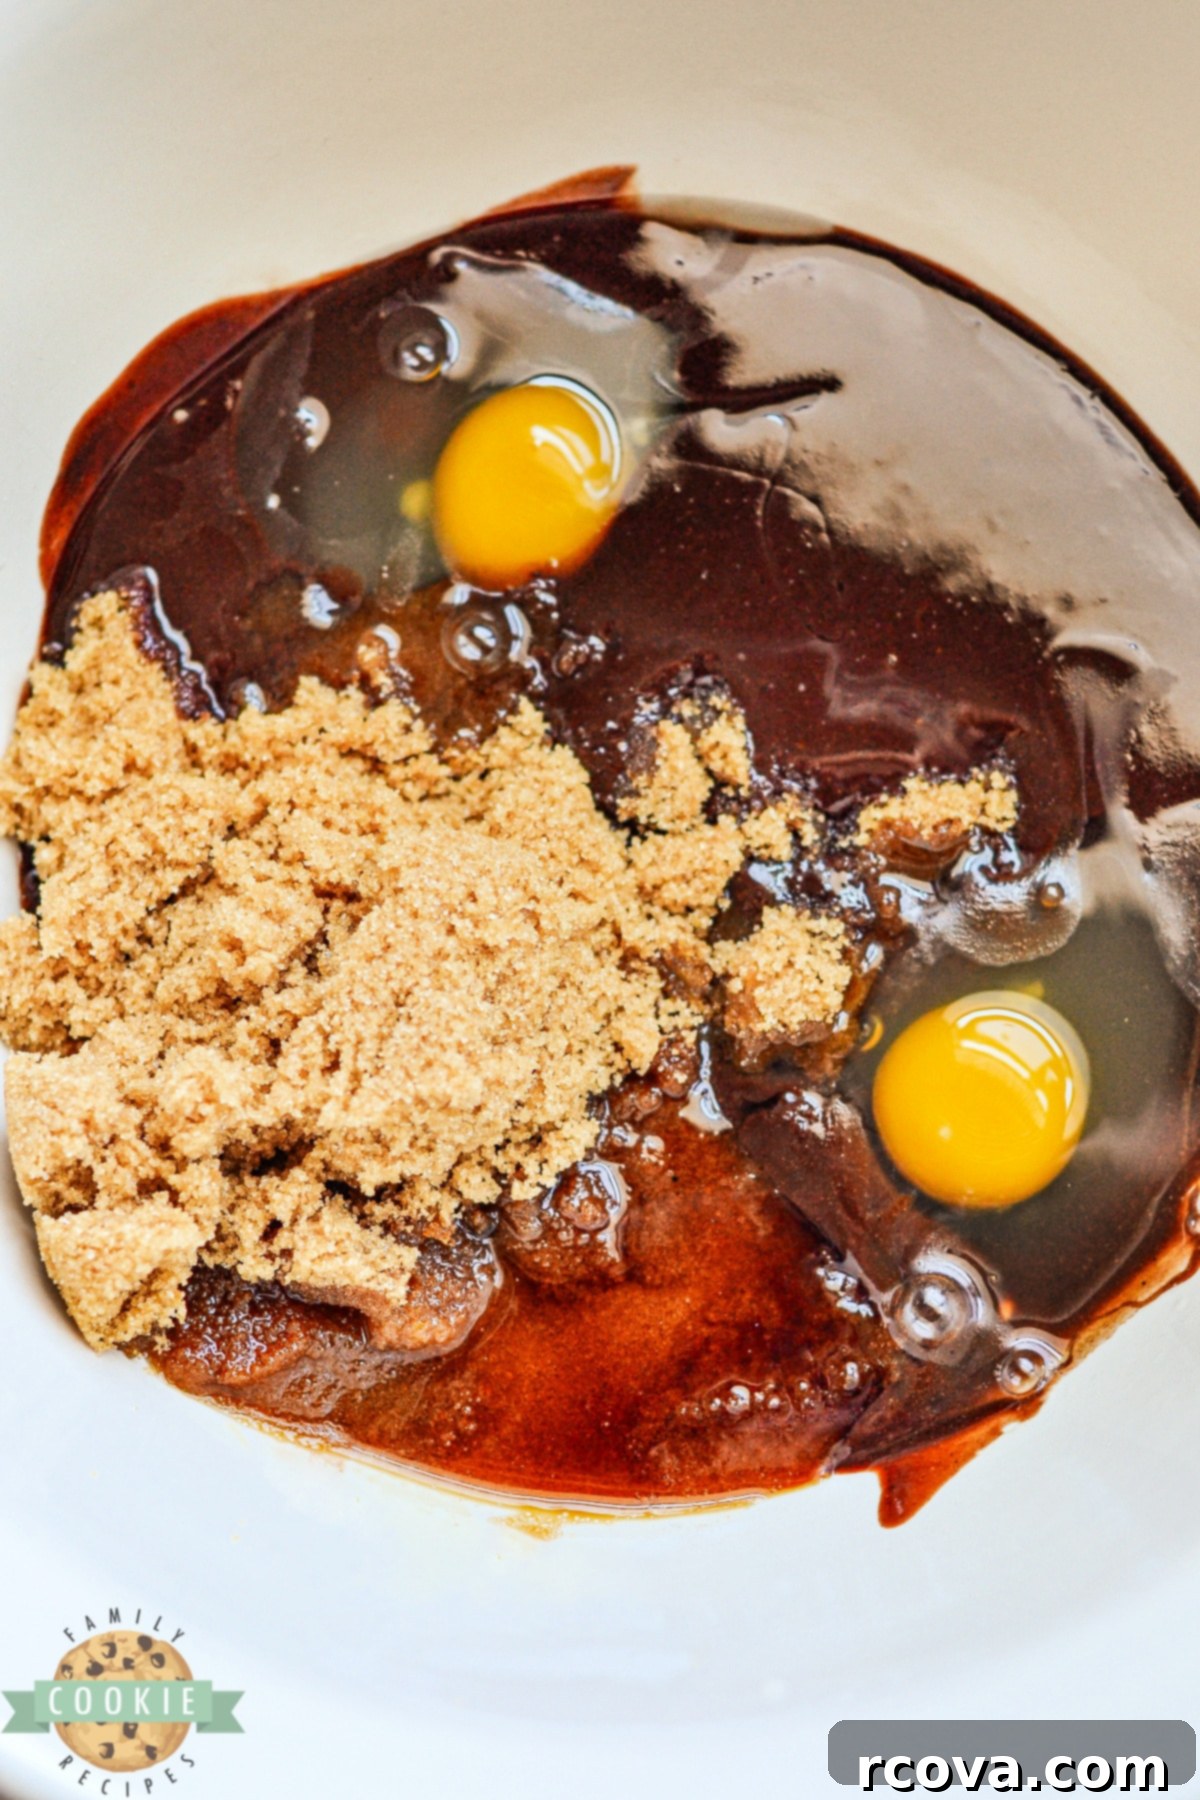
3. To the cooled chocolate mixture, add the large eggs, light brown sugar, and vanilla extract. Whisk these ingredients together vigorously, or use an electric mixer on medium speed, until they are well combined and the mixture is smooth and slightly thickened. Ensure no streaks of egg or sugar remain.
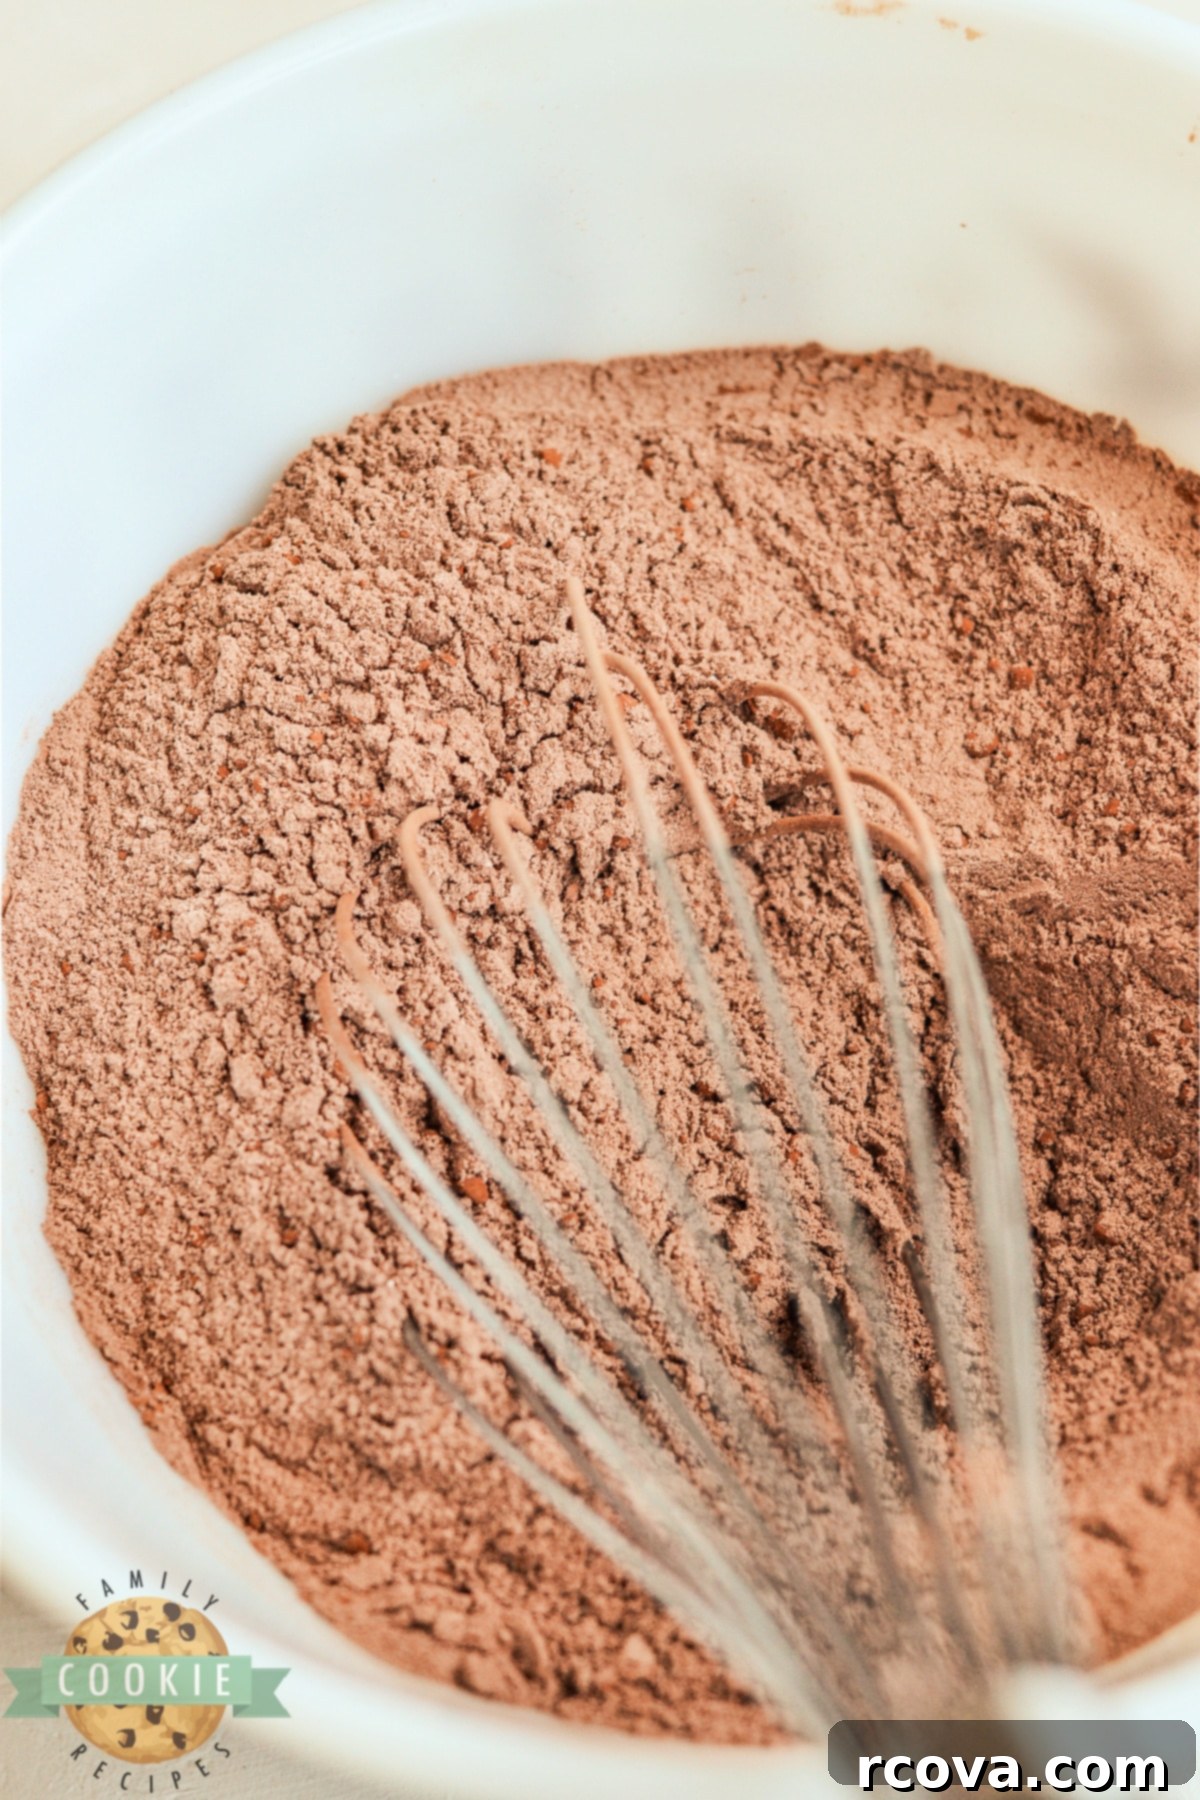
4. In a separate, medium-sized mixing bowl, whisk together all the dry ingredients: all-purpose flour, cocoa powder (preferably dark or Dutch-processed), baking powder, and salt. Whisking them separately ensures they are evenly distributed throughout the dough.
5. Gradually add the dry mixture to the wet mixture, a little at a time. Stir gently with a spoon or spatula until just combined. Continue adding until the mixture transforms into a thick, smooth cookie dough. Be careful not to overmix, as this can lead to tougher cookies.
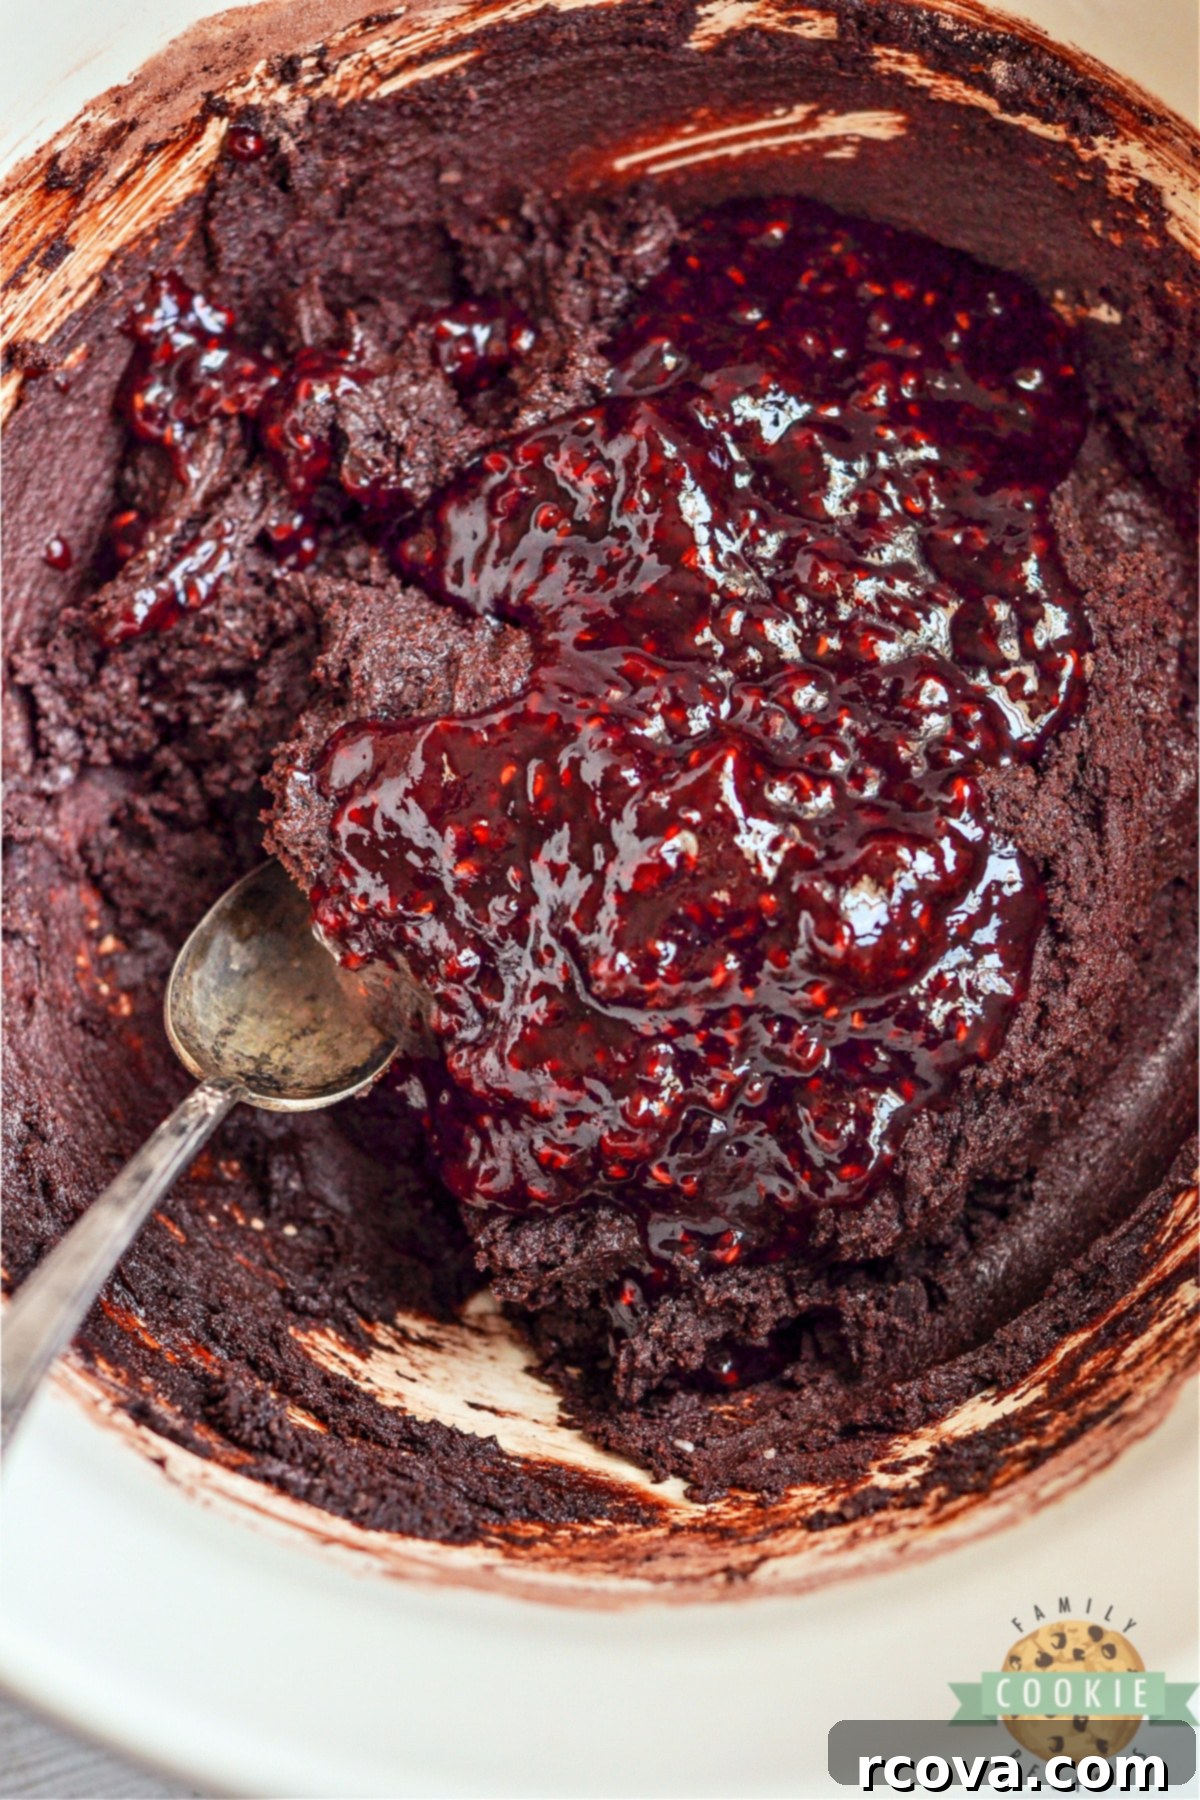
6. Finally, gently fold the raspberry preserves into the cookie dough. For beautiful pockets of raspberry flavor, avoid overmixing; a few gentle swirls are all you need to distribute the preserves without fully incorporating them. This allows for delightful bursts of fruit in every bite.
Shaping and Baking for that Signature Crinkle
7. Pour the powdered sugar into a shallow bowl. Sifting the powdered sugar beforehand can help prevent lumps and ensure a smoother coating on your cookies.
8. Using a cookie scoop (approximately 2 tablespoons in size) or your hands, scoop out a portion of the cookie dough. Roll it into a smooth, even ball between your palms. If the dough is too sticky, a quick chill in the refrigerator for 20-30 minutes can help make it more manageable.
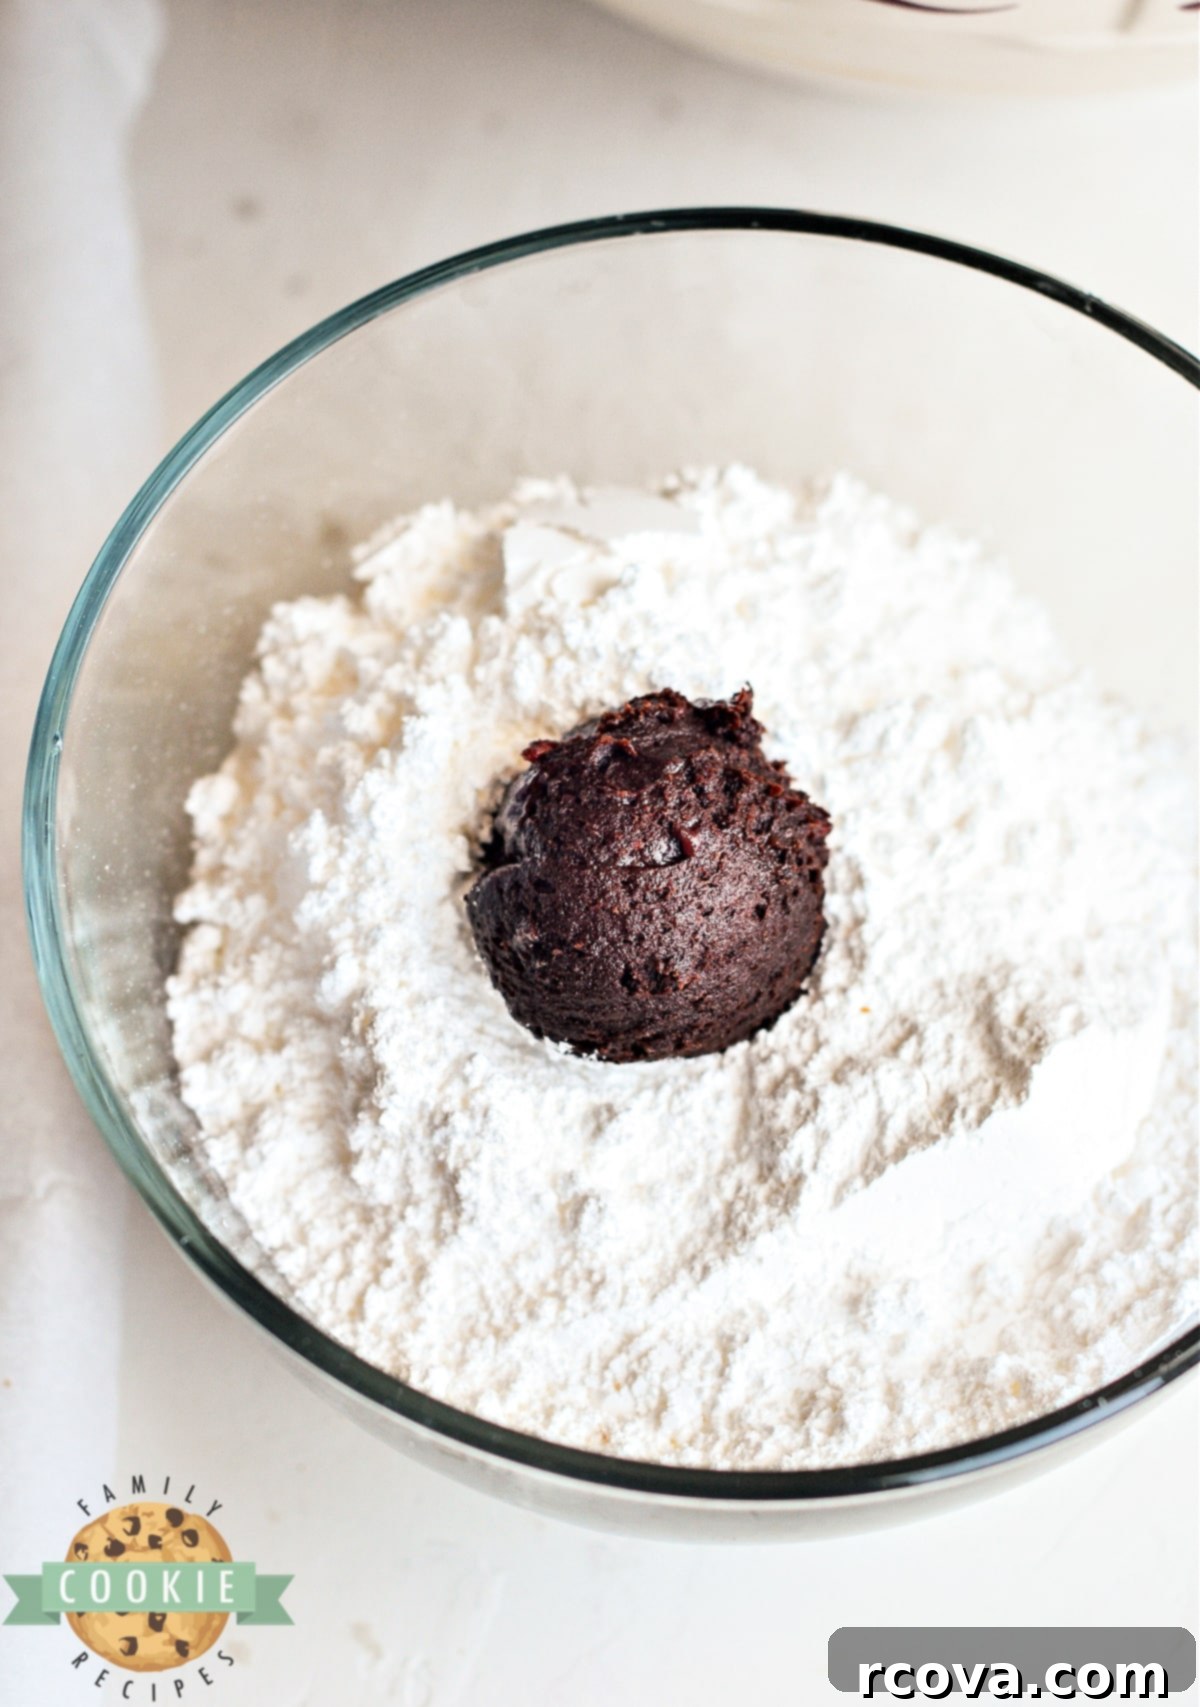
9. Place each rolled dough ball into the bowl of powdered sugar. Roll it around until it is thoroughly coated on all sides. Don’t be shy with the sugar – a generous coating is key to achieving those beautiful crinkles.
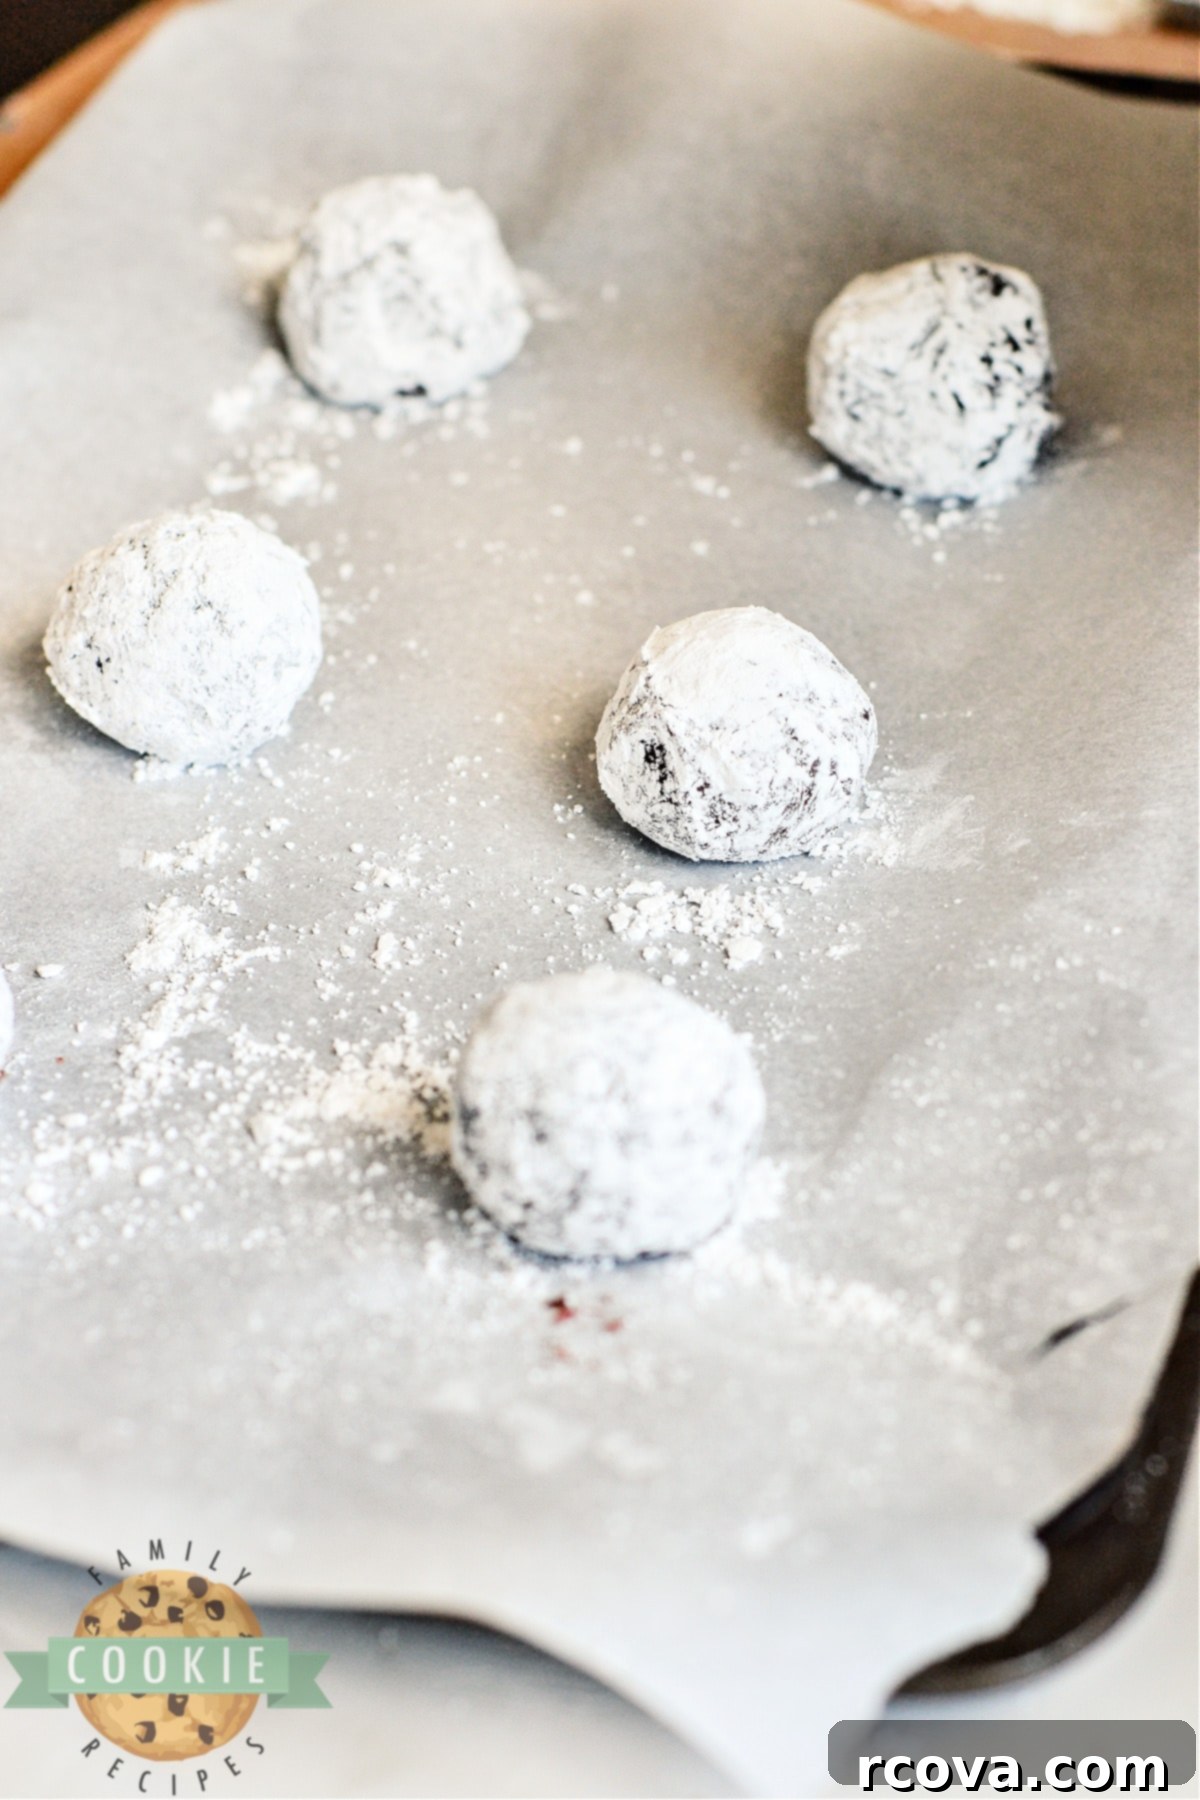
10. Repeat the rolling and coating process for the remaining dough. As you finish coating each ball, place them onto your prepared baking sheet, ensuring they are spaced at least 2 inches apart to allow for proper spreading during baking.
11. Bake the cookies for 12-15 minutes. You’ll know they’re done when the bottoms are lightly browned, the edges appear slightly crispy, and the centers are still soft and wonderfully chewy. The magic of the crinkle cookie happens in the oven: as the dough spreads, the powdered sugar coating will beautifully crack and separate, forming those iconic crinkles.
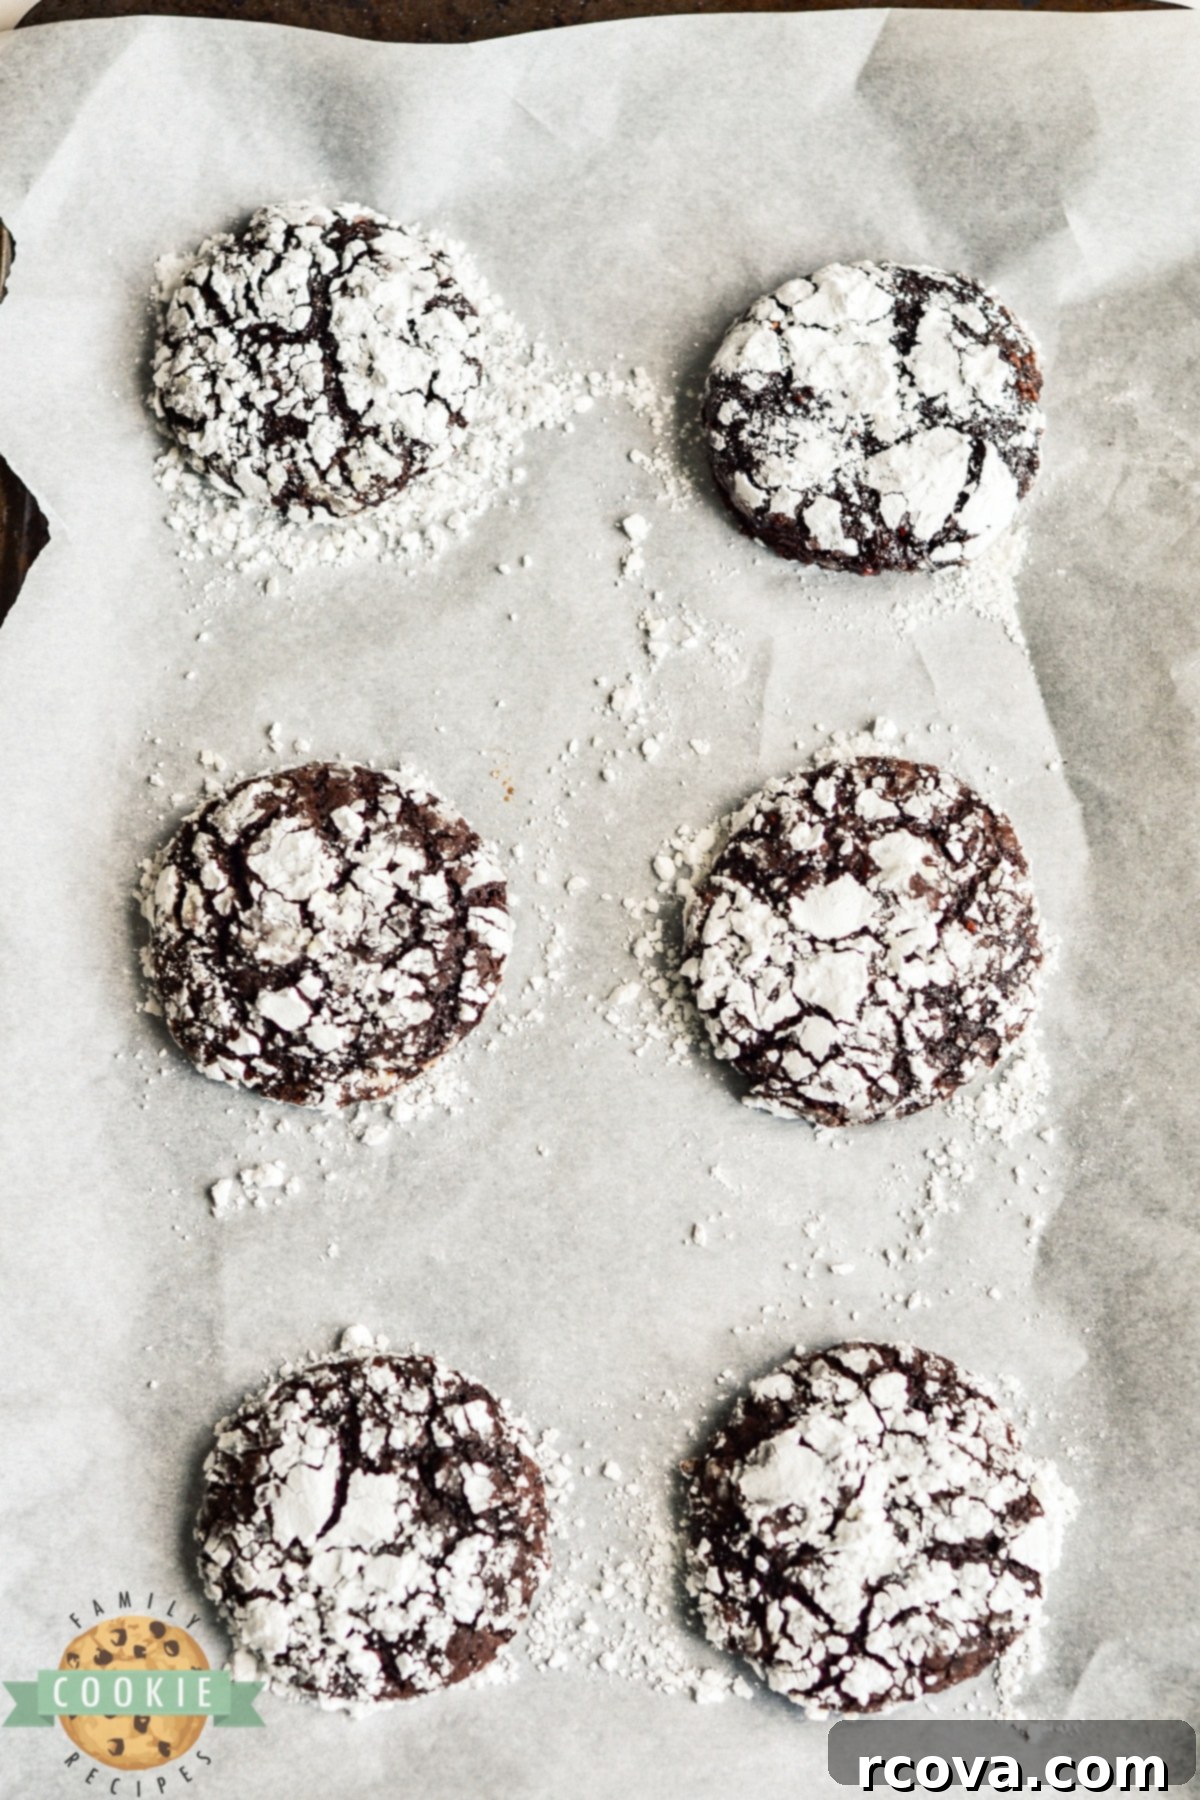
12. Once baked, allow the cookies to cool on the baking sheet for a few minutes. This allows them to set slightly. Then, carefully transfer them to a wire cooling rack to cool completely. Cooling on a rack prevents the bottoms from becoming soggy and ensures a consistent texture throughout.
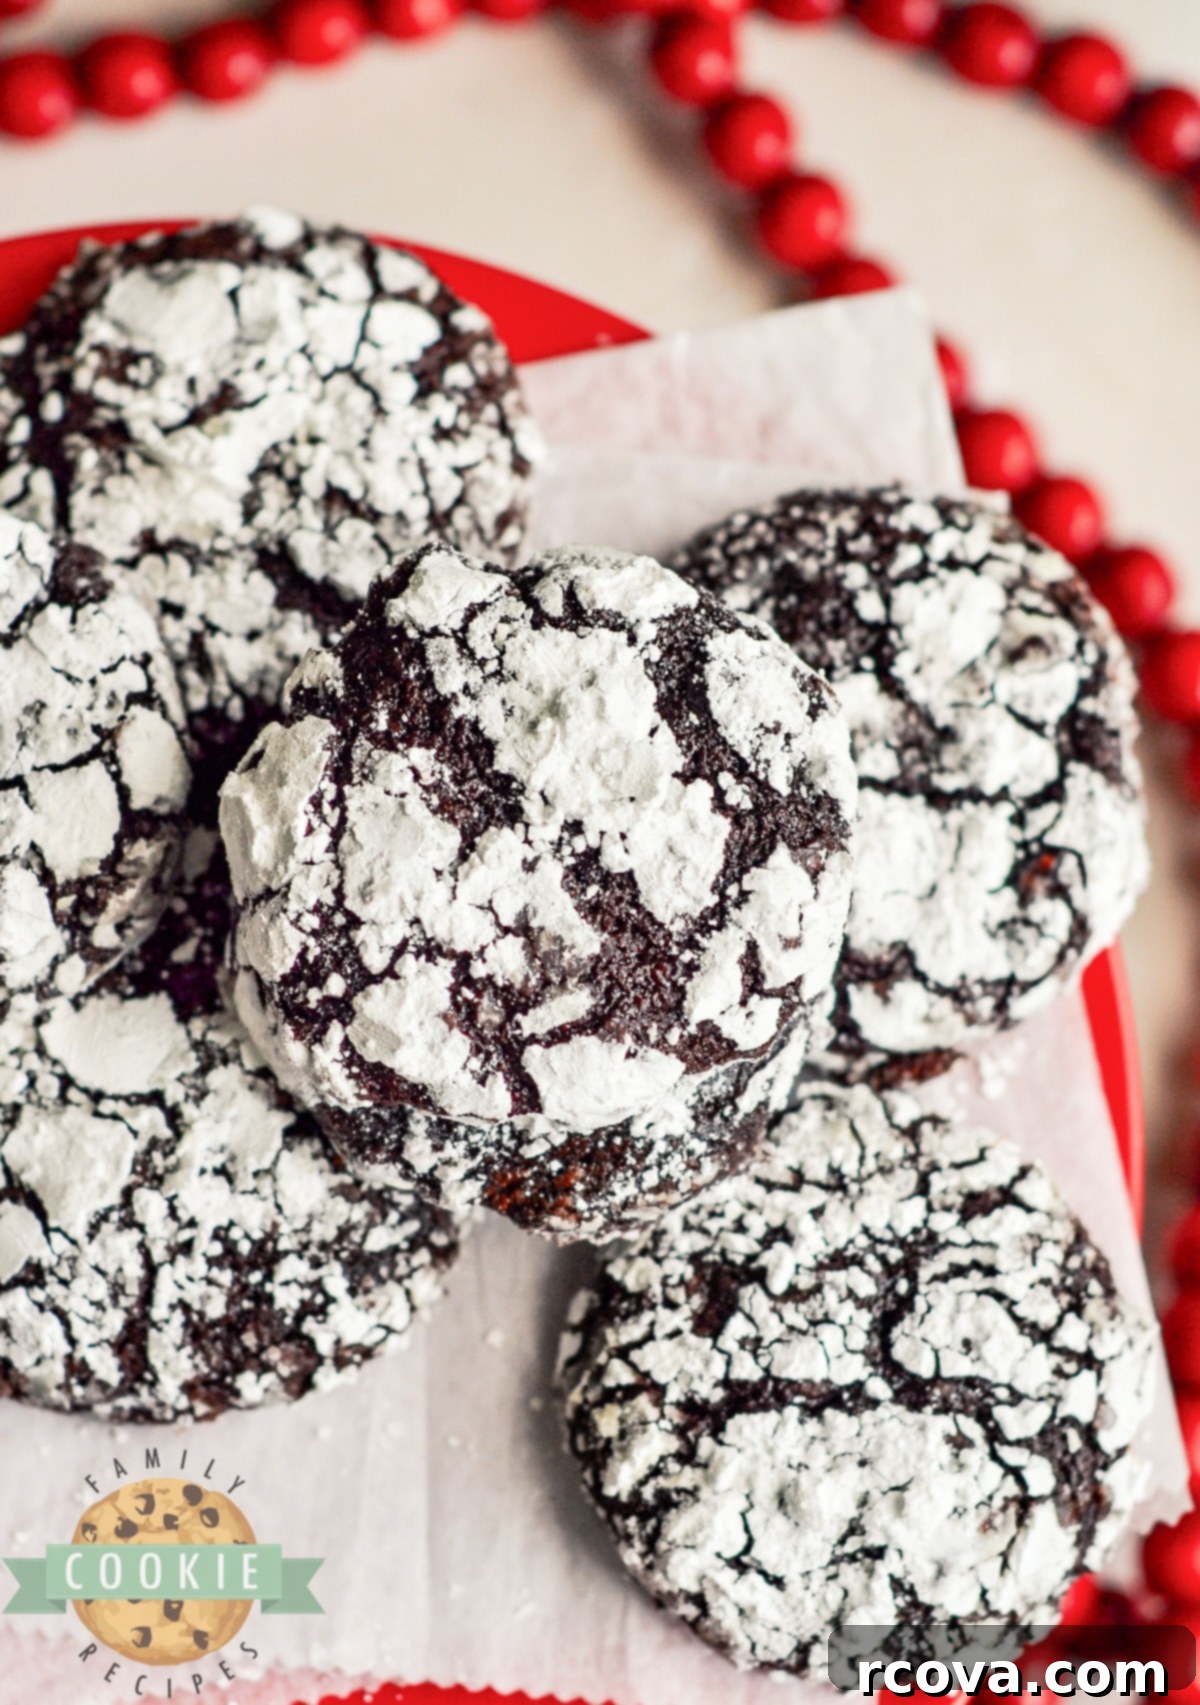
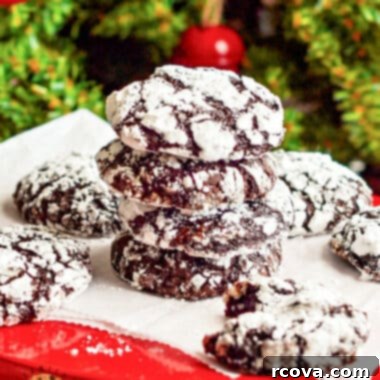
Raspberry Chocolate Crinkle Cookies
Print
Pin
Rate
Ingredients
- ½ cup butter cut into cubes
- 4 ounces dark chocolate chopped
- 1 cup light brown sugar packed
- 2 eggs
- 2 teaspoons vanilla extract
- ¾ cup all-purpose flour
- ¼ cup dark cocoa powder
- 2 teaspoons baking powder
- ¼ teaspoon salt
- 1 cup powdered sugar
- ⅓ cup raspberry preserves
Instructions
-
Preheat your oven to 350° F. Line a baking sheet with parchment paper and set aside.
MAKE THE COOKIE DOUGH
-
In a microwave-safe bowl or tempered glass liquid measuring cup, microwave the butter and chocolate together for 30 seconds. Then, continue microwaving in 10-second intervals, stirring between each interval, until completely melted and smooth. Allow the mixture to cool to near room temperature.
-
After the butter/chocolate mixture is cooled, pour it into a large mixing bowl.
-
Add the eggs, brown sugar, and vanilla, and whisk (or use an electric mixer) to combine.
-
In a separate mixing bowl, whisk together the flour, cocoa powder, baking powder, and salt.
-
Add the dry mixture to the wet mixture a little at a time, stirring to combine, until the mixture is thick and smooth.
-
Fold the raspberry preserves into the dough.
SHAPE AND BAKE THE COOKIES
-
Sift the powdered sugar into another bowl.
-
Scoop about 2 tablespoons of cookie dough and roll it into a ball between your palms.
-
Place the dough ball into the bowl of powdered sugar and roll to coat liberally on all sides.
-
Repeat the process, rolling balls of the cookie dough and coating them in powdered sugar, then place the dough balls at least 2 inches apart onto your prepared baking sheet.
-
Bake for 12-15 minutes, or until the cookies are lightly browned on the bottoms, crispy around the edges, and soft and chewy on the insides. Your cookies should come out nicely “crinkled” on top, as the powdered sugar will clump together and separate into lovely cracks while the dough spreads and bakes.
-
After a few minutes, transfer the cookies to a wire cooling rack and allow them to cool completely before serving.
Nutrition
Expert Tips for the Best Raspberry Chocolate Crinkle Cookies
Achieving bakery-quality **raspberry chocolate crinkle cookies** is easy with a few insider tips:
- Choose Your Cocoa Wisely: For the most visually striking and intensely chocolatey cookies, I strongly recommend using either dark cocoa powder or Dutch-processed cocoa. These varieties offer a deeper, richer brown color and a more profound chocolate flavor that beautifully contrasts with the white powdered sugar. While regular unsweetened cocoa powder will work, the depth of color and taste won’t be quite the same.
- Master the Raspberry Swirl: To get those lovely pockets of bright raspberry flavor, it’s best to gently swirl the raspberry jam into the dough rather than fully mixing it in. Use a spatula and fold it a few times until just distributed. This technique ensures you get delightful bursts of fruit rather than a uniform, subtle flavor throughout. If you accidentally combine it too much, don’t worry – your cookies will still taste fantastic with a more integrated raspberry note.
- Boost Raspberry Flavor: If you’re a true raspberry enthusiast and desire an even more pronounced fruit flavor, consider adding a few drops of raspberry extract along with the vanilla. Start with a small amount and taste the dough (before adding eggs, for safety) to ensure it’s to your liking.
- Chill for Control: If you find your cookie dough is too soft or sticky to roll into neat balls, don’t hesitate to refrigerate it for 30 minutes to an hour. A firmer dough is much easier to handle and shape, especially in warmer kitchens.
- Powdered Sugar Hands: To prevent the sticky chocolate dough from adhering to your palms while rolling, lightly coat your hands with powdered sugar. This trick makes the shaping process much cleaner and smoother.
- The “Smack” for Chewiness: For that perfectly chewy texture and to enhance the crinkling, if your cookies appear too puffy immediately after coming out of the oven, give the baking sheet a gentle but firm tap or “smack” on the counter. This action helps deflate them slightly, creating a denser, chewier interior.
- Room Temperature Ingredients: Ensure your eggs and butter are at room temperature before you begin. Room temperature ingredients emulsify better, leading to a smoother, more uniform dough and ultimately, a better-textured cookie.
- Don’t Overmix: After adding the dry ingredients to the wet, mix only until just combined. Overmixing develops the gluten in the flour, which can result in tough, less tender cookies.
- Parchment Paper is Your Friend: Always use parchment paper for baking. It ensures even baking, prevents sticking, and makes transferring the warm cookies much easier without breakage.
- Know Your Oven: Oven temperatures can vary. It’s always a good idea to use an oven thermometer to ensure your oven is preheated to the correct temperature. This consistency will help achieve perfect baking results every time.
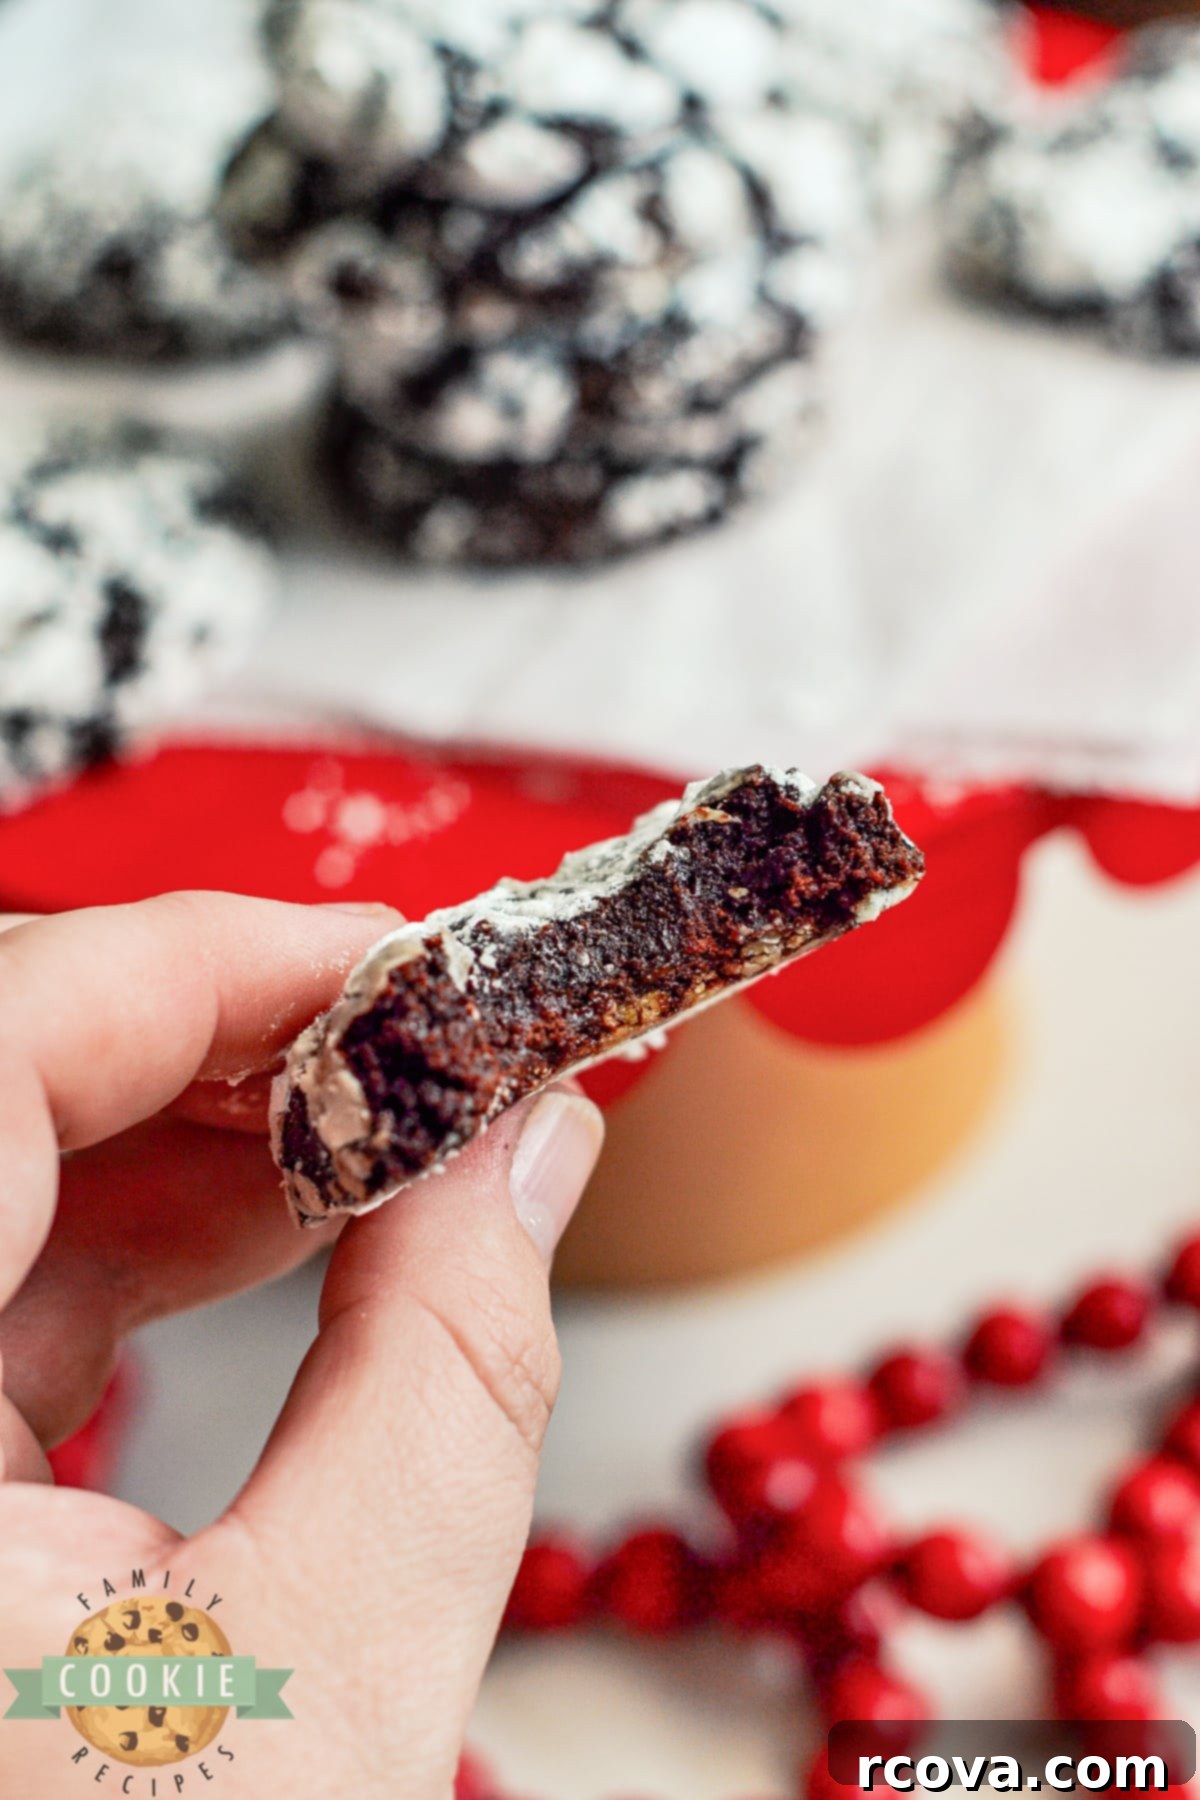
Storing Your Delicious Chocolate Crinkle Cookies
Once your delectable **Raspberry Chocolate Crinkle Cookies** have cooled completely, you’ll want to store them properly to maintain their freshness and irresistible texture.
For short-term storage, simply place any leftover baked cookies in an airtight container at room temperature. They will remain wonderfully soft, chewy, and flavorful for up to a week. To keep them at their best, you can even place a slice of bread in the container with the cookies; the bread helps to absorb moisture, keeping the cookies soft.
If you’re looking to get a head start on baking or want to enjoy fresh cookies whenever the craving strikes, you can easily freeze the cookie dough. Scoop the dough into portioned balls as described in the recipe, and then place them on a parchment-lined baking sheet. Freeze until solid (about 1-2 hours), then transfer the frozen dough balls to a freezer-safe bag or airtight container. The dough can be stored in the freezer for up to 3 months.
When you’re ready to bake from frozen, there’s no need to thaw completely. Simply allow the dough balls to sit on the counter at room temperature for about 15-20 minutes until the exterior is slightly malleable. This makes rolling them in powdered sugar easier, ensuring the sugar adheres properly. You may need to increase the baking time by an additional 1-2 minutes compared to fresh dough, but this can also depend on your preference for a chewier or gooier center. Personally, a slightly gooey center is always a win in my book!
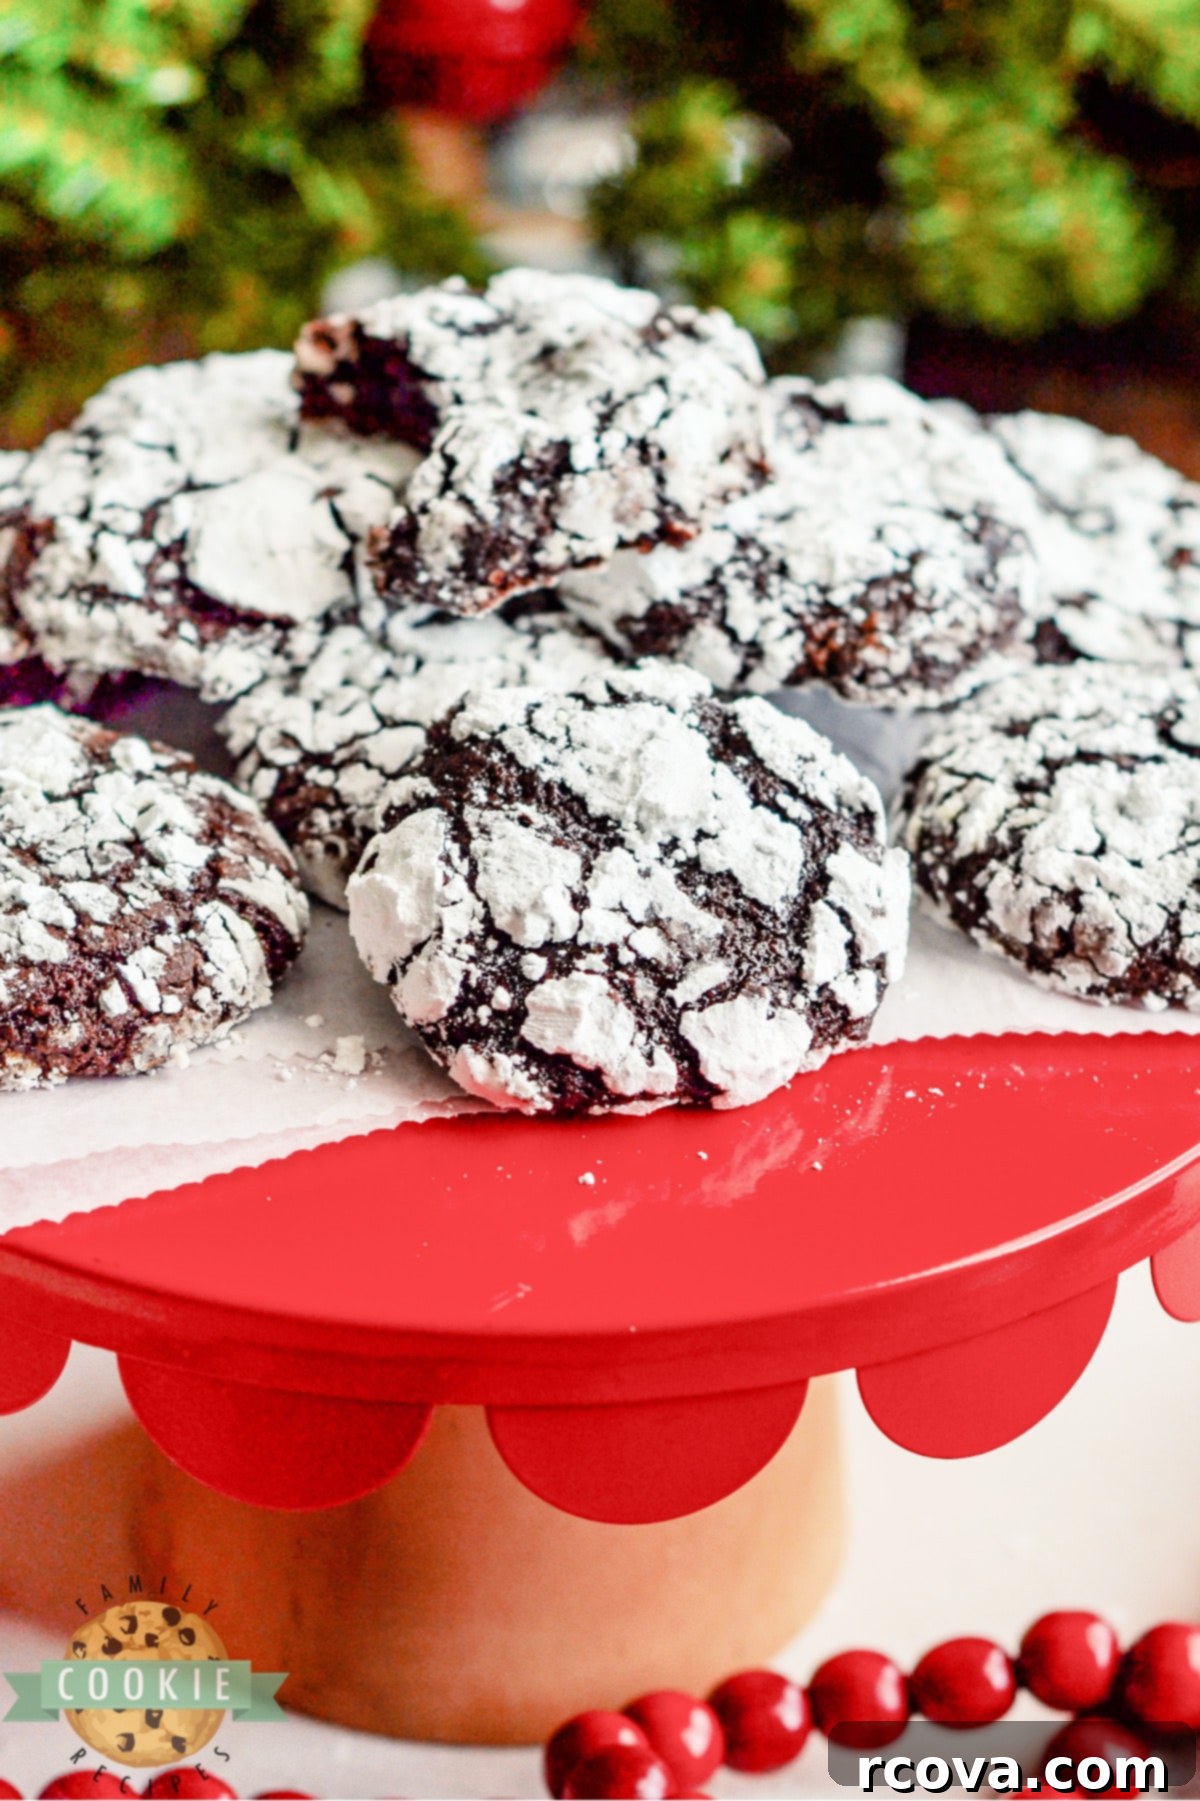
Explore More Irresistible Chocolate Cookie Recipes
If you’ve fallen in love with the rich flavors of these Raspberry Chocolate Crinkle Cookies, you’re in for a treat! The world of chocolate cookies is vast and incredibly delicious. Here are some more fantastic chocolate-infused cookie recipes to tantalize your taste buds and expand your baking repertoire:
- Caramel Chocolate Crinkle Cookies
- Chocolate Shortbread Cookies
- Oatmeal Chocolate Chip Cookie Bars
- Chocolate Caramel Cake Mix Cookies
- Surprise Chocolate Kiss Cookies
- Chocolate Peanut Butter Cake Mix Cookies
- Cinnamon Chocolate Crinkle Cookies
- Cosmic Brownie Cookies
- White Chocolate Strawberry Cake Mix Cookies
- Fudge Walnut Cake Mix Cookies
- Dirt Cake Cookies
- Chocolate Sprinkle Cookies
- Chocolate Junior Mint Cookies

Frequently Asked Questions (FAQs) About Crinkle Cookies
Why didn’t my crinkle cookies crinkle?
The crinkle effect is primarily caused by a generous coating of powdered sugar. If your cookies aren’t crinkling, ensure you’ve rolled the dough balls thoroughly and heavily in powdered sugar before baking. Also, make sure your dough isn’t too warm or sticky, as this can affect how the sugar adheres and cracks. Chilling the dough can help.
Can I use fresh or frozen raspberries instead of preserves?
While raspberry preserves are recommended for their concentrated flavor and consistent texture, you can experiment with fresh or frozen raspberries. If using fresh, chop them finely and reduce them slightly on the stovetop to prevent excess moisture. If using frozen, thaw and drain them well, then gently fold them into the dough. Be aware that fresh or frozen fruit might add more moisture and could alter the cookie’s texture or require a slight adjustment in baking time.
How can I make these cookies gluten-free?
Making these Raspberry Chocolate Crinkle Cookies gluten-free is quite simple! You can substitute the all-purpose flour with a 1:1 gluten-free baking flour blend. Most blends are designed to behave very similarly to regular flour in recipes like this, yielding delicious results without compromising on texture or flavor.
What other fruit preserves can I use?
The versatility of crinkle cookies means you can easily swap out raspberry preserves for other flavors. Strawberry, apricot, cherry, or even orange marmalade would make fantastic alternatives, each offering a unique fruity complement to the rich chocolate. Experiment with your favorite fruit jams to discover new and exciting flavor combinations!
How long do crinkle cookies last?
Properly stored in an airtight container at room temperature, these cookies will stay fresh and delicious for up to one week. You can also freeze the baked cookies for longer storage; simply place them in a freezer-safe container, separated by parchment paper, for up to 2-3 months. Thaw them at room temperature before serving.
Whether you’re a seasoned baker or just starting your culinary journey, these **Raspberry Chocolate Crinkle Cookies** are a rewarding treat to make. Their irresistible flavor, satisfying chewiness, and charming crinkled appearance make them a standout on any dessert table. So, gather your ingredients, follow these steps, and prepare to delight friends and family with these extraordinary cookies!
