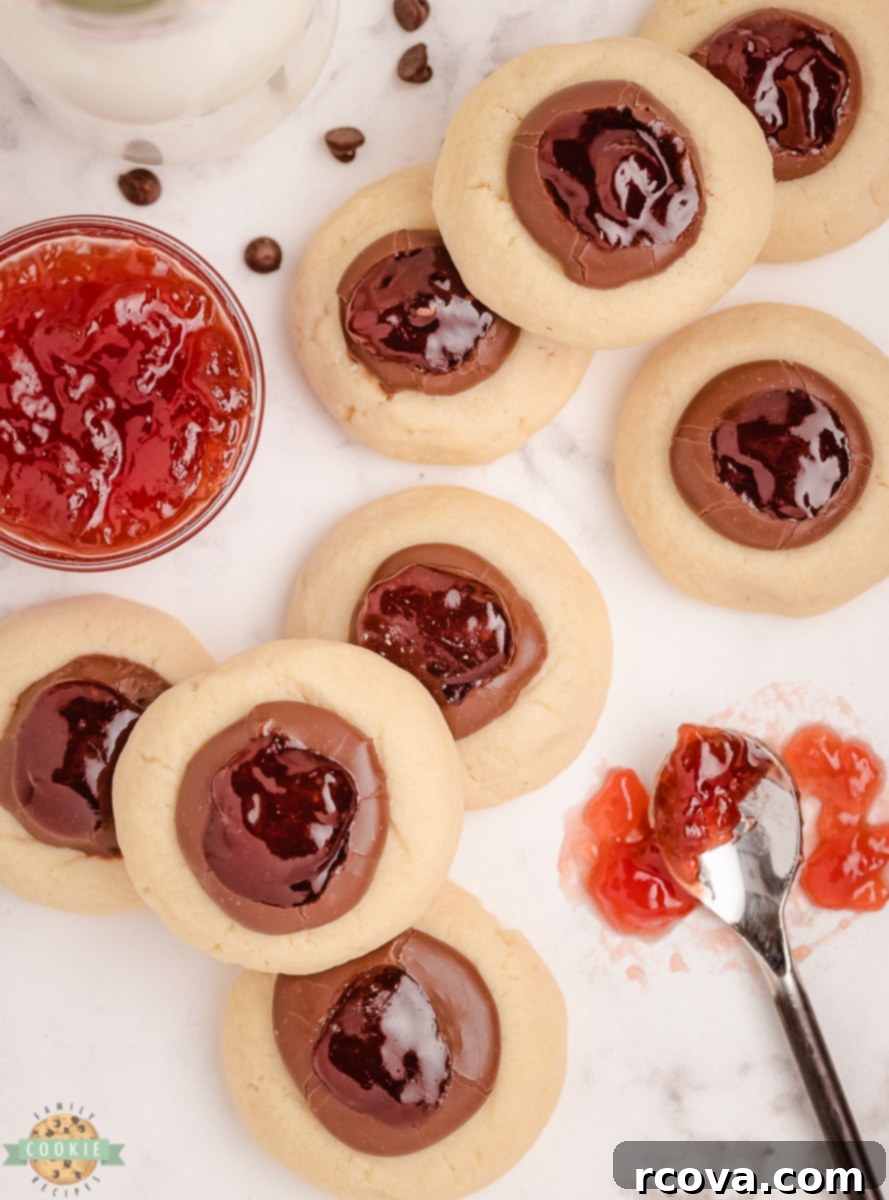
Decadent Chocolate Strawberry Thumbprint Cookies: The Ultimate Recipe for a Sweet and Fruity Indulgence
Chocolate Strawberry Thumbprint Cookies are a truly delightful treat, perfectly blending the rich, deep flavor of chocolate with the sweet, vibrant burst of strawberries. These exquisite jam thumbprint cookies offer an irresistible experience in every bite, promising to become a cherished favorite in your recipe collection. They represent a modern twist on a beloved classic, combining familiar comfort with an exciting flavor profile that’s simply irresistible.
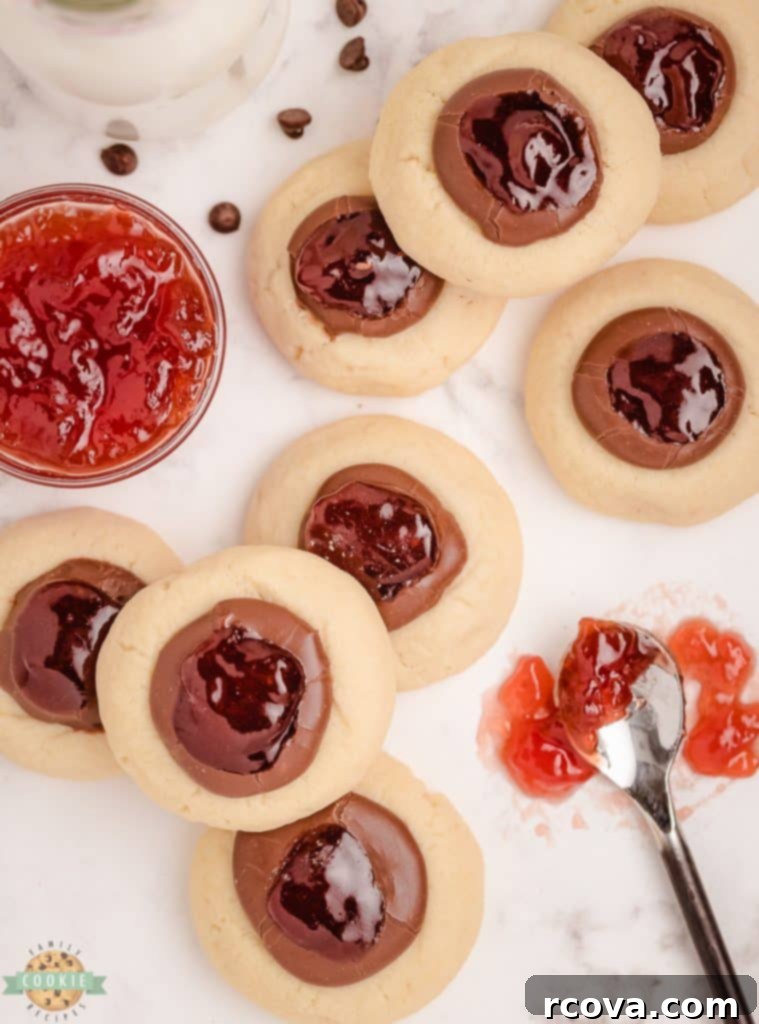
These luscious chocolate thumbprint cookies are wonderfully versatile, making them ideal for a wide array of occasions. Whether you’re planning a festive holiday party, participating in a cheerful cookie exchange, or simply craving a comforting afternoon snack, this recipe delivers. This easy-to-follow recipe for thumbprint cookies allows for effortless preparation and can be customized to perfectly suit your and your family’s unique taste preferences. Get ready to bake a batch of pure joy!
The Irresistible Appeal of Chocolate Ganache Thumbprint Cookies
Chocolate Strawberry Thumbprint Cookies offer a sophisticated and utterly delicious interpretation of the traditional thumbprint cookie. The very name “thumbprint” comes from the charming method bakers use: gently pressing their thumb (or a small round object) into the center of the dough to create an indentation, which is then filled with a delectable jam or other sweet filling. This method ensures a perfect pocket for the star of the show – in this case, a rich chocolate fudge and vibrant strawberry jam.
These particular cookies are a dream come true for anyone who adores the classic combination of chocolate and fruit. The bright, tangy sweetness of the strawberry jam creates a beautiful contrast and harmony with the deep, luxurious flavor of the chocolate ganache. Beyond their incredible taste, they are also an excellent choice for bakers seeking a quick and straightforward dessert. The ingredients are commonly found in most kitchen pantries, making them accessible and convenient to whip up whenever a sweet craving strikes. They bring a touch of elegance without the fuss, making them a go-to dessert for both everyday enjoyment and special gatherings.
Why You’ll Fall in Love with this Easy Thumbprint Cookie Recipe!
There are countless reasons why these Chocolate Strawberry Thumbprint Cookies will quickly earn a permanent spot in your baking repertoire. From their straightforward preparation to their sensational taste, they offer everything you could want in a homemade cookie.
- Simple, Accessible Ingredients. Forget about obscure or hard-to-find components. This delightful cookie recipe relies on fundamental kitchen staples that you likely already have on hand, or can easily procure from any local grocery store. We keep it refreshingly simple with ingredients like all-purpose flour, fresh eggs, decadent chocolate chips, and your favorite strawberry jam. This means less time hunting for ingredients and more time enjoying the baking process and the delicious results!
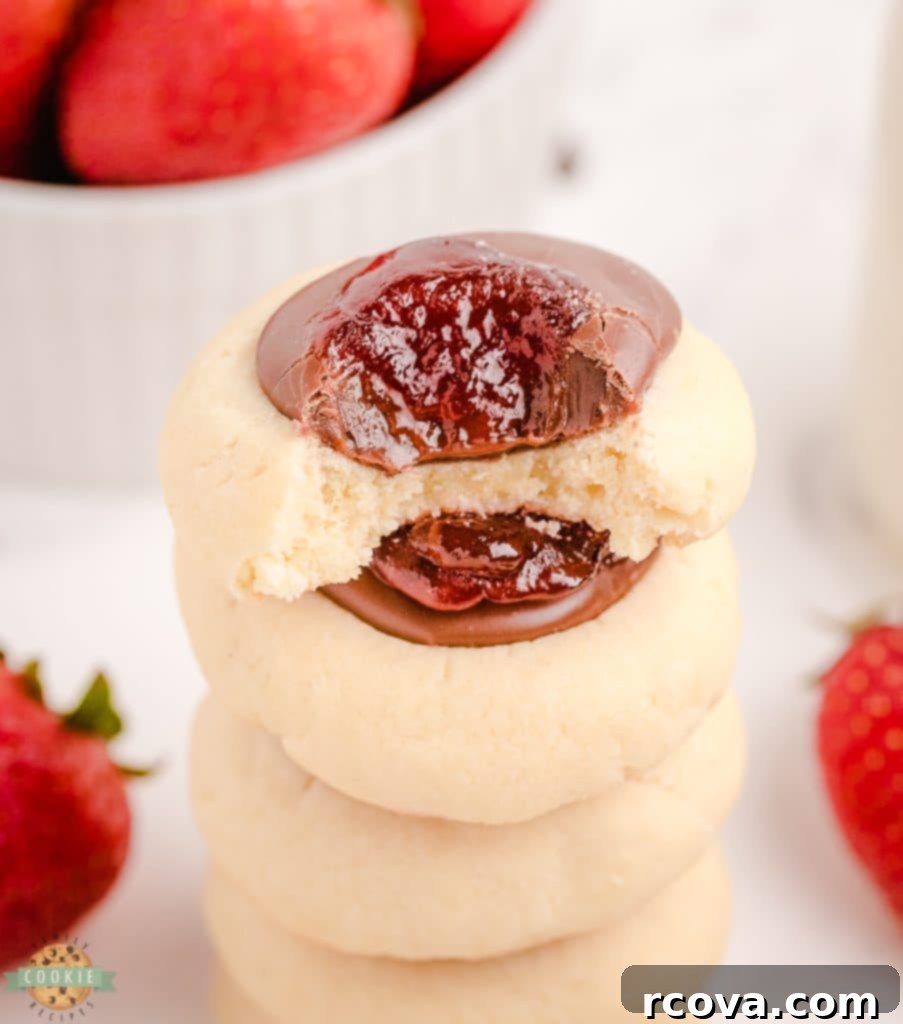
- Exquisite and Harmonious Flavors: The pairing of rich chocolate and juicy strawberries is a timeless classic for a reason – it’s a match made in culinary heaven that never ceases to impress. These cookies feature a wonderfully rich and buttery base, providing the perfect foundation. This is then crowned with a velvety, decadent fudge filling, and finally, a vibrant dollop of strawberry jam. Each bite offers a sensational medley of textures and tastes: the tender cookie, the smooth chocolate, and the bright, fruity burst of strawberry, creating a truly unforgettable dessert experience.
- Incredibly Versatile: While this recipe specifically highlights luscious strawberry jam, its adaptability is one of its greatest strengths. Feel free to unleash your creativity and experiment with your preferred jam or jelly. Imagine the possibilities: tangy raspberry, sweet blueberry, tropical apricot, or even a zesty orange marmalade would all create equally delicious and unique variations of these cookies. This versatility ensures that you can enjoy these thumbprint cookies time and time again, always with a fresh and exciting twist.
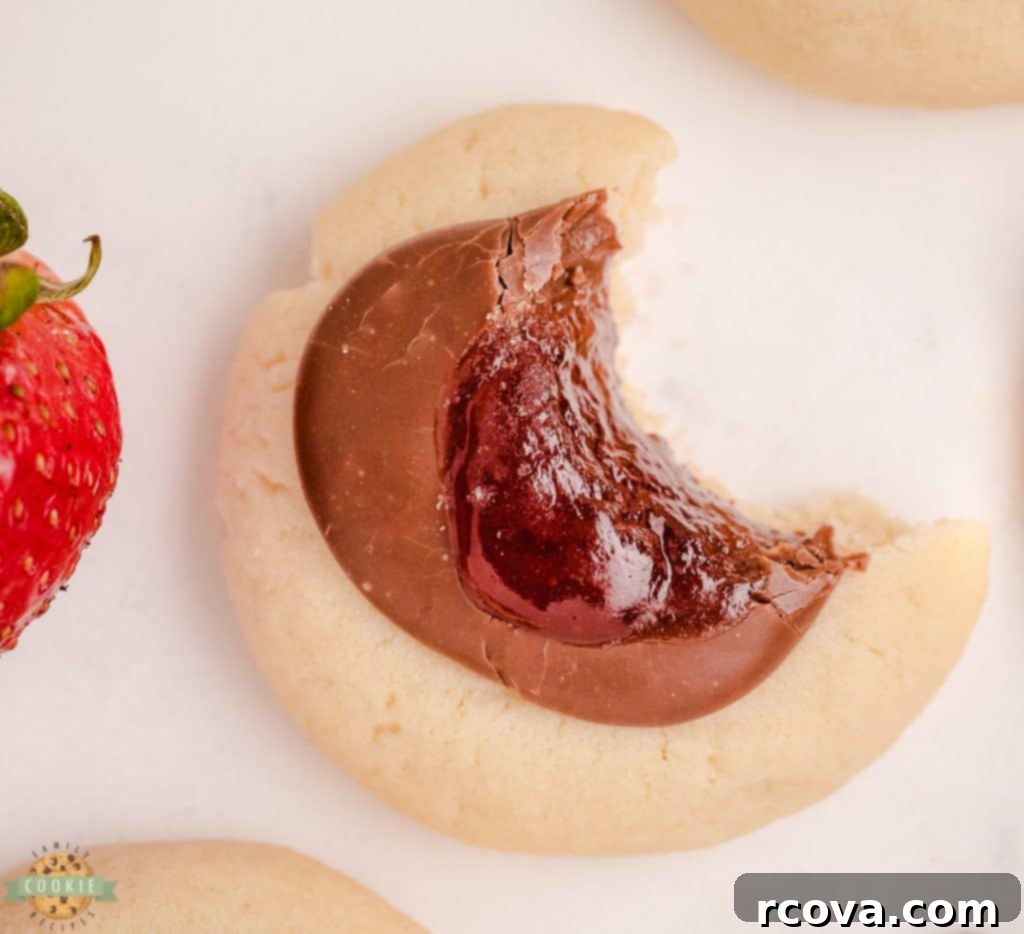
Essential Chocolate Thumbprint Cookies Ingredients
Crafting these perfect thumbprint cookies begins with a carefully selected list of ingredients, each playing a crucial role in achieving the desired flavor and texture:
Butter: You will need 1 cup (equivalent to 2 sticks) of unsalted butter, brought to a soft room temperature. This is essential for creaming properly with the sugar, which creates the rich, tender crumb and buttery taste that defines these cookies.
Sugar: Incorporating ⅔ cup of granulated sugar not only sweetens the cookies but also contributes to their wonderfully chewy texture and helps with proper browning during baking.
Eggs: Just 2 egg yolks are required for this recipe. The yolks are key in binding the dough together, adding richness, and creating that desirable, melt-in-your-mouth cookie texture without making them overly cakey.
Vanilla extract: A full 1 tsp. of pure vanilla extract is indispensable. It enhances all the other flavors in the cookie dough, adding a warm, aromatic depth that complements both the chocolate and strawberry notes beautifully.
Flour: The structural foundation of our cookie dough is 2 cups of all-purpose flour. Make sure to measure it correctly, either by weight or by the spoon-and-level method, to ensure a tender cookie and prevent toughness.
Salt: Don’t underestimate the power of ½ teaspoon of salt. It’s a crucial ingredient that balances the sweetness and helps to bring out and amplify all the wonderful flavors in the cookie recipe, making them truly pop.
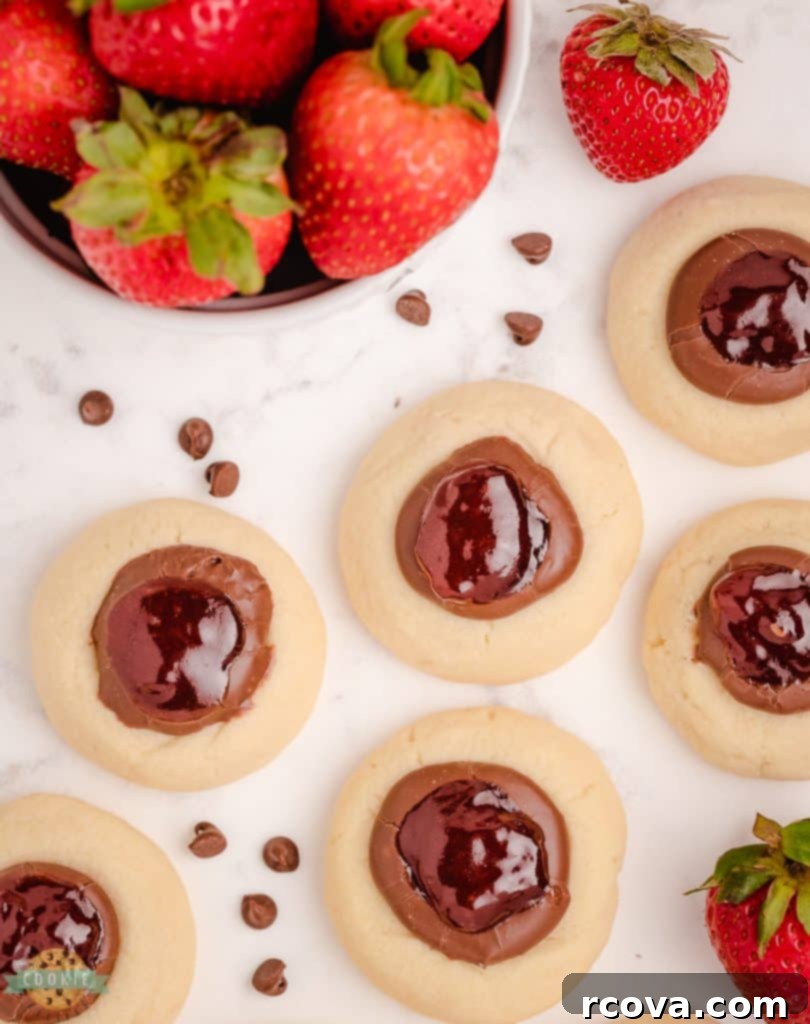
For the Decadent Fudge Topping:
The rich, gooey fudge topping is what elevates these cookies to an extraordinary level, creating that irresistible chocolate-covered strawberry sensation.
Chocolate chips: For an extra layer of deliciousness and a luscious chocolate flavor, you will use 1 cup of high-quality semi-sweet chocolate chips. These melt beautifully to form a smooth ganache-like topping.
Sweetened Condensed Milk: A 14-ounce can of sweetened condensed milk is the secret to making this fudge topping incredibly thick, sweet, and wonderfully gooey. It provides the perfect consistency and sweetness.
Almond extract: A mere ½ tsp. of almond extract adds a sophisticated and subtle nutty note to the fudge. It beautifully enhances the chocolate and strawberry flavors without overpowering them, adding an extra layer of complexity.
Strawberry Jam: Finally, you will need a good quality strawberry jam for filling the centers of these cookies. The total amount needed will vary slightly depending on how generously you fill each one. Grabbing a standard 12-ounce jar should provide more than enough for this recipe, allowing for ample sweet, fruity goodness.

Step-by-Step Guide: How to Make Chocolate Strawberry Thumbprint Cookies
Creating these delightful cookies is a straightforward process, broken down into easy, manageable steps. Follow along to bake a batch of perfect Chocolate Strawberry Thumbprint Cookies.
Preparation (Prep)
Begin by getting your oven ready to bake. Preheat it to 375 degrees F (190 degrees C). Proper preheating is crucial for even baking and prevents cookies from spreading too much.
While the oven heats, prepare your baking surfaces. Line two standard baking sheets with either parchment paper or reusable silicone baking mats. This prevents sticking and makes cleanup a breeze. Set them aside for when your dough is ready.
Crafting the Cookie Dough
In a generously sized mixing bowl, combine the softened butter and granulated sugar. Using an electric mixer on medium-high speed, cream these ingredients together until the mixture becomes notably light, fluffy, and pale in color. This creaming process typically takes about 2-3 minutes and incorporates air, contributing to the cookies’ tender texture.
Next, add the two egg yolks and the vanilla extract to the creamed butter and sugar. Mix thoroughly on medium speed until all ingredients are well combined and the mixture is smooth. Scrape down the sides of the bowl as needed to ensure everything is incorporated.
Finally, gradually add the all-purpose flour and salt to the wet ingredients. Mix on low speed until the dough just comes together. Be careful not to overmix, as this can develop the gluten in the flour too much, leading to tough cookies. Mix only until no streaks of dry flour remain.
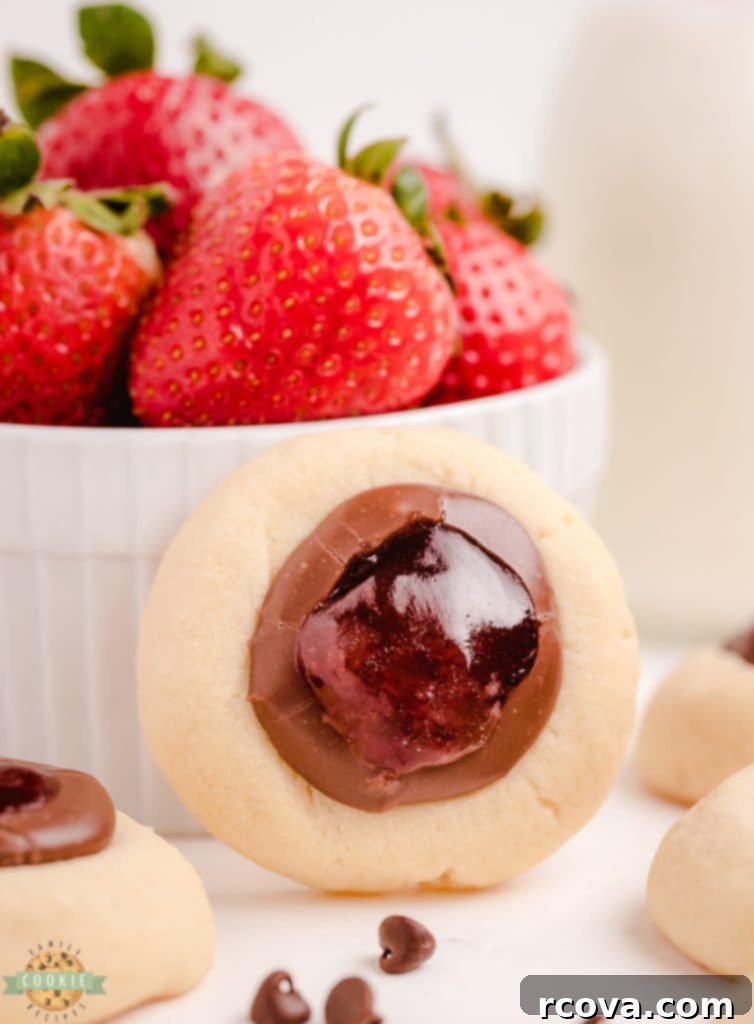
For best results and to help prevent spreading, you can choose to chill the cookie dough in the refrigerator for about 30 minutes. This step is optional, however, and if you’re short on time, you can proceed directly to shaping and baking the cookies.
Once the dough is ready, scoop it into uniform 1-inch-sized balls. Using your hands, gently roll each portion until it forms a perfectly round shape. Consistency in size ensures even baking.
Carefully arrange the cookie dough balls onto your prepared baking sheets, leaving about 1-2 inches of space between each one to allow for slight spreading during baking.
Before placing them in the oven, take a ½ teaspoon measuring spoon and use its rounded back to create a circular crater in the center of each cookie dough ball. This indentation will later hold our delicious fudge and jam fillings.
Baking the Cookies
Place the baking sheets with the shaped cookies into your preheated oven. Bake for approximately 8-10 minutes. The cookies are done when their edges are lightly golden and the centers are just set. Avoid overbaking to keep them tender.
Once removed from the oven, if the indents appear to have risen or become shallow, gently press the back of the ½ teaspoon measuring spoon into the centers again while the cookies are still warm. This helps to redefine the indentation for the fillings.

Preparing the Delicious Fudge Topping
While your freshly baked cookies cool down on a wire rack, it’s time to prepare the luscious fudge topping. In a small saucepan, combine the semi-sweet chocolate chips, sweetened condensed milk, and almond extract. Place the pot over very low heat, stirring continuously.
Continue to stir the chocolate mixture over low heat for 3-4 minutes, or until the chocolate chips are completely melted and the mixture has thickened to a smooth, pourable fudge consistency. Remove from heat immediately once thickened to prevent burning.
Thumbprint Cookie Assembly
Now for the exciting part – assembling your beautiful thumbprint cookies! Spoon approximately 1 teaspoon of the warm, rich fudge onto the center of each cooled cookie, filling the indentation you created earlier. Allow the fudge to cool and set slightly for about 5 minutes.
Once the fudge has begun to set, take your ½ teaspoon measuring spoon once more and gently press a slight indent into the chocolate layer. This creates a perfect little well for the jam.
Finally, fill this new indentation with a dollop of strawberry jam, placing it directly over the chocolate fudge topping. The vibrant red of the jam contrasting with the dark chocolate is visually stunning.
Your exquisite Chocolate Strawberry Thumbprint Cookies are now complete! Serve them immediately and delight in their combined flavors and textures. They are best enjoyed fresh, but also store beautifully for later enjoyment.

Creative Variations and Smart Substitutions for Your Thumbprint Cookies
The beauty of thumbprint cookies lies in their adaptability. While the classic Chocolate Strawberry Thumbprint Cookies are undeniably delicious, there are countless ways to customize this recipe to suit your individual preferences, dietary needs, or simply to explore new flavor combinations. Here are some inspiring ideas to spark your culinary creativity:
- Chocolate Variations:
- For those who crave a more intense, sophisticated chocolate experience, consider swapping the semi-sweet chocolate chips for high-quality dark chocolate chips (60-70% cocoa content) in your fudge topping. This will yield a richer, less sweet flavor profile.
- Alternatively, if you prefer a milder, creamier chocolate, milk chocolate chips can be used.
- To infuse the cookie dough itself with a deeper chocolate essence, whisk in a tablespoon of unsweetened cocoa powder along with the flour. This creates a double-chocolate effect that’s truly decadent.
- White chocolate chips can also be used for a lighter, sweeter fudge, offering a beautiful visual contrast with the strawberry jam.
- Creative Filling Options:
- While strawberry jam is a fantastic choice, the world of fruit preserves offers endless possibilities. Tangy raspberry, sweet and floral blueberry, or subtly tart apricot jam would all create equally delightful and distinct flavor profiles.
- For a truly indulgent filling, consider a dollop of creamy Nutella, a swirl of rich caramel sauce, or a bright and zesty lemon curd. These alternatives add a different dimension of flavor and texture.
- During the holidays, festive fillings like cranberry sauce or apple butter can transform these cookies into seasonal delights.
- Gluten-Free Adaptations:
- To make these cookies accessible for those with gluten sensitivities or celiac disease, simply substitute the all-purpose flour with a high-quality 1:1 gluten-free flour blend. Ensure that your chosen blend contains xanthan gum for optimal structure and texture.
- Always double-check that all other ingredients, such as baking powder (if used in other recipes), vanilla extract, and even chocolate chips, are certified gluten-free to avoid cross-contamination.
- Vegan-Friendly Options:
- Transform these cookies into a vegan delight by substituting the butter with a plant-based alternative. Options like vegan margarine sticks or refined coconut oil (used in solid form) can work well. Be sure to choose a brand specifically designed for baking.
- For the egg yolks, a “flax egg” (1 tbsp ground flaxseed mixed with 3 tbsp water, allowed to sit for 5 minutes) can sometimes work in recipes requiring only yolks, but for best results, a commercial egg replacer specifically formulated for baking might be more reliable.
- Ensure your chocolate chips are vegan (many dark chocolate varieties are, but always check labels) and confirm that your chosen jam or filling is also free of animal products. For the sweetened condensed milk, look for vegan sweetened condensed coconut milk, which is widely available.

CHOCOLATE STRAWBERRY THUMBPRINT COOKIES
Print
Pin
Rate
Ingredients
- 1 cup butter 2 sticks, at room temperature
- ⅔ cup granulated sugar
- 2 egg yolks
- 1 tsp vanilla extract
- 2 cups all-purpose flour
- ½ tsp salt
Fudge Topping
- 1 cup semi-sweet chocolate chips
- 14 oz sweetened condensed milk
- ¼ tsp almond extract
- strawberry jam
Instructions
-
Prep: Preheat oven to 375 degrees F. Line a baking sheet with parchment paper or a silicon baking mat and set it aside.
-
Dough: In a large mixing bowl, cream together the butter and sugar using an electric mixer on medium-high speed. Continue for about 2-3 minutes until the butter mixture is light and fluffy.
-
Next, mix in the egg yolks and the vanilla extract.
-
Then, add in the flour and salt and mix until the dough comes together.
-
If desired you can chill the cookie dough for 30 minutes, but you can skip this step and head straight to baking them.
-
Scoop the dough into 1-inch-sized balls and roll them with your hands so that they are perfectly round. Arrange the dough balls onto the prepared cookie sheet.
-
Use a ½ teaspoon measuring spoon to create a circular crater in the center of the cookie dough balls.
-
Bake: Proceed to bake the cookies for 8-10 minutes.
-
Remove them from the oven and if the indents look shallow, press the measuring spoon to further define them again.
-
Fudge: Melt the chocolate chips, condensed milk, and almond extract in a small pot over low heat until melted. Continue stirring over low heat for 3-4 minutes or until the mixture has thickened.
-
Assemble: Spoon about 1 teaspoon of fudge onto each cookie. Let cool until set for about 5 minutes.
-
Take ½ teaspoon measuring spoon again and slightly press an indent into the chocolate. Then, fill the indent with strawberry jam. Serve & enjoy!
Notes
Nutrition
Best Practices for Storing Chocolate Strawberry Thumbprint Cookies
Proper storage is key to maintaining the freshness and deliciousness of your thumbprint cookies. These cookies are at their peak flavor and texture within a few days of baking. To store them, place the cooled cookies in an airtight container. They will remain wonderfully fresh at room temperature for up to 3 days. To preserve their quality, consider placing a piece of parchment paper between layers of cookies if stacking them to prevent any sticking or damage to the delicate fudge and jam topping.
Can You Freeze Chocolate Thumbprint Cookies for Longer Enjoyment?
Absolutely! One of the fantastic advantages of these particular cookies is how exceptionally well they freeze, allowing you to prepare them in advance or enjoy them over an extended period. To freeze your assembled chocolate strawberry thumbprint cookies, arrange them in a single layer on a baking sheet. Place the baking sheet in the freezer for about 3 hours, or until the cookies are completely solid. This “flash freezing” step prevents them from sticking together once transferred to a container.
After they are solid, transfer the frozen cookies to an airtight freezer-safe container or a heavy-duty freezer bag. For added protection and to prevent any potential sticking, you can place pieces of parchment paper between layers of cookies. When you’re ready to indulge, simply remove the desired number of cookies from the freezer and allow them to thaw at room temperature for a few hours before serving. They will taste just as fresh and delicious as the day they were baked, offering a convenient treat whenever a craving strikes.

Expert Tips: How to Prevent Your Thumbprint Cookies from Spreading
Achieving perfectly shaped thumbprint cookies is a common goal for bakers, and preventing them from spreading too much is key. The good news is that with a few simple techniques, you can ensure your cookies maintain their lovely form. The most crucial step is to chill the dough before baking. This solidifies the butter in the dough, which in turn helps the cookies hold their shape more effectively when exposed to the oven’s heat. A minimum of 30 minutes in the refrigerator, or even longer, can make a significant difference. Additionally, ensure you are using sturdy baking sheets that heat evenly, and avoid overcrowding them. Leaving ample space between each cookie allows for proper air circulation, which is vital for uniform baking and minimizes the chance of cookies melting into one another. Always use a reliable oven thermometer to ensure your oven is at the correct temperature, as an oven that runs too hot or too cold can impact cookie spread.
Essential Tips for Baking Perfect Thumbprint Cookies Every Time
Creating truly perfect thumbprint cookies is an art that combines precise technique with quality ingredients. Here are some invaluable tips to help you achieve consistent, bakery-worthy results:
- Room Temperature Ingredients: Always ensure your butter and egg yolks are at true room temperature. This allows them to cream together smoothly with the sugar, creating a uniform mixture that emulsifies correctly. Cold ingredients won’t combine as well, leading to a lumpy dough and a less tender cookie.
- Accurate Measuring: Baking is a science, and precision matters. Use proper measuring cups for dry ingredients (spoon flour into the cup and level with a straight edge) and liquid measuring cups for wet ingredients. Small discrepancies can significantly alter the dough’s consistency and the final cookie texture.
- Uniform Dough Balls: For consistent size and even baking, use a small cookie scoop (about 1-inch in diameter) to portion your dough. If you don’t have a scoop, aim for roughly 1-tablespoon sized portions. Rolling them gently with your hands ensures a smooth, round base for your thumbprint.
- Consistent Indentations: When making the thumbprint, use the back of a rounded ½ teaspoon measuring spoon for uniformity. This creates a neat, consistent well for your fillings, preventing them from overflowing or being too shallow. If the indentations puff up during baking, gently re-press them immediately after removing the cookies from the oven while they are still warm and pliable.
- Don’t Overbake: Keep a close eye on your cookies during the last few minutes of baking. They are ready when the edges are lightly golden, and the centers are set but still look soft. Overbaked cookies will be dry and crumbly, losing their delightful tenderness.
Common Mistakes to Avoid When Making Thumbprint Cookies
Even experienced bakers can sometimes make small errors that affect the outcome of their cookies. Being aware of these common pitfalls can help you steer clear of them and ensure your thumbprint cookies turn out beautifully:
- Overbaking: This is arguably the most frequent mistake. Overbaking leads to dry, hard, and crumbly cookies rather than the desired soft and tender texture. Always monitor your cookies closely and remove them from the oven as soon as the edges are lightly golden, even if the centers still look slightly soft. They will continue to set as they cool.
- Not Chilling the Dough: Skipping the chilling step can result in cookies that spread excessively in the oven, losing their distinct thumbprint shape. Chilling helps solidify the butter, preventing rapid spreading. If you find your cookies consistently spread too much, increase your chilling time.
- Overmixing the Dough: Once the flour is added, mix only until the ingredients are just combined. Overmixing develops the gluten in the flour, leading to tough, dense cookies instead of light and tender ones. A gentle hand is best here.
- Incorrect Flour Measurement: Too much flour will result in dry, crumbly dough that is difficult to work with and produces hard cookies. Too little flour can cause excessive spreading. Always measure flour by lightly spooning it into a measuring cup and leveling it off, rather than scooping directly from the bag.
- Ignoring Room Temperature for Ingredients: Using cold butter or eggs can lead to a dough that doesn’t emulsify correctly, resulting in a less uniform texture and potentially altering how the cookies bake and spread. Plan ahead and ensure your ingredients are at the recommended temperature.

I often find myself not praising my wonderful husband enough! He was celebrated with joy on Father’s Day, and just two weeks later, for his birthday, our kids and I put together an incredibly elaborate scavenger hunt. Each clue led him to another delightful present, and I captured the entire joyful experience on video! It took him about 25 minutes to navigate through all the clues and unwrap his gifts along the way. It was absolutely SO FUN! We cherish and appreciate him beyond words!

Discover More Irresistible Thumbprint Cookie Recipes to Try:
If you’ve fallen in love with the charm and versatility of thumbprint cookies, you’re in for a treat! There’s a whole world of these delightful little cookies to explore, each offering a unique flavor experience. Here are some more fantastic thumbprint cookie recipes that are sure to inspire your next baking adventure:
- CHEESECAKE COOKIES: Indulge in the creamy, tangy goodness of cheesecake in a convenient cookie form.
- DOUBLE CHOCOLATE THUMBPRINT COOKIES: For the ultimate chocolate lover, these cookies deliver an extra rich and intense chocolate flavor.
- SWEETHEART VALENTINE THUMBPRINT COOKIES: Perfect for sharing love, these festive cookies are ideal for special occasions.
- LEMON THUMBPRINT COOKIES: Brighten your day with the zesty, refreshing taste of lemon in a tender cookie.
- GRINCH THUMBPRINT COOKIES: A fun, whimsical, and delicious option for holiday baking, sure to bring smiles.
- CARAMEL THUMBPRINT COOKIES: Sink your teeth into chewy cookies filled with gooey, sweet caramel.
- STRAWBERRY THUMBPRINT COOKIES: A classic and always popular choice, highlighting the simple joy of strawberry jam.
- CHOCOLATE RASPBERRY THUMBPRINT COOKIES: Another fantastic fruit and chocolate combination, offering a slightly tart yet sweet profile.
In conclusion, these Chocolate Strawberry Thumbprint Cookies are more than just a dessert; they are a soft, sweet, and utterly heavenly treat that embodies comfort and indulgence. Made with a perfectly soft chocolate cookie base, lovingly filled with a rich chocolate fudge, and crowned with a vibrant dollop of sweet strawberry jam, these thumbprint cookies are truly a fabulous dessert for any time of year. Get ready to impress your family and friends with this delightful creation!
