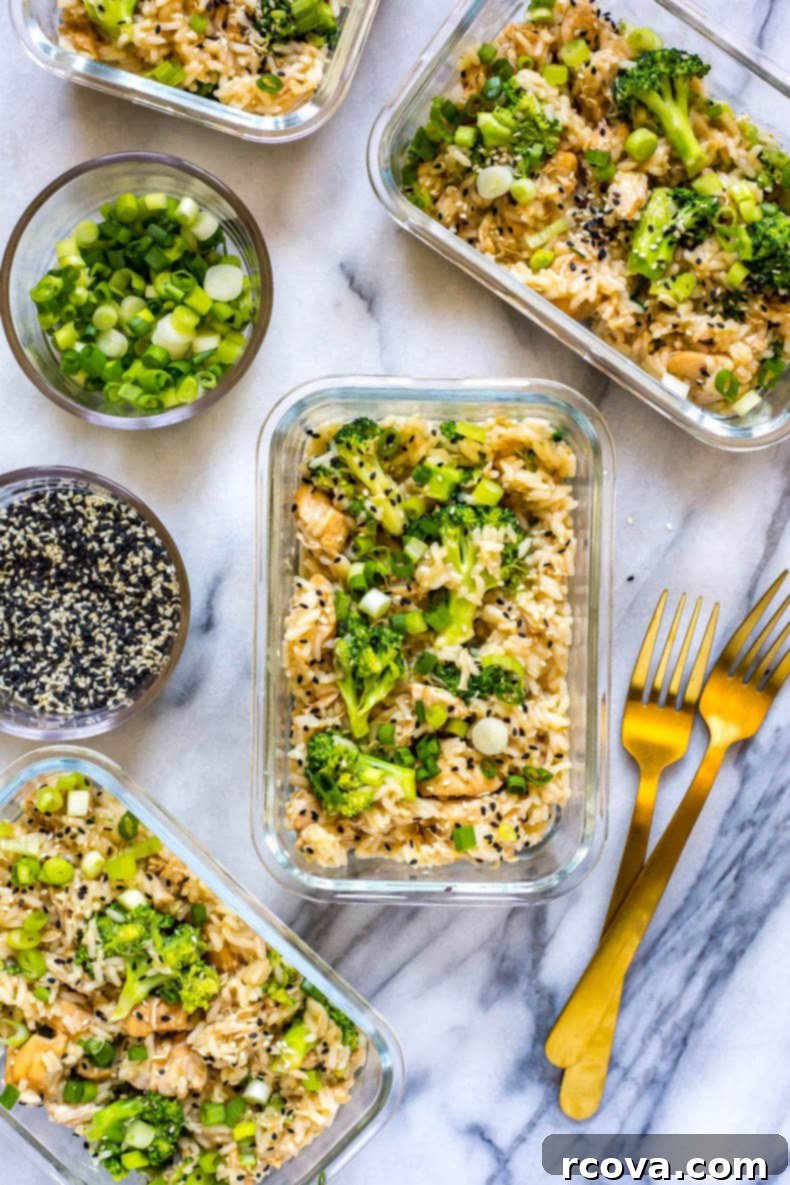
Effortless Instant Pot Honey Garlic Chicken Meal Prep Bowls: Your Guide to Quick & Healthy Weekday Meals
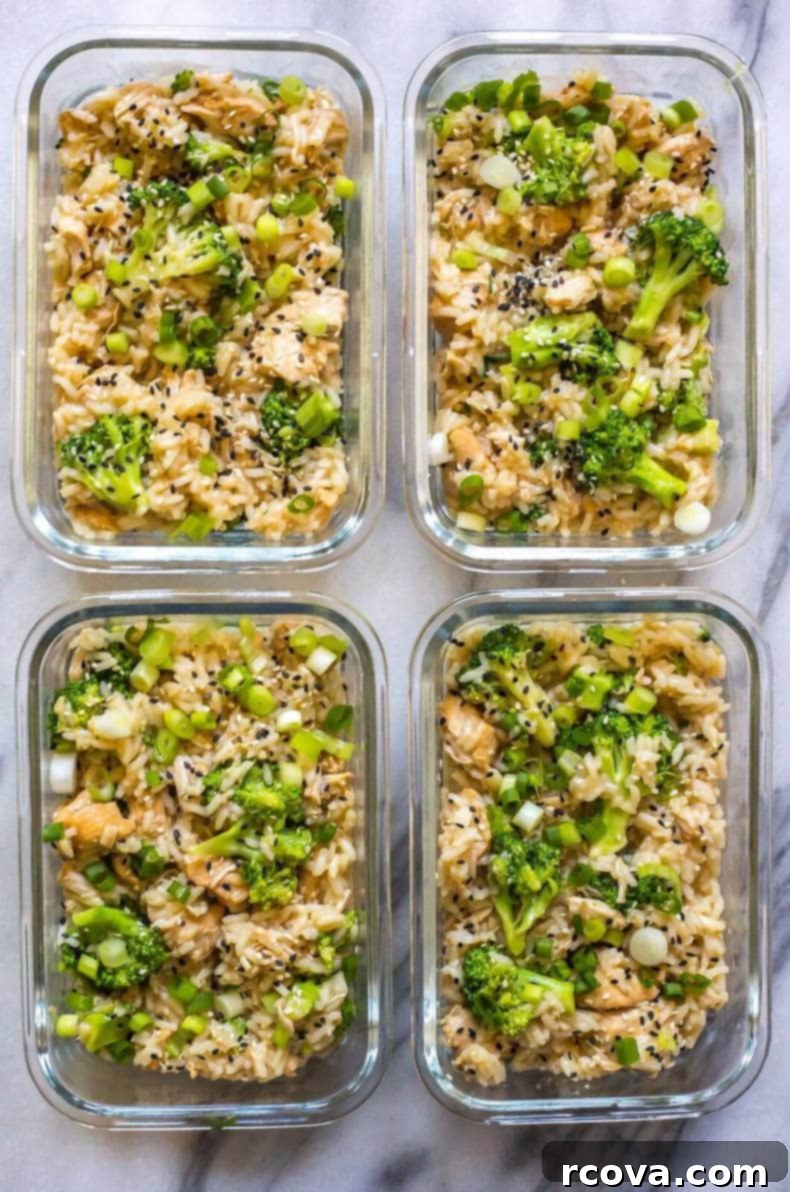
Welcome to your new favorite meal prep solution! These Instant Pot Honey Garlic Chicken Meal Prep Bowls are not just incredibly delicious, but also remarkably easy to prepare. Designed for busy individuals and families, this recipe allows you to whip up a week’s worth of healthy, flavorful lunches or dinners in a single pot. Forget the endless scrubbing of multiple pans – our one-pot wonder streamlines the cooking process, delivering tender, succulent chicken coated in a sticky, sweet-and-savory honey garlic sauce, perfectly complemented by fluffy rice and crisp-tender broccoli. It’s the ultimate combination of convenience, taste, and smart meal planning, making your healthy eating goals more achievable than ever.
FREE Budget-Friendly Meal Plan!
Save thousands of dollars on food every year with my free budget-friendly meal plan ebook.
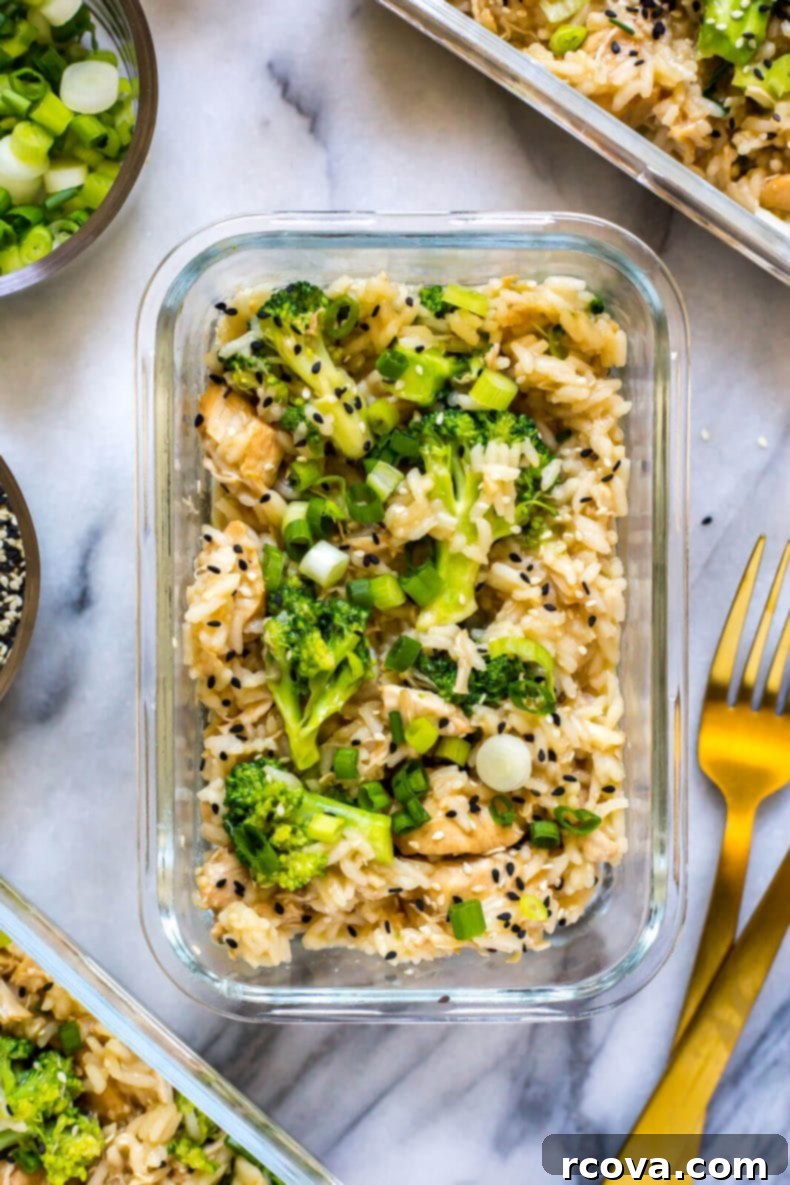
How to Make These Speedy Instant Pot Honey Garlic Chicken Bowls
Creating these delicious honey garlic chicken meal prep bowls in your Instant Pot is incredibly straightforward. The beauty of this recipe lies in its simplicity and efficiency, allowing you to prepare a flavorful, satisfying meal with minimal effort and cleanup. Follow these easy steps to achieve perfectly cooked chicken, rice, and broccoli all in one pot!
-
To begin, carefully add your ingredients to the Instant Pot in the specified order: first, a tablespoon of olive oil, followed by the diced chicken breasts. Layer the remaining sauce ingredients over the chicken: soy sauce, honey, rice vinegar, minced garlic, and finally, the water. This layering is crucial to prevent the “BURN” warning that can sometimes occur when thicker sauces or acidic ingredients are directly at the bottom of the pot.
-
Secure the lid on your Instant Pot and set it to pressure cook on high for exactly 4 minutes. Once the cooking cycle is complete, perform a quick release of the pressure. This rapid depressurization helps to prevent the chicken from overcooking, keeping it tender and juicy. While the chicken cooks, your Instant Pot will take approximately 15 minutes to come to pressure before the 4-minute cooking countdown begins.
-
While the Instant Pot is working its magic, turn your attention to the rice. Cook your chosen variety of rice (white or brown) in a separate rice cooker or on the stovetop according to the package directions. Meanwhile, prepare your cornstarch slurry by whisking together the cornstarch and a tablespoon of cold water until smooth. This slurry is essential for thickening the honey garlic sauce, giving it that irresistible glossy, sticky consistency.
-
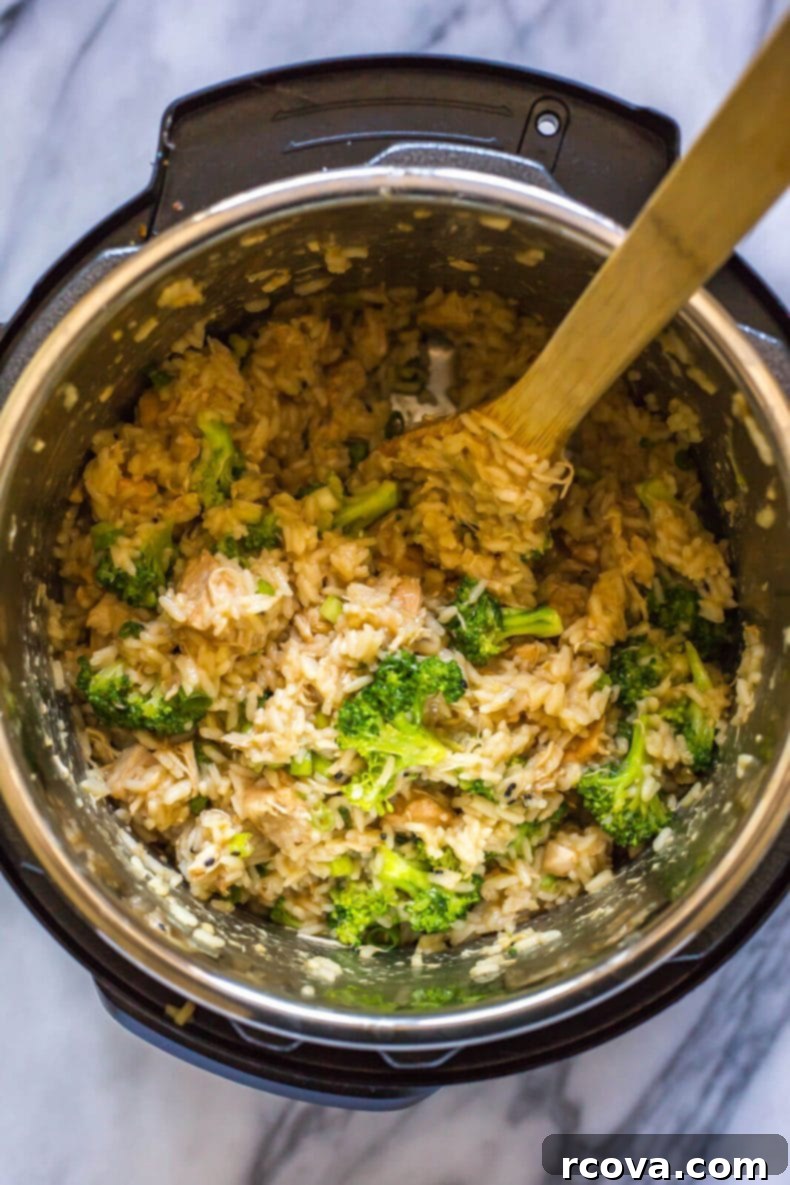
Once the Instant Pot has finished its quick release and you’ve removed the lid, stir the prepared cornstarch slurry into the honey garlic chicken mixture. Stir vigorously until the sauce has thickened nicely and is well combined with the chicken. Immediately after, add the pre-cooked rice and the raw, chopped broccoli florets to the pot. The residual heat from the chicken and the sauce will gently steam the broccoli, ensuring it remains crisp-tender and vibrant.
-
With all components combined, place the lid back on the Instant Pot (without sealing or turning it on) and let the mixture sit for 5-10 minutes. This resting period allows the flavors to meld beautifully, the sauce to fully thicken, and the broccoli to cook perfectly. After this short resting time, your delectable Instant Pot Honey Garlic Chicken Meal Prep Bowls are ready to be portioned, served, and savored. Enjoy your easy, flavorful, and healthy homemade meal!
Ingredients and Smart Substitutions for Your Honey Garlic Chicken Bowls
This recipe is not only flavorful but also incredibly versatile, allowing for various substitutions to fit your dietary needs, preferences, or what you have on hand. Here’s a breakdown of the key ingredients and how you can adapt them without sacrificing taste or quality.
- Olive Oil – While olive oil provides a lovely base, you can easily use any other neutral oil for this recipe. Good alternatives include sunflower oil, avocado oil, canola oil, or peanut oil. These oils have a high smoke point and won’t overpower the delicate flavors of the honey garlic sauce, ensuring your chicken is perfectly seared and moist.
- Chicken Breasts – For an even juicier and richer flavor, boneless, skinless chicken thighs are an excellent alternative to chicken breasts. If using thighs, the cook time in the Instant Pot may not need significant adjustment, but they tend to be more forgiving if slightly overcooked. You can also experiment with pork loin or even firm tofu for a vegetarian option, adjusting cook times accordingly.
- Soy Sauce – If you’re looking for a gluten-free or soy-free alternative, coconut aminos or tamari are fantastic choices. Coconut aminos offer a slightly sweeter, less salty flavor profile than soy sauce, while tamari provides a similar savory depth without the wheat. Both maintain the umami essence vital for this dish.
- Honey – The sweet star of the sauce! If you don’t have honey, maple syrup, agave syrup, or a simple brown sugar syrup (dissolving brown sugar in a little water) can be used as alternatives. Keep in mind that these might slightly alter the overall sweetness and thickness of the sauce, so adjust to your taste.
- Rice Vinegar – This ingredient adds a subtle tang and balance to the sweetness of the honey. In a pinch, apple cider vinegar works well, or you can even use plain white vinegar with a tiny pinch of sugar to round out the acidity. These substitutions will provide the necessary acidic contrast for a well-balanced sauce.
- Garlic – Freshly minced garlic delivers the best flavor, but convenience is key for meal prep. Jarred minced garlic is a convenient alternative. If fresh isn’t available, garlic powder can be used; as a general rule, 1/4 teaspoon of garlic powder equals one clove of fresh garlic.
- Water – While water is sufficient, using vegetable broth or chicken broth can significantly enhance the depth of flavor in your sauce. Low-sodium broth is recommended to control the overall saltiness, especially since soy sauce is already a salty component.
- Broccoli – This recipe is a great canvas for a variety of vegetables. Feel free to switch out the broccoli for other quick-cooking veggies like snap peas, thinly sliced carrots, bell peppers, or even a mix of your favorites. Just ensure they are chopped into small, uniform pieces for even cooking in the residual heat.
Cornstarch Slurry
- Cornstarch – The cornstarch slurry is crucial for achieving that signature thick, glossy honey garlic sauce. If cornstarch is unavailable, flour, potato starch, or tapioca starch are common replacements. Flour is a good option, typically requiring twice the amount of cornstarch for similar thickening power and needs to be whisked thoroughly to avoid lumps. Potato or tapioca starch can also be used in equal measure, often providing a slightly glossier finish.
- Water – Cold water is essential for mixing with cornstarch to create a smooth slurry, preventing lumps when added to hot liquid.
Rice
The foundation of any good rice bowl, the rice choice significantly impacts the overall meal experience.
- White Rice – You can use any variation of white rice that you prefer, such as fragrant jasmine rice, basmati, or even a medium-grain white rice. If you’re looking for a boost in fiber and nutrients, brown rice is an excellent option, but remember it will require a longer cooking time and possibly more liquid than white rice. Adjust your rice cooking method accordingly.
- Water – Cooking your rice in vegetable broth or chicken broth instead of plain water will imbue it with an extra layer of savory flavor, complementing the honey garlic chicken beautifully.
- Butter – Adding butter to your rice imparts a rich flavor and helps prevent sticking. For a dairy-free option, olive oil or another neutral oil can be used. If you prefer to keep the dish lighter, you can omit the butter entirely without affecting the texture significantly.
- Salt (to taste) – A pinch of salt when cooking rice is crucial for enhancing its natural flavor. Adjust to your personal preference and consider the saltiness from the soy sauce in the chicken mixture.
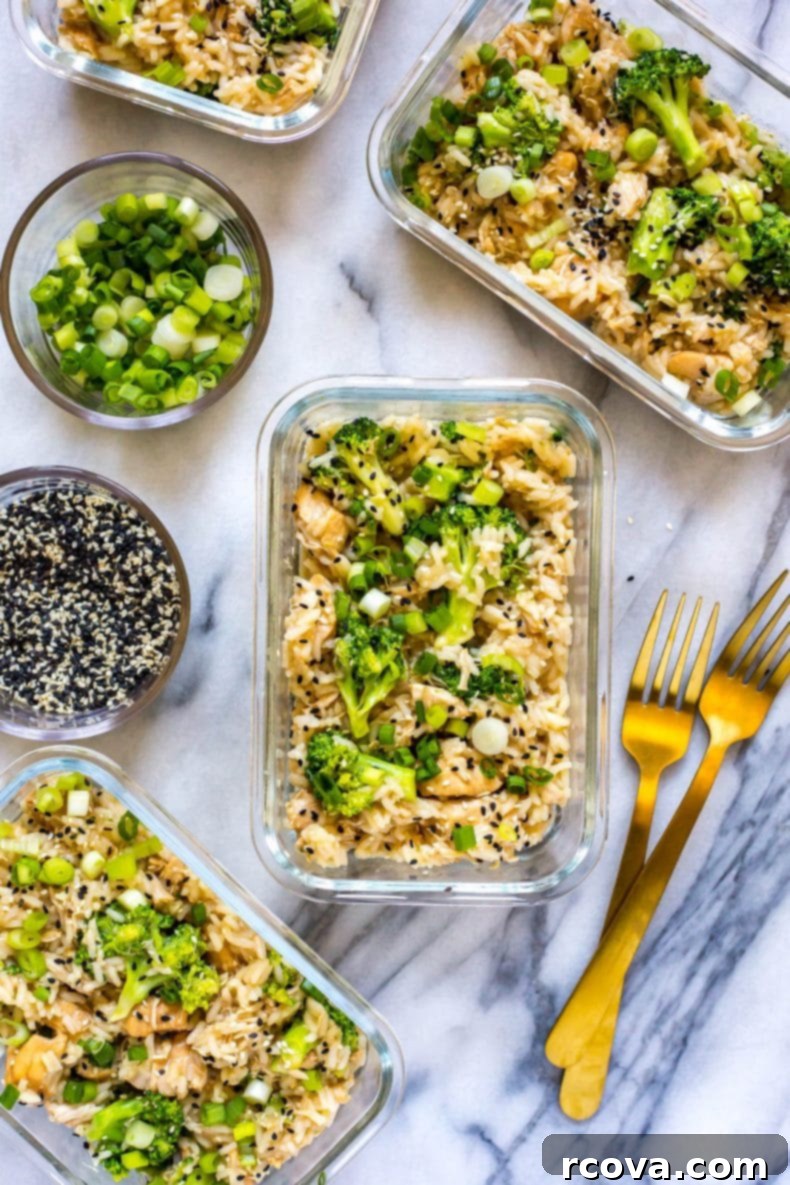
Storing and Reheating Your Meal Prep Bowls
One of the biggest advantages of these Instant Pot Honey Garlic Chicken Meal Prep Bowls is their suitability for make-ahead meals. Proper storage and reheating are key to enjoying fresh-tasting and safe leftovers throughout the week.
For any leftovers, transfer them to airtight containers immediately after they have cooled down to room temperature. This step is crucial for food safety and preventing bacterial growth. Stored correctly in the fridge, this delicious dish will maintain its quality for up to five days, making it an ideal choice for weekly meal planning.
When you’re ready to enjoy a bowl, you have several convenient options for reheating, each offering slightly different results:
- Using the Saute Function on the Instant Pot: This method is excellent for restoring moisture and ensuring even heating. Add a tablespoon or two of water or chicken broth to the Instant Pot with your leftovers. Stir occasionally on the “Saute” setting until the dish is thoroughly warmed through and steaming. This method helps to revive the chicken’s tenderness and prevent dryness.
- On the Stovetop in a Pan: For a quick and easy reheat, place your leftovers in a pan over medium heat. Add a splash of water or broth to create steam and help rehydrate the rice and chicken. Stir frequently for a few minutes until everything is hot. A non-stick pan works best to prevent sticking and burning.
- In the Microwave: The quickest method for individual portions. Transfer your meal to a microwave-safe bowl, add a small amount of water or chicken broth (about 1-2 tablespoons) to the bowl, and cover it loosely with a lid or microwave-safe plastic wrap. Reheat for 1-2 minutes, stirring halfway through, or until it reaches your desired temperature. The added liquid and covering help to create steam, which is vital for keeping the chicken and rice from drying out.
No matter which reheating method you choose, remember the golden rule: always add a little extra water or chicken broth. This simple step is a game-changer, adding moisture back into the dish and ensuring your chicken and rice remain tender, flavorful, and never dry. Enjoy your perfectly prepped meals!
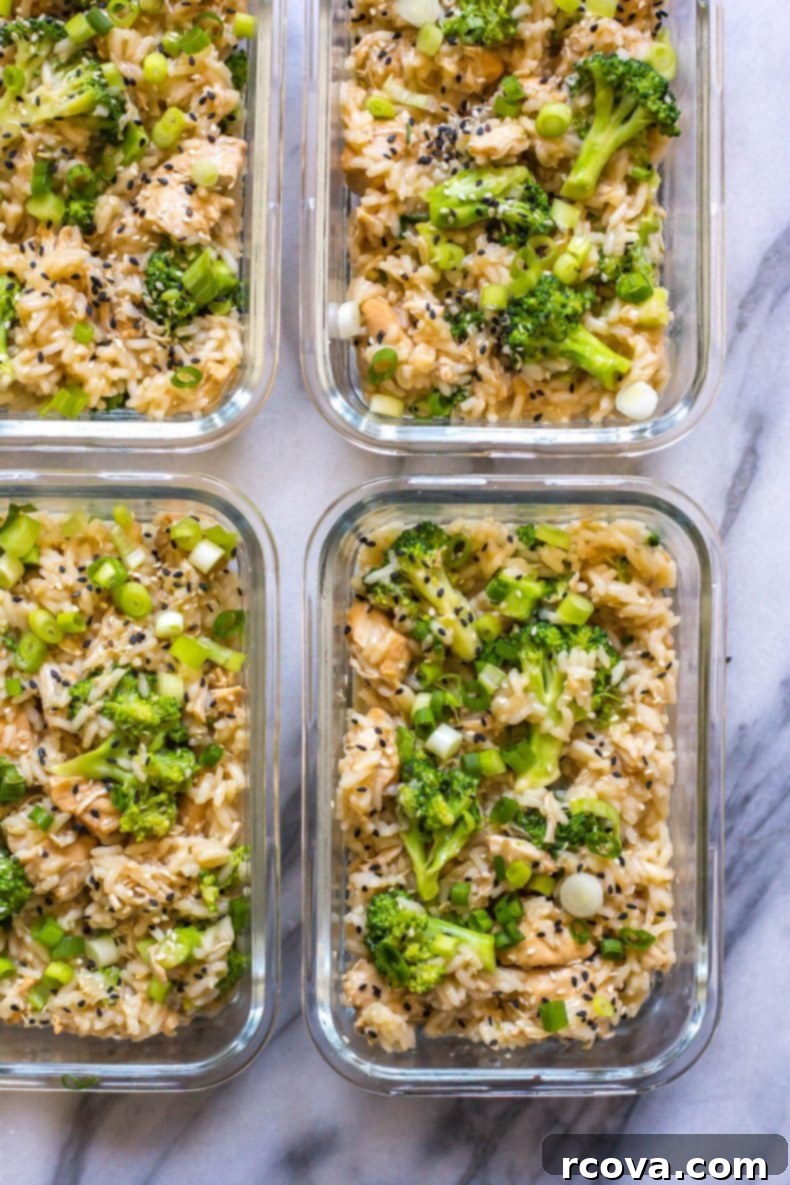
Freezing These Meal Prep Bowls for Long-Term Storage
These honey garlic chicken meal prep bowls are not just fantastic for a few days in the fridge; they also freeze exceptionally well, making them an ideal candidate for long-term meal planning! Having a stash of these flavorful bowls in your freezer means you’re always just a quick reheat away from a wholesome and satisfying meal.
To freeze, first ensure the cooked chicken, rice, and broccoli mixture has cooled completely to room temperature. This step is critical; freezing hot food can lead to condensation, which turns into ice crystals, causing freezer burn and affecting the texture and flavor of your food. Once cooled, transfer individual portions into high-quality, airtight, freezer-safe containers. Glass containers with secure lids are an excellent choice as they prevent freezer burn more effectively and are safe for reheating. Properly frozen, these meal prep bowls will keep well for up to 3 months, giving you plenty of time to enjoy them.
When you’re ready to enjoy a frozen bowl, the best method is to thaw it overnight in the refrigerator. This slow thawing process helps preserve the texture and moisture of the ingredients. Once thawed, you can reheat it using any of the instructions mentioned above (Instant Pot saute, stovetop, or microwave), ensuring to add a splash of water or broth to bring back moisture and prevent dryness. For a quicker option, you can sometimes reheat directly from frozen in the microwave or stovetop, though it may take longer and require more added liquid to achieve the desired consistency. Serve warm and enjoy the convenience of your perfectly prepped and frozen meal!
Discover More Delicious Rice Bowl Recipes
If you love the convenience and flavor of these Instant Pot Honey Garlic Chicken Meal Prep Bowls, you’re in for a treat! Rice bowls are a fantastic way to create balanced, delicious, and easy-to-customize meals for any day of the week. Here are a few more fantastic rice bowl recipes to add to your rotation and keep your meal prep exciting:
- Fiesta Chicken Rice Bowl
- Miso Sesame Tuna Bowl
- Meal Prep Jerk Chicken-Inspired Bowl
Essential Meal Prep Tools for Efficiency
To truly master the art of meal prepping and make recipes like these Honey Garlic Chicken Bowls a breeze, having the right tools on hand can make all the difference. These items are highly recommended for maximizing convenience and ensuring your meals stay fresh and delicious throughout the week:
- Grab some glass meal prep bowls if you plan on storing the leftovers. They’re durable, microwave-safe, and excellent for preserving food quality.
- I get all my free-range chicken from Butcher Box, conveniently delivered to me frozen, ensuring high-quality protein for all my meal prep needs.
- The Instant Pot DUO Plus is the version I use in this recipe. Its multi-functional capabilities make one-pot meals incredibly simple and fast.
Instant Pot Honey Garlic Chicken Meal Prep Bowls
Print
Pin
Rate
SEND ME MY PLAN
Ingredients
- 1 tbsp olive oil
- 2 medium-sized chicken breasts, diced
- 2 tbsp low sodium soy sauce
- 2 tbsp honey
- 1 tsp rice vinegar
- 4 cloves garlic minced
- 1/2 cup water
- 1 head Broccoli, chopped into very small florets
Cornstarch slurry
- 1 tbsp cornstarch
- 1 tbsp water
Rice
- 1 cup white rice
- 2 cups water
- 1 tsp butter
- 1 pinch salt
Instructions
-
Add olive oil, chicken, soy sauce, honey, rice vinegar, garlic and 1/2 cup water to Instant Pot in that order. Cook on high pressure for 4 minutes then do a quick release of the pressure. Instant Pot will take about 15 minutes to preheat then pressure cook the 4 min.
-
Meanwhile, cook the rice in a rice cooker or on the stovetop according to package directions. Mix the cornstarch with cold water to make the cornstarch slurry and set aside.
-
Open lid of Instant Pot and stir in the cornstarch slurry until well mixed, then add the cooked rice and the raw broccoli. Mix together well then let sit with the lid on for 5-10 minutes. Serve and enjoy!
