The Ultimate Homemade Oreo Cookies Recipe: Better Than Store-Bought!
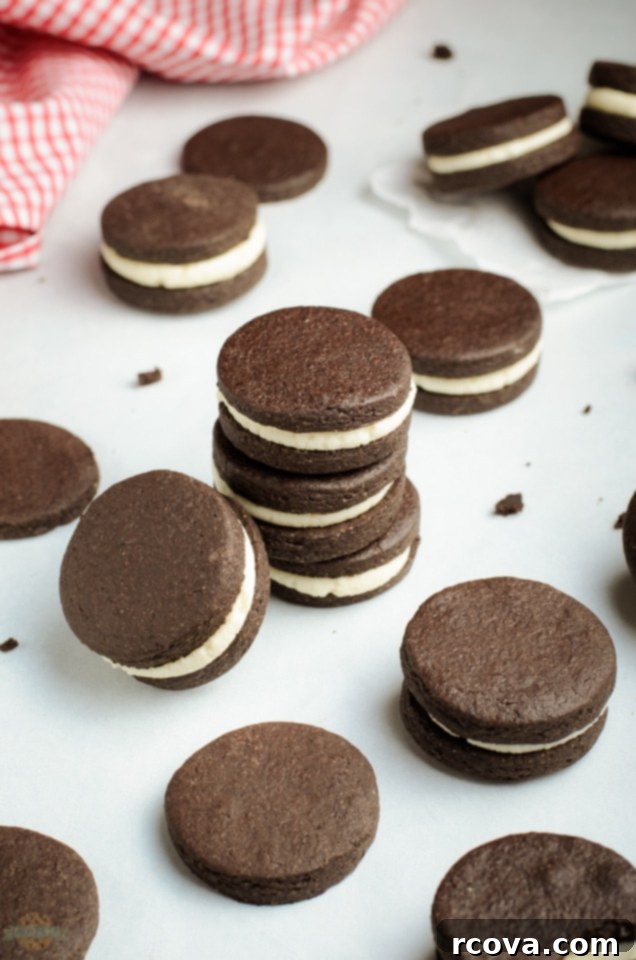
For every true cookie enthusiast, there’s an undeniable allure to a classic Oreo. But what if you could recreate that iconic chocolate sandwich cookie magic right in your own kitchen? This comprehensive guide reveals the secrets to crafting the most irresistible Homemade Oreo Cookies, featuring rich, dark chocolatey wafers and a luscious, buttery vanilla cream filling that promises to be even more delightful than the store-bought version. Prepare yourself for a baking adventure that will transform your perception of this beloved treat!
Imagine biting into a perfectly crisp chocolate cookie, giving way to a sweet, smooth vanilla cream center. That’s the extraordinary experience awaiting you with this homemade Oreo cookie recipe. It’s a surprisingly straightforward process that delivers incredible results, making it an ideal project for both novice and experienced bakers alike. Forget those blue packages; once you taste these freshly baked, perfectly balanced sandwich cookies, you might just find yourself making them a regular indulgence.
This recipe allows you to enjoy freshly baked cookies within a couple of hours, with a significant portion of that time being passive cooling. The combination of our intensely flavored homemade Oreo cream and perfectly crisp chocolate wafers creates a symphony of textures and tastes. These aren’t just cookies; they’re an experience – a testament to the joy and superior flavor that comes from baking from scratch. Get ready to impress your family and friends with these utterly delicious, undeniably addictive homemade goodies.
 What Exactly are Homemade Oreos?
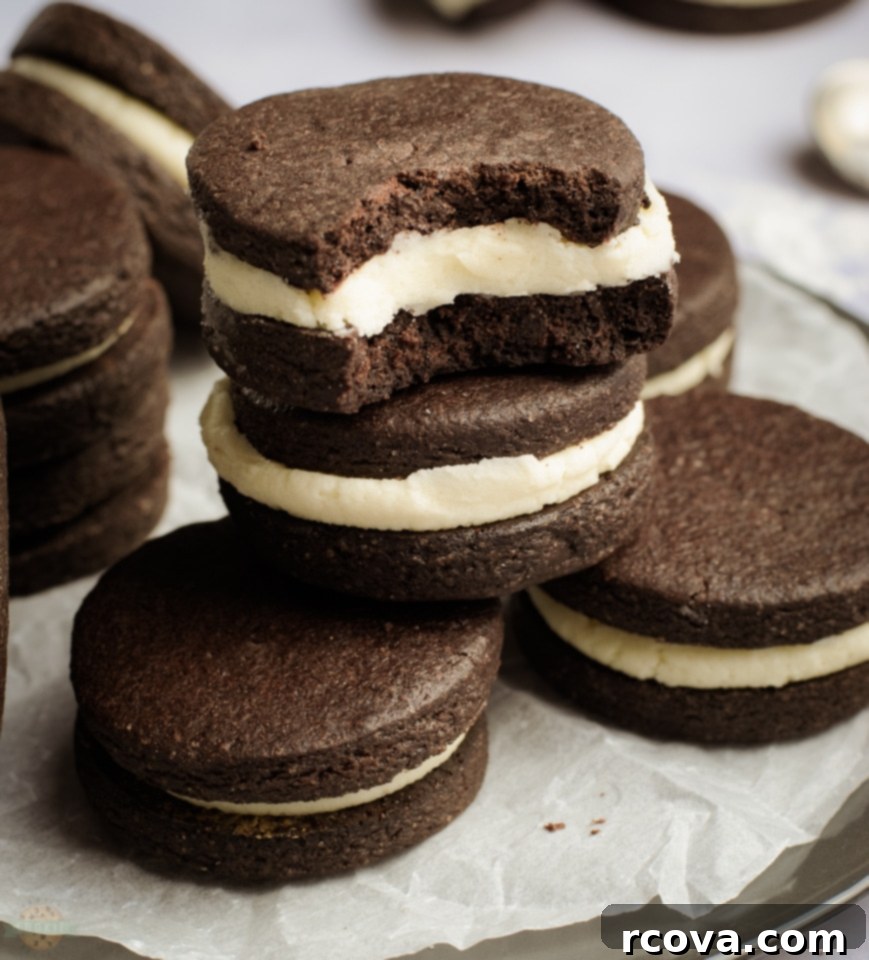
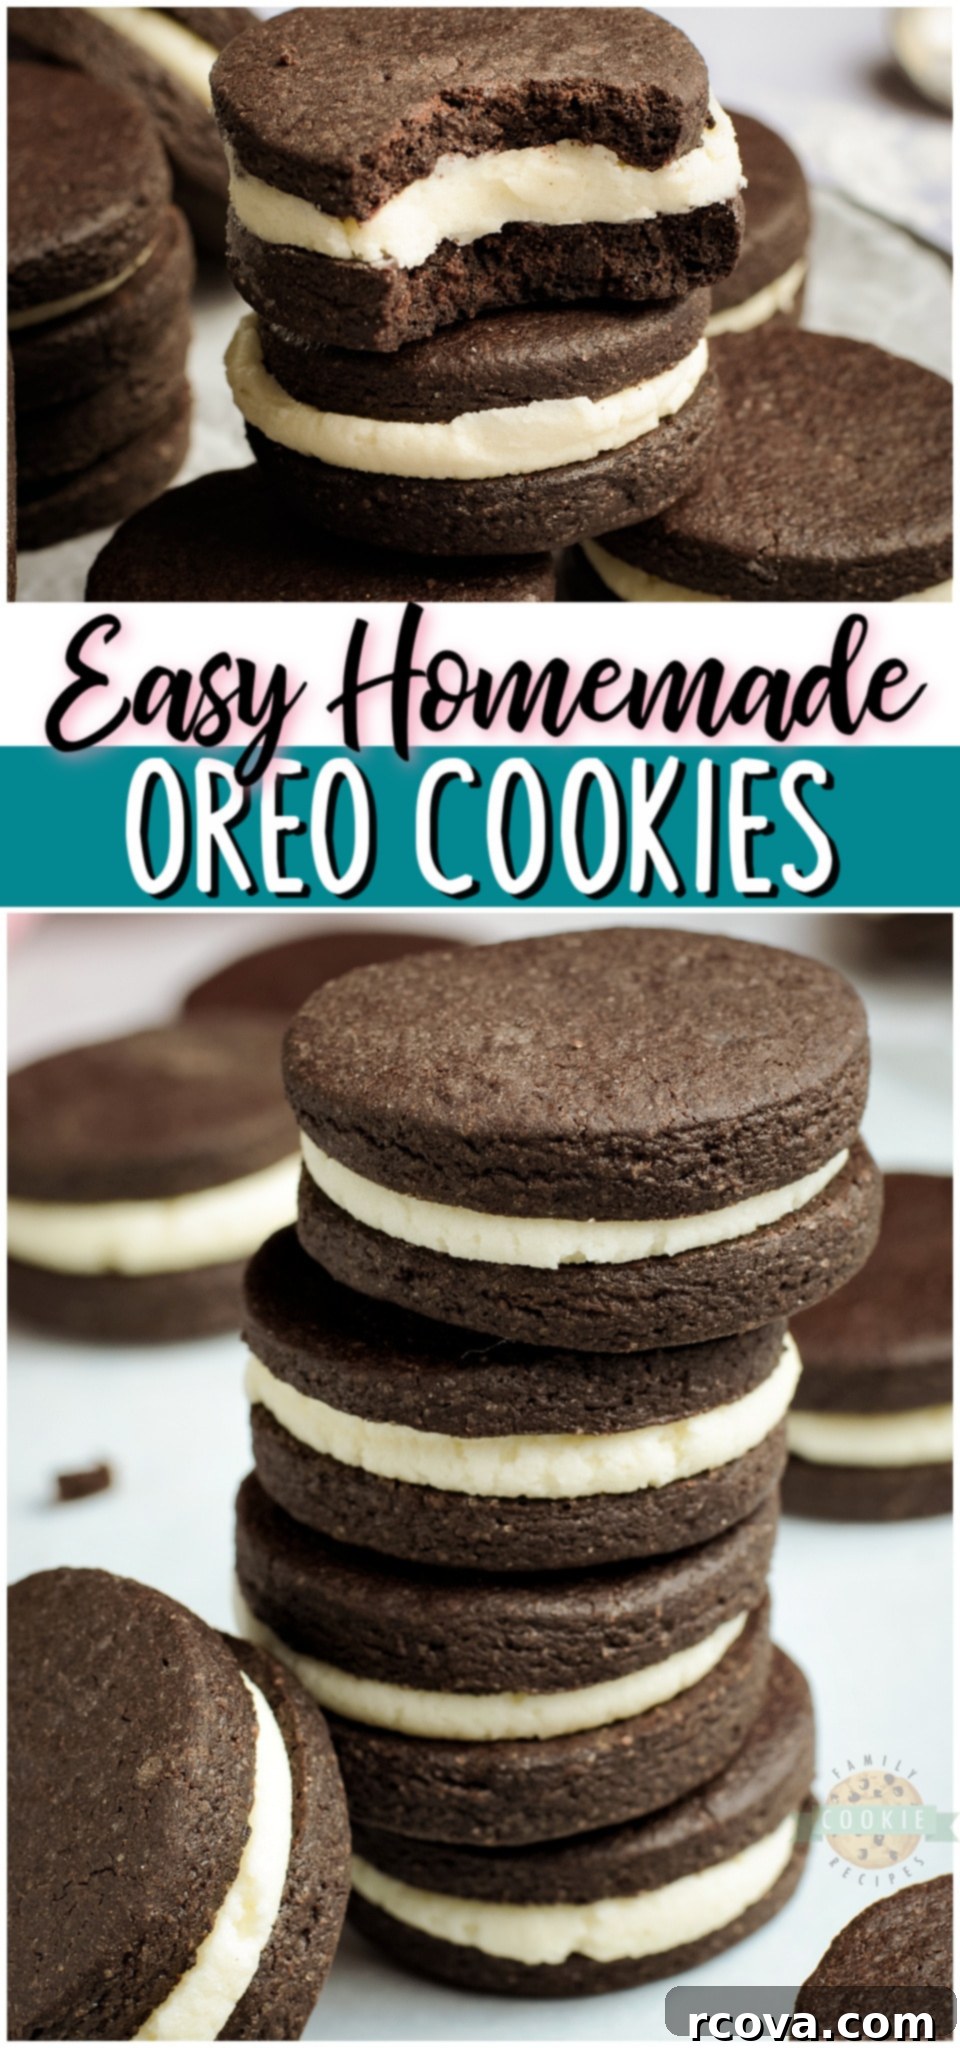
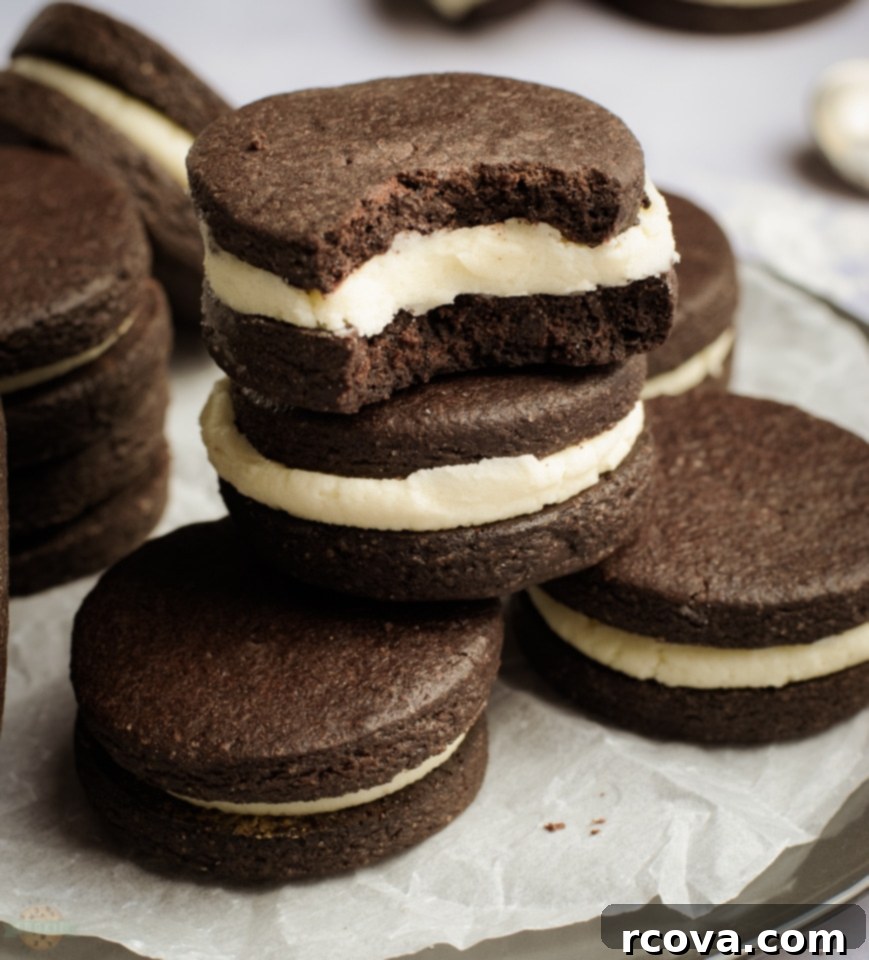
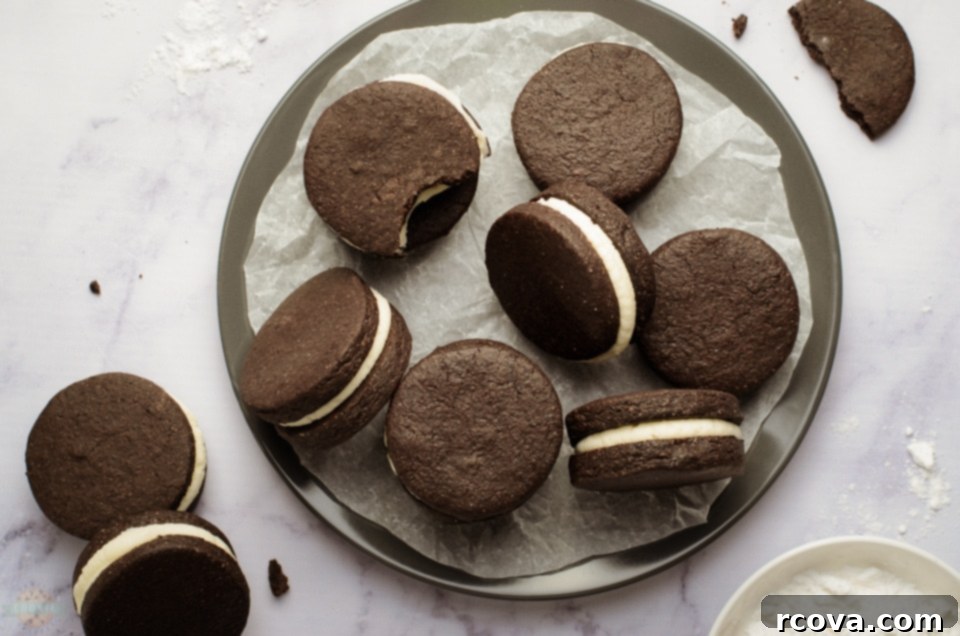
At their core, Homemade Oreos are delectable crispy chocolate sandwich cookies filled with a sweet, vanilla-flavored cream. While some might draw parallels to whoopie pies due to their sandwich cookie nature, our homemade version stays remarkably true to the classic Oreo profile, focusing on that distinctive crispness of the cookie and the smooth, firm consistency of the filling. They are designed to deliver that quintessential “twist, lick, and dunk” experience you know and love, but with a freshness and depth of flavor that only homemade can achieve.
The beauty of making your own lies in the control you have over the ingredients. You can opt for high-quality cocoa powder for an intensely dark chocolate flavor in the cookies, and pure vanilla extract for a more authentic and aromatic cream filling. This recipe meticulously brings together a simple cookie dough and an easy-to-make filling to create the ultimate cookies and cream experience, ensuring these delightful treats will be a cherished addition to your baking repertoire for years to come. They’re perfect for parties, lunchboxes, or simply enjoying with a cold glass of milk.
Essential Ingredients for Homemade Oreos
Crafting the perfect homemade Oreo requires a few key ingredients for both the rich chocolate wafers and the creamy vanilla filling. Using quality components and paying attention to preparation details will elevate your cookies from good to truly exceptional. Here’s a detailed look at what you’ll need:
For the Irresistible Chocolate Cookies, You Will Need:
- All-Purpose Flour: We’ll use 1 ¾ cups of all-purpose flour. This forms the essential gluten-filled structure of our cookie dough, providing the perfect base for that signature crisp texture. Sifting your flour can help ensure a lighter, more uniform dough.
- Unsalted Butter: ½ cup (or one stick) of softened unsalted butter is crucial. Using unsalted butter allows you to control the salt content precisely. Softened butter creams beautifully with sugar, creating a light, airy base for a tender and rich-tasting cookie. Ensure it’s at room temperature for optimal mixing.
- Granulated Sugar: 1 cup of granulated sugar not only sweetens the cookies but also plays a vital role in their texture. It helps the cookies crisp up wonderfully during baking, contributing to that satisfying crunch we all expect from an Oreo.
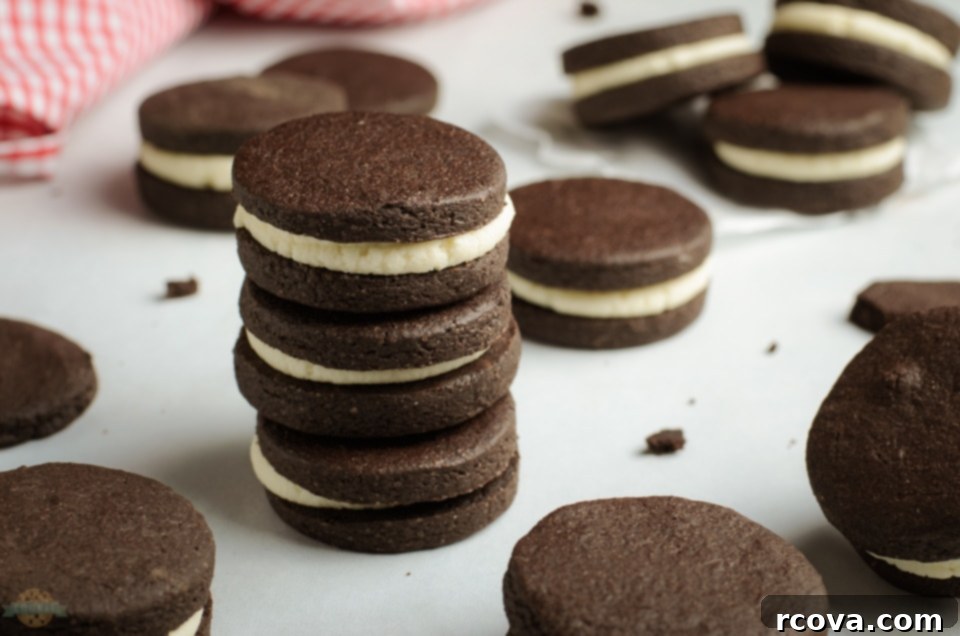
 Cocoa Powder: ½ cup of good quality unsweetened cocoa powder is essential for achieving that deep, dark chocolate flavor and rich brown color characteristic of an Oreo cookie. Dutch-processed cocoa powder often yields a darker color and a smoother, less bitter chocolate taste, which is ideal for this recipe.
- Egg: Just 1 large egg, at room temperature, acts as a binding agent for the dough, adding richness and helping to create a uniform texture. If your egg is cold, you can quickly bring it to room temperature by placing it in a bowl of warm water for a few minutes.
- Salt: ½ teaspoon of salt is a non-negotiable flavor enhancer. It perfectly balances the sweetness of the sugar and deepens the chocolate notes, ensuring all the flavors in the cookie truly shine and taste even better.
- Vanilla Extract: 1 teaspoon of pure vanilla extract is added to the cookie dough to enhance and round out the chocolate flavor, providing a warm, aromatic base that complements the cocoa beautifully.
For the Buttery Vanilla Cream Filling, You Will Need:
- Unsalted Butter: ¼ cup of unsalted butter, also at room temperature, forms the creamy base of our filling. Its softness is key to achieving a smooth, spreadable consistency that melts in your mouth.
- Powdered Sugar: 1 ½ cups of powdered sugar (also known as confectioners’ sugar) is vital for creating a super smooth, sweet, and lump-free frosting filling. Its fine texture dissolves easily, ensuring a silky consistency.
- Vanilla Extract: ½ teaspoon of vanilla extract gives our filling its signature sweet and aromatic flavor. Using a high-quality vanilla extract here will make a noticeable difference in the overall taste of your homemade Oreos. Feel free to use what you have, but consider upgrading for an even more luxurious flavor.
 Step-by-Step Guide: How to Make Homemade Oreos
Making your own Oreos is a delightful process that’s much simpler than you might think. Follow these steps for perfect, bakery-quality chocolate sandwich cookies:
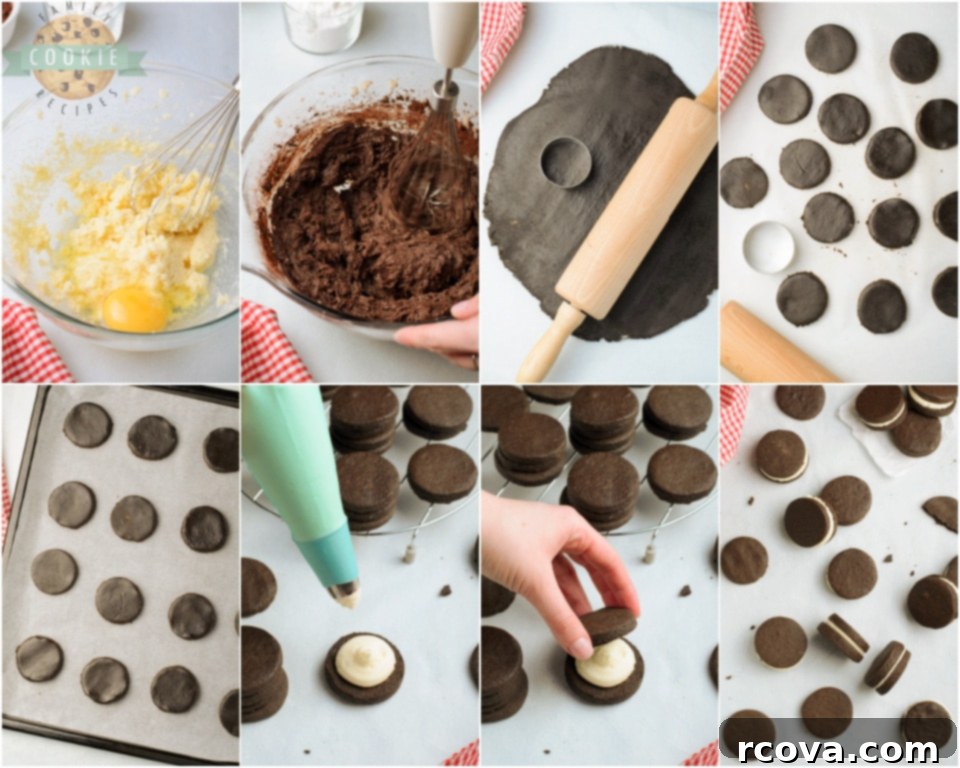
- Prepare Your Oven and Baking Sheets: Begin by preheating your oven to 375 degrees F (190°C). Line several baking sheets with parchment paper. This prevents sticking and ensures easy cleanup.
- Cream Butter and Sugar: In a large mixing bowl, using an electric mixer, beat together the softened unsalted butter and granulated sugar until the mixture is light, fluffy, and pale in color. This process incorporates air, contributing to the cookies’ final texture.
- Incorporate Wet Ingredients: Add the salt, room temperature egg, and vanilla extract to the creamed butter and sugar. Mix until everything is well combined and smooth. Scrape down the sides of the bowl to ensure all ingredients are fully incorporated.
- Add Cocoa Powder: Sift the cocoa powder into the wet ingredients. Mix on low speed until the cocoa powder is just combined with the dough. Be careful not to overmix, which can develop too much gluten and result in tough cookies.
- Gradually Add Flour: Slowly add the all-purpose flour, a little at a time, mixing on low speed until a cohesive dough forms. Once the flour is mostly incorporated, gather the dough together by hand and gently knead it for about 10 seconds on a clean, lightly floured surface. This ensures all ingredients are evenly distributed without overworking the dough.
- Roll and Cut the Dough: On a lightly floured surface, or between two sheets of parchment paper, roll your cookie dough out evenly to about ¼ inch thick. Using a 2-inch round cookie cutter, cut out as many cookie shapes as possible. Carefully transfer these cut-out cookies to your prepared baking sheets, leaving a little space between each. Reroll any scraps and cut out more cookies until all dough is used.
- Bake the Cookies: Bake the cookies in the preheated oven for 9-12 minutes. The baking time can vary slightly depending on your oven. Watch them closely; the key is not to overcook them, as they will crisp up further as they cool. Overbaked cookies will be too hard. Once baked, let the cookies rest on the baking sheet for 5 minutes before carefully transferring them to a wire rack to cool down completely. They must be entirely cool before filling.
- Prepare the Vanilla Cream Filling: While the cookies are cooling, prepare your frosting. In a medium bowl, beat the softened butter until it is creamy and smooth, with no lumps. Gradually add the powdered sugar, mixing on low speed until fully incorporated. Then, mix in the vanilla extract until the frosting is light, fluffy, and well combined. Adjust the consistency with a tiny bit of milk or more powdered sugar if needed.
- Assemble Your Homemade Oreos: Once the chocolate cookies are completely cooled, you’re ready to assemble! Using either a piping bag fitted with a round tip or simply a small spoon, apply a generous dollop of vanilla cream filling to the flat bottom of half of your cookies. Then, gently top each filled cookie with another plain cookie, pressing down lightly to create a classic Oreo sandwich.
Enjoy your freshly made, incredibly delicious Homemade Oreos!
Tips for Achieving Perfect Homemade Oreo Cookies
While the recipe is straightforward, a few expert tips can ensure your DIY Oreos turn out perfectly every time:
- Room Temperature Ingredients: This is crucial for both the cookies and the filling. Softened butter and room temperature eggs cream together much more easily and create a smoother, more uniform dough and filling.
- Don’t Overmix: Overmixing the cookie dough, especially after adding the flour, can develop the gluten too much, leading to tough, chewy cookies instead of the desired crisp texture. Mix until just combined.
- Chill the Dough (Optional but Recommended): If your dough feels too soft or sticky after mixing, wrap it in plastic wrap and chill it in the refrigerator for 20-30 minutes. This makes it easier to roll out and cut, and can help prevent the cookies from spreading too much during baking.
- Even Thickness: Aim for a consistent ¼-inch thickness when rolling out the dough. This ensures that all cookies bake evenly and have that satisfying snap. Using a rolling pin with thickness guides can be very helpful.
- Proper Cooling: Allow the chocolate wafers to cool completely on a wire rack before attempting to fill them. Warm cookies will melt the filling, leading to a messy and unsatisfactory sandwich.
- Piping Bag for Filling: While a spoon works, a piping bag with a round tip (or even just a snipped corner of a Ziploc bag) allows for a cleaner, more consistent application of the cream filling, making your homemade Oreos look professionally made.
Homemade Oreos
Print
Pin
Rate
Ingredients
Cookies
- 1 3/4 cup all-purpose flour
- 1/2 cup unsalted butter softened
- 1 cup granulated sugar
- 1/2 cup cocoa powder
- 1 egg room temperature
- 1/2 teaspoon salt
- 1 teaspoon vanilla extract
Filling
- 1/4 cup unsalted butter room temperature
- 1 1/2 cup powdered sugar
- 1/2 teaspoon vanilla extract
Instructions
-
Preheat oven to 375°F. Line a baking sheet with parchment paper.
-
In a large bowl, beat the butter and sugar until light and fluffy. Mix in salt, egg, and vanilla.
-
Add the cocoa powder, mix to combine.
-
Add the flour, a little at a time. Gather the dough, and knead it gently for 10 seconds.
-
Roll the dough to a thickness of 1/4-inch. Use a 2-inch diameter round cutter to cut shapes, then place on the prepared baking sheets.
-
Bake the cookies for about 9-12 minutes. Do not overcook. Let cookies rest on the baking sheet for 5 minutes and then transfer to a wire rack to cool completely.
-
To make the frosting, mix the butter until creamy and smooth. Mix in powdered sugar and vanilla.
-
Using a piping bag or a spoon, frost the bottoms of half the cookies, then sandwich with another cookie.
Nutrition
How to Store Homemade Oreo Cookies
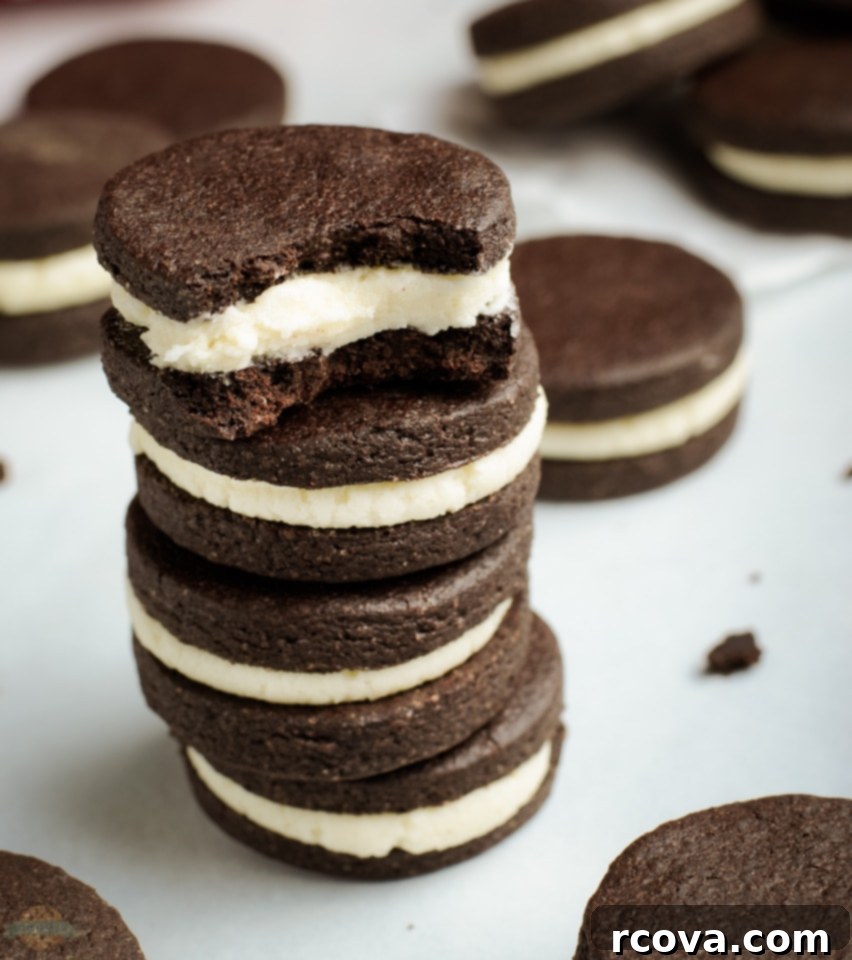
To keep your delectable homemade Oreos as fresh and delicious as the day you made them, proper storage is key. Once fully assembled, arrange your cookies in an airtight container. You can layer them, but it’s often best to place a piece of parchment paper between each layer to prevent sticking and ensure the filling remains pristine. Store this container in the refrigerator for optimal freshness. This cool environment will help maintain the firm texture of both the chocolate wafers and the creamy filling.
How Long Are Homemade Oreos Good For?
When stored correctly in the refrigerator, your homemade Oreos can last for up to a week. However, if you’re planning to make a larger batch or want to enjoy them over an extended period, freezing is an excellent option. For longer storage, layer the cookies in an airtight freezer-safe container, placing a sheet of parchment paper between each layer to prevent them from freezing together. In the freezer, these delightful cookies can maintain their quality for up to 2 months. Simply remove them from the freezer and allow them to come to room temperature, or enjoy them chilled, for a delicious treat anytime!
 More Irresistible Cookie Recipes to Try Soon!
If you’ve enjoyed making these Homemade Oreo Cookies, you’re in for a treat with more delightful baking ideas from our collection. Expand your baking horizons with these fantastic cookie recipes:
- Cream Cheese Sugar Cookies
- Cherry Chocolate Chip No Bake Cookies
- Ranger Cookies
- Strawberry Cool Whip Cookies
- Pink Sandwich Cookies
- Iced Pumpkin Cookies
- Applesauce Oatmeal Chocolate Chip Cookies
- Chocolate Peppermint Cookies
- Chocolate Cherry Cookies
- Peppermint Cookie Bars
- Cherry Almond Cookie Bars
- Chocolate Turtle Cookies
- Iced Cinnamon Pumpkin Cookies
- Christmas Cut Out Cookies
- Holiday Spiced Snickerdoodles
 What Exactly are Homemade Oreos?
 Cocoa Powder: ½ cup of good quality unsweetened cocoa powder is essential for achieving that deep, dark chocolate flavor and rich brown color characteristic of an Oreo cookie. Dutch-processed cocoa powder often yields a darker color and a smoother, less bitter chocolate taste, which is ideal for this recipe.
 Step-by-Step Guide: How to Make Homemade Oreos
 More Irresistible Cookie Recipes to Try Soon!