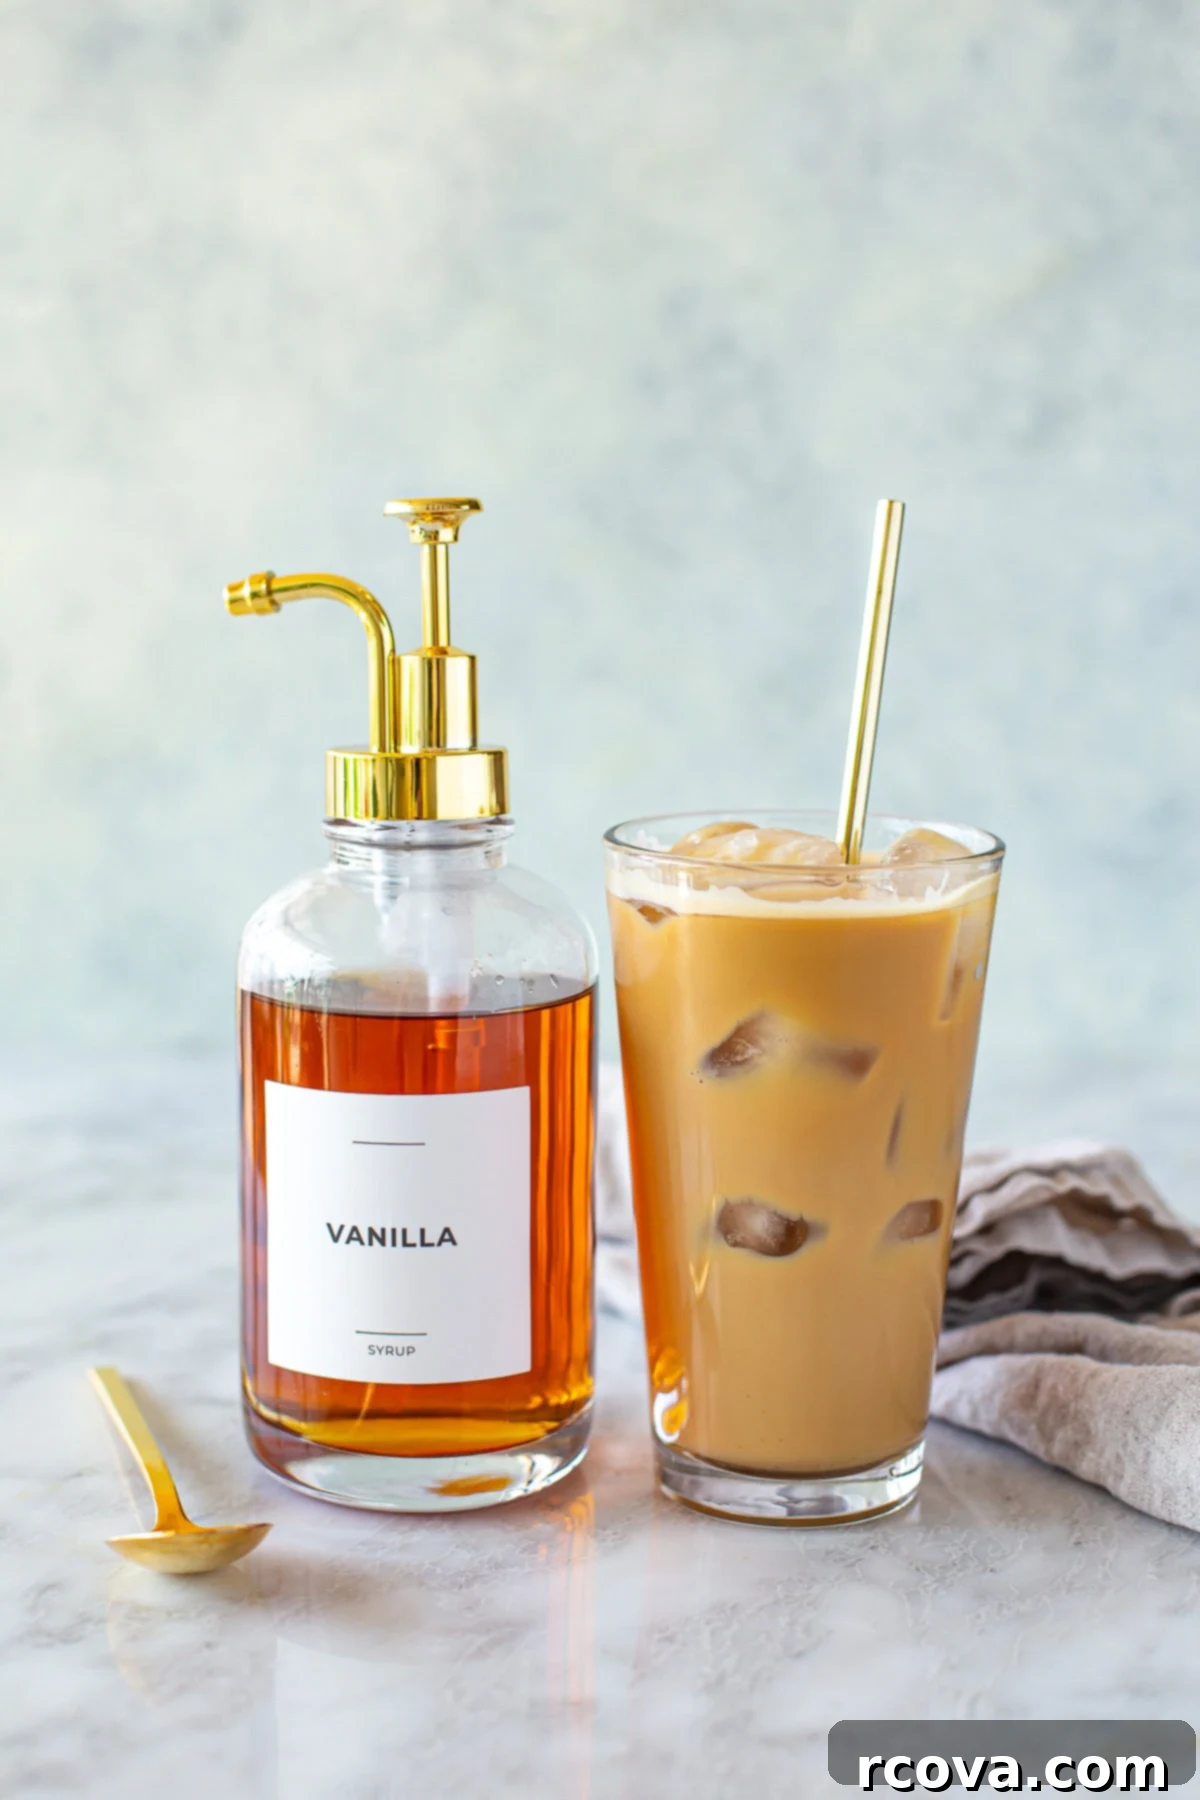
Easy Homemade Vanilla Syrup: Your Ultimate 3-Ingredient Recipe for Perfect Coffee & Desserts
Transform your daily coffee routine and elevate your desserts with this incredibly simple and luscious homemade vanilla syrup. Crafted with just three pantry staples, this recipe is a game-changer for anyone who appreciates rich, authentic vanilla flavor without the artificial additives often found in store-bought versions. Get ready to impress your taste buds and your guests with this effortlessly delicious creation!
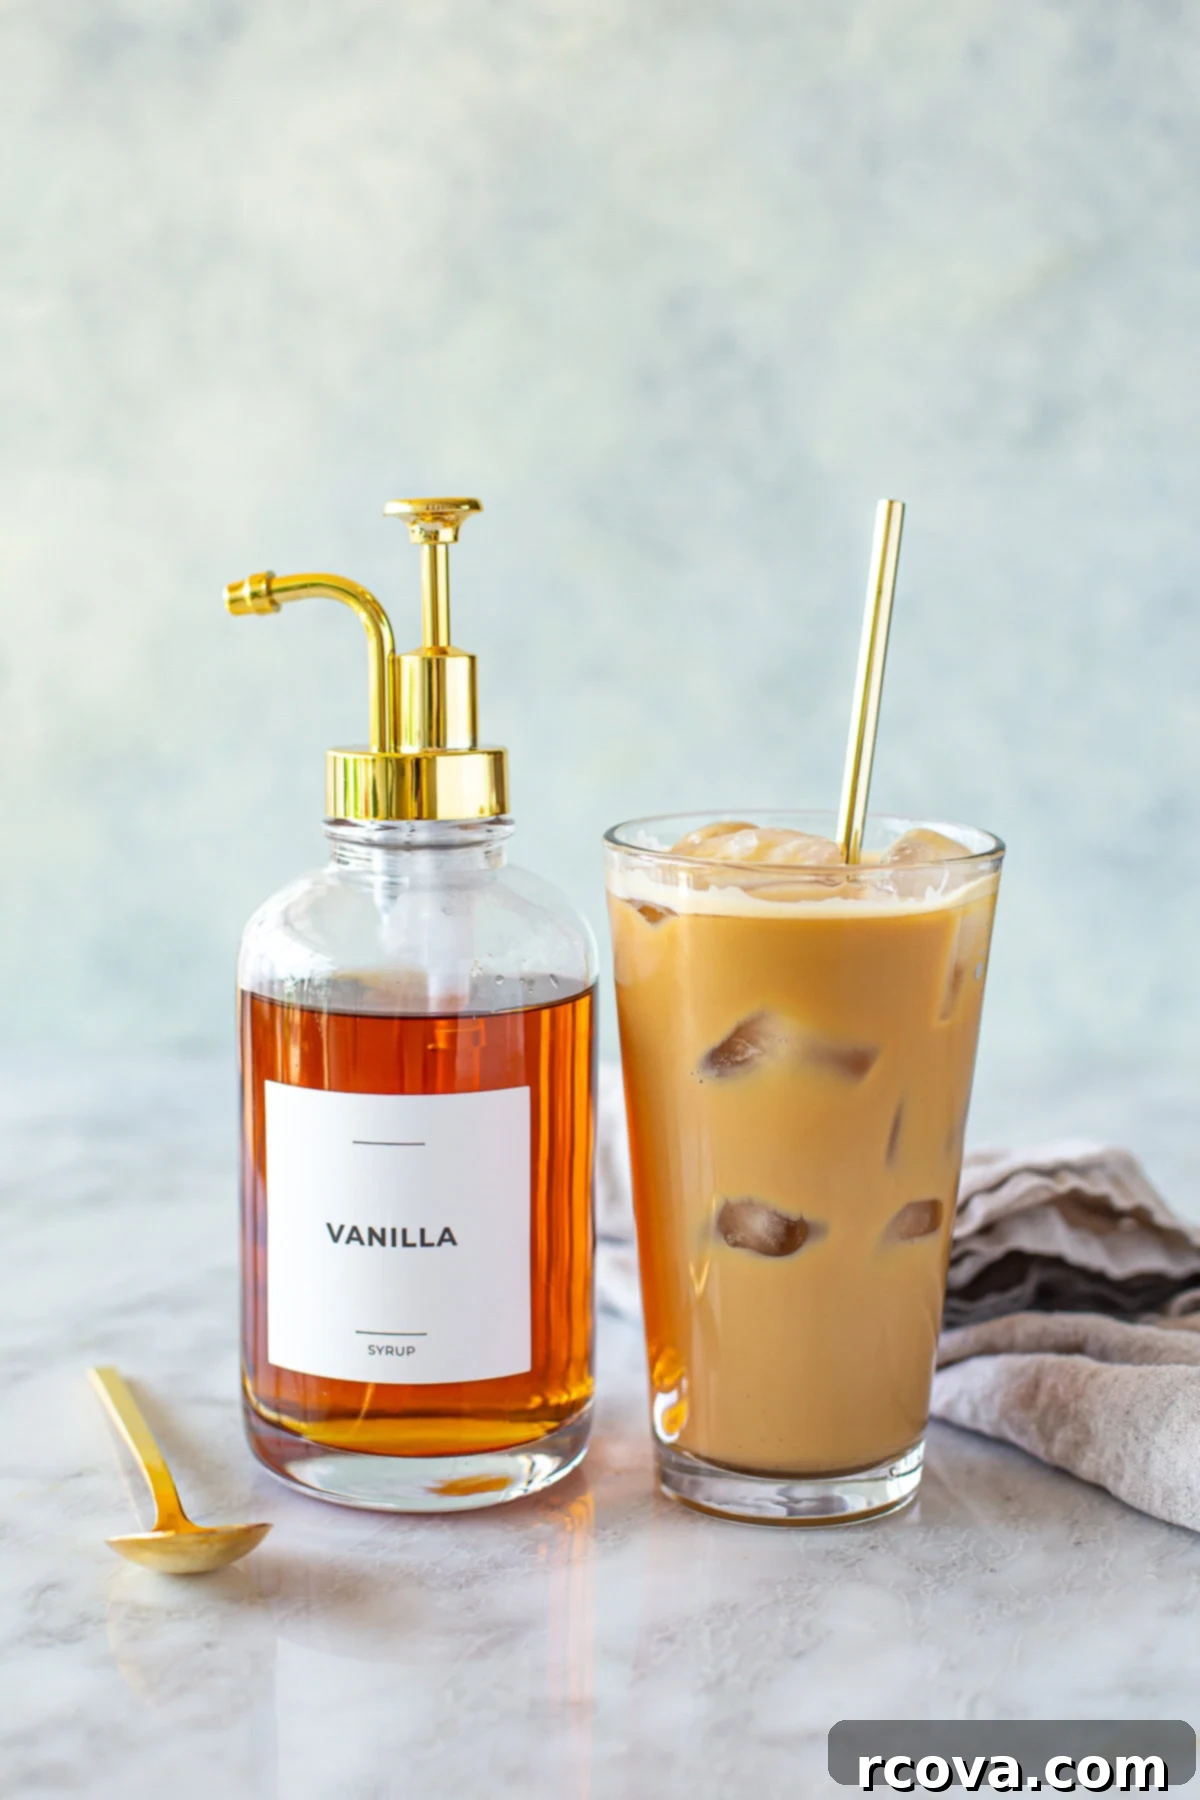
While this vanilla syrup is an absolute must-have for coffee enthusiasts, its versatility extends far beyond your morning brew. Drizzle it into hot drinks like lattes and cappuccinos, or incorporate it into cold beverages for a delightful treat. It’s also fantastic drizzled over pancakes, yogurt, ice cream, or even used as a secret ingredient in baking, adding an extra hint of pure vanilla bliss to any dish.
Why You’ll Fall in Love with This Easy Vanilla Syrup Recipe
Making your own vanilla syrup at home comes with a plethora of benefits that go beyond just great taste. Here’s why this recipe will quickly become a staple in your kitchen:
- Only 3 Ingredients: Seriously, that’s all you need! This recipe calls for pantry staples that you likely already have on hand: sugar, water, and vanilla extract. No fancy equipment or obscure items required, making it incredibly accessible and budget-friendly.
- Better Than Store-Bought: Once you taste homemade vanilla syrup, you’ll never go back to mass-produced versions. Our recipe offers a fresh, vibrant, and deeply flavorful experience that commercial syrups simply can’t match. You have complete control over the quality of ingredients, ensuring no preservatives, artificial flavors, or unnecessary additives. This allows for a purer, more authentic vanilla taste that truly shines.
- Customizable to Your Liking: Do you prefer a bolder vanilla flavor? A richer, caramel undertone? With homemade syrup, you’re the barista and the chef! Easily adjust the sweetness, vanilla intensity, or even introduce other complementary flavors to create a unique syrup perfectly tailored to your preferences.
- Cost-Effective: Coffee shop vanilla lattes can quickly add up. By making your own vanilla syrup, you can significantly cut down on the cost of your favorite coffee drinks, allowing you to enjoy gourmet flavors at a fraction of the price. It’s a smart way to save money without sacrificing quality.
- Simple & Quick to Prepare: This isn’t a complicated culinary project. With minimal effort and just a few minutes of active prep time, you can have a batch of delicious vanilla syrup ready to enhance your beverages and desserts. It’s a perfect beginner-friendly recipe that yields impressive results every time.
FREE Budget-Friendly Meal Plan!
Save thousands of dollars on food every year with my free budget-friendly meal plan ebook.
Essential Ingredients for Your Homemade Vanilla Syrup & Smart Substitutions
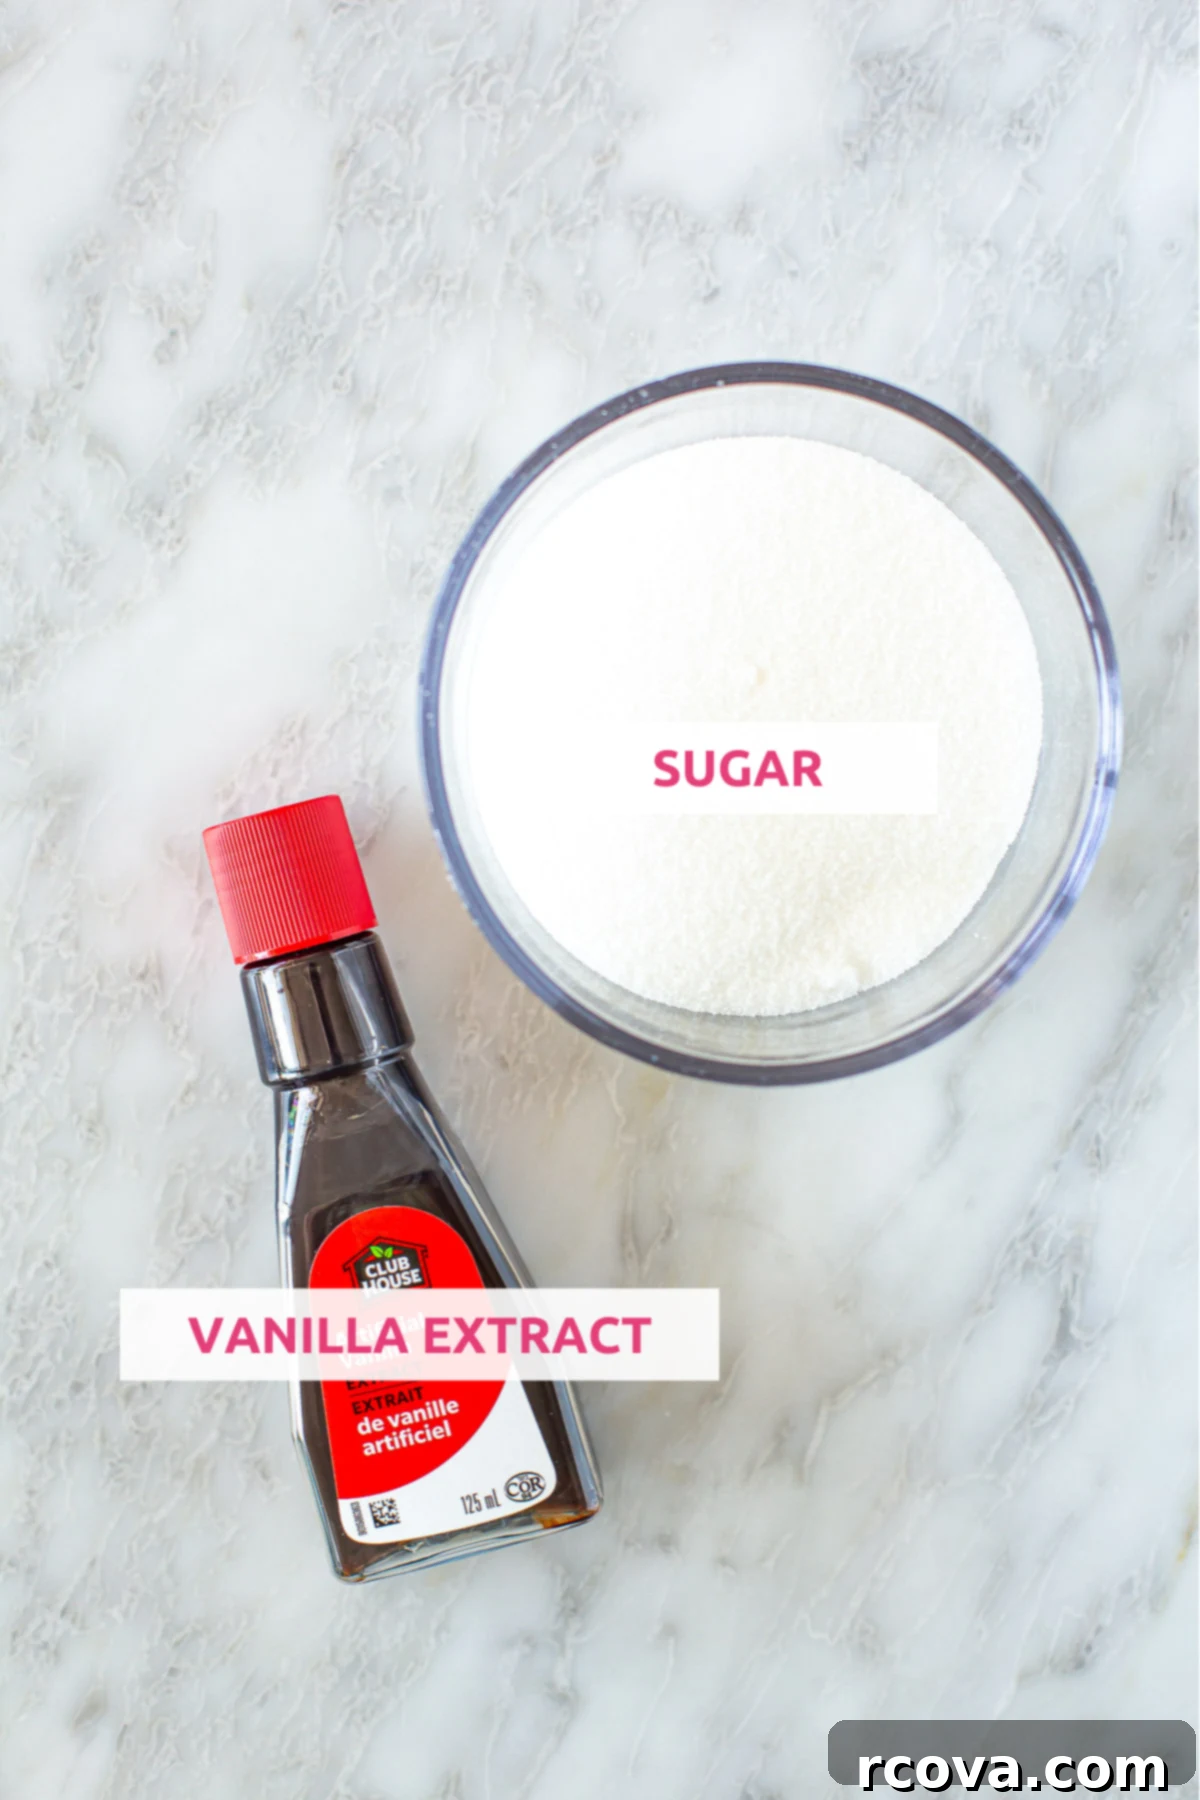
The beauty of this vanilla syrup recipe lies in its simplicity, requiring minimal ingredients that are easy to find and often already in your pantry. Here’s a closer look at what you’ll need and how you can adapt it to fit your dietary needs or flavor preferences:
- White Sugar: This is the foundation of our simple syrup, providing the necessary sweetness and viscosity. Granulated white sugar dissolves easily and creates a clear syrup, allowing the vanilla flavor to truly shine.
- Substitution Options: For a slightly different flavor profile, you can swap white sugar with raw cane sugar or coconut sugar, which will lend a subtle caramel note and a slightly darker hue to your syrup. If you’re aiming for a sugar-free alternative, monk fruit or stevia can be used. However, it’s important to note that the flavor and sweetness level may vary significantly with these substitutes, so adjust to taste. Keep in mind that sugar substitutes might also affect the syrup’s consistency.
- Water: The other half of our simple syrup base. Water is essential for dissolving the sugar and creating a pourable liquid.
- Substitution Options: No need for fancy substitutions here; regular filtered or tap water works perfectly fine. Using filtered water can help ensure a clearer syrup and a purer taste, free from any tap water impurities.
- Vanilla Extract: This is where the magic happens! The quality of your vanilla extract will directly impact the final flavor of your syrup.
- Recommendation: Always opt for pure vanilla extract for the best and most authentic depth of flavor. Synthetic or artificial vanilla extracts might work in a pinch, but they often leave an alcoholic aftertaste and lack the nuanced aroma of true vanilla.
- Gourmet Alternatives: For an even more intense and luxurious vanilla experience, consider using vanilla bean paste. It contains real vanilla bean specks, adding a beautiful visual element and a potent flavor. For the ultimate gourmet touch, you can scrape the seeds from a real vanilla bean (or even simmer the whole pod) with the sugar and water. This method provides an unparalleled depth of flavor and aroma, reminiscent of high-end desserts and beverages. If using a vanilla bean pod, remember to remove it before storing the finished syrup.
Simple Steps to Craft Your Own Homemade Vanilla Syrup
Making this vanilla syrup is incredibly straightforward, even for beginner home baristas or cooks. Follow these easy steps to create your perfect batch:
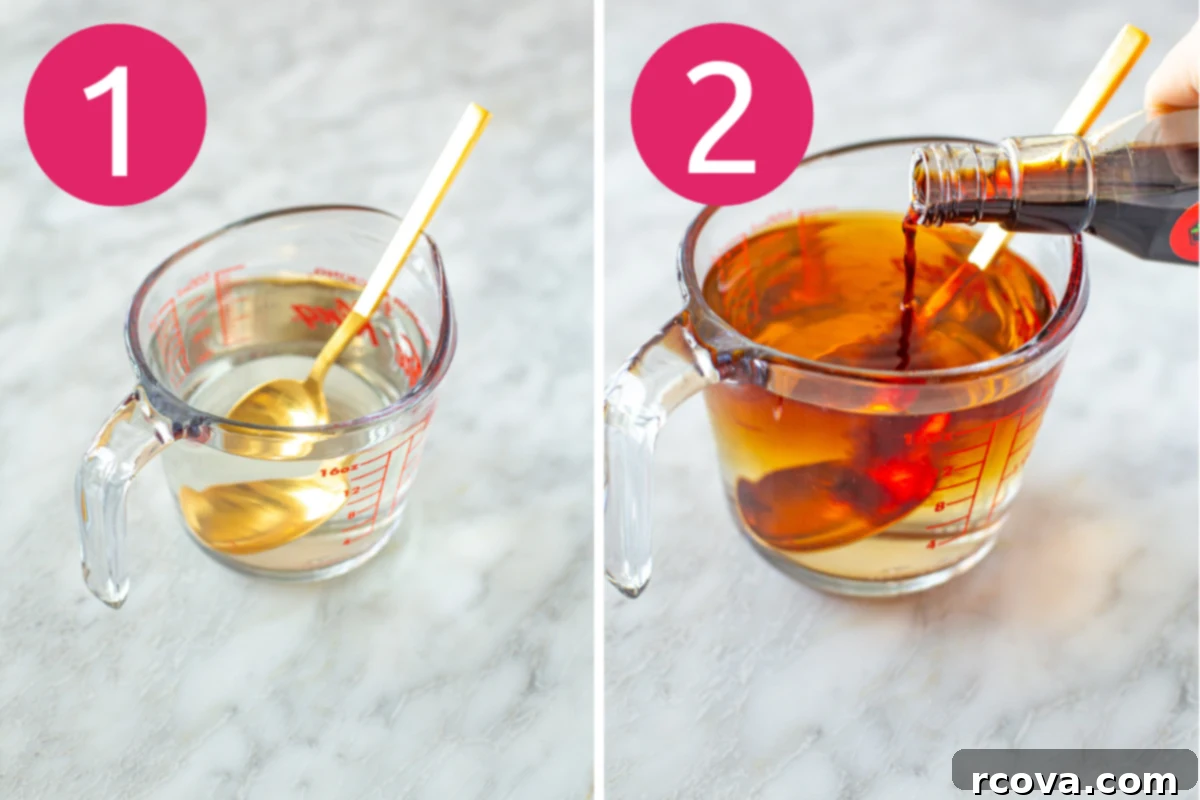
Step 1: Prepare the Sugar Syrup Base
Begin by adding your chosen sugar (white, raw cane, or coconut sugar) into a heat-proof container, such as a clean mason jar or a saucepan. In a separate kettle or pot, bring the water to a rolling boil. Once boiling, carefully pour the hot water over the sugar in the mason jar. Using a spoon or whisk, mix vigorously until all the sugar crystals are completely dissolved. This creates a clear, basic simple syrup. Ensuring the sugar is fully dissolved is crucial for a smooth and non-gritty syrup.
Step 2: Infuse with Vanilla Flavor
Once your sugar is fully dissolved and you have a clear simple syrup, it’s time to add the star ingredient: vanilla. Stir in the pure vanilla extract. Mix well to ensure the vanilla is evenly distributed throughout the syrup. The heat from the water will help infuse the vanilla flavor beautifully into the syrup base, creating that irresistible aroma.
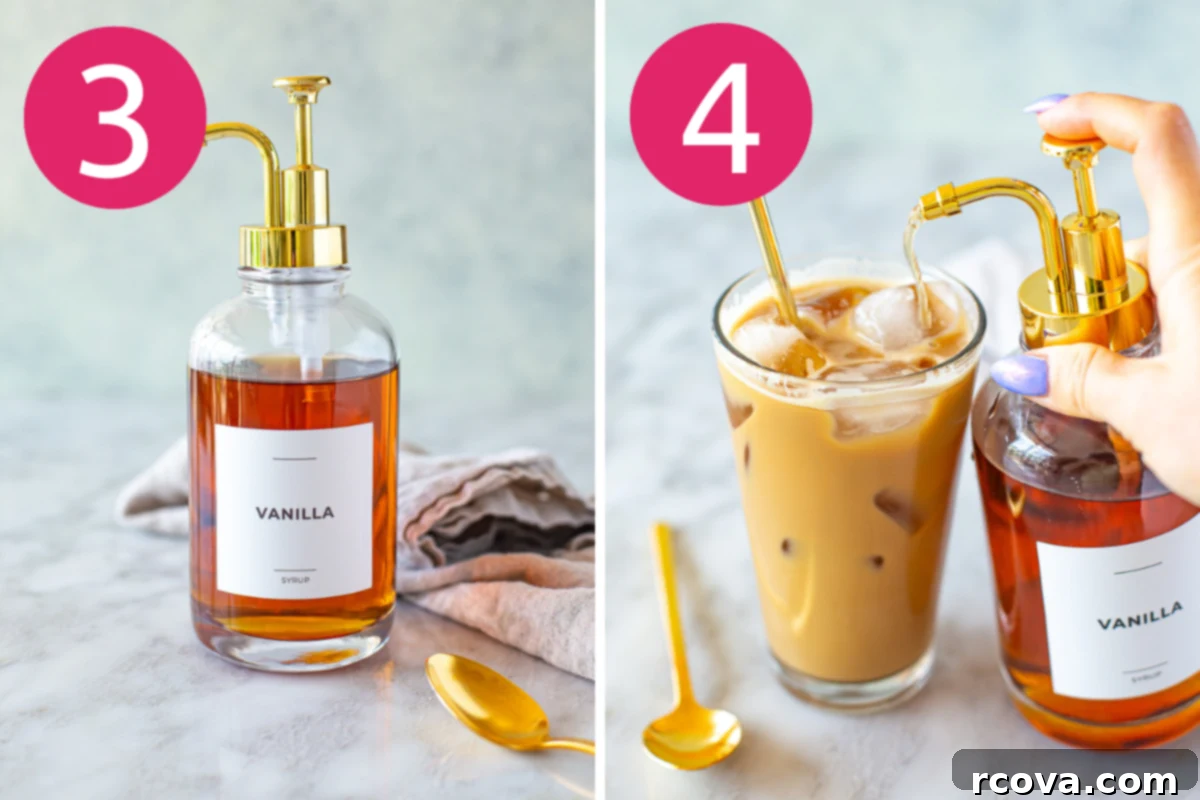
Step 3: Allow the Syrup to Cool Completely
After mixing in the vanilla, let the syrup rest and cool down to room temperature for at least 30 minutes. This cooling period is important as it allows the flavors to meld and deepen. It also ensures the syrup won’t be too hot when you transfer it or use it in cold beverages. Once completely cool, you can transfer your freshly made vanilla syrup into a pump dispenser bottle or any airtight container for convenient storage and use.
Step 4: Enjoy Your Homemade Vanilla Syrup!
Your delightful homemade vanilla syrup is now ready to use! Add it to your favorite iced coffees, hot lattes, teas, or drizzle it over desserts. Enjoy the fresh, customizable flavor that will elevate your culinary creations and everyday drinks. The satisfaction of making it yourself is an added bonus!
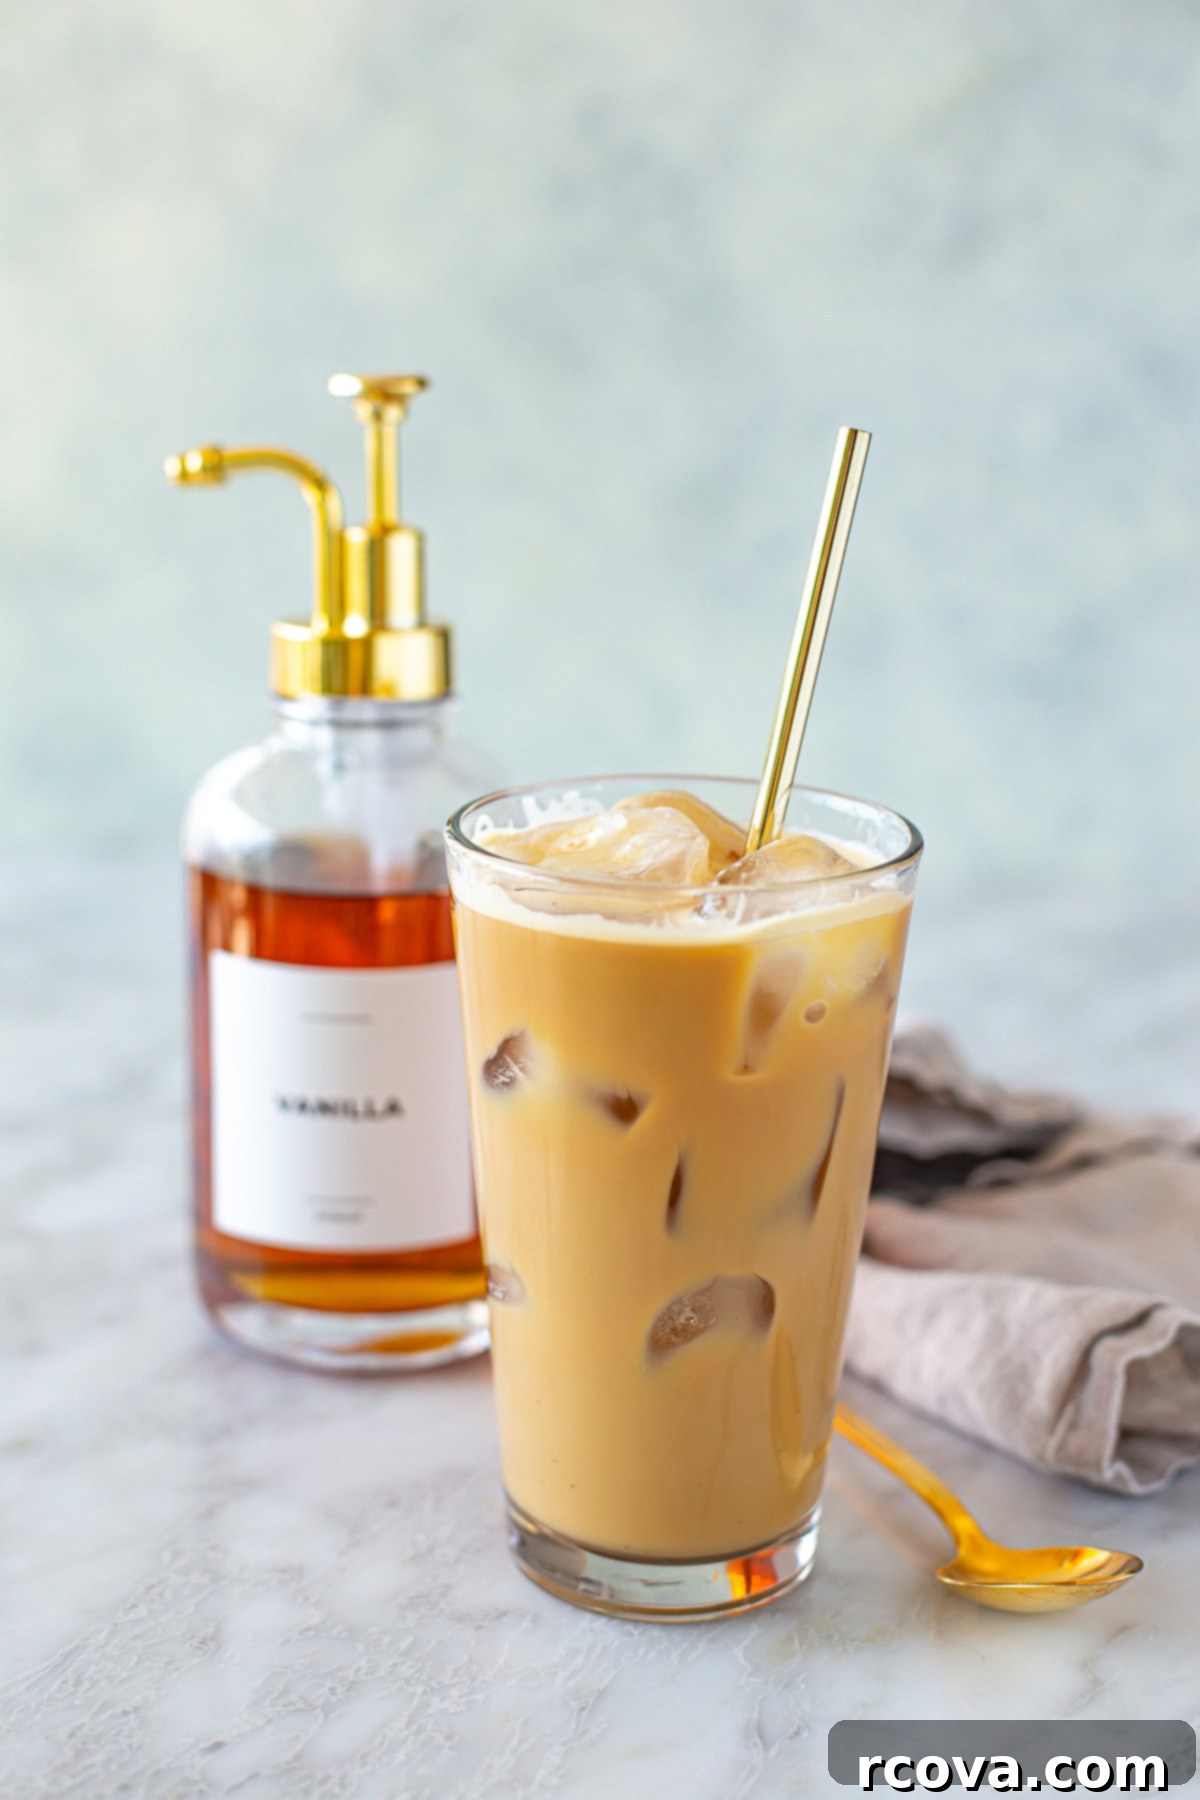
Pro Tips & Creative Variations for Your Vanilla Syrup
This simple vanilla syrup is incredibly versatile and easy to customize. Here are some pro tips and creative ways to adjust the flavor and texture to perfectly suit your palate:
- Always Opt for Pure Vanilla Extract: For the most authentic and deep vanilla flavor, using pure vanilla extract is paramount. Artificial vanilla extracts, while cheaper, often have a one-dimensional, sometimes chemical taste that won’t give your syrup the rich complexity it deserves. Investing in a good quality pure extract makes all the difference.
- Amp Up the Flavor: Make it Stronger: If you prefer a more pronounced vanilla kick, don’t hesitate to add an extra ½ to 1 teaspoon of vanilla extract. You can also let the syrup sit for a longer period after adding the vanilla, allowing the flavors to infuse more deeply before using.
- Embrace the Elegance of Vanilla Bean: For an exquisite, gourmet touch, incorporate a real vanilla bean. Split a vanilla bean lengthwise and scrape out the tiny, fragrant seeds. Add both the scraped bean and the seeds to the sugar and water mixture while it’s simmering. Simmer gently for about 5-10 minutes to allow maximum flavor extraction, then remove the bean pod before storing. The specks of vanilla bean will also add a beautiful visual appeal to your syrup.
- Experiment with Brown Sugar for Caramel Notes: Swapping out white granulated sugar for light brown sugar (or even dark brown sugar for a more intense flavor) will transform your vanilla syrup. Brown sugar introduces molasses notes, creating a deeper, richer, and subtly caramel-like flavor that pairs wonderfully with vanilla, especially in coffee and baked goods.
- Add a Tiny Pinch of Salt: A small pinch of salt (think 1/8 teaspoon) can work wonders in balancing the sweetness of the syrup and enhancing the natural vanilla taste. Just like in baking, salt helps to elevate and round out flavors, preventing the syrup from tasting overly sugary.
- Consider Other Flavor Pairings: While vanilla is amazing on its own, it also plays well with others. Try adding a cinnamon stick or a few cardamom pods to the boiling water with the sugar for a spiced vanilla syrup. A tiny splash of almond extract can also add a delightful complexity.
Frequently Asked Questions About Homemade Vanilla Syrup
Here are some common questions about making and using vanilla syrup, with detailed answers to help you become a vanilla syrup expert:
What’s the actual difference between vanilla syrup and French vanilla syrup?
The distinction between vanilla syrup and French vanilla syrup primarily lies in their flavor profiles and ingredients. Vanilla syrup, like our recipe, is a straightforward blend of sugar, water, and pure vanilla extract, providing a clean, classic vanilla taste. French vanilla syrup, on the other hand, typically boasts a creamier, richer flavor profile. This is often achieved by incorporating notes of custard, caramel, or butterscotch. Traditionally, French vanilla ice cream or custards include egg yolks, which contribute to their characteristic richness. French vanilla syrups aim to mimic this depth, sometimes using additional flavorings or even dairy products (like sweet cream) to achieve that signature smooth, slightly eggy, and more indulgent taste.
What type of vanilla is truly best for this syrup?
For the most authentic and robust flavor, pure vanilla extract is highly recommended. It offers a balanced and natural vanilla taste that is superior to artificial versions. However, for those seeking a more intense or gourmet experience, vanilla bean paste or even a scraped real vanilla bean work beautifully. Vanilla bean paste provides a stronger flavor concentration and the visual appeal of vanilla specks. Using a whole vanilla bean, especially by simmering it with the sugar and water, will yield the most complex and fragrant syrup, truly showcasing the subtle floral and woody notes of vanilla.
Why might my homemade vanilla syrup appear cloudy?
A cloudy appearance in your vanilla syrup is usually due to a few common reasons. The most frequent culprit is undissolved sugar. If the sugar crystals haven’t fully melted into the water, they can remain suspended, causing cloudiness. Ensure you stir thoroughly when mixing the sugar and hot water until the liquid is perfectly clear. Another potential reason could be the use of unfiltered tap water, which might contain minerals or impurities that contribute to turbidity. For the clearest syrup, use filtered water. Lastly, if the syrup is agitated too much after cooling or if stored in a container that wasn’t perfectly clean, it could also lead to a slight cloudiness. To remedy this, give your syrup a good stir to see if it clears up, and always store it in a clean, airtight container.
How long can I store homemade vanilla syrup, and how do I know if it’s gone bad?
When properly stored in an airtight container in the refrigerator, your homemade vanilla syrup can last for an impressive up to 4 months. The high sugar content acts as a natural preservative, inhibiting bacterial growth. To check if your syrup has gone bad, look for signs of spoilage such as mold growth, an off-putting smell (anything other than fresh vanilla), or a significant change in color or consistency. If you notice any of these indicators, it’s best to discard the batch and make a fresh one.
Can I make a sugar-free vanilla syrup version?
Yes, you absolutely can! To make a sugar-free vanilla syrup, simply substitute white sugar with a granulated sugar alternative like monk fruit sweetener, erythritol, or stevia. Use a 1:1 ratio for monk fruit or erythritol, but for stevia, you’ll need to follow the package instructions as it’s much sweeter than sugar. Be aware that the texture might be slightly thinner and the sweetness profile different. Some sugar substitutes may also crystallize when cooled, though this often doesn’t affect the flavor. Experiment to find your favorite sugar-free option.
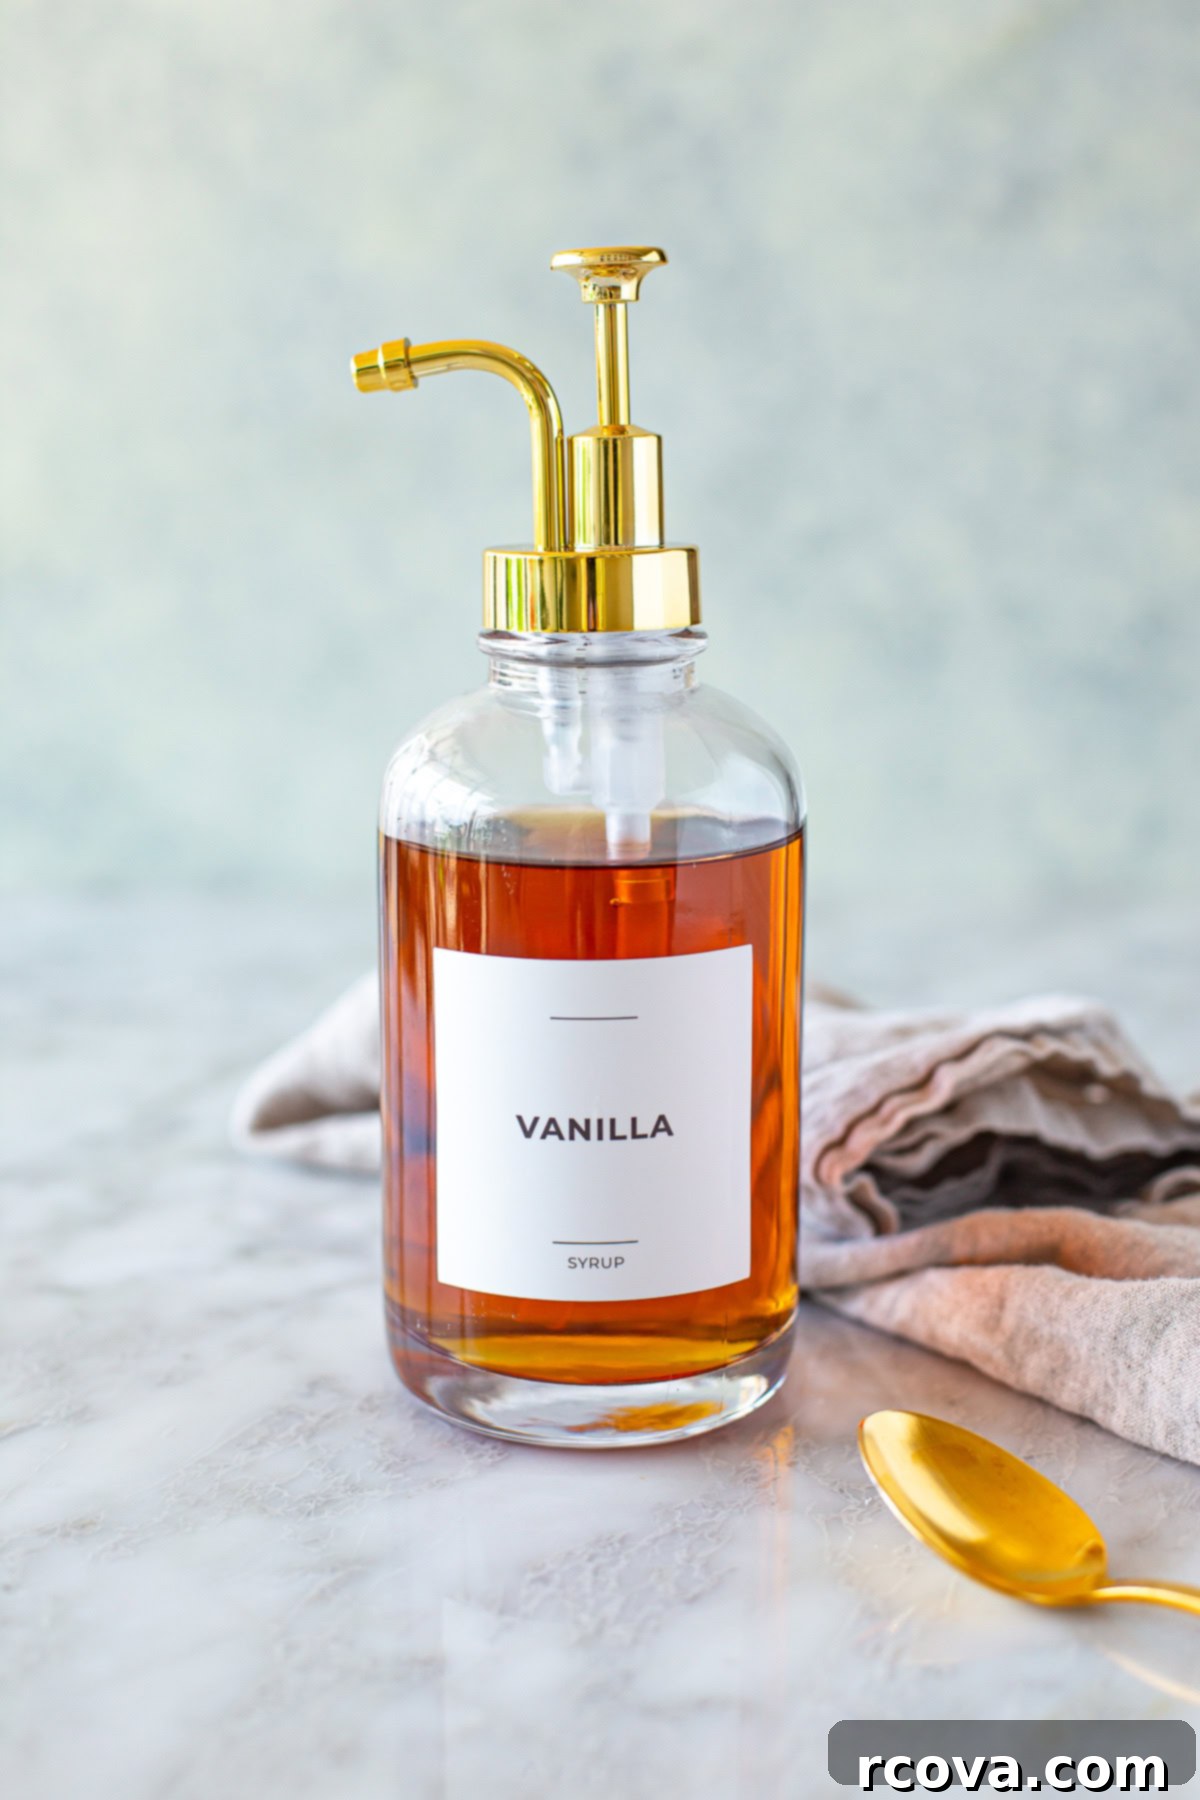
Delightful Ways to Enjoy Your Homemade Vanilla Syrup
This versatile simple syrup isn’t just for coffee; it’s a secret weapon for enhancing a wide array of beverages and desserts. Get creative with these delicious ideas:
- Elevate Your Coffee Creations: Stir it into your morning Iced Coffee for a café-quality drink at home, infuse your hot coffee with a sweet vanilla aroma, or add a delightful twist to your favorite cold brews.
- Craft Exquisite Lattes & Macchiatos: Perfect for creating delectable Iced Lattes, rich cappuccinos, or creamy macchiatos, giving them that signature vanilla sweetness.
- Sweeten Teas and Refreshing Drinks: A fantastic addition to Tea Lemonades for a touch of floral sweetness, or to enhance the earthy notes of matcha beverages.
- Boost Smoothies and Milkshakes: Blend a spoonful into your favorite smoothies or creamy milkshakes for an extra layer of sweetness and vanilla depth.
- Enhance Breakfast & Dessert Toppings: Drizzle generously over morning yogurt parfaits or hearty oatmeal.
- Sweeten Baked Goods & Treats: A wonderful topping for fluffy pancakes, moist cupcakes, or a delightful addition to protein bars and ice cream. It can even be used to make simple glazes or frostings for a pure vanilla flavor.
- Cocktails & Mocktails: Elevate your homemade cocktails or create sophisticated mocktails by using vanilla syrup as a sweetener, adding a smooth, aromatic base.
Storing Your Homemade Vanilla Syrup for Lasting Freshness
Proper storage is key to ensuring your homemade vanilla syrup stays fresh and delicious for as long as possible, allowing you to enjoy it in your favorite drinks and treats whenever the craving strikes.
Storing: After your syrup has cooled completely to room temperature (this is very important to prevent condensation and potential bacterial growth), transfer it into a clean, airtight glass jar or bottle. Mason jars with tight-fitting lids or specialty syrup pump dispensers are ideal choices. Store the sealed container in the refrigerator. The cold temperature will significantly extend its shelf life. For optimal flavor and freshness, use within up to 4 months.
To make your daily routine even easier, refill your pump dispenser as needed from your main storage jar. This ensures convenient access for your morning coffee or dessert preparations without exposing the entire batch to air frequently.
Always ensure your storage containers are thoroughly cleaned and sterilized before use to prevent any contamination that could shorten the syrup’s shelf life.
More Irresistible Coffee Recipes to Try
If you loved making this vanilla syrup, you’re in for a treat! Explore more delightful coffee creations to enhance your home barista skills and enjoy café-quality drinks from the comfort of your kitchen.
-
Iced Vanilla Latte (Ready in 5 Minutes!)
-
Caramel Syrup {for Iced Coffee!}
-
Vanilla Sweet Cream Cold Brew {Starbucks Copycat}
-
Foolproof Cold Foam Recipe
Essential Equipment for Crafting This Vanilla Syrup Recipe
While this recipe is incredibly simple, having the right tools can make the process even smoother and more enjoyable. Here’s what you’ll need to make your perfect batch of homemade vanilla syrup:
- Saucepan or Mason Jar: A medium-sized saucepan is perfect for heating water and dissolving sugar. Alternatively, if you have a heat-proof mason jar, you can directly combine the sugar and boiling water in it, reducing cleanup.
- Whisk or Spoon: Essential for stirring the sugar until it completely dissolves in the hot water. A whisk ensures thorough mixing and helps prevent any sugar crystals from remaining undissolved.
- Measuring Cups & Spoons: Accurate measurements are crucial for achieving the perfect consistency and sweetness.
- Airtight Storage Container: Once cooled, your syrup needs to be stored properly. Glass mason jars with tight-fitting lids, or specialty syrup bottles, are excellent choices for keeping your vanilla syrup fresh in the refrigerator.
- Optional: Cute Coffee Syrup Dispensers: To truly elevate your home coffee bar, invest in some cute coffee syrup dispensers. These not only look fantastic but also make it incredibly easy to pump the perfect amount of vanilla syrup into your drinks, encouraging you to enjoy more delicious iced coffees and lattes at home, saving you money and delighting your senses.
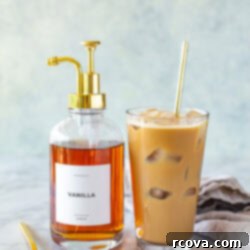
Vanilla Syrup {for Iced Coffee!}
Print
Pin
Rate
12
servings
66
kcal
Taylor Stinson
10 minutes
30 minutes
40 minutes
Prevent your screen from going dark
FREE budget-friendly meal plan ⬇️
SEND ME MY PLAN
Equipment
-
Coffee syrup dispensers
Ingredients
-
1
cup
sugar -
1
cup
water -
2
tsp
vanilla extract
Instructions
-
Boil water in a kettle and add sugar to a mason jar. Add boiling water and mix with sugar until dissolved, then stir in vanilla extract.
-
Let cool for at least 30 minutes before using for iced coffees and flavouring other drinks. Will last in the fridge up to 4 months.
Notes
Nutrition
Calories:
66
kcal
(3%)
Carbohydrates:
17
g
(6%)
Fat:
0.1
g
Sodium:
1
mg
Potassium:
1
mg
Sugar:
17
g
(19%)
Calcium:
1
mg
Iron:
0.01
mg
