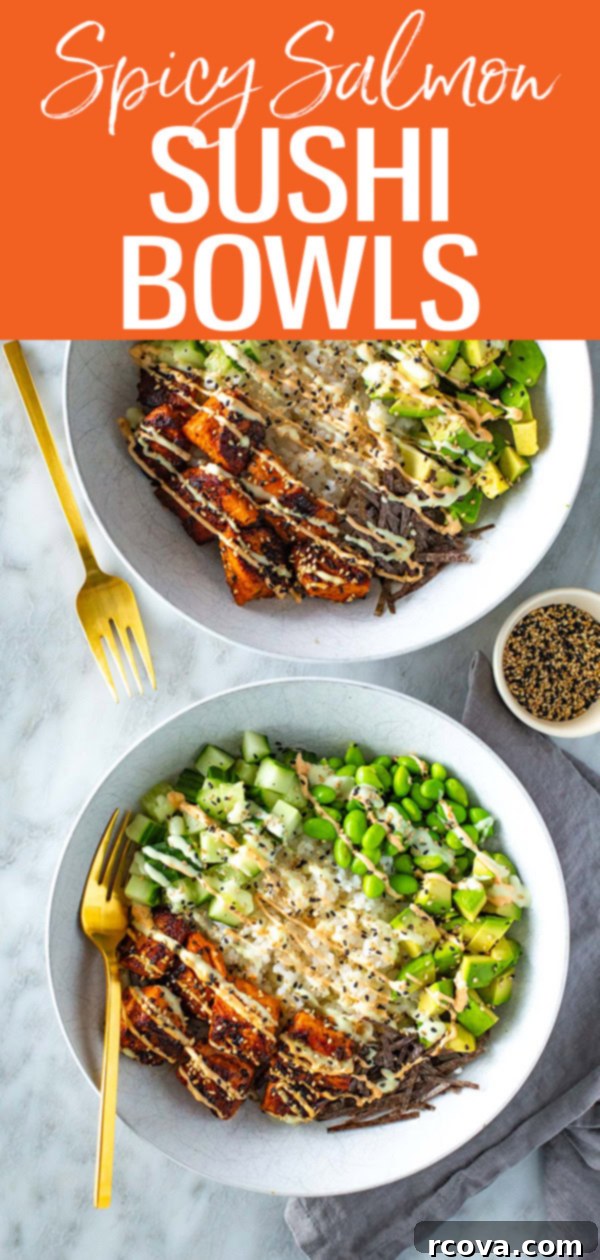
Easy & Healthy Spicy Salmon Sushi Bowls: Your Ultimate Homemade Recipe
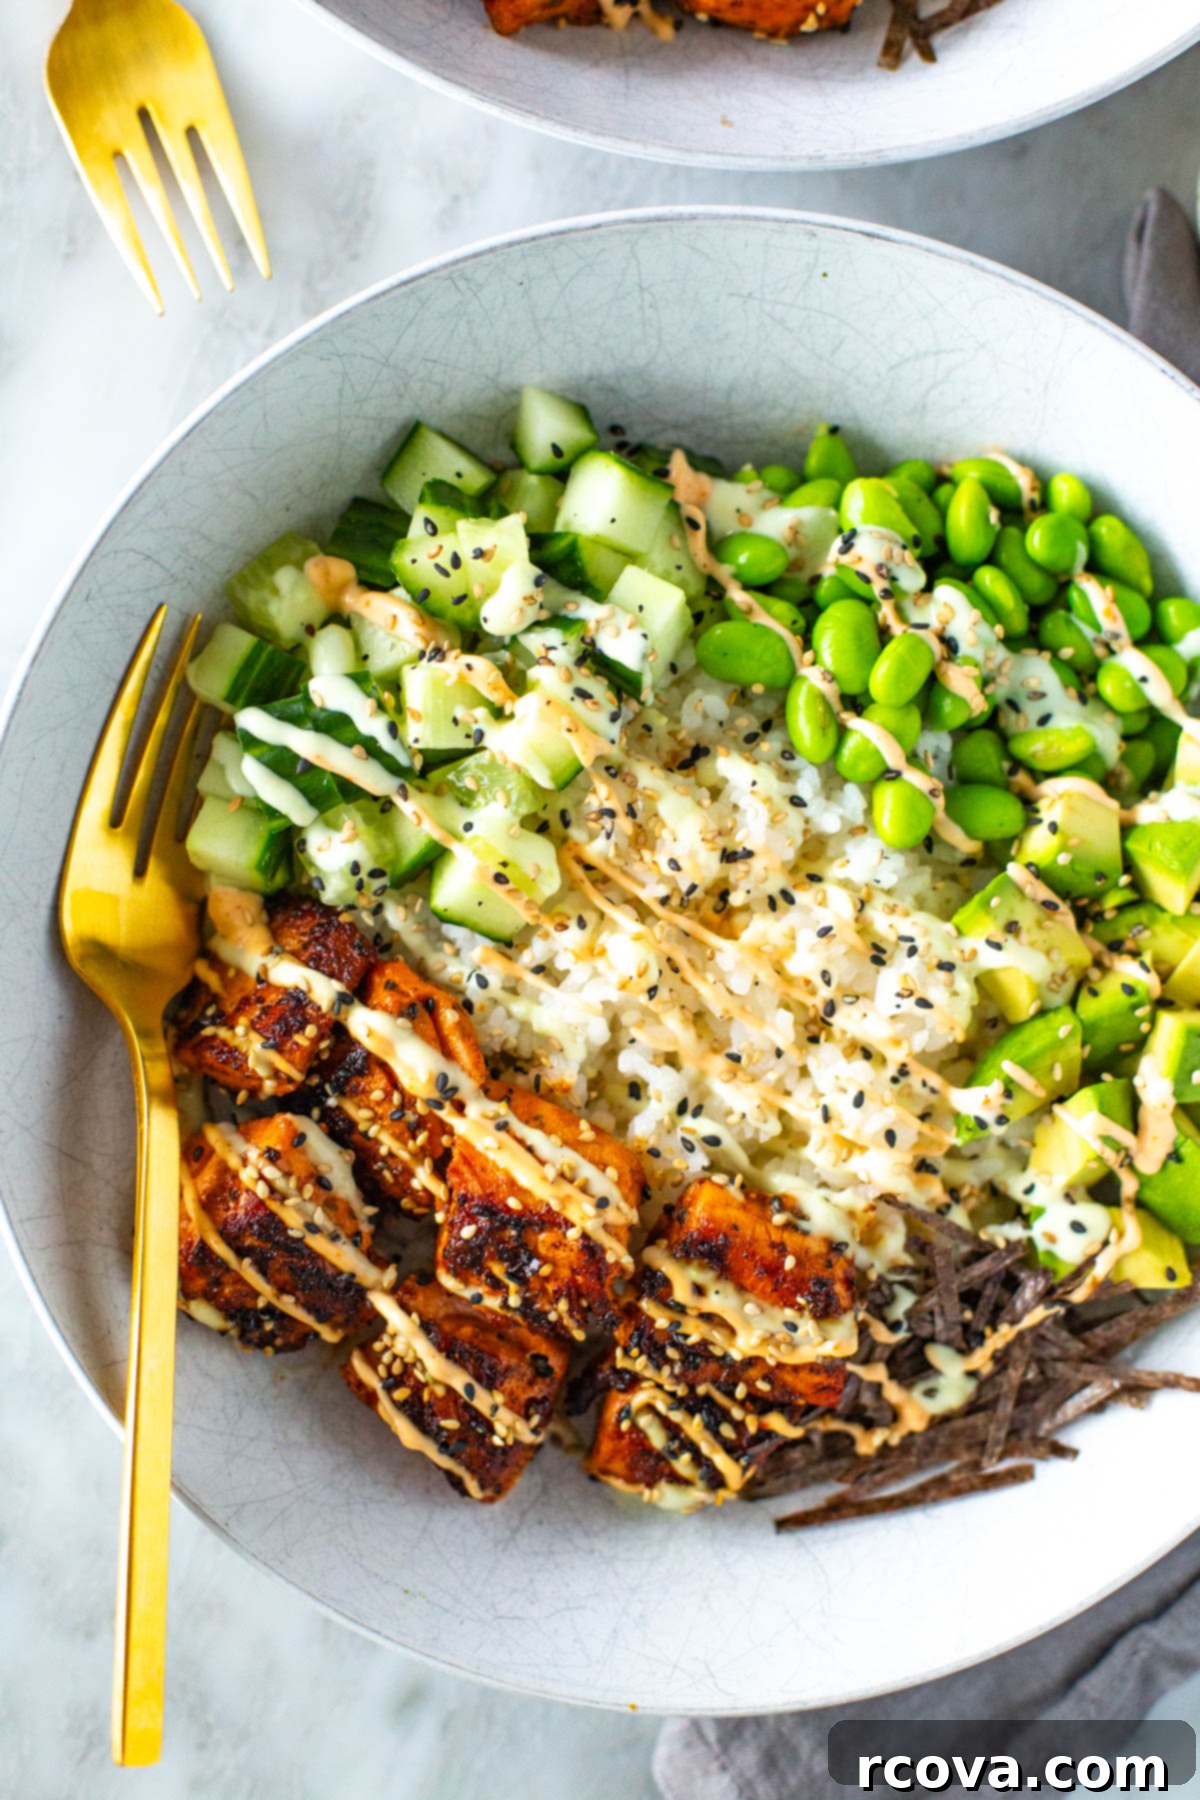
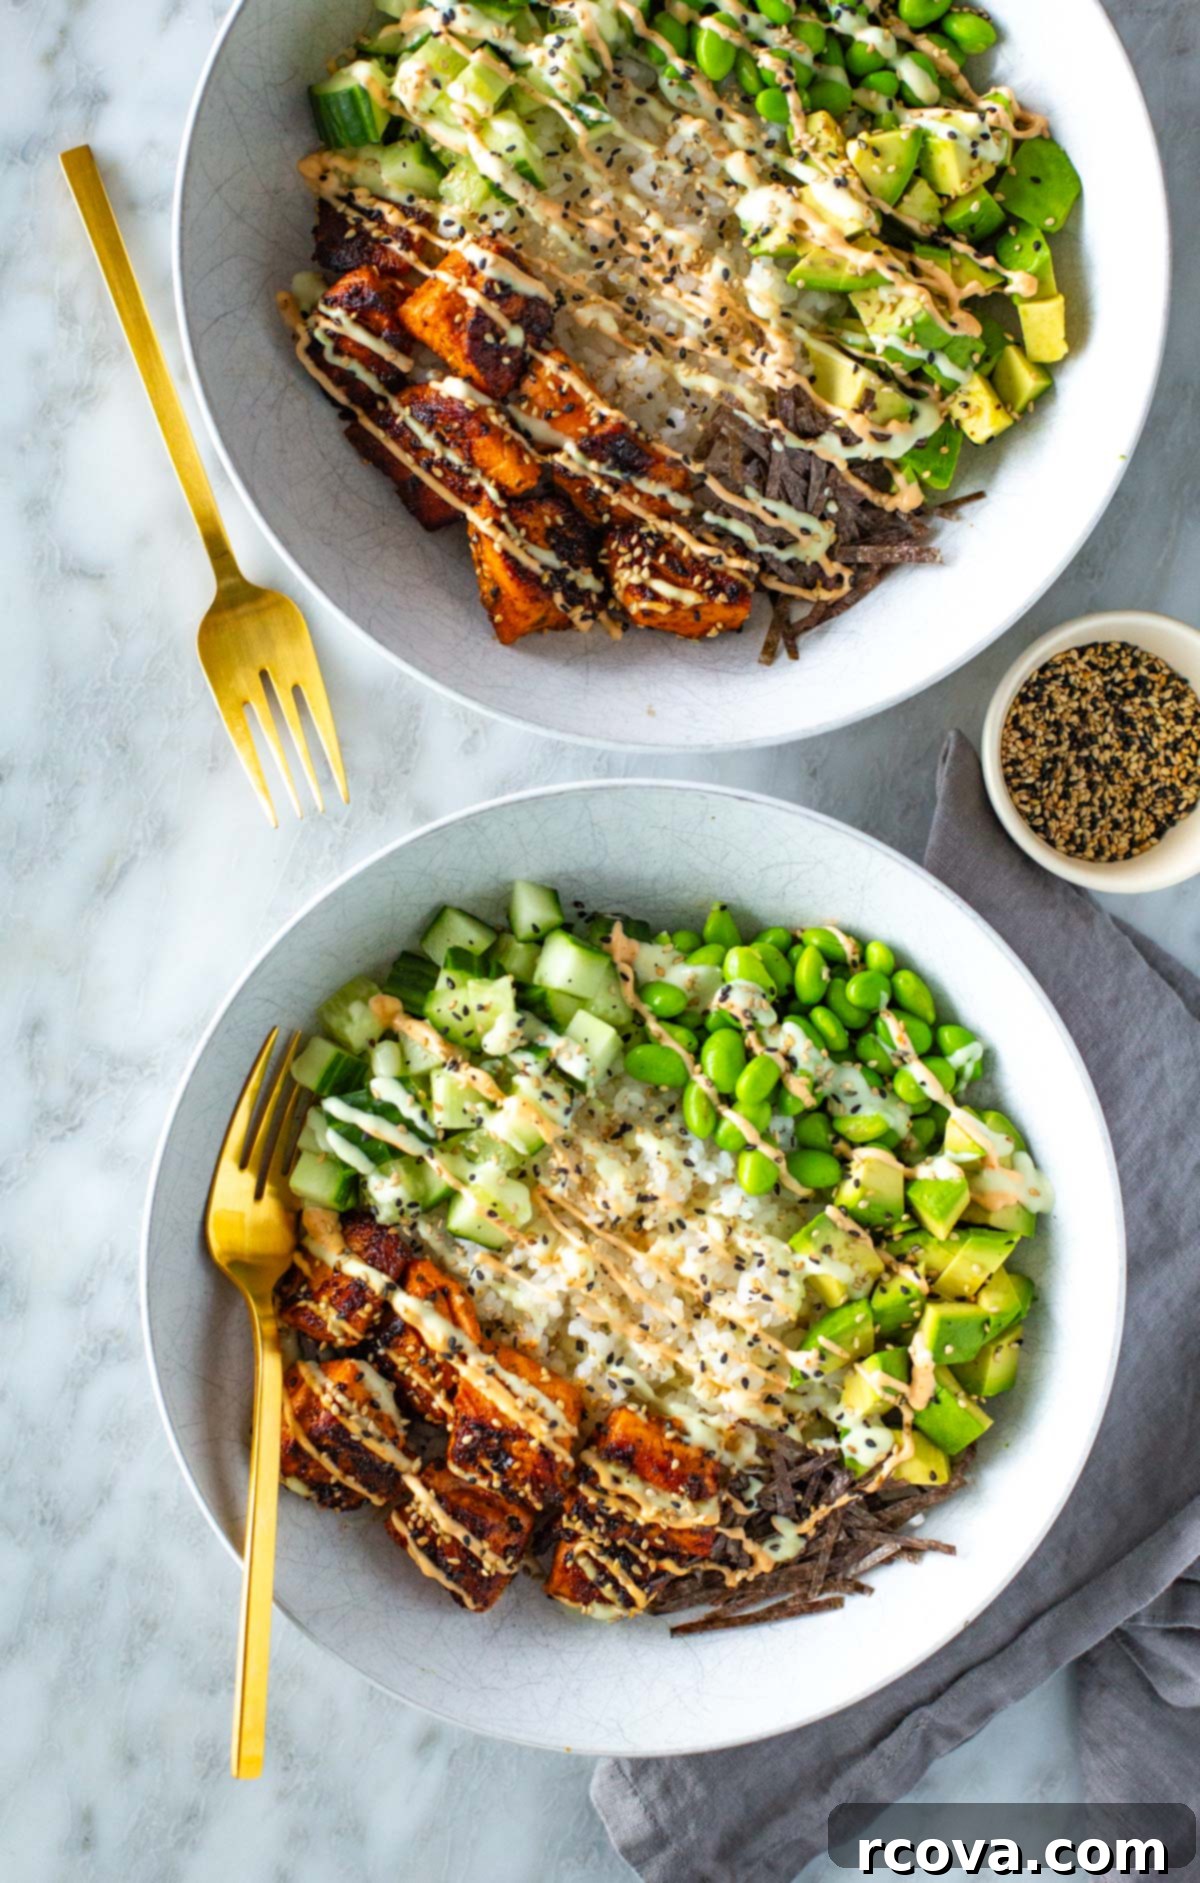
Craving the vibrant, fresh flavors of sushi but looking for a convenient, deconstructed version you can easily make at home? These incredibly delicious and healthy salmon sushi bowls are the perfect answer! Bursting with flavor and texture, they’re generously packed with nutritious ingredients like tender salmon, crisp edamame, and refreshing cucumber. The experience is elevated with a luscious homemade spicy mayo and an optional kick of wasabi sauce, making every bite a delightful adventure. Whether you’re seeking a quick weeknight dinner, a satisfying lunch, or a brilliant option for meal prepping, these bowls deliver all the enjoyment of your favorite sushi roll without the traditional rolling hassle. Prepare to transform your home cooking with this simple yet sophisticated dish that brings authentic sushi taste directly to your kitchen.
Unlock Your FREE Budget-Friendly Meal Plan!
Discover how to save thousands of dollars on groceries every year with our exclusive free budget-friendly meal plan ebook. It’s packed with smart strategies and delicious recipes to help you eat well for less.

Key Ingredients & Smart Substitutions for Your Sushi Bowl
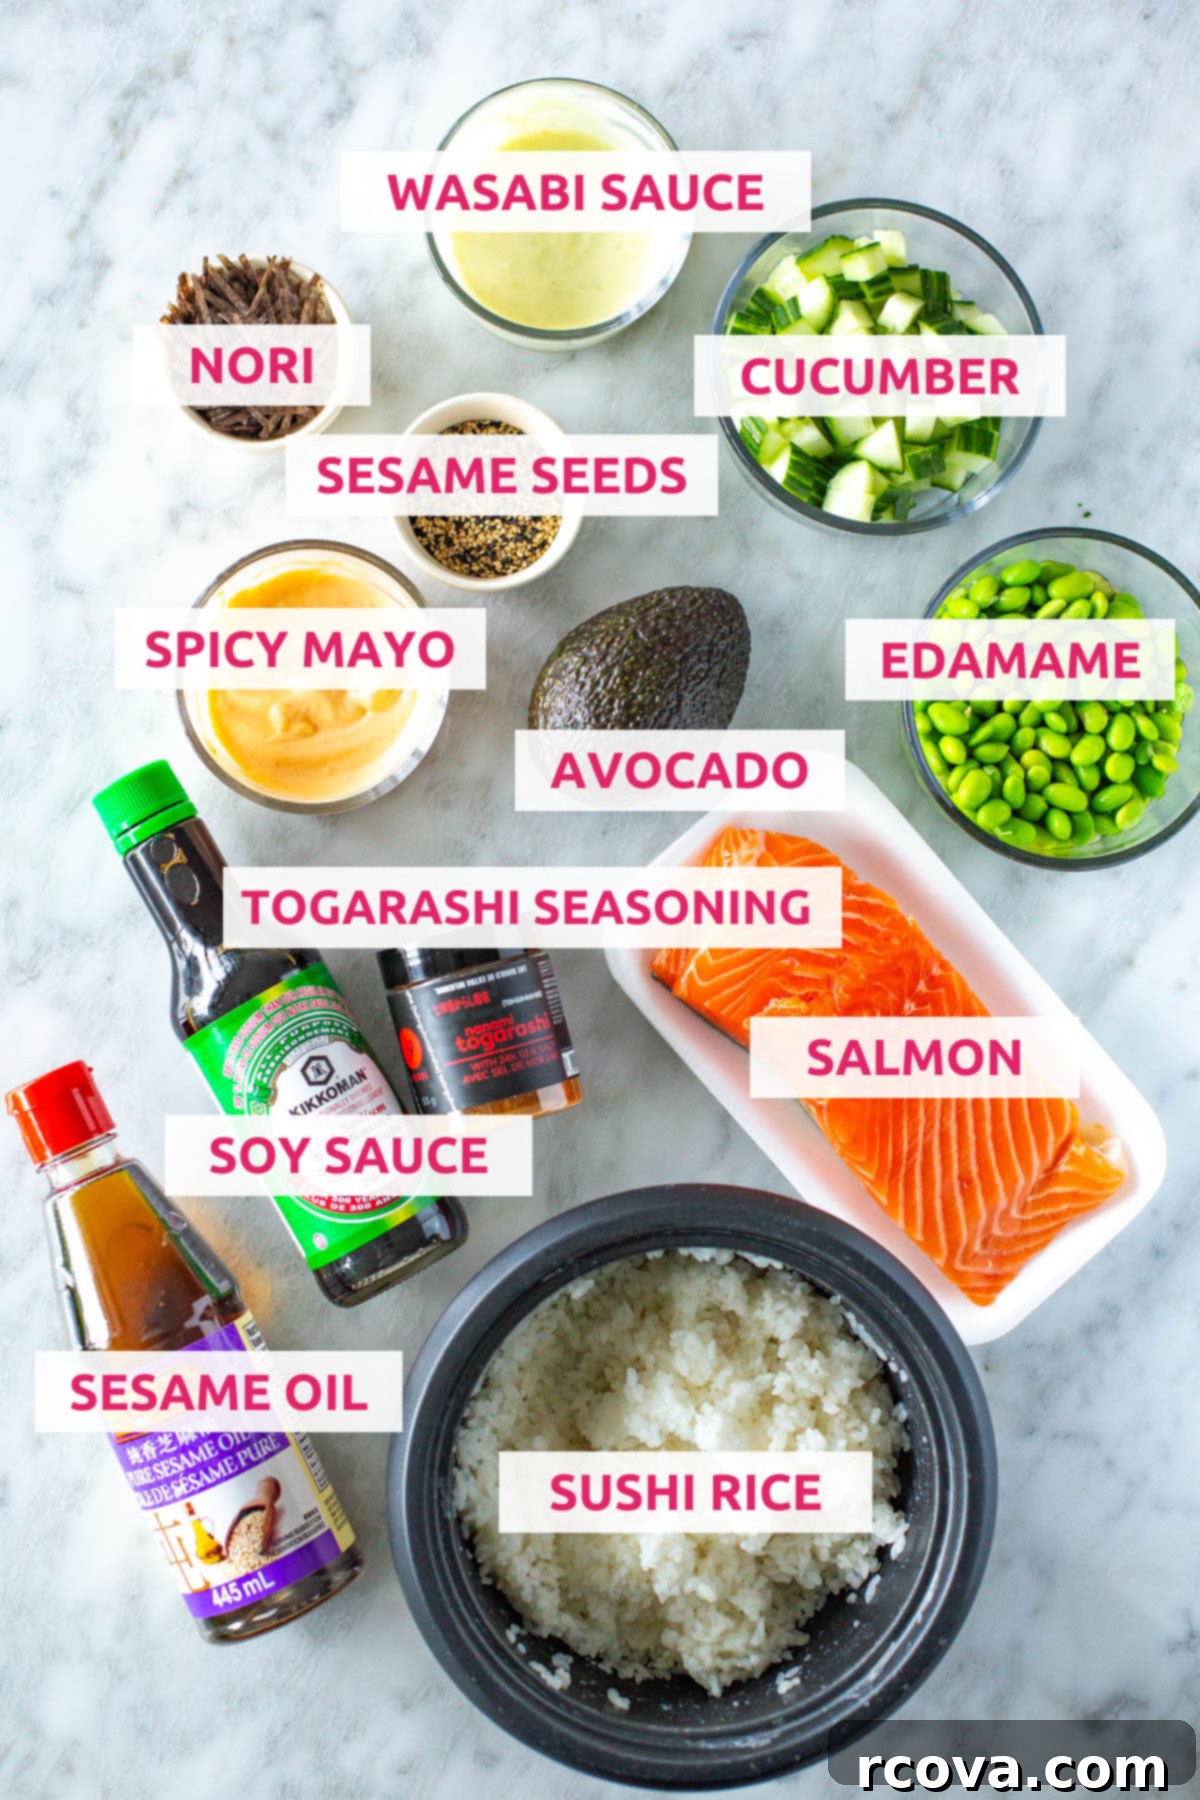
Crafting the perfect salmon sushi bowl starts with fresh, quality ingredients. Here’s a detailed look at what you’ll need and how you can creatively substitute items to suit your taste or what you have on hand.
- Salmon: The star of our bowl! Salmon provides a rich, buttery flavor and is packed with omega-3 fatty acids. While salmon is highly recommended for its health benefits and taste, you can easily substitute it with other seafood like succulent **shrimp** (adjusting cooking times, typically quicker) or robust **tuna** (seared or canned). For a plant-based option, consider marinated and pan-fried tofu or tempeh.
- Sesame Oil: This oil is crucial for imparting an authentic, nutty Asian flavor to the salmon. If you don’t have sesame oil, a neutral cooking oil like avocado or canola oil can be used for cooking, but be aware that the distinct sesame flavor profile will be missing. You might want to add a dash of toasted sesame oil at the end for aroma.
- Soy Sauce: A foundational umami flavor. For gluten-free or soy-free diets, **coconut aminos** or **tamari** are excellent, nearly indistinguishable substitutes that offer a similar savory depth.
- Togarashi Seasoning: A Japanese seven-spice blend that adds a delightful blend of heat, citrus, and savory notes. If togarashi is hard to find, a pinch of **chili powder** or a blend of red pepper flakes with a tiny bit of orange zest can mimic some of its complexity. Alternatively, you can omit it if you prefer less spice.
- Cucumber: Adds a wonderful fresh crunch and coolness to balance the richer ingredients. Feel free to experiment with other hydrating vegetables like thinly sliced **zucchini** or crisp **celery** sticks for a similar texture.
- Avocado: Creamy avocado is a must-have for many sushi lovers, offering healthy fats and a smooth contrast. If you’re not a fan or don’t have any, you can simply omit it or add more of your preferred vegetables for volume.
- Edamame: These vibrant green soybeans provide a tender bite and a boost of plant-based protein. Great alternatives include fresh or frozen **green beans**, sweet **snap peas**, or hearty **garbanzo beans** (chickpeas) for a different but equally satisfying texture.
- Nori: Dried seaweed sheets, commonly used in sushi rolls, bring a distinct oceanic flavor and a slightly chewy texture. For a convenient snack-style addition, consider using **seaweed snack sheets**, which are often seasoned and pre-cut.
- Sesame Seeds: Used as a garnish, sesame seeds add a subtle nutty flavor and visual appeal. You can use either **black or white sesame seeds**, or a mix of both, for an attractive finish.
- Sushi Rice: The traditional base for its sticky texture and slightly sweet, vinegary flavor. For a healthier or different grain option, you could use **brown rice**, **quinoa**, or even a mix of the two. Ensure your chosen grain is cooked to a slightly sticky consistency to best hold the other ingredients.
If you’re a fan of these flavors, you’ll definitely want to try my incredibly popular Chili Crisp Salmon Bowls for another delicious meal idea!
Homemade Wasabi Sauce
This zesty sauce adds a delightful pungent kick, balancing the richness of the salmon and the creaminess of the mayo. It’s incredibly simple to whip up.
- Light Mayo: Forms the creamy base for our wasabi sauce. Using light mayonnaise helps keep the calorie count lower without sacrificing creaminess. Regular full-fat mayo works perfectly fine if you prefer a richer flavor or aren’t concerned about calories.
- Wasabi Paste: The key ingredient for that signature horseradish heat. If wasabi paste isn’t available, grated fresh **horseradish** can be used as a substitute, but be aware that it will impart a slightly different, more earthy flavor profile than the bright, sharp notes of wasabi.
Creamy Spicy Mayo
No sushi bowl is complete without a drizzle of spicy mayo! This creamy, fiery condiment brings everything together with its rich texture and exciting heat.
- Light Mayo: Again, light mayonnaise is our choice for a lighter take on this classic sauce. It provides the perfect creamy foundation. Feel free to use regular mayo for a more indulgent version.
- Sriracha: The essential component for heat and a hint of garlic. You can customize the amount of Sriracha to control the spice level. If Sriracha is not on hand, any other favorite **hot sauce** can be used, such as **Sambal Oelek** (which offers a slightly thicker, chili-garlic paste consistency) or even a smoky chipotle hot sauce for a different twist.
Step-by-Step Guide: How to Make a Flavorful Salmon Sushi Bowl
Creating these delicious salmon sushi bowls is surprisingly straightforward. Follow these simple steps to bring your homemade sushi bowl vision to life.
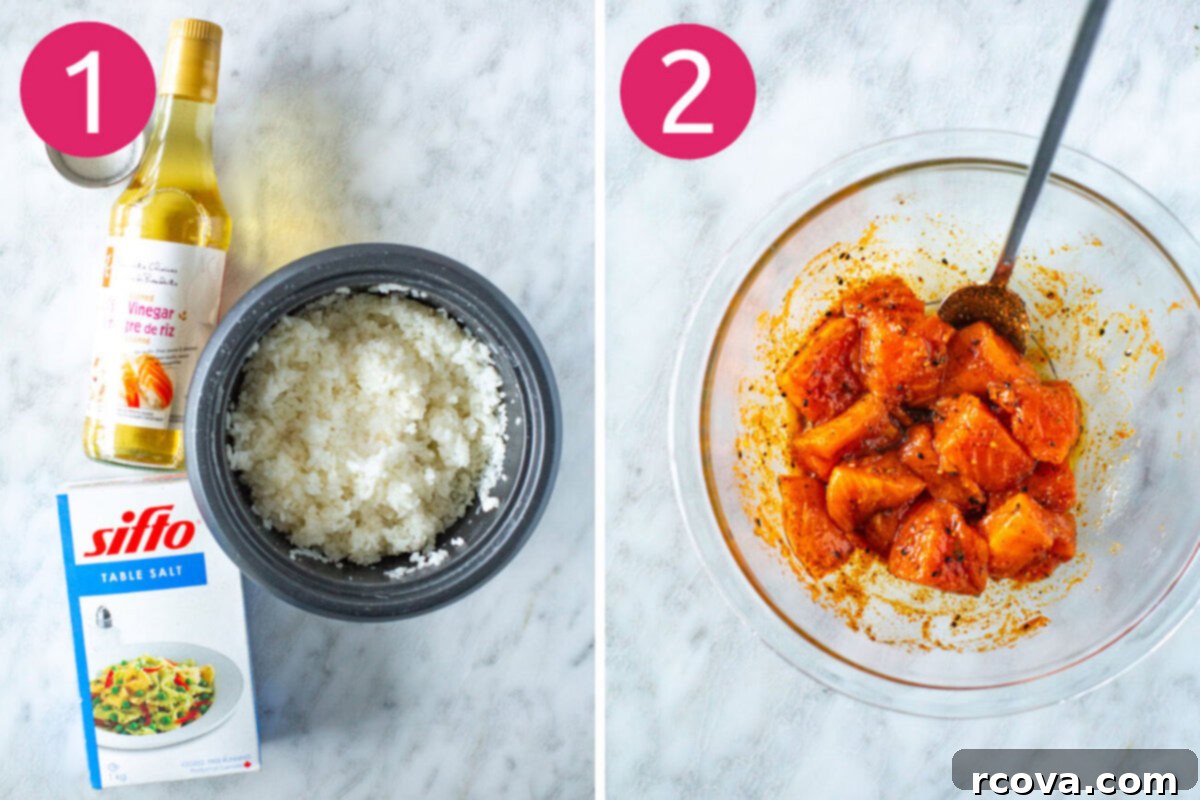
Step 1: Master the Sushi Rice.
The foundation of any great sushi bowl is perfectly cooked and seasoned sushi rice. Begin by rinsing your sushi rice thoroughly under cold water until the water runs clear. Cook the rice according to package directions in a rice cooker for ease, or use a pot on the stovetop. Once cooked and still warm, gently transfer the rice to a large bowl. In a separate small bowl, whisk together the rice vinegar, sugar, and salt until the sugar and salt are dissolved. Pour this seasoning mixture evenly over the cooked rice. Using a fork, gently toss and fold the rice to combine, being careful not to mash the grains. This process ensures each grain is coated and achieves that classic slightly sweet and tangy sushi rice flavor. Set it aside to cool slightly while you prepare the other components.
Step 2: Season the Salmon to Perfection.
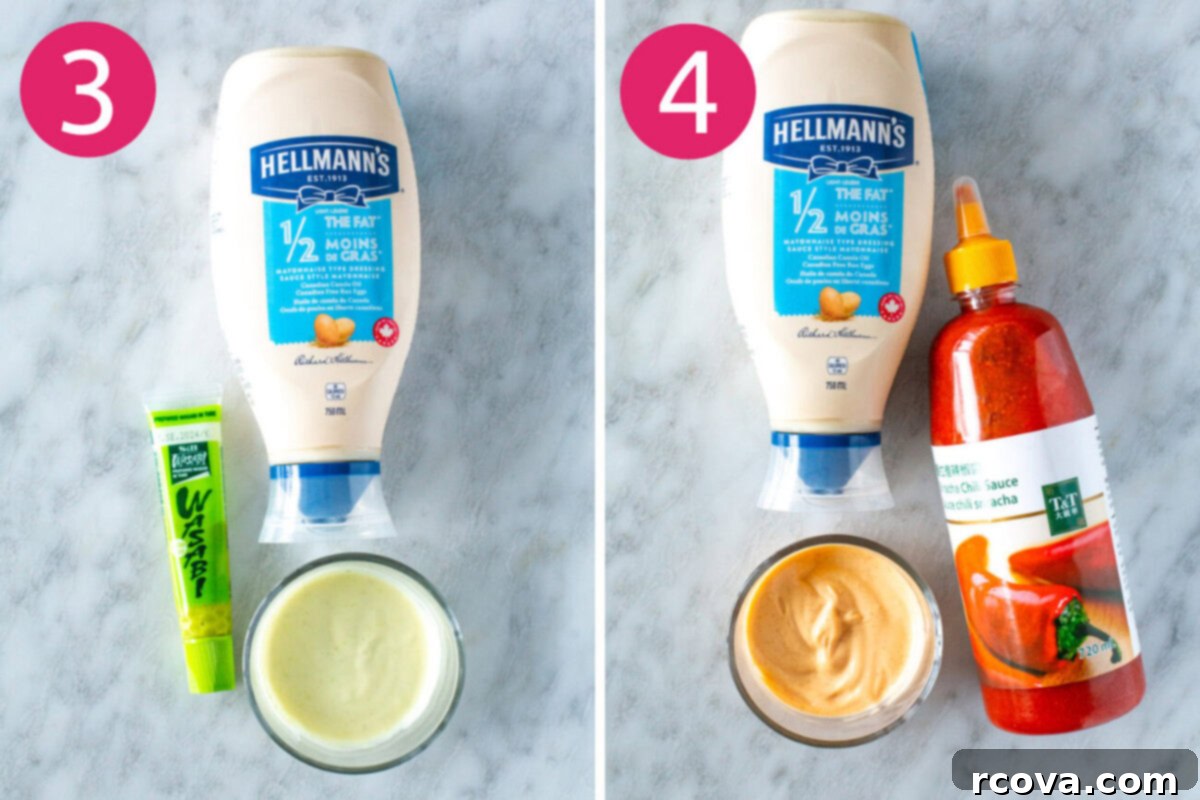
While the rice is cooling, prepare your salmon. Pat the salmon fillets dry with paper towels to ensure a good sear. Remove any skin, if desired, and cut the salmon into bite-sized 1-inch pieces. Place the salmon pieces in a medium bowl and season generously with salt and freshly ground black pepper. Next, add the rich sesame oil, savory soy sauce, and a sprinkle of togarashi seasoning (if using) to the bowl. Gently toss the salmon pieces to ensure they are evenly coated in this flavorful marinade. This quick marinade infuses the salmon with delicious Asian-inspired notes before cooking.
Step 3: Whip Up the Wasabi Sauce.
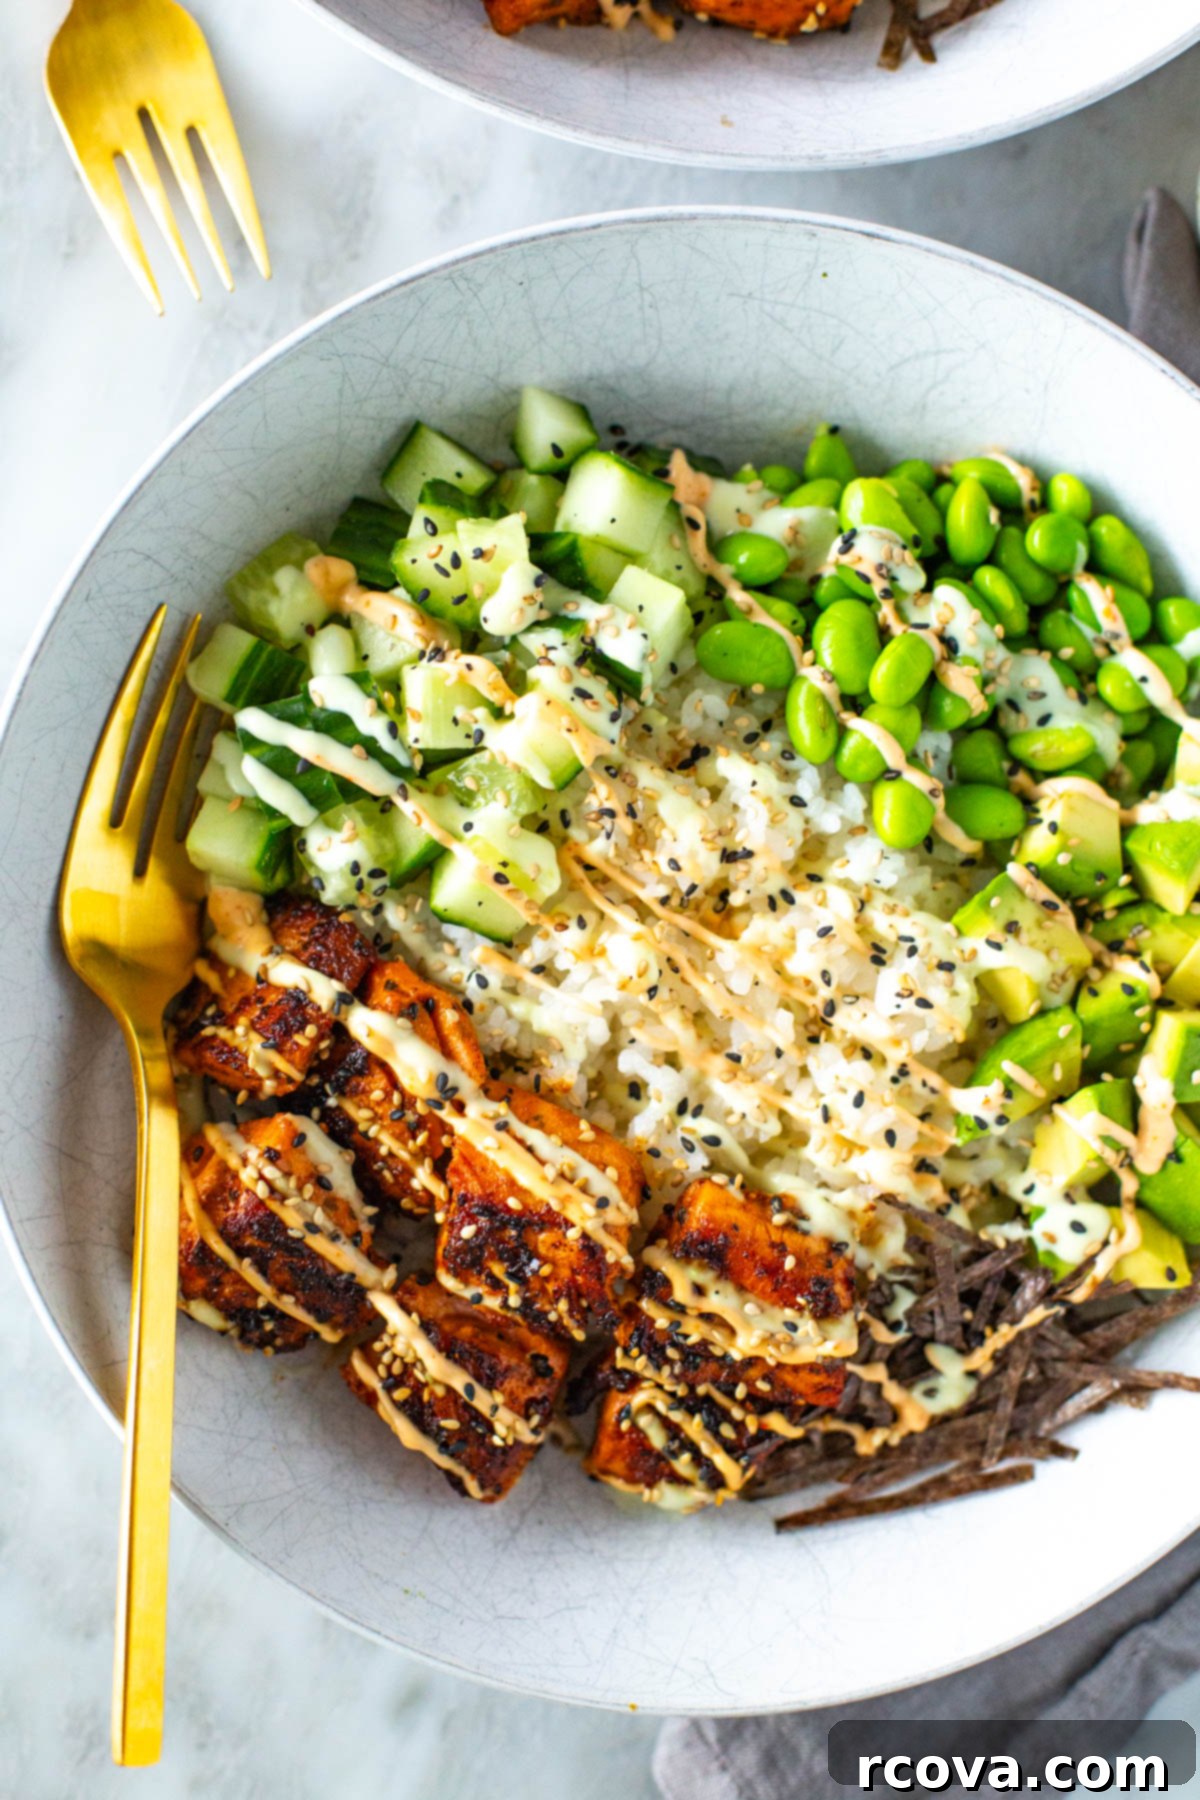
For those who love an extra zing, the homemade wasabi sauce is a must. In a small bowl, simply combine the light mayonnaise with the wasabi paste. Stir them together until completely smooth and well-integrated. Taste and adjust the amount of wasabi to your preferred level of heat. Set this aside, ready for drizzling.
Step 4: Prepare the Creamy Spicy Mayo.
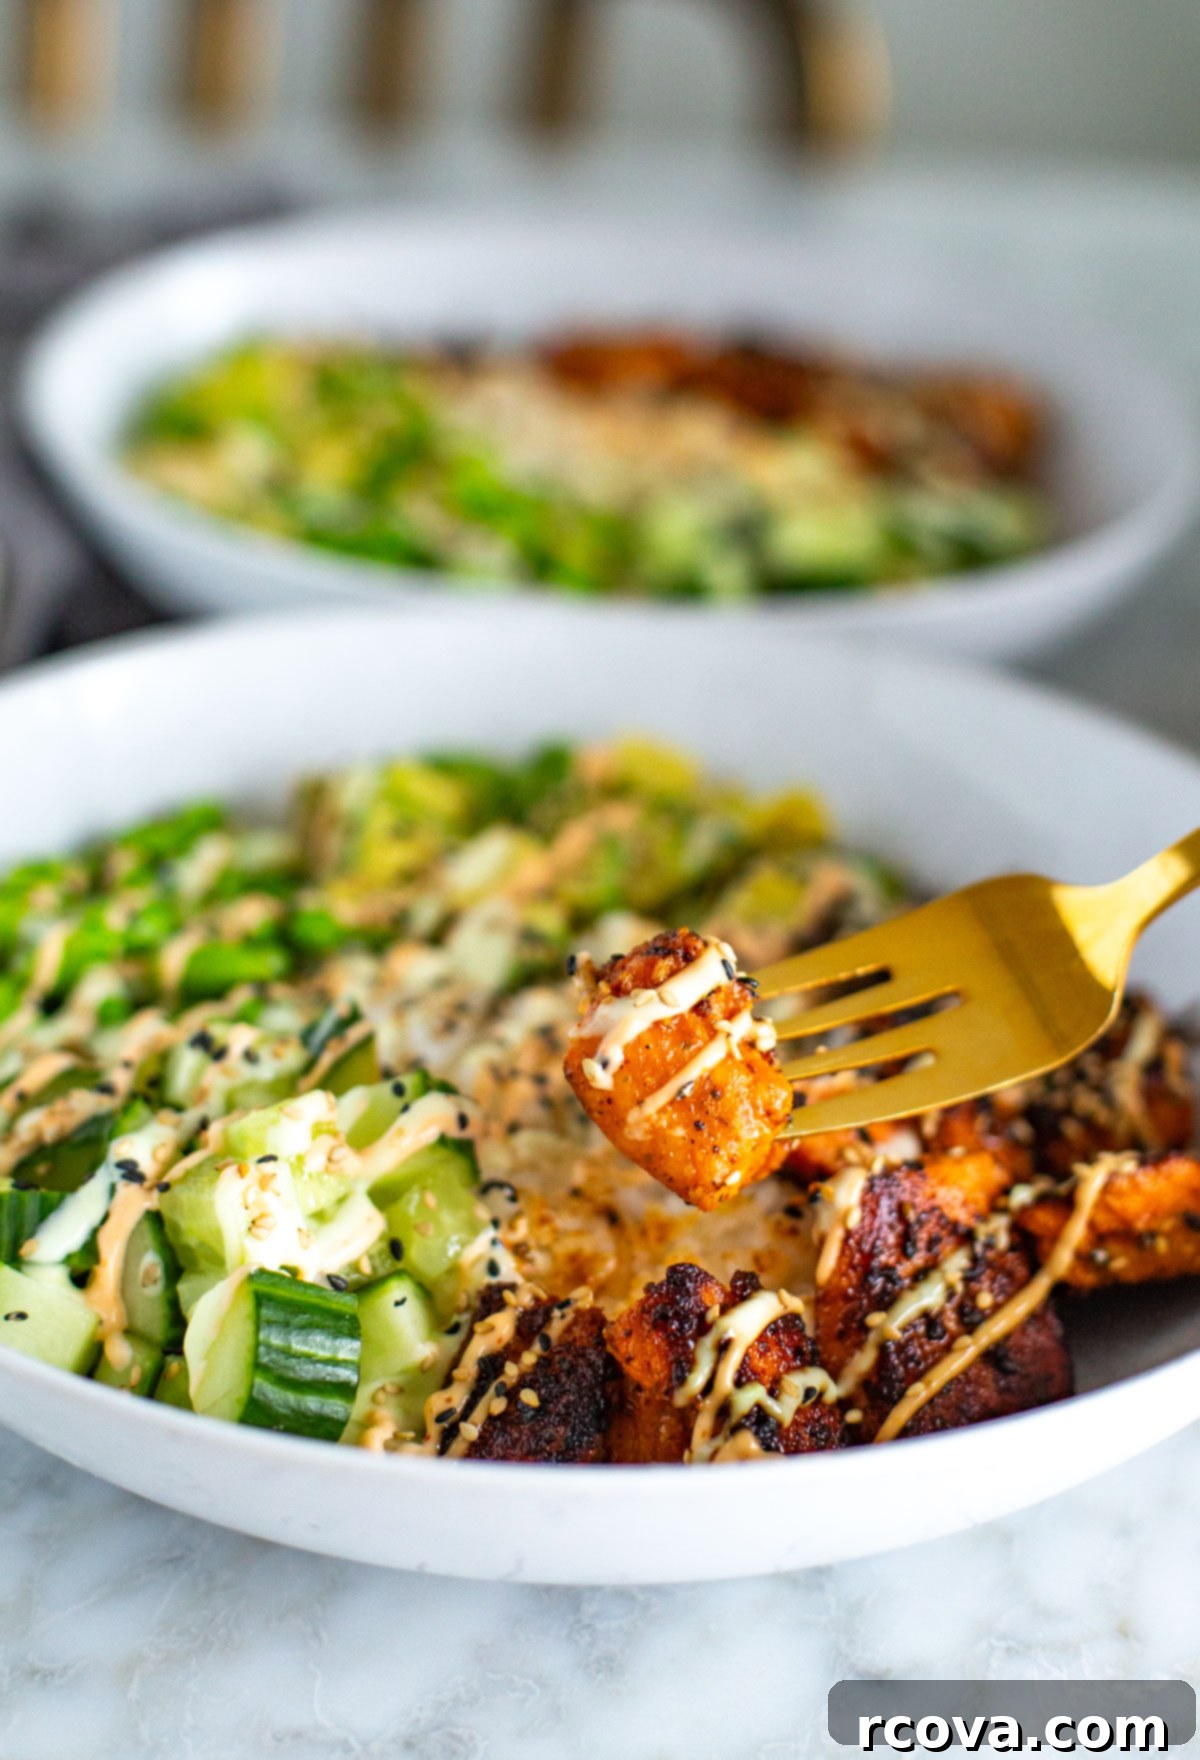
The iconic spicy mayo is incredibly easy to make. In another small bowl, combine the light mayonnaise with your chosen Sriracha (or alternative hot sauce). Mix thoroughly until you achieve a consistent, creamy texture. Just like with the wasabi sauce, taste and adjust the Sriracha quantity to match your desired level of spice. This sauce is essential for that classic sushi flavor profile.

Step 5: Cook the Flavored Salmon.
Heat a skillet over medium-high heat. You can add a little extra sesame oil or a neutral cooking oil to the pan if needed. Once the pan is hot, add the seasoned salmon pieces in a single layer, ensuring not to overcrowd the pan. Cook the salmon for about 3 minutes per side, or until it’s beautifully cooked through and flaky. The cooking time may vary slightly depending on the thickness of your salmon pieces and your desired level of doneness. Remove the cooked salmon from the skillet and set aside.
Step 6: Assemble Your Vibrant Sushi Bowls and Serve!
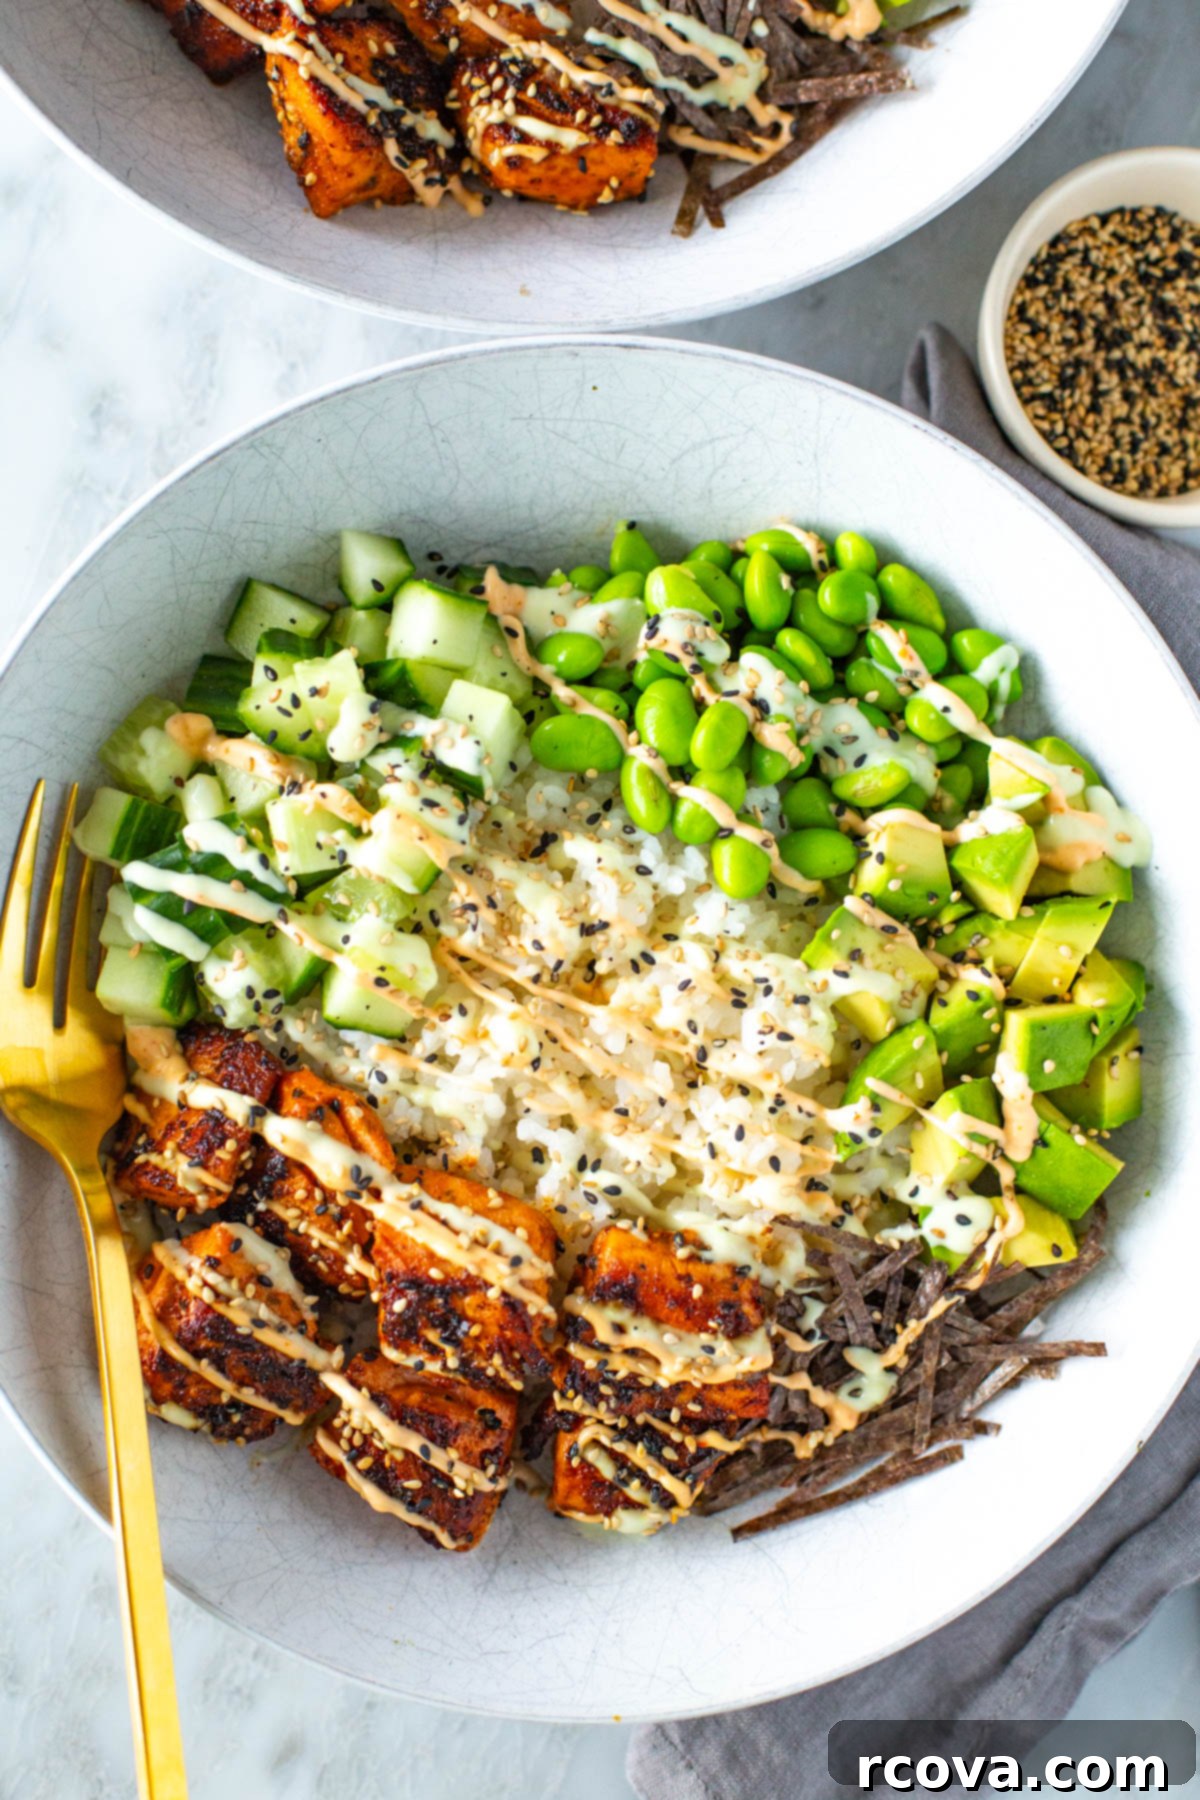
Now comes the fun part: assembling your personalized sushi bowls! Divide the seasoned sushi rice evenly among your serving bowls. Arrange the perfectly cooked salmon pieces on top of the rice. Artfully add your fresh toppings – the diced cucumber, creamy avocado, and tender edamame. Next, drizzle generously with both the homemade wasabi sauce and the spicy mayo. For a final flourish, garnish with a sprinkle of sesame seeds and pieces of nori (seaweed). Serve immediately and enjoy the incredible flavors and textures of your homemade spicy salmon sushi bowls!
Creative Variations for Your Salmon Sushi Bowl
These salmon sushi bowls are incredibly versatile! Here are a few different ways you can customize your bowl to explore new flavors and ingredients:
- Protein Power: Don’t limit yourself to salmon! Experiment by swapping out the salmon for pan-seared or raw tuna for a richer flavor, crispy tofu for a vegetarian option, or succulent firecracker shrimp for a spicy kick and different texture. Each protein brings its own unique character to the bowl.
- Sauce Sensation: While our homemade spicy mayo and wasabi sauce are fantastic, feel free to switch up the flavor profile with other delicious sauces. Try a savory teriyaki sauce for a sweet and sticky glaze, a creamy bang bang sauce for a touch of heat and sweetness, or a delicate tamari for a gluten-free savory option. A rich miso sesame sauce can also add incredible depth and umami.
- Veggies Galore: The more vegetables, the merrier! Boost the nutritional content and crunch by adding finely shredded carrots, thinly sliced red cabbage, sautéed mushrooms, vibrant red peppers, crisp bok choy, or sweet snap peas. Almost any fresh or lightly cooked vegetable can find a happy home in these bowls.
- Grain Alternatives: While sushi rice is the traditional choice, feel free to use other grains to change up the texture and nutritional benefits. Cooked **brown rice** or fluffy **quinoa** make excellent, wholesome bases. For a lighter, carb-conscious meal, serve your salmon and toppings over a bed of mixed greens to create a refreshing sushi salad.
- Crunchy Toppings: Add an exciting textural element with additional toppings. Thinly sliced **green onions** provide a fresh, pungent bite, while crispy **wonton strips** or even crushed seasoned rice crackers can add a delightful crunch that contrasts with the softer ingredients.
Frequently Asked Questions About Salmon Sushi Bowls
Here are some common questions about making and enjoying these delicious salmon sushi bowls:
The beauty of sushi bowls is their versatility! You can absolutely enjoy your salmon sushi bowl warm if you’re preparing it fresh and eating it immediately. However, if you’re making these bowls as part of your meal prep for the week, they are fantastic enjoyed cold, much like traditional sushi. The flavors meld beautifully when chilled.
For this recipe, extensive marination isn’t necessary. Simply tossing the salmon pieces with the sesame oil, soy sauce, and togarashi seasoning just before cooking is enough to infuse them with wonderful flavor. If you prefer a slightly deeper flavor and have the time, you can marinate the salmon for an additional 20-30 minutes while you’re preparing the sushi rice and other toppings.
If Sriracha isn’t available or you’d like a different flavor profile, you have several options. A great substitute is **Sambal Oelek**, a chili garlic paste that offers similar heat and a slightly thicker texture. Other hot sauces like Gochujang (Korean chili paste) for a fermented flavor, or even a dash of cayenne pepper mixed into mayo, can work in a pinch. Adjust the quantity to match your desired spice level.
Cutting nori for sushi bowls is incredibly simple, and there’s no need for special tools or techniques. You can easily tear the nori sheets into small, bite-sized pieces with your hands before adding them to your bowl. Alternatively, for a neater look, you can use kitchen scissors to cut them into strips or small squares. The goal is to have pieces that are easy to mix in and eat.
Absolutely! This recipe is highly adaptable. While salmon is fantastic, you can readily swap it out for other proteins such as firm-fleshed **tuna**, tender **shrimp**, or even plant-based options like seasoned and pan-fried **tofu** or tempeh. Just remember that cooking times will vary significantly depending on the protein you choose, so adjust accordingly to ensure it’s cooked perfectly.
Storing and Reheating Your Sushi Bowls
While these salmon sushi bowls are absolutely best enjoyed fresh, they are also excellent for meal prepping. To keep your leftovers as fresh and delicious as possible, it’s crucial to store the components separately. Keep the cooked salmon, sushi rice, and fresh vegetables (like cucumber and avocado) in individual airtight containers in the refrigerator. The sauces (wasabi and spicy mayo) should also be stored in separate small containers. When you’re ready to enjoy a leftover bowl, simply assemble it fresh from the prepped components. These bowls are designed to be enjoyed cold, much like traditional sushi, retaining their refreshing texture and vibrant flavors for 2 to 3 days in the fridge. Avoid reheating the entire assembled bowl, as it can affect the texture of the rice and fresh vegetables.
Freezing This Recipe: A Smart Prep Strategy
While an assembled salmon sushi bowl with its fresh ingredients isn’t suitable for freezing, you can smartly prepare and freeze the raw marinated salmon for future meals! To do this, after seasoning the salmon pieces with sesame oil, soy sauce, and togarashi seasoning, place them in a freezer-safe bag or airtight container. Ensure there’s minimal air to prevent freezer burn. You can freeze the raw, marinated salmon for up to 3 months. When you’re ready to make your sushi bowls, simply transfer the frozen salmon to the refrigerator and let it defrost overnight. Once thawed, cook the salmon as normal in a skillet, then use the perfectly cooked salmon to assemble your fresh, delicious sushi bowls. This makes future meal prep even quicker and more convenient!
More Easy Sushi-Inspired Recipes You’ll Love
If you enjoyed making and eating these salmon sushi bowls, explore more of our favorite sushi-inspired dishes that are perfect for home cooks!
-
Ahi Tuna Sushi Stacks {Cactus Club Copycat}
-
Dynamite Shrimp Sushi Jars {Meal Prep}
-
Ahi Tuna Salad with Sesame Ginger Dressing
Essential Meal Prep Tools for Your Kitchen
Having the right tools can make meal prepping and cooking these sushi bowls a breeze. Here are some of our top recommendations:
- Grab some glass meal prep bowls to conveniently pack up your delicious weekly lunches. They are durable and perfect for keeping ingredients separate and fresh.
- You can easily order sushi rice online, ensuring you always have the right sticky grain for your bowls.
- No need to search local stores; you can order nori (seaweed sheets) online too, making it simple to get this essential sushi ingredient.
- This is the brand of tamari I personally like for a gluten-free soy sauce alternative, and I always keep this low-sodium soy sauce on hand for delicious flavor without excessive salt.
- Get my full list of essential meal prep tools and resources here to streamline your kitchen routine!
Easy Spicy Salmon Sushi Bowls
Print
Pin
Rate
SEND ME MY PLAN
Ingredients
- 12 oz salmon
- 1 tbsp sesame oil
- 1 tbsp soy sauce
- 1 tsp togarashi seasoning optional; use chili powder instead if needed
- 1/2 cucumber diced
- 1 avocado diced
- 1 cup edamame
- 1 sheet nori torn into pieces; can be found in the sushi or international foods section
- Sesame seeds for garnish
Wasabi sauce
- 1/4 cup light mayo
- 1 tsp wasabi paste can be found in the sushi or international foods section
Spicy mayo
- 1/4 cup light mayo
- 1 tsp sriracha
Sushi rice
- 1 cup sticky rice
- 1 1/2 cups water
- 2 tbsp rice vinegar
- 2 tbsp sugar
- 1/2 tsp salt
Instructions
-
To prepare the sushi rice, add the sticky rice and water to a rice cooker or a pot on the stovetop. Cook until all the liquid has been fully absorbed and the rice is tender. Once cooked, gently transfer the warm rice to a large bowl. Stir in the rice vinegar, sugar, and salt, tossing gently with a fork until all ingredients are well combined and the rice is seasoned to perfection. Set the seasoned rice aside to cool slightly while you prepare the remaining components.
-
Meanwhile, prepare your fresh toppings like diced cucumber and avocado. Next, remove the skin from the salmon fillets (if desired) and cut the salmon into uniform 1-inch pieces. Season these salmon pieces generously with salt and pepper, then toss them thoroughly with the sesame oil, soy sauce, and togarashi seasoning until each piece is well coated.
-
In a small bowl, mix together the wasabi paste and light mayonnaise to create the homemade wasabi sauce. In a separate small bowl, combine the light mayonnaise with sriracha to make the creamy spicy mayo. Set both sauces aside until ready to assemble.
-
Heat a large skillet over medium-high heat, adding a bit more sesame oil or cooking oil if needed. Once hot, add the marinated salmon pieces to the skillet in a single layer. Cook for approximately 3 minutes per side, or until the salmon is cooked through and easily flakes with a fork. Remove the cooked salmon from the heat. To assemble, serve the salmon over the prepared sushi rice with all your chosen toppings. Drizzle generously with both the wasabi sauce and spicy mayo, garnish with sesame seeds and torn nori pieces, then serve and enjoy your delicious homemade sushi bowls!
Notes
For an added crunch and fresh flavor, consider topping your bowls with thinly sliced green onions or crispy wonton strips.
Experiment with different sauces to change the flavor profile! Delicious options include teriyaki, bang bang sauce, tamari (for a gluten-free alternative), or a rich miso sesame sauce.
For meal prepping, store all the components separately in airtight containers in the fridge for 2-3 days. Assemble your bowls fresh just before eating and enjoy them cold for the best experience.
You can freeze the raw, marinated salmon for up to 3 months. Simply defrost it overnight in the fridge before cooking as normal and assembling your sushi bowls.
Nutrition
