Spooky & Sweet: The Ultimate Guide to Making Festive Halloween Sugar Cookie Bars with Creamy Buttercream
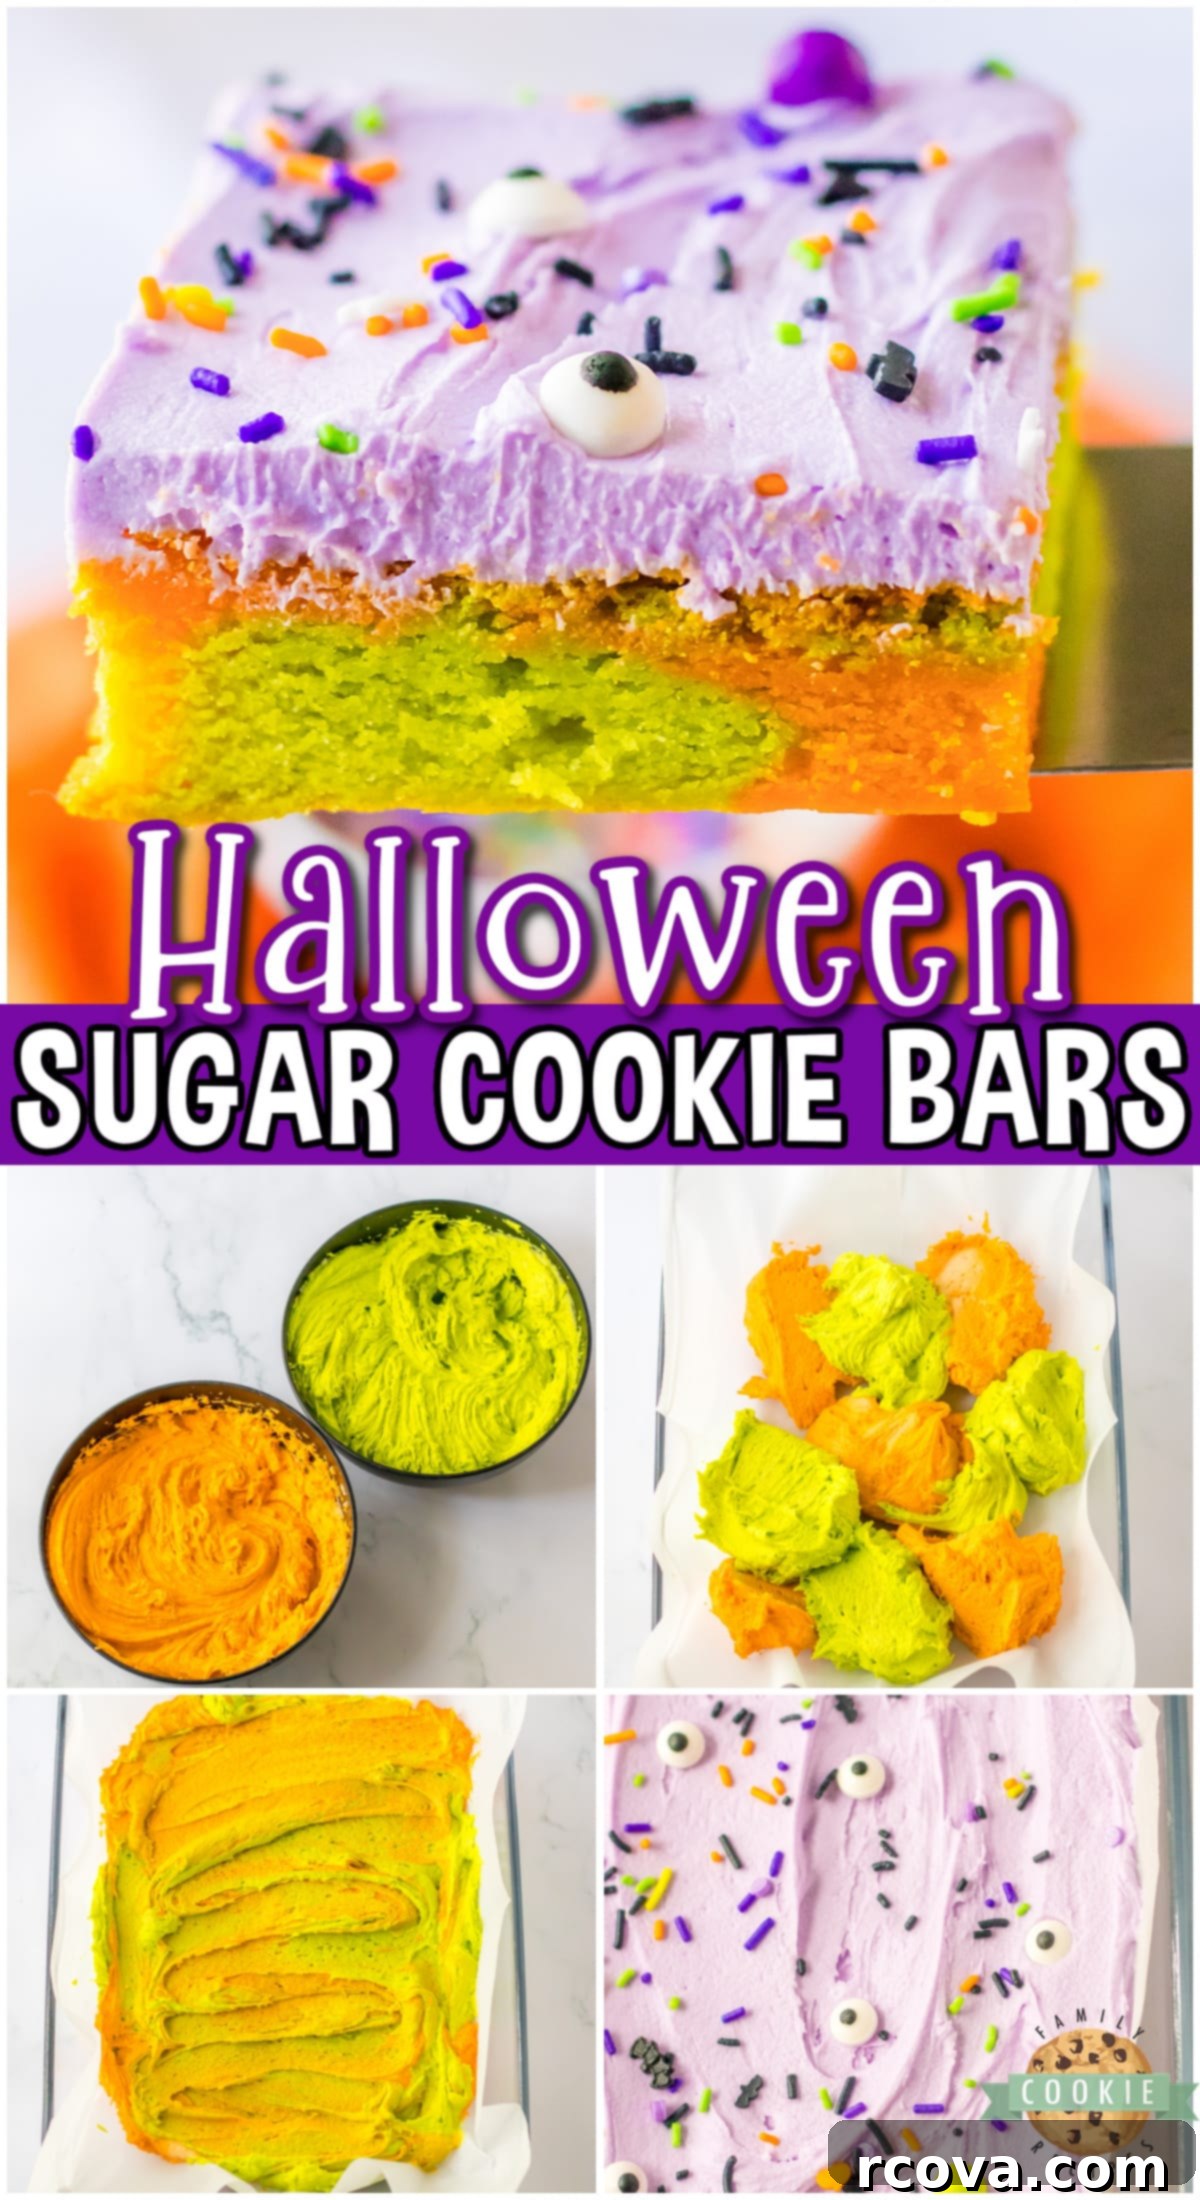
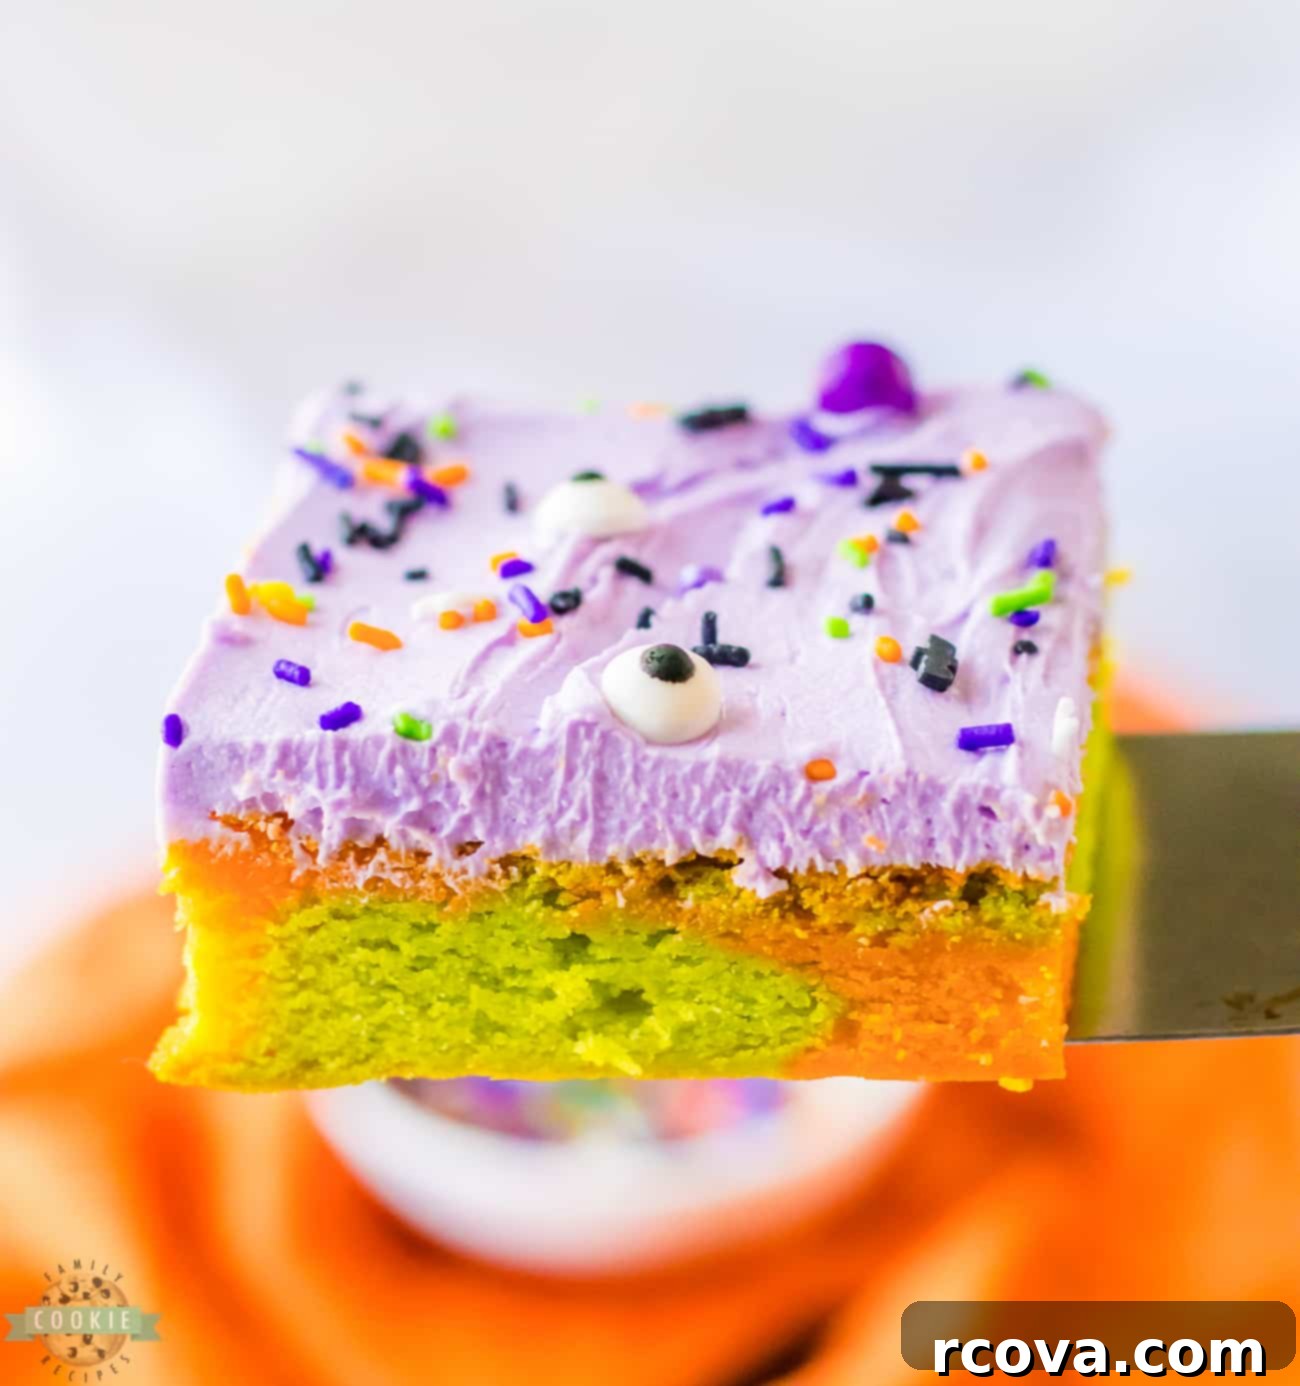
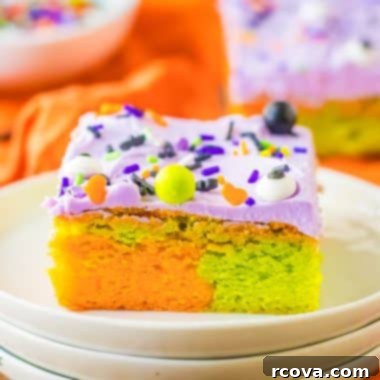
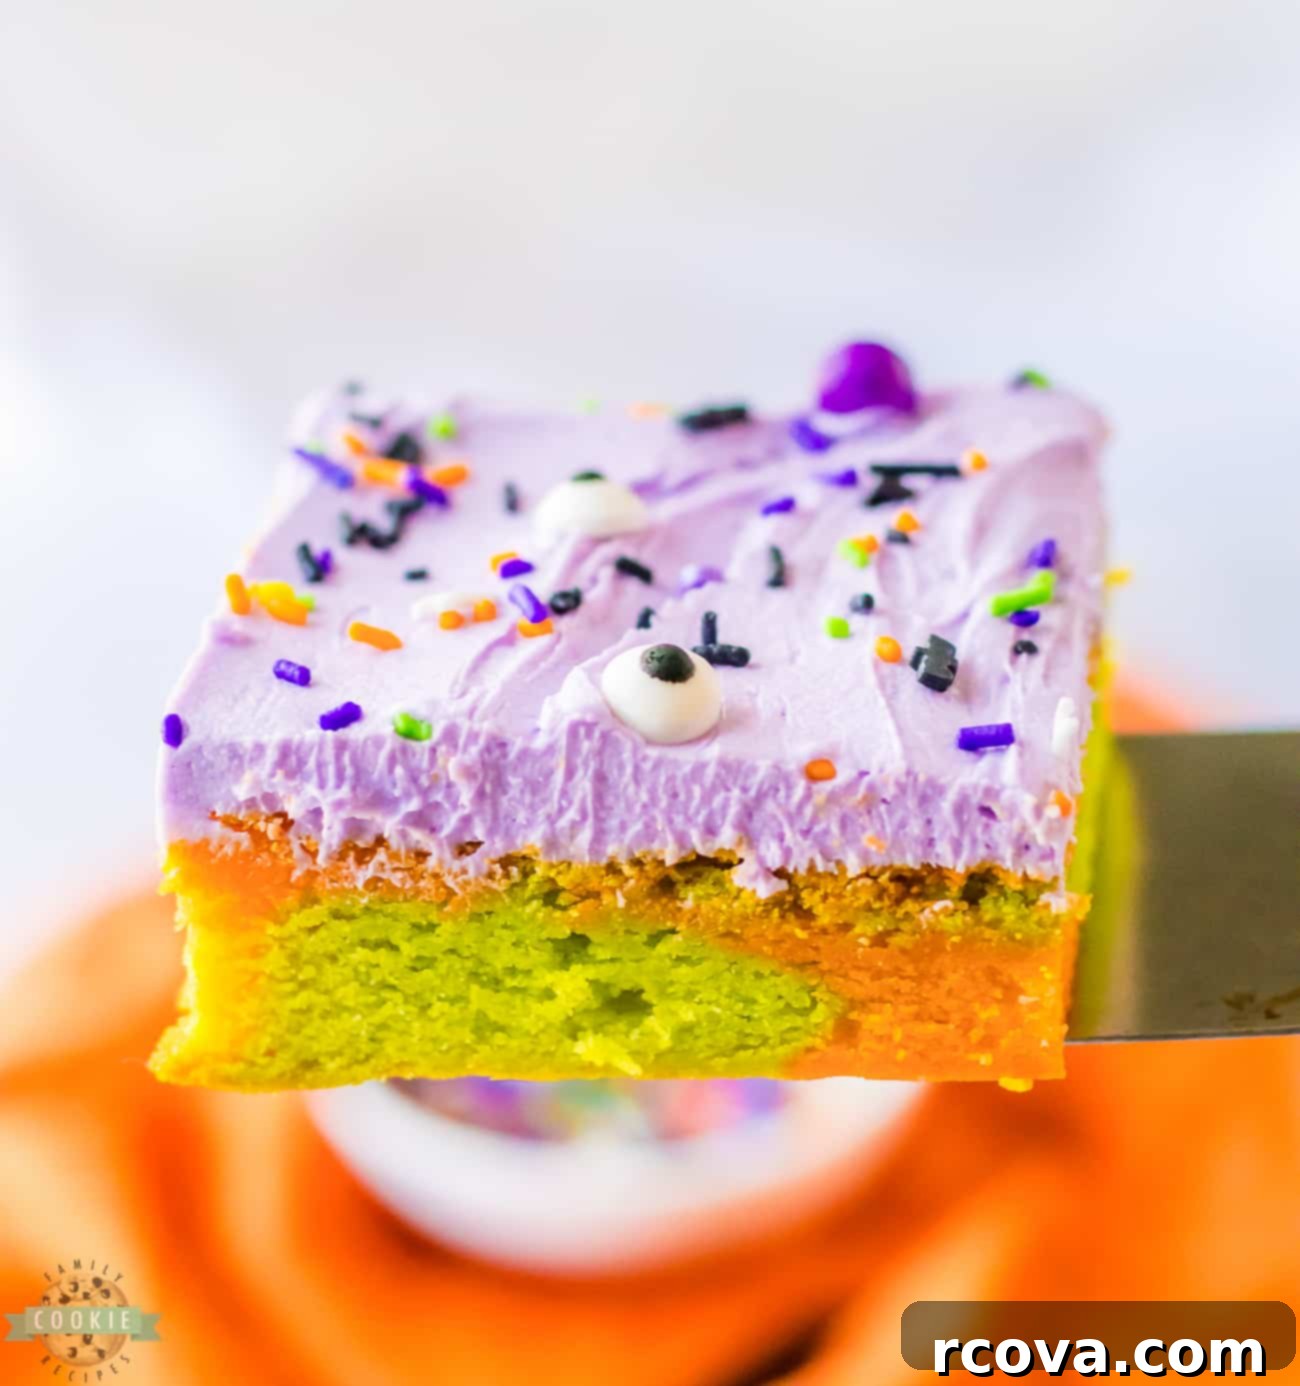
Get ready to unleash your inner Halloween baker with these incredibly delicious and visually stunning Halloween Sugar Cookie Bars! These aren’t just any ordinary sugar cookies; they’re thick, chewy, and beautifully marbled cookie bars, infused with classic vanilla and a hint of almond extract. Topped with a vibrant purple buttercream frosting and an array of playful, spooky sprinkles, this festive treat is guaranteed to be the star of any Halloween gathering, school party, or simply a fun family baking project. Forget the traditional cut-out cookies – these bars offer all the flavor with a fraction of the effort, making them a perfect choice for bakers of all skill levels.
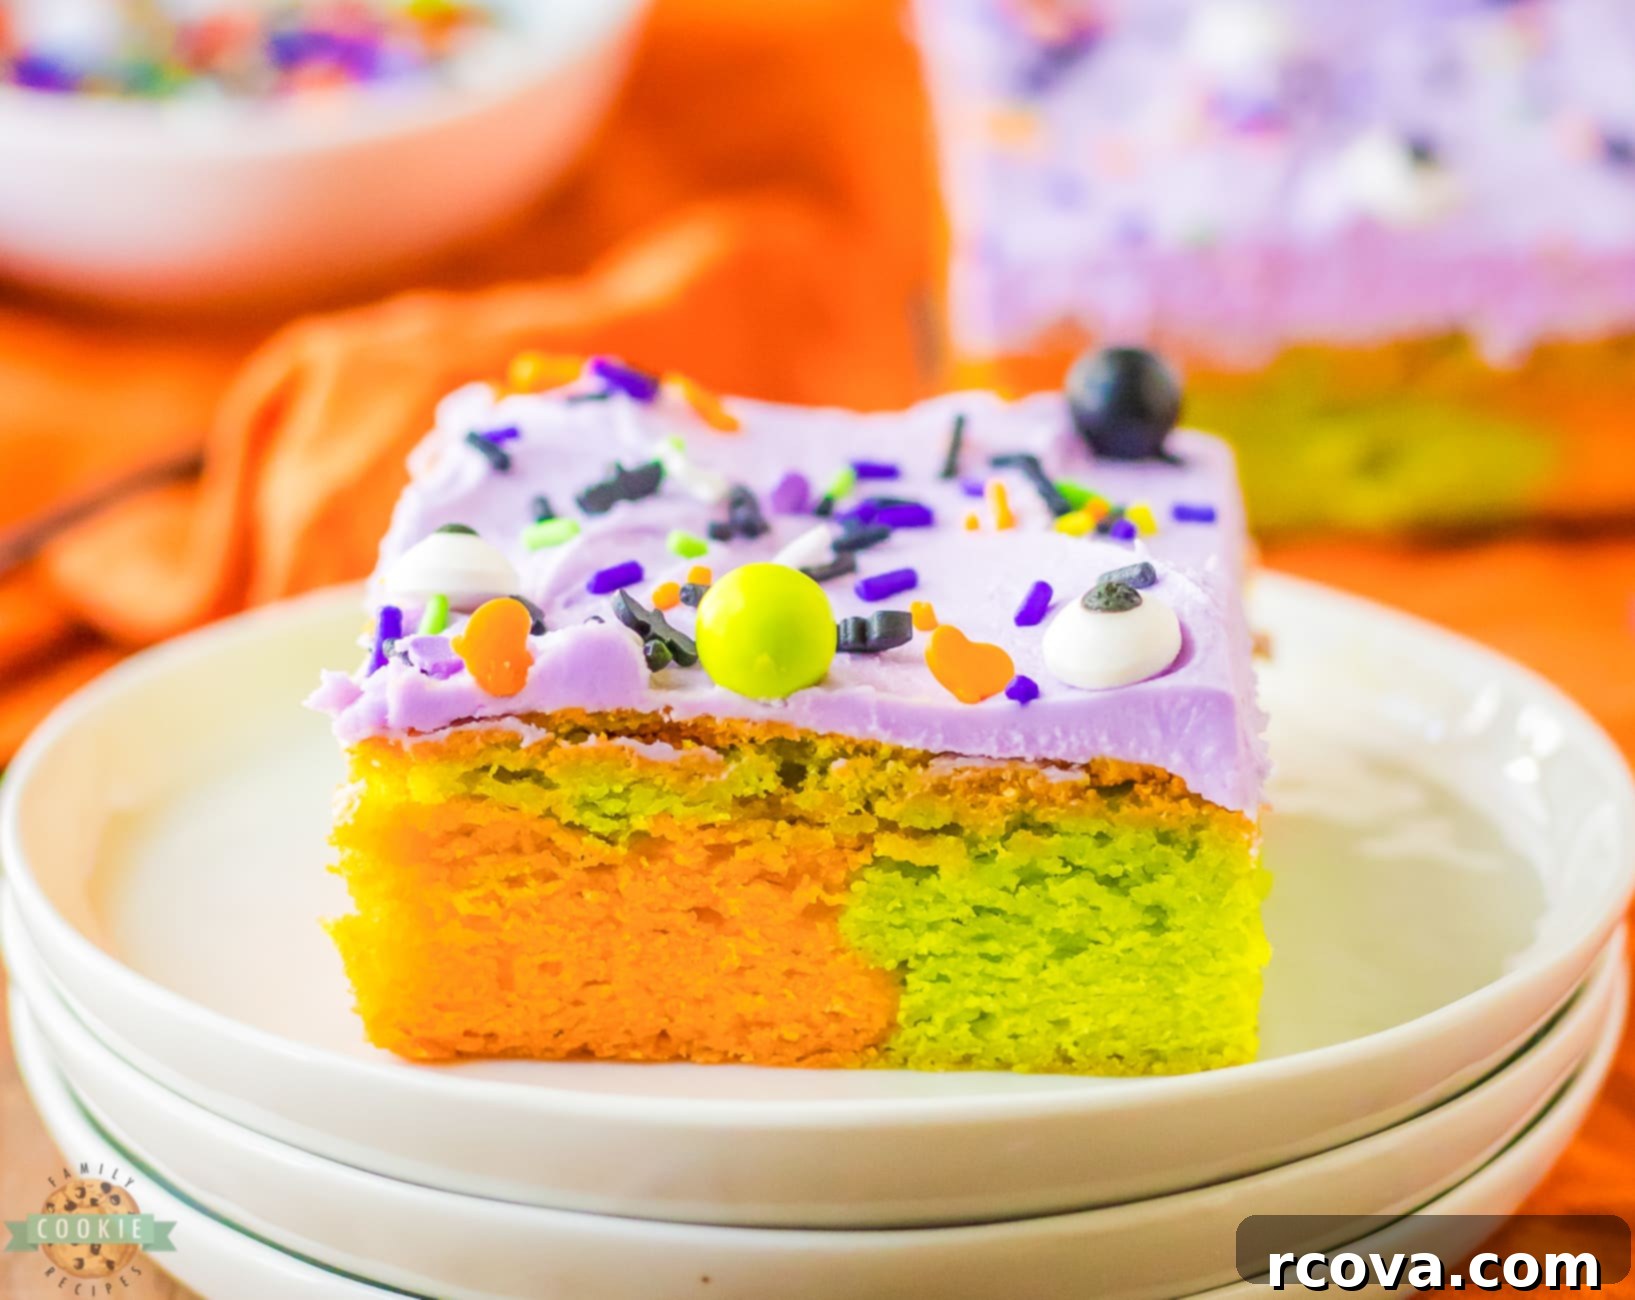
These delightful Halloween sugar cookie bars offer a creative twist on classic sugar cookies, making them an ideal dessert for Halloween parties, potlucks, or simply a joyful activity to share with family and friends. The beauty of this sugar cookie bar recipe lies in its versatility. You can easily customize it by experimenting with different food colorings to achieve various marbled effects, or by incorporating a wide range of festive sprinkles and candies to make each batch uniquely yours. From vibrant orange and black swirls to ghoulish green and purple patterns, the possibilities for personalization are endless, ensuring your Halloween treats are as unique as your spooky celebrations.
The Enchanting Fun of Crafting Halloween Cookie Bars
Halloween is a season brimming with magic, from eerie decorations and creative costumes to, most importantly, an abundance of delectable treats! While traditional sugar cookies hold a special place, presenting them in the convenient and equally delicious form of cookie bars elevates the experience. Baking Halloween sugar cookie bars is an enjoyable activity for people of all ages, providing a fantastic opportunity to involve children in the kitchen. The hands-on process of mixing, coloring, and swirling the dough offers a creative outlet, making baking a memorable part of your Halloween festivities.
Once the bars are baked and cooled, the real fun begins: decorating! Arm yourselves with colorful buttercream frosting, an assortment of Halloween candies, and a variety of spooky sprinkles to bring your cookie bars to life. This stage is particularly engaging for kids, allowing them to express their creativity by designing their own unique monster faces, ghost swirls, or intricate spiderwebs. The process transforms a simple baking task into an imaginative art project, resulting in a tasty and visually captivating treat that is sure to impress everyone at your Halloween gathering. With just a little creativity and a few delicious ingredients, anyone can produce a batch of these impressive and utterly delightful sugar cookie bars.
Why You’ll Fall in Love with This Spooky Halloween Cookie Bar Recipe
There are countless reasons why these Halloween sugar cookie bars will become your new go-to recipe for the spooky season. Beyond their undeniable charm, they offer a perfect blend of convenience, customization, and irresistible flavor. Here’s why this recipe stands out:
- Festive and Fun for All Ages: The combination of vibrant food coloring, marbled dough, and an explosion of colorful Halloween sprinkles instantly makes these cookie bars a festive centerpiece. They bring a joyful, playful element to any celebration, captivating both children and adults with their charmingly spooky appearance and delightful taste. They’re a true embodiment of the Halloween spirit in edible form!
- Remarkably Versatile and Customizable: This recipe serves as a fantastic foundation for endless creativity. While we suggest orange and green for the dough and purple for the frosting, you are only limited by your imagination! Feel free to experiment with different food coloring combinations to match your Halloween theme, or switch up the flavor profiles by adding various extracts (think pumpkin spice, lemon, or even a hint of mint). You can also incorporate mini chocolate chips, chopped nuts, or even different types of candy directly into the dough for added texture and flavor.
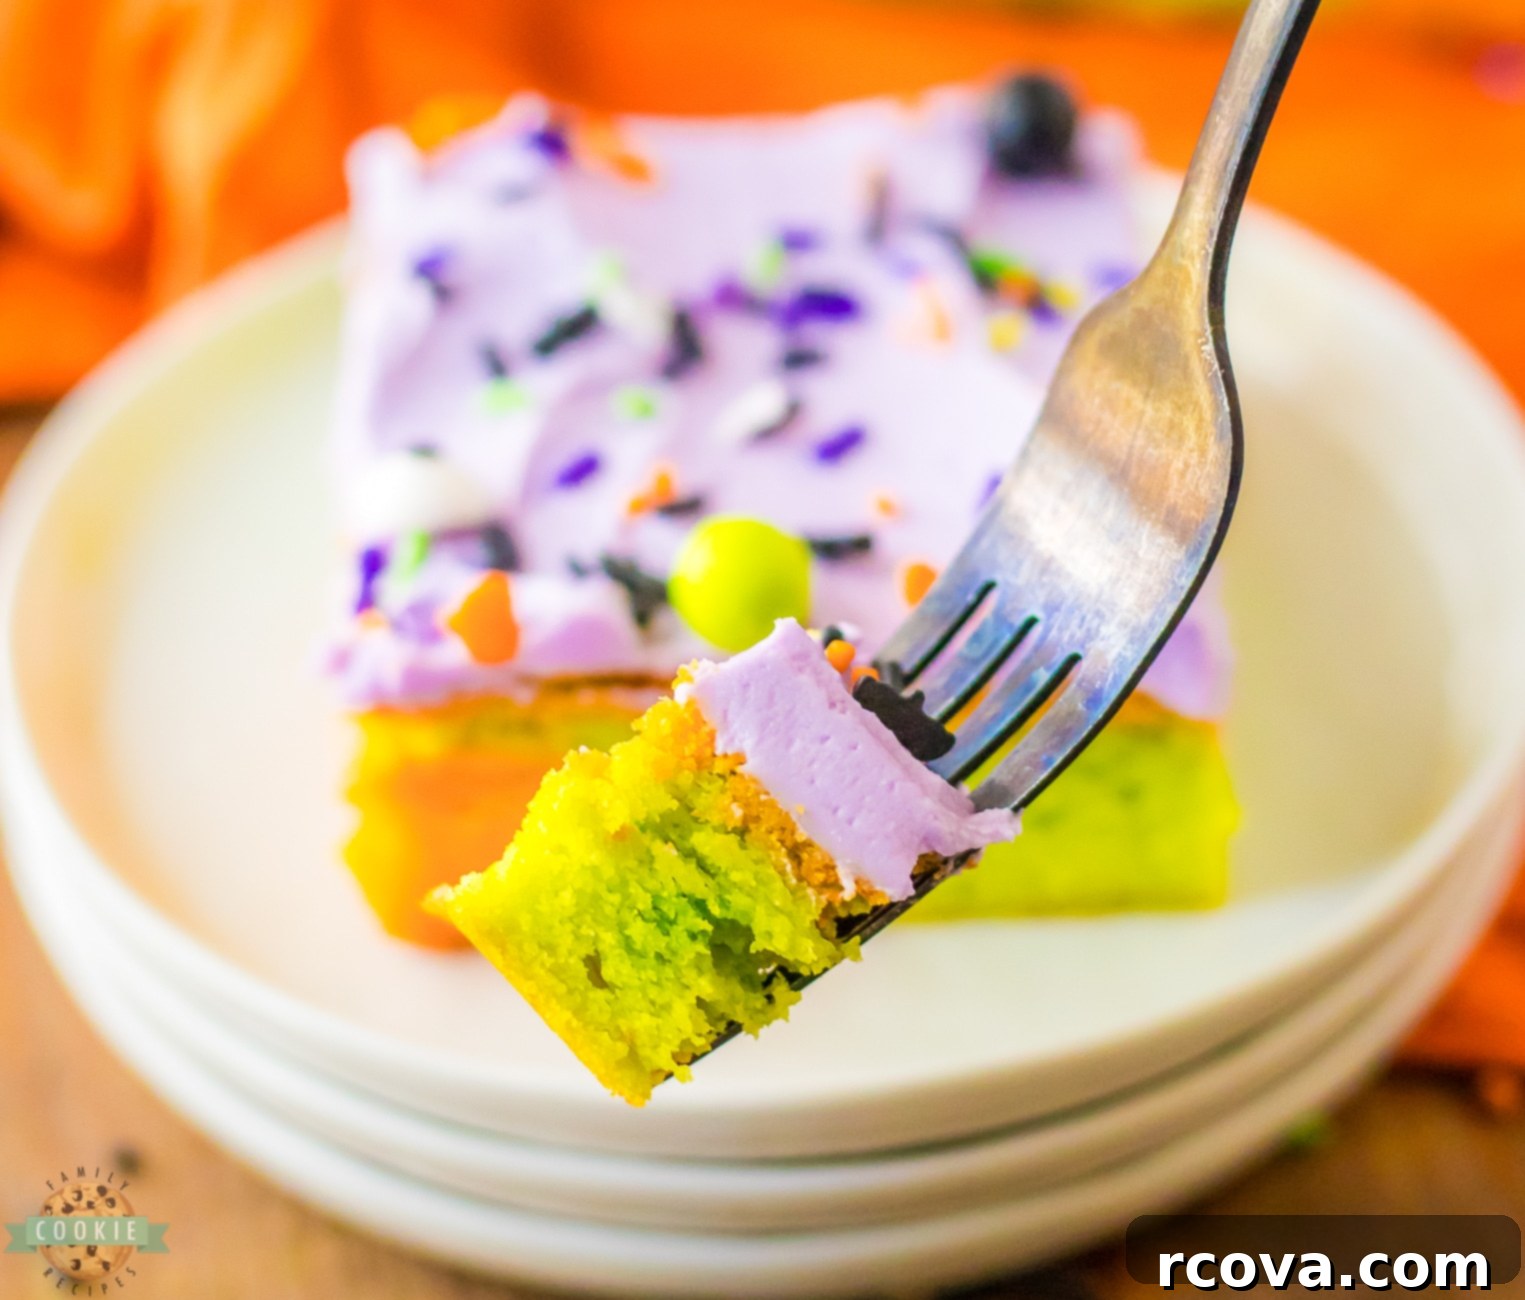
- Perfectly Portioned for Sharing: Unlike individual cookies that can be time-consuming to decorate one by one, these bars are baked in a single pan, making them incredibly efficient for large gatherings. They’re easy to slice into uniform portions, ideal for sharing with friends and family at Halloween parties, as thoughtful treats for co-workers, or as a special snack for school lunchboxes. The bar format also ensures each piece is thick and satisfying, packed with flavor from crust to frosting.
Essential Ingredients for Your Spooky Sugar Cookie Bars
Crafting the perfect chewy, flavorful sugar cookie bar begins with selecting high-quality ingredients. Each component plays a crucial role in achieving the desired texture and taste that makes these bars so irresistible.
- Butter (1 cup, softened): The cornerstone of any great cookie recipe, softened butter provides richness, moisture, and contributes significantly to the tender, melt-in-your-mouth texture of these bars. Using softened butter ensures it creams smoothly with the sugar, creating a light and airy base for the dough.
- Granulated Sugar (1 ½ cups): Essential for sweetness, sugar also helps tenderize the dough and contributes to the slightly crispy edges and chewy center we all love in a good cookie bar.
- Cream Cheese (3 oz, softened): This secret ingredient is what elevates these sugar cookie bars, lending an incredible softness, a subtle tang, and a wonderfully moist texture that sets them apart from traditional sugar cookies. Make sure it’s softened for smooth incorporation.
- Eggs (2 large): Eggs are vital binders in baking. They help hold all the ingredients together, add richness, and contribute to the structure and stability of the cookie bars as they bake.
- Vanilla Extract (1 tsp): A classic flavor enhancer, vanilla extract brings warmth and depth to the cookie dough, complementing the other ingredients beautifully.
- Almond Extract (1 tsp): For an extra layer of sophisticated flavor, almond extract adds a delightful nutty aroma and taste that pairs wonderfully with vanilla and makes these cookies truly special.
- Baking Powder (2 tsp): This leavening agent is crucial for giving the cookie bars a slight lift and a soft, cake-like texture as they bake, preventing them from becoming too dense.
- All-Purpose Flour (4 cups): The structural foundation of our cookie dough, flour provides the necessary body and consistency. Measuring accurately is key to avoid dry or overly dense bars.
- Food Coloring (Green and Orange drops): To achieve that iconic Halloween marbled effect, you’ll need a few drops of both green and orange food coloring. Gel food colorings are often preferred for their vibrant hues without altering dough consistency significantly.
For the Luscious Buttercream Frosting
No cookie bar is complete without a generous layer of creamy frosting! This vibrant purple buttercream adds both visual appeal and an extra touch of sweetness.
- Butter (½ cup, softened): Just like in the cookie dough, softened butter forms the rich, flavorful base of our buttercream, ensuring a smooth and luxurious texture.
- Powdered Sugar (3 cups): Also known as confectioners’ sugar, this fine sugar is essential for creating a smooth, thick, and perfectly sweet frosting that melts in your mouth.
- Vanilla Extract (1 tsp): Enhances the overall flavor profile of the frosting, adding a classic sweetness that complements the cookie bars.
- Almond Extract (½ tsp): A smaller amount of almond extract in the frosting ties into the cookie bar’s flavor, creating a cohesive and delightful taste experience.
- Purple Food Coloring (2-3 drops): A few drops of purple food coloring transform the frosting into a wonderfully spooky and festive topping, perfect for Halloween.
- Halloween Sprinkles: The final touch! A generous scattering of Halloween-themed sprinkles adds a burst of color, texture, and undeniable festive cheer to your finished cookie bars.
How to Make Spooky & Delicious Halloween Sugar Cookie Bars: A Step-by-Step Guide
Follow these detailed instructions to create a batch of perfectly chewy, colorful, and festive Halloween sugar cookie bars.
1. Preparation is Key
Begin by setting your oven to preheat to a steady 350°F (175°C). While the oven heats, take a quarter baker’s sheet pan (approximately 9×13 inches) and line it generously with parchment paper. Ensure the parchment paper extends slightly over the edges, creating “handles” that will make it easier to lift the cooled bars out later. Set this prepared pan aside. This simple step is vital for easy cleanup and preventing sticking.
2. Crafting the Marbled Cookie Batter
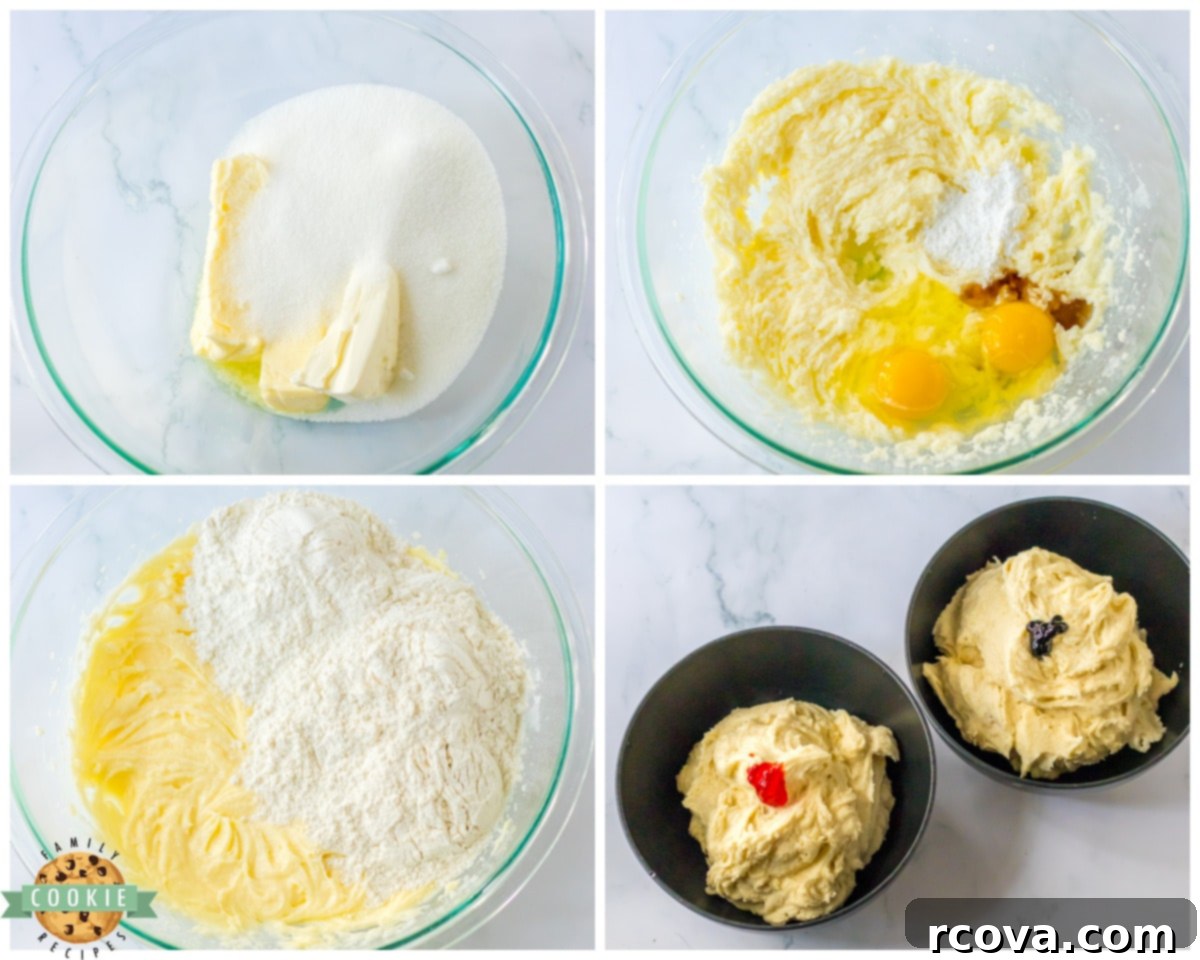
In a large mixing bowl, using an electric mixer fitted with the paddle attachment, cream together the softened butter, granulated sugar, and softened cream cheese. Beat these ingredients on medium speed until the mixture becomes wonderfully light, fluffy, and well-combined. This creaming process incorporates air, contributing to the soft texture of the bars.
Next, crack in the two eggs, then add the vanilla extract and almond extract. Continue mixing on medium speed until all these wet ingredients are thoroughly combined and smooth. Be careful not to overmix at this stage.
With the mixer on low speed, gradually add the baking powder and the all-purpose flour to the wet ingredients. Mix until the flour is just incorporated and no dry streaks remain. It’s crucial not to overmix the dough once the flour is added, as this can lead to tough, dense cookie bars. Mix only until just combined.
Now for the fun Halloween transformation! Divide the prepared cookie dough evenly into two separate bowls. Add a few drops of green food coloring to one bowl and a few drops of orange food coloring to the other. Gently mix each bowl until the colors are uniform and vibrant. Avoid overmixing once again.
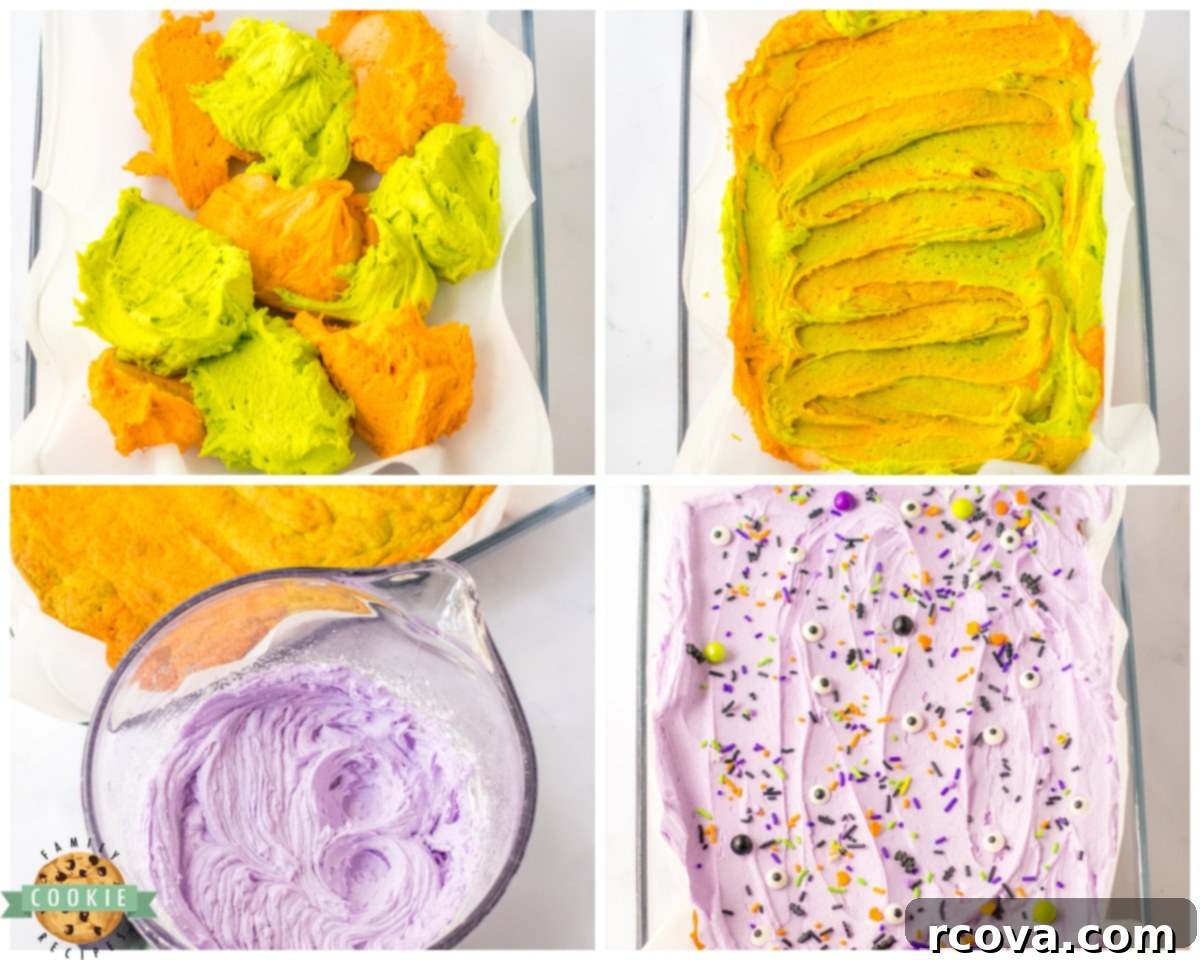
Take your parchment-lined baking pan. Using a spoon or small cookie scoop, alternate placing dollops of the green and orange dough evenly across the bottom of the pan. Once all the dough is dolloped, take a butter knife or a skewer and gently swirl the colors together. Don’t overdo the swirling; you want distinct marbled patterns, not a completely blended color. This creates the beautiful spooky effect.
3. Baking for Perfection
Carefully place the pan with the marbled cookie dough into your preheated 350°F (175°C) oven. Bake for approximately 15 to 20 minutes, or until the edges are lightly golden and a toothpick inserted into the center comes out with moist crumbs (not wet batter). The center may still appear slightly soft, which is perfect for maintaining a chewy texture. Overbaking will result in dry, hard bars. Once baked, remove the pan from the oven and allow the cookie bars to cool completely on a wire rack before attempting to frost them. Cooling thoroughly prevents the frosting from melting and sliding off.
4. Preparing the Vibrant Buttercream Frosting
While the cookie bars are cooling, prepare your rich buttercream frosting. In a medium-sized mixing bowl, again using an electric mixer, combine the softened butter, powdered sugar, vanilla extract, almond extract, and purple food coloring. Start on low speed to incorporate the powdered sugar, then increase to medium-high speed and whip the ingredients until the frosting is smooth, light, and wonderfully fluffy. If the frosting seems too thick, you can add a tiny splash of milk or cream, one teaspoon at a time, until you reach your desired consistency. If it’s too thin, add a bit more powdered sugar.
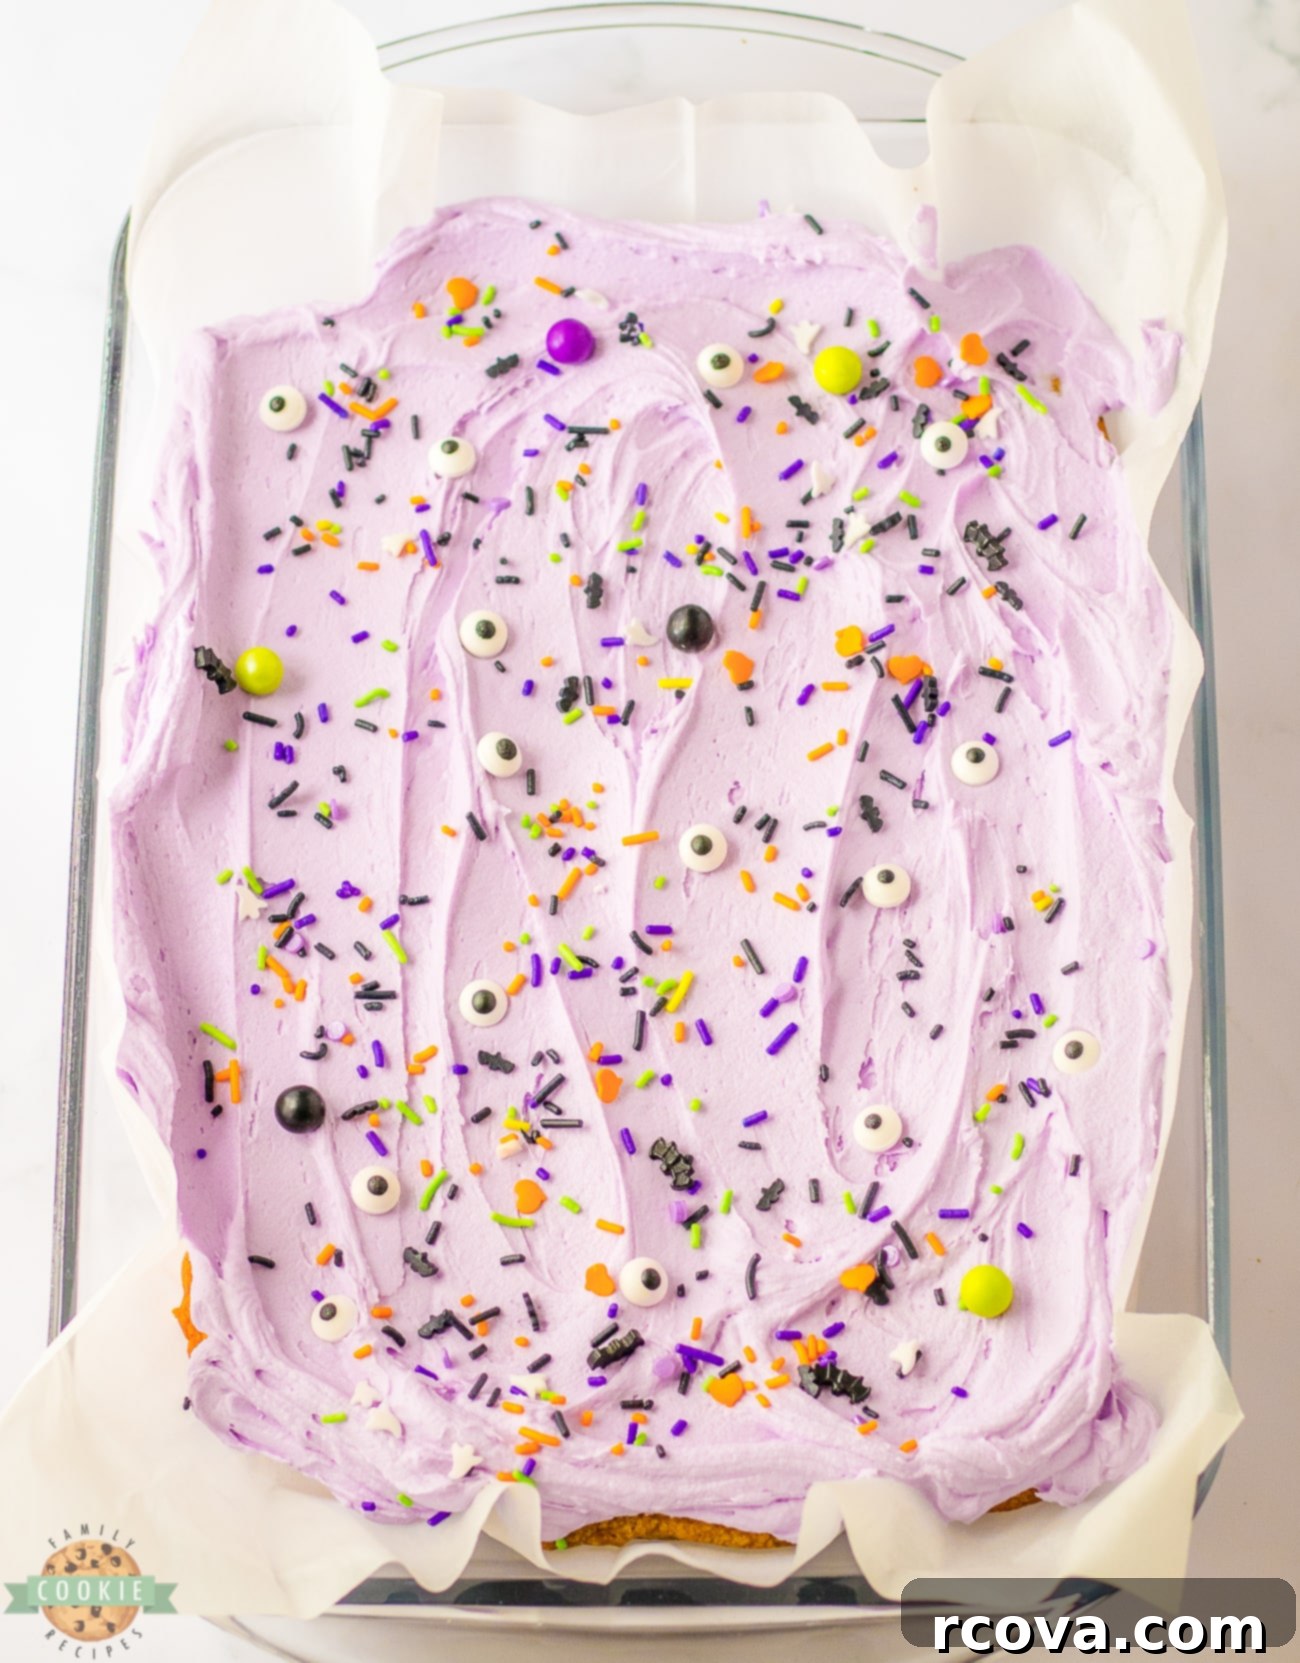
Once your cookie bars are completely cool to the touch, generously spread the whipped purple buttercream frosting evenly over the entire surface. Use an offset spatula or the back of a spoon for a smooth finish.
Finally, complete your Halloween masterpiece by sprinkling the festive Halloween sprinkles all over the top of the frosted bars. Don’t be shy – more sprinkles mean more fun! Now, with your creation complete, carefully slice the bars into squares or rectangles, serve them to your eager guests, and enjoy the delightful flavors and spooky charm!
Creative Variations to Elevate Your Halloween Sugar Cookie Bars
One of the best things about this Halloween sugar cookie bar recipe is its adaptability. You can easily customize it to suit your personal taste, theme, or the ingredients you have on hand. Here are some exciting ideas for variations to make your cookie bars even more unique and spectacular:
- Candy Corn Cookie Bars: For a true autumnal feel, press a single layer of candy corn onto the top of the cookie dough (after swirling colors) before baking. The candy corn will soften slightly in the oven, adding a unique texture and unmistakable Halloween flavor. Top with classic vanilla or orange-tinted frosting.
- Pumpkin Spice Cookie Bars: Infuse your bars with the warm, cozy flavors of fall by adding 1-2 teaspoons of pumpkin pie spice to the cookie dough along with the flour. This variation is particularly delightful when topped with a rich cream cheese frosting (made by adding 4 oz softened cream cheese to the buttercream recipe) for extra indulgence and a complementary tangy sweetness.
- Monster Mash Cookie Bars: Turn your bars into a monstrously fun treat! Before baking, mix in colorful candy eyeballs and a variety of monster-themed sprinkles directly into the dough or press them on top. After baking and frosting, add more candy eyeballs and sprinkles for a truly “mashed-up” look that kids will adore.
- Spiderweb Cookie Bars: Create an artistic, eerie effect by dying the entire cookie dough black with food coloring (you might need a significant amount of gel coloring). After baking and frosting with white buttercream, use black icing (from a tube or a piping bag with a very thin tip) to draw concentric circles. Then, drag a toothpick from the center outwards to create a classic spiderweb design. Add a plastic spider or a candy spider for extra spookiness.
- Graveyeard Cookie Bars: Bake chocolate-flavored cookie bars. Once cooled and frosted with grey-tinted buttercream (use a tiny bit of black food coloring), crumble chocolate cookies on top for “dirt.” Use Milano cookies or similar as “gravestones,” writing “RIP” with icing. Add gummy worms or candy bones for a spooky graveyard scene.
- Witch’s Brew Swirl: Instead of orange and green, use vibrant green and dark purple food coloring for the dough. Swirl them together and top with bright green frosting and “bubble” sprinkles or green sugar crystals to resemble a witch’s cauldron.
Halloween Sugar Cookie Bar Recipe
Print Recipe
Pin Recipe
Rate This Recipe
Ingredients
For the Cookie Bars
- 1 cup Unsalted Butter (2 sticks), softened
- 1 ½ cups Granulated Sugar
- 3 oz Cream Cheese softened
- 2 Large Eggs
- 1 tsp Vanilla Extract
- 1 tsp Almond Extract
- 2 tsp Baking Powder
- 4 cups All-Purpose Flour
- 2-3 drops Green Food Coloring (gel recommended)
- 2-3 drops Orange Food Coloring (gel recommended)
For the Creamy Buttercream Frosting
- ½ cup Unsalted Butter (1 stick), softened
- 3 cups Powdered Sugar
- 1 tsp Vanilla Extract
- ½ tsp Almond Extract
- 2-3 drops Purple Food Coloring (gel recommended)
- Halloween Sprinkles for topping
Instructions
-
Prepare: Preheat your oven to 350°F (175°C). Line a quarter baker’s sheet pan (or a 9×13 inch pan) with parchment paper, allowing some overhang on the sides for easy removal. Set aside.
-
Make Cookie Dough: In a large mixing bowl, using an electric mixer, cream together the softened butter, granulated sugar, and softened cream cheese until the mixture is light and fluffy, about 2-3 minutes.
-
Add the eggs one at a time, mixing well after each addition. Stir in the vanilla extract and almond extract until just combined.
-
In a separate bowl, whisk together the flour and baking powder. Gradually add the dry ingredients to the wet ingredients, mixing on low speed until just combined. Be careful not to overmix.
-
Color & Swirl: Divide the dough evenly into two separate bowls. Add green food coloring to one bowl and orange food coloring to the other. Mix each bowl gently until the color is uniform.
-
Drop alternating dollops of green and orange dough onto the parchment-lined pan. Gently swirl the colors together with a butter knife or skewer to create a marbled effect.
-
Bake: Bake for 15-20 minutes, or until the edges are lightly golden and the center is set but still soft. Remove from the oven and let cool completely on a wire rack before frosting.
-
Frost: While the bars cool, make the frosting. In a medium mixing bowl, combine the softened butter, powdered sugar, vanilla extract, almond extract, and purple food coloring. Whip with an electric mixer until smooth and fluffy.
-
Once cookie bars are completely cool, spread the purple buttercream frosting evenly over the top. Immediately sprinkle with Halloween sprinkles. Slice, serve, and enjoy your festive treats!
Notes
Nutrition Information (Estimated)
Tips for Preventing Cracks in Your Halloween Sugar Cookie Bars
Achieving perfectly smooth and uncracked cookie bars is simple with a few careful techniques. Cracks usually occur from overmixing or improper cooling. To prevent your festive Halloween sugar cookie bars from cracking and ensure a beautiful, smooth surface for your frosting, remember these crucial tips:
- Do Not Overmix the Dough: This is arguably the most important tip. Once you add the flour, mix only until the ingredients are just combined and no dry streaks remain. Overmixing develops the gluten in the flour, leading to a tougher, more elastic dough that is prone to cracking as it bakes and cools. Use a light hand and stop mixing as soon as the flour is incorporated.
- Ensure Even Spreading: When placing the dollops of colored dough into the pan, make an effort to spread them as evenly as possible. This ensures uniform thickness, which promotes even baking. If some parts are thinner than others, they will bake faster and dry out, increasing the likelihood of cracks. You can gently press the dough down with your hands (lightly floured) or the back of a spatula to achieve an even layer.
- Avoid Overbaking: Keep a close eye on your cookie bars in the oven. Bake them just until the edges are lightly golden and the center is set but still looks slightly soft. Overbaking will dry out the bars, making them stiff and highly susceptible to cracking upon cooling.
- Cool Completely and Gradually: After removing the cookie bars from the oven, resist the urge to cut or move them immediately. Allow them to cool completely in the pan on a wire rack at room temperature. A gradual cool-down helps the bars settle and firm up without cracking. Attempting to cut warm bars will almost certainly result in crumbling and cracking.
- Room Temperature Ingredients: Always ensure your butter, cream cheese, and eggs are at room temperature. This allows them to cream together smoothly, creating an emulsified batter that bakes evenly and maintains a tender texture, reducing the risk of cracks.
How Long Do Halloween Sugar Cookie Bars Stay Fresh?
These delectable Halloween sugar cookie bars are quite resilient when it comes to freshness! When stored correctly in an airtight container at room temperature, they will maintain their delicious taste and soft texture for up to 3 to 4 days. However, for the absolute best taste and chewy texture, it is highly recommended to enjoy them within the first 2 days after baking. The frosting will remain creamy, and the cookie base moist and flavorful during this period.
Optimal Storage Methods for Your Halloween Sugar Cookie Bars
Proper storage is essential to keep your spooky treats tasting their best. Here’s how to store your Halloween sugar cookie bars:
- Room Temperature Storage: For short-term storage (up to 3-4 days), always place your cookie bars in an airtight container at room temperature. Make sure the container is completely sealed to prevent the bars from drying out and absorbing other odors. If your kitchen is particularly warm, you might consider refrigerating them, but they are generally best at room temperature for texture.
- Refrigeration: If you’re concerned about the frosting melting in a warm environment, or if you prefer a firmer bar, you can refrigerate them. Place them in an airtight container and store them in the refrigerator for up to a week. Before serving, allow them to come to room temperature for about 15-30 minutes to restore their optimal soft, chewy texture.
- Freezing for Longer Shelf Life: To enjoy your Halloween sugar cookie bars for an extended period, they freeze beautifully for up to 2-3 months. For best results, first cut the cooled and frosted bars into individual squares. Wrap each bar tightly in plastic wrap, then place the wrapped bars in a freezer-safe airtight container or a heavy-duty freezer bag. This double layer of protection prevents freezer burn and keeps them fresh. When ready to enjoy, simply remove the desired number of bars from the freezer and let them thaw at room temperature for an hour or two.
Common Mistakes to Avoid for Cookie Bar Success
Baking can be an art and a science, and even simple recipes like sugar cookie bars can have pitfalls. By being aware of these common mistakes, you can ensure your Halloween sugar cookie bars turn out perfectly every time:
- Overmixing the Dough: As mentioned, this is a top culprit for tough, dry bars. Once you add the flour, mix only until just combined. The gluten in flour develops rapidly with excessive mixing, leading to a dense, chewy texture (not in a good way!) instead of soft and tender.
- Not Using Room Temperature Ingredients: Softened butter, cream cheese, and eggs at room temperature emulsify better, creating a smooth, uniform batter. Cold ingredients will lead to a lumpy dough and an inconsistent texture in the baked bars. Plan ahead and take them out of the fridge at least 30 minutes to an hour before baking.
- Using Too Much or Too Little Flour: Accuracy in measuring flour is critical. Too much flour will result in dry, crumbly bars, while too little can make them too soft or spread too much. Use a kitchen scale for precision, or the “spoon and level” method if using measuring cups (spoon flour into the cup, then level off with a straight edge).
- Not Measuring Ingredients Accurately: Baking is chemistry. Precision matters. Ensure all ingredients, especially leavening agents like baking powder, are measured precisely according to the recipe to get the desired results.
- Not Letting the Bars Cool Completely Before Cutting: Warm bars are fragile and prone to crumbling and cracking. Patience is a virtue here! Allow the bars to cool completely on a wire rack before frosting and slicing. This ensures clean cuts and a stable surface for your decorations.
- Overbaking the Bars: This is another common mistake that leads to dry, hard, and sometimes cracked cookie bars. Sugar cookie bars should be baked until just set, with lightly golden edges. The center might look slightly underdone, but it will continue to cook slightly as it cools and result in a wonderfully chewy bar.
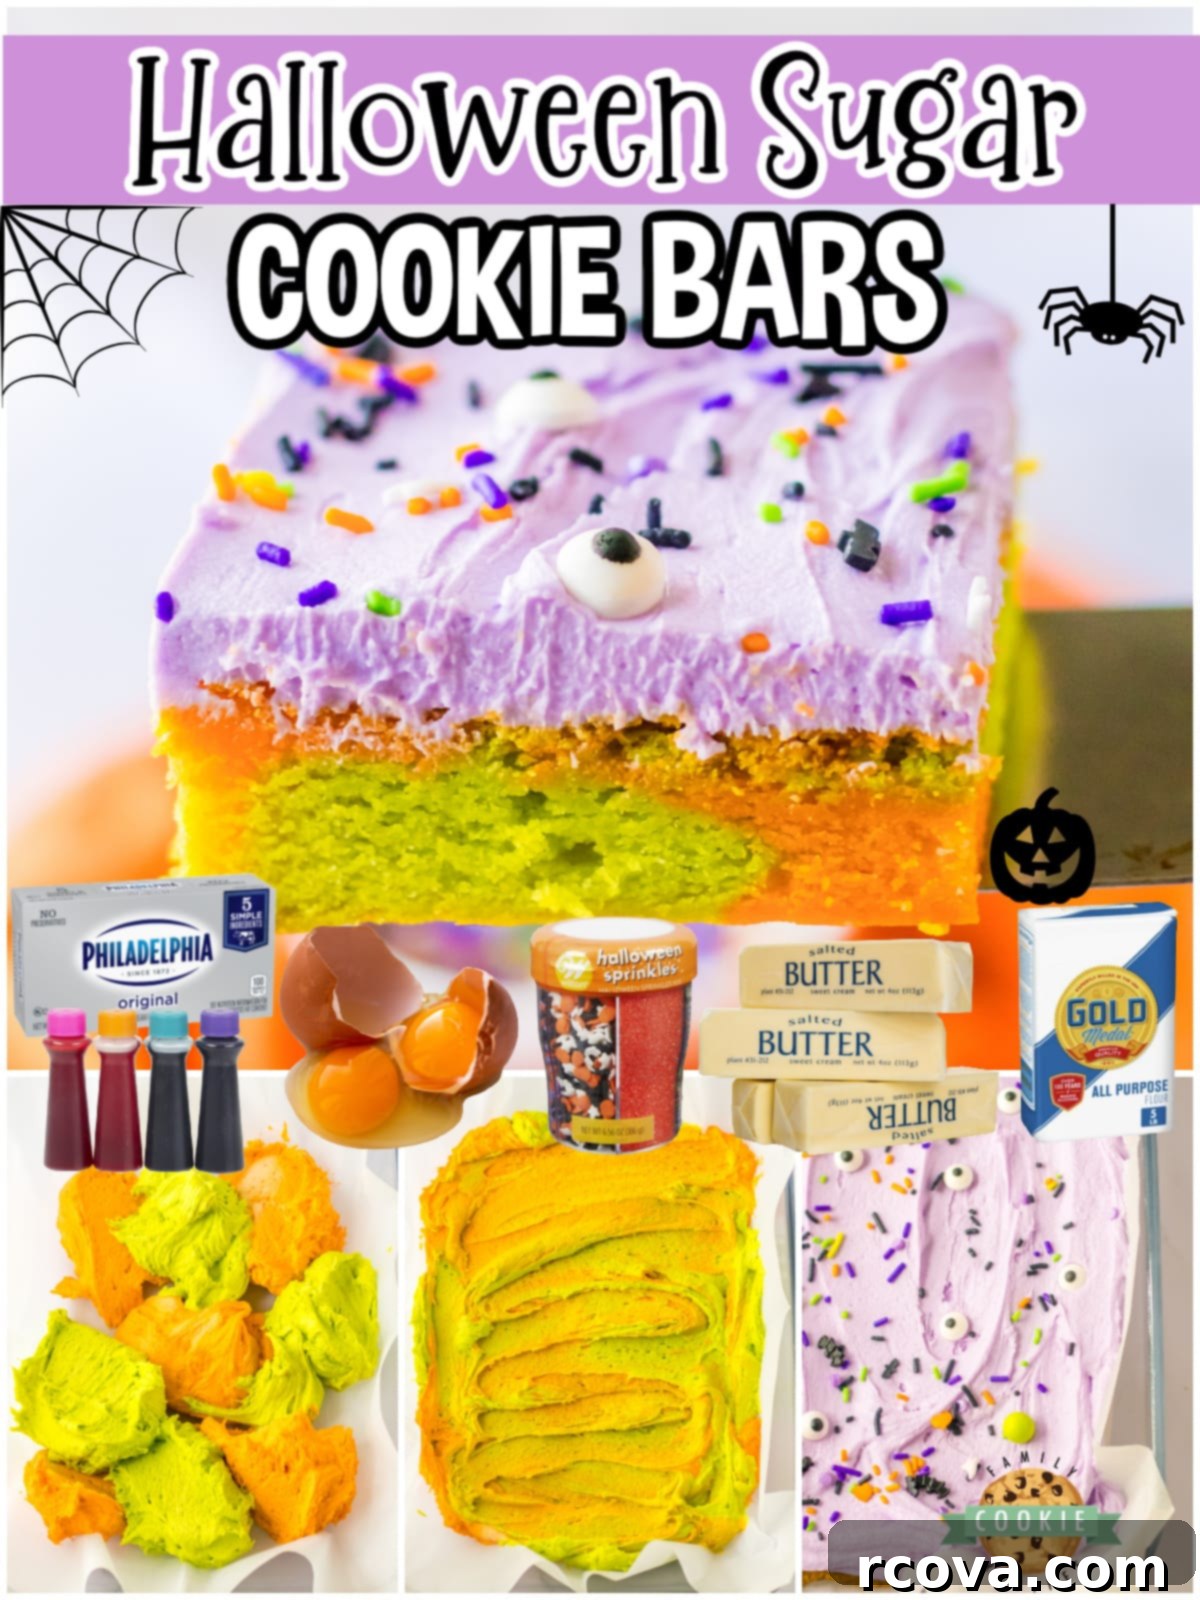
Need More Spooky & Sweet Halloween Treat Ideas? Try These Tasty Recipes:
If you’re looking to expand your repertoire of Halloween desserts, these other festive recipes are sure to be a hit:
- HALLOWEEN SPRINKLE COOKIES
- M&M HALLOWEEN COOKIES
- HALLOWEEN COBWEB COOKIES
- CARAMEL APPLE SNICKERDOODLES
- PUMPKIN PUDDING COOKIES
- HALLOWEEN FUNFETTI COOKIES
- ICED PUMPKIN COOKIES
- SPICED APPLE COOKIES
- PUMPKIN SNICKERDOODLES
- PUMPKIN CHEESECAKE GINGER COOKIES
- APPLE PIE COOKIES
In conclusion, these **Halloween Sugar Cookie Bars** are more than just a dessert; they’re an invitation to get creative and have some spirited fun in the kitchen. With their wonderfully chewy, marbled cookie base, rich purple **buttercream frosting**, and explosion of colorful festive sprinkles, they are an undeniable hit with both adults and kids alike. Simple to make yet impressively festive, these bars are the perfect addition to any Halloween celebration, making your spooky season deliciously unforgettable!
