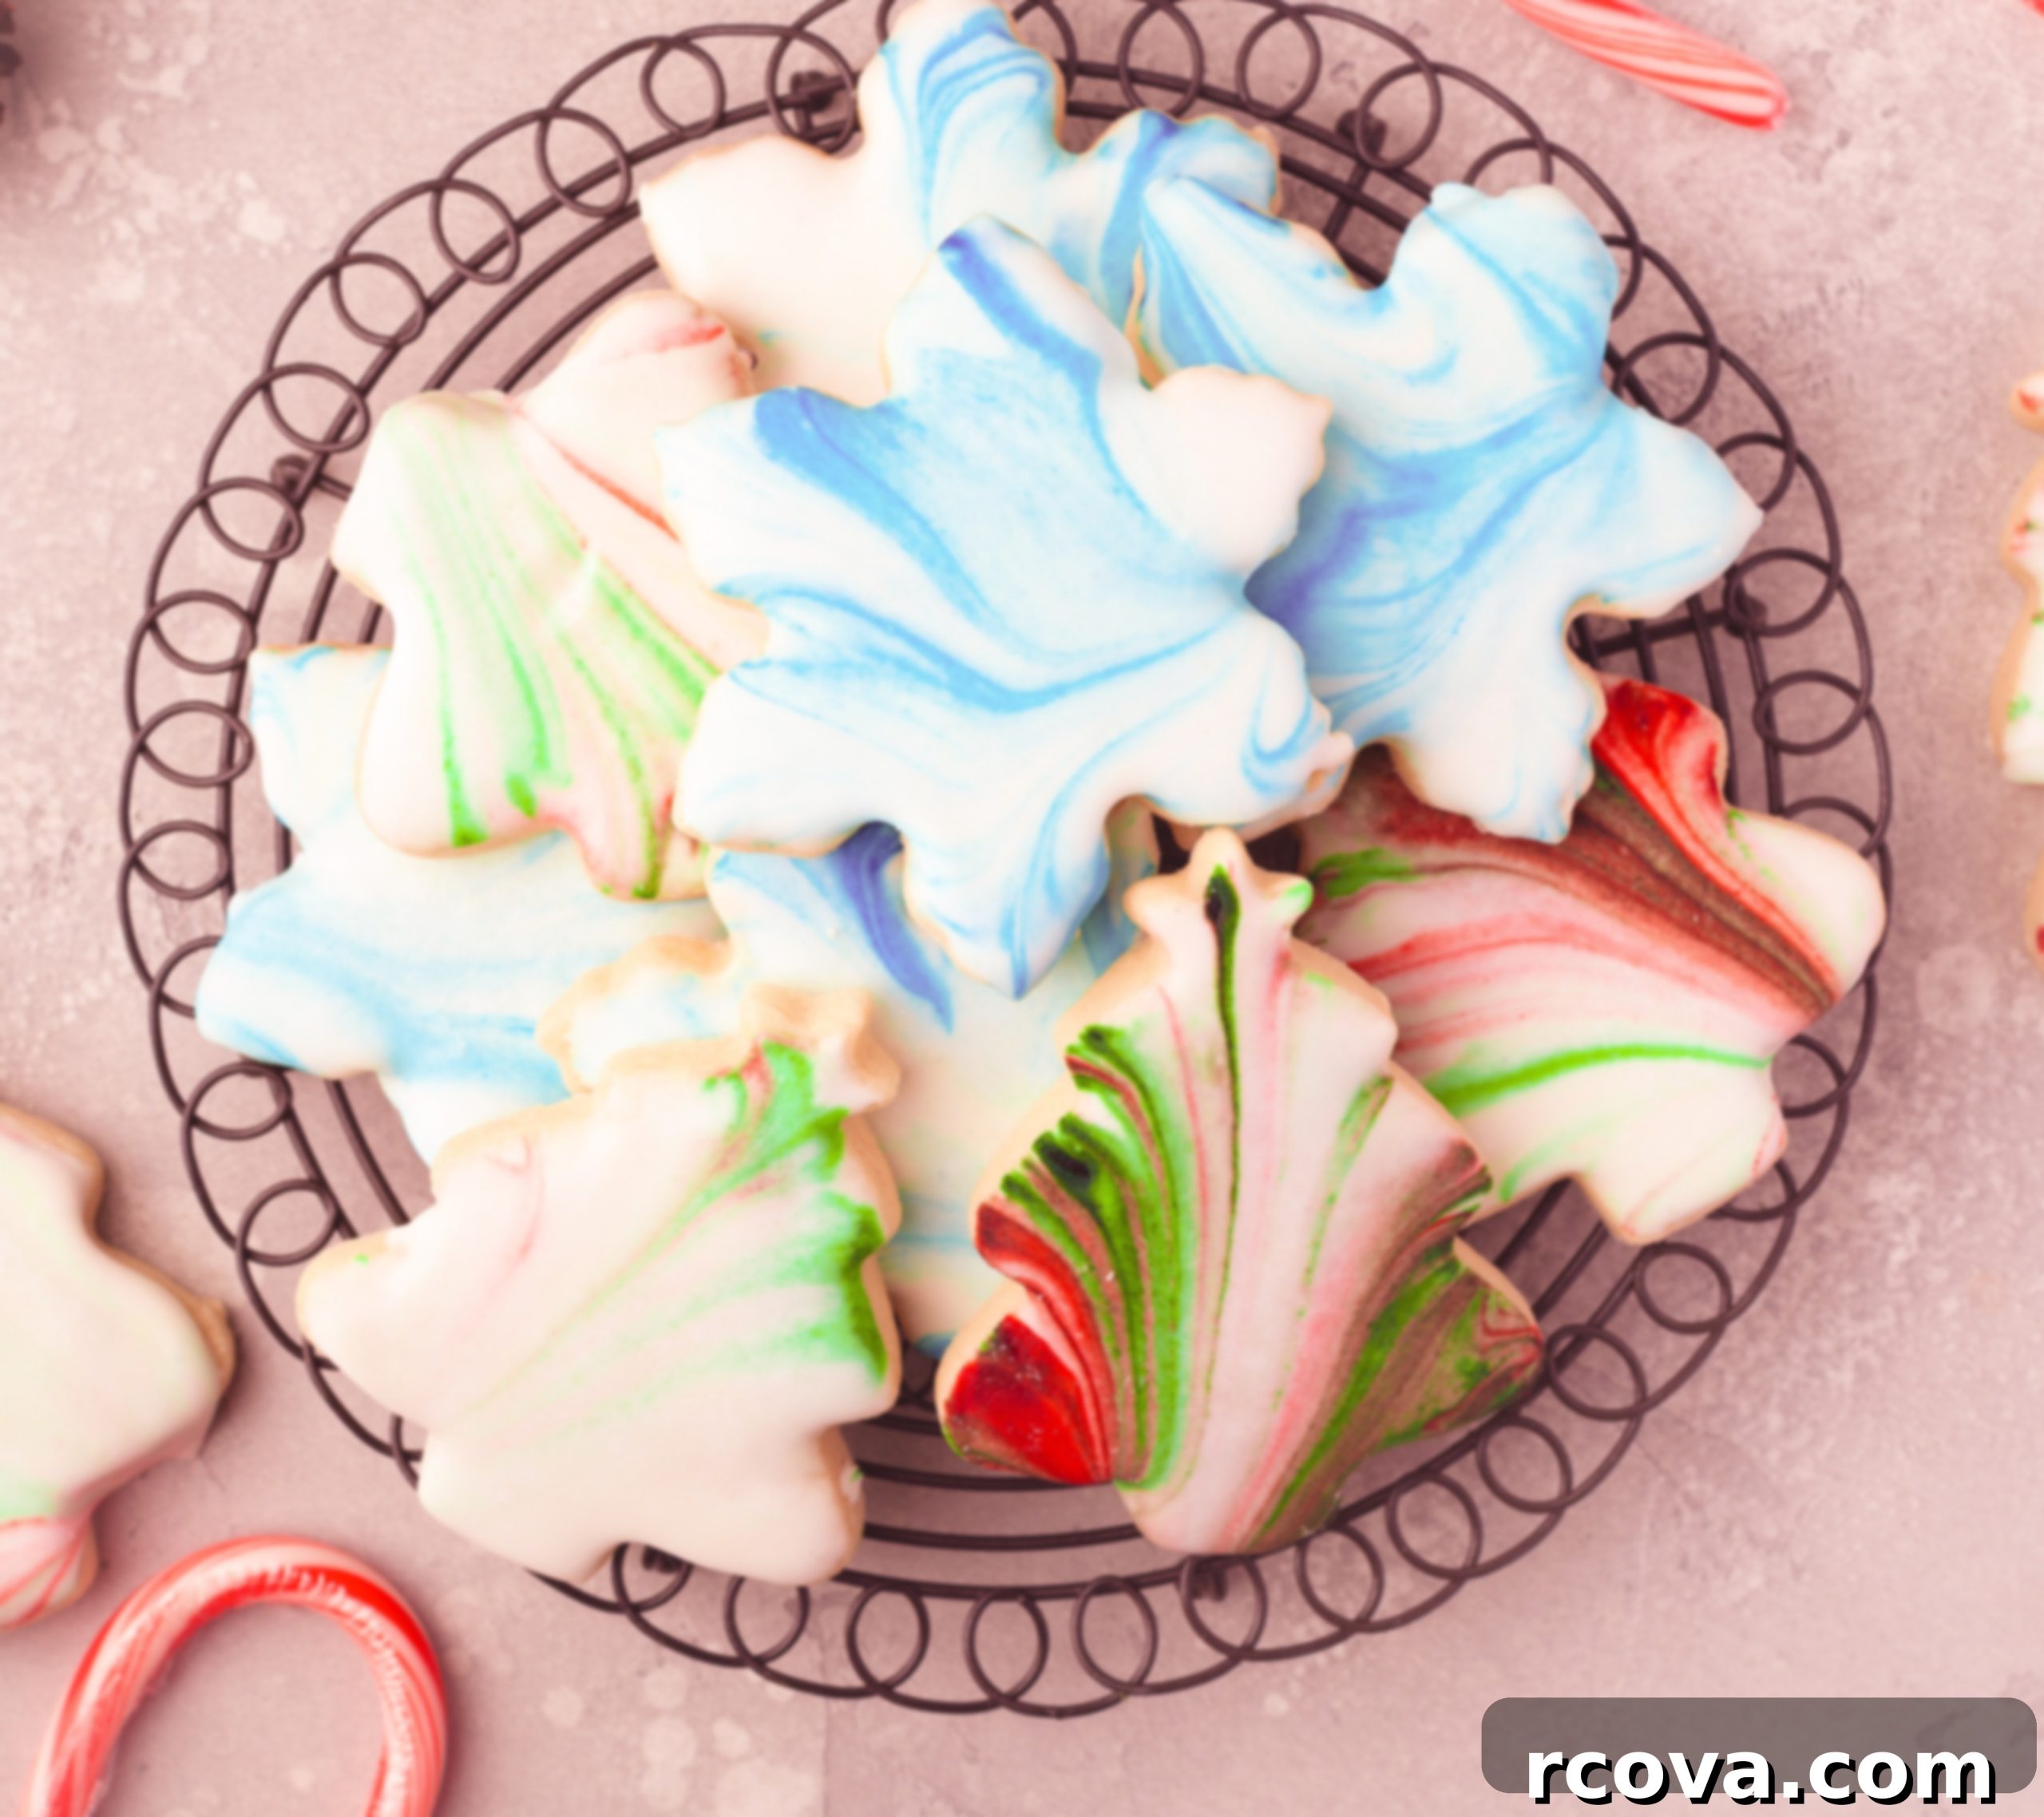
Easy Marbled Christmas Sugar Cookies with Royal Icing: A Festive & Flavorful Treat
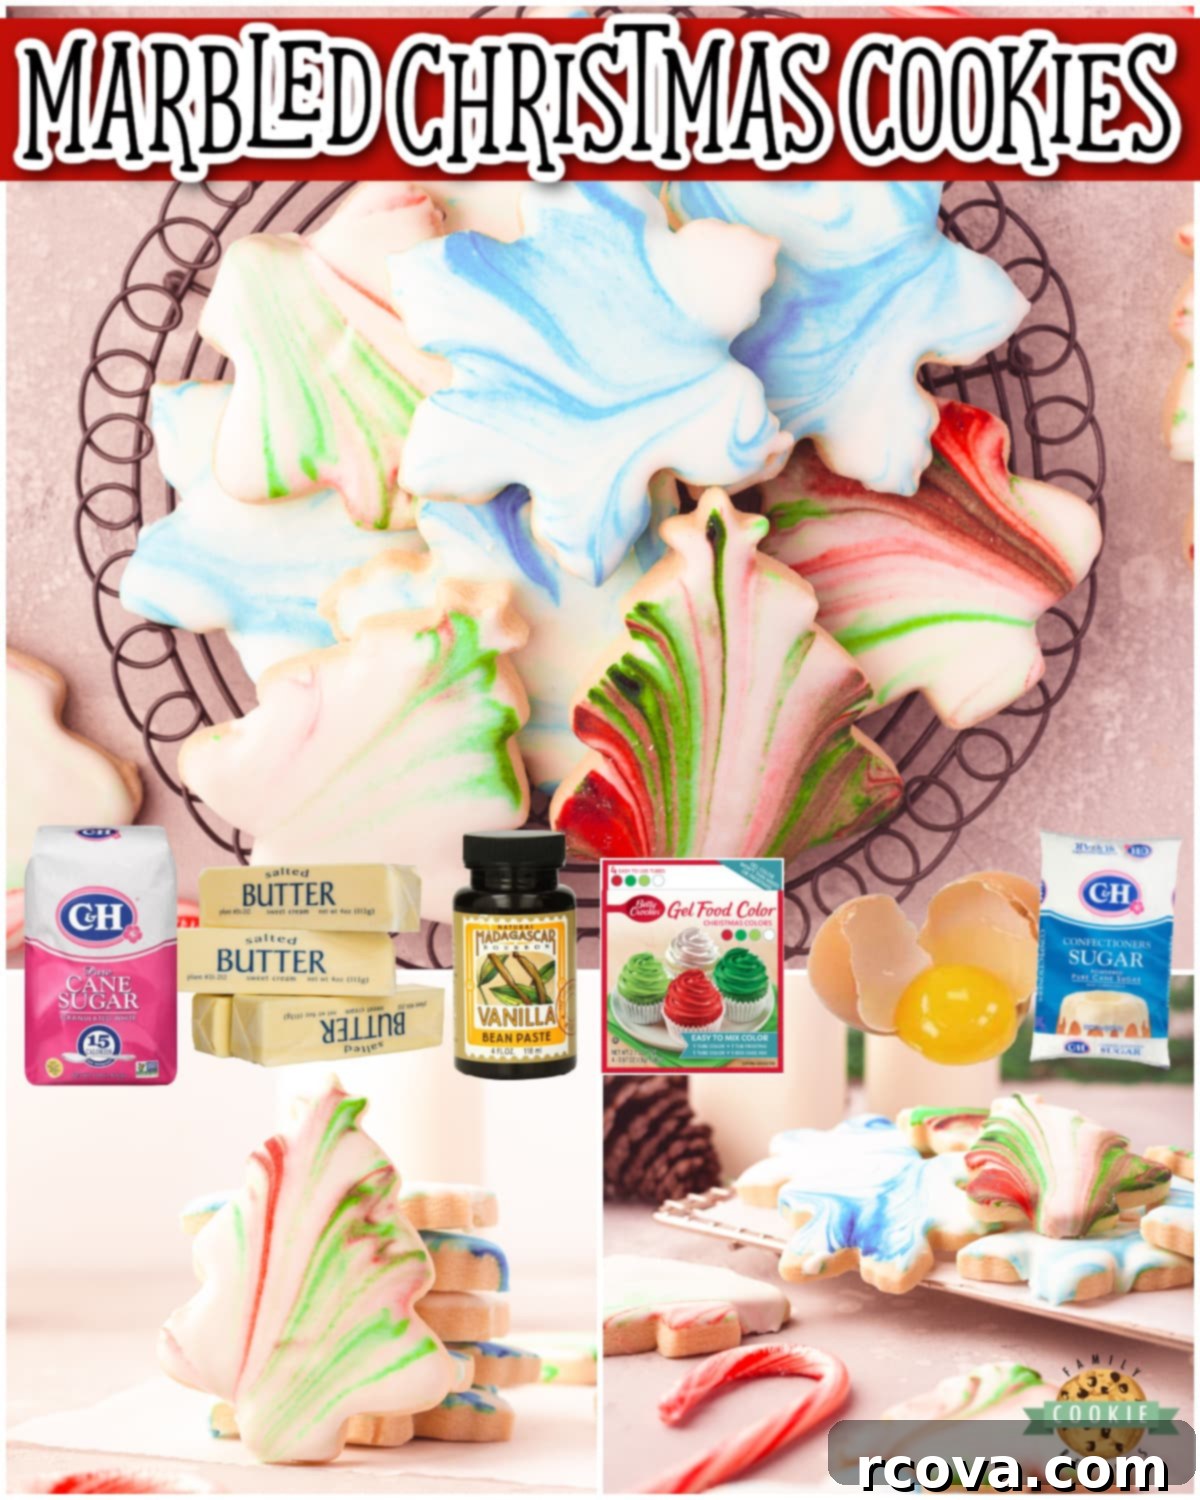
Get ready to add a touch of magic to your holiday season with these exquisite Marbled Christmas Cookies! These aren’t just any ordinary festive treats; they are tender, buttery sugar cookies elegantly dipped in shimmering royal icing, adorned with beautiful swirls of color that create a truly unique marbled effect. Perfect for gifting, sharing, or simply indulging, these cookies are as delightful to look at as they are to eat.
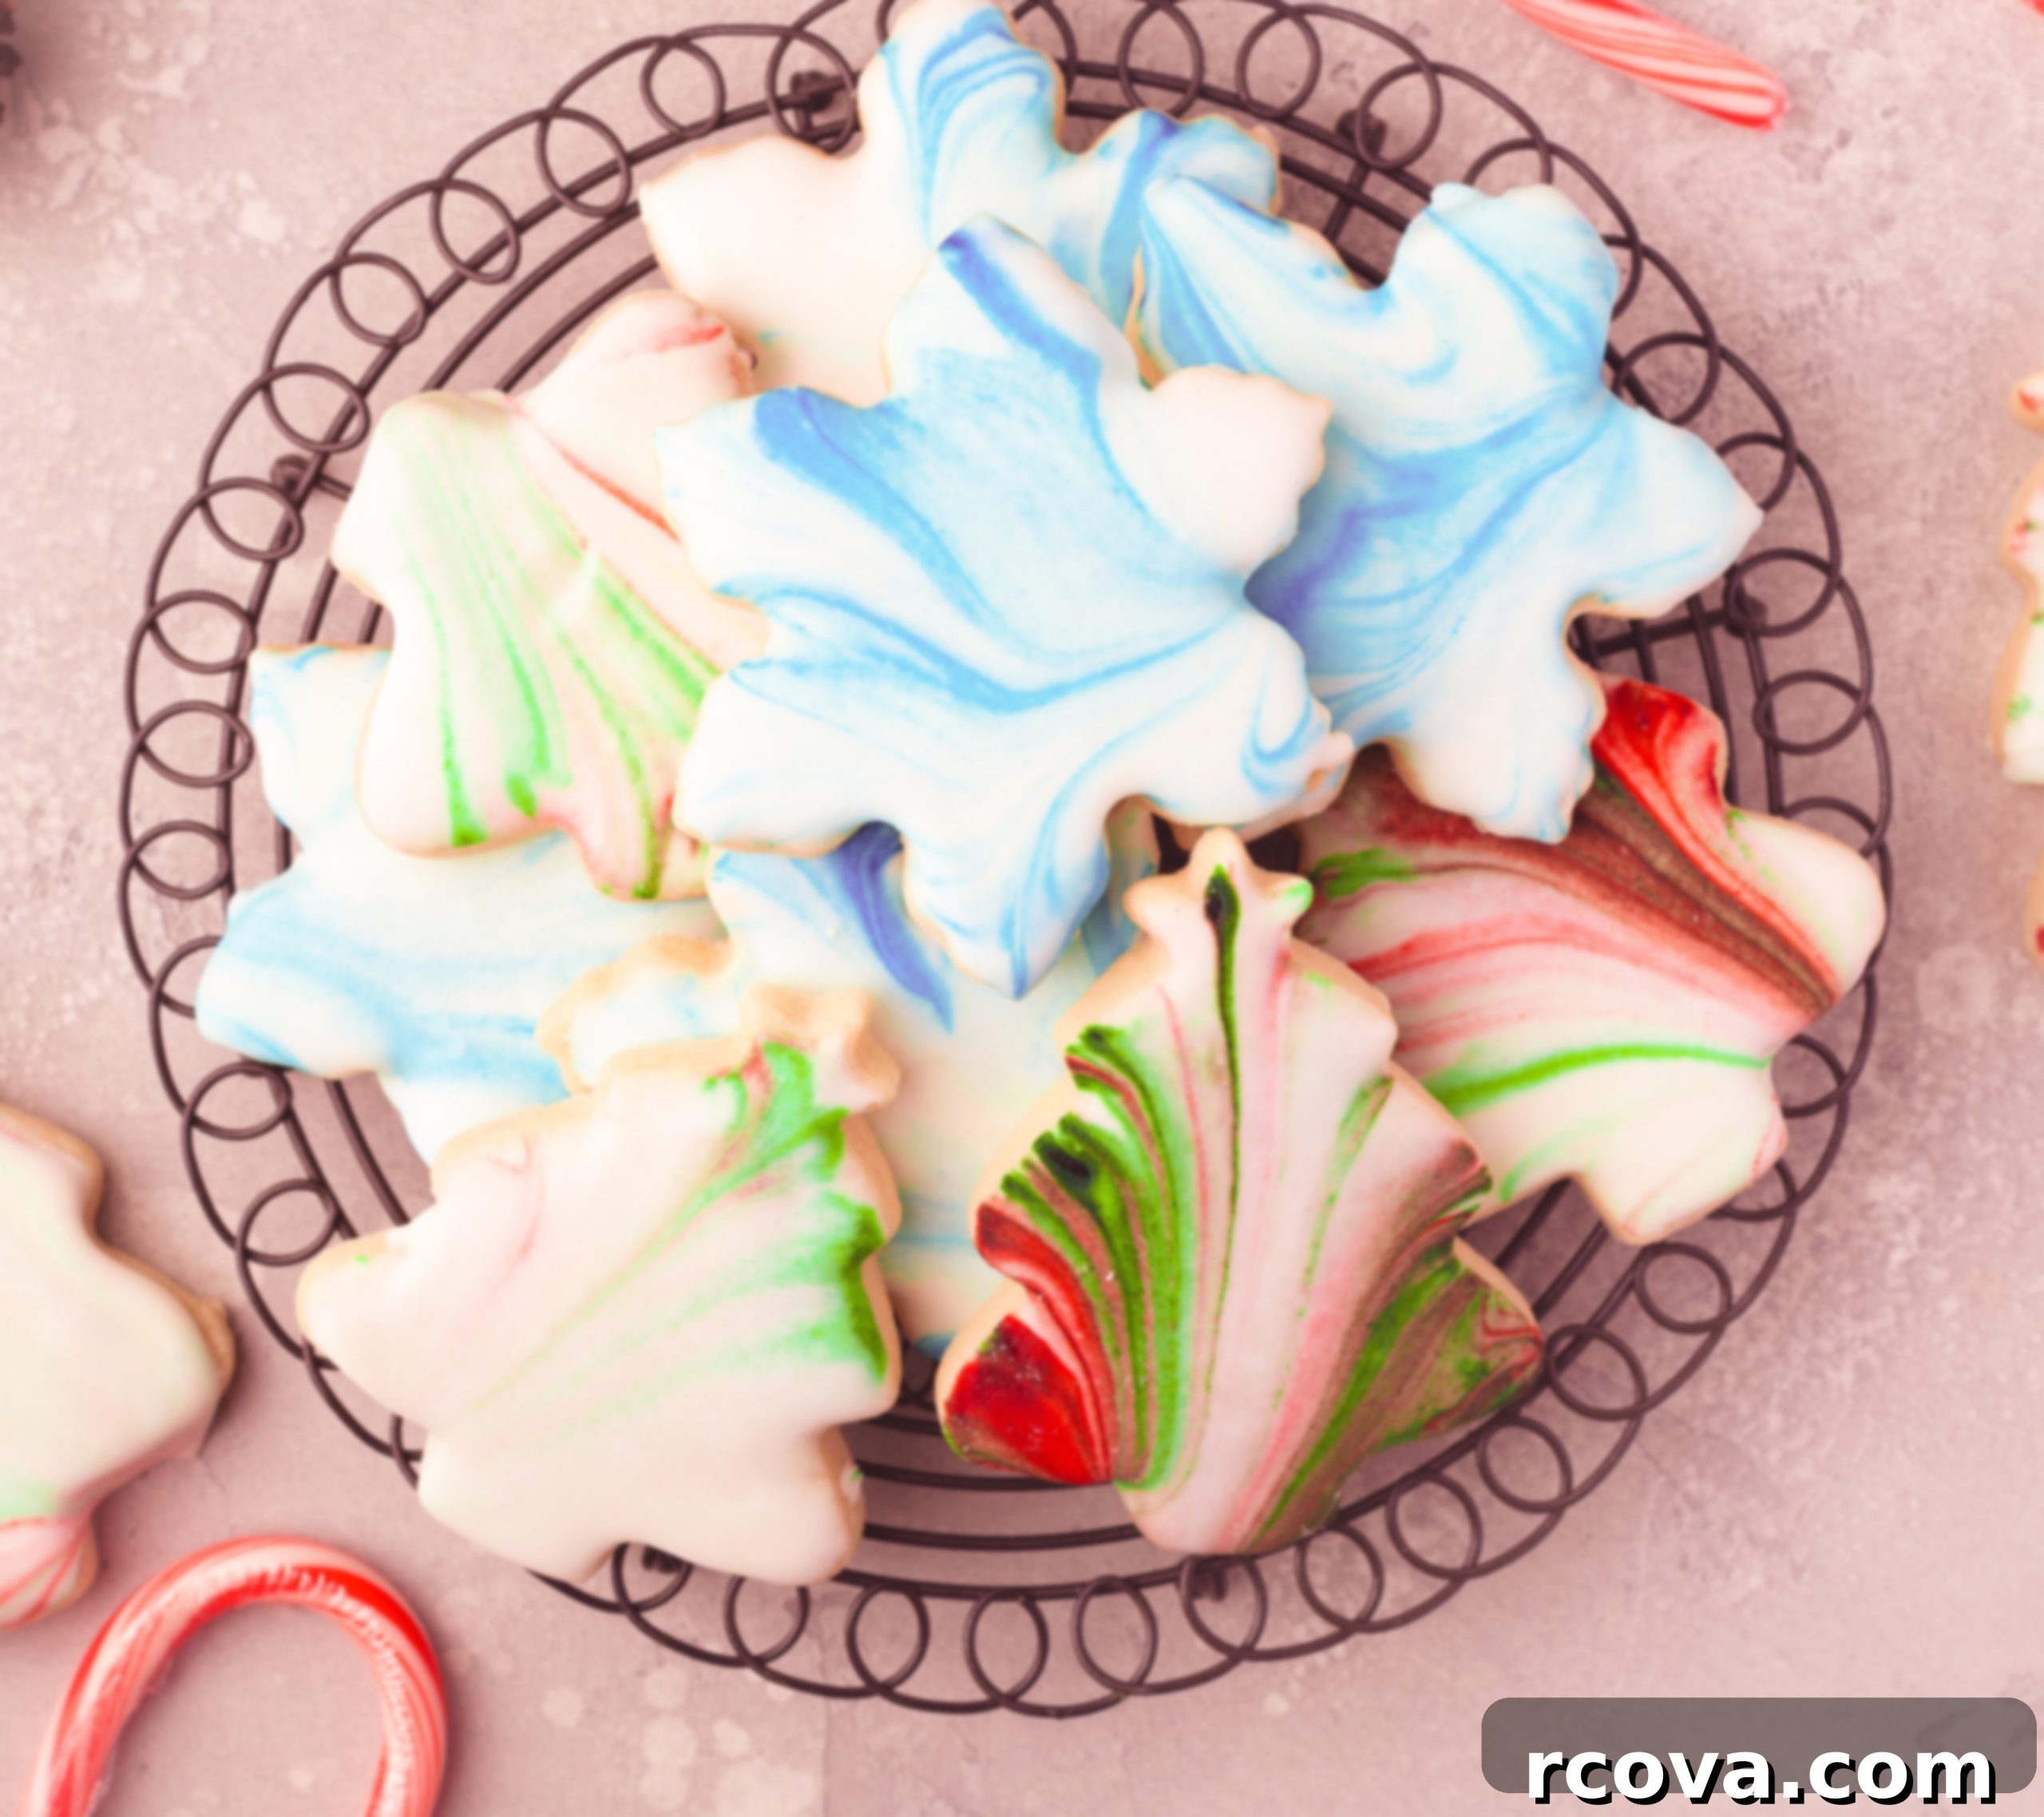
If you’re searching for truly unique Christmas cookies that will stand out on any holiday dessert platter, then your search ends here. This recipe offers a fantastic way to elevate classic sugar cookies into edible works of art. The secret lies in the distinct marbled royal icing, which gives each cookie a sophisticated, custom-designed appearance that’s sure to impress everyone who sees (and tastes!) them. They’re more than just a dessert; they’re a conversation starter.
Marbled Icing Cookies: A Festive & Delicious Holiday Delight
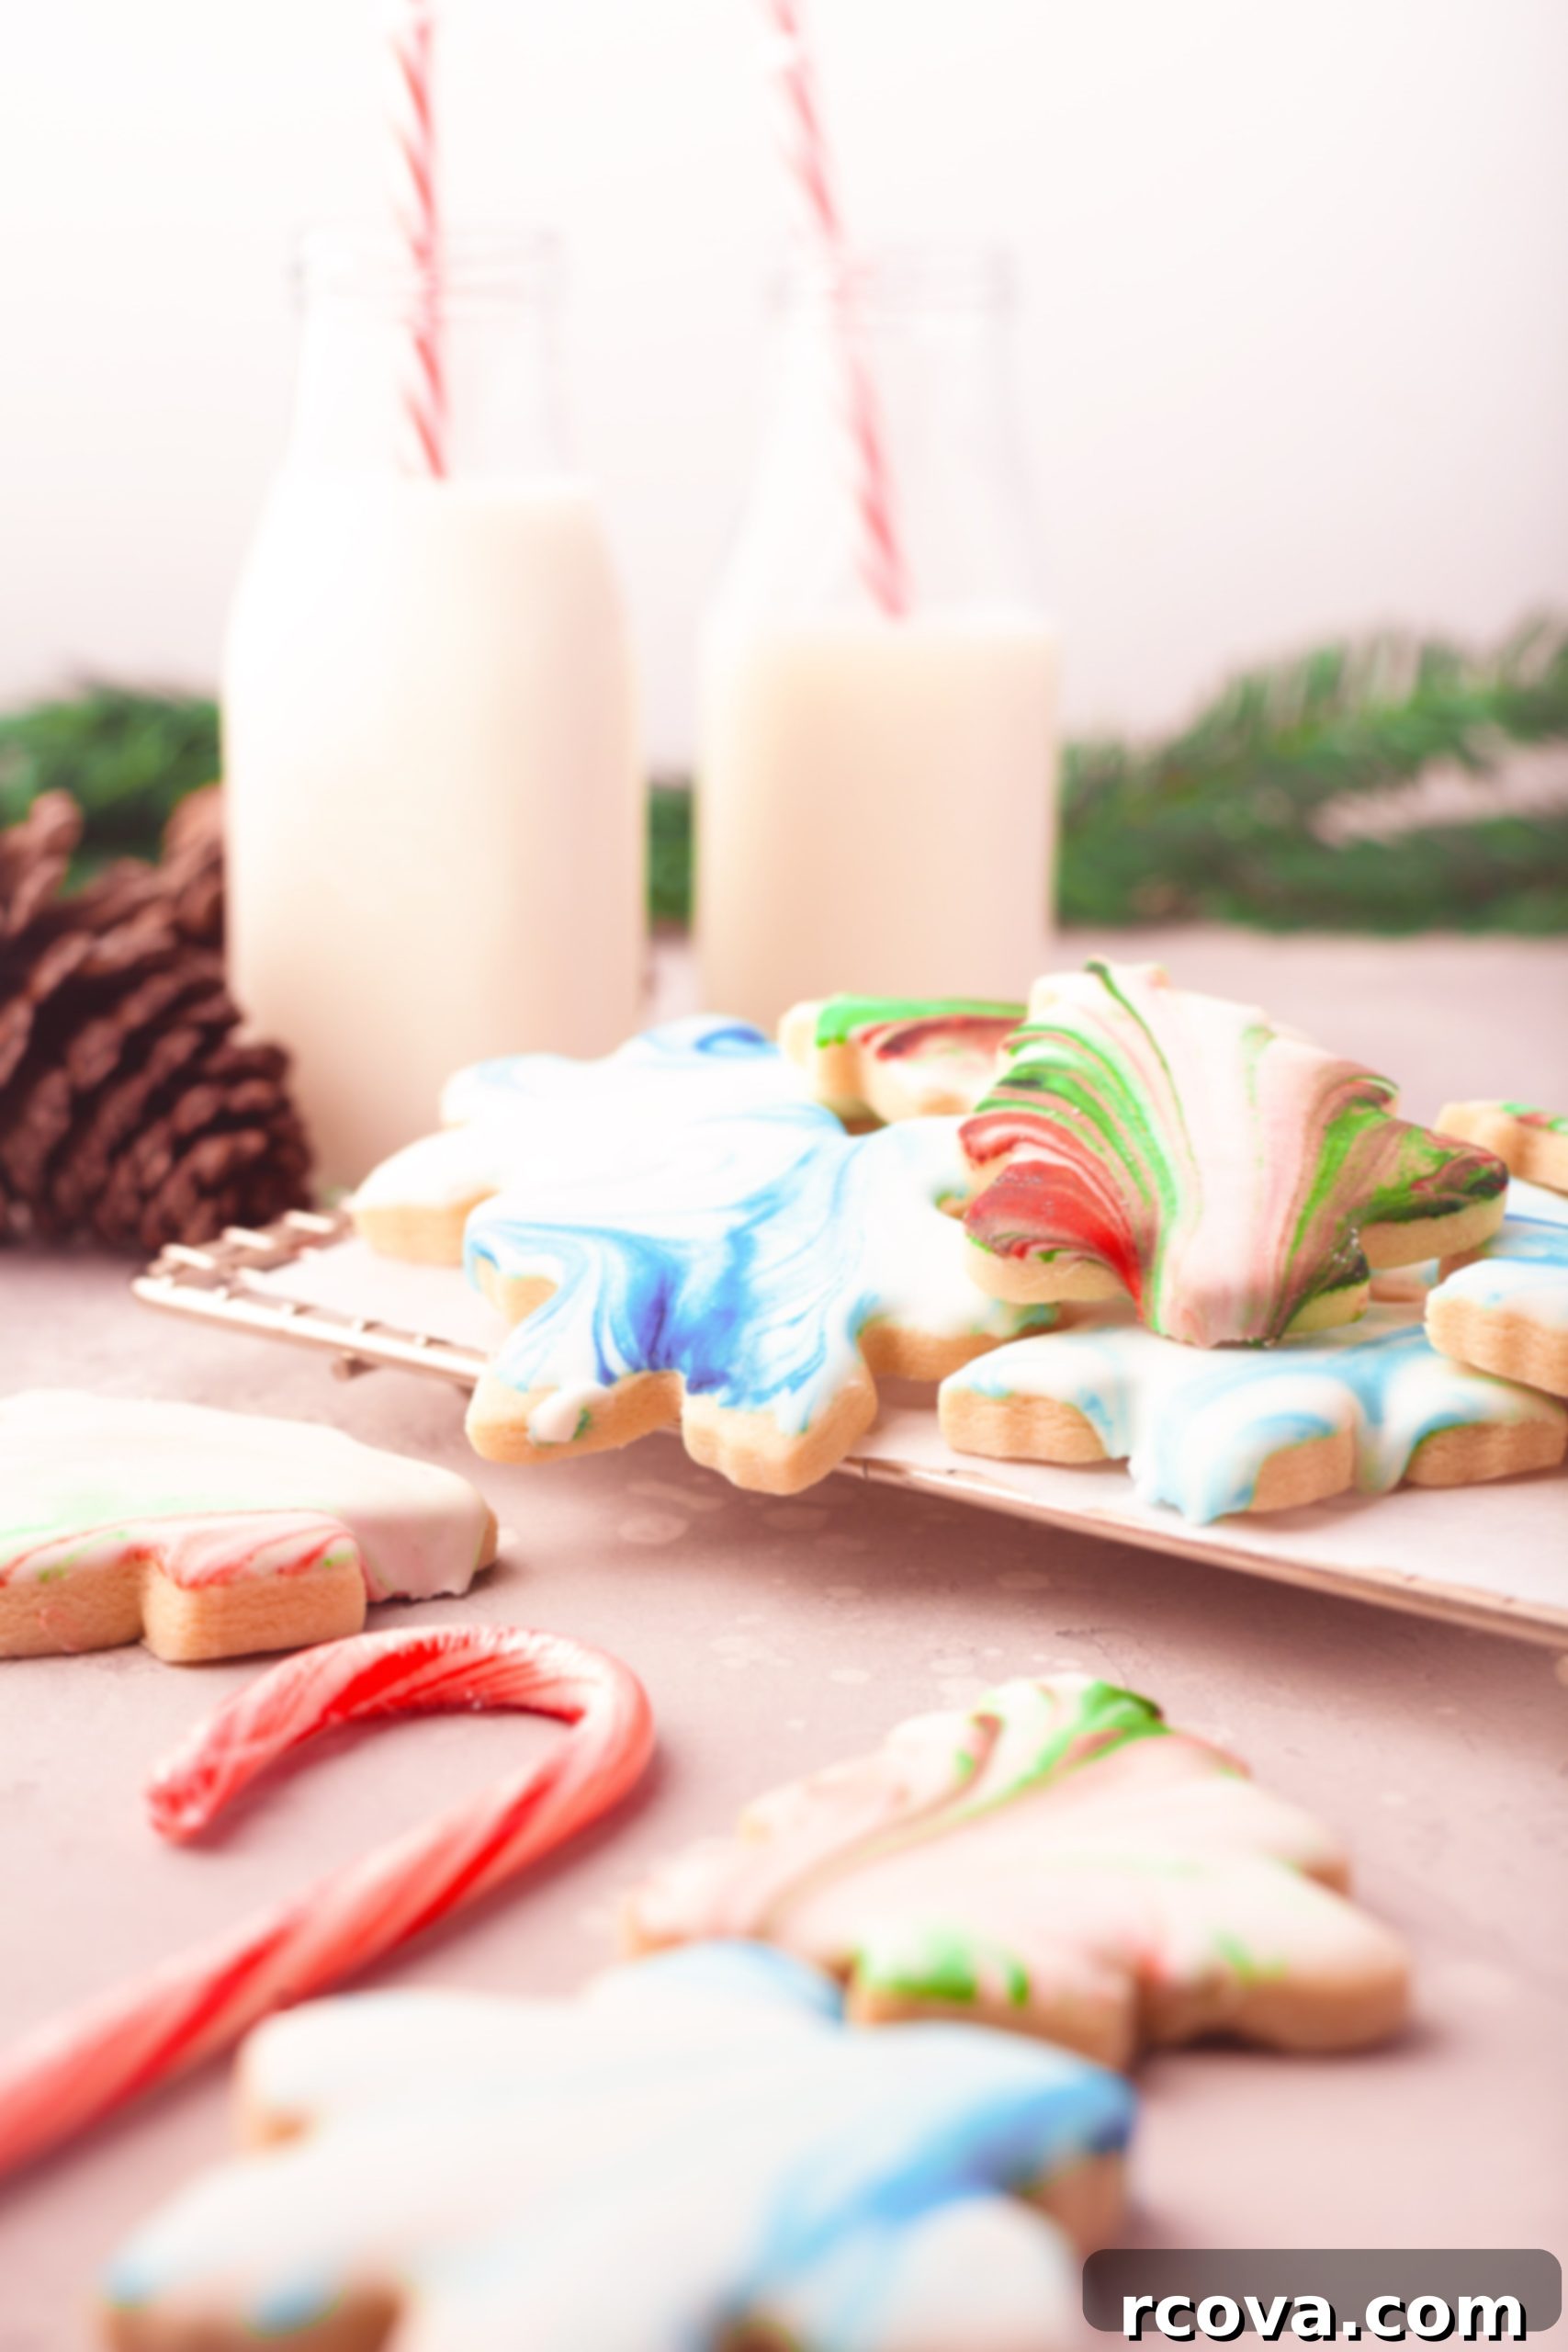
Marbled icing cookies are a show-stopping addition to any holiday celebration. Their vibrant, colorful swirls and incredibly soft texture make them both a visual masterpiece and a delectable treat. Imagine the joy of presenting these beautifully decorated cookies at your next gathering – they’re guaranteed to bring smiles and compliments!
The cookie dough itself is wonderfully straightforward to prepare, requiring only a handful of basic ingredients that you likely already have in your pantry. Essentials like softened butter, fine powdered sugar, a fresh egg, and all-purpose flour come together to form a rich, tender dough. Each component plays a vital role: the butter provides richness and a delicate crumb, powdered sugar ensures a melt-in-your-mouth texture, the egg acts as a binder, and flour gives structure to our delightful cookies. The resulting cookie base is incredibly flavorful, serving as the perfect canvas for our artistic icing.
The royal icing for these cookies is just as crucial and equally impressive. It’s crafted from a simple blend of powdered sugar, meringue powder, and water, which combine to create a smooth, glossy finish that hardens beautifully. The magic truly happens with the addition of high-quality gel food coloring, allowing you to create vibrant, distinct swirls. This simple yet incredibly effective icing technique transforms ordinary sugar cookies into extraordinary, festive masterpieces, making them ideal for holiday gifting, cookie exchanges, or as a centerpiece on your dessert table. The contrast between the soft cookie and the slightly crisp, sweet icing is simply irresistible.
Why You’ll Adore This Easy Christmas Cookie Recipe
There are countless reasons to fall in love with these Marbled Christmas Cookies. Beyond their stunning appearance, they offer a baking experience that is both rewarding and deliciously satisfying.
- Rich Flavor Profile: The foundation of these cookies is a tender, buttery sugar cookie that practically melts in your mouth. The generous combination of creamy butter and fine powdered sugar creates an incredibly rich and delicate crumb. A touch of pure vanilla extract enhances the overall sweetness and warmth, ensuring each bite is deeply satisfying. The royal icing then adds an additional layer of smooth sweetness and a captivating visual appeal, making these cookies truly unforgettable.
- Surprisingly Simple Steps: Don’t let their elegant look intimidate you! This recipe is surprisingly straightforward, making it perfect for bakers of all skill levels, from beginners to seasoned pros. It utilizes familiar ingredients that are commonly found in most kitchens, eliminating the need for any obscure or hard-to-find items. The clear, step-by-step instructions ensure a smooth baking process from start to finish.
- Perfect for Parties & Gifting: These unique and visually striking cookies are a fantastic addition to any holiday party, family gathering, or cookie exchange. They are guaranteed to impress your guests and garner endless compliments. Their sturdy royal icing also makes them ideal for gifting, as they travel well and retain their beautiful appearance, making them a thoughtful and delicious present for friends, neighbors, and teachers.
- Creative Expression: The marbling technique allows for immense creativity. You can experiment with various color combinations to match your holiday decor or personal preference. Whether you choose classic red and green, elegant blues and silvers, or vibrant multi-color swirls, each cookie becomes a miniature canvas, making the baking process even more fun and personalized.
Essential Ingredients for Your Marbled Christmas Cookies
Crafting the perfect tender sugar cookie and vibrant royal icing starts with high-quality ingredients. Here’s what you’ll need, along with a few tips for each:
For the Buttery Sugar Cookie Dough:
- Butter: You’ll need ¾ cup (1 ½ sticks or 180g) of unsalted butter, softened to room temperature. Softened butter creams beautifully with sugar, incorporating air for a light texture.
- Powdered Sugar: 1 ½ cups (180g) of powdered sugar is key for these cookies. Unlike granulated sugar, powdered sugar contributes to a wonderfully soft, pillowy texture and helps prevent spreading.
- Egg: Just 1 large egg helps bind all the ingredients together, adding moisture and richness to the dough. Ensure it’s at room temperature for better incorporation.
- Vanilla Extract: 2 teaspoons of pure vanilla extract are essential for that classic, comforting sugar cookie flavor. Use good quality extract for the best taste.
- All-Purpose Flour: 2 cups (450g) of all-purpose flour provides the structure for your cookies. Measure it correctly by spooning it into your measuring cup and leveling it off.
- Baking Powder: A mere ¼ teaspoon of baking powder gives the cookies a subtle lift, preventing them from being too dense.
- Salt: ¼ teaspoon of fine salt balances the sweetness and enhances all the other flavors in the cookie dough.
For the Stunning Royal Icing:
- Powdered Sugar: The base of this smooth icing requires 2 ½ cups of powdered sugar. Sift it if it’s lumpy to ensure a perfectly smooth consistency.
- Meringue Powder: You’ll need 1 ¼ tablespoons of meringue powder. This ingredient is crucial as it stabilizes the icing, helps it dry firm and glossy, and makes it safe to consume without raw egg whites.
- Lukewarm Water: Start with 3-4 tablespoons of lukewarm water. The exact amount may vary slightly to achieve the desired consistency, so add it gradually.
- Gel Food Coloring: Use your favorite gel food coloring to create vibrant, festive appearances. Gel colors are highly concentrated and won’t thin out your icing like liquid food coloring. Red, green, and blue are classic choices for Christmas.
- Clear Vanilla Extract: Add ½ teaspoon of clear vanilla extract to the icing. Clear vanilla helps maintain the bright white base color of your icing before adding other colors, preventing any yellow tint that regular vanilla might impart.
Step-by-Step Guide: How to Craft Marbled Christmas Cookies
Creating these beautiful marbled cookies is a fun and rewarding process. Follow these detailed steps for perfect results every time.
1. Preparing the Cookie Dough
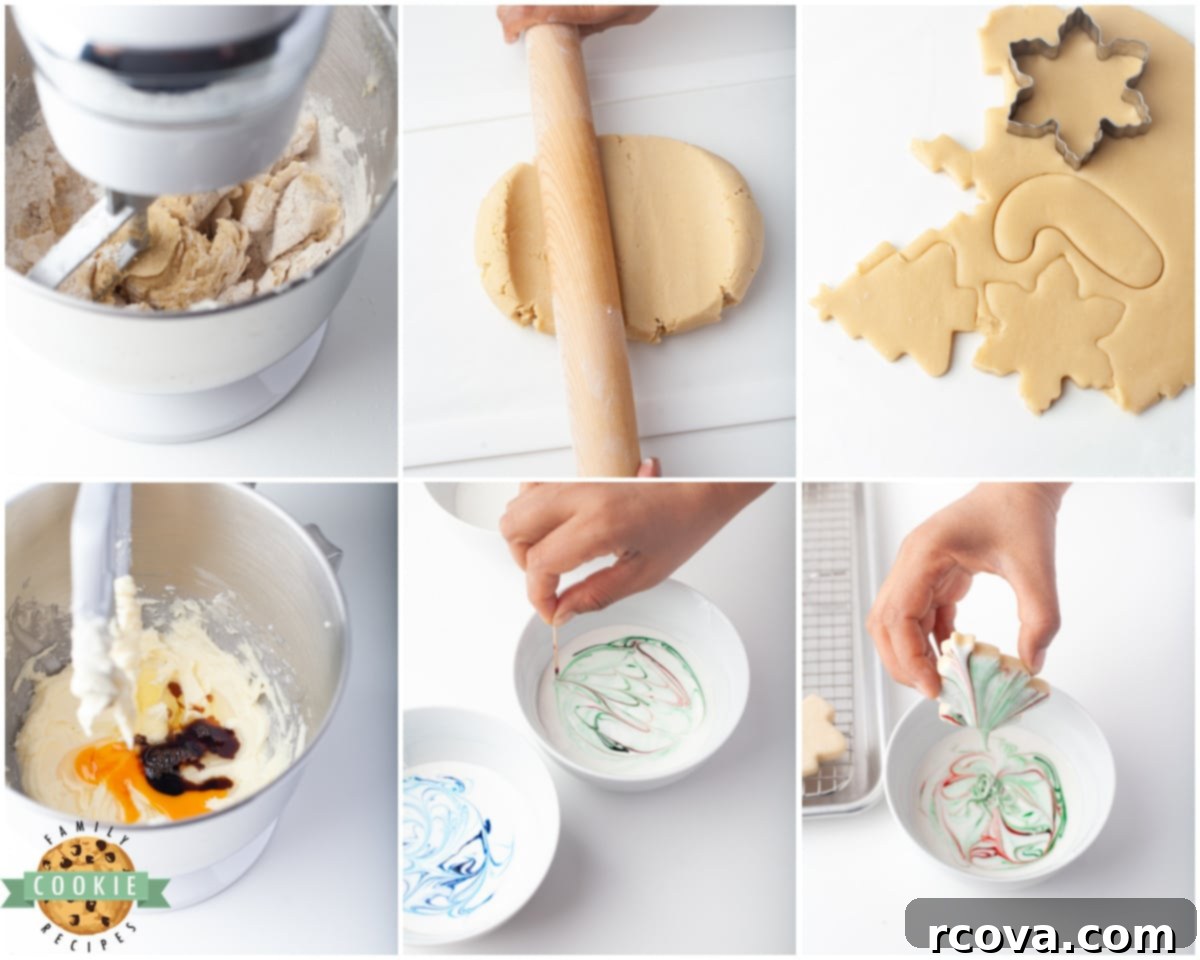
Begin by combining your wet ingredients. In the bowl of a stand mixer fitted with a paddle attachment, beat the softened butter and powdered sugar together at medium speed. Continue mixing until the mixture becomes wonderfully creamy and light, typically for about 2-3 minutes. This creaming process incorporates air, contributing to the cookies’ delicate texture. Next, add the egg and vanilla extract, and mix again until fully combined, scraping down the sides of the bowl to ensure everything is evenly incorporated.
In a separate, medium-sized bowl, whisk together the dry ingredients: all-purpose flour, salt, and baking powder. This ensures they are evenly distributed throughout the dough. Gradually add this flour mixture to the wet ingredients in the stand mixer, mixing at a low speed. Be careful not to overmix; stop as soon as the flour is just combined. Overmixing can develop the gluten in the flour, leading to tough cookies. As you mix, periodically scrape down the sides and bottom of the bowl to ensure all ingredients are thoroughly blended.
2. Chilling for Perfection
Once your dough is ready, it’s time to chill it. Roll the dough out directly onto a sheet of parchment paper until it is about ¼ inch thick. This makes handling and cutting much easier. Transfer the parchment paper with the rolled-out dough to a baking pan or sheet. Place the entire pan into the refrigerator and chill the dough for a minimum of 30 minutes. Chilling is a crucial step as it firms up the butter in the dough, which prevents the cookies from spreading too much during baking, ensuring they hold their cut shapes beautifully.
3. Baking Your Festive Shapes
Preheat your oven to 350°F (175°C). While the oven heats, line a baking sheet with fresh parchment paper; this prevents sticking and ensures even baking. Once the dough has sufficiently chilled, remove the sheet from the refrigerator. Use your favorite festive cookie cutters to create holiday shapes. Carefully transfer each cut cookie onto the prepared baking sheet, leaving a little space between them.
Place the baking sheet in the preheated oven and bake for 9-11 minutes, or until the edges of the cookies are lightly golden. The exact baking time may vary depending on your oven and the thickness of your cookies, so keep a close eye on them. Once baked, remove the cookies from the oven and let them cool on the baking sheet for a few minutes before transferring them to a wire rack to cool completely. It’s essential that the cookies are completely cool, ideally for at least an hour, before you begin the icing process; otherwise, the icing will melt or run.
4. Creating the Magnificent Marble Icing
Now for the fun part – the royal icing! In the bowl of a stand mixer, combine the powdered sugar, meringue powder, 3 tablespoons of lukewarm water, and the clear vanilla extract. Using a whisk attachment, beat these ingredients together on high speed for about 2 minutes. The goal is to achieve a “flooding consistency” – think slightly runny honey. To test, lift a spoon or knife from the icing; it should drizzle down and smooth itself out on the surface of the icing in approximately 5-8 seconds. If it’s too thick, add a tiny bit more water, a quarter teaspoon at a time, being careful not to make it too thin. If it becomes too thin, gradually add a little more powdered sugar until the correct consistency is reached. This consistency is perfect for dipping and creating those beautiful marble effects.
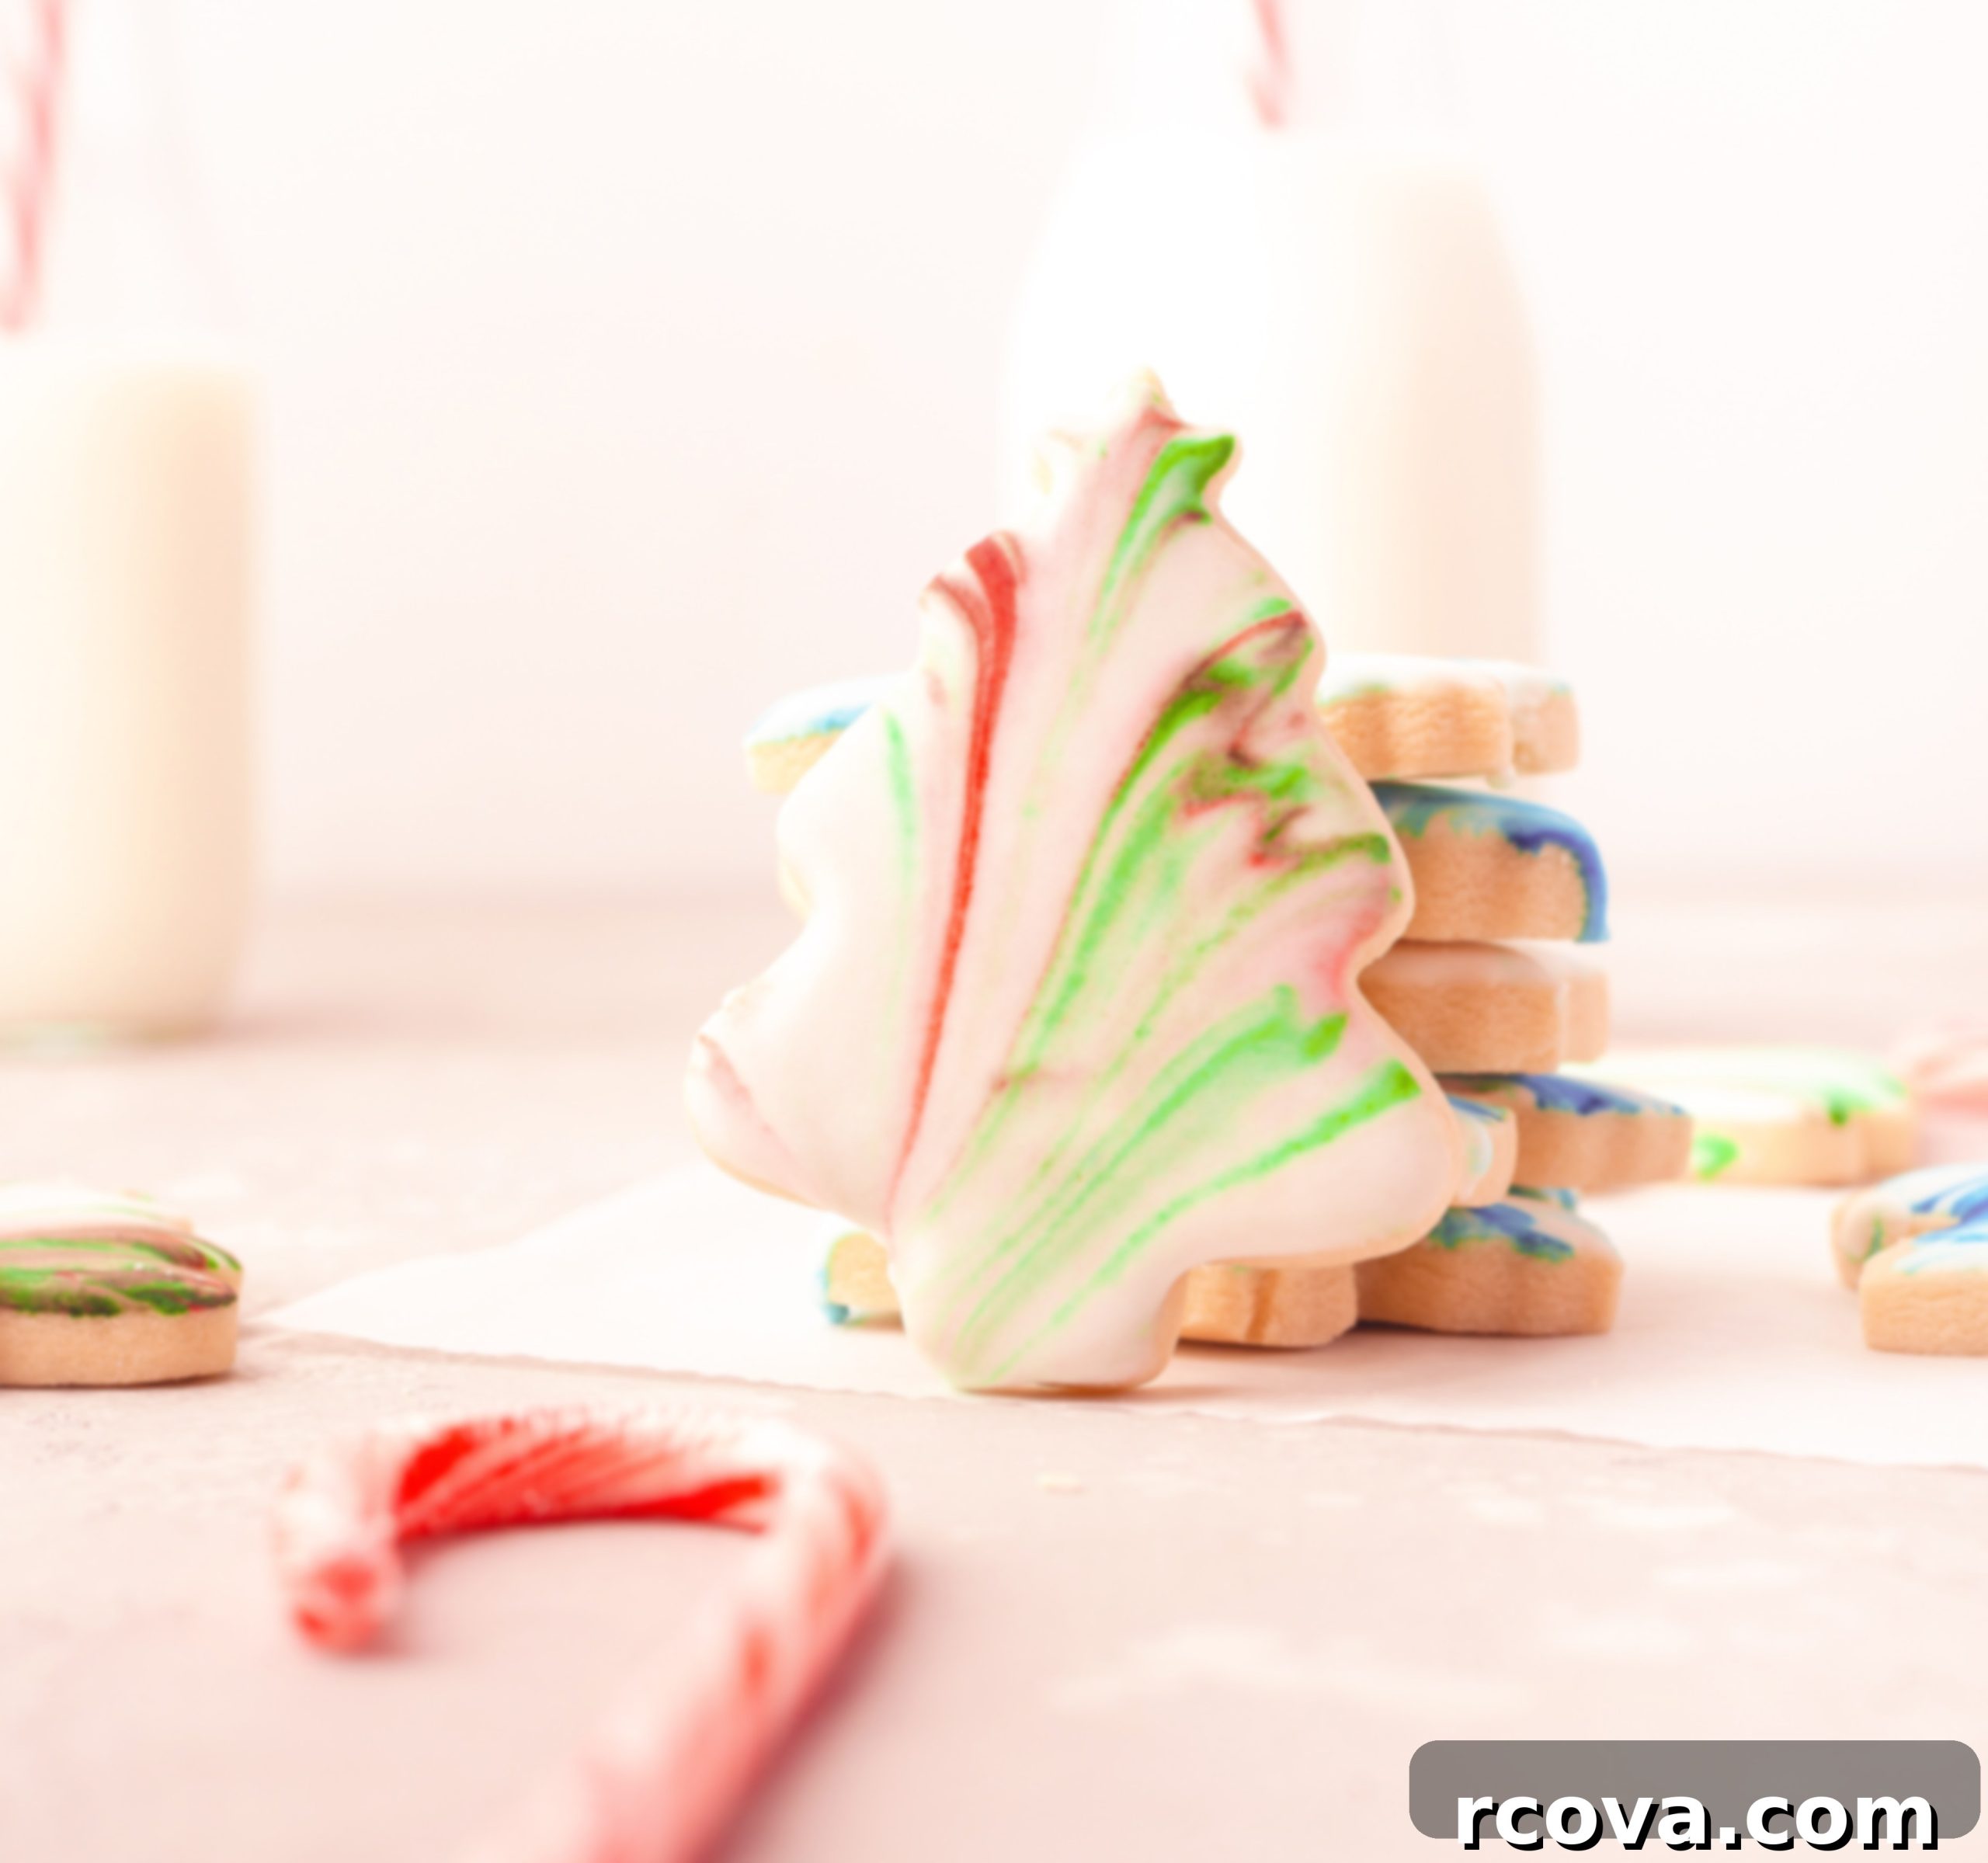
Divide your freshly made white royal icing into three separate small bowls. This allows you to work with different color combinations. For your first bowl, select a gel food coloring (e.g., green). Using a toothpick, add a small drop of coloring onto the surface of the white icing. Gently swirl the toothpick through the color and into the white icing, creating beautiful streaks and patterns. If you’re using two colors in one bowl, repeat the process with your second color (e.g., red), adding a drop and swirling it through the existing green and white mixture. You’ll notice how the colors blend and create stunning new shades and marbled effects as you swirl. Remember to work relatively quickly, as royal icing can begin to harden once exposed to air; make sure to cover any bowls of icing not being actively used with a damp cloth or plastic wrap to keep them pliable.
Carefully take a cooled cookie and gently dip the entire top surface into the marbled royal icing mixture. Ensure all edges are thoroughly covered. Lift the cookie slowly and allow any excess icing to drip back into the bowl by holding it over the bowl for a few seconds. This helps prevent thick drips on the sides. Carefully place the dipped cookie onto a clean cooling rack to allow the icing to set. Be aware that a small amount of additional dripping might occur as it settles.
Continue this dipping and marbling process for all your cookies, working with your desired color combinations in each of the bowls. For instance, in one bowl, you might use only blue coloring on the white icing for a winter wonderland effect, and in another, just red for a classic festive look. Repeat until all your cookies are magnificently marbled. Once all cookies are dipped, let them sit undisturbed on the cooling racks until the frosting has completely set. This usually takes about 2 hours, but can be longer in humid conditions. Once fully set, they will be dry to the touch and ready to stack, serve, and enjoy!
Marbled Christmas Cookies
Print
Pin
Rate
Ingredients
- ¾ cup butter softened (180g)
- 1 ½ cup powdered sugar 180g
- 1 egg
- 2 tsp vanilla extract
- 2 cups all-purpose flour 450g
- ¼ tsp baking powder
- ¼ tsp salt
Royal Icing
- 2 ½ cups powdered sugar
- 1 ¼ TBSP meringue powder
- 3 – 4 TBSP lukewarm water
- Gel food coloring red, green, blue or your choice
- ½ tsp clear vanilla extract
Instructions
-
Prepare Cookie Dough: In the bowl of a stand mixer, fitted with a paddle attachment, beat the softened butter and powdered sugar at medium speed until light and creamy, about 2-3 minutes. Add the egg and vanilla extract, mixing until just combined and scraping down the sides of the bowl.
-
In a separate medium bowl, whisk together the all-purpose flour, salt, and baking powder.
-
Gradually add the flour mixture to the wet ingredients in the mixer on low speed. Mix just until combined, being careful not to overmix. Scrape down the sides of the bowl as needed to ensure all ingredients are incorporated.
-
Chill Dough: Roll the dough onto a piece of parchment paper until it is about ¼-inch thick. Transfer the parchment paper with the dough to a baking pan and place it in the refrigerator to chill for at least 30 minutes. This prevents spreading during baking.
-
Bake Cookies: Preheat your oven to 350°F (175°C). Line a baking sheet with parchment paper and set aside.
-
Remove the chilled dough from the fridge. Use your desired holiday cookie cutters to cut out shapes and carefully place them onto the prepared baking sheet, leaving some space between each cookie.
-
Bake for 9-11 minutes, or until the edges are lightly golden. Let the cookies cool on the baking sheet for a few minutes before transferring them to a wire rack to cool completely. They must be fully cooled before icing (at least 1 hour).
-
Prepare Marble Icing: In a stand mixer with a whisk attachment, combine the powdered sugar, meringue powder, 3 tablespoons of lukewarm water, and clear vanilla extract. Beat on high speed for about 2 minutes. Test consistency: it should drizzle smoothly from a spoon and meld back into the surface in 5-8 seconds (like slightly runny honey). Adjust with more water (¼ tsp at a time) if too thick, or more powdered sugar if too thin.
-
Separate the white royal icing into three small bowls. Choose your first gel food coloring (e.g., green). Using a toothpick, add a small drop onto the surface of the icing in one bowl and gently swirl it to create marbled patterns. If using a second color (e.g., red) in the same bowl, add a drop and swirl again. The colors will blend beautifully. Repeat for other bowls with your chosen colors (e.g., blue in one, red in another). Work quickly, and cover unused icing bowls with a damp cloth or plastic wrap to prevent hardening.
-
Take a fully cooled cookie and carefully dip its entire top surface into the marbled royal icing mixture, ensuring all edges are covered. Lift the cookie gently and hold it over the bowl to let any excess icing drip off. Place the cookie on a clean cooling rack to set. Some minor dripping may occur.
-
Continue the dipping and marbling process for all remaining cookies, using your desired color combinations. Once all cookies are iced, allow them to sit on the cooling racks until the frosting has completely set and hardened, typically about 2 hours, or longer depending on humidity. Once fully set, your stunning Marbled Christmas Cookies are ready to serve and enjoy!
Notes for Perfect Marbled Christmas Cookies
For longer storage, you can freeze UNFROSTED cookies. Place them in a single layer in an airtight container or a heavy-duty freezer bag for up to 3 months. When ready to serve, thaw the cookies at room temperature before preparing and adding the royal icing as described in the recipe. Freezing frosted cookies is generally not recommended as it can cause the royal icing to become sticky or dull.
Pro Tip for Icing: If your icing starts to firm up while you’re working, you can add another tiny drop (like 1/8 teaspoon) of water and whisk it gently to revive the consistency. Always cover your icing bowls when not actively dipping!
Nutrition Facts (per cookie)
How to Store Your Beautifully Iced Christmas Cookies
Proper storage is essential to keep your Marbled Christmas Cookies fresh, delicious, and looking their best for as long as possible. Here are some detailed tips:
- Room Temperature Storage: If you plan to enjoy your cookies within a few days (typically up to 5 days), storing them at room temperature is ideal. The key is to place them in an airtight container immediately after the royal icing has fully set. This prevents them from becoming stale, dry, or absorbing unwanted odors. Avoid direct sunlight or warm spots, as this can affect the icing’s texture.
- Refrigeration (Generally Not Recommended for Iced): While refrigeration can extend the shelf life of some baked goods, it’s generally not recommended for cookies decorated with royal icing. The humidity and condensation inside a refrigerator can cause the royal icing to become sticky, dull, or even “bleed” its colors. If you live in an extremely hot and humid climate and absolutely must refrigerate, ensure the cookies are in an extremely airtight container and bring them back to room temperature slowly before serving to minimize condensation.
- Preventing Sticking with Layers: When storing multiple layers of iced cookies, always separate them with sheets of parchment paper or wax paper. This crucial step prevents the delicate royal icing from sticking together, getting damaged, or transferring color between cookies. Stack them gently in your airtight container.
- Freezing Unfrosted Cookies: For longer-term storage, it’s best to freeze the unfrosted sugar cookie dough or baked, unfrosted cookies.
- Dough: Wrap the rolled-out dough tightly in plastic wrap and then in foil, or place cut-out shapes on a baking sheet to freeze solid before transferring to an airtight container or freezer bag. Freeze for up to 3 months. Thaw in the refrigerator overnight before rolling (if applicable) and baking.
- Baked Cookies (Unfrosted): Once baked and completely cooled, arrange unfrosted cookies in a single layer in an airtight container, separated by parchment paper, or place in a freezer-safe bag. Freeze for up to 3 months. Thaw at room temperature and then proceed with preparing and applying the royal icing.
Baking Insights: Your Questions Answered
Is it better to use powdered sugar or granulated sugar in sugar cookies?
For sugar cookies, and especially for tender cutout cookies like these Marbled Christmas Cookies, powdered sugar is often the preferred choice. Powdered sugar, also known as confectioners’ sugar, is much finer and contains a small amount of cornstarch, which helps prevent caking. This finer texture allows it to dissolve more easily and thoroughly during the mixing process, resulting in a cookie with a softer, more delicate, and pillowy crumb. Granulated sugar, with its larger, coarser crystals, tends to create a denser, sometimes chewier cookie. While delicious in its own right for other cookie types, for a truly tender sugar cookie that complements the royal icing, powdered sugar is the superior option.
What happens when you overmix butter and sugar for cookies?
Overmixing butter and sugar (the “creaming” step) can have detrimental effects on your cookies. When butter and sugar are beaten together, air is incorporated into the mixture. If you overmix, you incorporate too much air, which can lead to several issues during baking. The most common problem is that the cookies will spread excessively in the oven, losing their defined shapes and potentially becoming thin and crisp rather than tender and soft. Additionally, overmixing can overdevelop the gluten in the flour, resulting in a tougher, drier cookie with a less desirable consistency. It’s crucial to beat the butter and sugar just until they are light, fluffy, and creamy, and then stop as soon as other ingredients are combined to achieve optimal results – a tender, shape-holding cookie.
What is the purpose of meringue powder in cookie icing?
Meringue powder is an indispensable ingredient for royal icing, especially when decorating cookies. Its primary purpose is to stabilize the icing, allowing it to hold intricate shapes and dry to a firm, smooth, and glossy finish. Meringue powder is made from dried egg whites, sugar, cornstarch, and sometimes other stabilizers. It offers several key benefits:
- Structure and Firmness: It provides the necessary structure for royal icing to dry hard and durable, which is essential for decorated cookies that need to be handled, stacked, or shipped without smudging.
- Glossy Finish: Meringue powder contributes to the beautiful, shiny finish characteristic of well-made royal icing.
- Safety: It eliminates the need for raw egg whites, making the icing safer to consume, especially for those sensitive to raw eggs.
- Improved Shelf Life: Icing made with meringue powder tends to have a longer shelf life than icing made with fresh egg whites.
- Consistency Control: It helps maintain the desired consistency of the icing, making it easier to work with for dipping and detailed decorating.

Discover More Festive Holiday Cookie Recipes Here:
If you’ve enjoyed making these Marbled Christmas Cookies and are looking for more delicious treats to bake this holiday season, explore some of our other cherished recipes. From classic shortbreads to delightful gingerbread, there’s a cookie for every taste and occasion!
- PEPPERMINT VANILLA SHORTBREAD COOKIES
- LINZER COOKIES
- PEPPERMINT MELTAWAYS
- PUMPKIN GINGERSNAP COOKIES
- CHRISTMAS SUGAR COOKIES
- CHRISTMAS TREE TWIX COOKIES
- GINGERBREAD COOKIE RECIPES
- FROSTED PUMPKIN GINGER COOKIES
- MINT CHRISTMAS COOKIES
- PEPPERMINT COOKIE RECIPES
- RED VELVET CHRISTMAS COOKIES
- PEPPERMINT BARK COOKIES
- GINGERBREAD HOUSE COOKIES
- ICED GINGER MOLASSES COOKIES
- GINGERSNAP COOKIES
- CHOCOLATE ORANGE SLICE COOKIES
- ORANGE CARDAMOM COOKIES
- PEPPERMINT CHOCOLATE CHIP COOKIES
- STRAWBERRY THUMBPRINT COOKIES
These Marbled Christmas Cookies are truly a celebration of festive baking – soft, wonderfully buttery sugar cookies generously covered in a sweet, elegantly marbled royal icing. This recipe for unique Christmas cookies is surprisingly easy to master, combining a simple-to-prepare dough with straightforward icing steps that yield stunning, artful results. Bring joy and beauty to your holiday table this year with these unforgettable treats!
