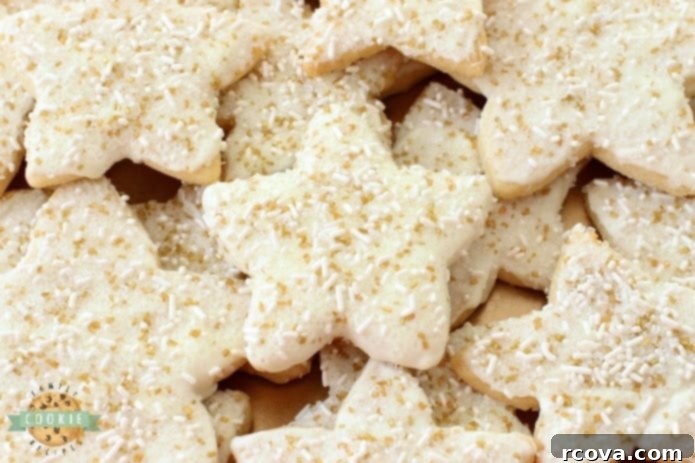
Sparkling Holiday Star Cookies: Your Guide to Perfect Melt-in-Your-Mouth Shortbread
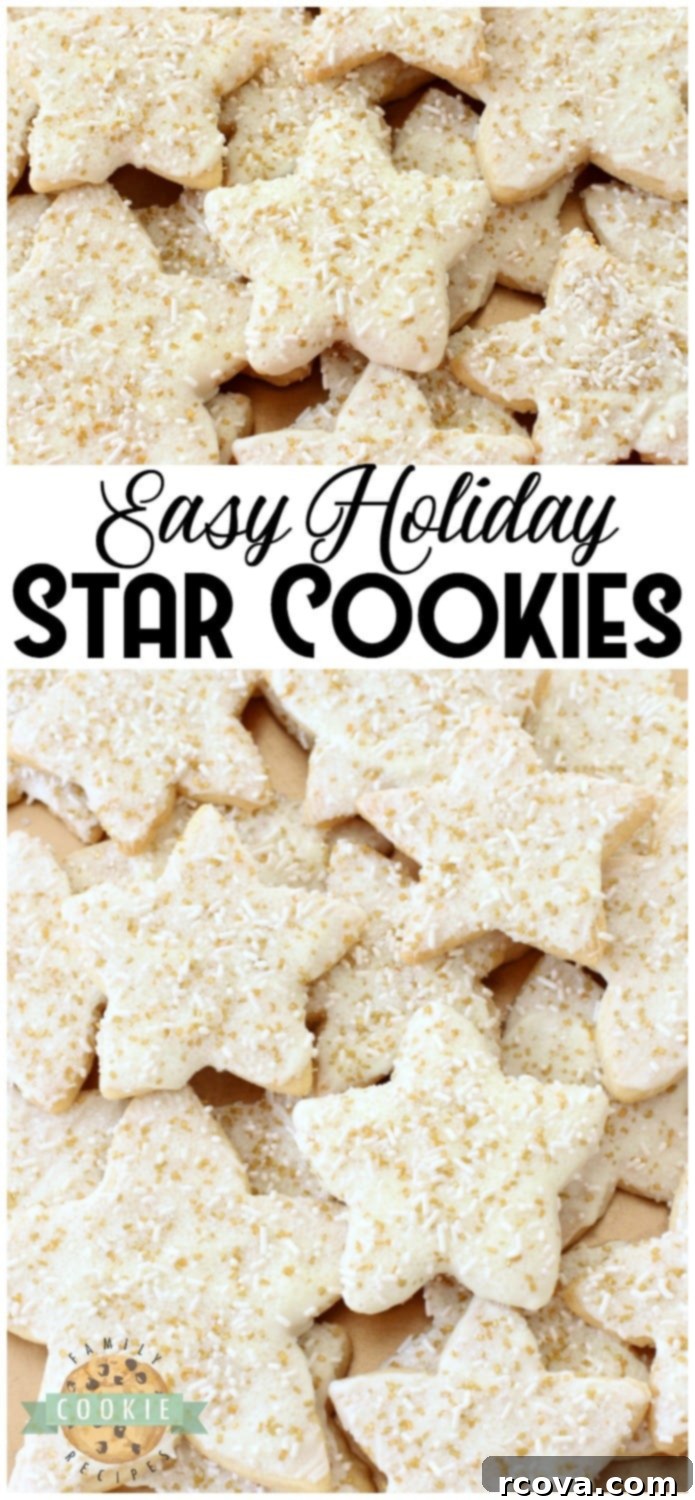
Step into the festive season with our delightful Holiday Star Cookies, a recipe that promises bright, buttery, and beautifully sparkly treats perfect for any holiday celebration. These melt-in-your-mouth vanilla shortbread cookies, adorned with candy coating and festive sprinkles, are a true crowd-pleaser and embody the spirit of holiday baking. Whether you’re preparing for a Christmas gathering, a winter party, or simply enjoying a cozy evening at home, these star-shaped delights are sure to bring joy and a touch of magic.
For more festive inspiration, explore our extensive collection of the BEST CHRISTMAS COOKIE RECIPES here!
Mastering the Art of Perfect Shortbread Cookies
Shortbread cookies are a timeless classic, celebrated for their rich, buttery flavor and tender, crumbly texture. Achieving perfection with these simple yet elegant cookies often comes down to a few critical techniques. Here’s how you can ensure your shortbread turns out flawlessly every time:
- Handling Sticky Dough with Ease: Shortbread cookie dough is inherently soft and can be quite sticky. To avoid the common pitfall of adding too much flour, which can lead to dry, crumbly cookies, we recommend rolling the dough between two sheets of parchment paper. This method keeps your workspace clean, prevents sticking, and helps you achieve an even thickness without altering the wet-to-dry ingredient ratio. Remember, the perfect shortbread is moist and tender, not dry.
- The Crucial Role of Softened Butter: One of the most important rules for exquisite shortbread is *never* to use melted butter. The butter must be properly softened to room temperature. This allows it to cream beautifully with the sugar, incorporating air and creating a light, fluffy mixture that is essential for the cookie’s tender structure. Melted butter will yield a greasy, dense cookie with a completely different, undesirable texture.
- Creaming Butter and Sugars for Superior Texture: Dedicate a little extra time to the creaming process. Using an electric mixer, cream the softened butter and sugar together for at least 2-3 minutes. This step is vital for aerating the mixture, which contributes significantly to the delicate, melt-in-your-mouth consistency that shortbread is famous for. Don’t rush this; a well-creamed base makes all the difference.
- Always Preheat Your Oven: Consistency is key in baking, and a properly preheated oven ensures your cookies bake evenly from the moment they enter. Placing dough into a cold or warming oven can result in uneven baking, spreading, or a tough texture. Always allow your oven to reach the specified temperature before baking to guarantee the best results.
- Achieving Uniformity with a Cookie Scoop: For professional-looking cookies that bake consistently, a cookie scoop is an invaluable tool. It ensures that each cookie is precisely the same size, promoting even baking and a beautiful, uniform appearance on your cooling rack and serving platter. While not strictly necessary for rolled cookies like these stars, for drop cookies, it’s a game-changer. For star cookies, careful rolling and cutting with a good cookie cutter is the equivalent for uniformity.
- Effortless Removal with Parchment Paper or Silicone Mats: To prevent your cookies from sticking and to ensure they slide off the baking sheet in perfect shape, always line your pans with parchment paper or use a silicone baking mat. This simple step makes cleanup a breeze and guarantees your beautifully shaped stars remain intact, without the need for scraping.
- The Art of Not Overbaking: Shortbread cookies are delicate and can quickly go from perfectly baked to overly brown and tough. It’s often difficult to tell if they’re done just by looking at the tops, as they might not appear fully cooked. The trick is to watch the bottoms: as soon as they start to turn a very light golden brown, it’s time to remove them from the oven. They will continue to firm up as they cool, resulting in that ideal tender texture.
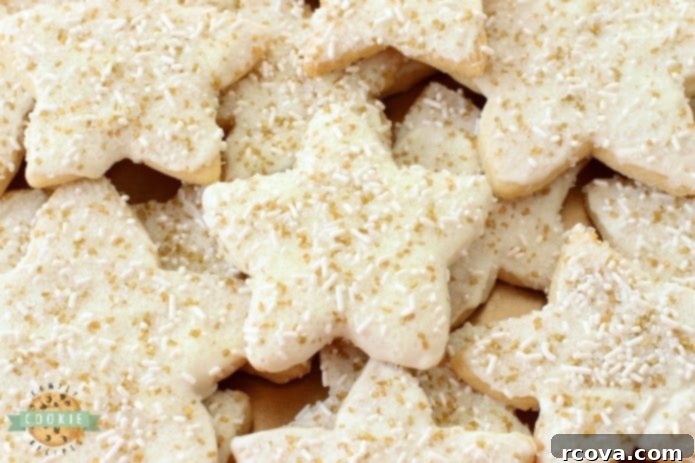
Holiday Star Cookies Recipe
These festive star cookies are not just a treat for the taste buds but also a feast for the eyes. With their delightful vanilla flavor and sparkling decoration, they are the epitome of holiday cheer.
Ingredients:
- 1 cup unsalted butter, softened (2 sticks)
- 1/2 cup granulated sugar
- 2 tsp pure vanilla extract
- 2 cups all-purpose flour
- 1 tsp baking powder
- 1/4 tsp fine sea salt
- 1 1/2 cups white melting chocolate* (high-quality white chocolate wafers or almond bark)
- Festive sprinkles: a mix of white jimmies, clear sugar sprinkles, and gold sugar sprinkles for extra sparkle
Instructions:
- Begin by creaming the softened butter with the sugar in a large bowl using an electric mixer. Beat on medium speed for 2-3 minutes until the mixture is light, fluffy, and pale in color. Stir in the vanilla extract until just combined.
- In a separate bowl, whisk together the flour, baking powder, and salt. Gradually add the dry ingredients to the wet ingredients, mixing on low speed until a soft dough forms. Be careful not to overmix, as this can lead to tough cookies.
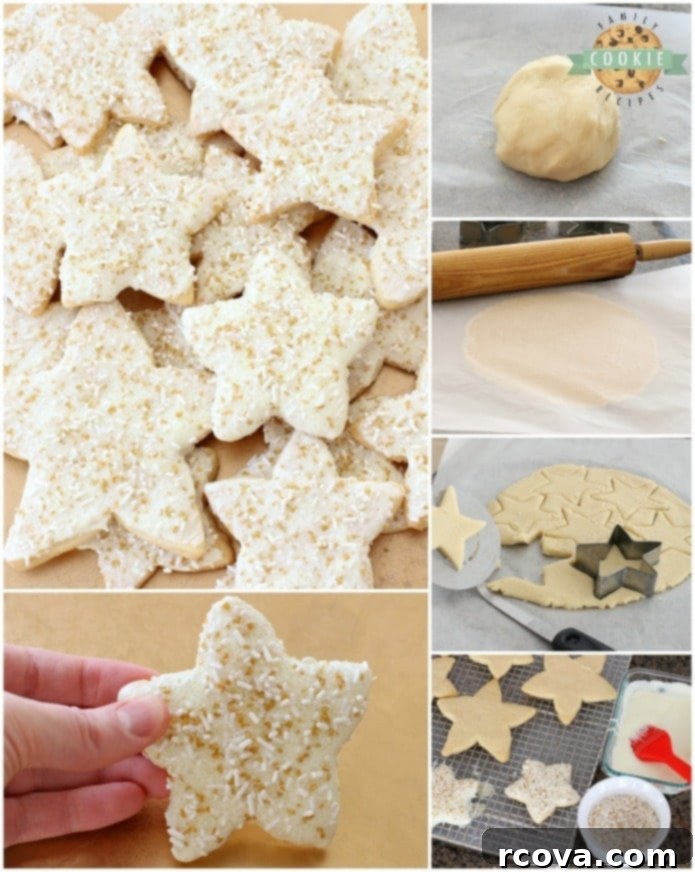
- Divide the dough in half. On a lightly floured surface or, ideally, between two sheets of parchment paper, roll out each portion of dough to approximately 1/4 inch thick. Use a star-shaped cookie cutter to cut out your cookies. Carefully transfer the cut-out stars onto baking sheets lined with parchment paper. Re-roll any dough scraps and continue cutting until all the dough is used.
- Preheat your oven to 300°F (150°C). Bake the star cookies on the top rack of the oven for 22-26 minutes, or until the edges are just barely beginning to brown. The tops may still appear pale, but the bottoms will show a faint golden hue.
- Once baked, immediately transfer the cookies to wire racks to cool completely. While the cookies are cooling, prepare your sprinkle mixture. Combine 1-2 tablespoons of each type of festive sprinkle (white jimmies, clear sugar, gold sugar) in a small bowl until your desired blend is achieved. A slightly higher proportion of clear sprinkles often adds a lovely shimmer.
- In a microwave-safe bowl, heat the white melting chocolate in the microwave for 1 minute. Stir gently, then continue heating in 15-second increments, stirring after each, until the chocolate is completely smooth and melted. Be cautious not to overheat, as white chocolate can seize easily.
- Once the cookies are cool, use a silicone brush or a small spoon to paint or drizzle the melted white chocolate onto each cookie. While the chocolate is still wet, generously sprinkle your festive mix over the cookies until they are beautifully coated. Allow the decorated cookies to cool completely at room temperature or in the refrigerator for a few minutes until the chocolate hardens.
Enjoy these dazzling Holiday Star Cookies as a delightful treat or package them beautifully for a homemade gift!
Discover More Festive Christmas Cookie Recipes:
If you adore our Holiday Star Cookies, you’ll love exploring these other favorite Christmas Cookie recipes from our collection:
- Frosted Peppermint Cookies
- Hot Chocolate Cookie Cups
- Chocolate Orange Slice Cookies
- Mini Chocolate Chip Cookies
- Snickerdoodles
- Peppermint Vanilla Shortbread Cookies
Holiday Star Cookies
Print
Pin
Rate
Ingredients
- 1 cup unsalted butter softened (2 sticks)
- 1/2 cup granulated sugar
- 2 tsp pure vanilla extract
- 2 cups all-purpose flour
- 1 tsp baking powder
- 1/4 tsp fine sea salt
- 1 1/2 cups white melting chocolate* (wafers or almond bark)
- festive sprinkles (white jimmies, clear and gold sugar sprinkles)
Instructions
-
With an electric mixer, cream the softened butter and sugar until the mixture is light and fluffy, about 2-3 minutes. Add in vanilla extract and mix until just combined.
-
Add the flour, baking powder, and salt to the butter mixture. Mix on low speed until a soft dough forms. Do not overmix.
-
Roll out the dough between two pieces of parchment paper to a thickness of 1/4 inch. Using a star-shaped cookie cutter, cut out shapes and transfer them carefully to parchment-lined baking sheets. Re-roll any dough scraps and continue cutting.
-
Preheat the oven to 300°F (150°C). Bake the cookies on the top rack for 22-26 minutes, until the edges are just barely golden brown. The tops should remain pale.
-
Transfer the baked cookies to wire racks to cool completely. In a small bowl, combine 1-2 tablespoons of each type of sprinkle to create your festive mix. Adjust ratios to your preference, noting that slightly more clear sprinkles can enhance sparkle.
-
Heat white chocolate in the microwave for 1 minute. Stir gently, then continue heating in 15-second intervals, stirring after each, until smooth. Using a silicone brush, paint the melted chocolate onto each cool cookie. Immediately top with a generous amount of the festive sprinkles until covered. Let cool until the chocolate hardens completely.
Notes



Creating Lasting Holiday Memories with Baking
Growing up, snow was a magical, almost mythical occurrence in my hometown. It was a rare and exciting event that would shut everything down for a day of wonder. After marrying my wonderful husband, we embarked on a new adventure, moving to a region known for its abundant snowfall. That was over 15 years ago, and I must admit, while the initial few years presented their own unique challenges, I’ve grown to absolutely cherish our snowy winters.
The holiday season here is truly special, especially with the blessing of several consecutive white Christmases. There’s something undeniably magical about a blanket of fresh snow transforming the landscape into a winter wonderland. It sets the perfect backdrop for festive traditions. Our kids revel in the crisp outdoor air, eagerly sledding down hills and meticulously crafting snowmen with carrot noses and twig arms. Meanwhile, I happily embrace my role indoors as the official “hot chocolate and cookie duty” manager.
There’s a comforting rhythm to it: the laughter and shouts of joy echoing from outside, contrasted with the warmth and sweet aromas emanating from the kitchen. These Holiday Star Cookies, with their festive sparkle and comforting vanilla flavor, are often at the heart of our indoor activities. They’re not just a dessert; they’re an integral part of our family’s holiday ritual, bringing everyone together after a day of winter play. Baking these simple yet elegant cookies becomes an act of love, a way to create delicious memories that warm our hearts long after the snow has melted. It’s a tradition that works beautifully, perfectly blending outdoor fun with cozy, homemade delights.
