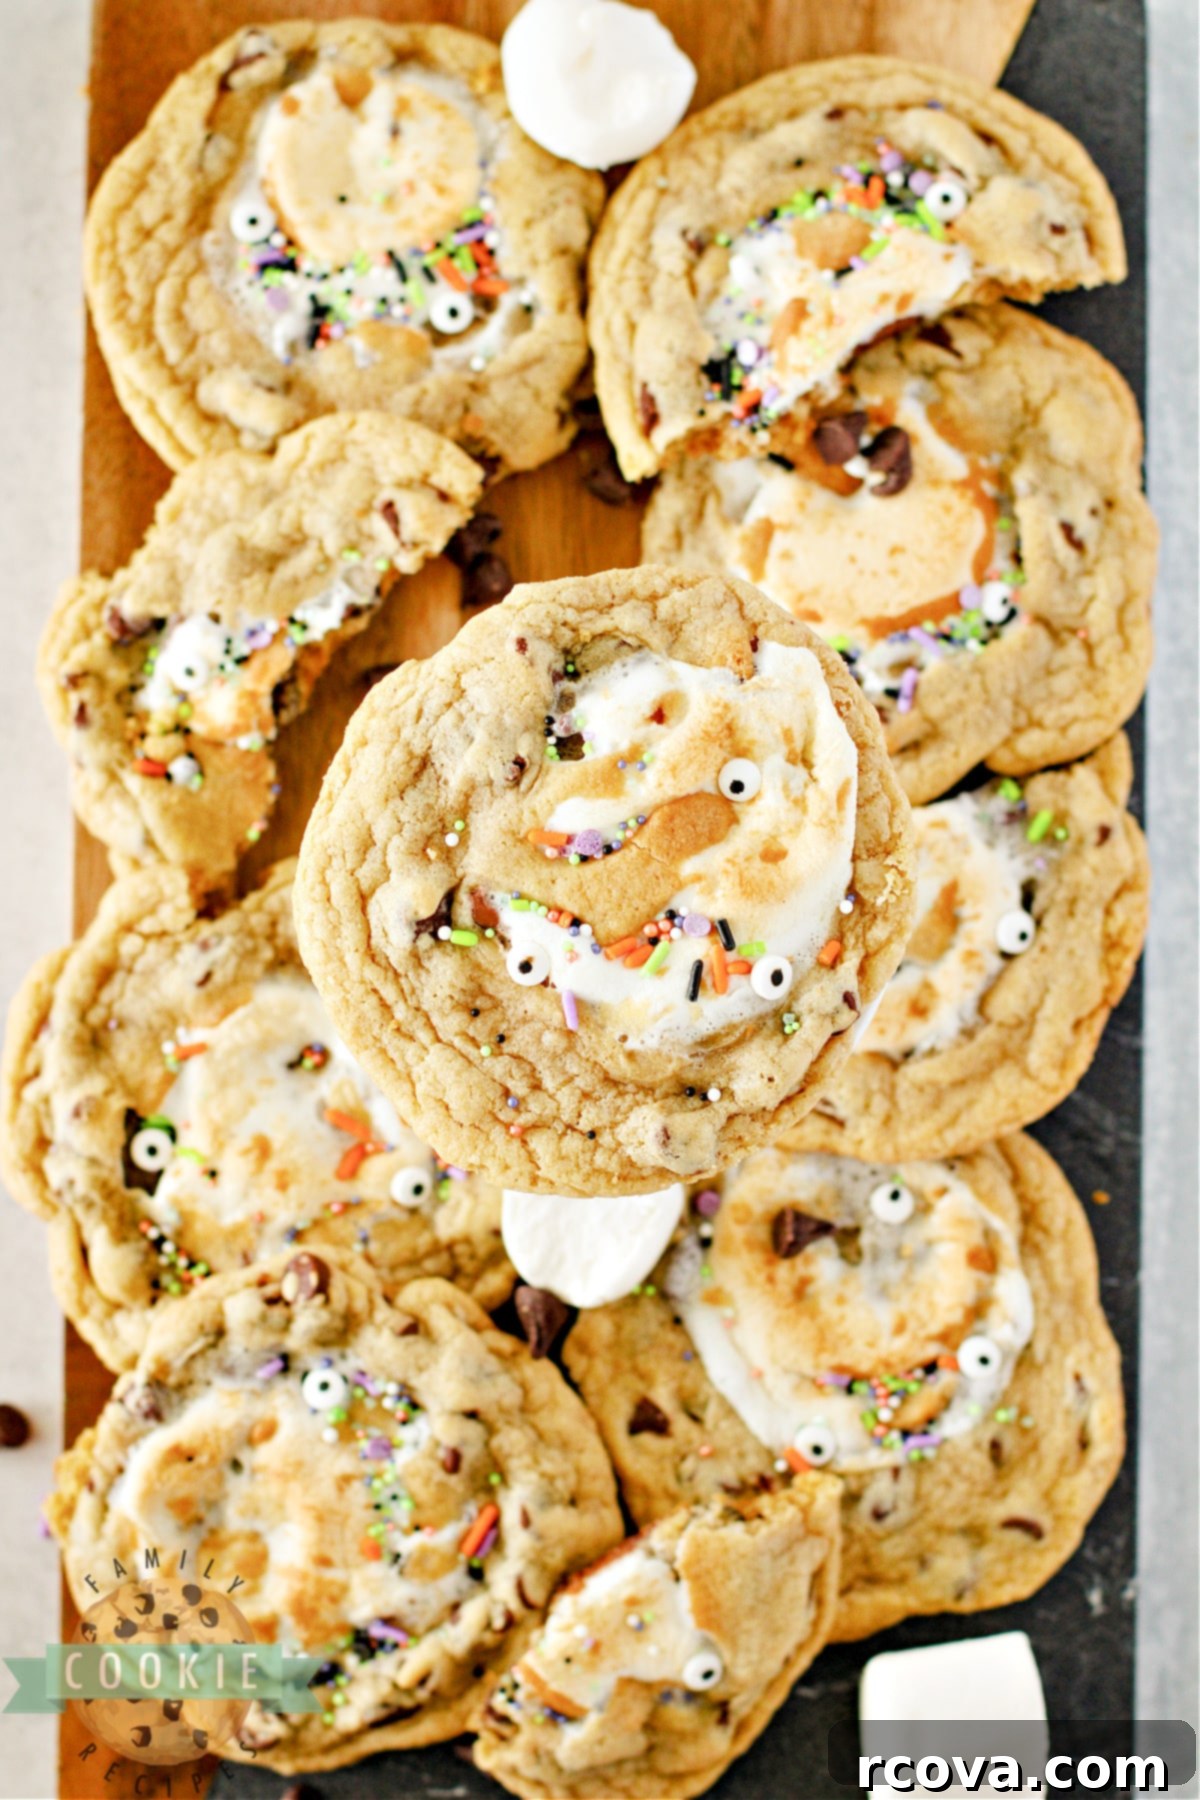
Spooky and Sweet: The Ultimate Monster Stuffed S’mores Cookies for Halloween Fun
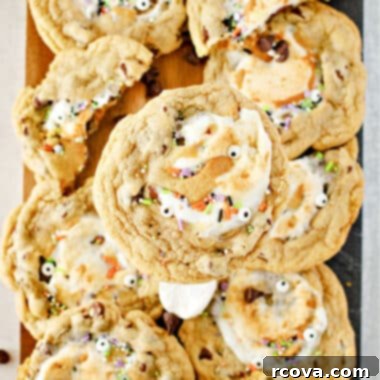
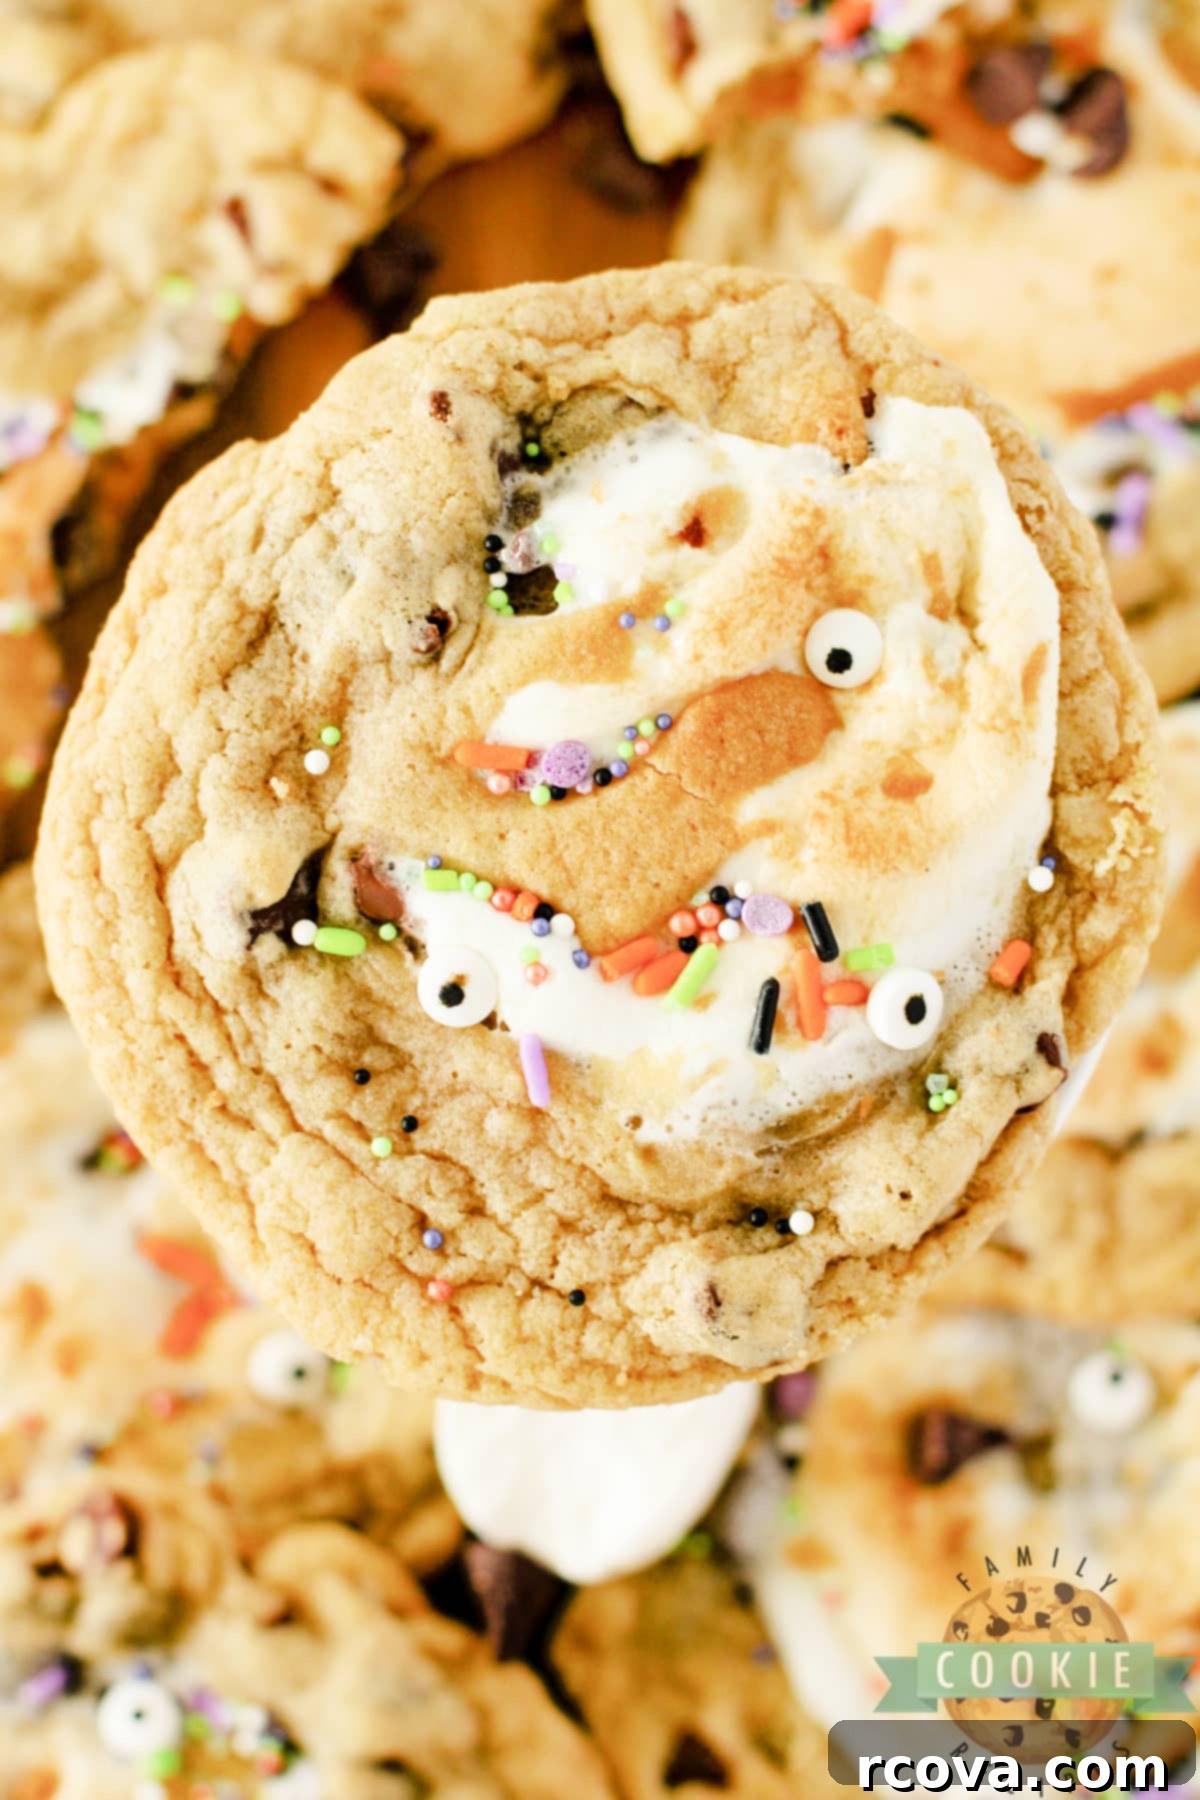
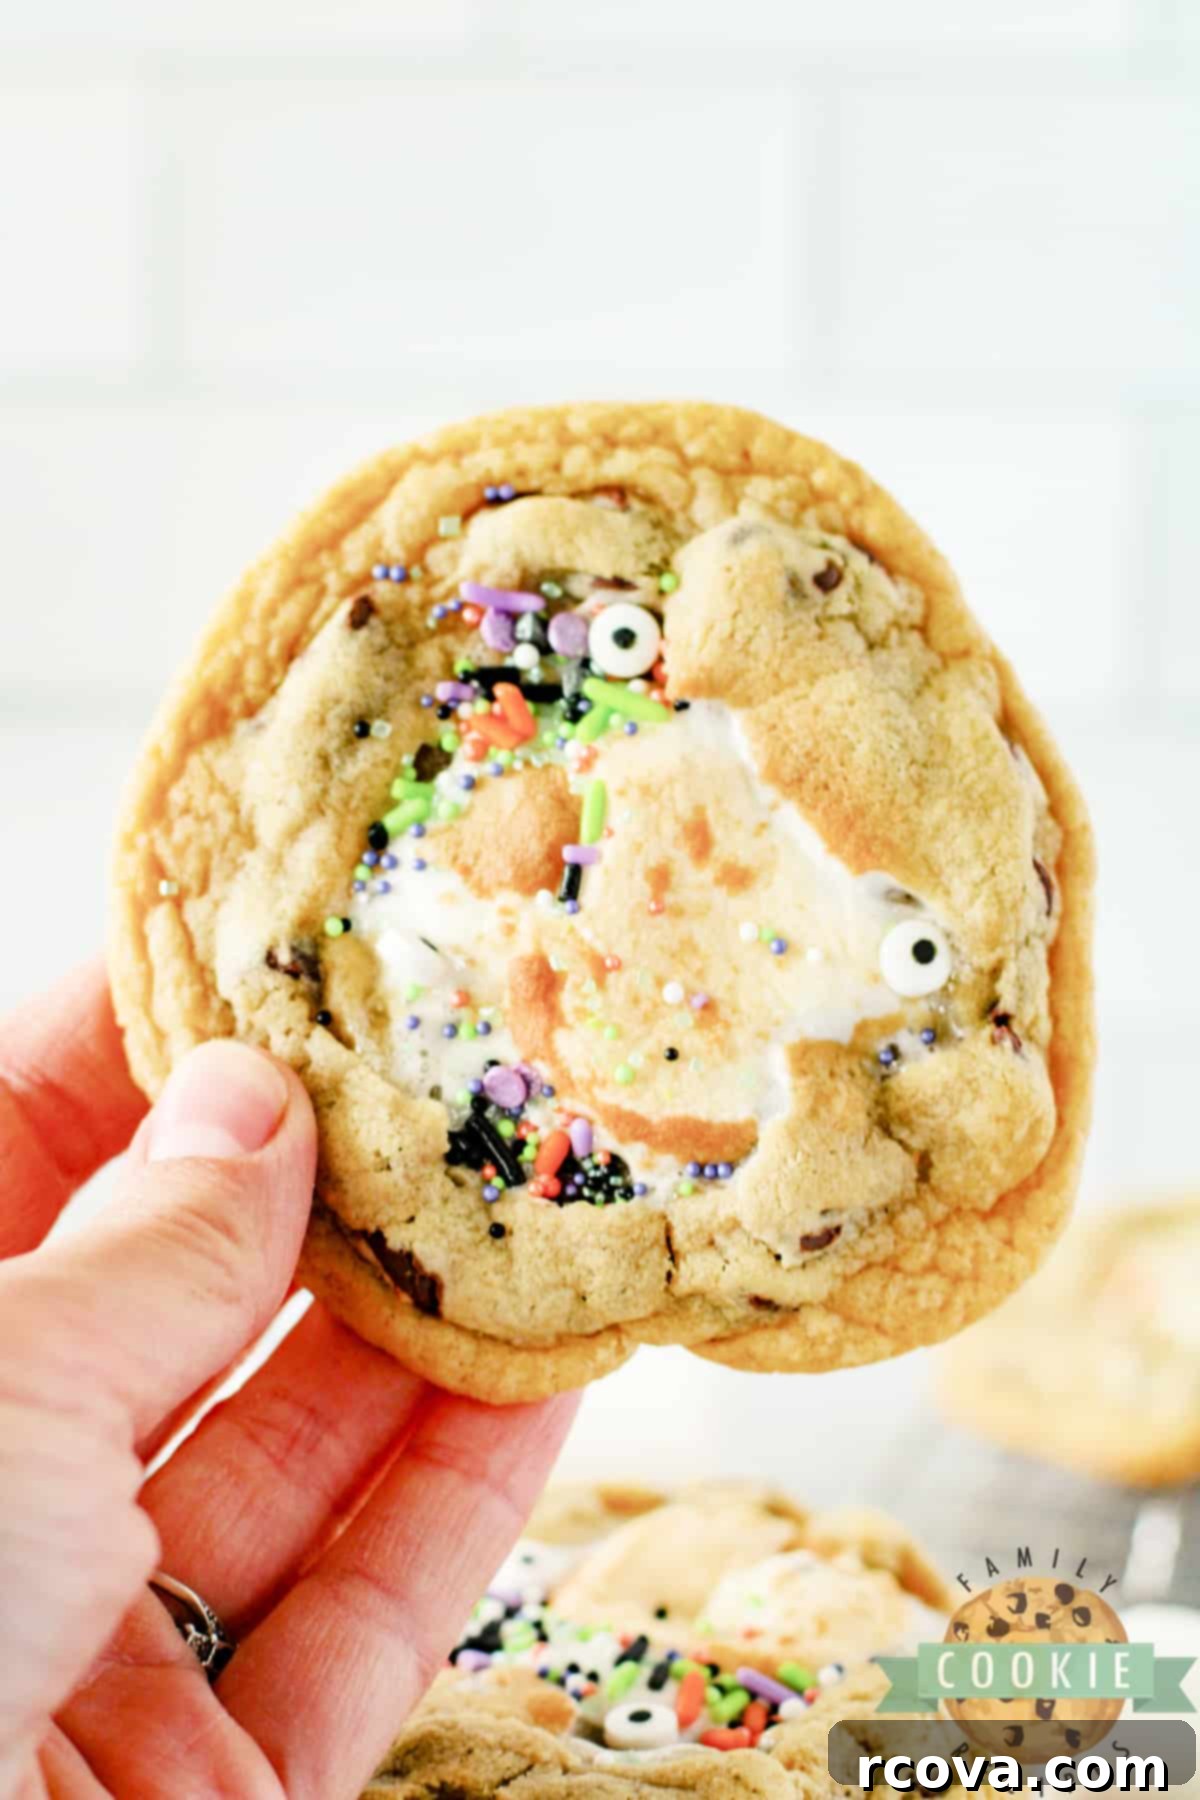
Get ready to unleash some monstrously delicious fun this Halloween with our incredible Monster Stuffed S’mores Cookies! These aren’t just any chocolate chip cookies; they’re an extraordinary experience, generously stuffed with gooey marshmallows and classic Hershey’s chocolate bar pieces. To transform them into the perfect spooky treat, we adorn them with playful monster eyes and vibrant Halloween sprinkles. Whether you’re hosting a ghoulish gathering or simply want to bring a smile to little trick-or-treaters’ faces, these Halloween cookies are guaranteed to be a hit. And the best part? If you skip the festive decorations, these delightful stuffed s’mores cookies are a year-round indulgence!
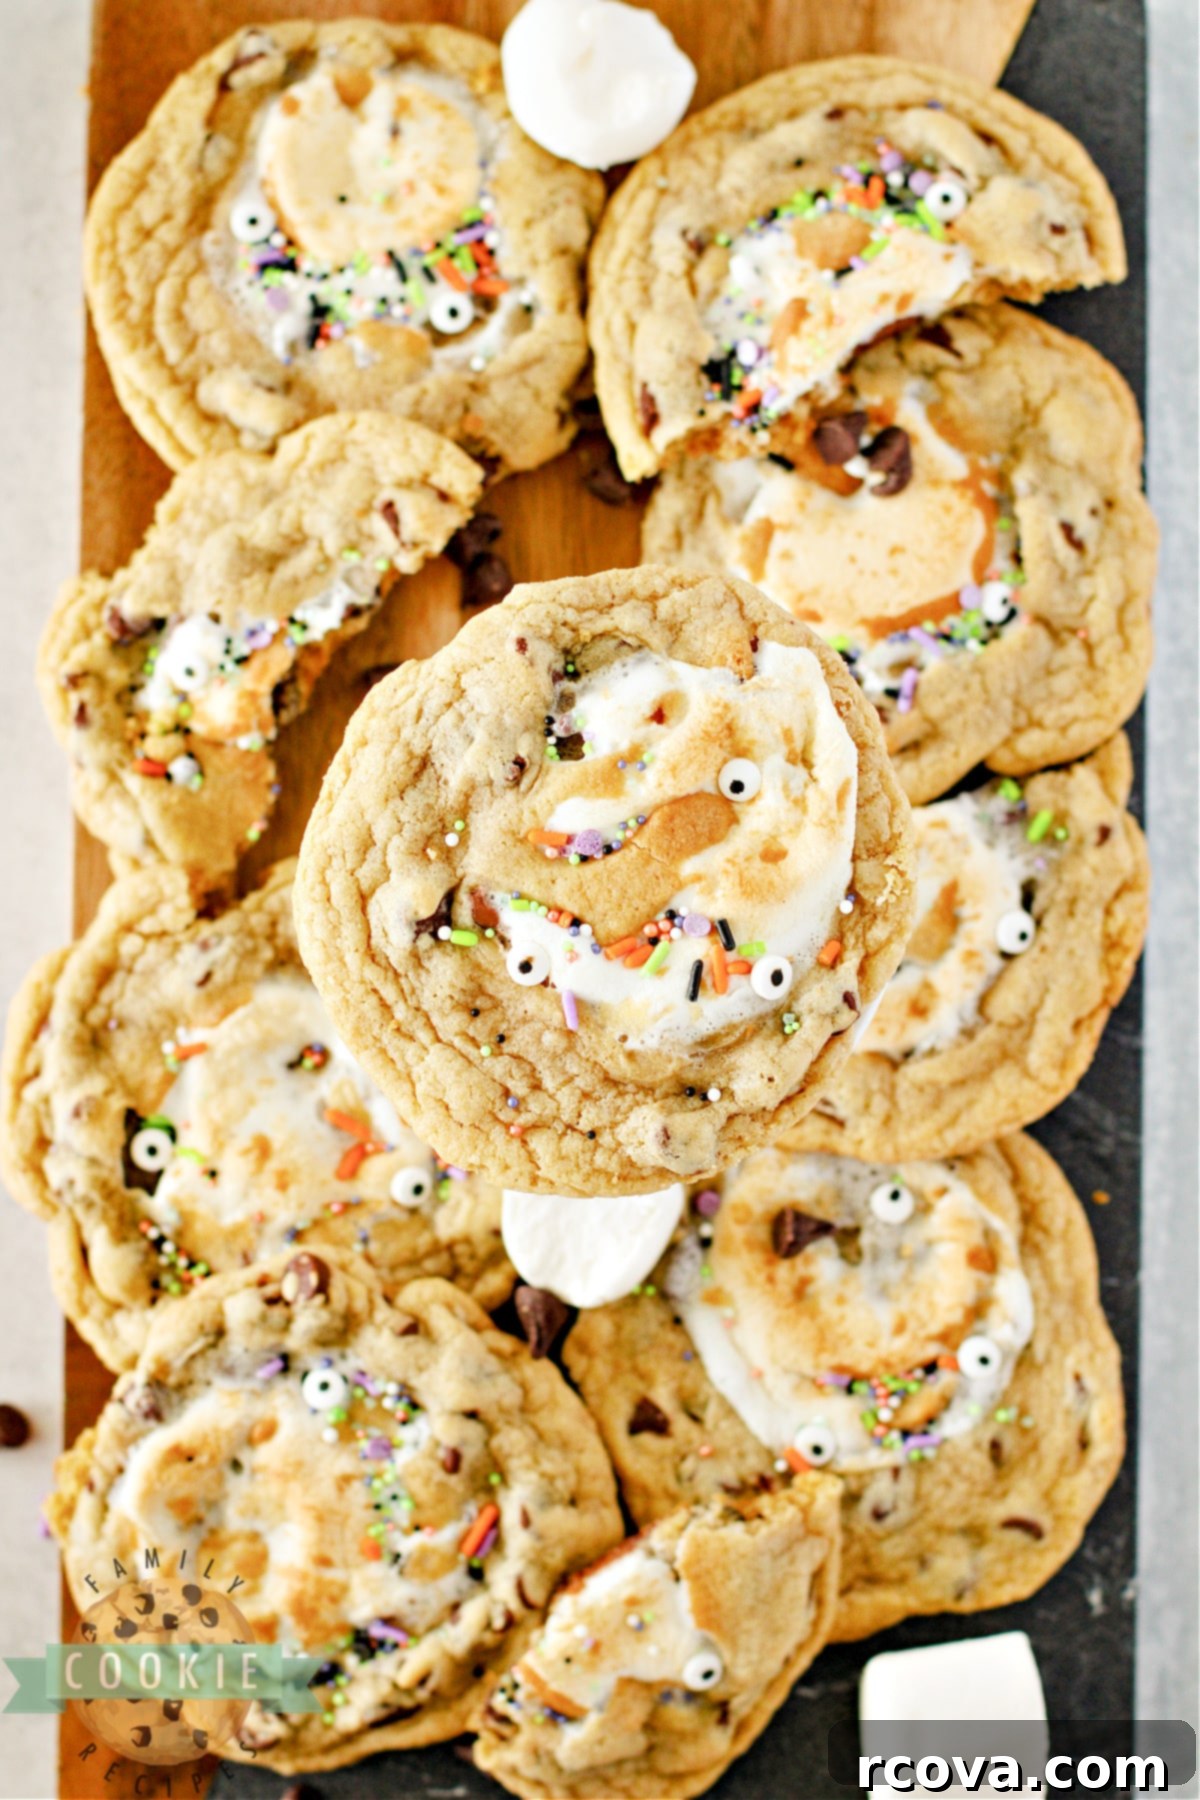
Halloween provides the perfect excuse to dive into the kitchen and whip up some truly unique and yummy treats. The simple addition of edible candy eyeballs instantly transforms almost any dessert into a whimsical monster, making it ideal for any spooky celebration. Imagine a plate full of these friendly (or frightful!) faces gazing up at your guests. Beyond the spooky season, these stuffed chocolate chip cookies are a decadent delight. The combination of classic chocolate chip cookie dough, molten chocolate, and warm, gooey marshmallow creates a comforting treat that evokes campfire memories. No matter the occasion, these cookies are sure to bring joy and satisfy any sweet tooth.
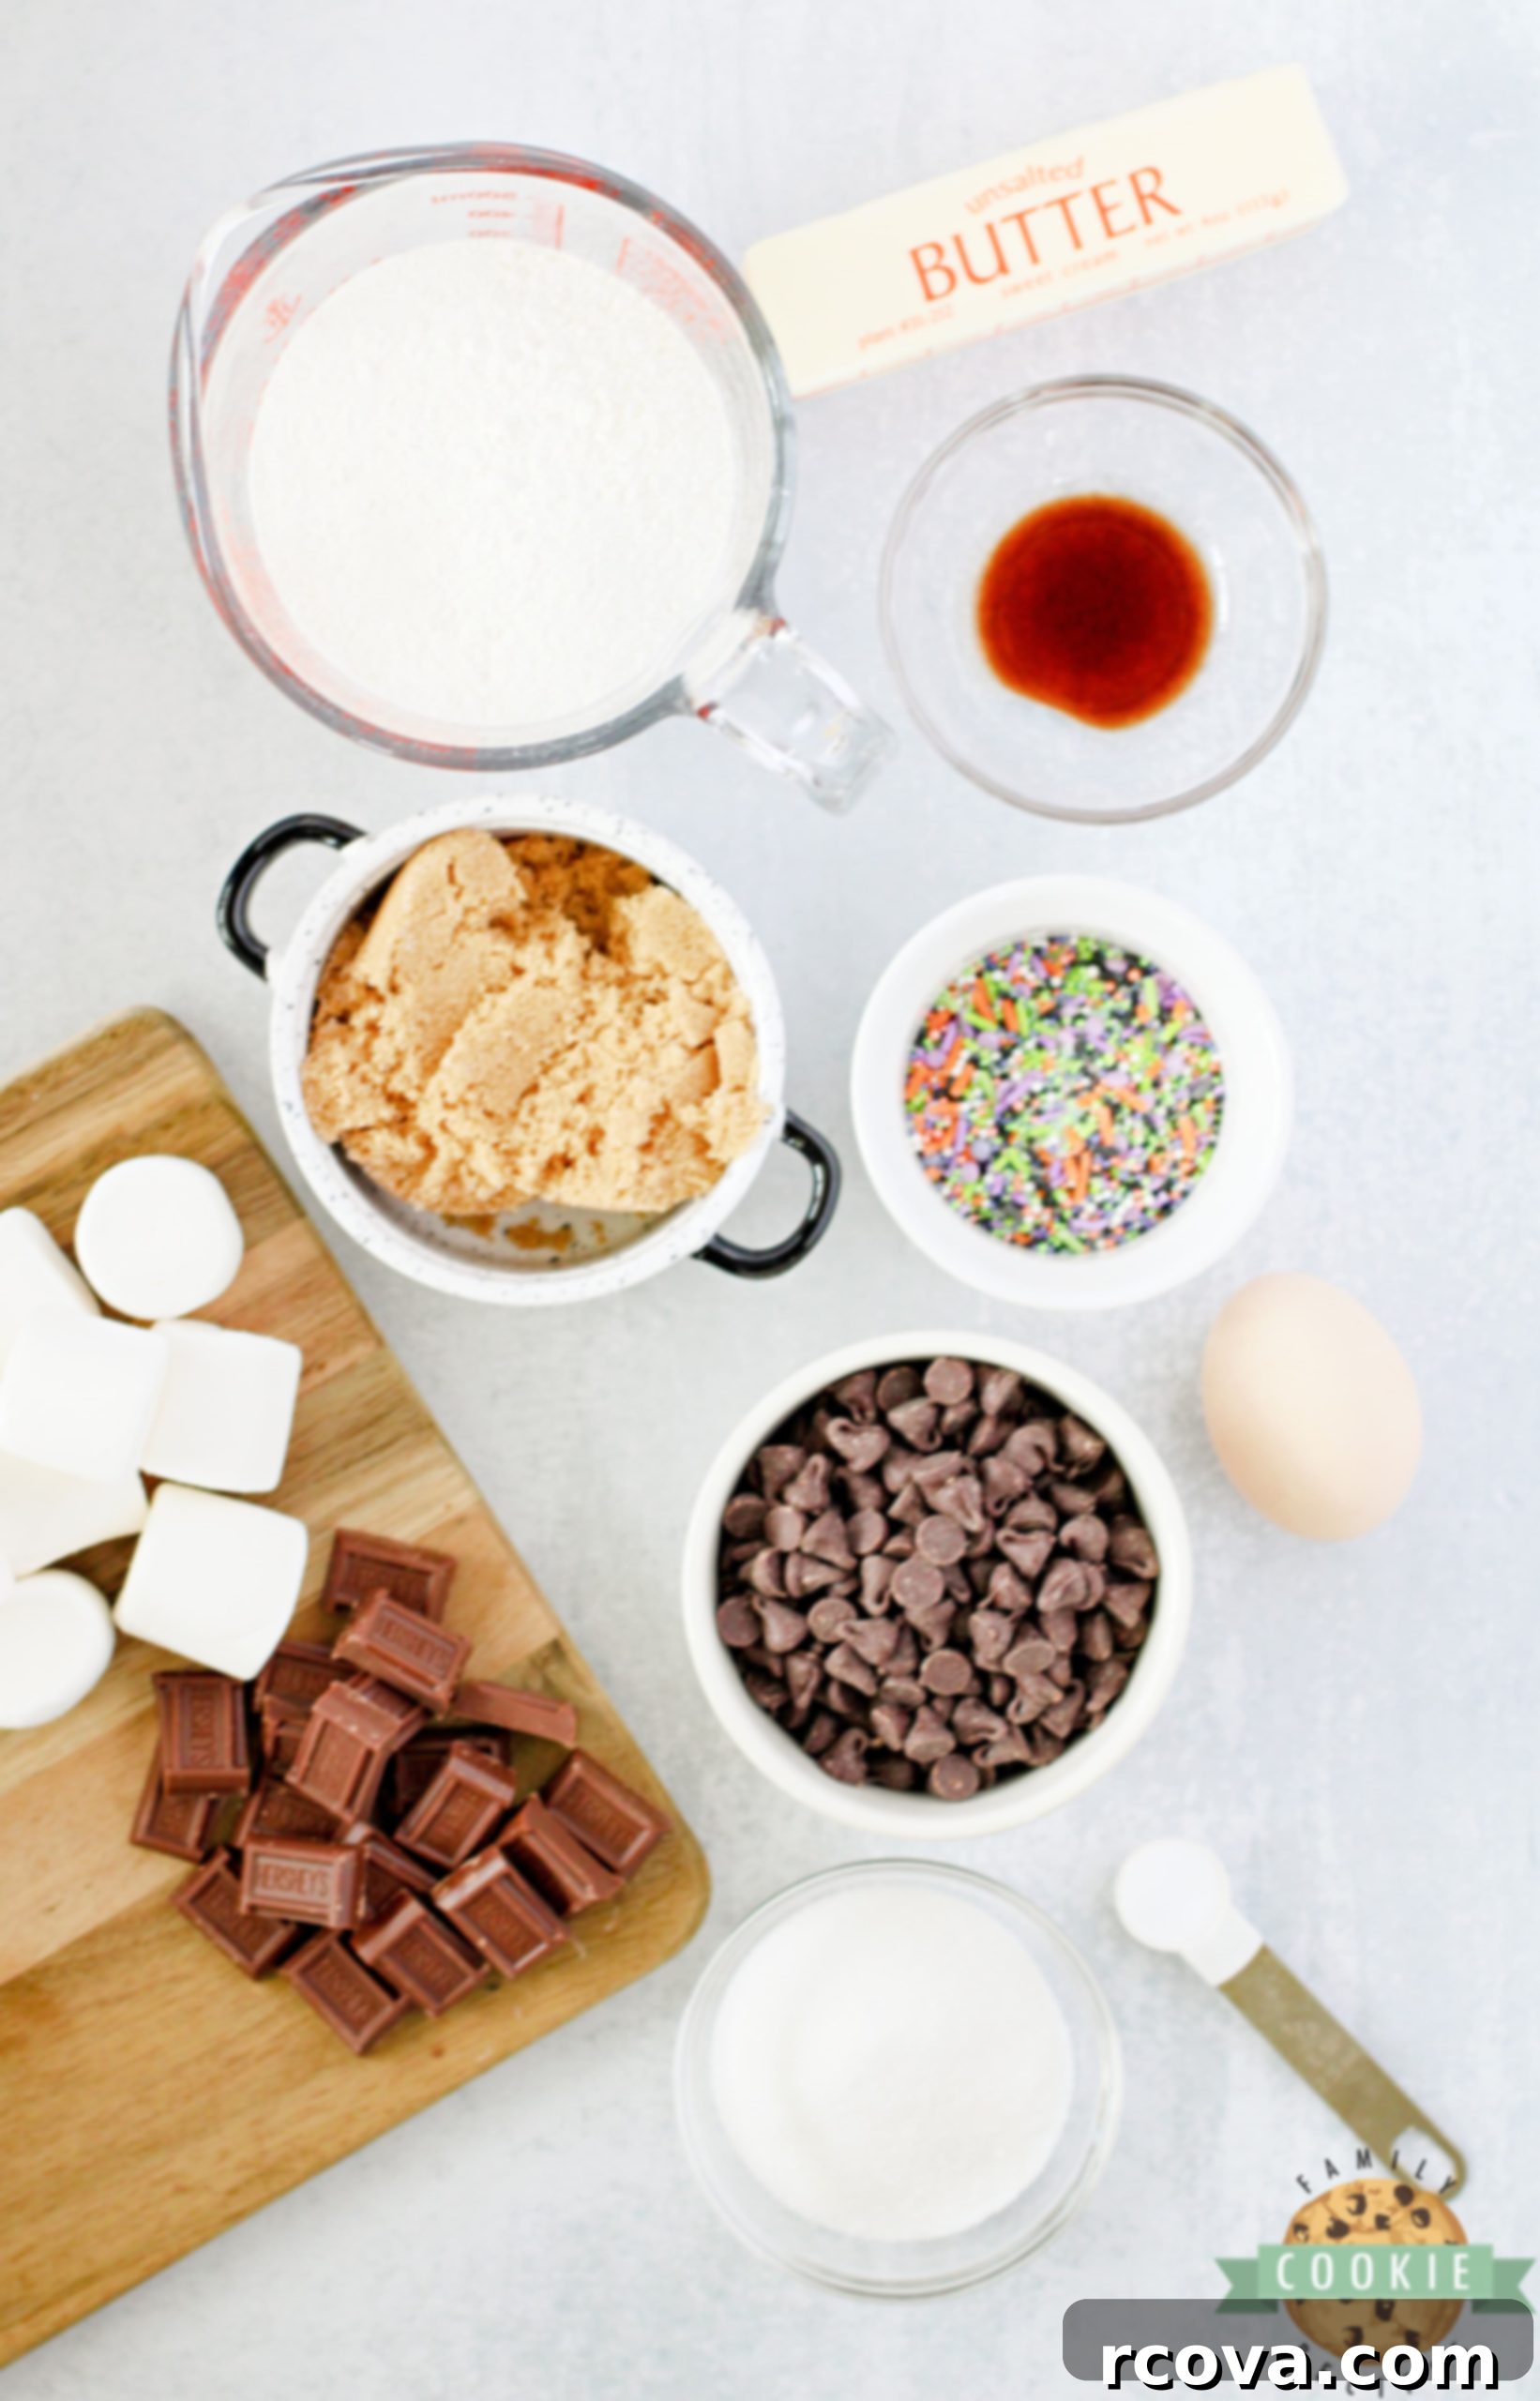
Essential Ingredients for Your Monster Stuffed S’mores Cookies
Crafting these extraordinary cookies begins with selecting the right ingredients. Each component plays a vital role in achieving that perfect balance of chewy, chocolatey, and delightfully gooey goodness. Here’s a closer look at what you’ll need:
Butter: For the richest flavor and best texture, real butter is essential. Ensure your butter is softened to room temperature before you begin. This allows it to cream properly with the sugars, creating a light, airy base for your cookie dough. Cold butter won’t incorporate well, leading to a denser cookie, while melted butter can result in flat, greasy cookies.
Egg: A single large egg acts as the binder for all the ingredients, bringing structure and moisture to the cookie dough. It helps create that perfect chewy texture that’s characteristic of a great chocolate chip cookie.
Vanilla Extract: Don’t underestimate the power of good vanilla! One teaspoon of quality vanilla extract significantly enhances the overall flavor profile of your cookies. Opt for pure vanilla extract over imitation for a truly superior taste. It adds warmth and depth that complements the chocolate and marshmallow beautifully.
Sugars (Granulated White & Light Brown): The combination of white and light brown sugar is crucial for both sweetness and texture. White sugar contributes to crispiness and spread, while light brown sugar adds moisture, chewiness, and a subtle caramel note. Always ensure your brown sugar is soft and fresh; hard, clumpy brown sugar means it has lost its moisture, which will affect your cookie’s texture. Gently packing the brown sugar into your measuring cup ensures accurate measurement.
All-Purpose Flour: This forms the structural backbone of your cookies. While all-purpose flour works perfectly, you can easily substitute it with a gluten-free all-purpose flour blend if you need a gluten-free alternative. When measuring flour, spoon it into your measuring cup and level it off with a straight edge to avoid over-packing, which can lead to dry, tough cookies.
Baking Soda: As the primary leavening agent, baking soda is responsible for the cookies’ rise and slight crispness around the edges. Always check the expiration date on your baking soda; old or expired baking soda loses its potency, resulting in flat, dense cookies. Fresh baking soda is key to achieving that desirable lift and texture.
Semi-Sweet Chocolate Chips: What’s a chocolate chip cookie without chocolate chips? We recommend semi-sweet for a balanced flavor that pairs well with the other sweet components, but feel free to use milk chocolate chips if you prefer a sweeter, creamier taste. You can also experiment with dark chocolate chips for a more intense chocolate experience.
Large Marshmallows: These are the heart of the “s’mores” stuffing! You’ll need one large marshmallow for the center of each cookie. As the cookies bake, the marshmallow will melt into a wonderfully gooey, irresistible core, creating that signature s’mores pull. Smaller marshmallows can also work, but larger ones create a more dramatic, molten center.
Hershey Bar Squares: A true s’mores experience demands Hershey’s! Break a standard Hershey bar into individual squares. You’ll place one or two squares alongside the marshmallow in the center of each cookie. The classic milk chocolate flavor of a Hershey bar is irreplaceable in a s’mores cookie.
Halloween Sprinkles and Candy Eyeballs: These are the magical finishing touches that transform your cookies into festive monsters! Add these immediately after the cookies come out of the oven. The warmth and stickiness of the melted marshmallow will act as a natural adhesive, ensuring your sprinkles and edible candy eyeballs stick securely. Get creative with different colors and shapes of sprinkles to make each monster unique!
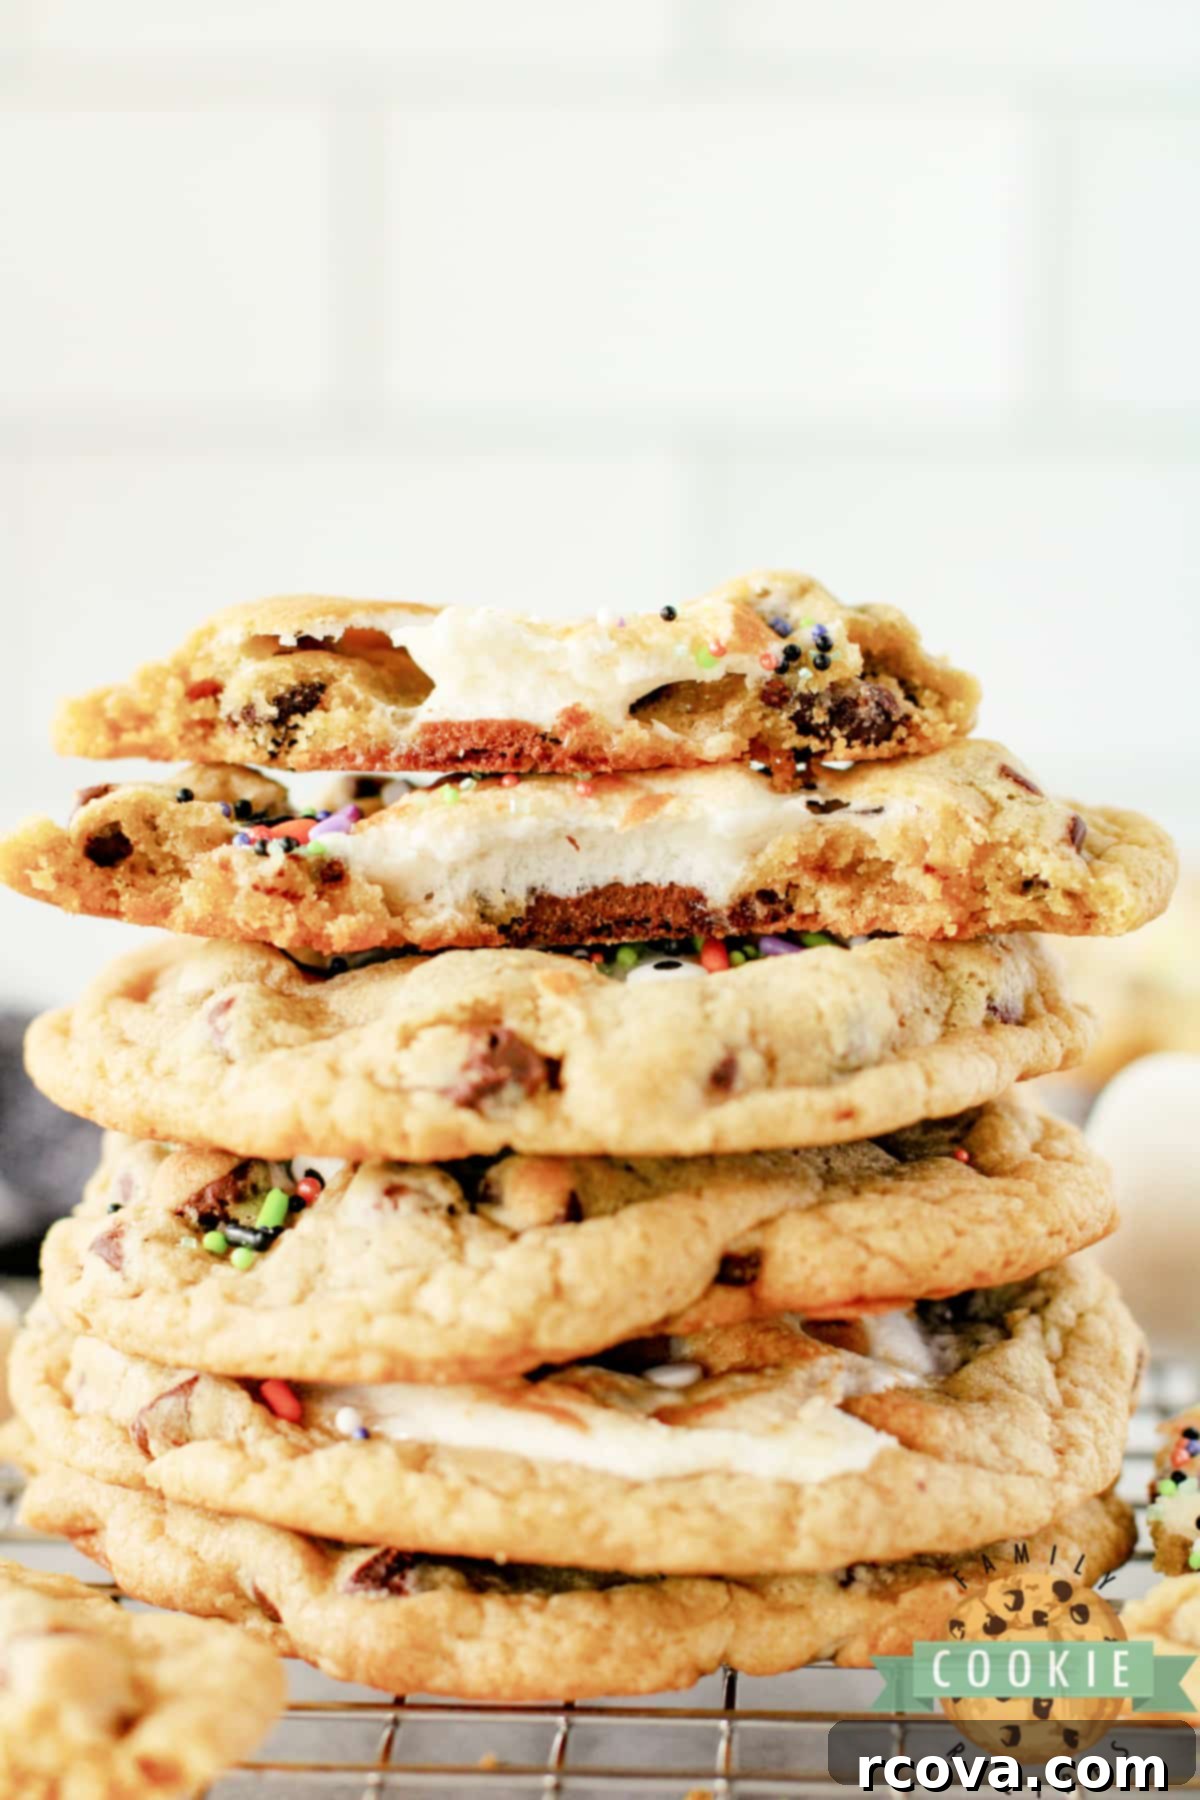
How to Bake Your Monster Stuffed S’mores Cookies
Follow these detailed steps to create perfectly baked, ooey-gooey monster cookies that will delight everyone.
- Preheat your oven to 350°F (175°C). Proper preheating is crucial for consistent baking results, ensuring your cookies cook evenly from the moment they enter the oven.
- Prepare your baking sheets by lining them with parchment paper or a silicone baking mat. This prevents sticking and makes for easy cleanup. Set the prepared sheets aside.
MAKE THE COOKIE DOUGH
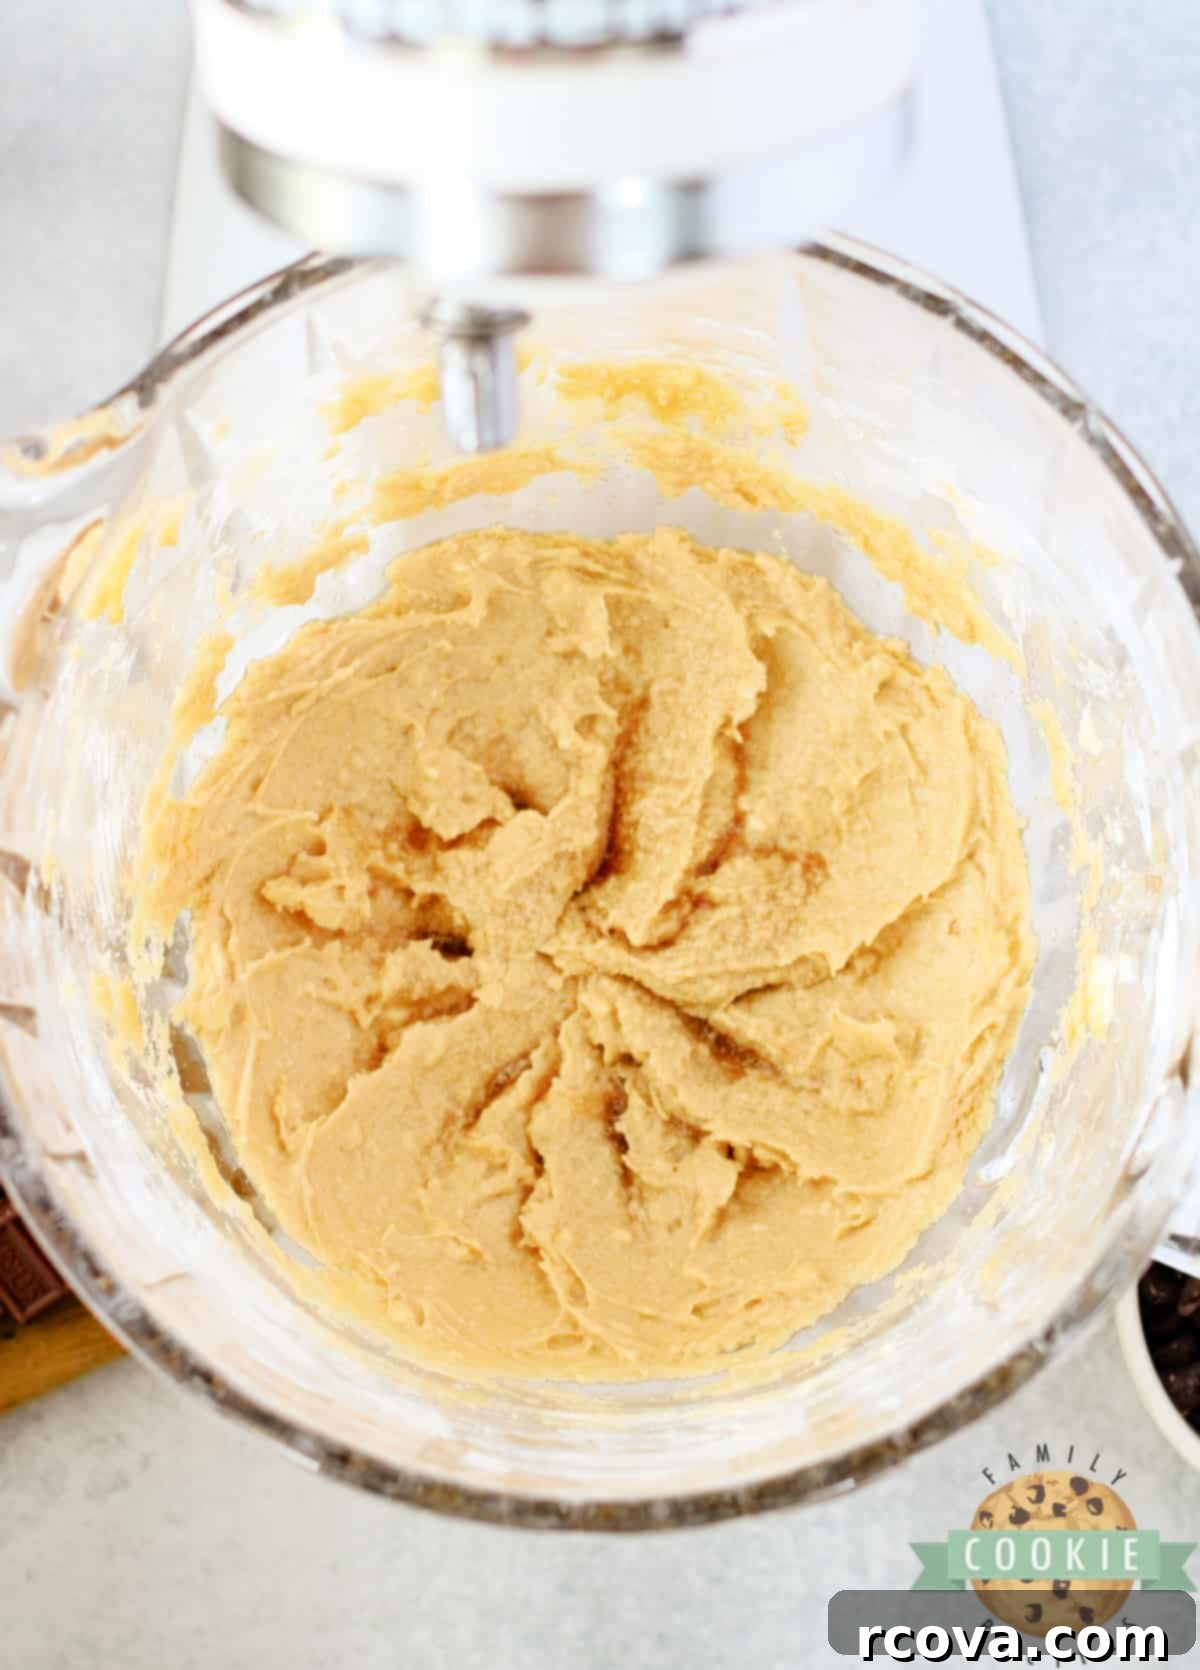
- In a large mixing bowl, combine the softened butter, egg, vanilla extract, granulated white sugar, and light brown sugar. Using an electric mixer, beat these ingredients together for 2-3 minutes until the mixture is light, fluffy, and well combined. This creaming process incorporates air, which contributes to the cookies’ final texture.
- Gradually add the all-purpose flour and baking soda to the wet ingredients. Mix on low speed until just combined and a soft, cohesive dough forms. Be careful not to overmix the flour, as this can develop the gluten too much and lead to tough cookies.
- Gently fold the semi-sweet chocolate chips into the cookie dough using a wooden spoon or a rubber spatula until they are evenly distributed. Avoid using the electric mixer for this step to prevent overmixing the chocolate chips.
- Cover the bowl with plastic wrap and place the dough in the refrigerator to chill for at least one hour. Chilling the dough is a critical step that helps prevent the cookies from spreading too much during baking, allowing the flavors to meld, and making the dough easier to handle.
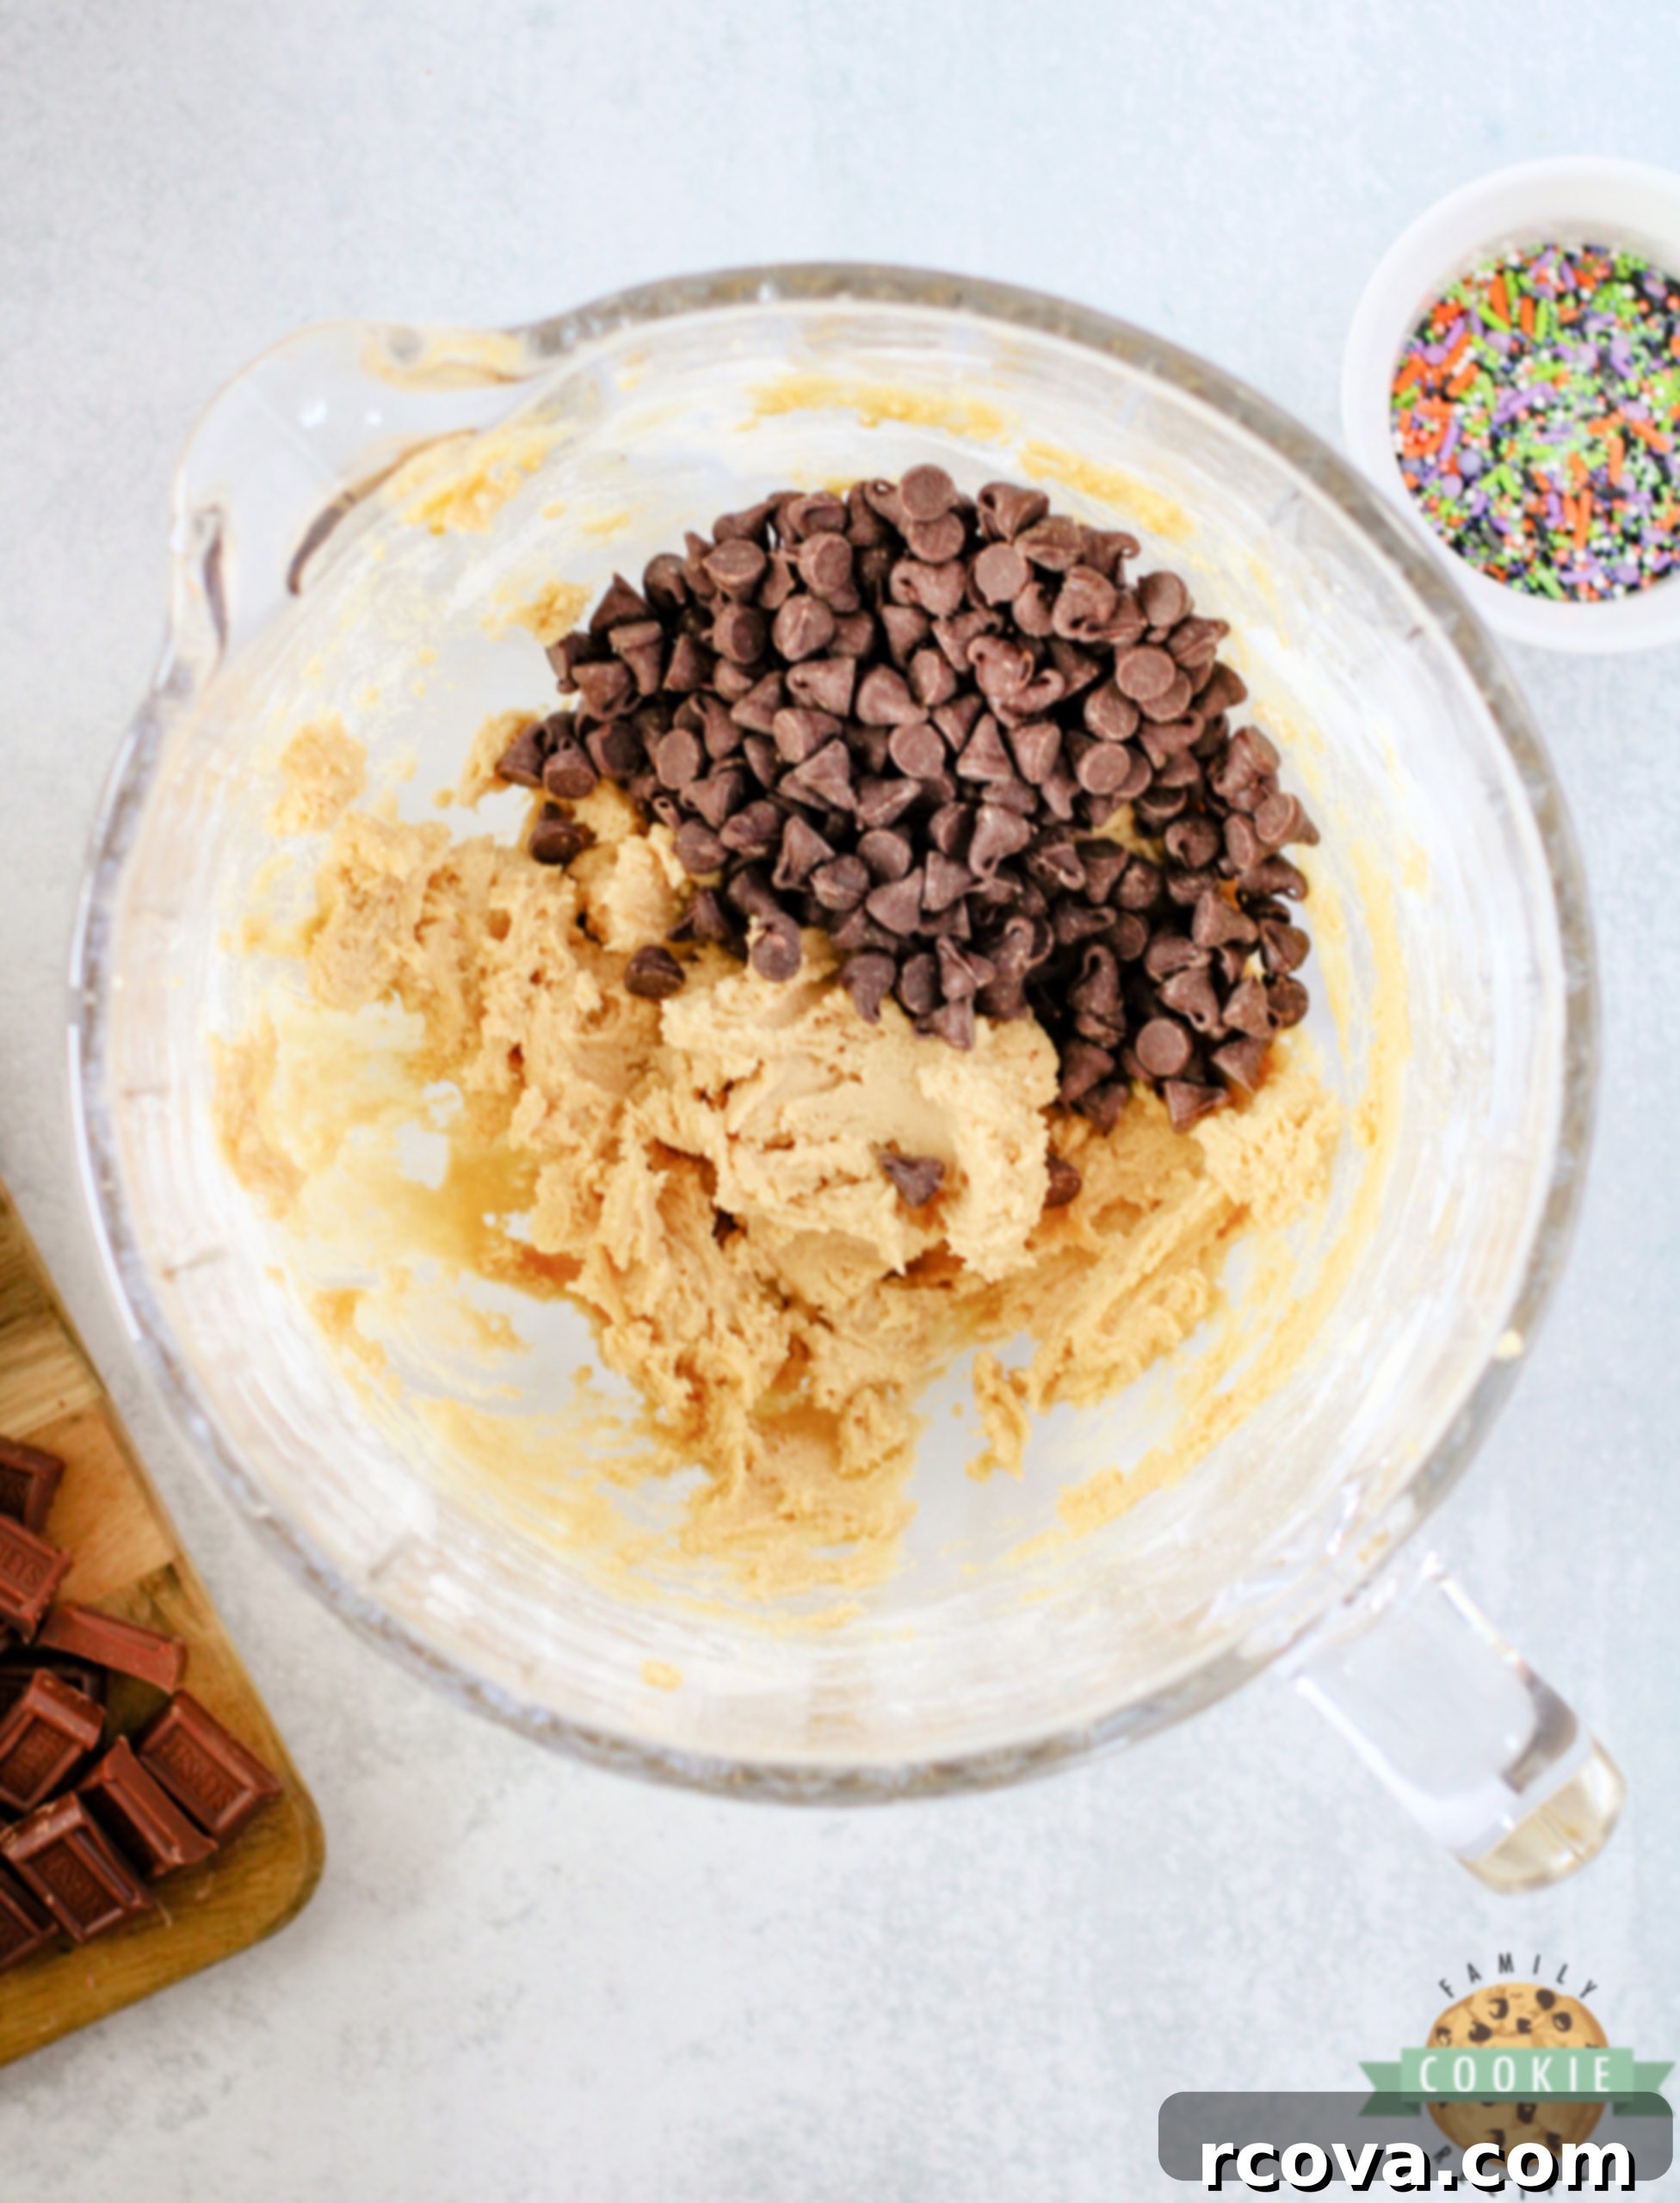
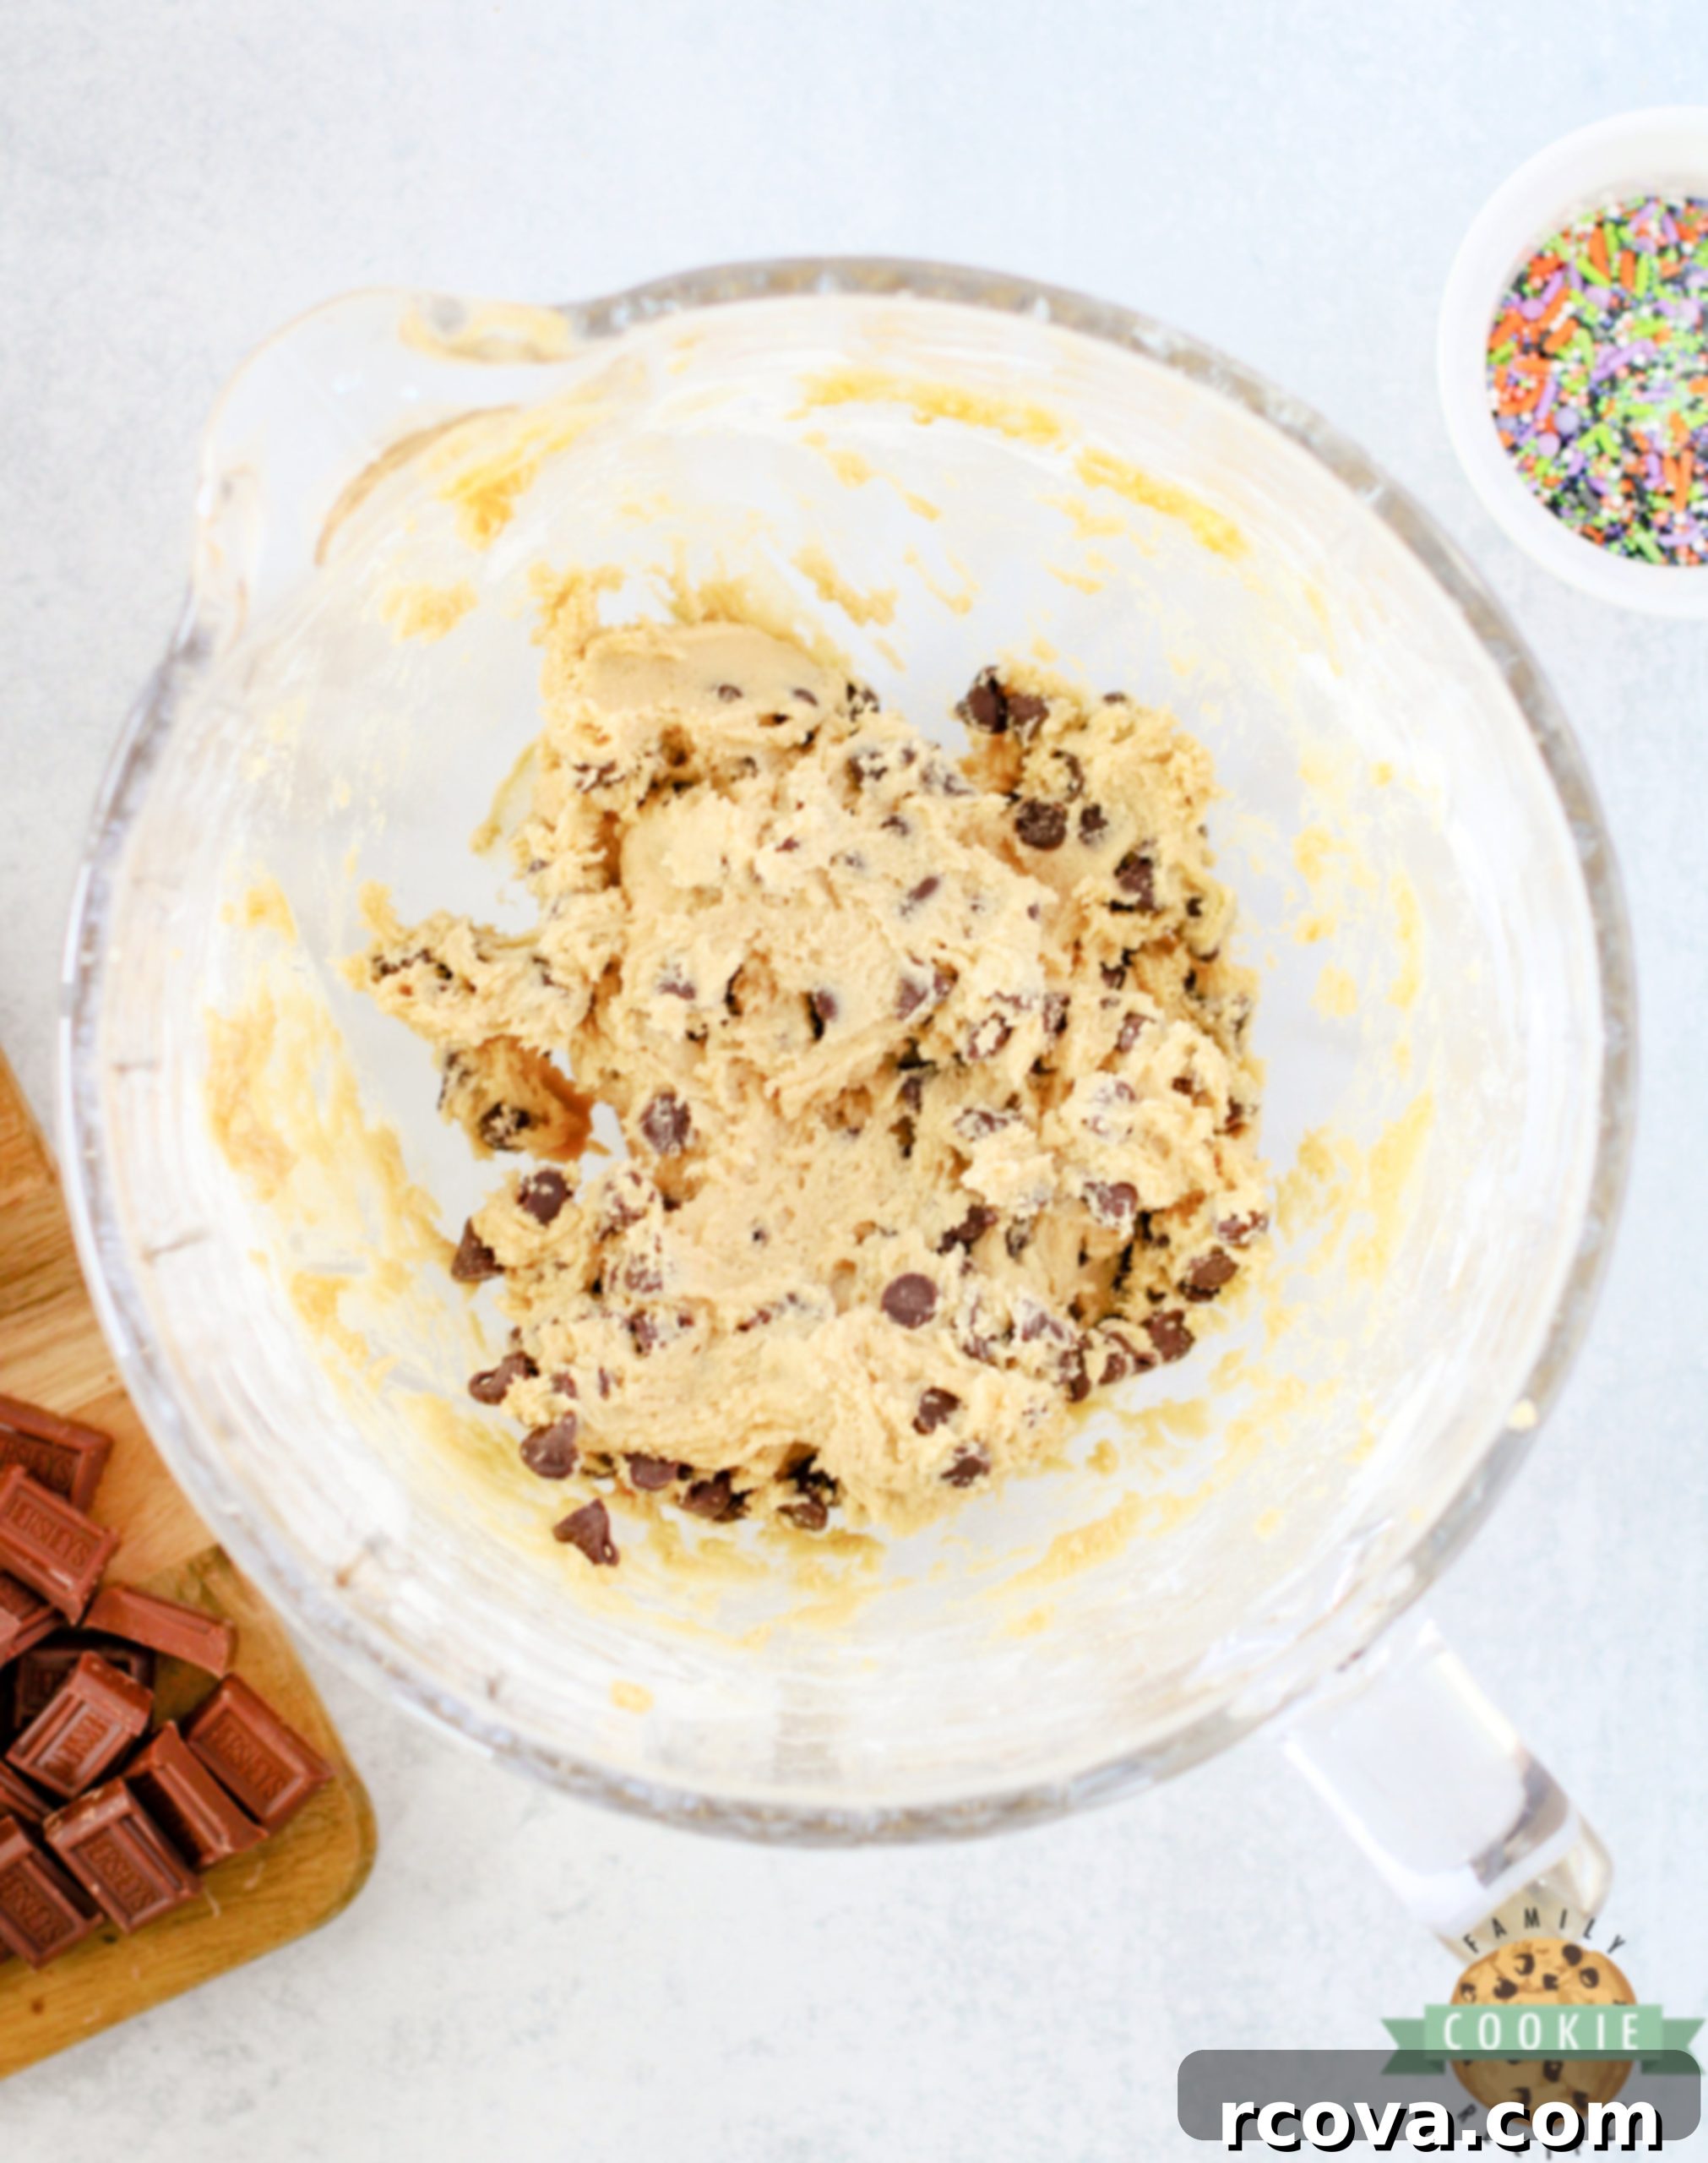
ASSEMBLE THE COOKIES
- Once the dough is adequately chilled, remove it from the refrigerator. Using a large cookie scoop (a ¼-cup size is ideal), portion out balls of dough. Place them evenly spaced on your prepared baking sheet. It’s usually possible to fit about six cookies on a standard-size baking sheet, leaving enough room for them to spread slightly.
- Using your hands, gently flatten each dough ball into a large, flat circle. This creates the base for your s’mores stuffing.
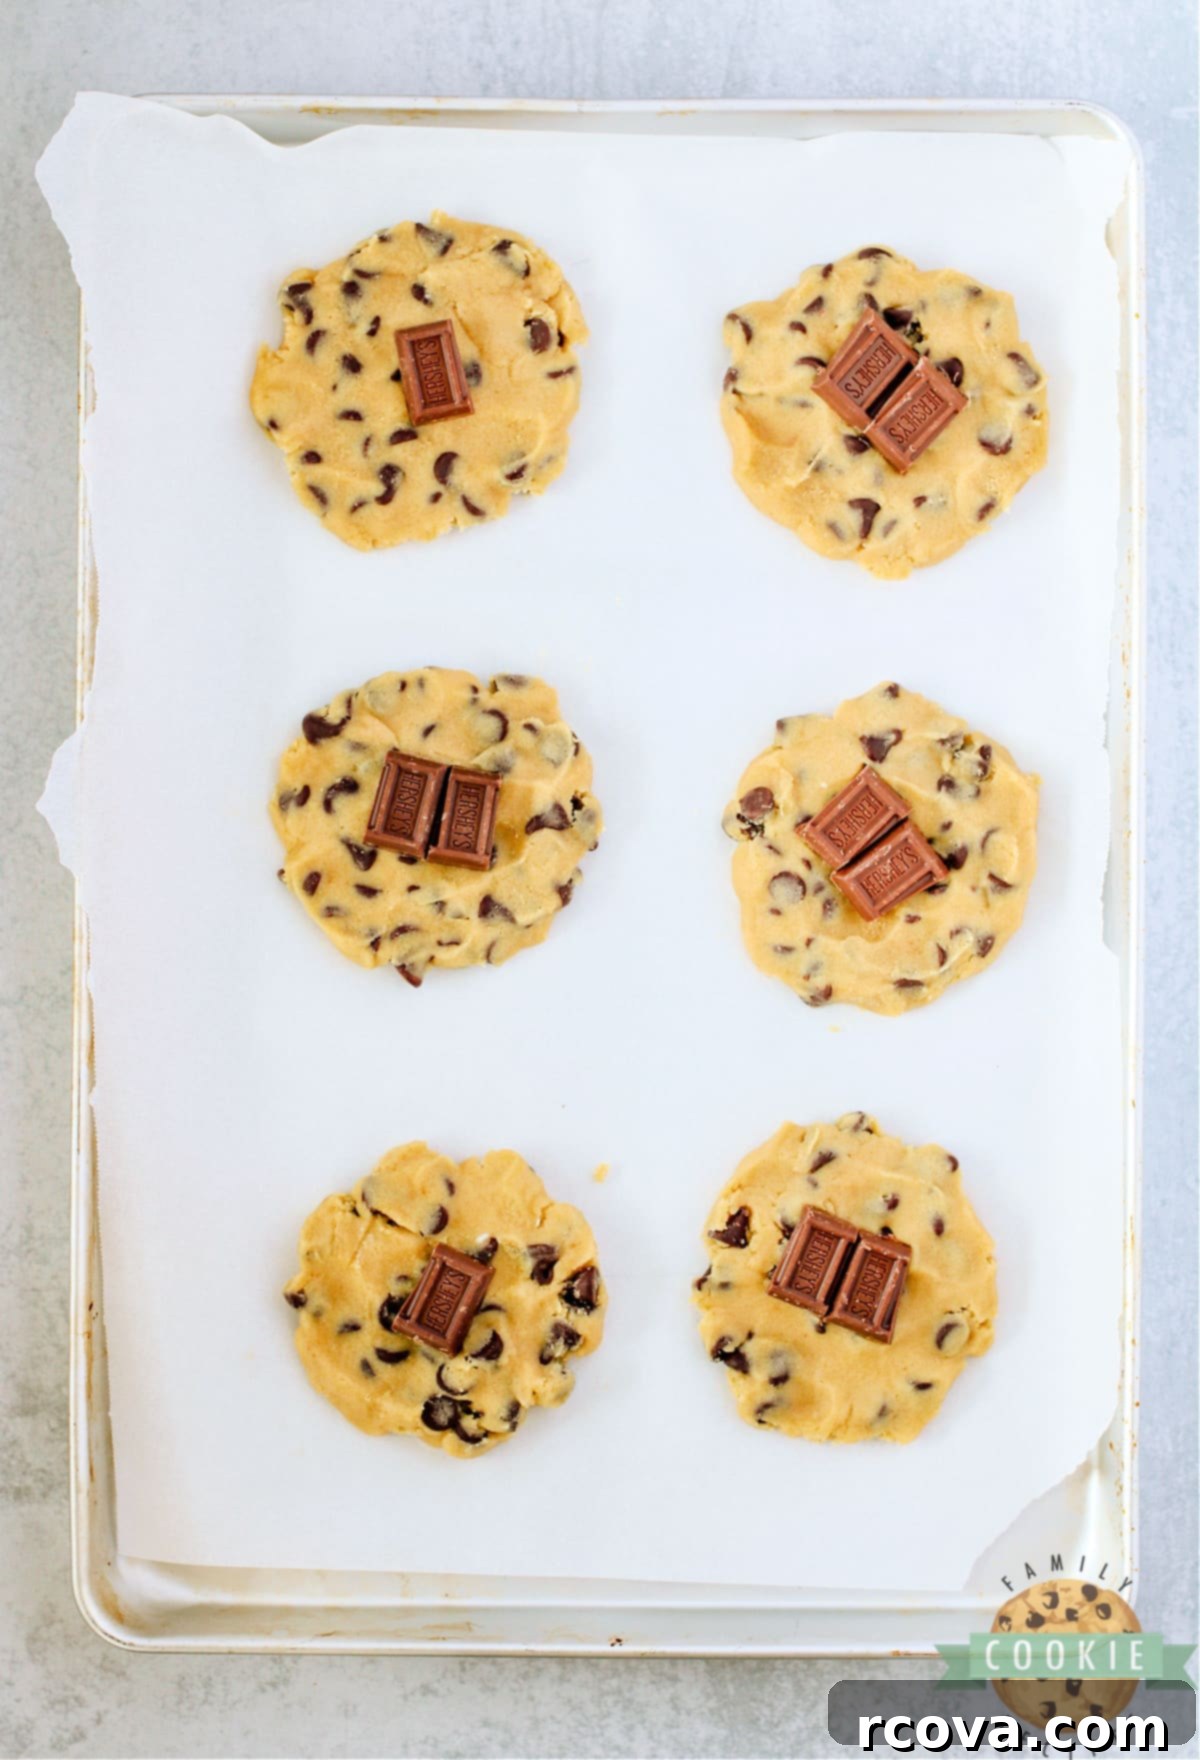
- Place one or two small Hershey bar squares in the center of each flattened cookie dough circle.
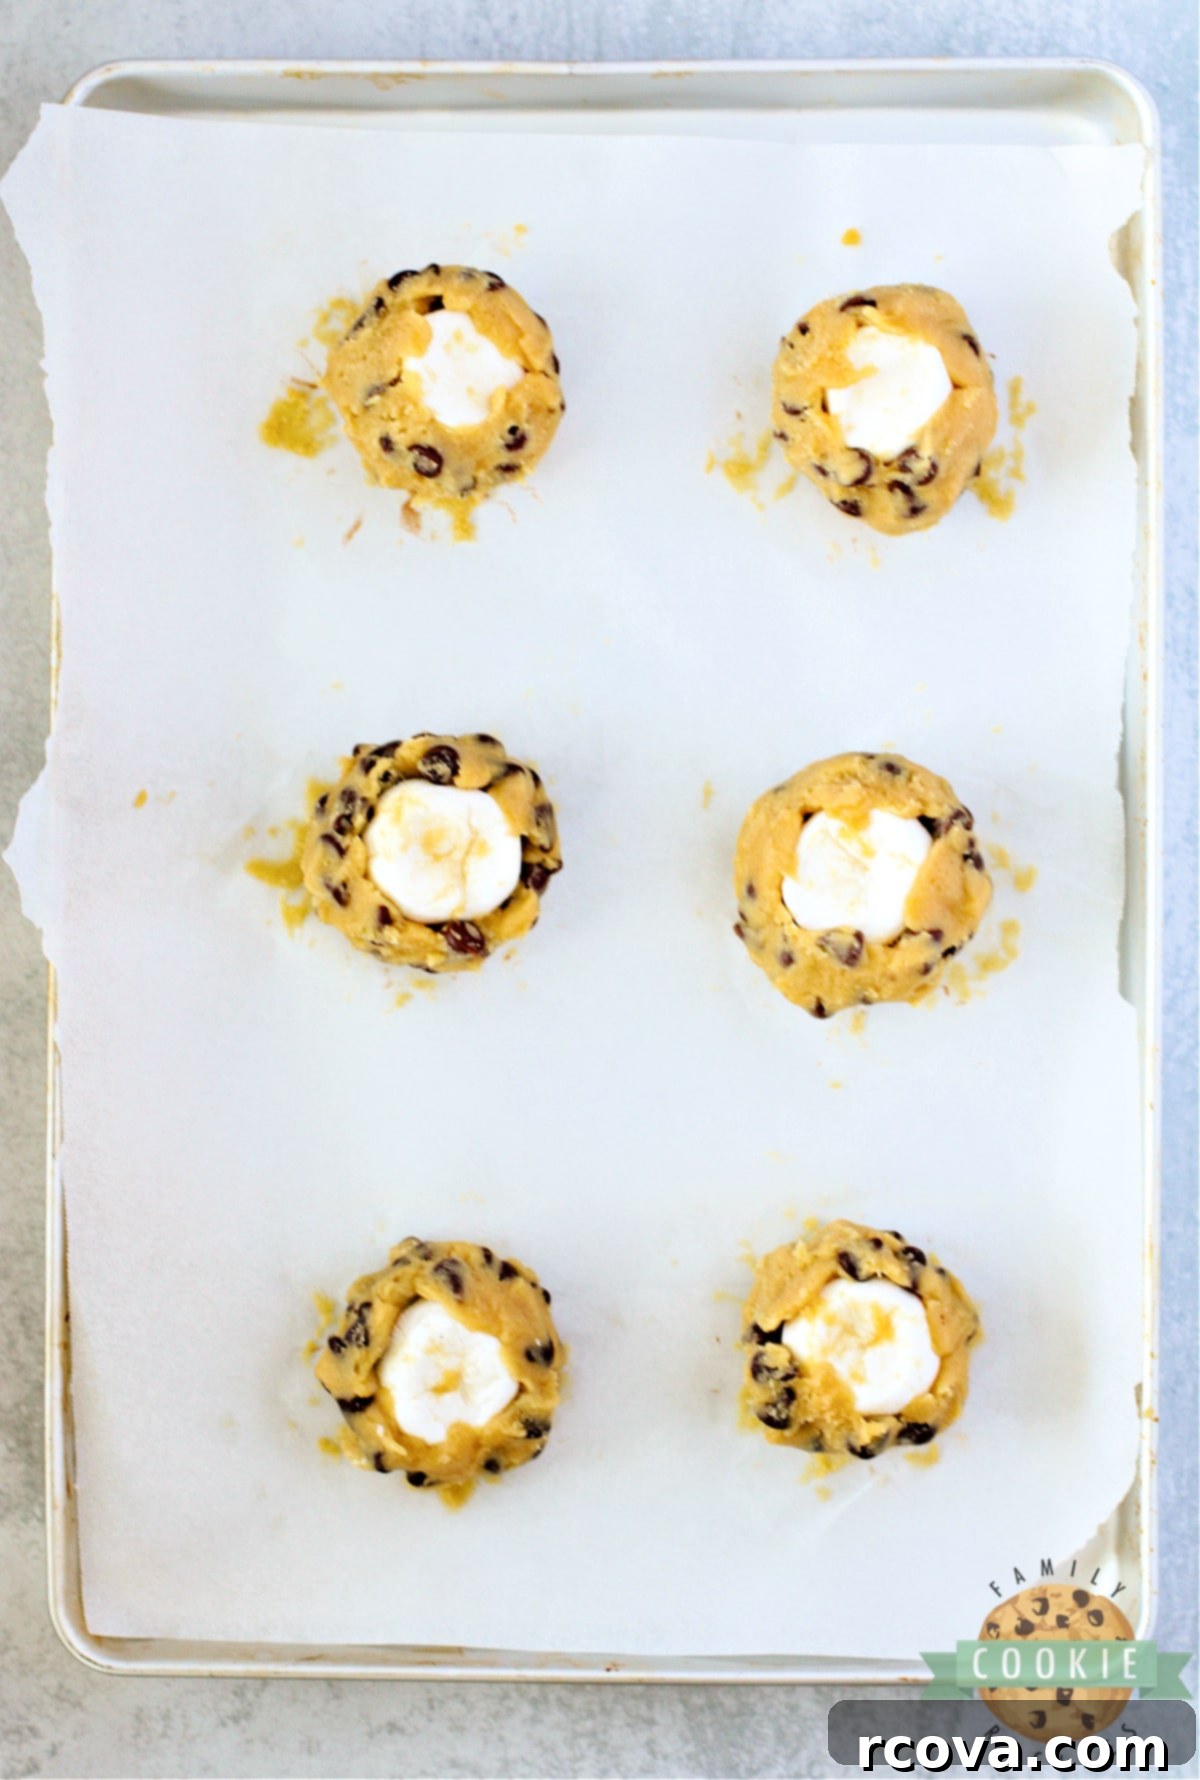
- Carefully place one large marshmallow on top of the chocolate squares. Then, gently press the sides of the cookie dough up and around the marshmallow, essentially wrapping the dough around the filling. It’s okay if the very top of the marshmallow remains exposed; it will create a beautiful toasted effect.
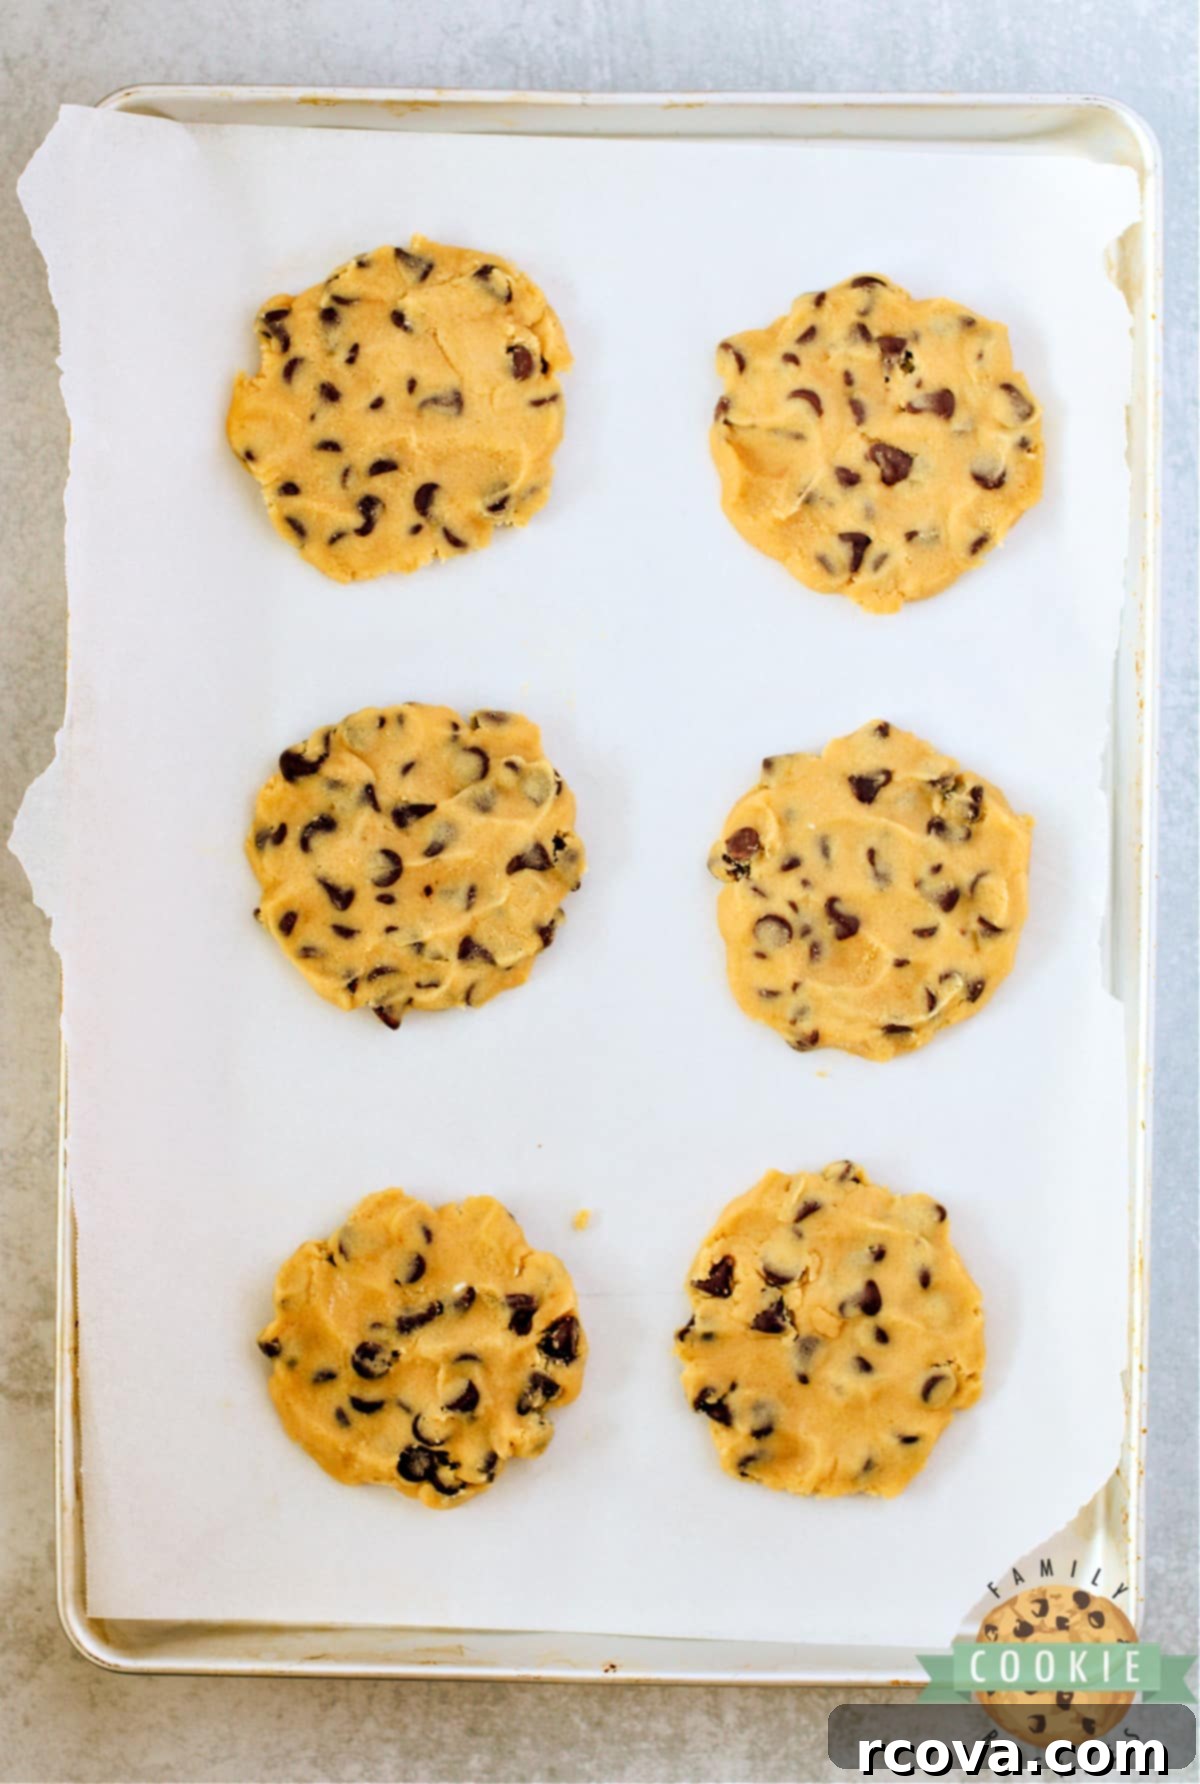
BAKE AND DECORATE THE COOKIES
- Bake the cookies for approximately 10 minutes, or until the edges and bottoms of the cookies just begin to turn golden brown, and the marshmallows have softened, flattened out, and become deliciously gooey. Be vigilant to avoid overcooking, as this can cause the marshmallows to completely melt and absorb into the cookie, rather than staying gooey and distinct.
- Once baked, remove the cookies from the oven. Allow them to rest on the hot baking sheet for 5-10 minutes. This crucial resting period allows the cookies to set and firm up slightly before you attempt to move them.
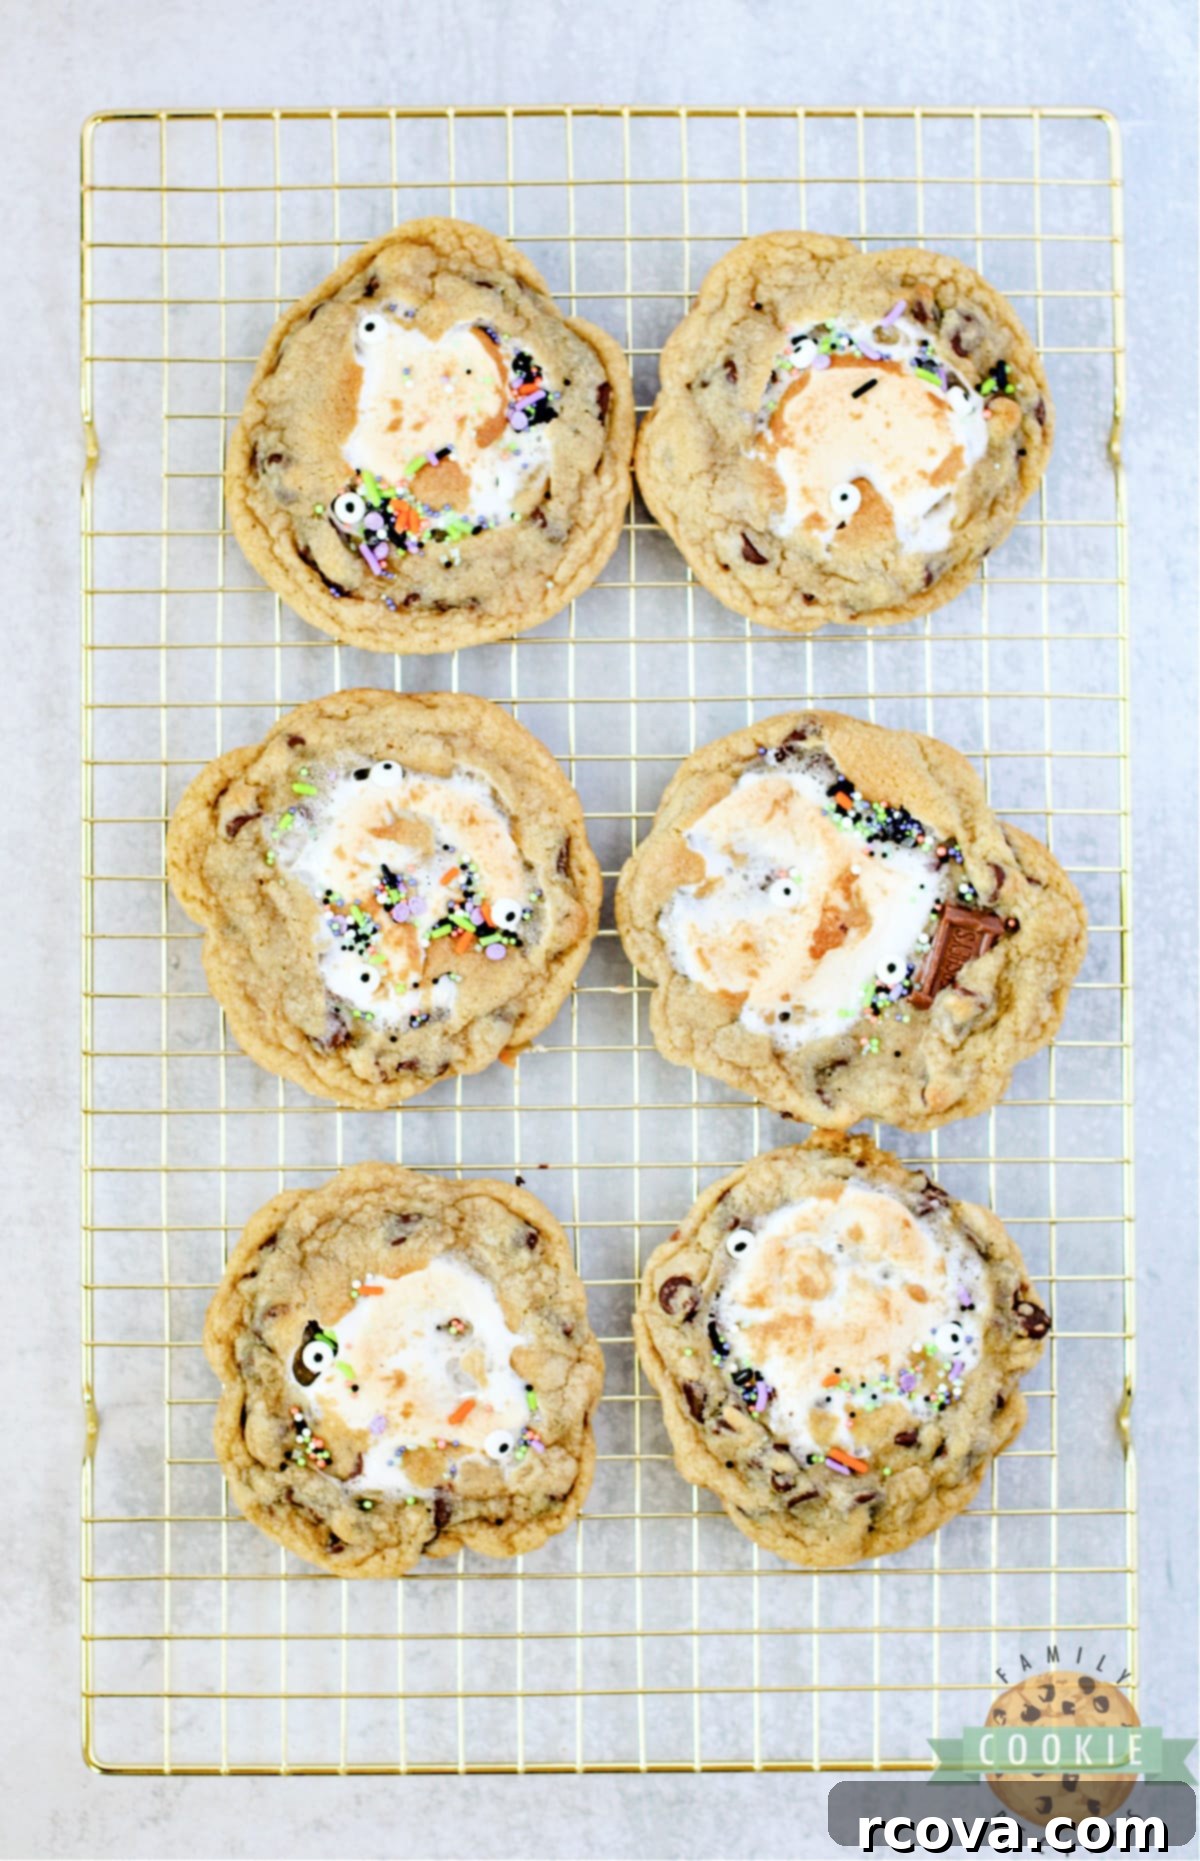
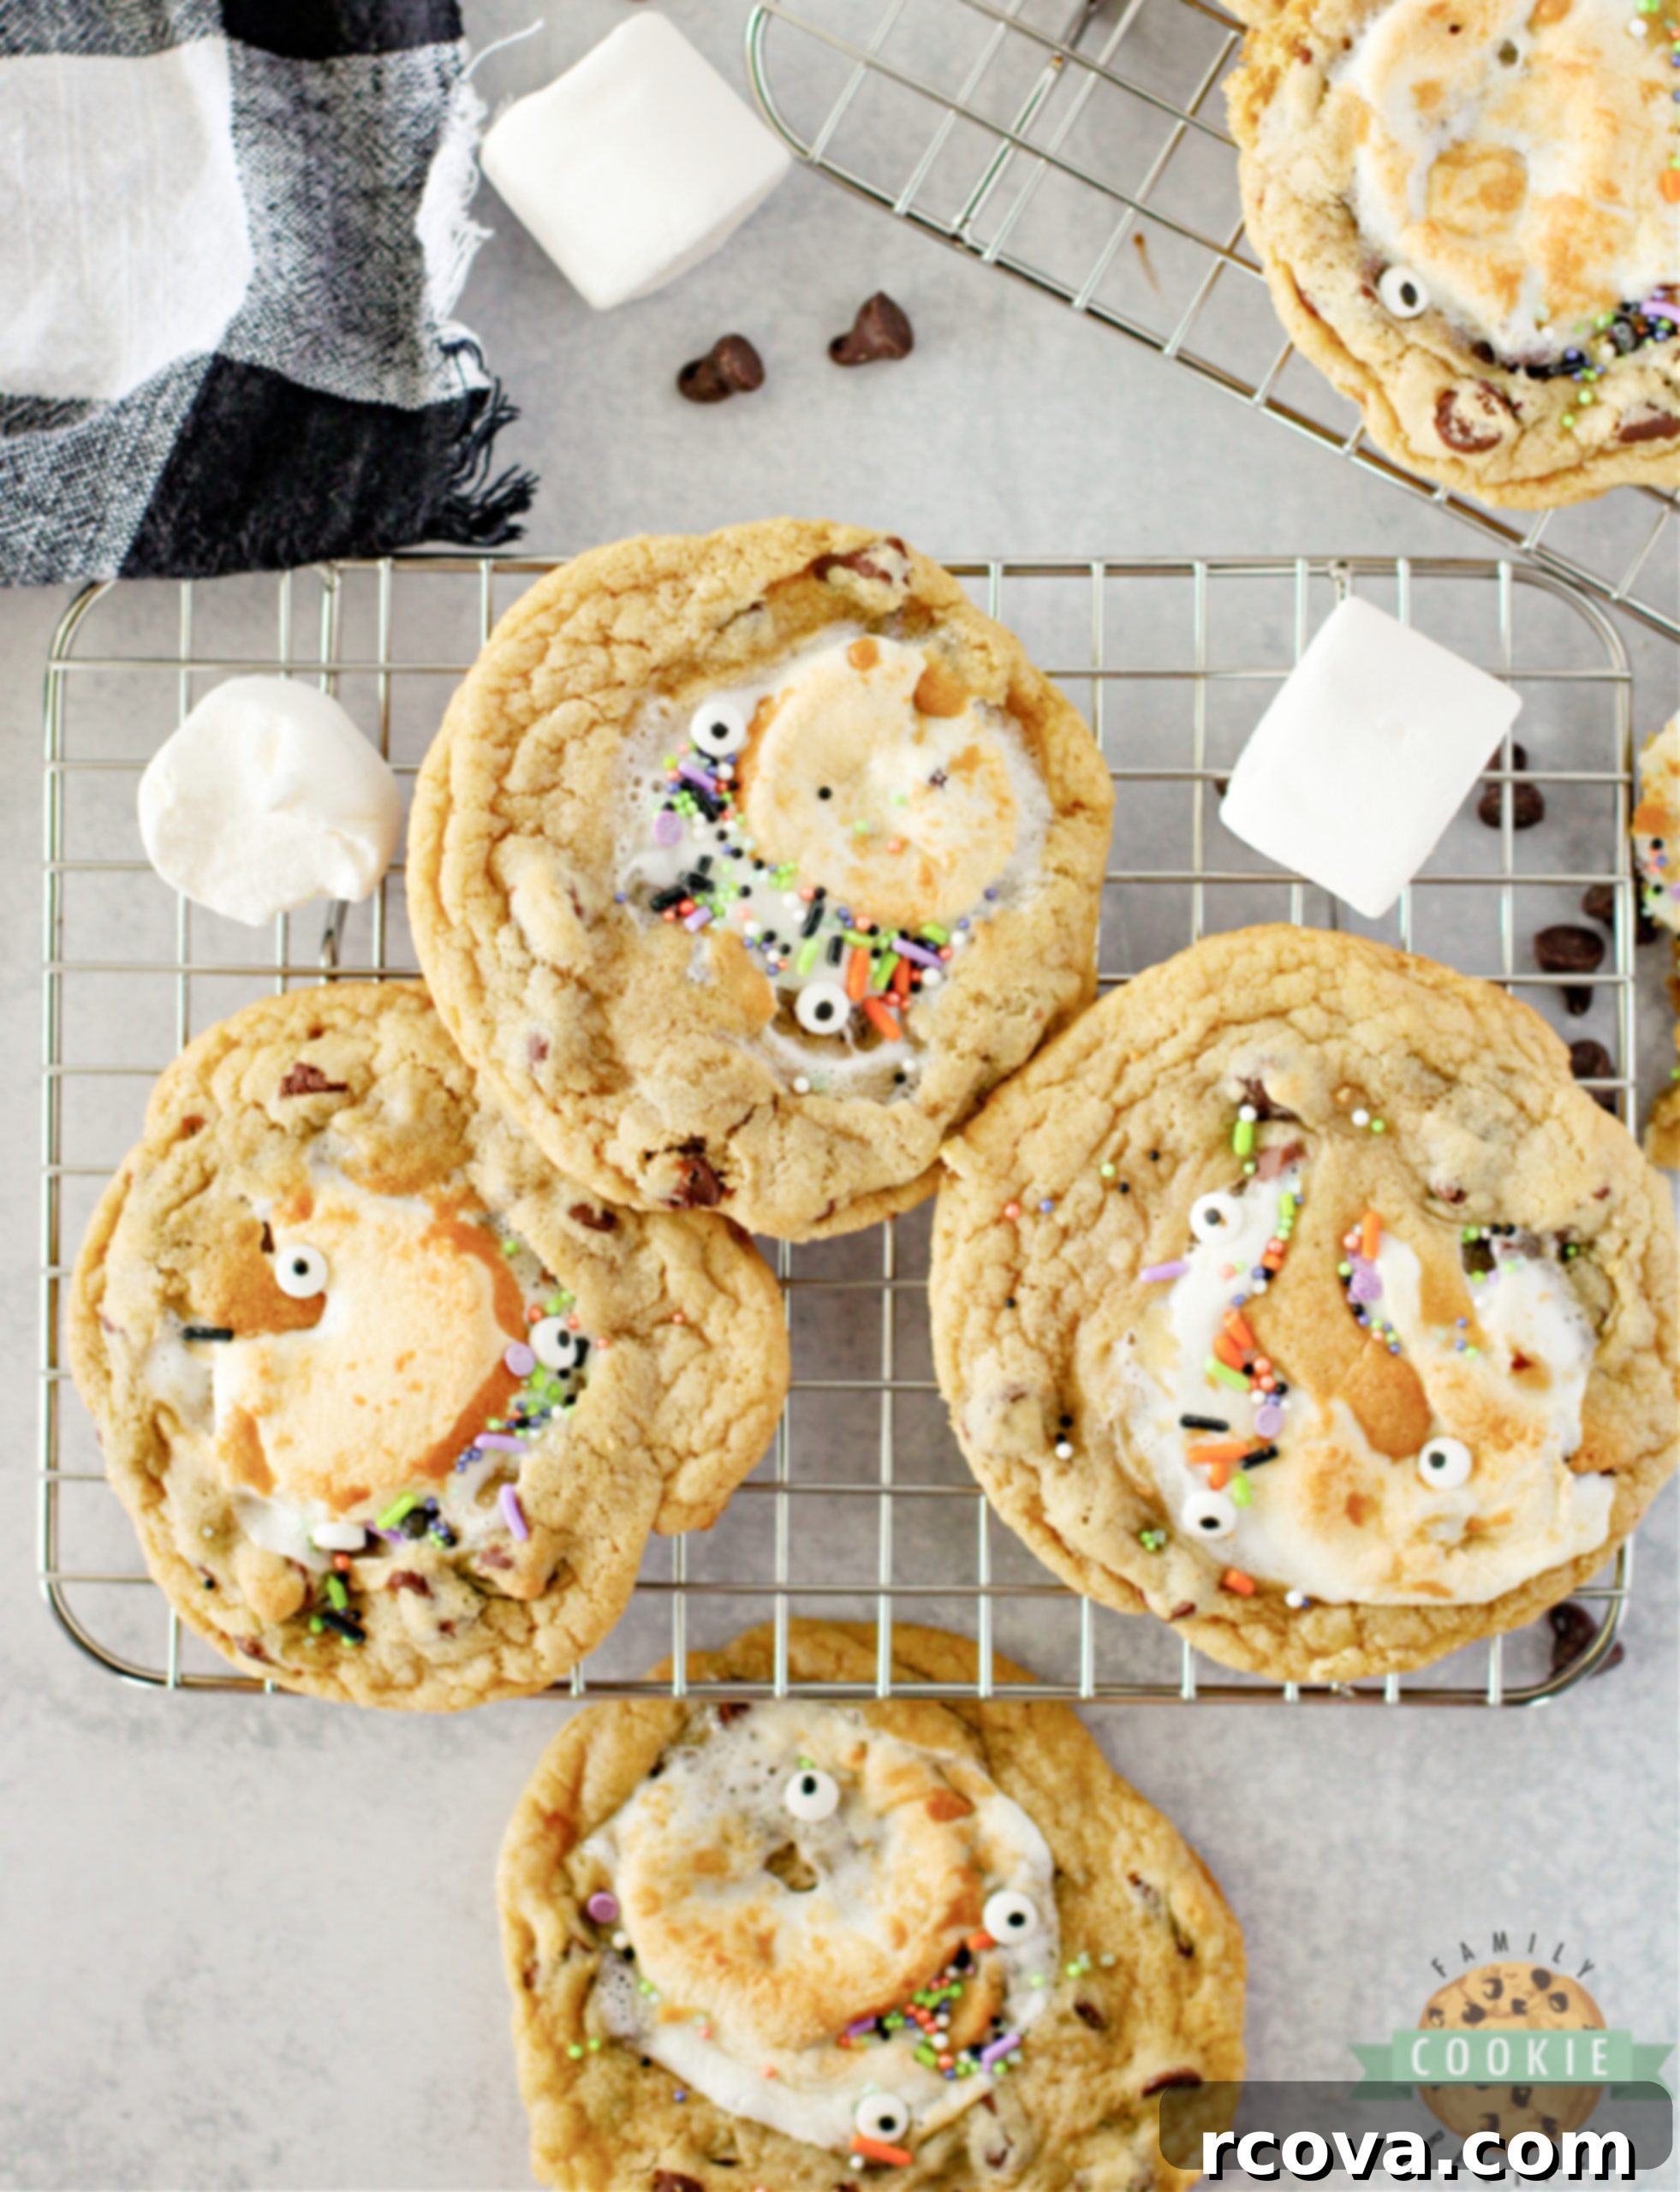
- While the cookies are still warm and the marshmallow is sticky, gently transfer them to a wire cooling rack. Immediately add a few Halloween sprinkles and position the candy eyeballs on top of the melted marshmallows. The residual heat and stickiness will help them adhere perfectly.
- Allow the cookies to cool completely on the wire rack. This helps them achieve their final texture and prevents them from becoming soggy. Serve and enjoy your spooky, sweet creations!
Monster Stuffed S’mores Cookies
Print
Pin
Rate
Ingredients
- ½ cup butter softened to room temperature
- 1 egg
- 1 teaspoon vanilla extract
- ¼ cup granulated white sugar
- ½ cup light brown sugar packed
- 1 ¼ plus ⅛ cup all-purpose flour
- ½ teaspoon baking soda
- 1 cup semi-sweet chocolate chips
- 12 large marshmallows
- 20 small Hershey bar squares
- Halloween sprinkles and candy eyeballs
Instructions
-
Preheat the oven to 350°F (175°C).
-
Line a baking sheet with parchment paper or a silicone baking mat. Set aside.
MAKE THE COOKIE DOUGH
-
Place the butter, egg, vanilla extract, white sugar, and brown sugar into a large mixing bowl and beat with an electric mixer for 2-3 minutes until light and fluffy.
-
Add the flour and baking soda to the mixing bowl and mix on low speed until just fully incorporated and a soft dough is formed. Avoid overmixing.
-
Gently fold the chocolate chips into the cookie dough with a wooden spoon or rubber spatula until evenly incorporated.
-
Cover the dough and place it in the refrigerator to chill for one hour.
ASSEMBLE THE COOKIES
-
Remove the chilled dough from the refrigerator. Use a large cookie scoop (about ¼ cup) to portion out balls of dough, placing them evenly spaced on your prepared baking sheet.
-
Use your hands to flatten each dough ball into a large, flat circle.
-
Place one or two small Hershey bar squares in the center of each flattened cookie.
-
Place a large marshmallow on top of the chocolate squares. Gently press the sides of the cookie dough up around the marshmallow, sealing it in but leaving the top exposed.
BAKE AND DECORATE THE COOKIES
-
Bake for 10 minutes, or until the cookie bottoms are lightly golden brown and the marshmallows are gooey and slightly flattened. Do not overcook, or the marshmallows may melt completely into the cookies.
-
Remove cookies from the oven and let them rest on the baking sheet for 5-10 minutes to set before gently transferring them to a wire cooling rack.
-
While still warm and the marshmallow is sticky, add Halloween sprinkles and candy eyeballs to the tops of the melted marshmallows.
Nutrition
Secrets to Baking The BEST Chocolate Chip Cookies
Achieving a consistently perfect chocolate chip cookie isn’t always straightforward. Over many years of baking, I’ve gathered some invaluable insights that can elevate your cookie game from good to absolutely phenomenal. These tips apply not only to our Monster Stuffed S’mores Cookies but to any classic chocolate chip recipe.
- Ensure Adequate Flour in the Dough: The right flour-to-liquid ratio is fundamental. If your cookie dough feels overly sticky or appears too wet, it’s a clear sign that you might need a bit more flour. Start by adding just a tablespoon or two at a time, mixing gently until the dough reaches a soft, pliable consistency that’s easy to handle but not dry. Too little flour can lead to excessive spreading and flat cookies, while too much results in dry, crumbly ones.
- Cream Butter and Sugars Thoroughly: This step is more than just mixing; it’s about incorporating air. Spend a dedicated 2-3 minutes creaming your softened butter with the sugars using an electric mixer. This process lightens the mixture, creating tiny air pockets that contribute to a tender, chewy cookie texture. Don’t rush this step—it makes a significant difference in the final consistency of your cookies.
- Always Preheat Your Oven: Baking in a properly preheated oven is non-negotiable for consistent results. A preheated oven ensures that your cookies begin to bake immediately at the correct temperature, preventing uneven cooking and promoting proper spread and rise. Give your oven at least 15-20 minutes to reach and stabilize at the set temperature.
- Utilize a Cookie Scoop: For beautifully uniform cookies, a cookie scoop is your best friend. It ensures that each cookie is the same size and shape, which not only looks professional but also guarantees they bake evenly. This prevents some cookies from being underdone while others are overbaked.
- Employ Parchment Paper or a Silicone Baking Mat: These baking aids are game-changers. They create a non-stick surface, making it incredibly easy to remove your delicate cookies from the baking sheet without any sticking or breakage. Plus, they promote even browning on the bottom and make cleanup a breeze. Say goodbye to scraping cookies off the pan!
- Avoid Overbaking: This is perhaps the most crucial tip for achieving soft, chewy cookies. When I remove my cookies from the oven, they often look slightly underbaked in the center. This is perfectly normal! They will continue to cook on the hot baking sheet for a few more minutes as they cool, firming up to the perfect consistency. Look for golden-brown edges, but a slightly paler, softer center. Overbaking leads to hard, dry cookies.
Common Chocolate Chip Cookie Troubleshooting Tips
Even seasoned bakers encounter cookie conundrums. Through countless baking experiments, I’ve experienced my share of triumphs and tribulations. Learning from these “failures” has equipped me with practical solutions for common cookie problems. While you might have a beloved chocolate chip cookie recipe, sometimes they don’t turn out as expected. Here are some helpful tips to address those frustrating cookie issues:
Why are my chocolate chip cookies flat and spread too much?
Flat, excessively spread-out cookies are a common complaint, but thankfully, often easily remedied. If your cookies consistently flatten and spread beyond their intended shape during baking, several factors could be at play:
- Too Little Flour: This is a primary culprit. The dough needs enough flour to provide structure. Start by incrementally adding a few tablespoons of all-purpose flour to your batter. Mix it in gently and bake a test cookie to see if the shape improves.
- Butter Temperature: While some recipes call for melted butter, most classic chocolate chip cookie recipes require butter softened to room temperature, not melted. Melted butter significantly increases spread. Ensure your butter is soft enough to indent with a finger but not oily or shiny.
- Warm Dough: Dough that is too warm will spread rapidly in the oven. Chilling the dough for at least an hour (or even longer) is essential to solidify the butter and prevent excessive spreading. Don’t skip this step!
- Over-Creaming Butter and Sugar: While creaming is important for texture, over-creaming can incorporate too much air, which collapses during baking, leading to flat cookies. Cream just until light and fluffy, as directed.
How do you soften butter to room temperature effectively?
Softened butter is critical for proper creaming and cookie texture. The ideal consistency is soft enough to press an indentation into, but still firm, not melted or greasy. While setting butter out for a few hours is ideal, it’s not always practical. Here are a few quick tricks:
- Microwave Method (Caution Advised): This is the fastest method, but it requires careful attention to avoid melting. Place the whole stick of butter (unwrapped, unless foil-free packaging) in the microwave. Heat for 6-7 seconds. If it’s still very cold, try another 5-7 seconds. Repeat in short bursts (3-5 seconds) until it reaches the desired softness. The key is multiple short intervals.
- Defrost Setting: Many microwaves have a “defrost” setting, which uses lower power. This mode works wonderfully for softening butter more gently, typically taking around 30 seconds to a minute, depending on your microwave and butter’s initial temperature. It’s less prone to accidental melting.
- Warm Water Bath: Fill a bowl with warm (not hot) water. Place the unwrapped stick of butter in its wrapper (or a ziploc bag) into the warm water for about 10-15 minutes.
- Pounding Method: Place the butter between two sheets of parchment paper or plastic wrap. Use a rolling pin or a heavy pan to gently pound and flatten the butter. The physical manipulation helps to soften it quickly.
Why are my chocolate chip cookies crispy and hard instead of soft and chewy?
If your chocolate chip cookies consistently come out hard, crunchy, or overly crispy, the most common reason is overbaking. Cookies continue to bake and firm up on the hot baking sheet for several minutes after being removed from the oven. Therefore, you should never wait until they appear perfectly golden brown all over before taking them out. Instead, look for edges that are set and lightly golden, with centers that still look slightly soft or even a touch underbaked. This allows them to finish cooking as they cool, resulting in that coveted soft, chewy texture. Sometimes, the ratio of white sugar to brown sugar can also affect crispiness; a higher proportion of white sugar tends to yield crispier cookies. My husband, for example, prefers a few extra-crispy cookies for dunking in milk, so I’ll intentionally bake a small batch for a minute or two longer just for him.
Why do my chocolate chip cookies burn on the bottom but remain raw in the middle?
Bottom-burnt cookies that are undercooked in the center usually point to an issue with your baking sheet or oven temperature. Here’s what to check:
- Dark Baking Sheets: Dark-colored cookie sheets absorb more heat, leading to faster and more intense browning on the bottom of baked goods, often before the centers have a chance to cook through. Switching to lighter-colored, reflective baking pans can significantly help.
- Excessive Cooking Spray: Using too much cooking spray can also contribute to burned bottoms, as the oil can overheat and fry the cookie dough. With lighter non-stick pans or, even better, parchment paper/silicone mats, you often won’t need any spray at all.
- Oven Hot Spots: Ovens can have inconsistent temperatures. If you suspect hot spots, try rotating your baking sheet halfway through the baking time. An oven thermometer can also help you verify if your oven is running hotter than it indicates.
- My personal preference: As mentioned before, I’ve become a huge advocate for silicone baking mats over the past few years. They provide an even heat distribution, prevent sticking entirely, and make sliding cookies off the tray effortless, ensuring perfectly baked bottoms every time.
Storage and Make-Ahead Tips for Your S’mores Cookies
These monster stuffed s’mores cookies are best enjoyed fresh, when the marshmallow is still wonderfully gooey. However, if you have leftovers or want to prepare ahead, here are some tips:
- Storing Baked Cookies: Store cooled cookies in an airtight container at room temperature for up to 3-4 days. To maintain their chewiness, you can place a slice of bread in the container; the cookies will absorb moisture from the bread.
- Reheating: If the marshmallow has hardened, a quick warm-up in the microwave for 10-15 seconds (or a few minutes in a low oven) will bring back that glorious gooey center.
- Freezing Baked Cookies: Fully cooled cookies can be frozen in an airtight freezer-safe container for up to 2-3 months. Thaw at room temperature and reheat gently for the best experience.
- Freezing Cookie Dough: You can prepare the cookie dough (up to the chilling stage) and freeze it in an airtight container for up to 3 months. When ready to bake, thaw the dough in the refrigerator overnight, then proceed with assembling and baking as directed. You can also scoop the dough balls, stuff them, and freeze them individually on a baking sheet before transferring to a freezer bag. Bake from frozen, adding a few extra minutes to the baking time.
MORE DELICIOUS HALLOWEEN TREAT RECIPES TO TRY:
Halloween baking is an endless source of joy and creativity! If you loved making these Monster Stuffed S’mores Cookies, you’ll surely enjoy these other festive and frightfully good recipes to complete your spooky spread:
- HALLOWEEN SUGAR COOKIE BARS: Easy-to-make bars that are perfect for decorating with all your favorite Halloween motifs.
- HALLOWEEN BROWNIE COOKIES: Rich, fudgy, and intensely chocolatey, these cookies are a brownie lover’s dream, ready for spooky embellishments.
- HALLOWEEN NO- BAKE CHEWY CARAMEL COOKIES: Quick and simple, these chewy caramel delights require no oven, making them perfect for busy Halloween preparations.
- HALLOWEEN SKELETON COOKIES: Adorable and slightly eerie skeleton-shaped cookies that are fun for kids to decorate.
- HALLOWEEN CAT COOKIES: Black cat-shaped cookies that bring a touch of classic Halloween charm to any dessert table.
- HALLOWEEN CHOCOLATE TRUFFLES: Elegant and decadent, these rich chocolate truffles can be rolled in spooky sprinkles or edible glitter for a sophisticated Halloween treat.
- HALLOWEEN SPRINKLE COOKIES: Simple yet vibrant cookies bursting with colorful Halloween sprinkles, perfect for a cheerful touch.
- HALLOWEEN PEANUT BUTTER COOKIE PIZZA: A giant, shareable peanut butter cookie base topped with frosting and candy – a fun centerpiece for any party.
- HALLOWEEN COBWEB COOKIES: Cleverly decorated cookies that mimic a spooky spider’s web, surprisingly easy to achieve.
- M&M HALLOWEEN COOKIES: Classic M&M cookies featuring festive Halloween-themed candies for a pop of color and chocolatey crunch.
- BAKED MONSTER HALLOWEEN DONUTS: Fluffy baked donuts decorated with monster faces, a less messy alternative to fried donuts.
- EASY GHOST HALLOWEEN COOKIES: Simple ghost-shaped cookies with minimal decoration, ideal for quick and cute spooky treats.

These Monster Stuffed S’mores Cookies are truly the perfect indulgence for Halloween! Combining a beloved chocolate chip cookie recipe with a surprise filling of gooey Hershey bars and marshmallows, then playfully decorated with monster eyes and festive sprinkles, they are sure to be a show-stopping treat that brings joy and a touch of spooky delight to your celebrations.
