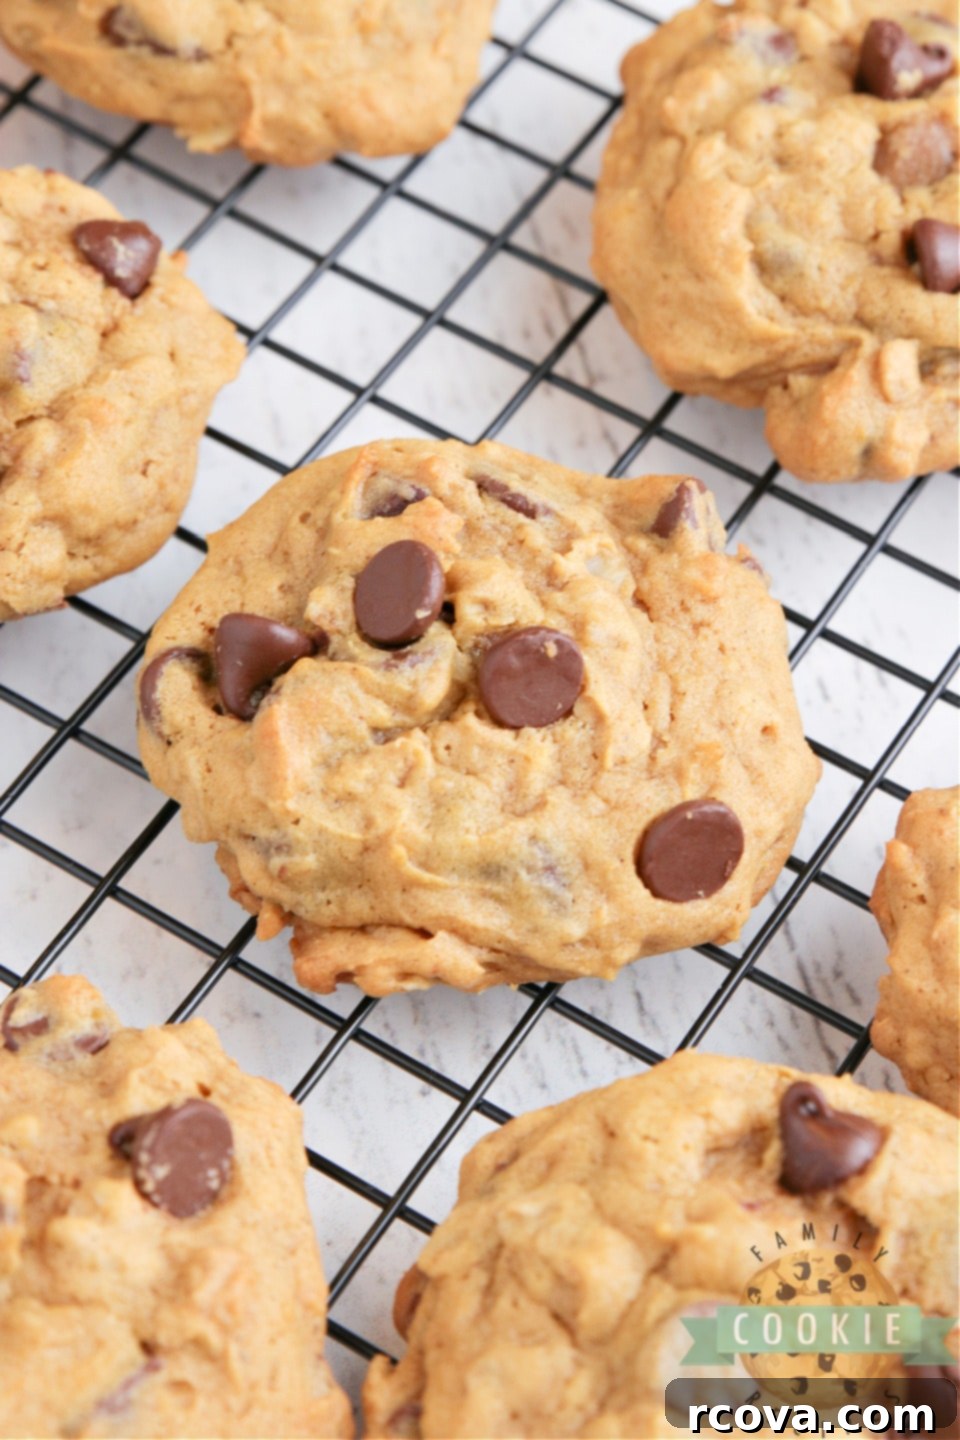
Delicious Pumpkin Oatmeal Chocolate Chip Cookies: The Ultimate Fall Baking Guide
There’s nothing quite like the aroma of freshly baked cookies filling your home, especially when those cookies are packed with the cozy flavors of autumn. Our Pumpkin Oatmeal Chocolate Chip Cookies are a testament to this, offering a perfect blend of comfort and indulgence. These cookies are wonderfully soft, incredibly moist, and generously loaded with wholesome oats, rich chocolate chips, and the beloved taste of pumpkin puree. They truly represent the quintessential fall cookie recipe, ideal for crisp evenings, holiday gatherings, or simply a delightful treat any time of year.
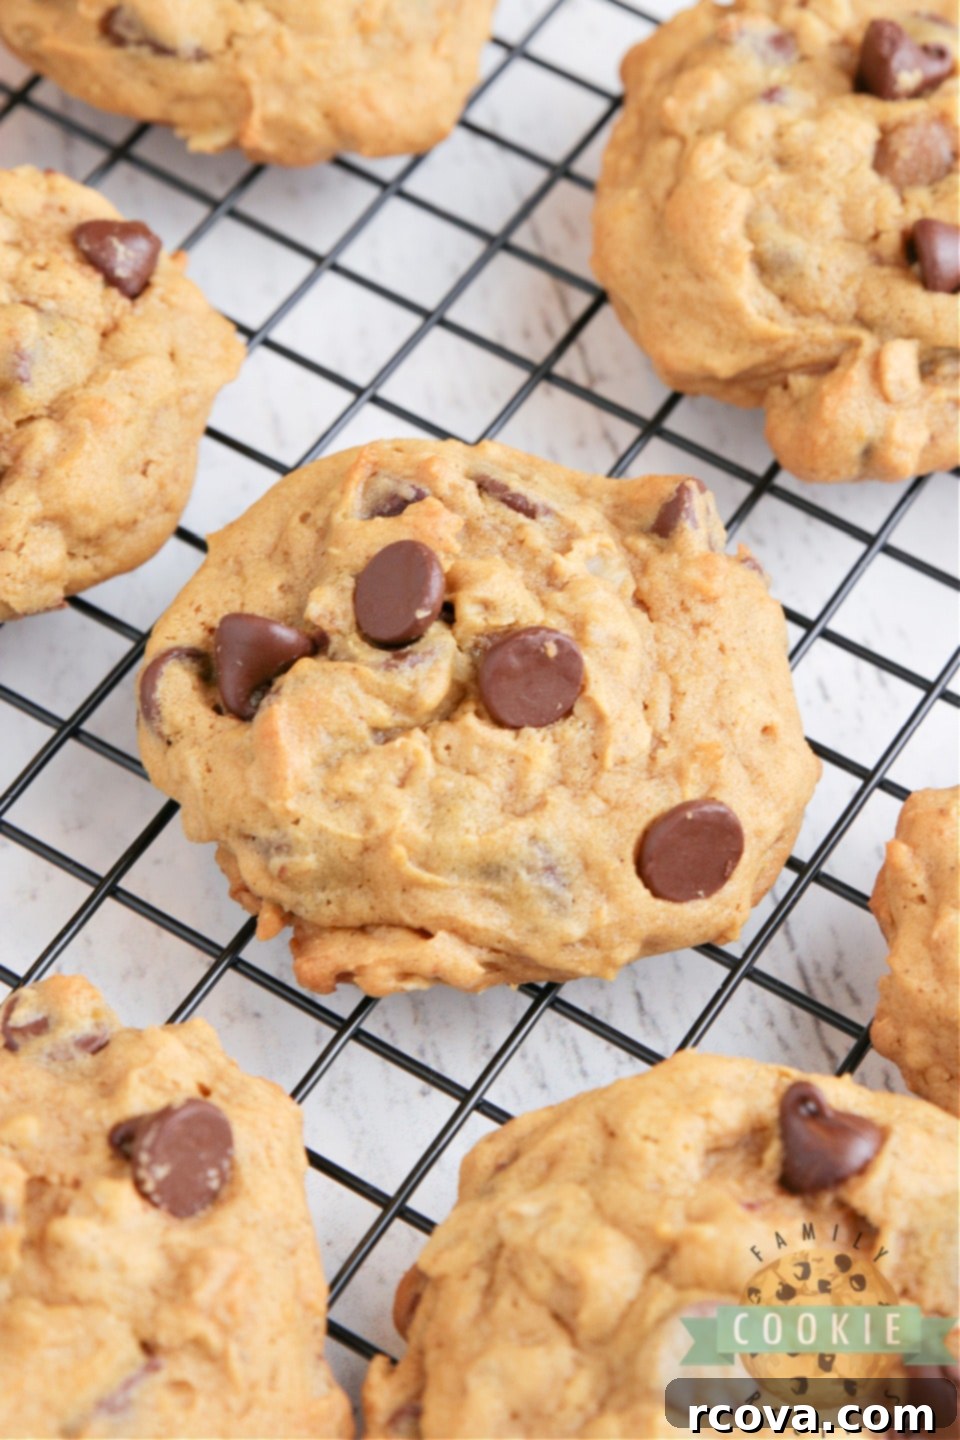
Oatmeal Chocolate Chip Cookies have always held a special place in my heart, a classic for any occasion. However, once I introduced the warm, earthy notes of pumpkin into the mix, these cookies transformed into something truly extraordinary. I’m convinced they don’t get much better than this! The combination of classic oatmeal cookie chewiness with the seasonal richness of pumpkin is simply irresistible. This recipe is so good, in fact, that I often find myself wanting to stock up on pumpkin puree to make these delectable treats far beyond the traditional fall season.
Choosing the Best Oats for Your Oatmeal Chocolate Chip Cookies
The type of oats you use in your cookies can significantly impact their final texture. When it comes to Pumpkin Oatmeal Chocolate Chip Cookies, you have a couple of excellent options: quick oats or old-fashioned rolled oats. Ultimately, the choice often comes down to personal preference and what you might already have in your pantry.
For a truly balanced cookie, I personally love using a combination of both – typically half quick oats and half old-fashioned. This allows for a harmonious blend of textures. If you opt for entirely quick oats, your cookies will likely be a bit denser and puffier. Quick oats are cut into smaller pieces, which means they absorb liquid more rapidly during baking, leading to a more compact crumb.
However, my preferred choice is to lean heavily on or exclusively use old-fashioned rolled oats. The reason? They impart a wonderfully chewy texture to the cookies, adding a satisfying bite that quick oats can’t quite replicate. There’s something about the distinct, rustic flakes of old-fashioned oats that makes these cookies feel more substantial and, dare I say, healthier – making it much easier for me to justify enjoying a few for breakfast (don’t tell anyone!). Their larger size also contributes to a more visible oat presence, enhancing the overall aesthetic and appeal of the cookie.
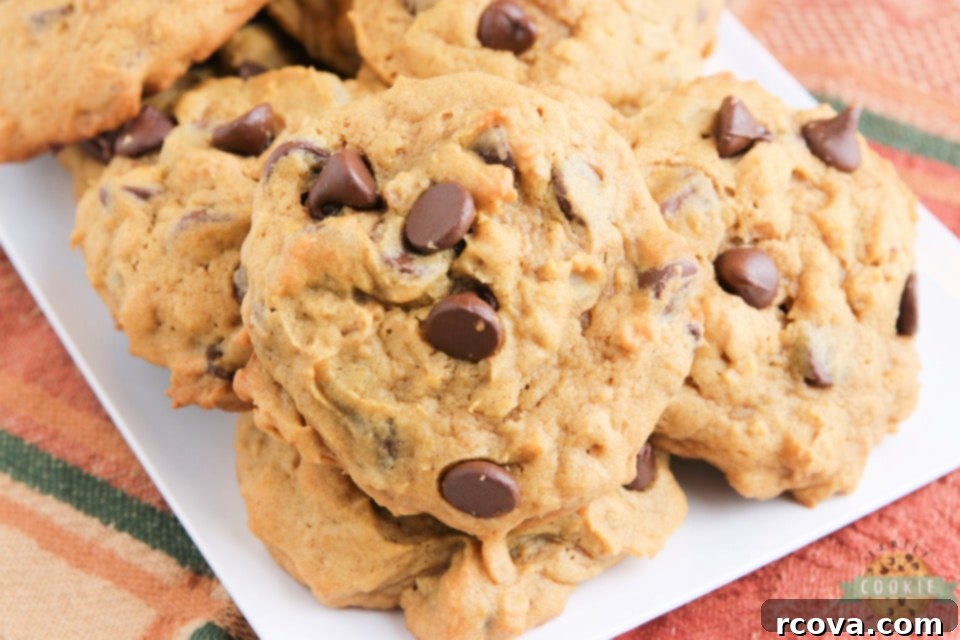
Essential Ingredients for Perfect Pumpkin Oatmeal Chocolate Chip Cookies
Crafting these delightful Pumpkin Oatmeal Chocolate Chip Cookies requires a careful selection of ingredients, each playing a vital role in achieving that perfect soft, chewy, and flavorful result. Here’s a breakdown of what you’ll need and some tips for each:
- All-Purpose Flour: This is my go-to for its consistent results in cookie baking. It provides the essential structure. While you *can* substitute with wheat flour for a slightly healthier twist, be aware that it will result in a denser cookie with a slightly different, earthier consistency. Both are delicious, but all-purpose offers that classic cookie feel.
- Oats: As discussed, old-fashioned rolled oats are preferred for their superior chewy texture. They maintain their shape better and offer a more substantial bite. If quick oats are all you have, they will still work, but consider a combination if you want the best of both worlds in terms of chewiness and slight density.
- Baking Soda & Salt: These are crucial leavening agents and flavor enhancers. Baking soda helps the cookies rise and spread, contributing to their soft texture. Salt balances the sweetness and enhances all the other flavors. Always check that your baking soda is fresh and not expired for optimal leavening power.
- Ground Cinnamon: This spice is absolutely essential, especially when paired with pumpkin. It infuses the cookies with a warm, inviting flavor that screams autumn. You can even add a pinch of nutmeg or allspice for an extra layer of seasonal spice.
- Unsalted or Salted Butter: I typically use salted butter for baking, as it adds a subtle depth of flavor. However, unsalted butter works perfectly fine too; just be sure to adjust the amount of added salt slightly (you might add an extra pinch if using unsalted). The most critical aspect here is that your butter is truly softened to room temperature. This allows it to cream properly with the sugars, creating a light and fluffy base.
- Brown Sugar & Granulated Sugar: The combination of these two sugars is key to the cookie’s texture and flavor. Light brown sugar contributes to the cookies’ moistness and chewiness, thanks to its molasses content, and adds a rich, caramelized flavor. Granulated sugar helps with spread and provides a crispier edge. Ensure your brown sugar is fresh and soft, not dry and hard, for the best results.
- Canned Pumpkin Puree: You’ll need a 15-ounce can of pure pumpkin puree. This is vital for the pumpkin flavor, moisture, and beautiful color. A crucial note: ensure you are using *plain pumpkin puree* and not pumpkin pie filling, which is pre-spiced and sweetened and would drastically alter the cookie’s flavor profile.
- Vanilla Extract: A high-quality vanilla extract is a baker’s best friend. It significantly enhances the overall flavor of the cookies, adding a sweet, aromatic depth that complements the pumpkin and spices beautifully. Don’t skimp on good vanilla!
- Large Eggs: Eggs serve as the primary binding agents, holding all the ingredients together. They also contribute to the cookie’s structure and moisture, ensuring a consistent and tender crumb. You’ll need two eggs for this recipe to achieve the perfect consistency.
- Chocolate Chips: While you *could* leave these out, I rarely do! Semi-sweet chocolate chips are my preference, offering a delightful contrast to the pumpkin and oats. However, feel free to experiment with other varieties like milk chocolate, dark chocolate, or even white chocolate chips. These cookies are wonderfully versatile, so you could also swap them out for raisins, chopped nuts (like pecans or walnuts), or a mix of several add-ins to suit your taste.
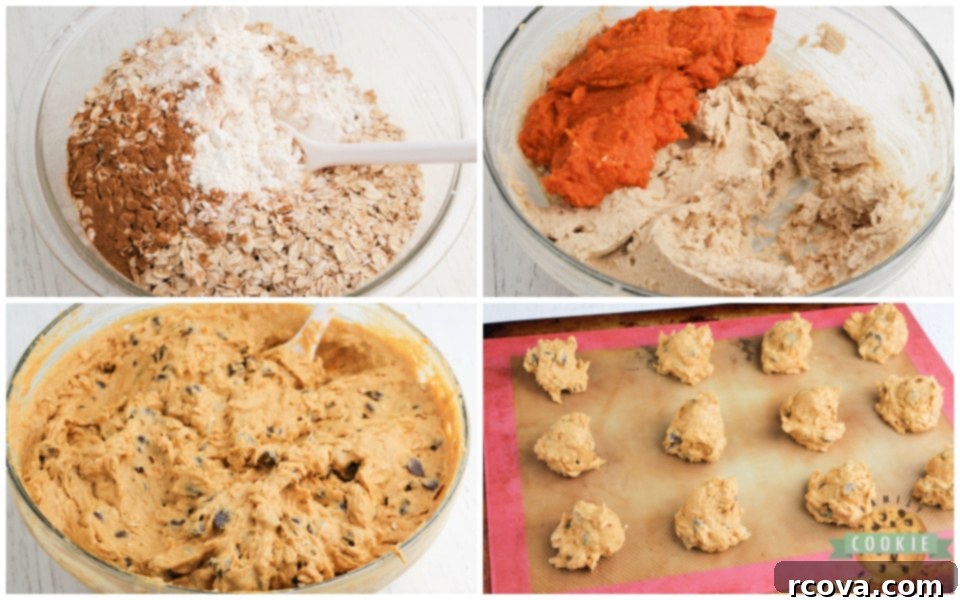
How to Bake Irresistible Pumpkin Oatmeal Chocolate Chip Cookies
Making these delicious cookies is a straightforward process, but following each step carefully will ensure you achieve perfect results every time. Get ready to fill your kitchen with the enticing aroma of fall!
- Preheat Your Oven: Start by preheating your oven to 350°F (175°C). Ensuring your oven is at the correct temperature before you place the cookies in is crucial for even baking and proper spread.
- Combine Dry Ingredients: In a medium-sized bowl, whisk together the flour, oats, baking soda, salt, and cinnamon. This step ensures that the leavening agent and spices are evenly distributed throughout the dough, preventing pockets of unmixed ingredients. Set this bowl aside.
- Cream Wet Ingredients: In a large mixing bowl (using either a stand mixer with a paddle attachment or a hand mixer), beat together the softened butter, granulated sugar, and brown sugar. Cream these vigorously for 2-3 minutes, or until the mixture becomes light, fluffy, and noticeably paler in color. This process incorporates air into the butter and sugar, which is vital for a tender cookie.
- Add Pumpkin, Eggs, and Vanilla: To the creamed butter and sugar, add the pumpkin puree, eggs, and vanilla extract. Beat these ingredients again for another 1-2 minutes until they are well combined and smooth. The mixture might look a bit curdled at first, but continue beating until fully incorporated.
- Combine Wet and Dry: Gradually add the dry ingredient mixture to the wet ingredients. Mix on low speed just until everything is combined and no streaks of flour remain. Be careful not to overmix the dough, as overworking the flour can lead to tough cookies.
- Stir in Chocolate Chips: Finally, fold in your semi-sweet chocolate chips (or any other desired add-ins) until they are evenly distributed throughout the dough. A spatula works best for this step.
- Scoop and Bake: Use a cookie scoop (approximately 1.5 tablespoons) to drop uniform balls of cookie dough onto a greased cookie sheet or, preferably, a baking sheet lined with parchment paper or a silicone baking mat. Spacing them about 2 inches apart allows for proper spreading.
- Bake to Perfection: Bake for 12-14 minutes, or until the edges of the cookies are lightly golden brown and the centers still look slightly soft. Remember, cookies continue to bake for a few minutes after they’re removed from the oven, so slightly underbaked centers are a good sign of a soft, chewy cookie.
- Cool: Let the cookies cool on the baking sheet for 5 minutes before transferring them to a wire rack to cool completely. This helps them firm up and prevents them from breaking. This recipe yields about 4 dozen delicious cookies.
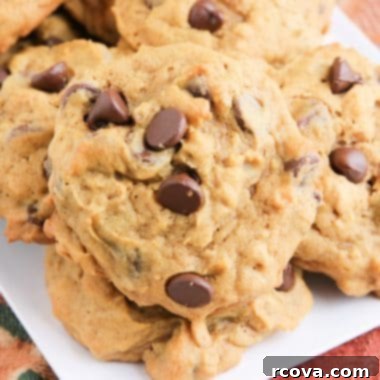
Pumpkin Oatmeal Chocolate Chip Cookies
Print
Pin
Rate
Ingredients
- 4 cups flour
- 3 cups oats
- 2 tsp baking soda
- 1 tsp salt
- 2 tsp cinnamon
- 1 1/2 cups butter softened to room temperature
- 1 cup sugar
- 2 cups brown sugar
- 15 oz. can pumpkin
- 2 eggs
- 1 tsp vanilla extract
- 2 cups semi-sweet chocolate chips
Instructions
-
Preheat oven to 350°.
-
Mix flour, oats, baking soda, salt and cinnamon in a bowl and set aside.
-
In a large mixing bowl, beat butter and sugars together for 2-3 minutes or until light and fluffy. Add pumpkin, eggs and vanilla and beat again for another 1-2 minutes.
-
Add the dry ingredients and mix until combined. Mix in the chocolate chips.
-
Use a cookie scoop to scoop tablespoonfuls of the cookie dough onto a greased cookie sheet, or a cookie sheet lined with parchment paper or a silicone baking mat.
-
Bake for 12-14 minutes or until the edges begin to lightly brown. Makes about 4 dozen cookies.
Baking Perfect Oatmeal Chocolate Chip Cookies Every Time
Achieving consistently perfect cookies is a goal for every home baker. With a few simple tips, you can elevate your Pumpkin Oatmeal Chocolate Chip Cookies from good to absolutely phenomenal!
- Separate Dry and Wet Ingredients: Many cookie recipes, including this one, emphasize mixing the dry ingredients (flour, oats, leavening, spices) separately before gradually combining them with the wet ingredients. This isn’t just a suggestion; it’s an important step that ensures all leavening agents and flavorings are evenly distributed, preventing lumps and ensuring a uniform rise and flavor throughout your cookies.
- Cream Butter and Sugars Thoroughly: Don’t rush the creaming process! Spending an extra minute or two (aim for 2-3 minutes total) beating the softened butter with the sugars until the mixture is light and fluffy is paramount. This process incorporates air, which contributes to the cookies’ soft, tender texture and helps them spread beautifully in the oven. Look for a pale, whipped consistency.
- Always Preheat Your Oven: Patience is a virtue in baking. Always allow your oven to fully preheat to the specified temperature before placing your cookie sheets inside. A properly preheated oven ensures that the cookies begin baking immediately at the correct temperature, leading to consistent results with proper spread and browning. If you place them in a cool oven, they might spread too much before setting.
- Invest in a Cookie Scoop: For professional-looking and evenly baked cookies, a cookie scoop is a game-changer. Using a cookie scoop ensures that each cookie is the same size, which means they will all bake evenly and be perfectly shaped. No more guesswork or uneven batches!
- Use Parchment Paper or a Silicone Baking Mat: Say goodbye to stuck-on cookies! Lining your baking sheets with parchment paper or a reusable silicone baking mat is a non-negotiable step for easy cleanup and flawless cookie removal. The cookies will slide right off the pan without any scraping, preserving their perfect shape and preventing breakage.
- Master the Art of Underbaking: This might sound counter-intuitive, but for truly soft and chewy cookies, it’s better to slightly underbake them. When I pull my cookies from the oven, their centers still look a little soft and sometimes even a bit doughy. This is exactly what you want! The cookies will continue to cook and set on the hot baking sheet for a few more minutes, a process known as “carryover baking.” This technique ensures they don’t dry out and remain wonderfully moist.
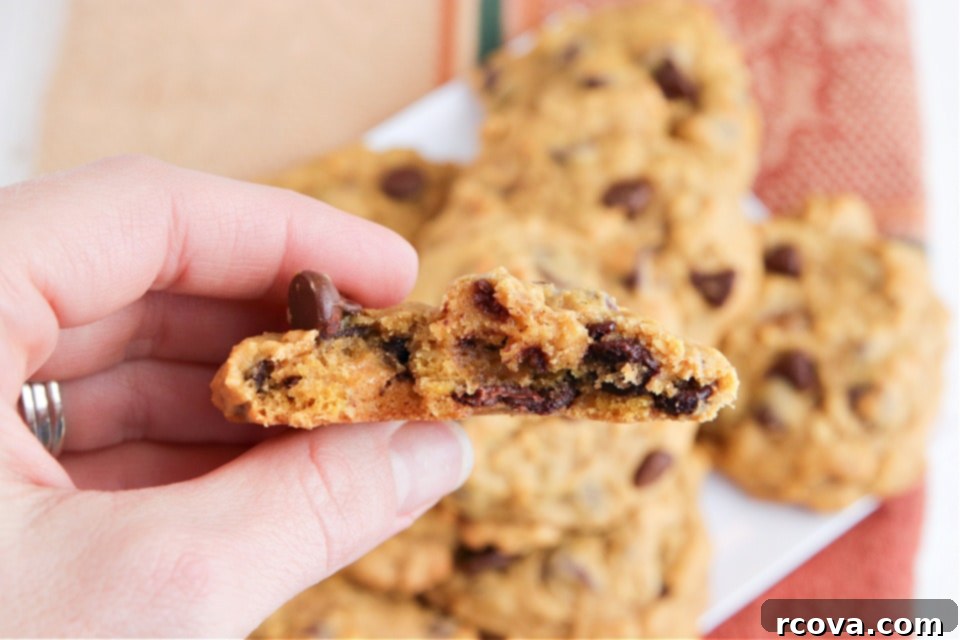
Tips for Softening Butter to Room Temperature Quickly
Achieving perfectly softened butter is a critical step for many baking recipes, especially cookies, as it directly impacts the final texture. Ideally, you’d plan ahead and set your butter out on the counter a few hours before you start baking. However, life happens, and we’re not always that prepared! Luckily, there are a few clever tricks to get your butter to the ideal room temperature in just a matter of minutes:
- The Microwave Method (with caution): This is my favorite and fastest way, but it requires vigilance to avoid melting the butter. Place the entire stick of butter (unwrapped from foil, of course!) in the microwave. Microwave it for about 6-7 seconds on a low-to-medium power setting. Check its softness. If it’s still quite firm, give it another 5-7 seconds. You might need a few short intervals, checking after each one. As the butter starts to soften, shorten the intervals to just a few seconds to prevent it from turning into a liquid puddle. You want it pliable enough to leave an indentation when pressed, but not oily.
- Defrost Setting for Gentle Softening: An alternative microwave approach I often use is the defrost setting. While it takes a bit longer, typically closer to 30 seconds to a minute, it seems to be more forgiving. The defrost mode delivers lower power, reducing the risk of melting the butter unevenly. Just like with regular microwaving, check frequently and flip the stick of butter halfway through to ensure even softening.
- The Warm Water Bath: For a no-microwave option, you can try a warm water bath. Fill a bowl with warm (not hot!) water. Place the unwrapped stick of butter in its original wrapper or a ziploc bag, ensuring it’s sealed. Submerge the butter in the warm water for about 5-10 minutes, or until it reaches the desired softness. Make sure the water isn’t too hot, as this will melt the butter unevenly.
- Cut into Smaller Pieces: If you’re really short on time, cut your cold butter stick into smaller cubes (about 1-inch pieces). Spread them out on a plate. The increased surface area will allow them to come to room temperature much faster, usually within 15-20 minutes, especially if your kitchen is warm.
Remember, perfectly softened butter should be pliable but still hold its shape, not melted or greasy. This texture is key for creaming properly and creating light, airy cookies.
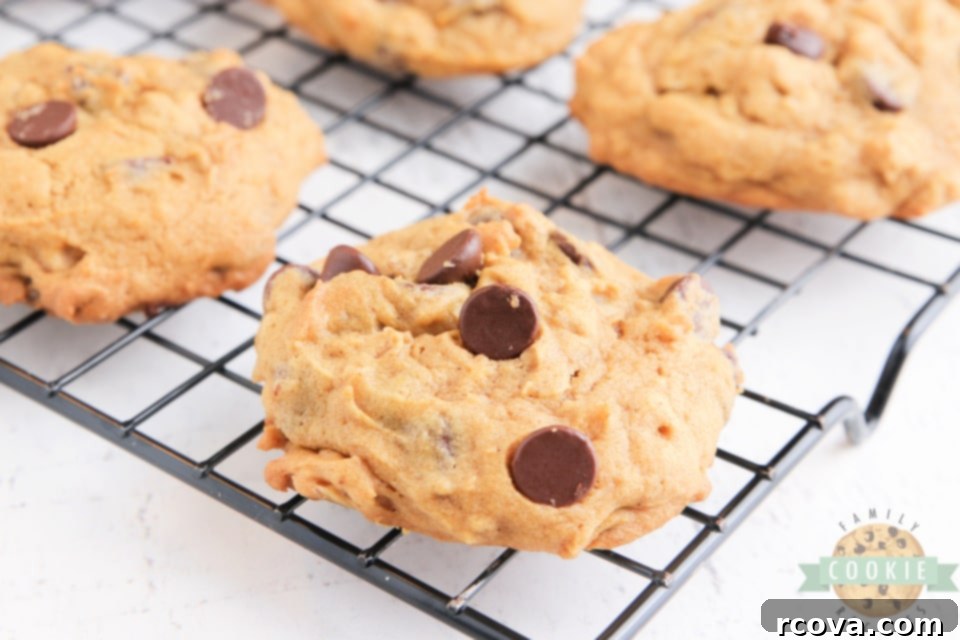
Troubleshooting: Why Are My Oatmeal Chocolate Chip Cookies Burning on the Bottom?
There’s nothing more frustrating than pulling a fresh batch of cookies from the oven, only to find the bottoms are scorched while the centers remain undercooked. If your Oatmeal Chocolate Chip Cookies consistently suffer from burnt bottoms, it’s most likely due to a few common culprits related to your baking equipment or technique.
- Dark-Colored Baking Sheets: This is the number one offender! Dark-colored cookie sheets absorb and retain heat more intensely than lighter-colored ones. This means the bottoms of your baked goods will heat up and cook much faster, often burning before the rest of the cookie has a chance to bake through properly. To solve this, I highly recommend switching to lighter-colored, heavy-gauge aluminum baking sheets. These conduct heat more evenly and gently, preventing overbrowning.
- Excessive Cooking Spray or Grease: While a little grease can prevent sticking, overdoing it with cooking spray or butter can create a layer that overheats and scorches the cookie bottoms. The oil can essentially fry the bottom of the cookie. If you’re using light-colored pans, you might not even need much grease at all, especially if they are non-stick.
- The Silicone Baking Mat Solution: As mentioned earlier, I’ve become a huge proponent of silicone baking mats over the last few years. They are truly fantastic for preventing burnt bottoms! The silicone provides a slight insulating layer that protects the cookies from direct, intense heat from the pan. Plus, they offer an unparalleled non-stick surface, making it incredibly easy for cookies to slide right off the tray without any residue or breakage. You won’t have to worry about sticking ever again!
- Oven Temperature Discrepancy: Sometimes, the issue isn’t the pan but the oven itself. Oven temperatures can vary significantly from what the dial indicates. If your oven runs hot, especially on the bottom element, it could be contributing to burning. Consider using an oven thermometer to verify your oven’s true temperature. If it’s consistently hotter, you might need to adjust your baking temperature down by 10-25 degrees Fahrenheit or reduce baking time.
By addressing these potential issues, you can ensure that your Pumpkin Oatmeal Chocolate Chip Cookies come out perfectly golden brown on the bottom, with soft, chewy centers, every single time.
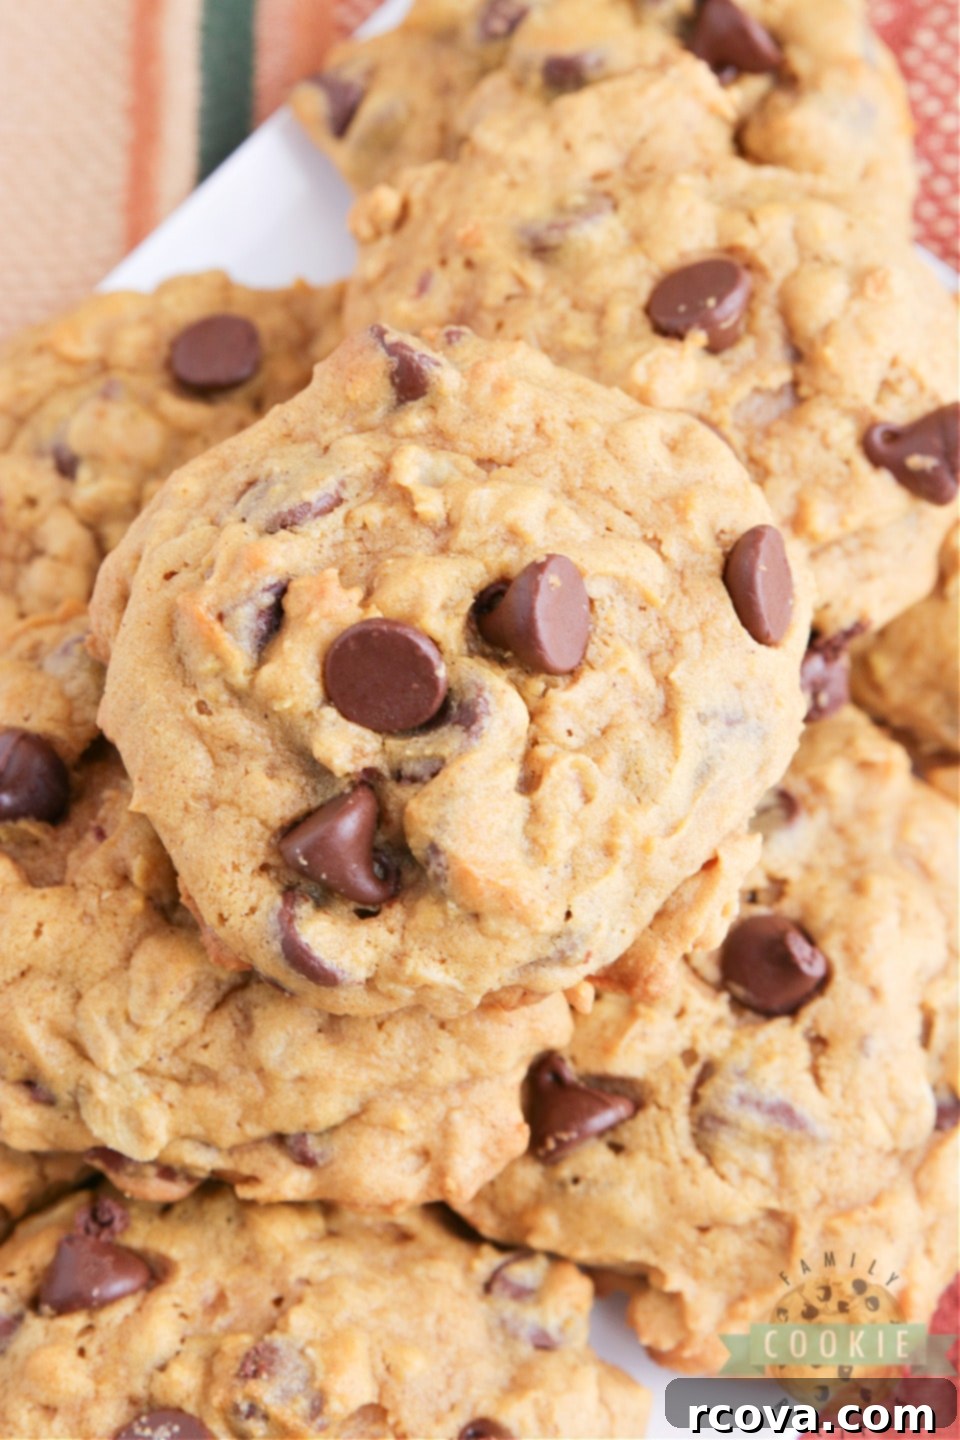
Discover More Irresistible Chocolate Chip Cookie Recipes!
If you adore chocolate chip cookies as much as we do, you’re in for a treat! The classic combination of sweet chocolate and chewy cookie dough is endlessly versatile, and we’ve explored many delicious variations. Whether you’re looking for a new twist on a favorite or a completely different flavor experience, our collection of chocolate chip cookie recipes has something for everyone. Here are some of our other cherished recipes:
- Double Chocolate Chip Cookies
- Banana Chocolate Chip Cookies
- Pumpkin Chocolate Chip Cookies
- Chocolate Chip Cookie Bars
- Avocado Chocolate Chip Cookies
- Oatmeal Chocolate Chip Cookie Bars
- Classic Oatmeal Chocolate Chip Cookies
- The Best Chocolate Chip Cookies
- Raspberry Chocolate Chip Cookies
- Chocolate Cake Mix Cookies
- Butter Pecan Chocolate Chip Cookies
- Mint Chocolate Chip Cookies
- Cherry Chocolate Chip Cookies
- Peanut Butter Chocolate Chip Cookies
- Peanut Butter Oatmeal Chocolate Chip Cookies
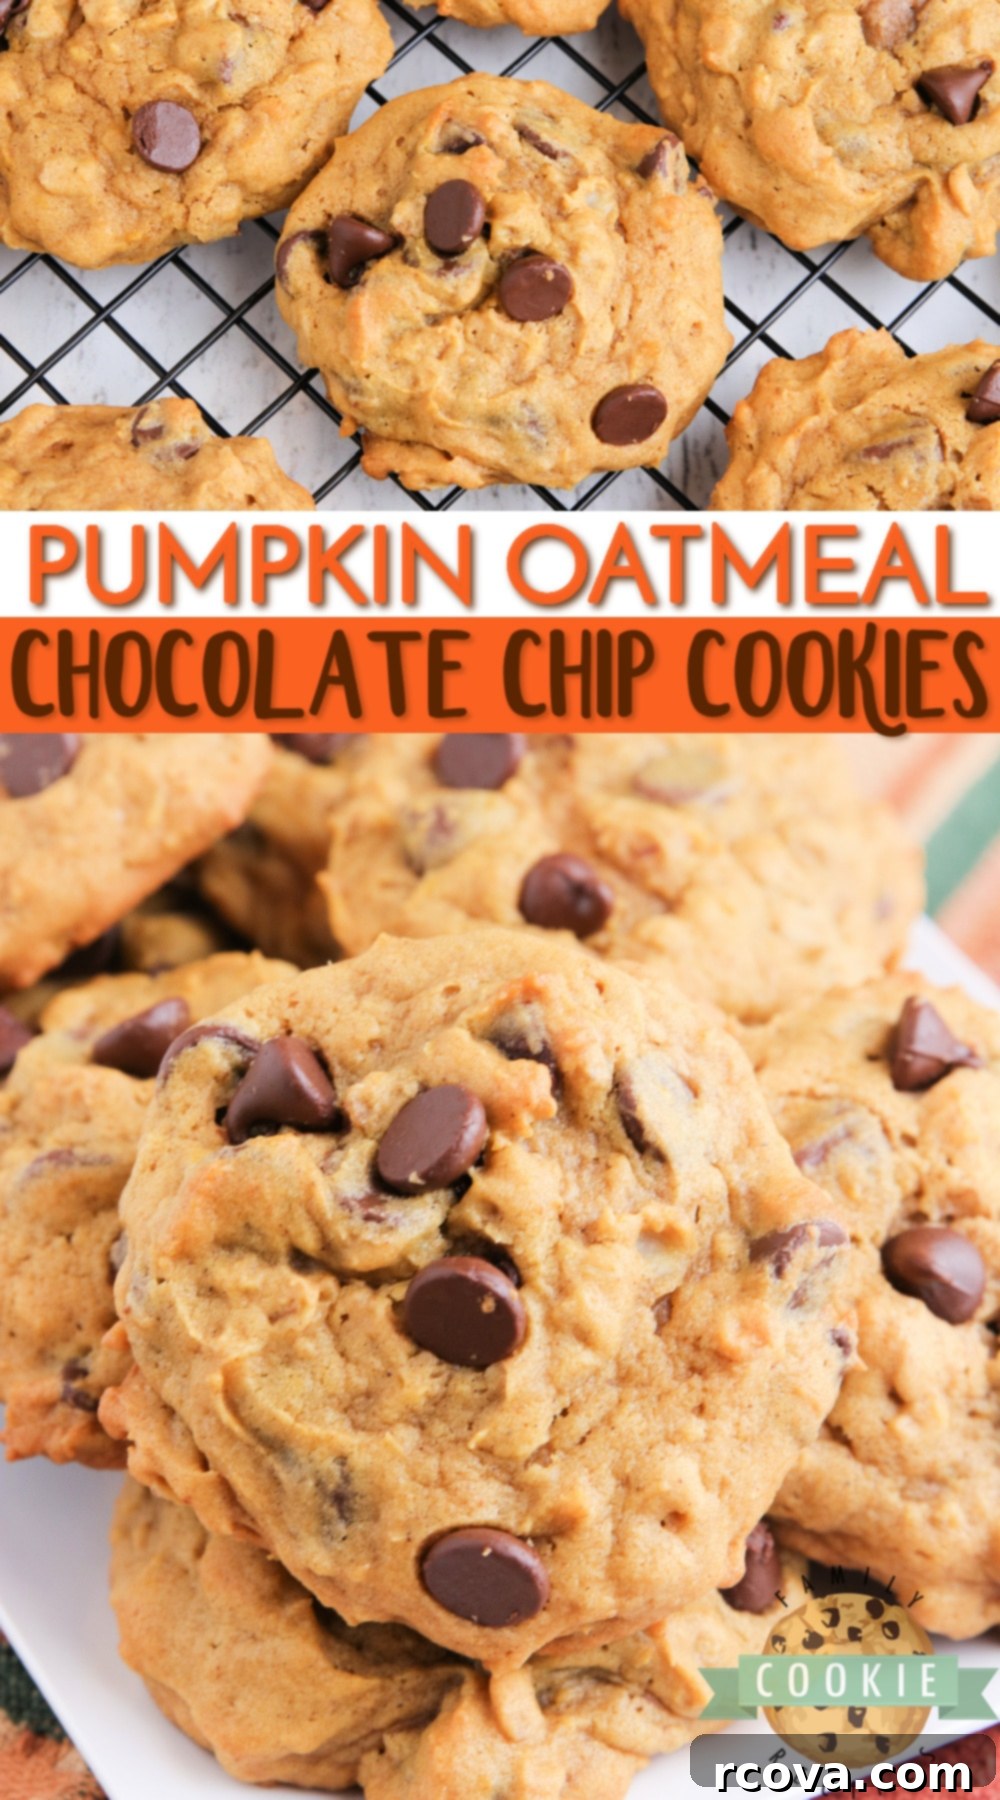
These Pumpkin Oatmeal Chocolate Chip Cookies truly embody everything wonderful about fall baking—soft, moist, and packed with warm spices and delightful chocolate chips. They’re a perfect treat for any time you crave a little autumnal comfort!


On a more personal note, it’s hard to believe how quickly time flies. My oldest daughter recently started 11th grade this week, and I honestly can’t fathom how she got that old! It feels like just yesterday she was a little girl, and now I’m facing the reality of only having a couple more years before she leaves home. Yet, I also can’t remember life without her. Time truly is a crazy, beautiful thing. I feel incredibly fortunate to have such an amazing person in my life – she is kind, talented, beautiful, and I’m so excited to witness all the incredible things she’ll accomplish in the future. She certainly had a blast with her “first day of school photo shoot” this year, posing for what felt like 30 different, mostly goofy, shots!
