Irresistible Chocolate Marshmallow Cookies: Your Guide to the Ultimate Fudgy, Gooey Treat
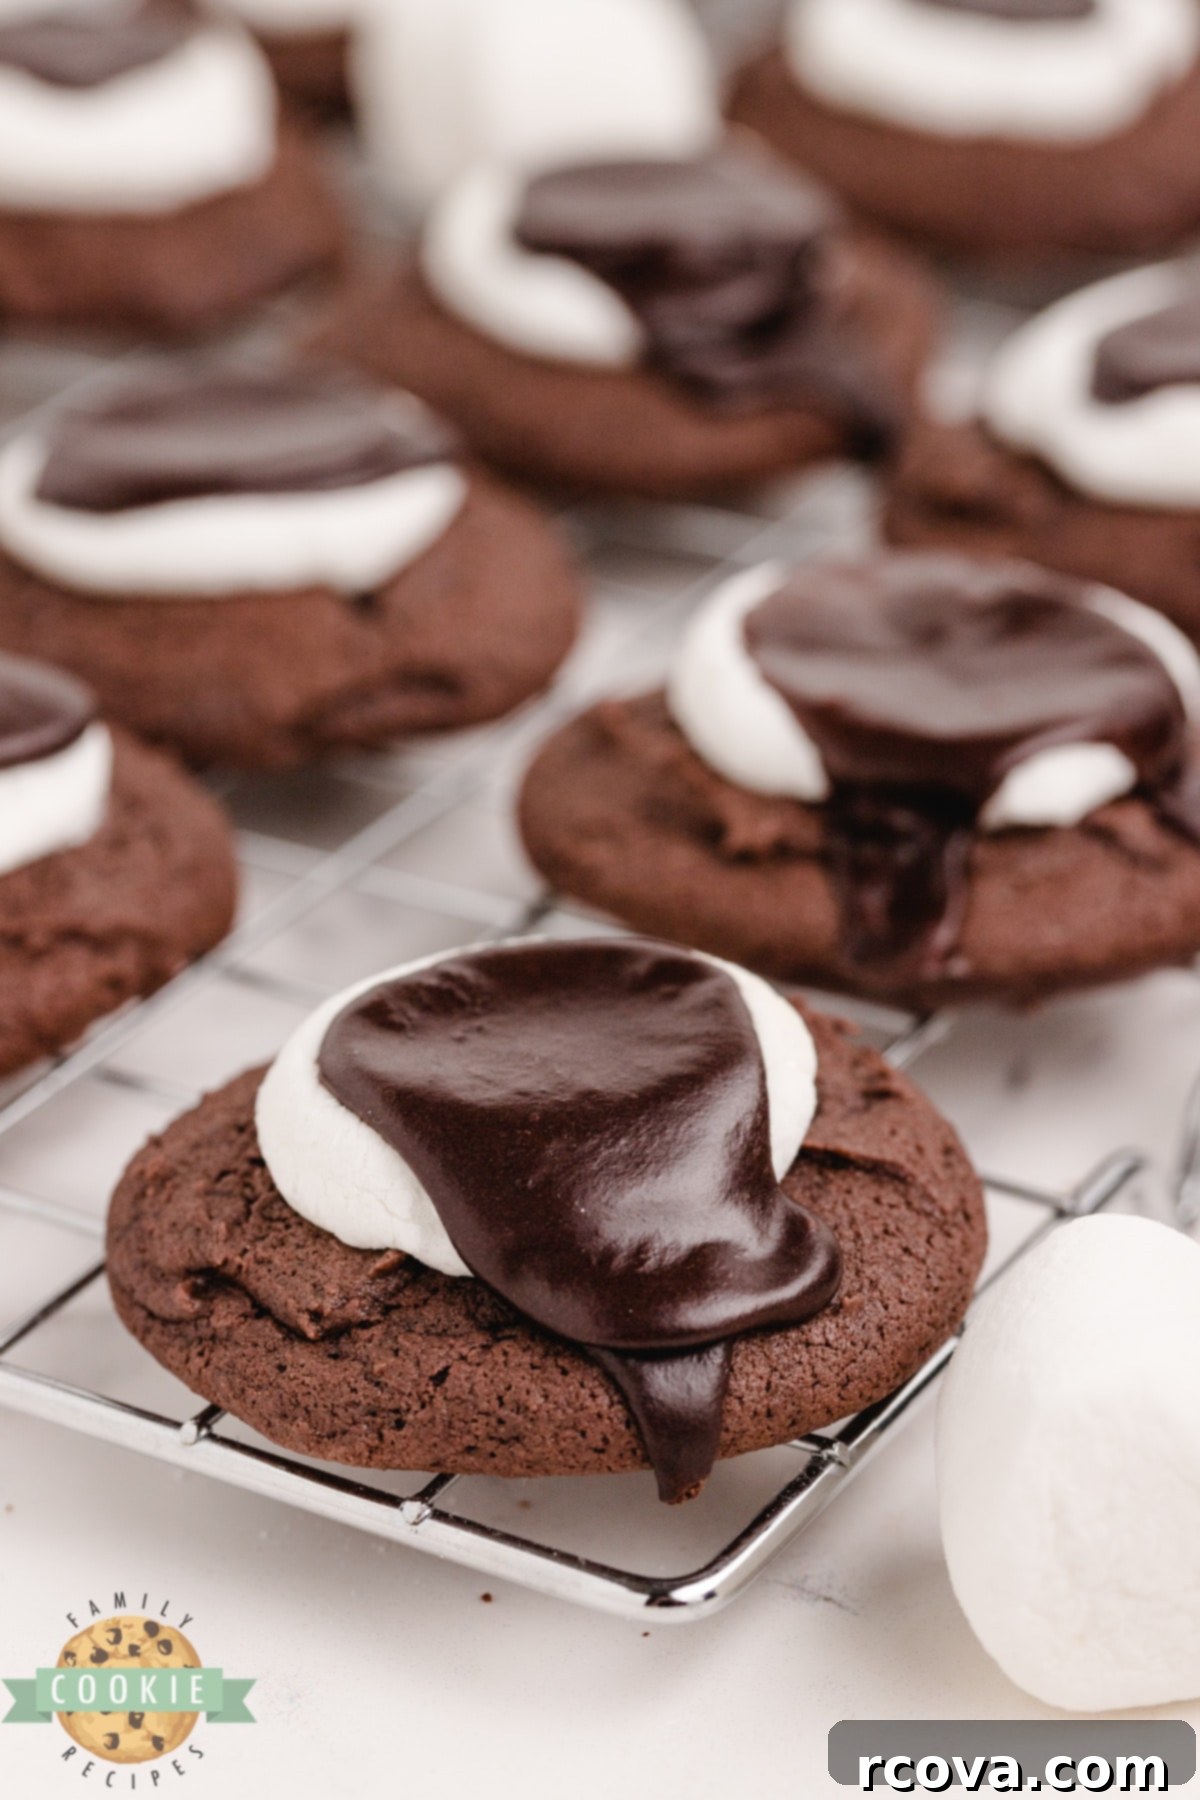
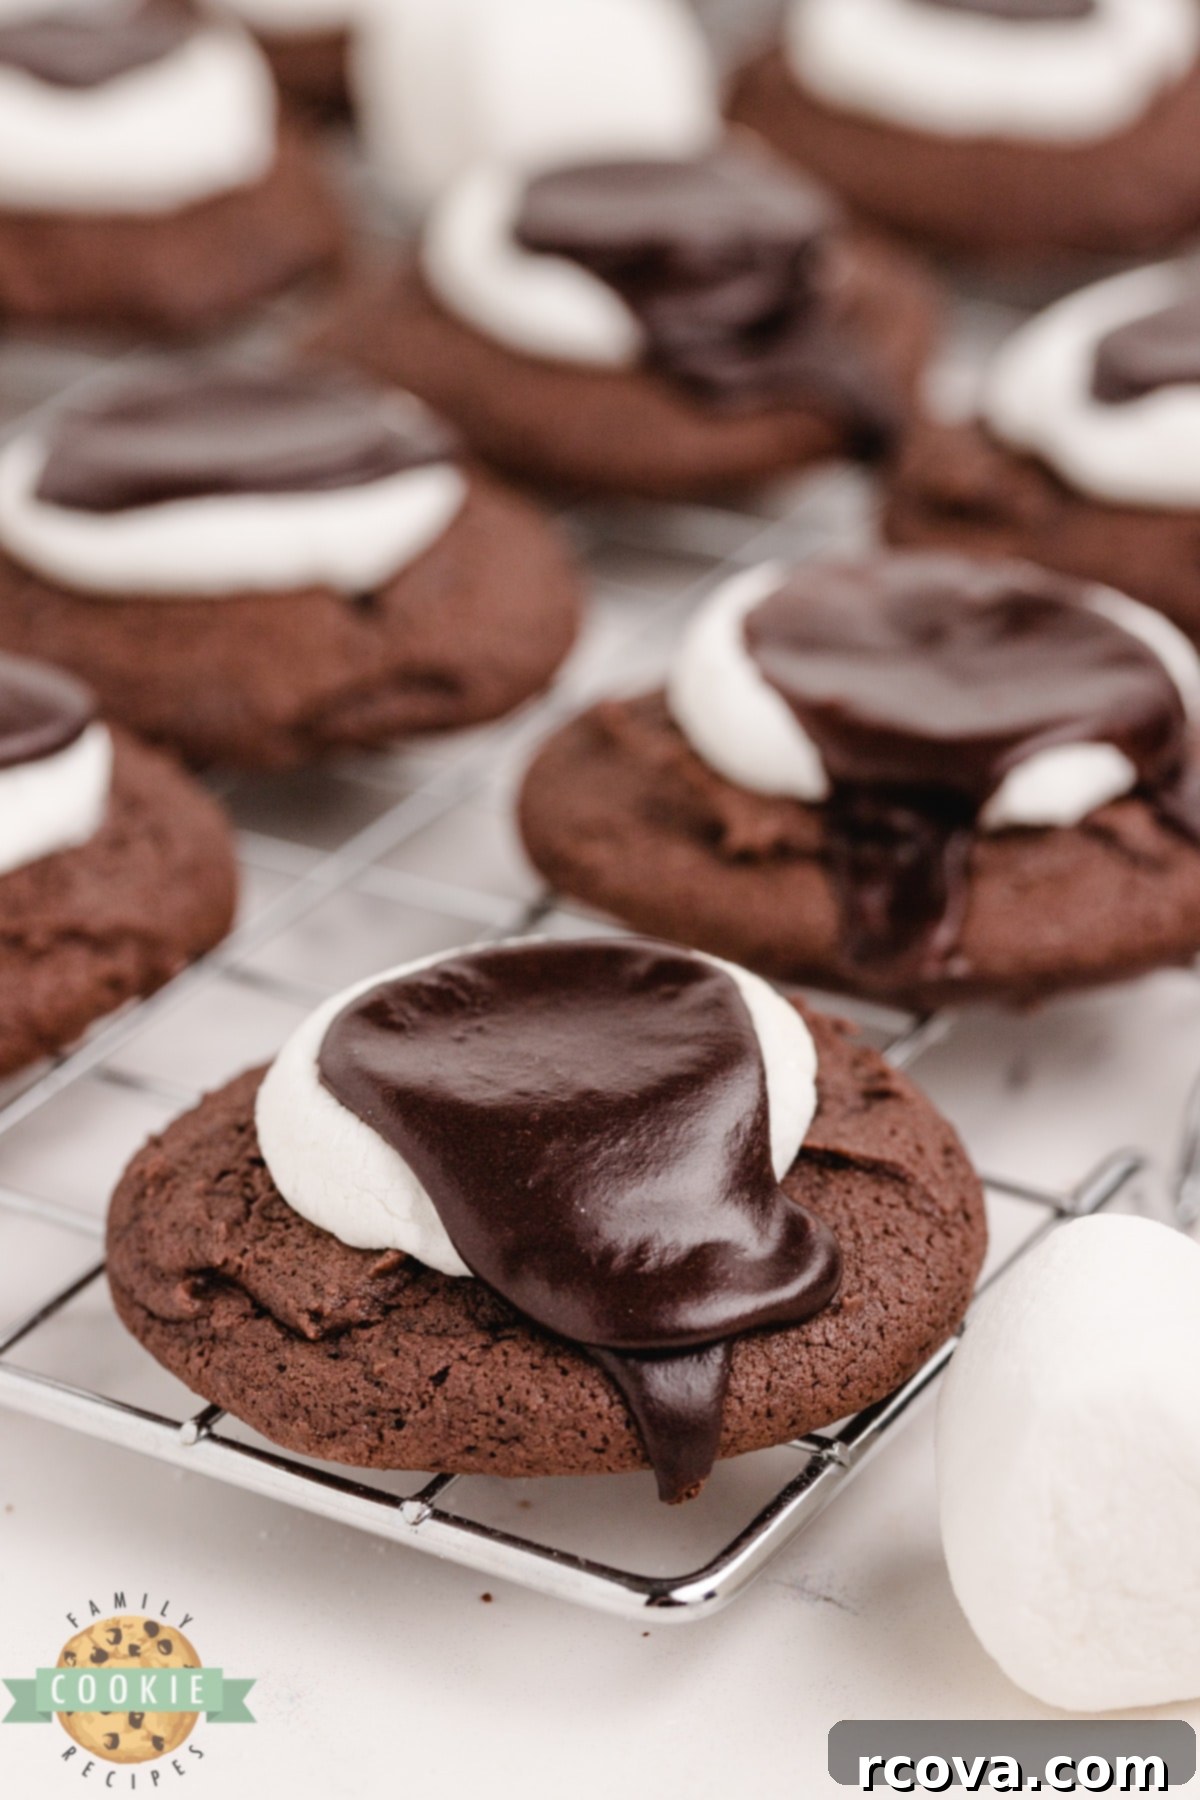
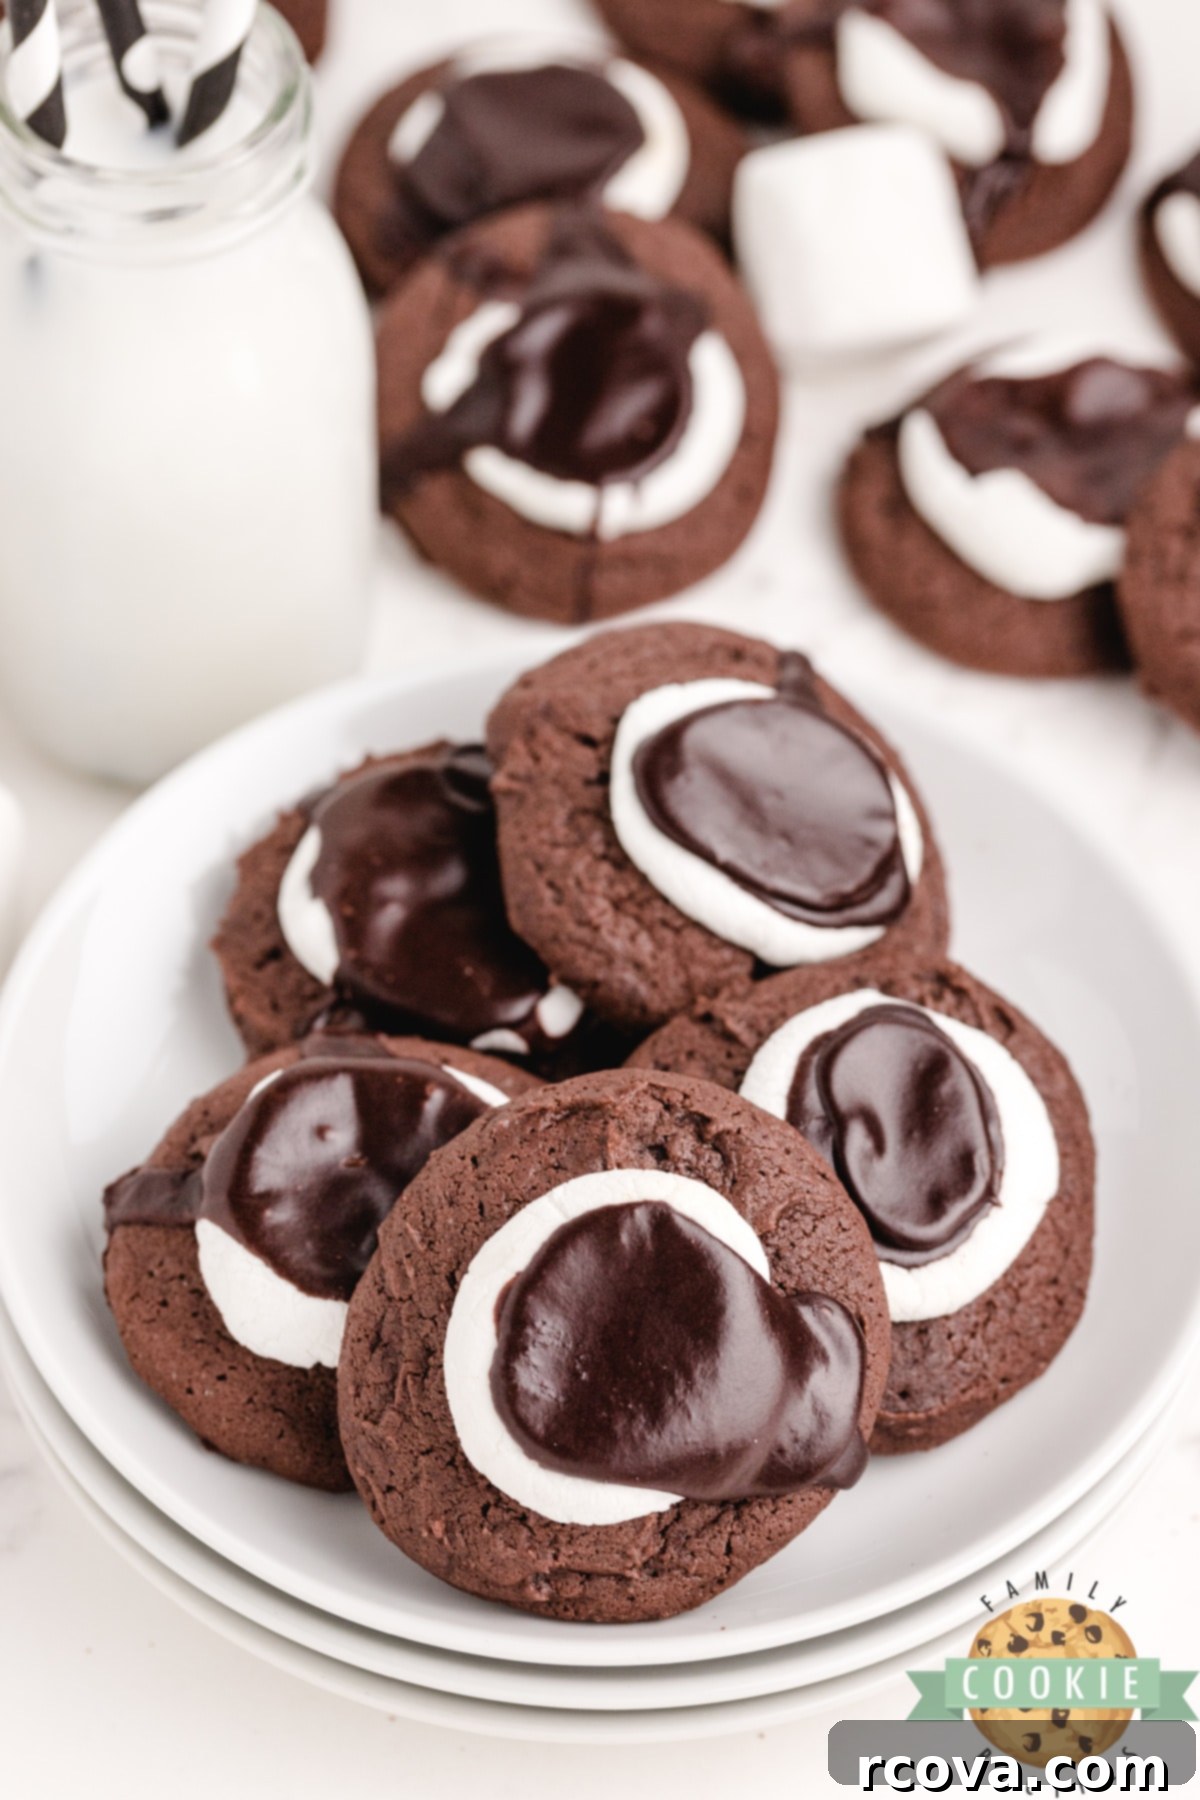
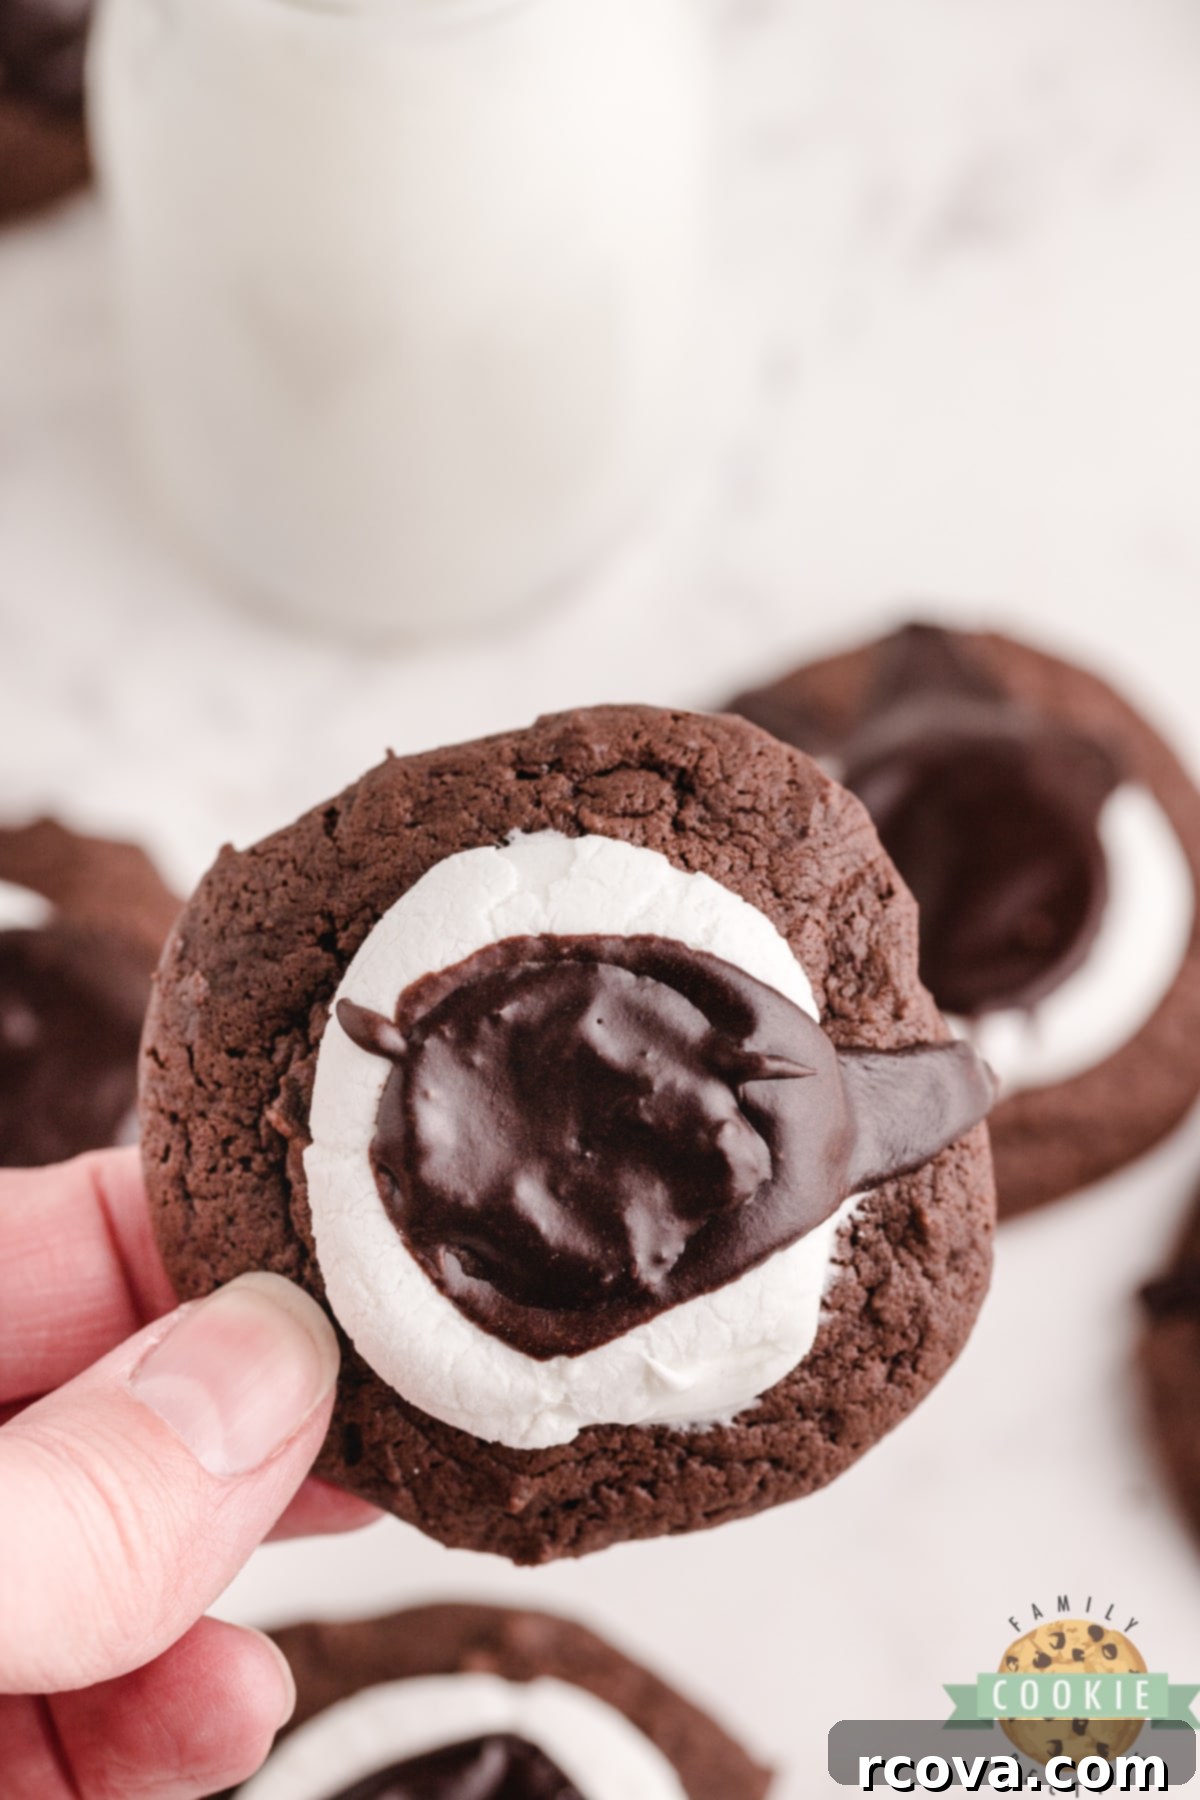
Prepare to fall in love with these incredible Chocolate Marshmallow Cookies! Imagine a deeply rich, soft, and thick chocolate cookie base, perfectly baked to achieve that desirable chewiness. Each cookie is then crowned with a fluffy, slightly melted marshmallow, and generously drizzled with a homemade, ultra-fudgy chocolate icing. This delightful combination creates a truly indulgent dessert that’s perfect for any occasion, from a cozy family evening to a festive gathering. These aren’t just cookies; they’re an experience in pure chocolate bliss, guaranteed to bring smiles and satisfy even the most intense sweet cravings. If you’re searching for an easy-to-follow yet impressive chocolate cookie recipe with marshmallow, look no further!
The Magic of Homemade Chocolate Marshmallow Cookies
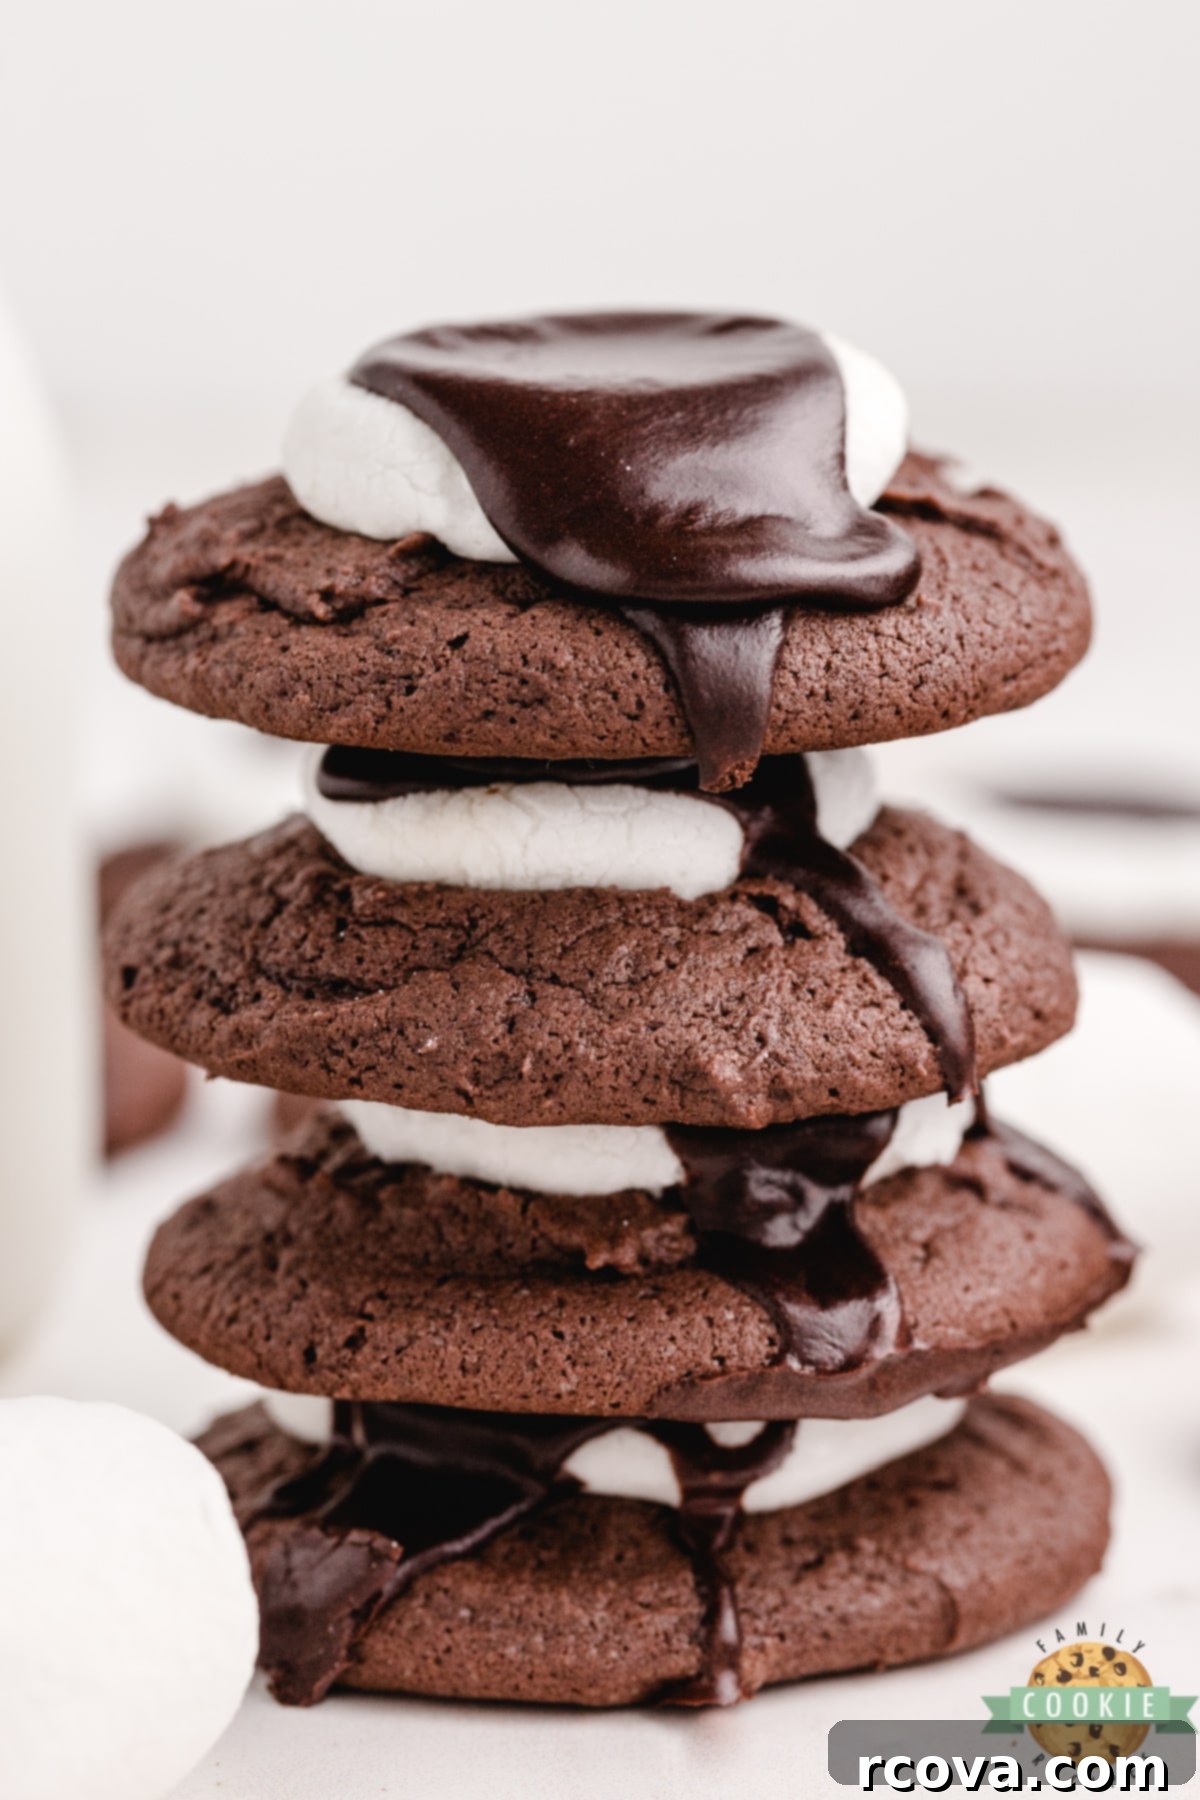
There’s something uniquely satisfying about homemade cookies, and these Chocolate Marshmallow Cookies are no exception. We start with a tried-and-true chocolate cookie dough, yielding cookies that are wonderfully soft and incredibly flavorful. The baking process is carefully timed to ensure they are baked to perfection before the star of the show — a delicate half marshmallow — is placed on top. A quick return to the warm oven allows the marshmallow to soften and lightly melt, creating a delightfully gooey texture. The grand finale is a luscious, homemade fudgy chocolate frosting that cascades over the warm marshmallow, sealing in the sweetness and adding another layer of rich chocolate indulgence. Each bite offers a harmonious blend of chewy cookie, soft marshmallow, and decadent frosting.
Essential Baking Tools for Cookie Perfection
Achieving consistently perfect cookies doesn’t require a professional kitchen, but a few key items can significantly elevate your baking game. These aren’t just for this particular recipe; they are versatile tools that you’ll find yourself reaching for in almost every cookie baking adventure, and many other culinary projects too! Investing in quality baking equipment makes the process smoother, more enjoyable, and yields professional-looking results every time.
First and foremost, I highly recommend using either parchment paper or a silicone baking mat to line your cookie sheets. These indispensable aids ensure your cookies bake evenly without sticking to the pan, and they make cleanup an absolute breeze. Say goodbye to greasing and flouring, and hello to perfectly released cookies with no messy residue on your baking sheets. They are typically sold in sizes designed to fit standard 12×16 inch cookie sheets, providing full coverage for optimal baking performance.
Secondly, a reliable stand mixer is a game-changer. My KitchenAid mixer is a workhorse in my kitchen, especially for cookies. While other mixers are excellent, the KitchenAid, equipped with its standard paddle attachment, excels at creaming butter and sugar, incorporating ingredients uniformly, and developing the perfect dough consistency. Its robust motor handles thick doughs with ease, saving your arms and ensuring a thoroughly mixed batter every time. If you don’t have one, it’s definitely a worthwhile addition to any baker’s wish list, as it’s one of the most frequently used small appliances I own!
Finally, a cookie scoop is an absolute must-have for uniform cookies. For years, I struggled with using two spoons to measure and drop dough, often resulting in misshapen cookies of varying sizes that baked unevenly. The secret to perfectly round, consistently sized cookies that bake at the same rate is a good cookie scoop! They come in various sizes, typically 1/2 tablespoon, 1.5 tablespoon, and 3 tablespoon, allowing you to choose the ideal size for your desired cookie dimensions. This simple tool will transform your baking, making every cookie a picture of perfection.
Key Ingredients for Your Delicious Chocolate Marshmallow Cookies
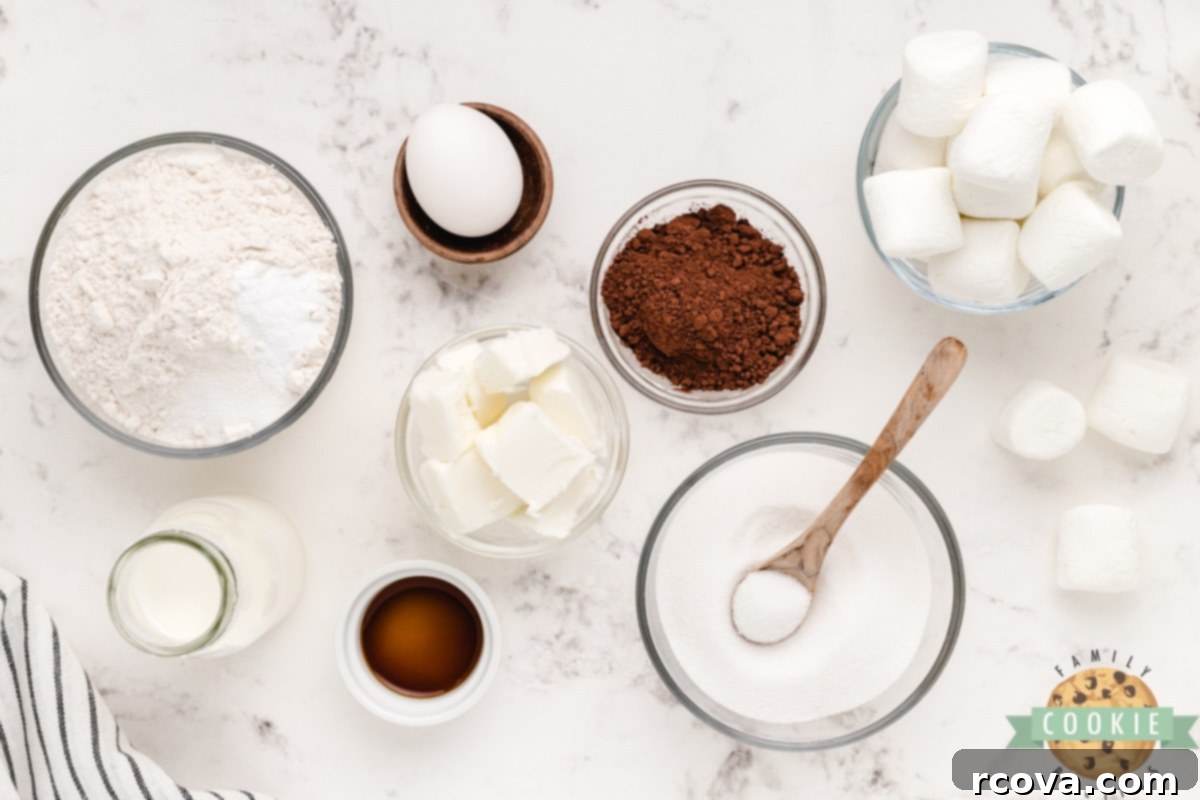
Crafting these delectable chocolate marshmallow cookies requires a careful selection of ingredients, each playing a vital role in achieving their signature taste and texture. Here’s a detailed look at what you’ll need and why:
- All-Purpose Flour: This forms the foundational structure of our cookies. All-purpose flour is ideal for these cookies, providing the perfect balance of tenderness and chewiness. While cake flour can also be used for an even softer crumb, all-purpose flour offers reliable results and is a pantry staple.
- Baking Soda: Our primary leavening agent, baking soda, reacts with the acidic cocoa powder to create carbon dioxide, which gives the cookies their lift and contributes to their soft, thick texture. Always ensure your baking soda is fresh for optimal results; old baking soda can lead to flat, dense cookies.
- Salt: Just a small amount of salt is essential for balancing the sweetness and enhancing the rich chocolate flavor, making the cocoa taste even deeper and more complex. It’s a flavor enhancer that truly brings all the other ingredients to life.
- Unsweetened Cocoa Powder: This is where the deep, intense chocolate flavor comes from. Using unsweetened cocoa powder allows us to control the sweetness of the cookies precisely. For an even richer, darker chocolate flavor, consider using Dutch-processed cocoa powder.
- Shortening: A key ingredient for achieving exceptionally soft and chewy cookies. Shortening has a higher melting point than butter, which means it helps prevent the cookies from spreading too much, resulting in thicker, chewier cookies. You can use regular vegetable shortening or butter-flavored shortening for a subtle buttery note.
- Vanilla Extract: High-quality vanilla extract is crucial here. It rounds out the chocolate flavor, adding warmth and depth. The better the vanilla, the more pronounced and delightful its aromatic contribution to the cookies.
- Granulated Sugar: A full cup of sugar provides the necessary sweetness and also contributes to the cookie’s tender texture and beautiful golden-brown edges. Sugar also plays a role in moisture retention, keeping your cookies soft.
- Large Egg: The egg acts as a binder, holding all the ingredients together and adding moisture and richness. It also contributes to the structure and chewiness of the cookies.
- Milk: A half cup of any type of milk (dairy or non-dairy) provides the liquid needed to bring the cookie dough to the perfect consistency, ensuring it’s not too dry or crumbly.
- Large Marshmallows: You’ll need 20 large marshmallows, each cut in half. A sharp pair of kitchen shears is ideal for this task, as it prevents sticking and yields clean cuts. Alternatively, a sharp knife lightly greased can also work. These marshmallows will melt slightly to form a gooey, sweet topping.
For the Fudgy Chocolate Icing:
- Powdered Sugar (Confectioners’ Sugar): The base for our smooth and sweet icing. Powdered sugar dissolves easily, creating a silky texture without any grittiness.
- Cocoa Powder: A touch of cocoa powder gives the icing its delicious chocolate flavor, perfectly complementing the cookies.
- Melted Butter: Real butter is highly recommended for the icing as it adds richness and helps achieve that desirable smooth, spreadable consistency. Ensure it’s fully melted before incorporating with other ingredients.
- Cream or Milk: Just a couple of tablespoons of liquid are needed to adjust the icing’s thickness. Heavy cream will yield a richer, thicker icing, while regular milk works perfectly fine for a slightly lighter texture.
- Vanilla Extract: A final dash of vanilla in the icing enhances its flavor, adding an extra layer of aromatic complexity that ties everything together beautifully.
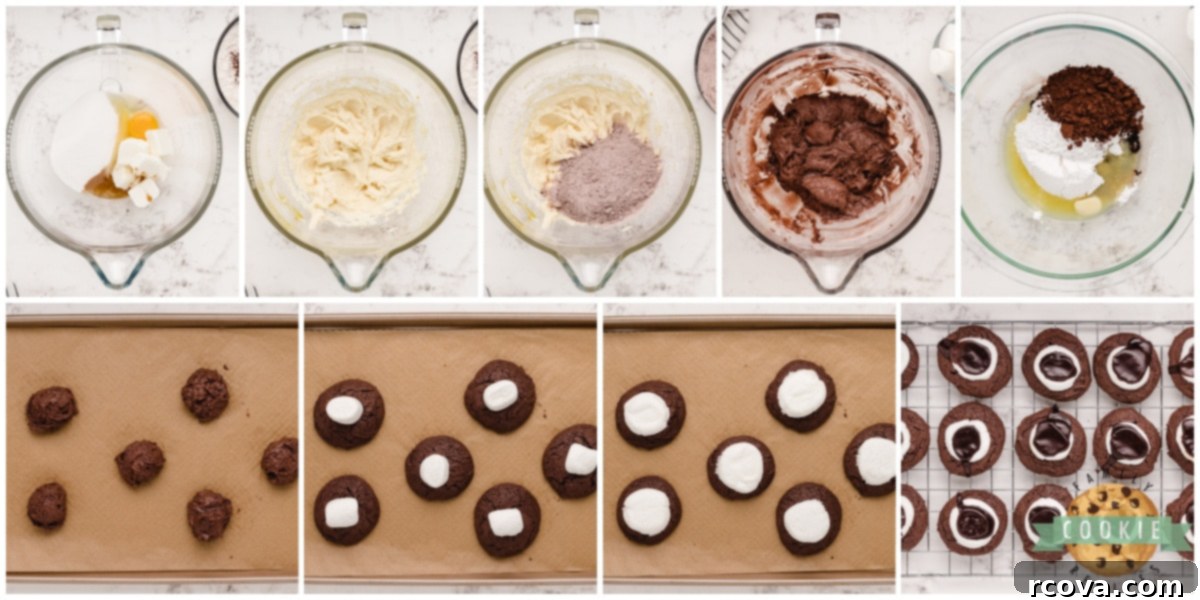
Step-by-Step Guide: Crafting Your Chocolate Marshmallow Masterpiece
Follow these detailed steps to create the most delicious Chocolate Marshmallow Cookies that everyone will adore:
- Preheat Your Oven: Begin by preheating your oven to 350°F (175°C). While the oven heats up, prepare your baking sheets by lining them with parchment paper or silicone baking mats. This step ensures even baking and prevents sticking.
- Combine Dry Ingredients: In a medium-sized bowl, whisk together the flour, baking soda, salt, and cocoa powder. Make sure these ingredients are thoroughly combined to ensure proper distribution throughout the dough. Set this mixture aside.
- Cream Wet Ingredients: In a large mixing bowl (preferably using your stand mixer with the paddle attachment), cream together the shortening, vanilla extract, granulated sugar, and egg. Beat these ingredients on medium speed for about 2-3 minutes until the mixture is light, fluffy, and well combined. This creaming process incorporates air, contributing to the cookies’ soft texture.
- Form the Dough: Gradually add the dry ingredient mixture to the wet ingredients, alternating with the milk. Start and end with the dry ingredients. Mix on low speed until just combined. Be careful not to overmix; overmixing can lead to tough cookies. The dough should be soft but not overly sticky.
- Scoop and Bake First Round: Using a cookie scoop (the 1.5 tablespoon size is ideal for 40 cookies), drop uniform balls of dough onto your prepared baking sheets, leaving about 2 inches between each cookie. Bake for exactly 8 minutes. During this time, the cookies will set but will still be soft.
- Prepare the Icing: While the cookies are baking, prepare your luscious chocolate icing. In a separate bowl, combine the powdered sugar, cocoa powder, melted butter, cream (or milk), and vanilla extract. Whisk or blend until completely smooth and free of lumps. The consistency should be pourable but thick enough to coat a spoon.
- Add Marshmallows & Second Bake: After the initial 8 minutes of baking, remove the cookie sheets from the oven. Quickly place one marshmallow half on top of each warm cookie, pressing down gently. Return the cookies to the oven for just 1 more minute. This brief second bake will soften and slightly melt the marshmallows, making them deliciously gooey.
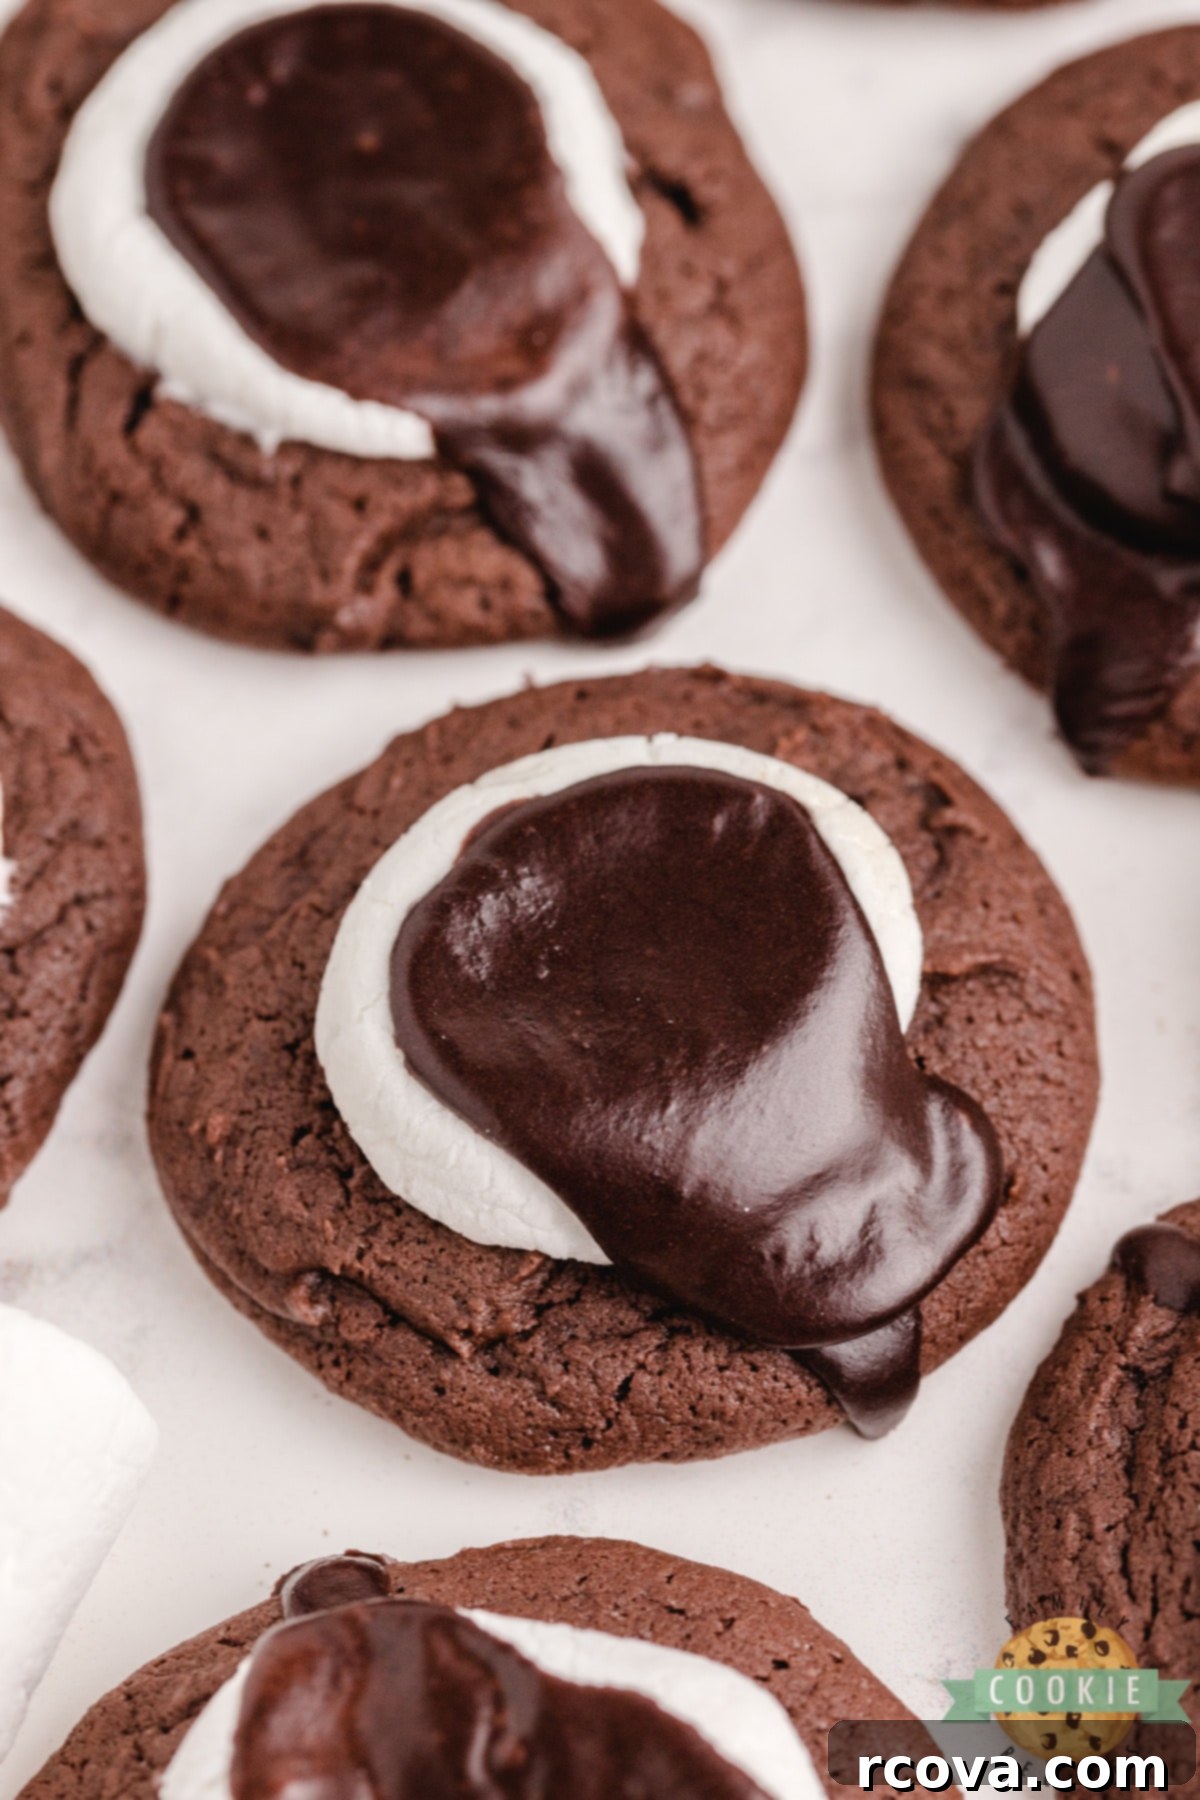
- Frost the Cookies: Remove the cookies from the oven and let them cool on the baking sheet for 1-2 minutes. While still warm, take a spoonful of the prepared chocolate icing and dollop it generously over each marshmallow-topped cookie, allowing it to naturally drizzle down the sides.
- Cool and Set: Allow the cookies to sit on the baking sheets for a few more minutes to let the icing begin to set. Then, carefully transfer them to a wire rack to cool completely. This ensures the icing fully hardens and prevents the cookies from becoming soggy on the bottom.
Now, enjoy your perfectly crafted, incredibly delicious Chocolate Marshmallow Cookies!
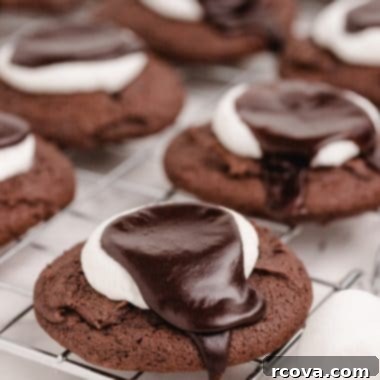
Chocolate Marshmallow Cookies
Print
Pin
Rate
Ingredients
For the Cookies:
- 1 ¾ cups all-purpose flour
- ½ tsp baking soda
- ½ tsp salt
- ⅓ cup unsweetened cocoa powder
- ½ cup shortening (room temperature)
- 1 tsp vanilla extract
- 1 cup granulated sugar
- 1 large egg
- ½ cup milk (any type)
- 20 large marshmallows (cut in half)
For the Fudgy Chocolate Icing:
- 2 cups powdered sugar
- 4 Tbsp unsweetened cocoa powder
- 4 Tbsp melted butter (real butter preferred)
- 2 Tbsp heavy cream or milk
- 1 tsp vanilla extract
Instructions
-
Preheat oven to 350°F (175°C). Line baking sheets with parchment paper or silicone baking mats.
-
In a medium bowl, stir together flour, baking soda, salt, and cocoa powder. Set aside.
-
In a large bowl, cream together shortening, vanilla, sugar, and egg for about 2-3 minutes until light and fluffy. Gradually blend in the dry ingredients mixture and milk until just combined. Do not overmix.
-
Use a cookie scoop (approx. 1.5 tablespoon) to scoop dough onto the prepared baking sheets, spacing them about 2 inches apart. Bake for 8 minutes.
-
While cookies are baking, prepare the icing: In a separate bowl, blend all icing ingredients together until smooth. Adjust consistency with a tiny bit more milk/cream if too thick, or powdered sugar if too thin.
-
Remove cookies from oven. Immediately place 1 marshmallow half on top of each cookie. Return to oven and bake for 1 more minute, just until marshmallows are softened and slightly melted.
-
Cool cookies on the baking sheet for 1-2 minutes. Then, drop a spoonful of chocolate icing onto each marshmallow-topped cookie, allowing it to drizzle down the sides.
-
Let the cookies set up for a few minutes on the baking sheet before carefully transferring them to a wire rack to cool completely. Enjoy!
Nutrition
Expert Tips for Unbeatable Chocolate Cookie Texture
Over many years of baking and perfecting various cookie recipes, I’ve gathered several crucial tips specifically for making the absolute best chocolate cookies. Following these guidelines will ensure your cookies are consistently soft, chewy, and utterly delicious:
- Achieve the Right Dough Consistency: The amount of flour in your dough is critical. If your dough feels excessively sticky, it likely needs a little more flour. Add it a tablespoon at a time until the dough is manageable but still soft. Conversely, too much flour can result in dry, crumbly cookies, so aim for a dough that holds its shape without being overly stiff.
- Cream Butter and Sugar Thoroughly: Don’t rush the creaming process! Spending an extra minute or two (aim for 2-3 minutes) when creaming the shortening (or butter) and sugars together significantly improves the consistency and texture of your final cookies. This step incorporates air into the mixture, leading to lighter, fluffier, and more tender cookies.
- Always Preheat Your Oven: This might seem obvious, but a properly preheated oven is non-negotiable for consistent baking. Placing cookies into a cold or partially heated oven can cause them to spread unevenly or bake inconsistently. A fully preheated oven ensures that the cookies start baking immediately at the correct temperature, helping them rise and set properly every single time.
- Master the Art of Under-baking: This is arguably the most important tip for soft, chewy cookies. When I remove my chocolate cookies from the oven, they often still look slightly underbaked in the center. This is perfectly normal and desired! Cookies continue to bake and set on the hot cookie sheet for a few minutes after they’ve been removed from the oven (this is called carryover baking). Removing them when they look just barely set ensures they don’t become hard or dry once fully cooled.
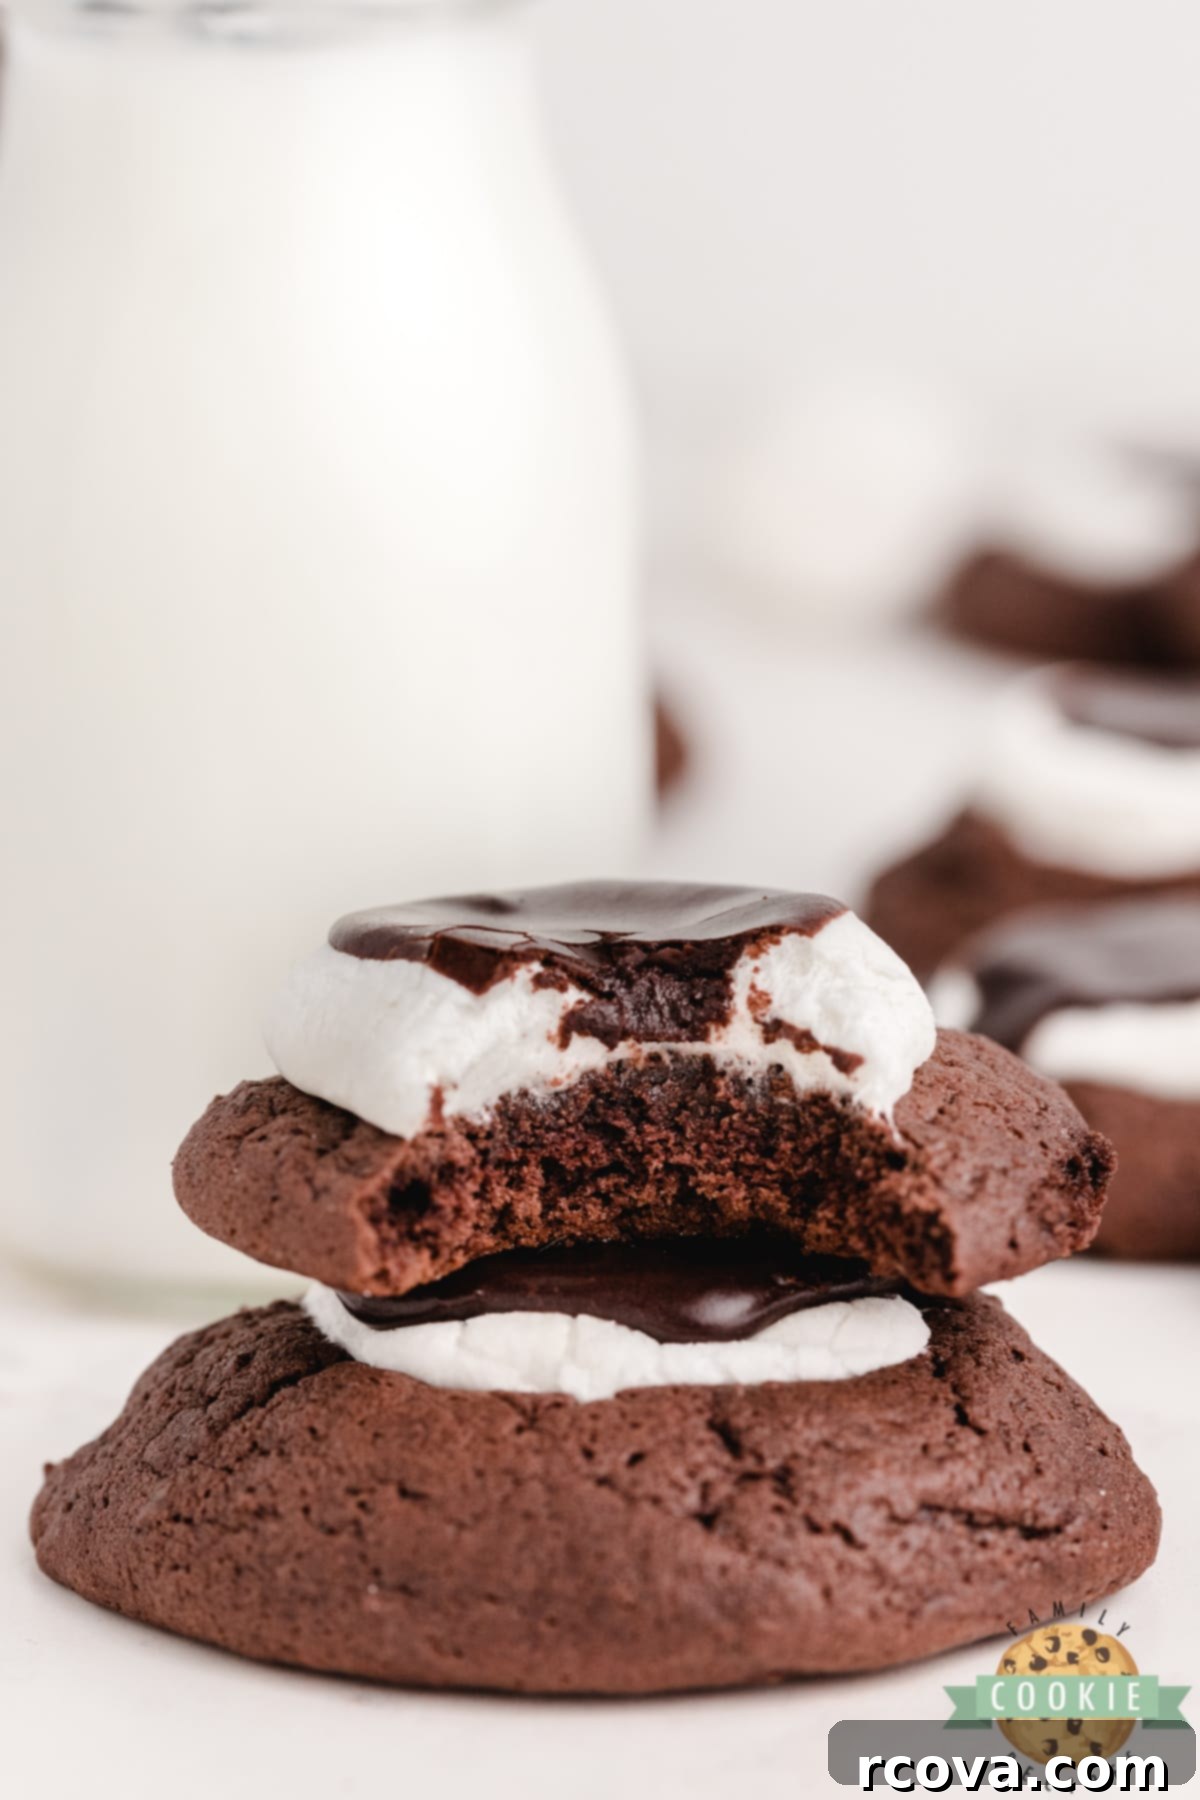
Storage and Shelf Life: Keeping Your Chocolate Marshmallow Cookies Fresh
To enjoy the delightful freshness of your Chocolate Marshmallow Cookies for as long as possible, proper storage is key. Once cooled completely, these cookies will remain wonderfully soft and delicious for about 3-5 days when stored in an airtight container at room temperature. Placing a slice of plain white bread in the container with the cookies can help keep them extra soft by absorbing excess moisture and preventing them from drying out. Avoid refrigerating these cookies, as the cold can cause the chocolate and marshmallows to harden, affecting their texture.
Freezing Your Chocolate Marshmallow Cookies for Later Indulgence
Absolutely, these Chocolate Marshmallow Cookies are fantastic for freezing, allowing you to enjoy a homemade treat whenever the craving strikes! The best way to freeze them is to first allow the cookies to cool completely and ensure the chocolate fudge icing is fully set. This step is crucial to prevent them from sticking together. Once cooled and set, arrange the cookies in a single layer on a baking sheet and flash freeze them for about 1-2 hours until solid. This prevents them from clumping together in the freezer bag or container.
After flash freezing, transfer the solid cookies to an airtight freezer-safe container or a heavy-duty freezer bag. They can be stored in the freezer for up to 3 months. When you’re ready to enjoy them, simply take out the desired number of cookies and place them on the counter to thaw at room temperature for about 30 minutes to an hour. There’s no need to reheat, though a quick zap in the microwave for 10-15 seconds can bring back some of that freshly baked gooeyness. Freezing is a great way to bake ahead for parties or ensure you always have a delightful treat on hand.
Explore More Chocolate Delights: Our Favorite Cookie Recipes
If you’re a true chocolate enthusiast, the journey doesn’t have to end with these amazing Chocolate Marshmallow Cookies! We have a wide array of other incredible chocolate cookie recipes that are just waiting to be discovered. From rich, dark fudgy creations to those with delightful mix-ins, there’s a chocolate cookie for every mood and occasion. Dive into our collection and find your next favorite:
- Double Chocolate Cherry Cookies
- Rocky Road Cookies
- Caramel Stuffed Chocolate Crinkle Cookies
- Nutella No Bake Cookies
- Double Chocolate Thumbprint Cookies
- Texas Sheet Cake Cookies
- Chocolate Sugar Cookies
- Best Brownie Cookies
- Triple Chocolate M&M Cookies
- Chocolate Caramel Linzer Cookies
- Chocolate Turtle Cookies
- Surprise Chocolate Kiss Cookies
- Chocolate Cake Mix Cookies



Beyond the deliciousness of baking, these cookies often bring back cherished memories of family and simple joys. Speaking of which, our little one recently had another fantastic dentist appointment. She absolutely adores going to the dentist, which is a rare feat for most kids, and she even loves getting her x-rays done! But what truly catches everyone’s eye are her shoes. This little girl has an undeniable obsession with high heels, so I found her a pair that fit her tiny feet much better than my own. She refuses to take them off – she wears them everywhere we go! I’m genuinely amazed at her speed and agility in those shoes, and I’m equally impressed by her pain tolerance. Those plastic shoes can’t be all that comfortable, yet she insists on wearing them all day, every single day. And the best part? She receives so many compliments on them, I doubt she’ll ever stop wearing her favorite sparkly heels!

