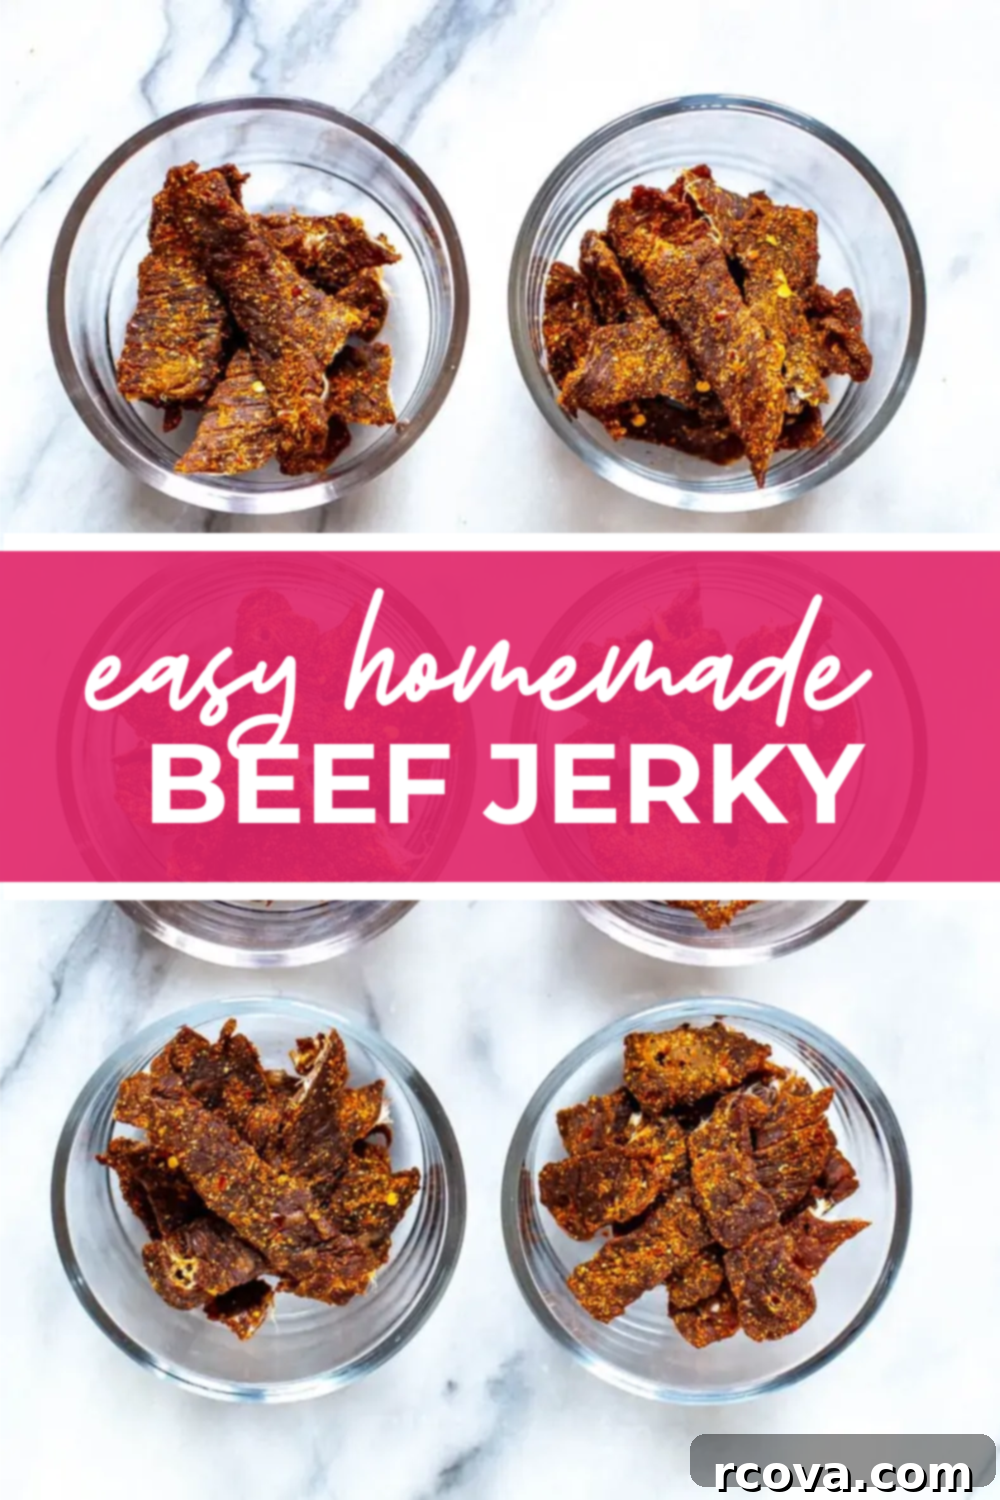
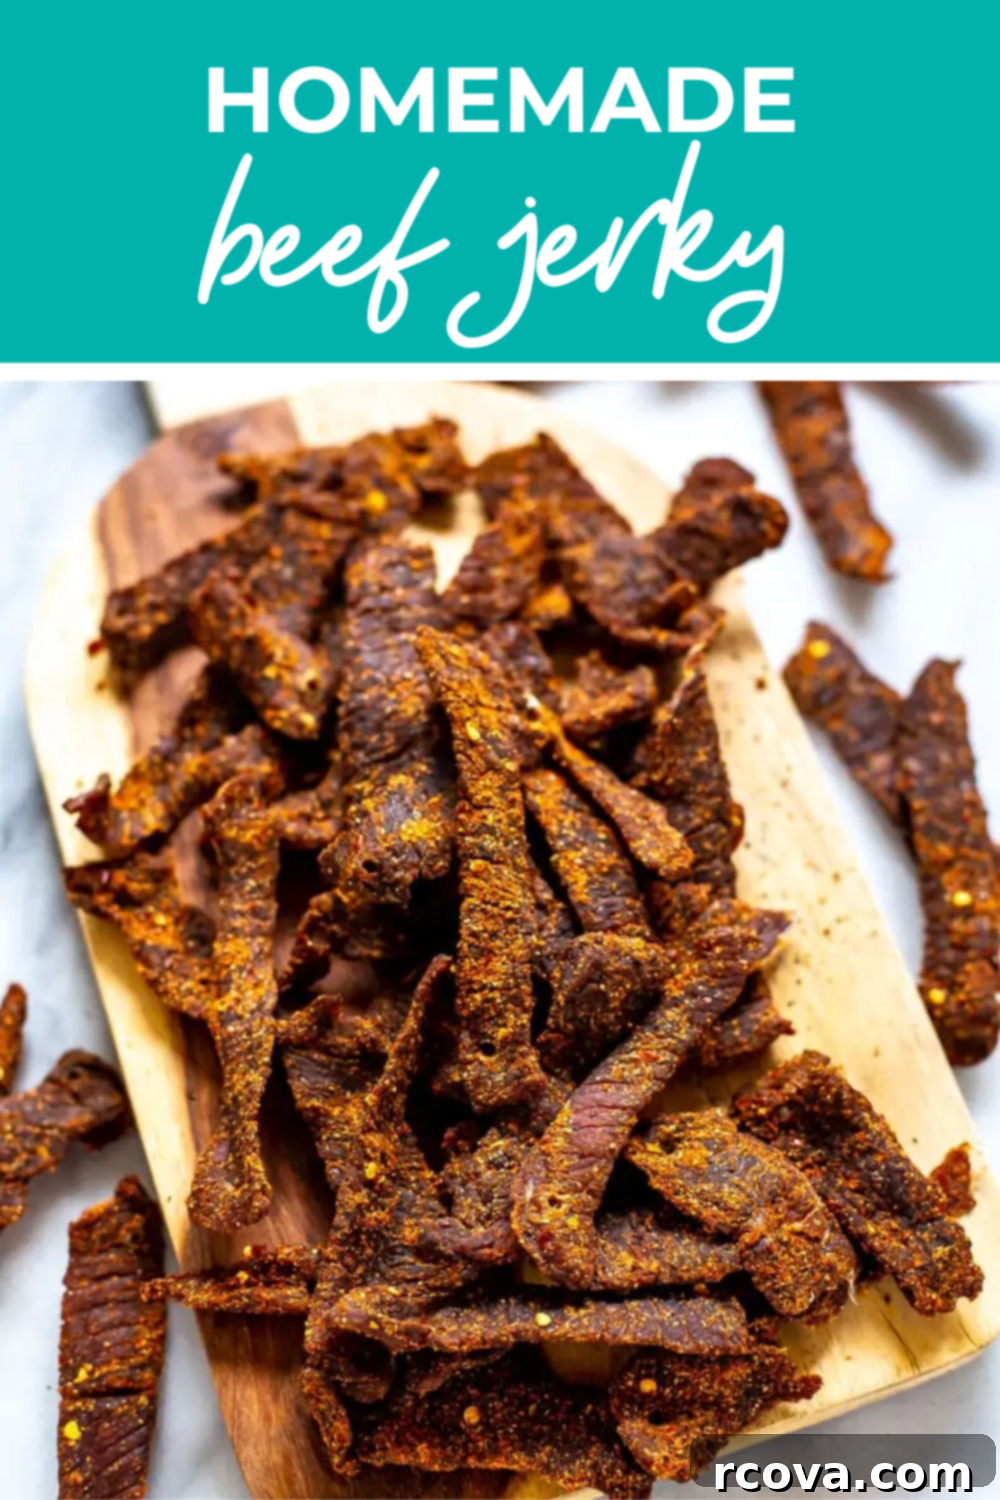
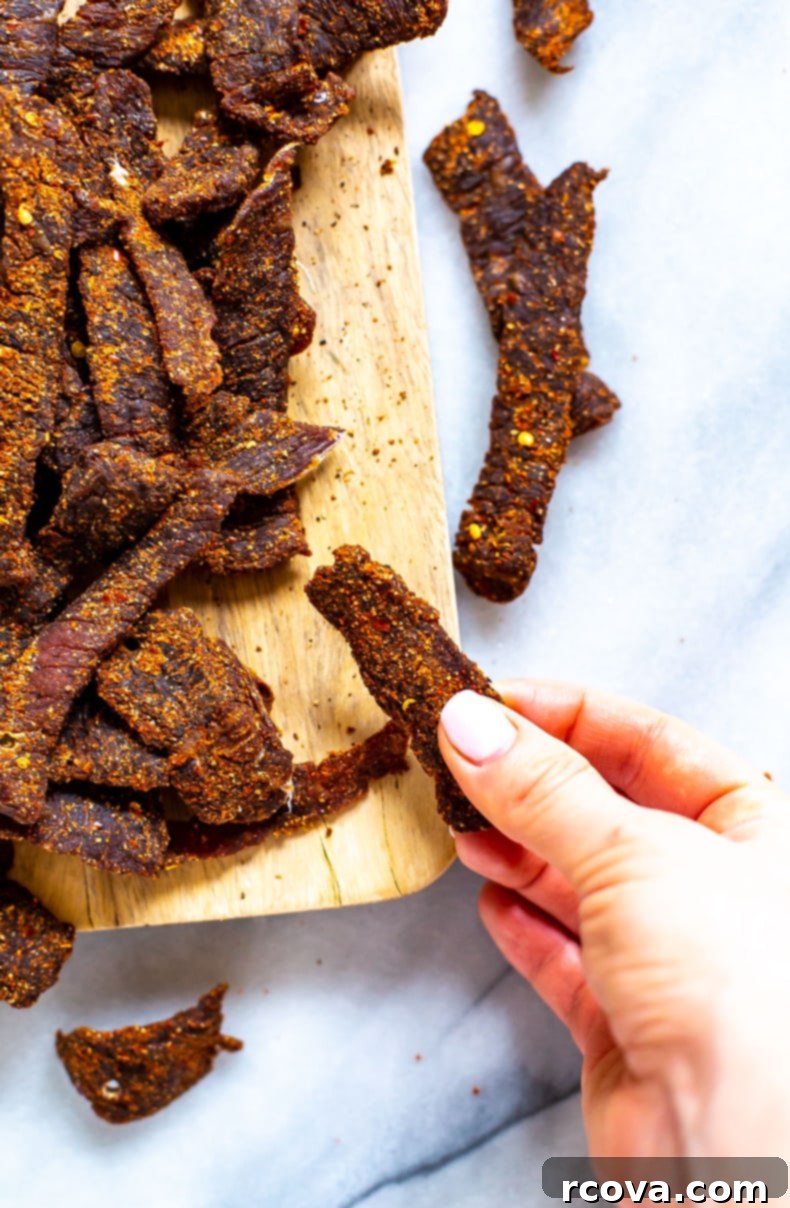
Homemade Beef Jerky Recipe: Delicious, Healthy & Easy Oven Method (No Dehydrator Needed!)
Craving a savory, protein-packed snack that’s both healthy and budget-friendly? Look no further! This homemade beef jerky recipe is incredibly easy to make right in your oven, no expensive dehydrator required. It’s a classic for a reason – delicious, customizable, and a fantastic alternative to store-bought options loaded with preservatives.
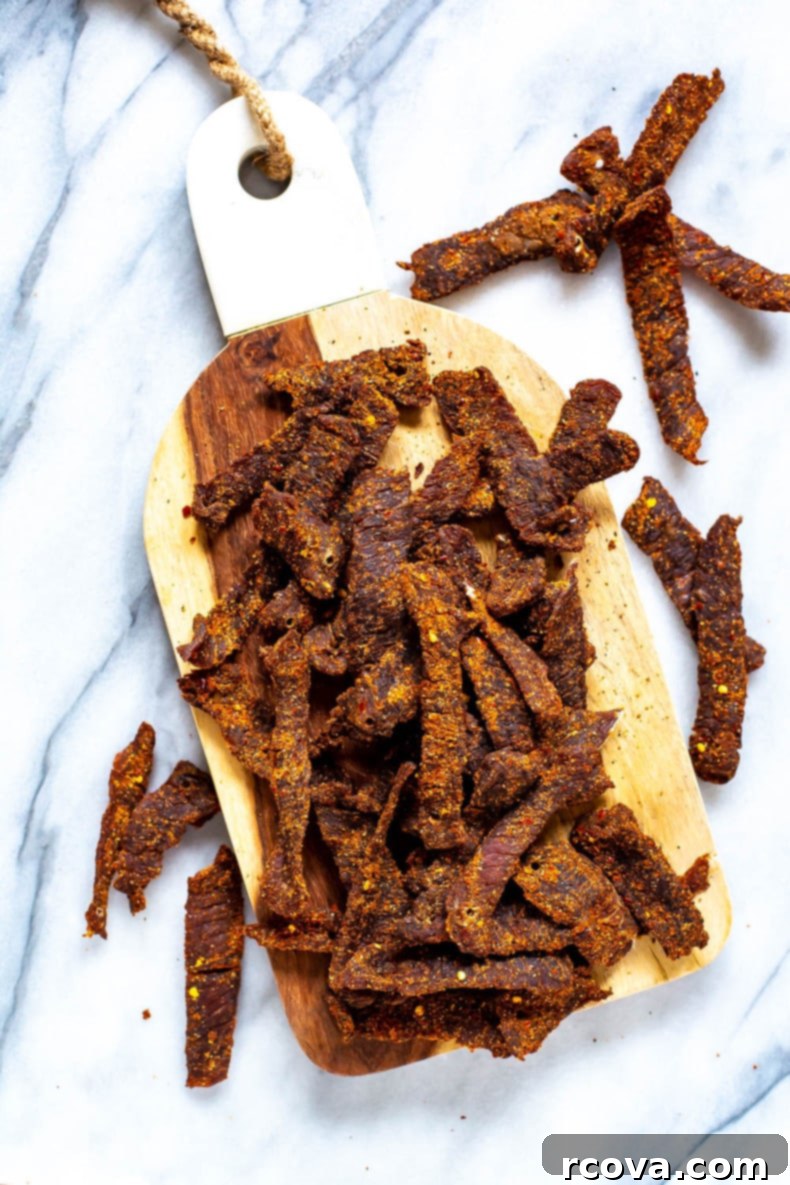
This recipe holds a special place, being one of the first ever shared on this blog back in 2015. A decade later, its enduring appeal proves its worth as a go-to high-protein snack that truly stands the test of time. There’s an immense satisfaction that comes from making your own food from scratch, especially when it turns out this good. Not only is it more cost-effective than buying pre-packaged jerky, but it also gives you complete control over the ingredients, ensuring a wholesome and natural treat for yourself and your family.
Why You’ll Absolutely Love This Homemade Beef Jerky Recipe
There are countless reasons why this oven-baked beef jerky recipe has become a staple for many. Here’s a deeper dive into what makes it so irresistible:
- A Truly Healthy & High-Protein Snack: In an age where processed snacks dominate, finding genuinely healthy options can be a challenge. This homemade beef jerky is different. Made with lean cuts of whole beef and your choice of natural seasonings, it’s a powerhouse of protein without any artificial additives. It’s perfect for fueling your workouts, satisfying hunger between meals, or providing sustained energy during outdoor adventures. Forget the hidden sugars, excessive sodium, and mysterious chemicals often found in commercial jerky – with this recipe, you know exactly what you’re eating.
- No Dehydrator Required: One of the biggest hurdles for many aspiring jerky makers is the need for specialized equipment. This recipe eliminates that barrier entirely! By utilizing the low-temperature setting of your standard kitchen oven, you can achieve perfectly dried, delicious jerky without investing in a costly dehydrator. This makes the craft of jerky making accessible to everyone, ensuring that a fantastic, natural snack is always within reach, regardless of your kitchen gadget collection.
- Free From Preservatives and Chemicals: This is arguably one of the most compelling reasons to make your own jerky. Store-bought jerky often contains nitrates, nitrites, artificial flavors, and preservatives designed to extend shelf life. While convenient, these additives can be a concern for health-conscious individuals. Our homemade version uses simple, recognizable ingredients, giving you peace of mind and a superior-tasting product. You control the salt, the spice, and the sweetness, ensuring a natural flavor that’s truly unmatched.
- Incredibly Customizable: The beauty of this recipe lies in its versatility. The base marinade provides a fantastic starting point, but you can easily tweak the spices and sauces to match your personal preferences. Want it spicier? Add more hot sauce or cayenne. Prefer a smokier flavor? A dash of liquid smoke or smoked paprika will do the trick. The possibilities are endless, allowing you to create unique flavor profiles every time you make a batch.
- Cost-Effective: Buying premium beef jerky from the store can be surprisingly expensive. By purchasing a good cut of beef and making it yourself, you’ll find that you save a significant amount of money in the long run. This makes healthy snacking more affordable, allowing you to stock up on this delicious treat without breaking the bank.
FREE Budget-Friendly Meal Plan!
Save thousands of dollars on food every year with my free budget-friendly meal plan ebook.

Ingredients for Perfect Oven Beef Jerky & Smart Substitutions
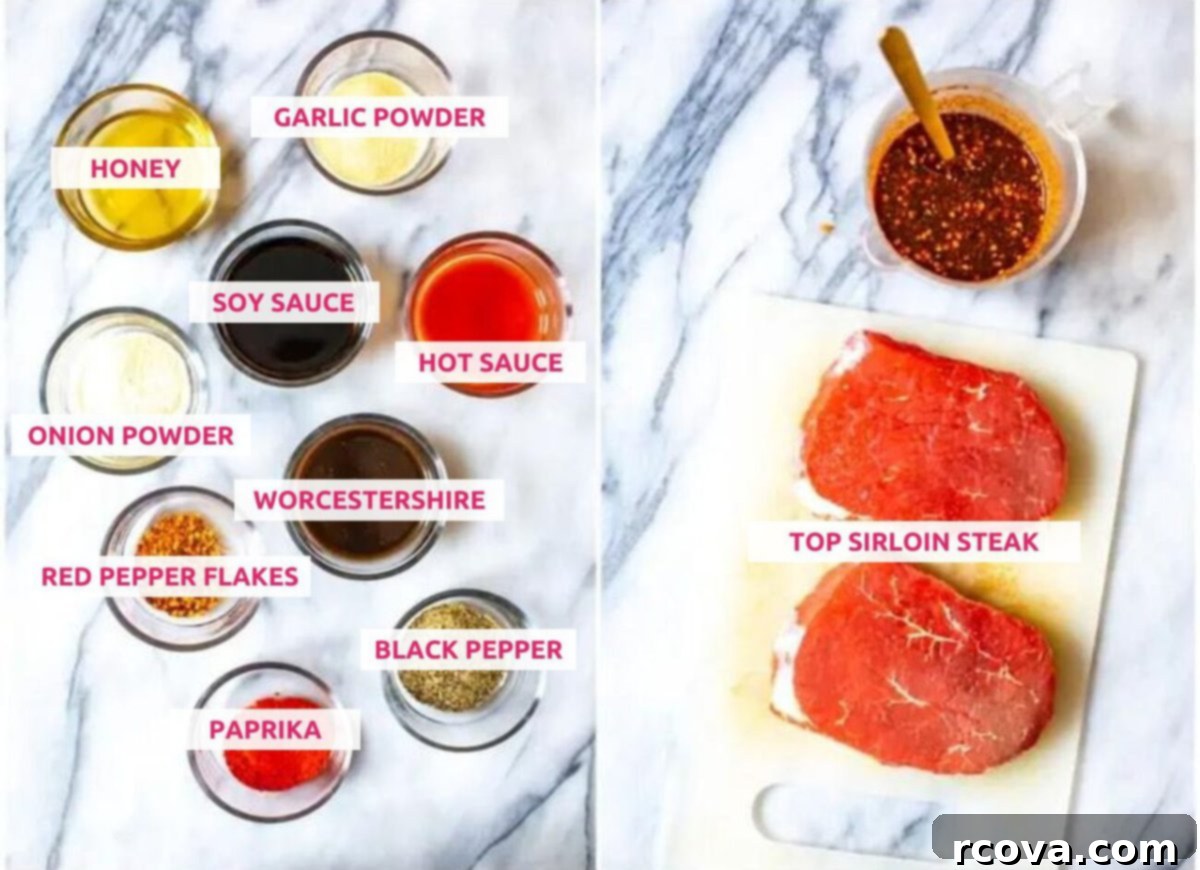
Crafting delicious homemade beef jerky starts with quality ingredients. Here’s what you’ll need for this classic recipe, along with some excellent substitution ideas to fit your dietary needs or flavor preferences:
- Top Sirloin Steak: This lean cut is fantastic for jerky due to its low fat content and tender texture when sliced correctly. For equally great results, you can also use other lean beef cuts such as top round or bottom round steak, often labeled as “London Broil” in some stores. The key is to choose cuts with minimal marbling, as excess fat can cause the jerky to spoil faster.
- Low Sodium Soy Sauce: Provides the foundational savory, umami flavor and helps tenderize the meat. If you’re looking for gluten-free options or prefer a different flavor, coconut aminos or tamari are excellent, direct substitutes that maintain a similar savory depth.
- Worcestershire Sauce: Adds a unique tangy, savory, and slightly sweet complexity to the marinade. A good alternative that brings acidity and a different kind of tang is white wine vinegar, although it will subtly alter the final flavor profile.
- Honey: This natural sweetener balances the savory notes and contributes to a subtle caramelization during the slow cooking process. If you prefer, maple syrup can be used as a 1:1 substitute for similar sweetness and a slightly different nuanced flavor.
- Hot Sauce (e.g., Tabasco): Essential for that perfect kick! The amount can be adjusted to your liking. If you’re not a fan of spice, feel free to leave this out entirely, or use a milder chili sauce.
- Black Pepper: Freshly cracked black pepper offers the most potent and aromatic flavor. Pre-ground pepper works, but for that extra depth, always go for fresh!
- Onion Powder: Adds a foundational savory note. If you’re out, you can use a bit more garlic powder, or even finely minced fresh onion (though this might add more moisture).
- Garlic Powder: Provides a robust aromatic flavor. For a more intense garlic experience, freshly minced garlic can be used, but ensure it’s very finely minced to adhere well to the meat and prevent burning.
- Paprika: Contributes a warm, earthy flavor and a lovely reddish hue. For a spicier twist, cayenne pepper can be used, but be aware it will add a significant amount of heat. Smoked paprika would also add a wonderful smoky dimension.
- Red Pepper Flakes: These add texture and a pleasant lingering heat. Other great spicy alternatives include cayenne pepper (use sparingly) or a good quality chili powder for a broader, spicier flavor.
When selecting your beef, aim for the freshest possible cut from a reputable butcher. Grass-fed beef often offers a richer flavor profile and can be a healthier choice. Remember, the quality of your meat and marinade ingredients will directly impact the final flavor and texture of your homemade beef jerky.
How to Master Homemade Beef Jerky in Your Oven: A Step-by-Step Guide
Making beef jerky at home is a rewarding process that’s much simpler than you might think. Follow these detailed steps to achieve perfectly dried, flavorful jerky every time:
Step 1: Prepare and Slice the Steak
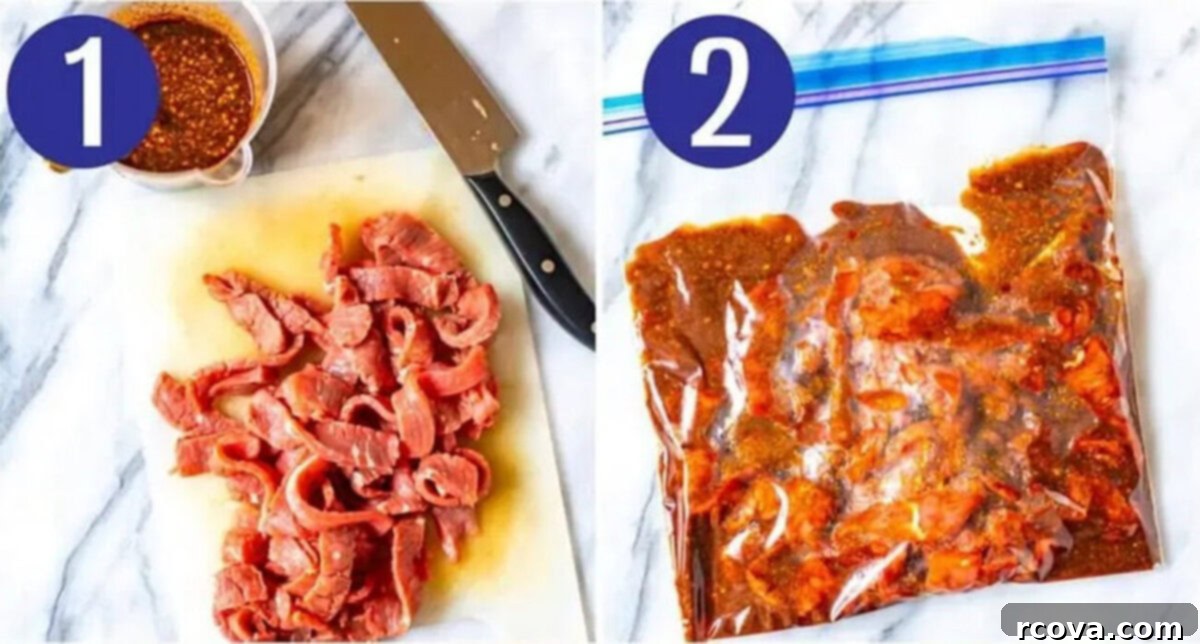
The foundation of great jerky is uniformly sliced meat. Begin by placing your chosen beef cut (like top sirloin) in the freezer for at least one hour, or until it’s firm but not completely frozen solid. This makes slicing significantly easier and allows for thinner, more consistent strips. Using a very sharp knife, slice the steak against the grain (across the muscle fibers) as thinly as possible, ideally about 1/8 to 1/4 inch thick. Slicing against the grain ensures a more tender piece of jerky, while slicing with the grain will result in a chewier texture. Trim away any excess fat or gristle, as these components can turn rancid and shorten the shelf life of your jerky.
Step 2: Marinate the Steak for Maximum Flavor
In a large bowl or a sealable freezer bag, combine all your marinade ingredients: soy sauce, Worcestershire sauce, honey, hot sauce (if using), black pepper, onion powder, garlic powder, paprika, and red pepper flakes. Whisk them together thoroughly until well combined. Add your thinly sliced beef strips to the marinade, ensuring each piece is fully coated. Seal the bag or cover the bowl, then refrigerate for a minimum of 30 minutes. For the most intense flavor and tenderization, it’s highly recommended to marinate the beef overnight, or for up to 24 hours. This allows the flavors to deeply penetrate the meat, resulting in a more robust and delicious jerky.
Step 3: Pat Dry for Optimal Dehydration
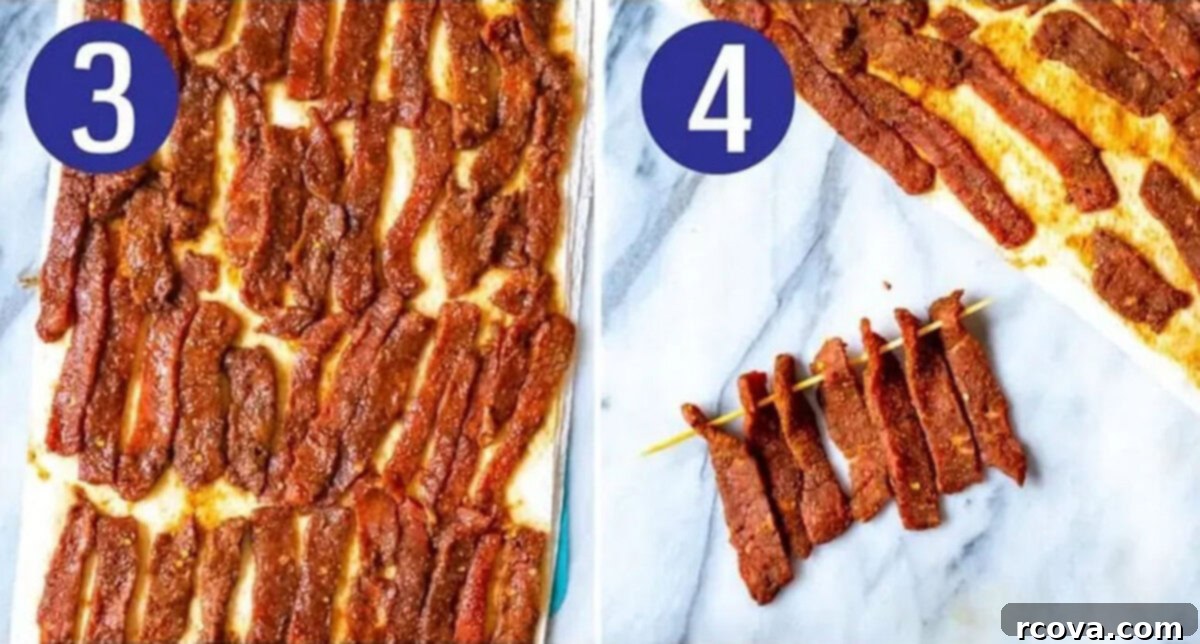
Once marinating is complete, remove the beef strips from the marinade. Place them on a plate lined with several layers of paper towels. Using additional paper towels, firmly press down on the beef strips to squeeze out and absorb as much excess liquid as possible. This step is crucial for proper dehydration; removing moisture before cooking helps the jerky dry evenly and efficiently in the oven, preventing it from steaming rather than drying. The drier the meat going into the oven, the better your jerky will turn out.
Step 4: Prepare for Oven Drying with Bamboo Skewers
Carefully thread each dried beef strip onto bamboo skewers. Avoid overcrowding the skewers; leave a small space between each piece of meat to allow for optimal air circulation during cooking. The goal is to maximize the surface area exposed to the warm, circulating air in the oven. If you don’t have bamboo skewers, you can lay the strips directly on oven racks, but ensure they don’t overlap. Using skewers allows the jerky to hang freely, which mimics a dehydrator’s airflow and results in more even drying.
Step 5: Set Up Your Oven for Dehydration
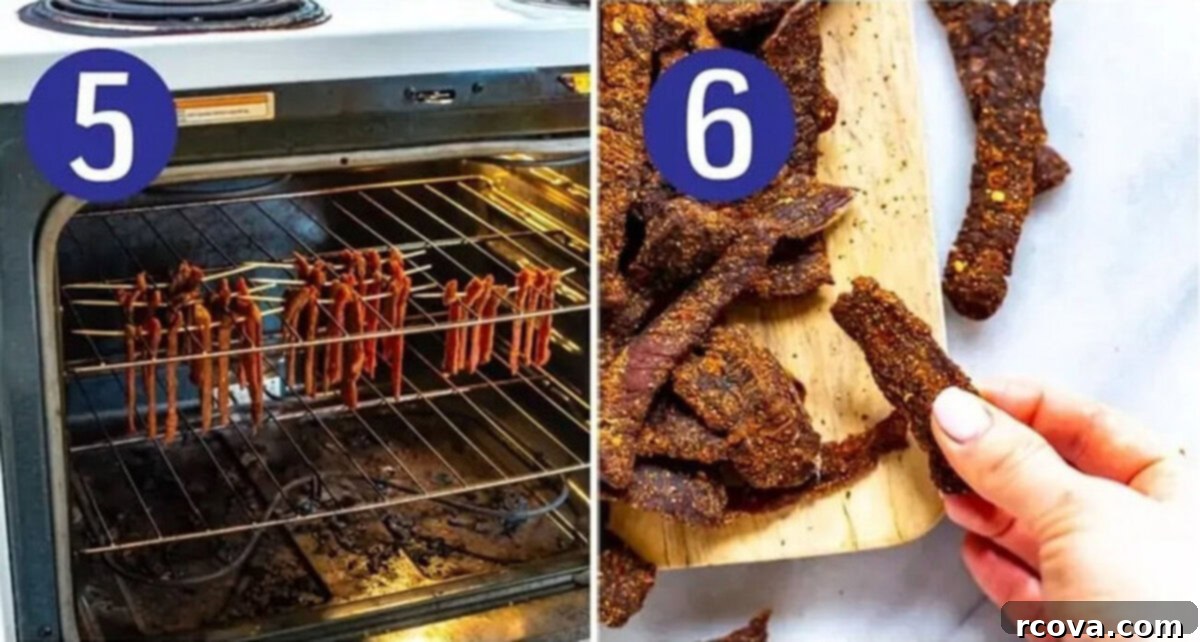
Preheat your oven to its lowest possible setting, typically around 170°F (75°C). This low temperature is key to drying the meat without cooking it. Place a baking sheet on the bottom rack of your oven to catch any drips from the jerky. Then, hang the bamboo skewers with the beef strips between the wires of the highest oven rack. Ensure the strips are suspended and not touching each other or the sides of the oven. Critically, after closing the oven door, prop it open slightly – even just a crack (about 1-2 inches) with a wooden spoon or an oven mitt. This allows moisture to escape, creating a truly dehydrating environment rather than a steaming one. Without this crucial step, your jerky won’t dry correctly.
Step 6: Cook Low and Slow for Perfect Jerky
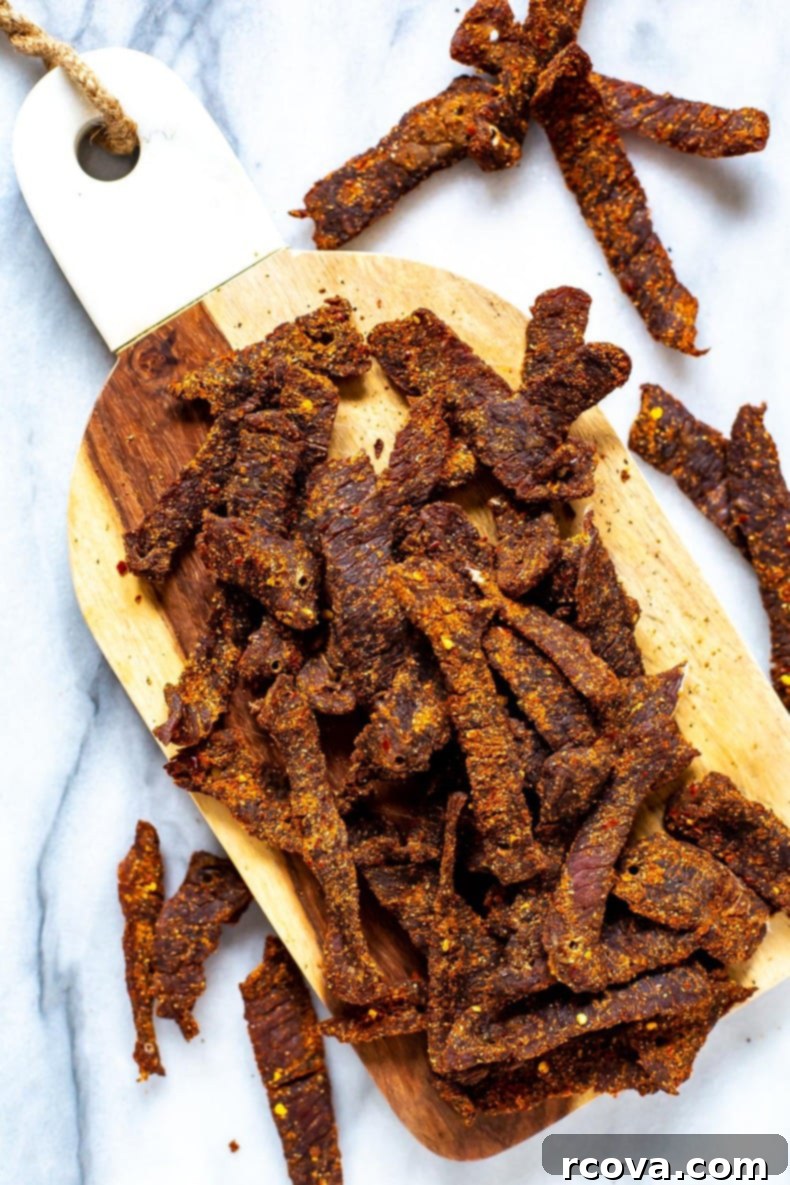
Allow the beef jerky to cook for approximately 5 hours. The exact time can vary depending on your oven, the thickness of your meat, and your desired level of dryness. Around the 3-4 hour mark, start checking the jerky periodically. The jerky is done when it is dry to the touch, firm, and can bend without snapping in half. If it snaps, it’s likely over-dried. If it feels soft and still very pliable, it needs more time. Once done, carefully remove the skewers from the oven and let the jerky cool completely on a wire rack before removing the strips from the skewers. Cooling allows the jerky to firm up and reach its final texture.
Recipe Tips & Tricks for Outstanding Jerky
- Freeze the Steak for Easy, Uniform Slicing: This is arguably the most important tip for homemade jerky. Freezing your steak for 1-2 hours (or until very firm but not rock-solid) makes it much easier to slice against the grain into thin, consistent strips. Uniform thickness is key for even drying. A partially frozen steak will yield cleaner cuts, preventing ragged edges and ensuring each piece dries at the same rate.
- Adjust the Cut for Desired Texture: The direction you slice your meat profoundly impacts the final texture of your jerky. For wonderfully chewy jerky that requires a bit more effort to bite through, slice the steak with the grain. If you prefer a more tender, easier-to-eat jerky, always slice against the grain. Experiment to find your preferred bite!
- Tenderize the Steak for a Softer Result: If you desire incredibly tender jerky, even when slicing against the grain, consider pounding the meat strips lightly with a meat mallet before marinating. This breaks down muscle fibers further, enhancing tenderness. However, be careful not to over-pound, as this can make the strips too thin and cause them to over-dry quickly.
- Embrace Experimentation with Different Marinades: The world of jerky flavors is vast! Don’t limit yourself to just one marinade. Once you master the basic technique, feel free to experiment with different seasonings, sauces, and spices. Consider a smoky BBQ marinade with liquid smoke, a sweet and spicy chili-lime blend, or a classic teriyaki-ginger flavor. The possibilities are endless, allowing you to tailor your jerky to your exact taste preferences.
- Ensure Proper Air Circulation: When hanging your jerky strips in the oven, resist the urge to overcrowd them. Ample space between each strip is critical for air to circulate freely, promoting even drying. Poor circulation can lead to unevenly dried jerky or even spoilage due to trapped moisture.
- Monitor Your Oven Temperature: While ovens have a “low” setting, some can still run hotter than others. If you have an oven thermometer, it’s a good idea to use it to ensure your oven maintains a consistent temperature of around 170°F (75°C). This precision helps prevent cooking the meat instead of drying it.
Frequently Asked Questions About Homemade Beef Jerky
What is the best cut of meat to make beef jerky?
The best cuts for homemade beef jerky are lean and have minimal fat, as fat can lead to rancidity and shorten the jerky’s shelf life. Ideal choices include top round, bottom round, flank steak, or eye of round. Top sirloin, as used in this recipe, is also an excellent option. When selecting your meat, look for cuts with very little visible marbling and trim any excess fat before slicing.
How do you know when beef jerky is done?
Determining doneness is crucial for both taste and safety. Properly dried jerky should be dry to the touch, firm, and slightly pliable. When you bend a piece, it should crack or bend without breaking completely in half. If it snaps cleanly, it’s likely over-dried and might be too brittle. If it’s still soft, spongy, or leaves moisture on your fingers when squeezed, it needs more drying time. The internal temperature isn’t as critical as the texture, which indicates proper moisture removal.
What’s the secret to really good jerky?
The secret to truly outstanding jerky lies in a combination of factors. First, it starts with a **flavorful and well-balanced marinade** that penetrates deep into the meat. Second, it’s all about **cooking it low and slow** at a consistent, low temperature to dehydrate the meat without actually cooking it. This patient process, combined with proper air circulation (especially when using an oven), ensures a chewy, tender, and intensely flavored product. Don’t rush the process, and give your jerky ample time to absorb the marinade and dry out thoroughly.
How to Store and Reheat Your Homemade Beef Jerky
Proper storage is essential to maintain the freshness, flavor, and safety of your homemade beef jerky. Because it lacks the preservatives found in commercial varieties, it’s important to follow these guidelines:
Make-ahead: For the most robust and deeply infused flavor, marinate your beef overnight (8-12 hours) or even up to 24 hours in the refrigerator. This extended marination time allows the spices and sauces to fully penetrate the meat fibers, resulting in a more delicious final product. Just ensure the beef is kept at a safe temperature below 40°F (4°C) during this process.
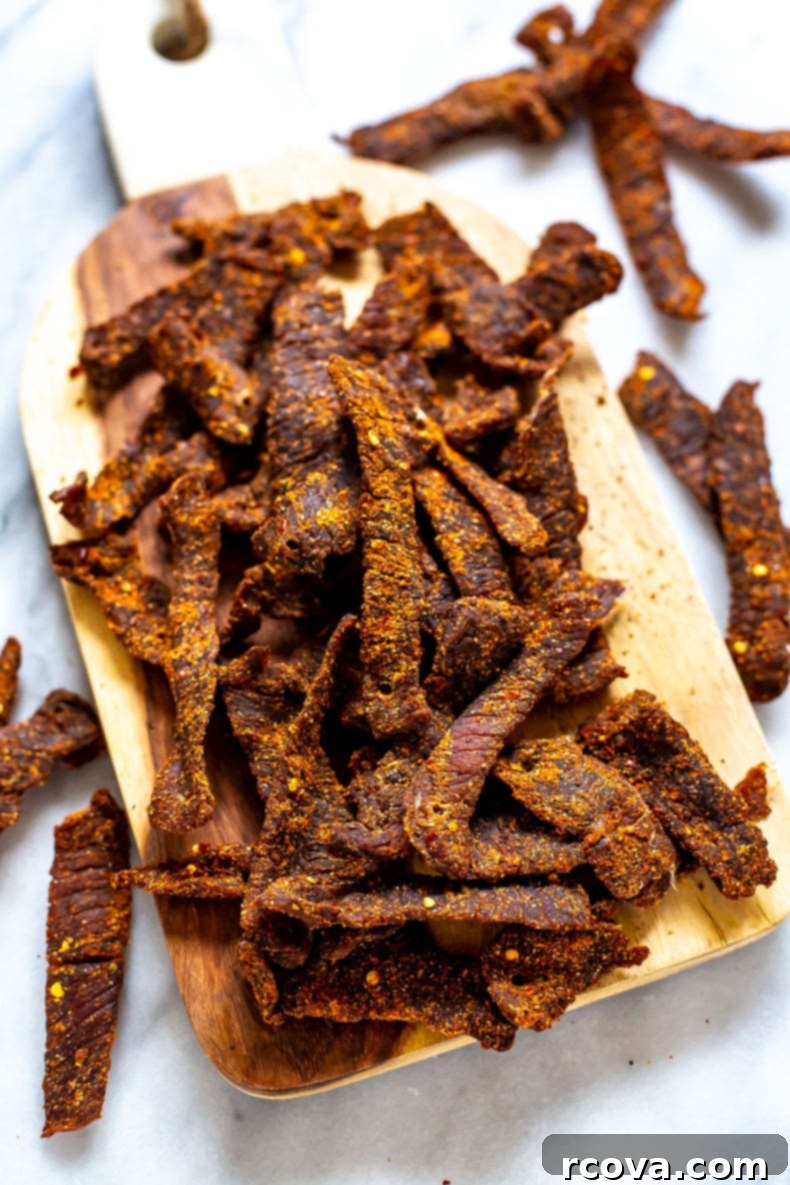
Store: Once your jerky is completely cooled after cooking, it’s ready for storage. For short-term enjoyment, keep the jerky in an airtight container at room temperature for 1-2 weeks. A cool, dry pantry is ideal. If you want to extend its freshness, storing it in an airtight container in the refrigerator will keep it good for 3-4 weeks. For much longer storage, homemade jerky freezes exceptionally well. Place it in a freezer-safe bag or container, removing as much air as possible, and it will stay fresh in the freezer for several months (up to 6 months is generally recommended).
Freeze and reheat: To enjoy frozen jerky, simply remove the desired amount from the freezer and allow it to thaw at room temperature for an hour or two. There’s no need for special reheating; it will regain its delicious texture and flavor as it thaws. This makes homemade jerky an excellent snack to prepare in large batches for future convenience.
More Healthy Snack Ideas
Looking for other wholesome and delicious snacks to incorporate into your routine? Here are some fantastic recipes that are easy to make and perfect for any time of day!
-
How to Make Baked Kale Chips
-
Keto Chocolate Fat Bombs {Nut-Free}
-
4-Ingredient Protein Chia Pudding
Essential Meal Prep Tools for Jerky Making
Having the right tools can make your jerky-making process even smoother and more enjoyable. Here are a few recommendations to help you get started and optimize your meal prep:
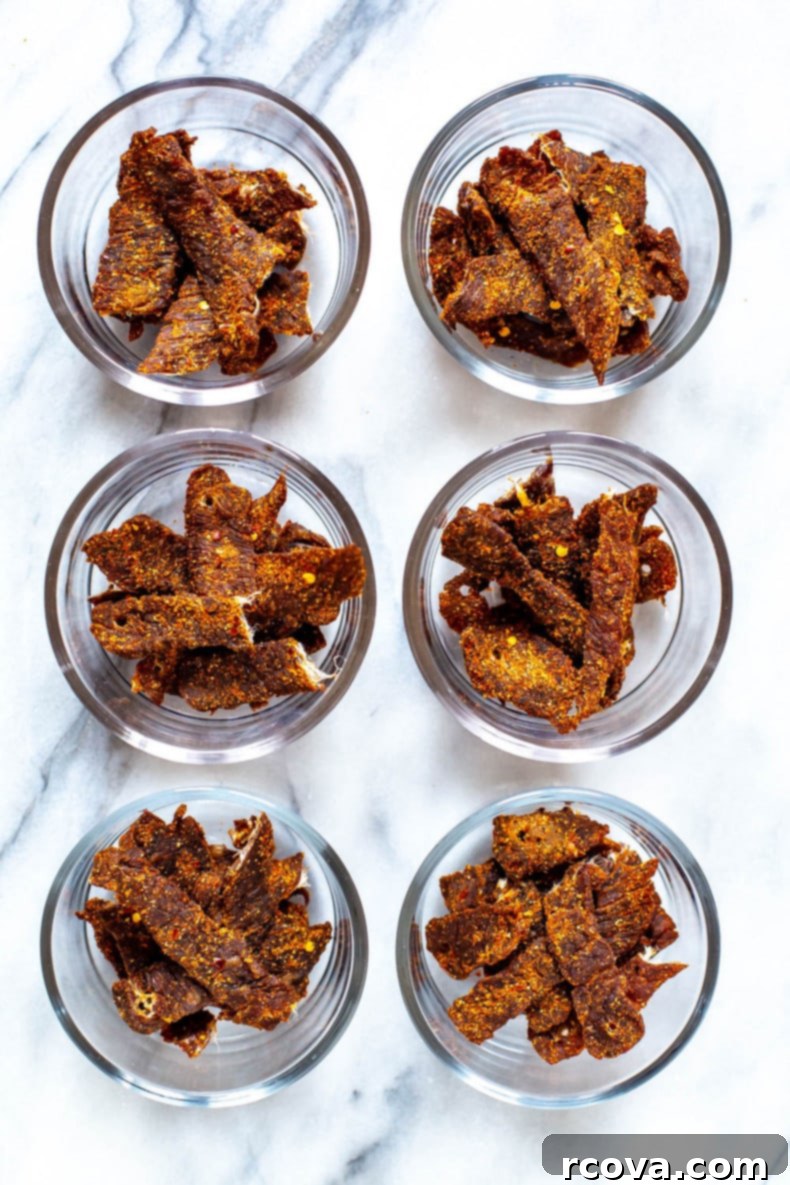
- Grab some glass meal prep bowls to store your finished jerky. They’re excellent for keeping it fresh and organized.
- For the highest quality beef, I personally source all my grass-fed options from Butcher Box. Their commitment to quality ensures a great base for any jerky recipe.
- To keep your marinating process clean and mess-free, I highly recommend these Ziploc bag holders. They make adding meat to the marinade and shaking it up incredibly convenient.
- Don’t forget a really sharp knife! A good quality chef’s knife or slicing knife is indispensable for achieving those thin, uniform strips of beef.
- A sturdy cutting board will provide a stable surface for slicing, ensuring safety and precision.
- Oven mitts are crucial for safely propping open your oven door during the drying process.
Best Homemade Beef Jerky Recipe
Print
Pin
Rate
SEND ME MY PLAN
Ingredients
- 16 oz top sirloin steak
- 3/4 cup low sodium soy sauce
- 1/4 cup Worcestershire sauce
- 2 tbsp honey
- 2 tsp hot sauce (such as Tabasco)
- 2 tsp black pepper
- 1 tsp onion powder
- 1 tsp garlic powder
- 1 tsp paprika
- 1/2 tsp red pepper flakes
Instructions
-
Freeze steak for 1 hour until firm, then slice as thinly as possible (1/8 to 1/4 inch thick) against the grain, trimming away any fat.
-
In a large freezer bag or bowl, mix together all marinade ingredients. Add the sliced steak strips, ensuring they are well coated. Seal and marinate in the refrigerator for at least 30 minutes, or preferably overnight for best flavor.
-
Preheat your oven to its lowest setting (around 170°F / 75°C). Place steak strips on a paper towel-lined plate and firmly squeeze out excess liquid with more paper towels until dried. Thread the beef strips onto bamboo skewers, leaving space between each piece.
-
Hang the skewers along the highest rack of the preheated oven. Place a baking sheet on the bottom rack to catch any drips. Close your oven door, propping it open slightly (about 1-2 inches) with a wooden spoon or oven mitt to allow moisture to escape, and cook for approximately 5 hours.
-
Check for doneness around the 3-4 hour mark. Jerky is ready when dry to the touch and bends without snapping. When finished, remove jerky from skewers and let cool completely on a wire rack before storing in an airtight container in the fridge for up to 14 days, or freeze for longer storage.
Video
Notes
Utilize lean cuts of beef like top sirloin, top-round, bottom-round, or eye of round for optimal results, as excess fat can cause spoilage.
Properly stored homemade jerky can last in the fridge for up to 2 weeks in an airtight container.
This recipe can be frozen for up to 6 months. Thaw it in the refrigerator overnight before enjoying.
Nutrition
