Perfect Instant Pot Deviled Eggs: The Easiest Recipe for Creamy, Crowd-Pleasing Appetizers
Deviled eggs are an undeniable classic, a beloved appetizer that graces countless potlucks, holiday tables, and backyard barbecues. Their creamy, tangy filling nestled in tender egg white halves makes them an irresistible bite. However, the traditional process of making hard-boiled eggs – dealing with tricky boiling times and frustrating, stubborn shells – can often deter even the most enthusiastic home cooks. This is where the Instant Pot becomes your kitchen superhero. With the power of pressure cooking, you can create impeccably cooked, perfectly peelable hard-boiled eggs every single time, transforming deviled egg preparation from a chore into a joy. Get ready to whip up a batch of these classic deviled eggs, ready in under 20 minutes from start to finish!

My adoration for deviled eggs runs deep. They’re a fantastic low-carb option, relatively low-fat due to their perfect portion size, and truly the ultimate party finger food. Growing up, my mom was the designated deviled egg artisan for every family holiday and gathering. As an adult, I naturally inherited the role, becoming the (un)official deviled egg ambassador for work potlucks and social events. But despite my passion for eating them, the preparation has always been a source of stress. Achieving perfectly hard-boiled eggs without cracking shells or struggling with peeling used to feel like a losing battle, often sacrificing several eggs to the cause.
My perspective shifted entirely the moment I discovered the magic of making hard-boiled eggs in an electric pressure cooker, specifically my Instant Pot. This method is truly revolutionary. It guarantees fail-proof results and eggs that peel so beautifully, you’ll wonder how you ever managed without it. Now, I eagerly volunteer to bring a batch of deviled eggs to any and all gatherings, confident in their perfect texture and presentation. The ease of the Instant Pot has even inspired me to experiment with various exciting flavors, from tangy deviled eggs with pickle juice to savory stuffed eggs with crispy bacon and a kick of sriracha, or even a batch with a delightful sprinkle of everything bagel seasoning!
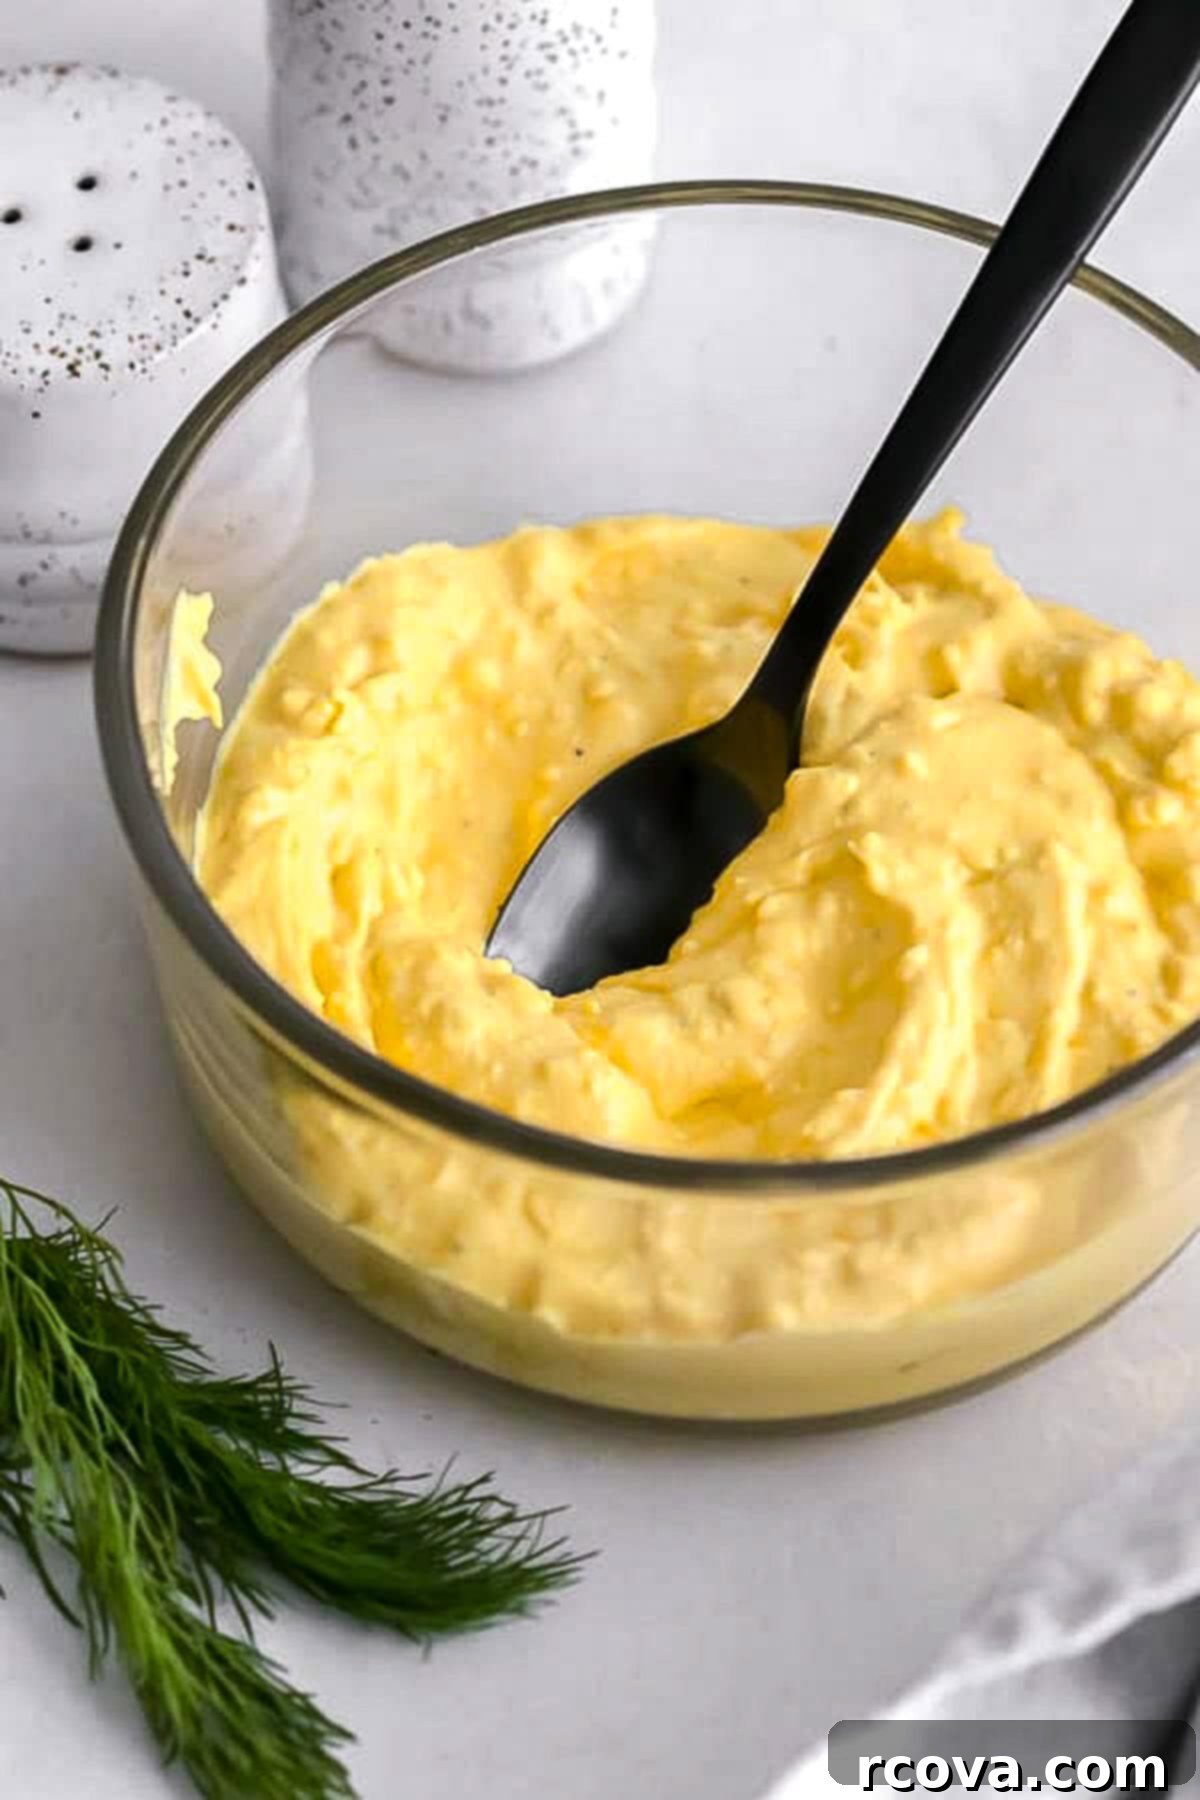

Why the Instant Pot is a Game-Changer for Hard-Boiled Eggs
The secret to effortless, perfect hard-boiled eggs lies in the Instant Pot’s ability to pressure steam them rather than boiling them in rapidly bubbling water. This method provides a gentle, consistent heat that cooks the eggs evenly and prevents the egg white from bonding too strongly with the inner membrane of the shell. This results in eggs that are incredibly easy to peel, without any unsightly pockmarks or bits of egg white clinging to the shell. Say goodbye to the frustrating struggle of peeling eggs, and hello to beautifully smooth, intact egg whites.
Beyond easy peeling, the Instant Pot also helps prevent the dreaded green ring around the yolk, a common occurrence when eggs are overcooked by traditional methods. This green-gray discoloration is caused by a chemical reaction between sulfur in the egg white and iron in the yolk, but the precise temperature control and steaming process of the Instant Pot help ensure perfectly golden, creamy yolks every time. It’s a truly foolproof way to get consistently excellent results, making your deviled eggs not just delicious, but also visually appealing.
Essential Ingredients for Classic Deviled Eggs
To embark on your Instant Pot deviled egg journey, you’ll initially only need two things: eggs and water for the pressure cooker. However, to create that classic, irresistible deviled egg filling, you’ll need a few additional, readily available ingredients:
- 6 large eggs: These are the foundation of your deviled eggs. Ensure they are a few days old for optimal peeling (more on that below).
- 1 cup water: Essential for generating the steam inside your Instant Pot or pressure cooker to cook the eggs.
- Mayonnaise: This is key for achieving that rich, creamy texture and acts as the primary binder for the mashed egg yolks. Choose your favorite brand for the best flavor.
- White vinegar: A crucial ingredient that thins out the mashed yolks slightly and provides the signature tangy brightness that makes deviled eggs so addictive.
- Yellow mustard: Adds a classic, savory zest that perfectly complements the rich egg yolks and creamy mayonnaise. It’s an indispensable element for that traditional deviled egg flavor.
- Salt and pepper: Essential for seasoning the filling to perfection. Adjust quantities to your personal taste.
- Dried paprika: The quintessential garnish for classic deviled eggs. It adds a touch of color and a subtle smoky flavor. While optional, it’s highly recommended for authenticity.
- Fresh or dried dill: An optional garnish that adds a fresh, herbaceous note and visual appeal.
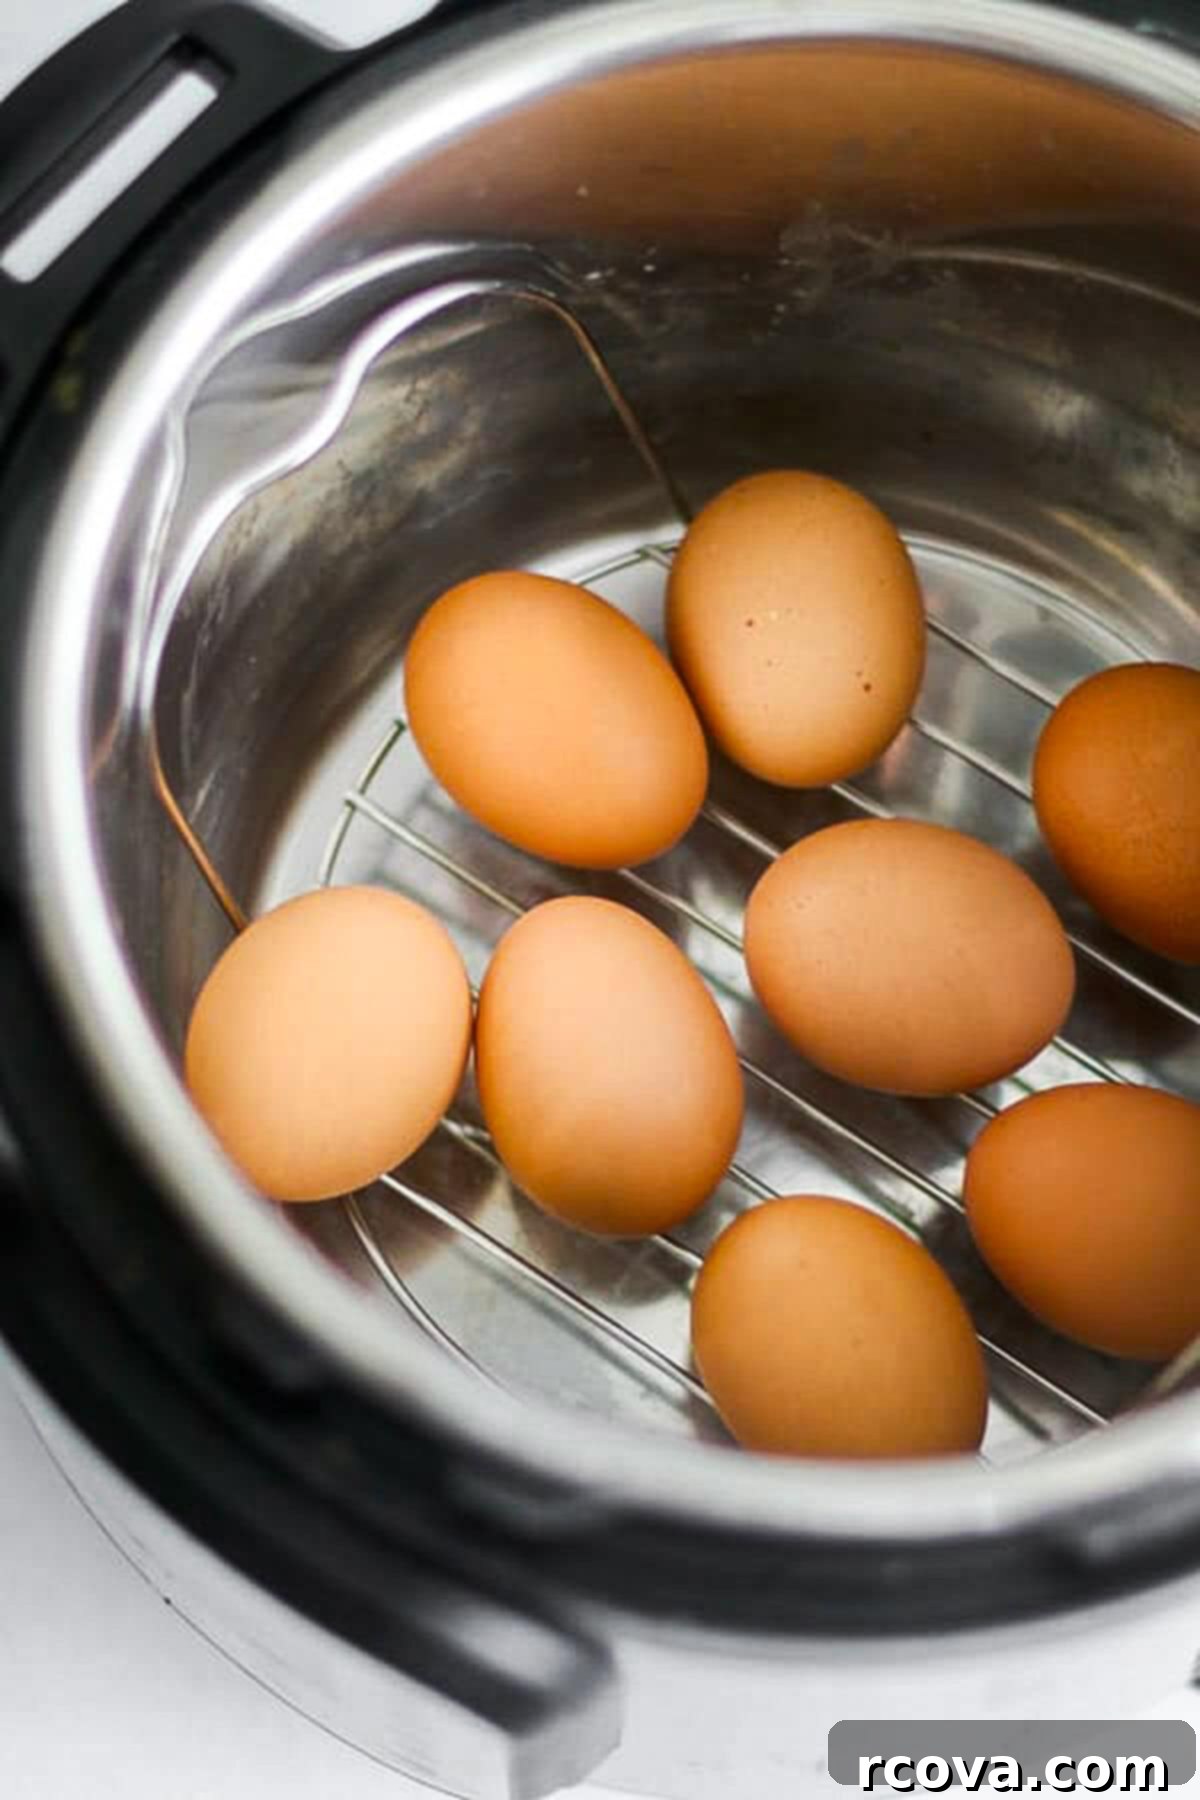
Instant Pot Hard-Boiled Eggs: Tips for Success
Achieving perfectly cooked, easy-to-peel eggs in your electric pressure cooker is surprisingly simple. They will peel beautifully every single time, thanks to the pressure-steaming process. Here are a few vital tips to ensure your success:
- Always use a rack or trivet: Your Instant Pot should have come with a metal trivet. Using this, or a dedicated silicone egg rack or steam basket, is crucial. It elevates the eggs above the water, ensuring they are steamed evenly and preventing them from direct contact with the pot’s bottom, which can lead to overcooking in certain spots. Additionally, a rack helps keep the yolks centered, which is ideal for the aesthetic of deviled eggs.
- Avoid very fresh eggs: While fresh eggs are wonderful for many culinary uses, they are notoriously harder to peel when hard-boiled. For the best results, aim to purchase eggs 3-4 days before you plan to use them. Slightly older eggs have a higher pH, which causes the inner membrane to separate more easily from the egg white, leading to seamless peeling.
- Cool eggs immediately in an ice bath: As soon as the Instant Pot cycle is complete and the pressure has been released, transfer the eggs immediately to an ice bath. This drastic temperature change halts the cooking process, preventing the dreaded green ring around the yolk, and causes the egg whites to contract slightly, pulling away from the shell for even easier peeling. Run them under cold water for 2-3 minutes or, even better, submerge them in a bowl with ice cubes and cold water.
- Peel ASAP for easiest results: The sooner you peel the eggs after their ice bath, the easier the shells will come off. The cold shock and immediate peeling work synergistically. If you wait, the shells might become a little more resistant. However, even if you don’t peel them immediately, Instant Pot eggs are still significantly easier to peel than traditionally boiled eggs. You can peel them and store them in the refrigerator for several days before preparing your deviled egg filling.
How to Make This Easy Deviled Egg Recipe
This classic deviled egg recipe, proudly passed down from my mom, becomes unbelievably simple and stress-free when you prepare the eggs in the Instant Pot. Follow these straightforward steps for perfect results:
- Cook your eggs to perfection. Begin by placing the metal trivet (the rack that came with your Instant Pot) or a silicone egg rack at the bottom of the inner pot. Pour 1 cup of cold water into the pot. Carefully arrange your eggs on top of the rack, ensuring they are in a single layer for even cooking and perfectly centered yolks. Secure the lid, set the vent to sealing, and cook on manual HIGH pressure for 5 minutes. Once the cooking cycle is complete, allow a natural pressure release for 5 minutes (meaning, don’t touch the valve). After 5 minutes, carefully perform a quick release by turning the valve to venting (use a wooden spoon or spatula to avoid steam burns). As soon as the pressure is fully released, quickly transfer the eggs to an ice bath (a bowl with ice cubes and cold water) and let them cool completely for 2-3 minutes.
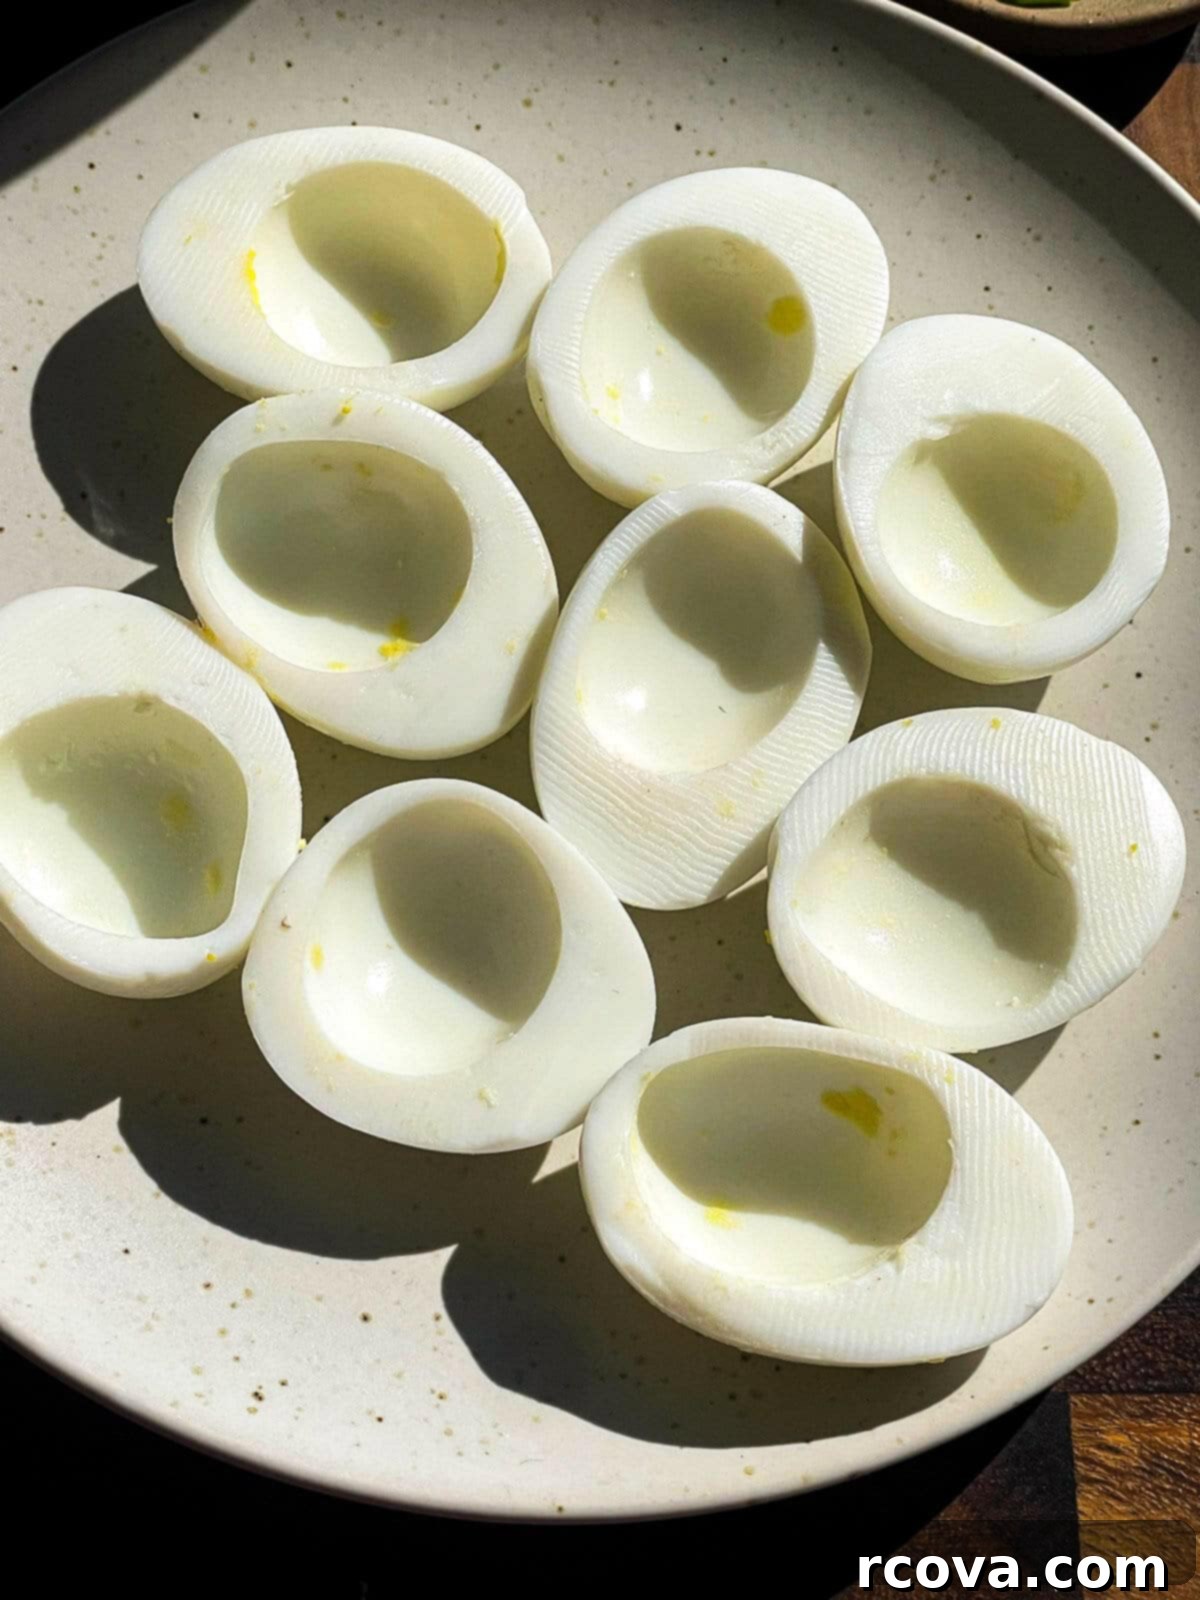
- Peel and separate the eggs. Once cooled, gently crack and peel the eggs. You’ll be amazed at how easily the shells slide off! Slice each peeled egg in half lengthwise with a sharp knife. Carefully scoop out the bright yellow yolks and place them into a medium-sized mixing bowl. Arrange the hollowed-out egg white halves gently on a serving plate or tray, ready for their delicious filling.
- Prepare the creamy deviled egg filling. To the bowl containing the mashed yolks, add the mayonnaise, white vinegar, yellow mustard, salt, and black pepper. Using a fork, vigorously mash and stir all the ingredients together until the mixture is completely smooth and creamy. Taste and adjust seasonings as needed – perhaps a little more salt, a dash of pepper, or an extra hint of tanginess from vinegar.
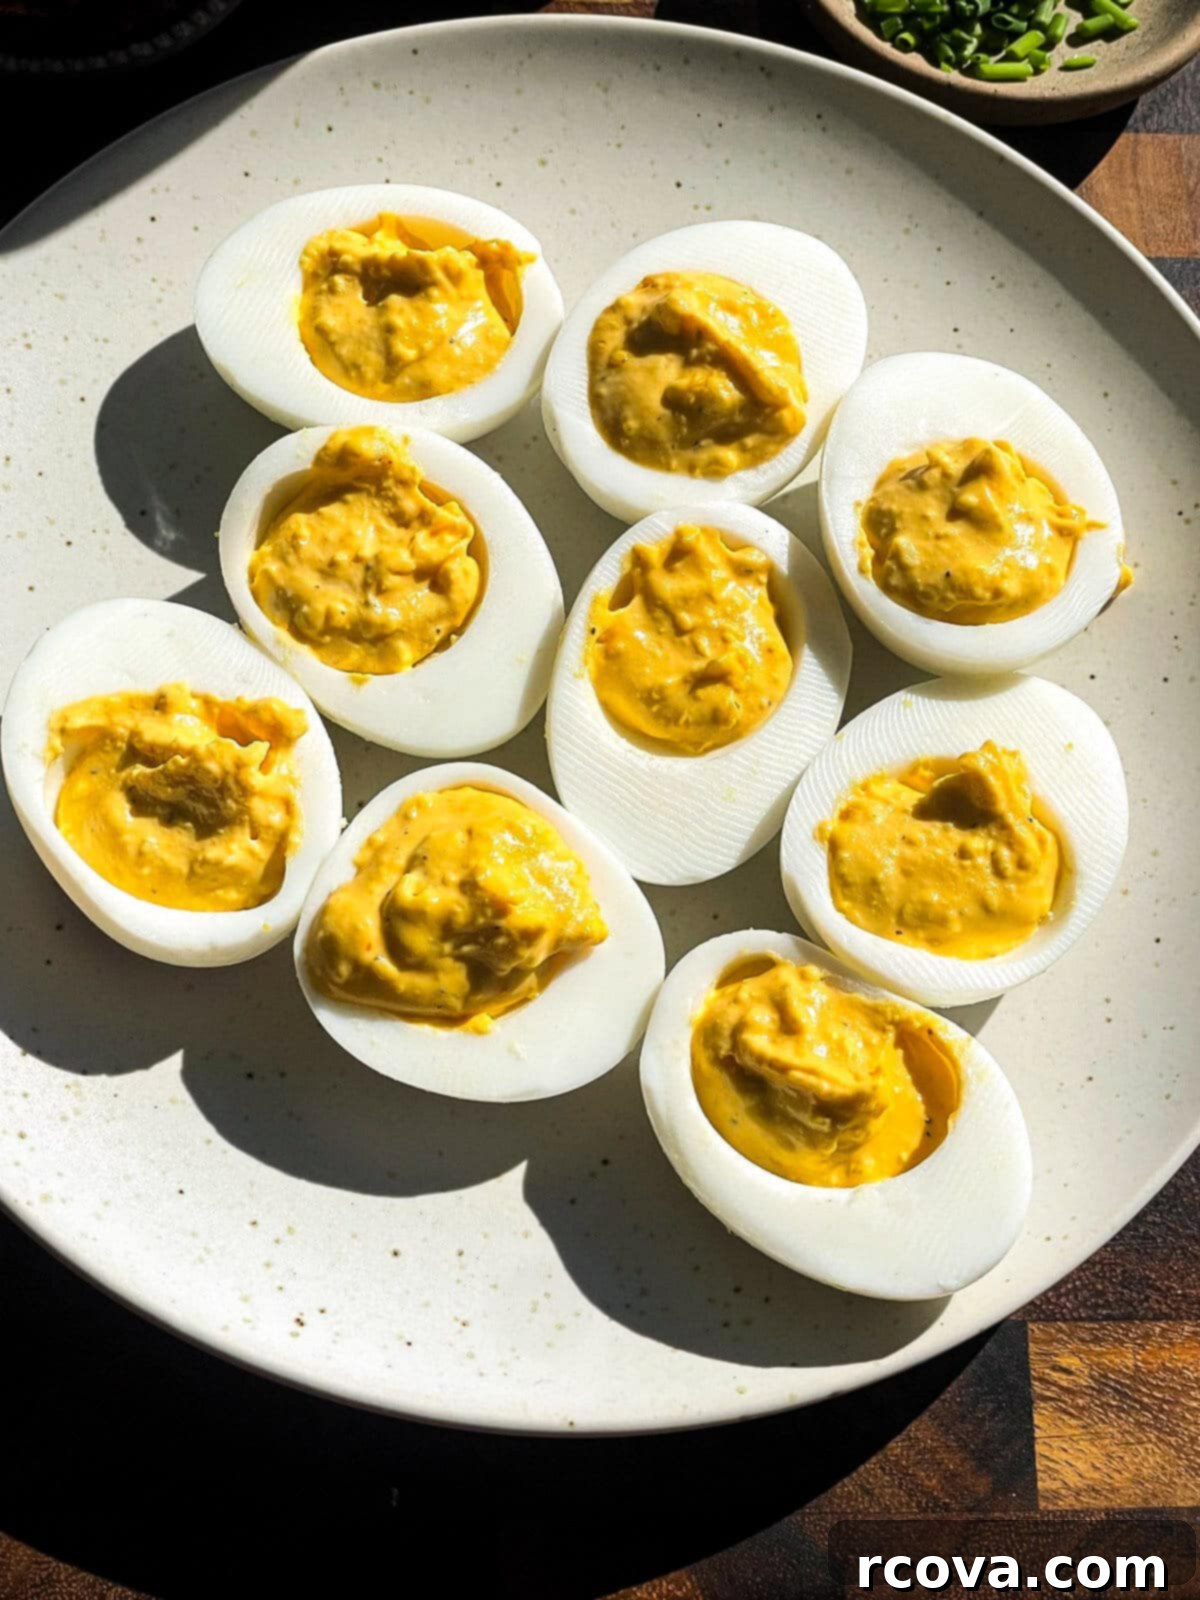
- Assemble and garnish your deviled eggs. Now for the fun part! You can either spoon the creamy yolk mixture back into each egg white half, creating a rustic and homemade look, or for a more elegant presentation, transfer the filling to a piping bag fitted with a star tip and pipe it into the egg white cavities. This creates beautiful swirls and a professional finish. Finally, sprinkle generously with dried paprika and a touch of fresh or dried dill, if using, for that classic final touch of color and flavor.

Deviled Egg Variations & Serving Suggestions
While the classic deviled egg is perfect on its own, its versatility allows for endless creative variations. Don’t hesitate to experiment and make this recipe truly your own:
- Spicy Kick: Add a dash of sriracha, a pinch of cayenne pepper, or finely diced jalapeños to the filling for those who enjoy a bit of heat.
- Herbal Infusion: Incorporate fresh chives, parsley, cilantro, or even a touch of tarragon for different aromatic profiles.
- Smoky Flavor: A hint of smoked paprika (in addition to or instead of regular paprika) or a very tiny drop of liquid smoke can add a delicious depth.
- Tangy Twists: Beyond white vinegar, try a splash of pickle juice (as mentioned earlier), lemon juice, or even a bit of Dijon mustard for varying levels of tang.
- Crunchy Additions: Finely chopped celery, red onion, or even a sprinkle of crispy fried onions can add delightful texture.
- Gourmet Touches: Consider adding a tiny amount of capers, anchovy paste (for a Caesar-like flavor), or finely crumbled feta cheese.
Deviled eggs are the quintessential appetizer for almost any occasion. They are perfect for:
- Holiday Gatherings: Easter, Thanksgiving, Christmas – they fit right in.
- Summer Cookouts & BBQs: A refreshing and light side dish.
- Potlucks: Always a crowd-pleaser and easy to transport.
- Picnics: A delightful addition to any outdoor meal.
- Game Day Parties: A simple yet satisfying snack.
Arrange them beautifully on a platter, perhaps on a bed of lettuce, and garnish with extra paprika, fresh dill sprigs, chives, or even a tiny piece of crispy bacon for an extra flourish.
Can I Make Deviled Eggs Ahead of Time?
Absolutely! Deviled eggs are an excellent make-ahead appetizer, which is perfect for busy party planning. You can prepare the hard-boiled eggs in your Instant Pot 2–3 days in advance and store them unpeeled or peeled (submerged in a bit of water in an airtight container) in the fridge. For the absolute best texture and freshness, I recommend waiting to prepare the creamy filling until the day you plan to serve. However, if time is truly of the essence, you can prepare the filling up to 1 day in advance. Store the filling separately in an airtight container in the refrigerator and the egg white halves also in an airtight container. Assemble them just before serving for optimal presentation.
How to Store Leftover Deviled Eggs
If you happen to have any deviled eggs left over (a rare occurrence!), store them promptly in an airtight container in the refrigerator. For the best quality and flavor, it’s recommended to enjoy them within 2 days. While they are technically food safe for up to 3–4 days, their texture and taste will be at their peak within the first couple of days. Always use your best judgment regarding food safety, and if they look or smell off, it’s best to discard them. Enjoy every last bite!

Quick Deviled Eggs Made in the Instant Pot
Print
Pin
Rate
Ingredients
Instant Pot Hard Boiled Eggs
- 6 large eggs
- 1 cup cold water
Classic Deviled Eggs Filling
- 6 hard-boiled eggs, peeled – prepared in the Instant Pot
- 1/4 cup mayonnaise
- 1 teaspoon white vinegar
- 2 teaspoons yellow mustard
- 1 teaspoon table salt – or 1/2 tsp Kosher salt
- 1/4 teaspoon black pepper – to taste
- dried paprika, for garnish
- fresh or dried dill, for garnish – optional
Instructions
Instant Pot Hard Boiled Eggs
-
Place the trivet that came with your Instant Pot, or a silicone egg rack, in the bottom of the pot. Pour 1 cup of cold water into the pot. Carefully place the eggs on top of the trivet/rack in a single layer.
-
Secure the lid and set the vent to sealing. Set manual pressure on HIGH for 5 minutes. Once cooking is complete, allow a Natural Release for 5 minutes, then carefully use a Quick Release (with a wooden spoon or spatula) to release any remaining pressure. Immediately transfer the cooked eggs to an ice bath (a bowl with ice cubes and cold water) and let them cool for 2-3 minutes.
Classic Deviled Eggs Recipe
-
Gently peel the cooled hard-boiled eggs. Slice each egg in half lengthwise and carefully scoop the yolks into a medium bowl. Place the hollowed-out egg white halves on a serving platter or plate.
-
To the bowl with the mashed yolks, add the mayonnaise, white vinegar, yellow mustard, salt, and black pepper. Mash with a fork until the mixture is completely smooth and creamy. Taste and adjust seasonings as desired. Spoon or pipe the creamy yolk mixture back into each egg white half. Garnish with a sprinkle of dried paprika and fresh or dried dill, if using. Serve immediately or chill until ready to serve.
Notes
Nutrition
This post may contain affiliate links. Purchasing through them helps support this website. Please see the disclaimer here.
