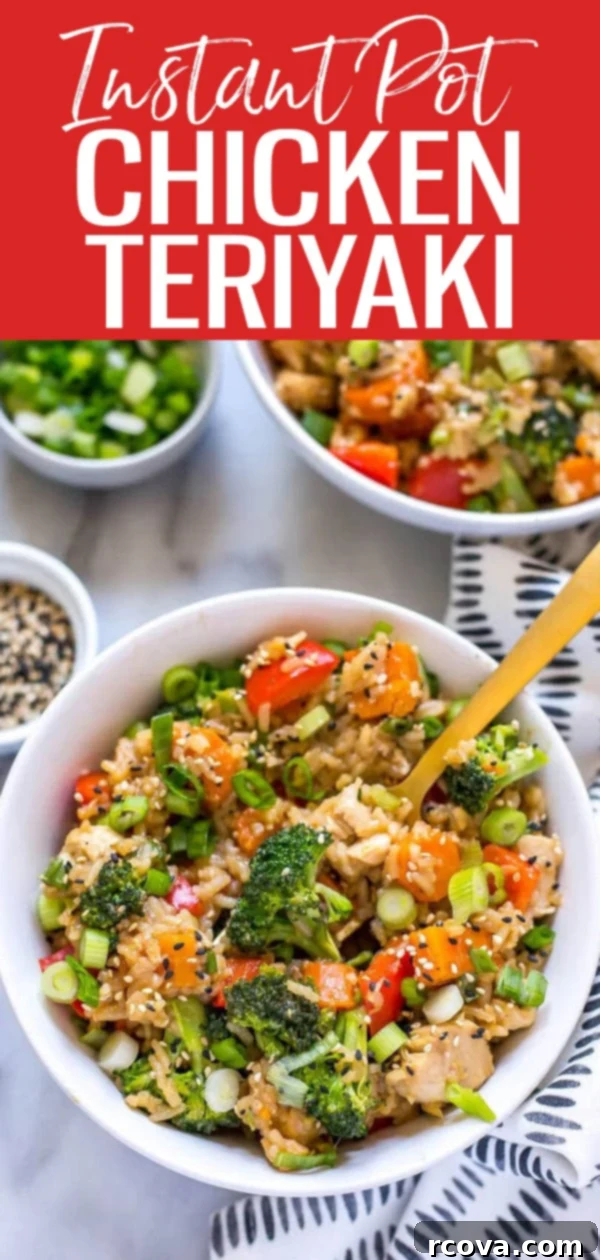
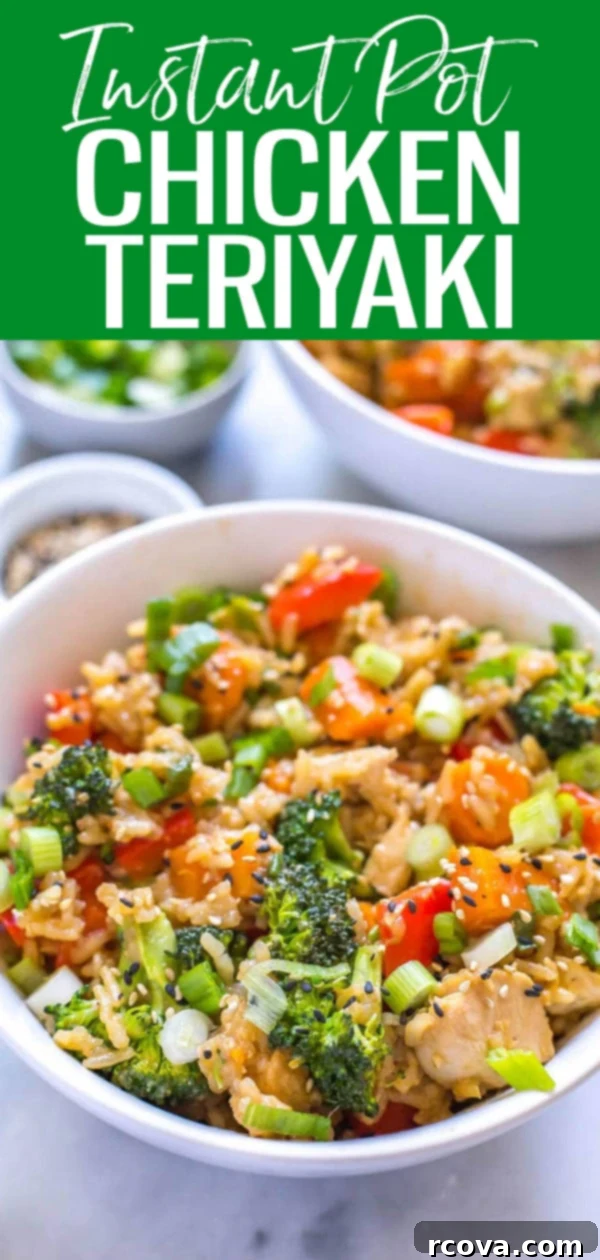
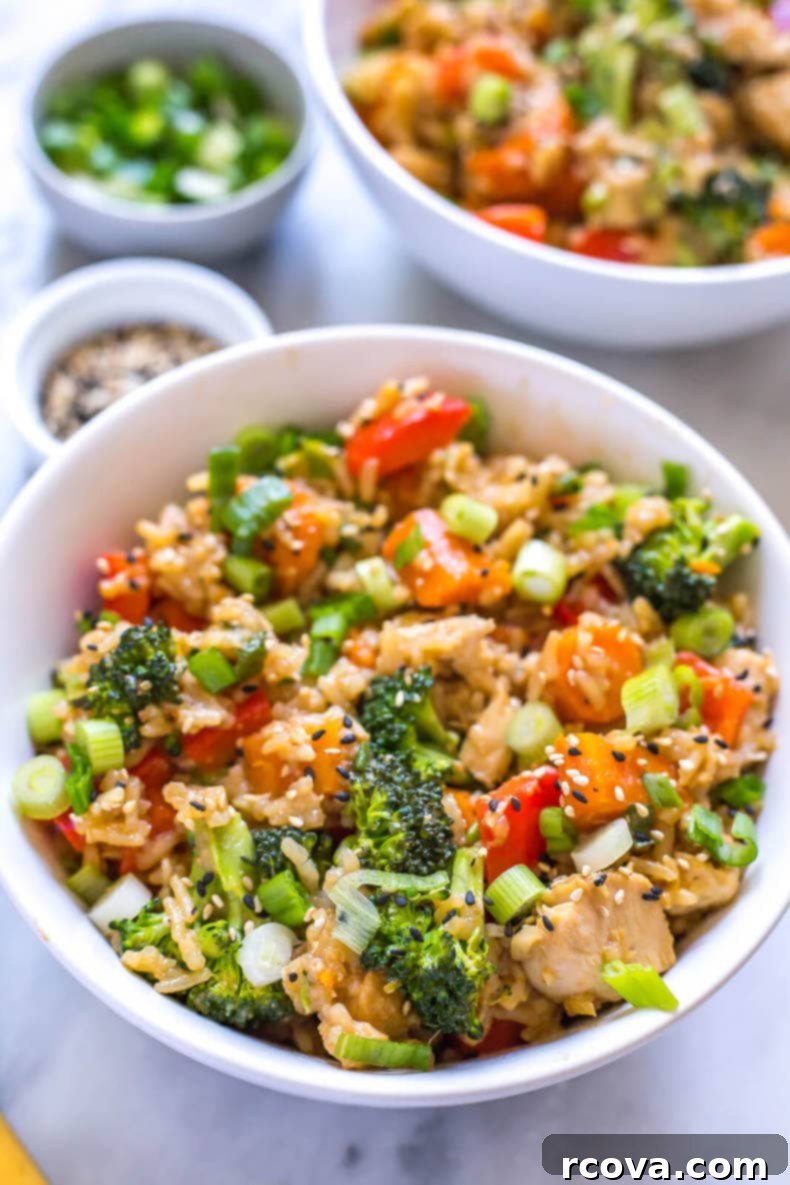
Easy & Healthy Instant Pot Teriyaki Chicken and Rice: Your Ultimate Meal Prep Guide
This Instant Pot Teriyaki Chicken and Rice recipe offers a complete, healthy, and incredibly easy meal solution, perfect for busy weeknights or efficient meal prep. Featuring tender chicken, vibrant broccoli, crisp peppers, and fluffy rice coated in a simple yet flavorful stir-fry sauce, it’s a dish that promises both convenience and deliciousness without compromising on nutrition. Prepare to transform your dinner routine with this one-pot wonder!
Unlock Your FREE Budget-Friendly Meal Plan!
Discover how to save thousands on groceries annually with my complimentary budget-friendly meal plan ebook. Get instant access to smart shopping strategies and delicious recipes!

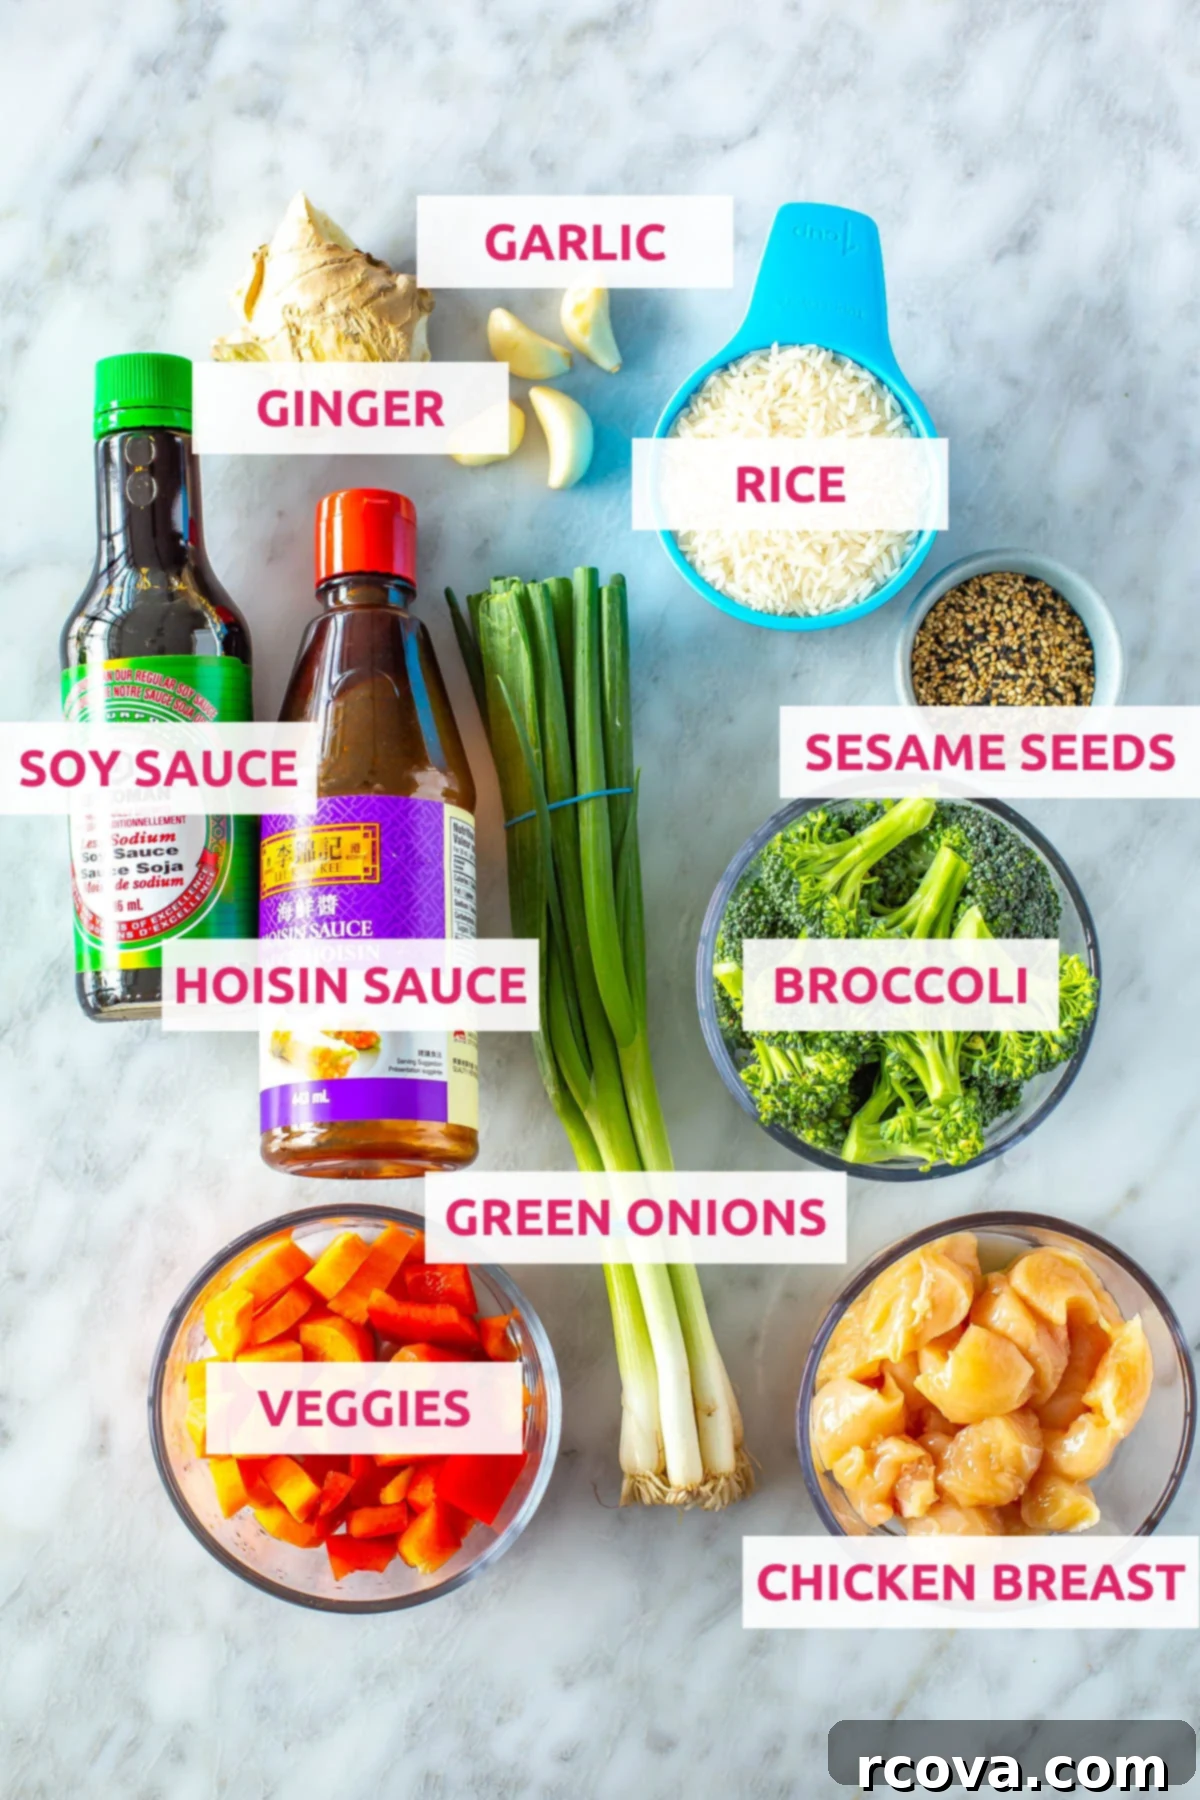
Essential Ingredients and Smart Substitutions for Instant Pot Teriyaki Chicken
Crafting the perfect Instant Pot Teriyaki Chicken and Rice requires a thoughtful selection of ingredients. Here’s a breakdown of what you’ll need, along with smart substitutions to cater to your preferences and dietary needs:
- Olive Oil: This serves as a neutral cooking oil, providing a base for sautéing. If you don’t have olive oil, feel free to substitute with other neutral-flavored oils like avocado oil, canola oil, or even grapeseed oil. The key is to choose an oil that won’t overpower the delicate teriyaki flavors.
- Chicken Breasts: Boneless, skinless chicken breasts are ideal for their lean protein and quick cooking time. For a richer flavor and slightly more tender texture, boneless, skinless chicken thighs can be used as an excellent alternative. Just be aware that cooking times might vary slightly for thighs.
- Low-Sodium Soy Sauce: A cornerstone of teriyaki flavor, low-sodium soy sauce allows you to control the saltiness of the dish. For gluten-free alternatives, tamari is a perfect 1:1 substitute, offering a similar umami depth. Coconut aminos can also be used for a soy-free and gluten-free option, though it has a slightly sweeter profile.
- Hoisin Sauce: This sweet and savory Chinese BBQ sauce adds incredible depth and gloss to the teriyaki. If hoisin sauce isn’t available, oyster sauce can provide a similar umami and slightly sweet note. Alternatively, a homemade blend of soy sauce, honey, a touch of vinegar, and garlic powder can mimic its flavor profile.
- Rice Vinegar: Rice vinegar contributes a mild acidity that balances the sweetness of the teriyaki sauce. White wine vinegar or apple cider vinegar are suitable replacements if you’re out of rice vinegar, providing a comparable tang.
- Garlic: Freshly minced garlic is highly recommended for its pungent aroma and robust flavor, which truly elevates the dish. While jarred minced garlic can be used in a pinch for convenience, fresh garlic offers a superior taste experience.
- Grated Fresh Ginger: Like garlic, fresh ginger adds a bright, zesty, and slightly spicy kick that is characteristic of authentic teriyaki. If fresh ginger is inaccessible, a smaller amount of ground ginger powder can be used, though the fresh version offers a more vibrant and nuanced flavor.
- Carrots: Chopped carrots add a touch of sweetness and vibrant color. When substituting, choose other root vegetables or firm vegetables like zucchini or bell peppers, ensuring they are cut into small, uniform pieces for even cooking. Note that if you’re swapping in a softer vegetable, it’s often best to stir it in at the end, rather than pressure cooking it with the rice, to prevent mushiness.
- Jasmine Rice: Known for its fragrant aroma and soft texture, jasmine rice is perfectly suited for this dish. While other types of rice can be used, such as long-grain white rice, be mindful that the water ratio and cooking time in the Instant Pot may need adjustments to achieve the desired consistency.
- Broccoli: Fresh broccoli florets provide essential greens and a delightful crunch. Similar to carrots, you can swap broccoli for other quick-cooking vegetables like snap peas, asparagus, or green beans. Always cut them into small, manageable pieces.
- Red Pepper: Red bell pepper brings a sweet, mild flavor and a beautiful pop of color. Any variety of bell pepper (yellow, orange, or green) will work equally well. Alternatively, consider adding other crunchy vegetables like snow peas or sliced cabbage.
- Green Onions: Sliced green onions are a fantastic garnish, adding a fresh, oniony bite and visual appeal. If you don’t have them on hand, the dish will still be delicious, but you might miss that fresh, herbaceous finish.
- Sesame Seeds: Used as a final garnish, sesame seeds (black or white) add a nutty flavor and a professional touch to your teriyaki bowls. They’re primarily for texture and presentation, so skipping them won’t affect the core flavor, but they do enhance the experience.
How to Make Quick & Delicious Teriyaki Chicken in the Instant Pot
Creating this flavorful Instant Pot Teriyaki Chicken and Rice is surprisingly simple, thanks to the magic of pressure cooking. Follow these easy steps for a complete and satisfying meal:
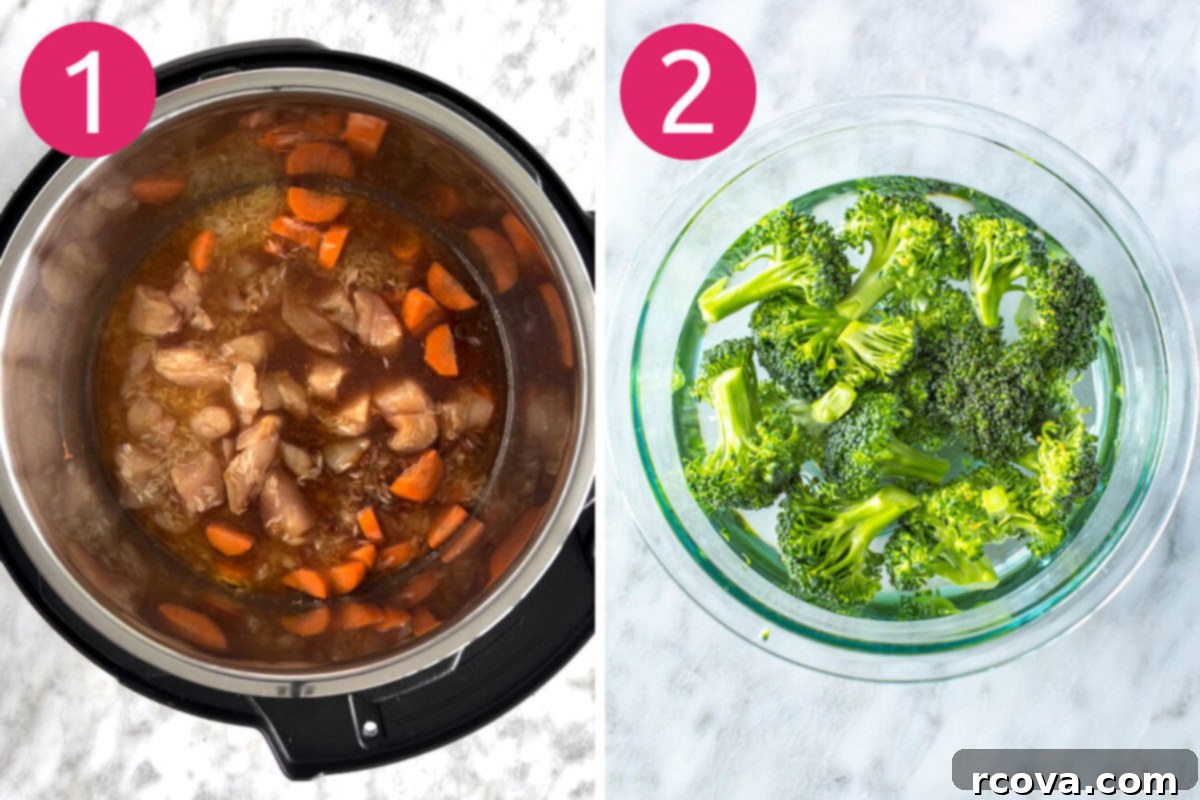
Step 1: Layer Ingredients and Pressure Cook for Flavor Infusion.
Begin by adding the olive oil to the Instant Pot. Then, carefully layer the diced chicken, low-sodium soy sauce, hoisin sauce, minced garlic, grated fresh ginger, chopped carrots, water, and jasmine rice into the pot in the specified order. It’s crucial to add the rice last and gently spread it over the other ingredients without stirring the bottom of the pot. A light stir on the very top to ensure the rice is submerged in liquid is acceptable. Excessive stirring, especially at the bottom, can lead to a “burn” message on your Instant Pot. Secure the lid, ensure the venting knob is sealed, and cook on high pressure for 2 minutes. The Instant Pot will take about 10 minutes to build pressure before the actual cooking time begins.
Step 2: Perfectly Steam Your Broccoli for Ideal Texture.
While your chicken and rice are pressure cooking, prepare your broccoli. Place the broccoli florets in a large microwave-safe bowl with about 1/4 cup of water. Cover the bowl (either with a lid or microwave-safe plastic wrap, leaving a small vent) and microwave for 3-4 minutes, or until the broccoli is tender-crisp and bright green. This separate steaming method ensures your broccoli retains its vibrant color and pleasant texture, avoiding the mushiness that can occur from pressure cooking it directly with the rice. Once cooked, drain any excess water and set the broccoli aside.
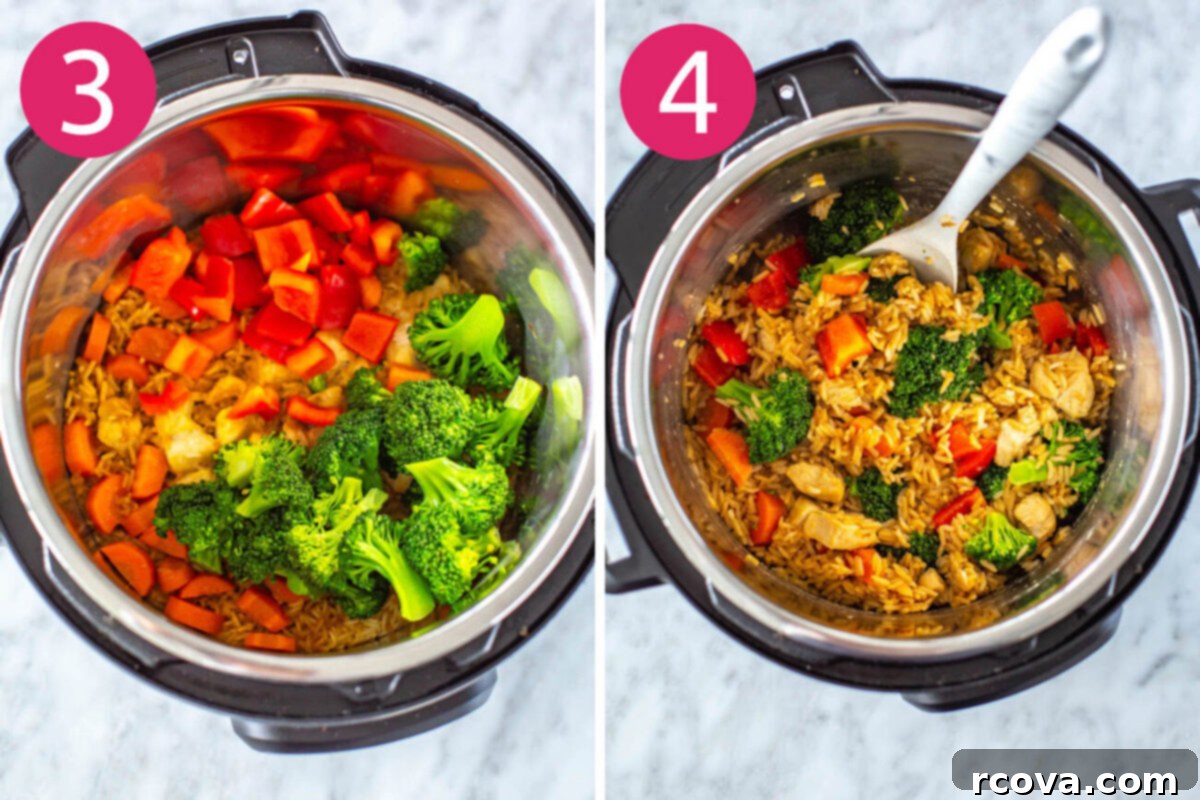
Step 3: Incorporate Fresh Veggies and Allow Flavors to Mingle.
Once the Instant Pot completes its 2-minute high-pressure cycle, perform a quick pressure release (QPR) by carefully turning the venting knob to the “venting” position. Once the float valve drops, remove the lid. Gently stir in the steamed broccoli, chopped red pepper, and sliced green onions. The residual heat from the rice and chicken will lightly cook these fresh vegetables, preserving their crunch and nutritional value. Replace the lid and let the mixture sit for an additional 5 minutes. This brief resting period allows the flavors to meld beautifully and the vegetables to warm through without becoming overcooked.
Step 4: Garnish, Serve, and Savor Your Homemade Teriyaki Masterpiece!
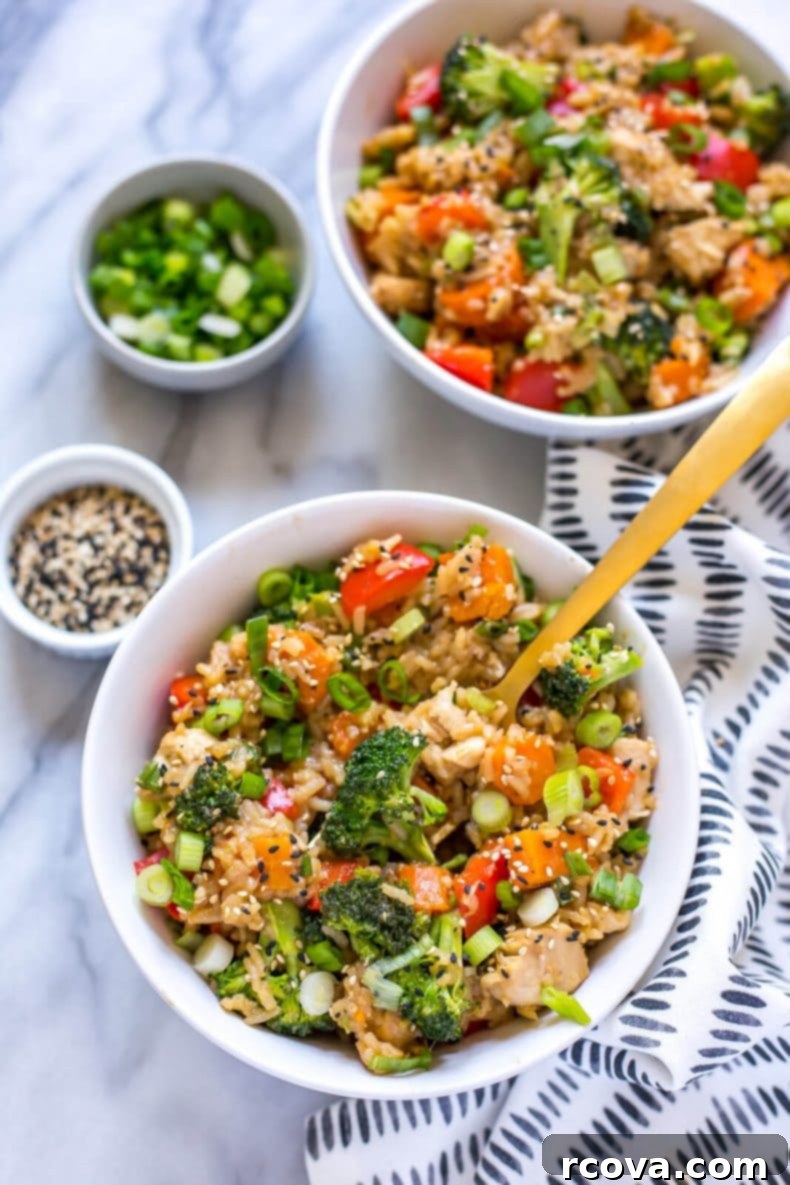
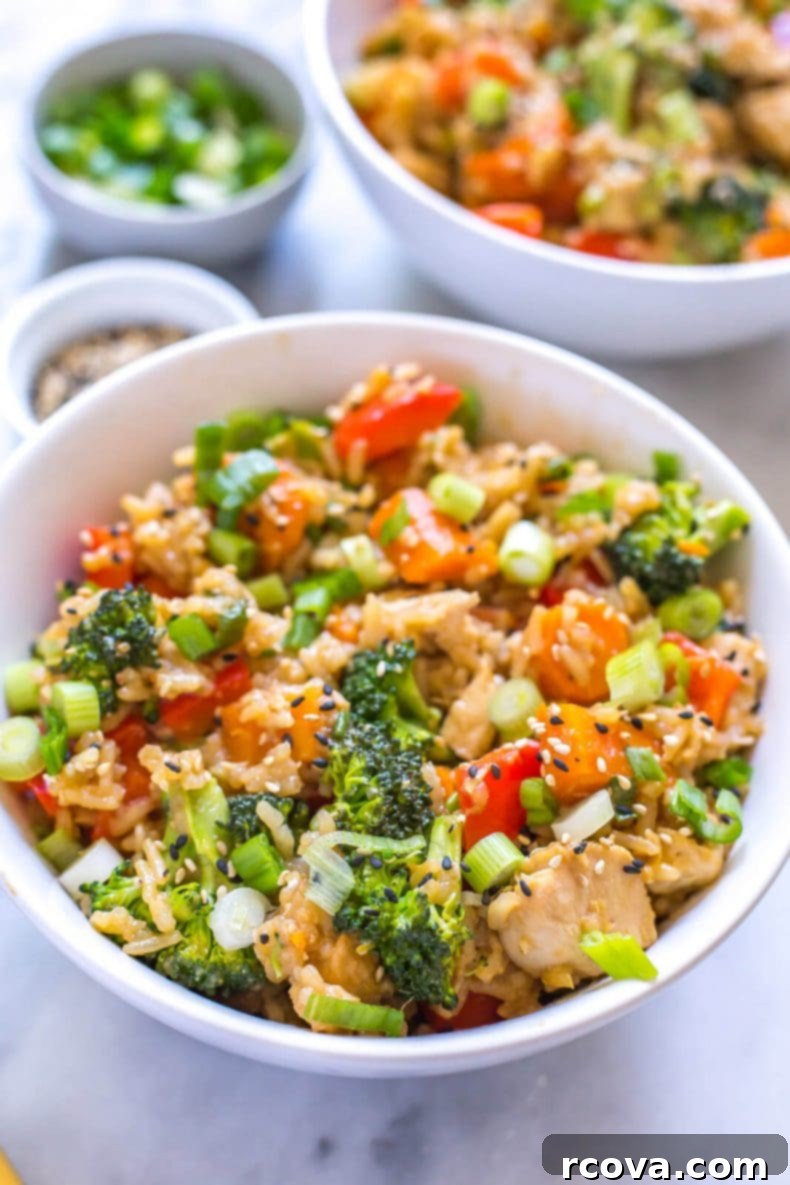
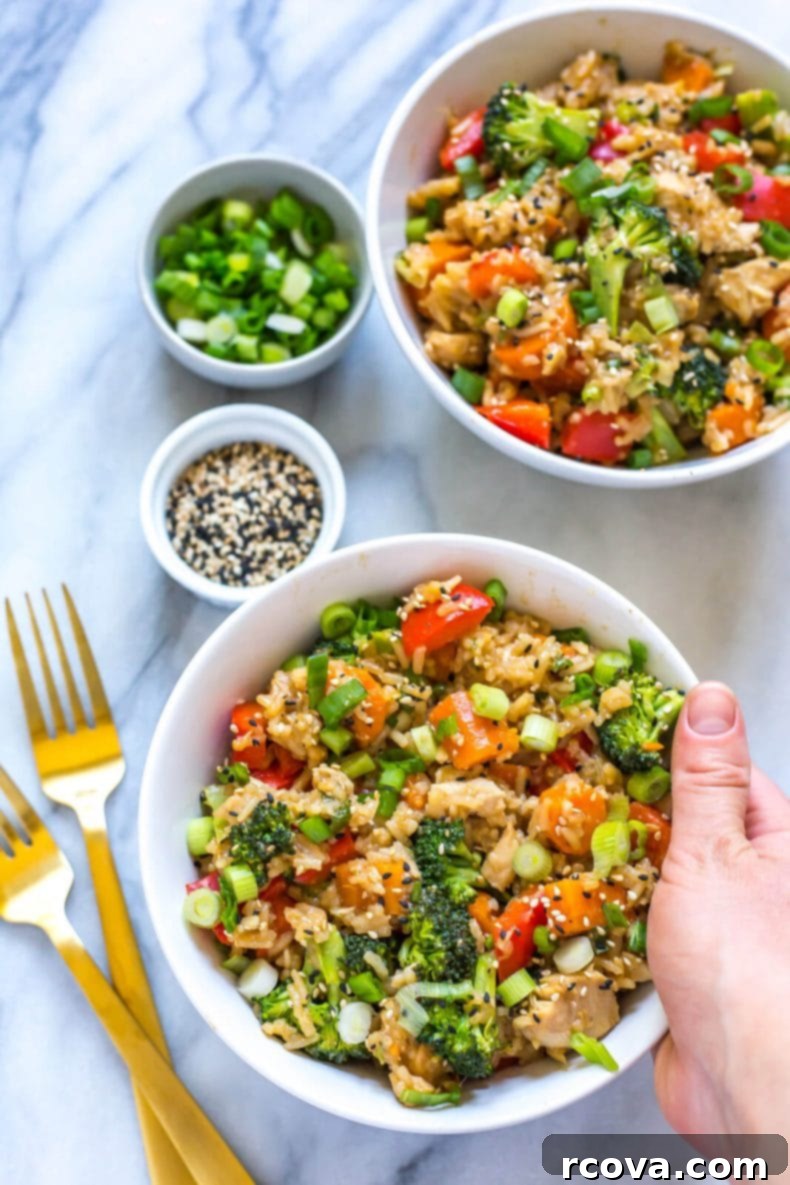
After the 5-minute rest, open the Instant Pot and give everything a final gentle stir. Divide the savory teriyaki chicken and rice mixture among four bowls. For a beautiful presentation and an extra burst of flavor, garnish generously with additional sliced green onions and a sprinkle of sesame seeds. Your homemade Instant Pot Teriyaki Chicken and Rice is now ready to be enjoyed! This dish is not only delicious but also a complete meal, packed with protein, carbohydrates, and essential vegetables, making it an ideal choice for a healthy and hassle-free dinner.
Recipe Tips & Tricks for Perfect Teriyaki Chicken & Rice
Elevate your Instant Pot Teriyaki Chicken and Rice with these expert tips and tricks:
- Craft Your Own Teriyaki Sauce: For the most authentic and robust flavor, consider making your own teriyaki sauce from scratch instead of relying on store-bought versions. A homemade sauce allows you to control the ingredients, avoiding preservatives and artificial flavors. When cooked alongside the chicken and rice, it imparts a deeper, more integrated taste that’s truly unbeatable. Many recipes for simple teriyaki sauce use soy sauce, mirin (or rice vinegar with a pinch of sugar), sake, and ginger.
- Embrace Fresh Ginger: The difference fresh ginger makes in this recipe is truly remarkable. Its pungent, spicy, and aromatic qualities are key to an authentic teriyaki flavor. While ground ginger powder can be used as a last resort, it simply doesn’t capture the same vibrant essence. Always opt for fresh ginger whenever possible to maximize the depth of flavor.
- Explore Alternative Cooking Methods: While the Instant Pot is fantastic for its speed and convenience, you can easily adapt this recipe for other cooking methods. Try making it in a slow cooker for a hands-off approach during the day. My crockpot teriyaki chicken recipe offers a great starting point for slow-cooked perfection. This flexibility ensures you can enjoy this delicious dish no matter your schedule or preferred appliance.
- Experiment with Diverse Vegetables: Don’t limit yourself to just broccoli, carrots, and peppers! This recipe is incredibly versatile and welcomes a wide array of additional vegetables. Consider adding snap peas, tender bok choy, miniature baby corn, protein-rich edamame, or even a touch of sweet pineapple for a Hawaiian-inspired twist. Ensure any added vegetables are cut to a similar size for even cooking, and remember that delicate greens or softer veggies are best stirred in after the pressure cooking, just like the broccoli.
- Prepare Stir-Fry Sauce in Advance: For ultimate convenience, prepare your teriyaki stir-fry sauce ahead of time. Mix all the sauce ingredients together and store them in an airtight container, such as a mason jar, in the refrigerator. This pre-made sauce will stay fresh for up to a week (or even longer if properly stored) and will significantly cut down on prep time when you’re ready to cook, making weeknight meals a breeze.
Frequently Asked Questions About Instant Pot Teriyaki Chicken & Rice
This Instant Pot teriyaki chicken recipe is designed to be a complete meal in itself, offering protein, carbohydrates, and a medley of vegetables. However, if you’re looking to expand your spread or simply crave more greens, there are many delightful sides that complement the flavors. Consider serving it with sweet corn on the cob, roasted Brussels sprouts with a hint of garlic, or a simple batch of steamed mixed vegetables for added freshness. A light cucumber salad or some pickled ginger can also add a refreshing contrast.
Absolutely! You can indeed use frozen chicken for this recipe, making it even more convenient for those impromptu dinner plans. While I haven’t personally tested the exact timings for frozen chicken, a good starting point would be to increase the high-pressure cooking time to approximately 10-12 minutes. Always ensure the chicken is cooked through by checking its internal temperature with a meat thermometer. The safe internal temperature for chicken is 165°F (74°C). If it’s not quite done, you can always pressure cook for another minute or two, or use the sauté function briefly.
Yes, boneless, skinless chicken thighs are an excellent substitute for chicken breasts in this Instant Pot Teriyaki Chicken and Rice. Chicken thighs tend to be more forgiving and stay juicier due to their higher fat content, which can enhance the overall richness of the dish. The cooking time should remain similar to that of chicken breasts, but it’s always a good practice to use a meat thermometer to ensure they are fully cooked, reaching an internal temperature of 165°F (74°C).
Doubling this Instant Pot chicken teriyaki recipe is certainly possible, especially if you’re feeding a larger family or planning for extensive meal prep. The key consideration is to ensure you do not exceed the “MAX FILL” line on your Instant Pot’s inner pot. While the quantity of ingredients increases, the actual pressure cooking time typically remains the same. The Instant Pot will simply take a little longer to come to pressure due to the increased volume of liquid and food, but the cooking duration under pressure should not change.
For optimal texture and flavor, I highly recommend against cooking delicate vegetables like broccoli and bell peppers directly with the chicken and rice during the high-pressure cooking cycle. These vegetables are prone to overcooking and can become mushy under sustained pressure, losing their vibrant color and pleasant crunch. Instead, follow the recipe’s instructions: add them to the pot *after* the pressure cooking is complete. The residual heat from the freshly cooked rice and chicken, combined with a brief resting period with the lid on, will perfectly steam and warm the vegetables, leaving them tender-crisp and delicious.
Storing and Reheating Your Instant Pot Teriyaki Chicken & Rice
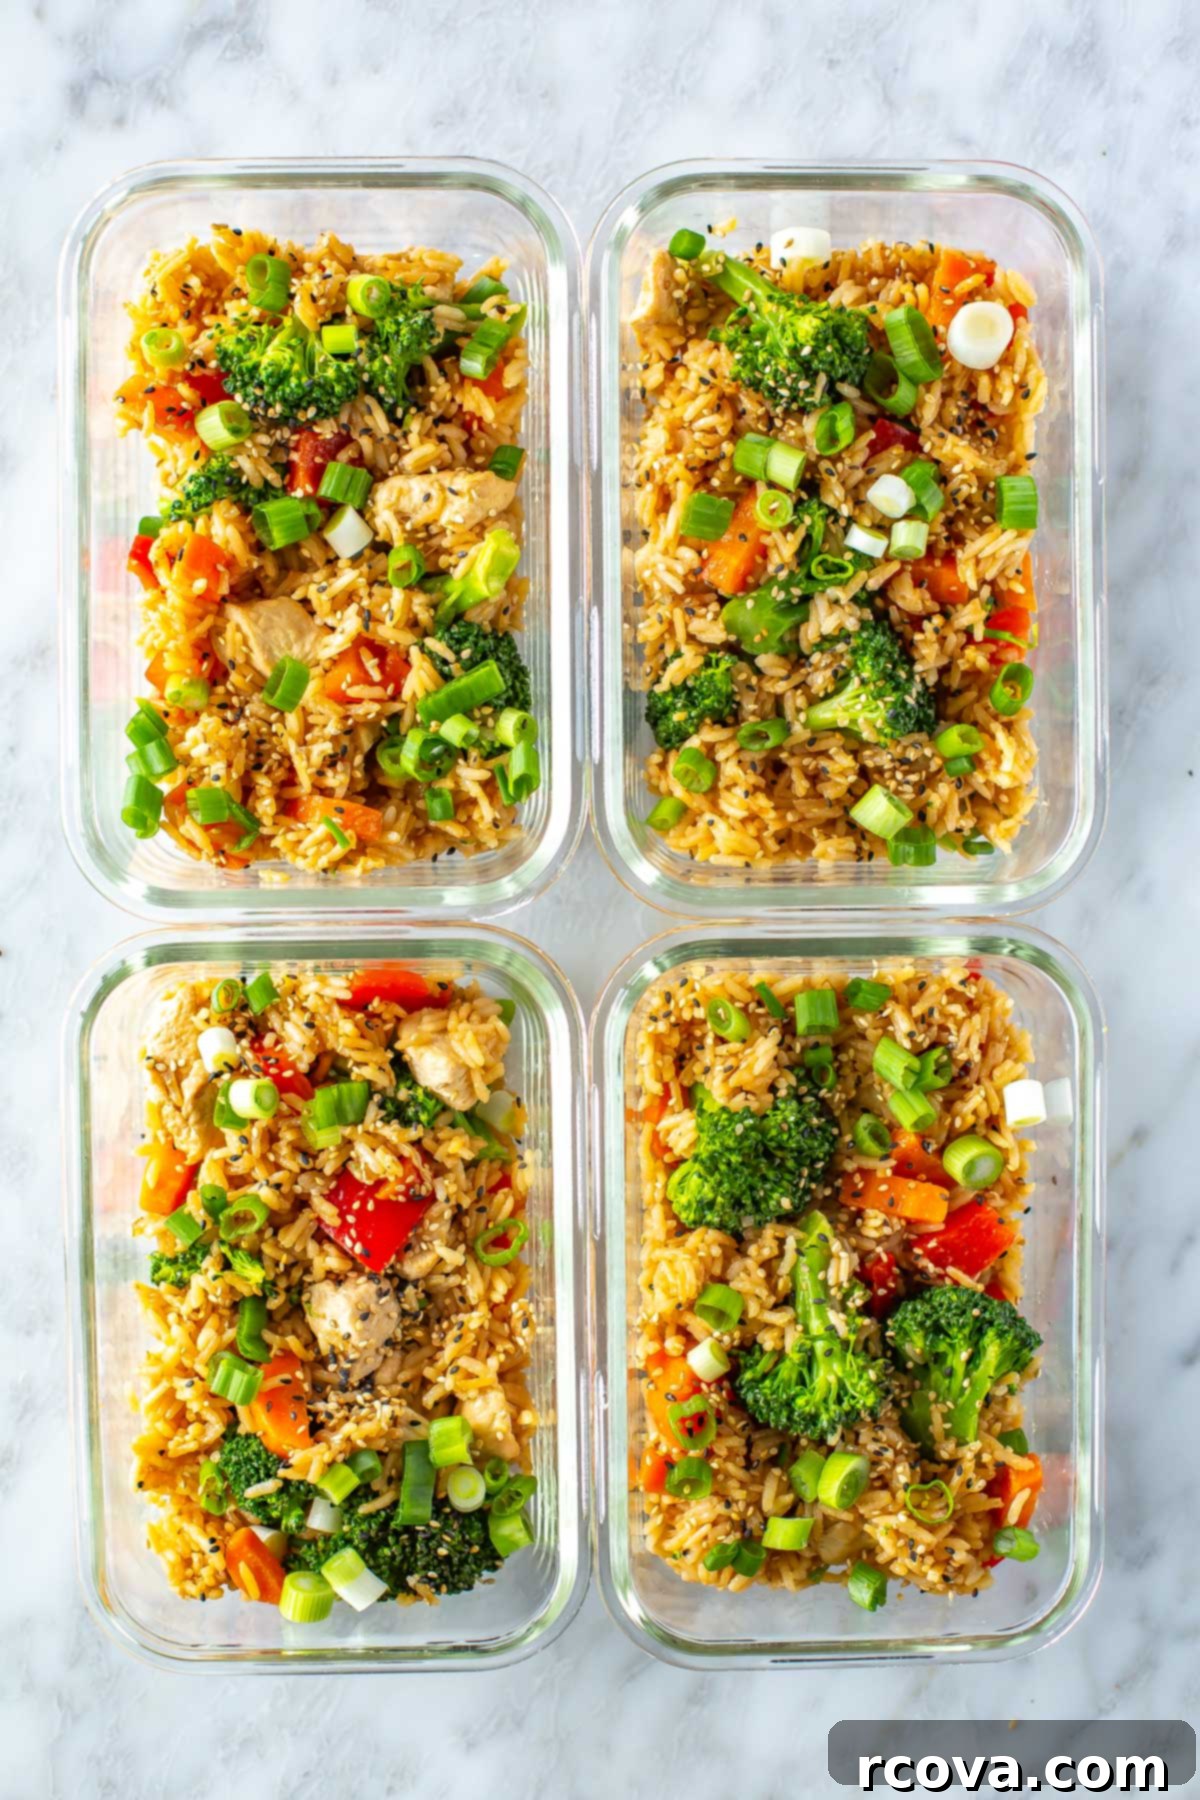
One of the many benefits of this Instant Pot Teriyaki Chicken and Rice recipe is its incredible suitability for meal prep. Properly stored, it makes for convenient and delicious meals throughout the week. You can safely store leftovers of this delightful dish in an airtight container in the refrigerator for up to 5 days. For best results, use glass meal prep containers, as they don’t stain or absorb odors. When you’re ready to enjoy your meal, reheating is a breeze: simply add a splash of water (about 1-2 tablespoons) to your bowl before microwaving. This small amount of liquid helps to rehydrate the rice and chicken, preventing them from drying out during reheating. Microwave for 1-2 minutes, stirring halfway through, until thoroughly warmed. The process is quick, easy, and ensures your meal tastes just as good as fresh!
If you’ve made a larger batch of the homemade teriyaki stir-fry sauce, you’re in luck! This versatile sauce can be stored separately in a sealed mason jar or airtight container in the refrigerator for up to a year. Having pre-made sauce on hand is a fantastic time-saver, ready to be used for marinating meats, dressing up steamed vegetables, or as the base for your next quick stir-fry. Always ensure the container is clean and tightly sealed to maintain freshness.
Freezing This Teriyaki Chicken & Rice Recipe for Future Meals
Freezing this Instant Pot Teriyaki Chicken and Rice offers fantastic flexibility for future meal planning, making it an ideal “dump meal” for busy individuals. To prepare it as a freezer-friendly dump meal, combine all the raw ingredients that are pressure-cooked together (this includes the olive oil, diced chicken, soy sauce, hoisin sauce, minced garlic, grated fresh ginger, chopped carrots, water, and jasmine rice – essentially the first 10 ingredients on the list) into a large, freezer-safe Ziploc bag. Squeeze out as much air as possible, seal the bag, and lay it flat in your freezer. It can be stored this way for up to 3 months. The night before you plan to cook, simply transfer the bag to your refrigerator to thaw overnight. The next day, dump the thawed contents directly into your Instant Pot and proceed with the cooking instructions as normal.
You can also freeze the cooked teriyaki chicken and rice. Allow the cooked dish to cool completely before portioning it into individual glass containers or other freezer-safe containers. When freezing the cooked meal, be aware that some vegetables, particularly the broccoli and bell peppers, might become slightly softer in texture after thawing and reheating. While they will still be perfectly edible and delicious, their crispness may diminish. Store the cooked portions in the freezer for up to 3 months. To reheat, transfer a portion to the refrigerator to thaw overnight, then follow the standard reheating instructions by adding a splash of water and microwaving until hot.
More Delicious Instant Pot Recipes You’ll Love
Expand your Instant Pot repertoire with these other amazing, easy-to-make recipes!
-
Instant Pot Egg Roll in a Bowl {Low-Carb}
-
Garlic Sesame Instant Pot Chicken Thighs
-
Instant Pot Sweet and Sour Pineapple Chicken
Recommended Meal Prep Tools & Ingredients
- This Instant Pot is the exact model I rely on for this delicious recipe.
- Ensure your leftovers stay fresh and organized with these durable glass meal prep bowls.
- For high-quality, free-range chicken, I consistently choose Butcher Box, guaranteeing premium ingredients for every meal.

Instant Pot Teriyaki Chicken and Rice
Print
Pin
Rate
SEND ME MY PLAN
Ingredients
- 1 tbsp olive oil
- 1 lb chicken breasts diced into 1-inch pieces
- 2 tbsp low-sodium soy sauce or gluten-free tamari for a wheat-free option
- 2 tbsp hoisin sauce
- 4 cloves garlic, minced
- 1 tbsp grated fresh ginger
- 2 carrots, chopped
- 1 cup water
- 1 cup jasmine rice
- 1 head broccoli, cut into small florets
- 1 red pepper, chopped
- 4 green onions, sliced
- 1 tsp Sesame seeds for garnish
Instructions
-
Carefully layer the olive oil, diced chicken, low-sodium soy sauce, hoisin sauce, minced garlic, grated ginger, chopped carrots, water, and finally the jasmine rice into your Instant Pot in the order listed. Gently stir only the very top layer of ingredients, ensuring the rice is adequately covered by liquid. Avoid scraping the bottom of the Instant Pot, as excessive stirring can trigger a “burn” message. Secure the lid, set the vent to “Sealing,” and cook on high pressure for 2 minutes.
-
While the chicken and rice are pressure cooking, prepare your broccoli. Place the small broccoli florets in a large microwave-safe bowl with a small amount of water (about 1/4 cup). Cover the bowl and microwave for 3-4 minutes, or until the broccoli is tender-crisp and bright green. Drain any remaining water and set the steamed broccoli aside.
-
After the Instant Pot finishes cooking, allow for a quick pressure release (QPR) by carefully turning the venting knob. Once the float valve has dropped completely, remove the lid. Stir in the freshly steamed broccoli, chopped red pepper, and sliced green onions. Place the lid back on the Instant Pot and let the mixture sit for another 5 minutes, allowing the residual heat to gently warm the vegetables and meld all the flavors.
-
Divide the delicious teriyaki chicken and rice evenly among four serving bowls. Garnish with additional fresh green onions and a sprinkle of sesame seeds, if desired, for an extra touch of flavor and presentation. Enjoy your wholesome and easy Instant Pot meal!
Video
Notes
Feel free to customize your teriyaki bowls by adding a variety of other veggies, such as crunchy snap peas, tender bok choy, sweet baby corn, nutritious edamame, or even a tangy touch of pineapple.
If you prefer slow cooking, try adapting this recipe for the crockpot for a hands-off approach.
Alternatively, explore my stovetop chicken teriyaki bowls for a different cooking method.
Store any leftover portions of this meal in an airtight container in the fridge for up to 5 days. When reheating, add a small splash of water to prevent the rice from drying out, then microwave for 1-2 minutes until heated through.
This recipe is also freezer-friendly! Freeze cooked portions for up to 3 months. Thaw overnight in the fridge before reheating as usual.
Nutrition
