Irresistible Chocolate Peanut Butter Swirl Cookies: Your Guide to Perfectly Soft, Chewy, and Flavorful Treats
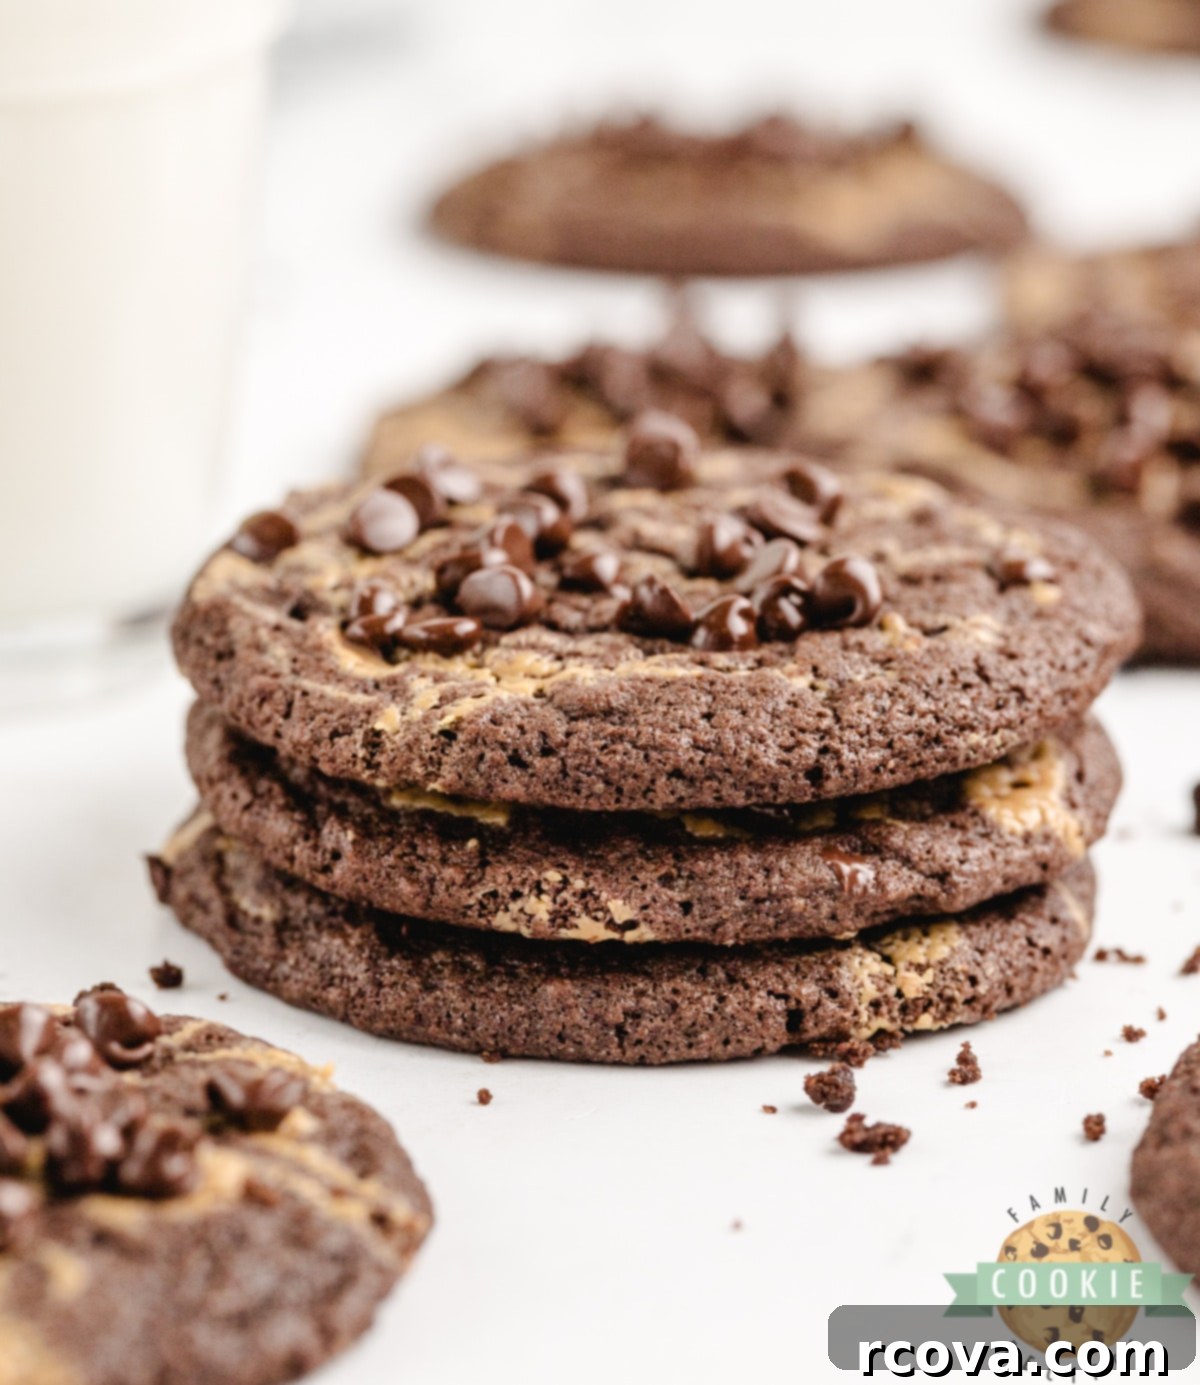
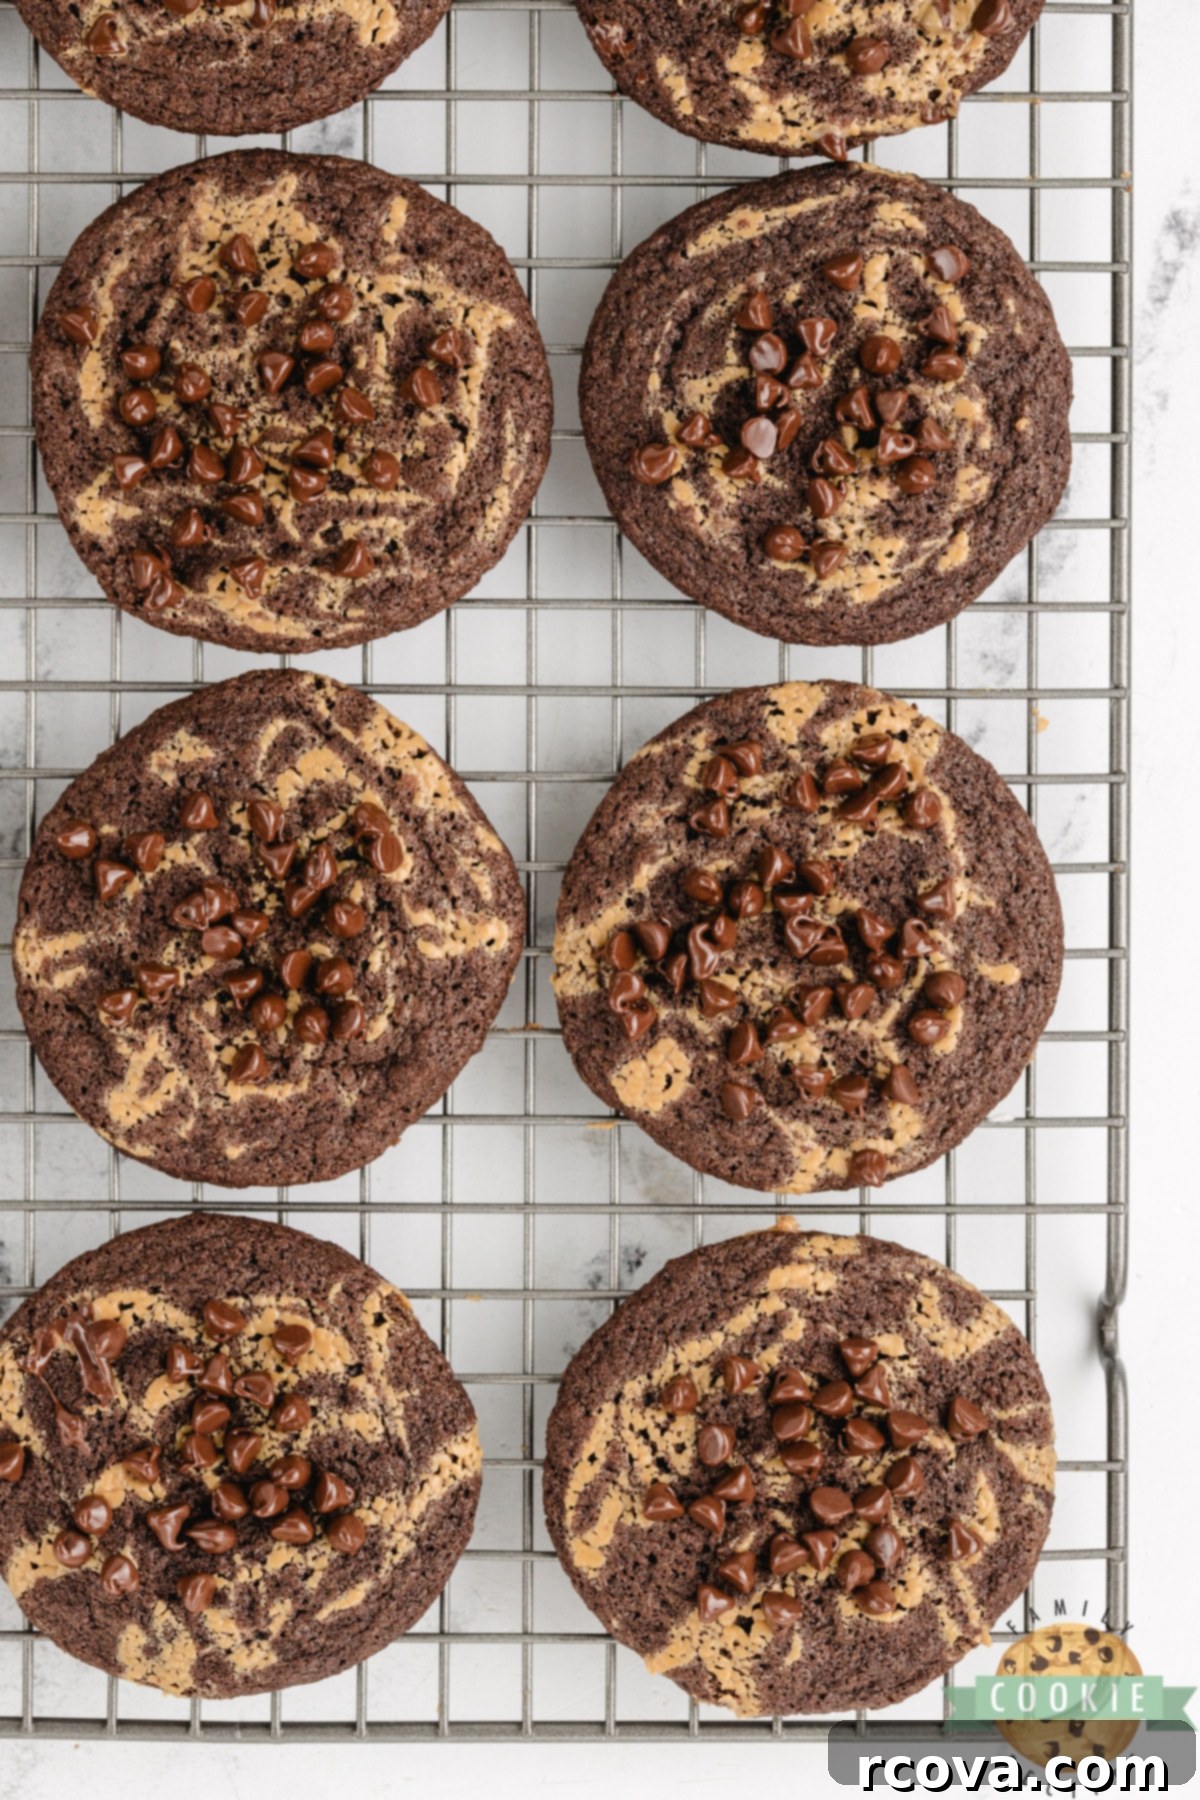
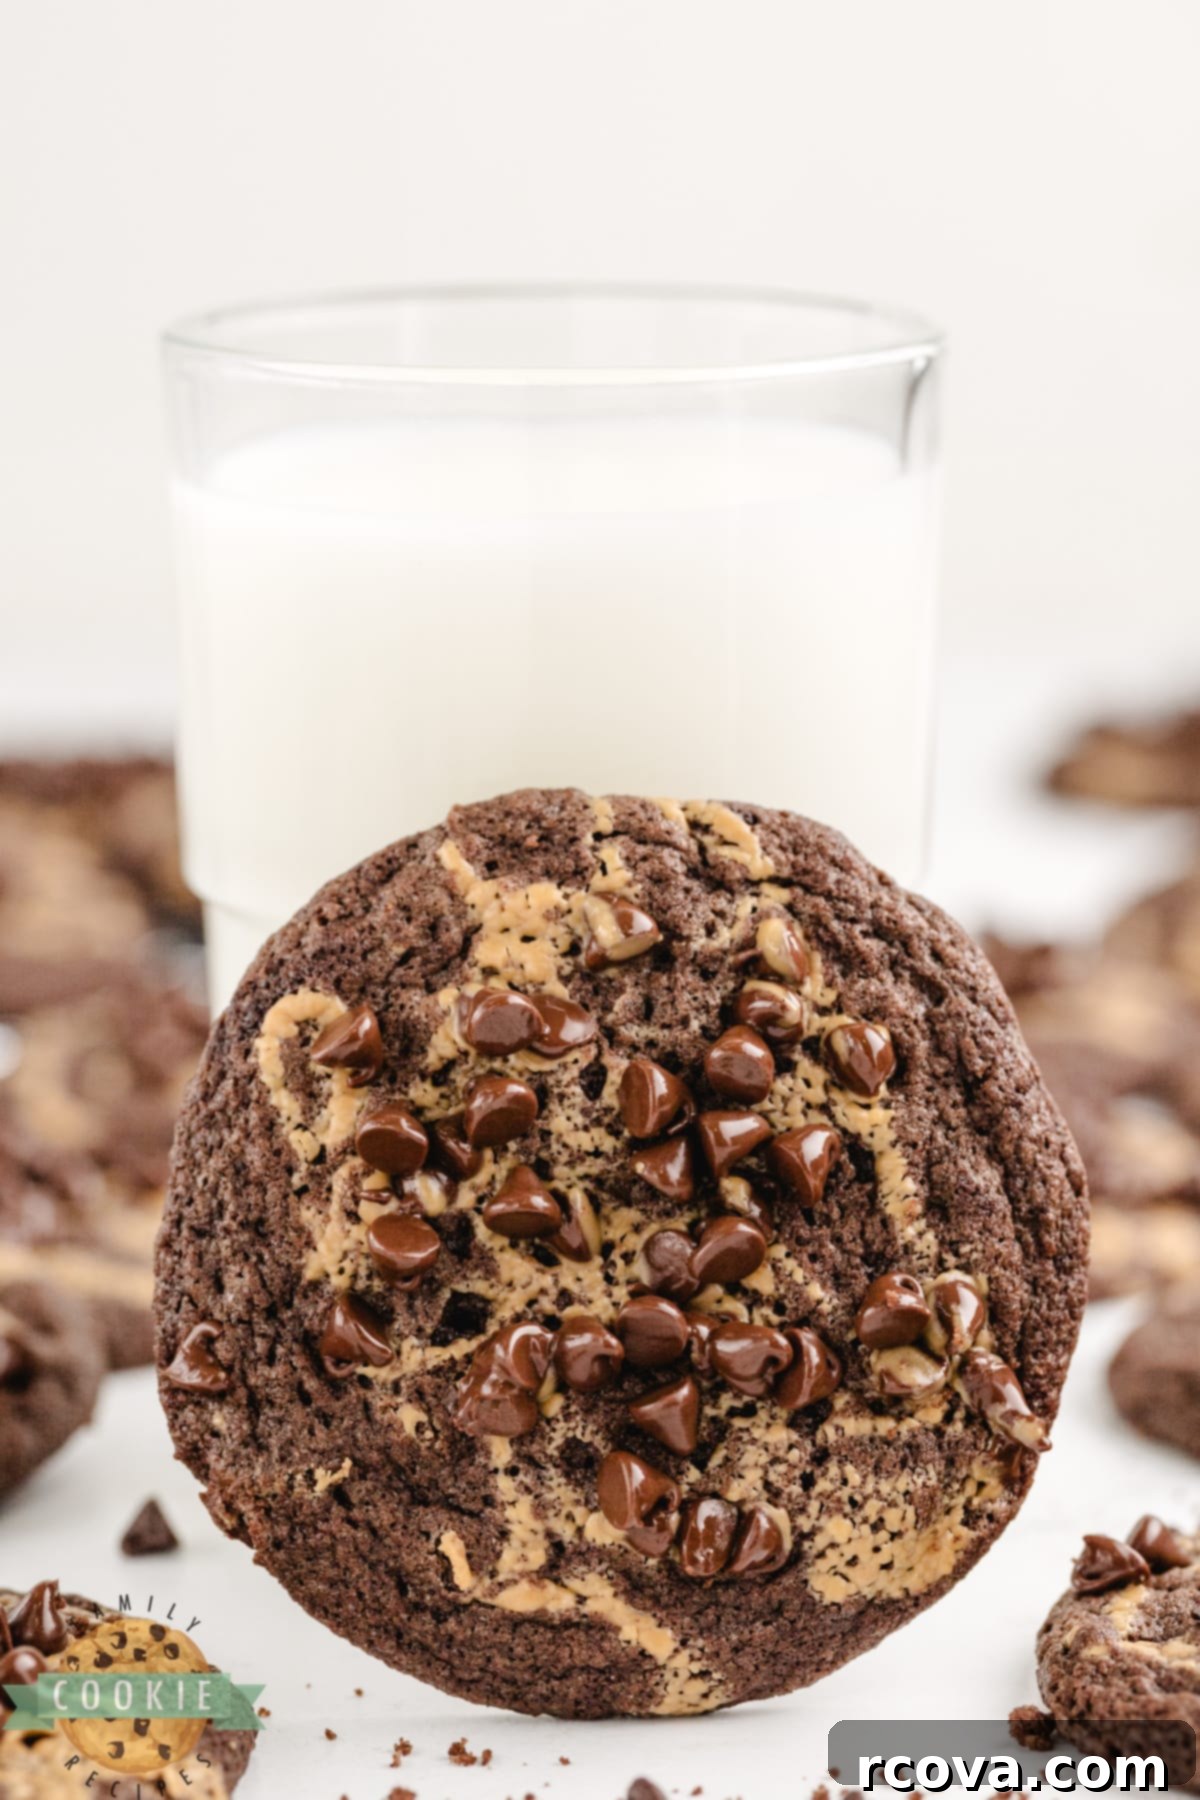
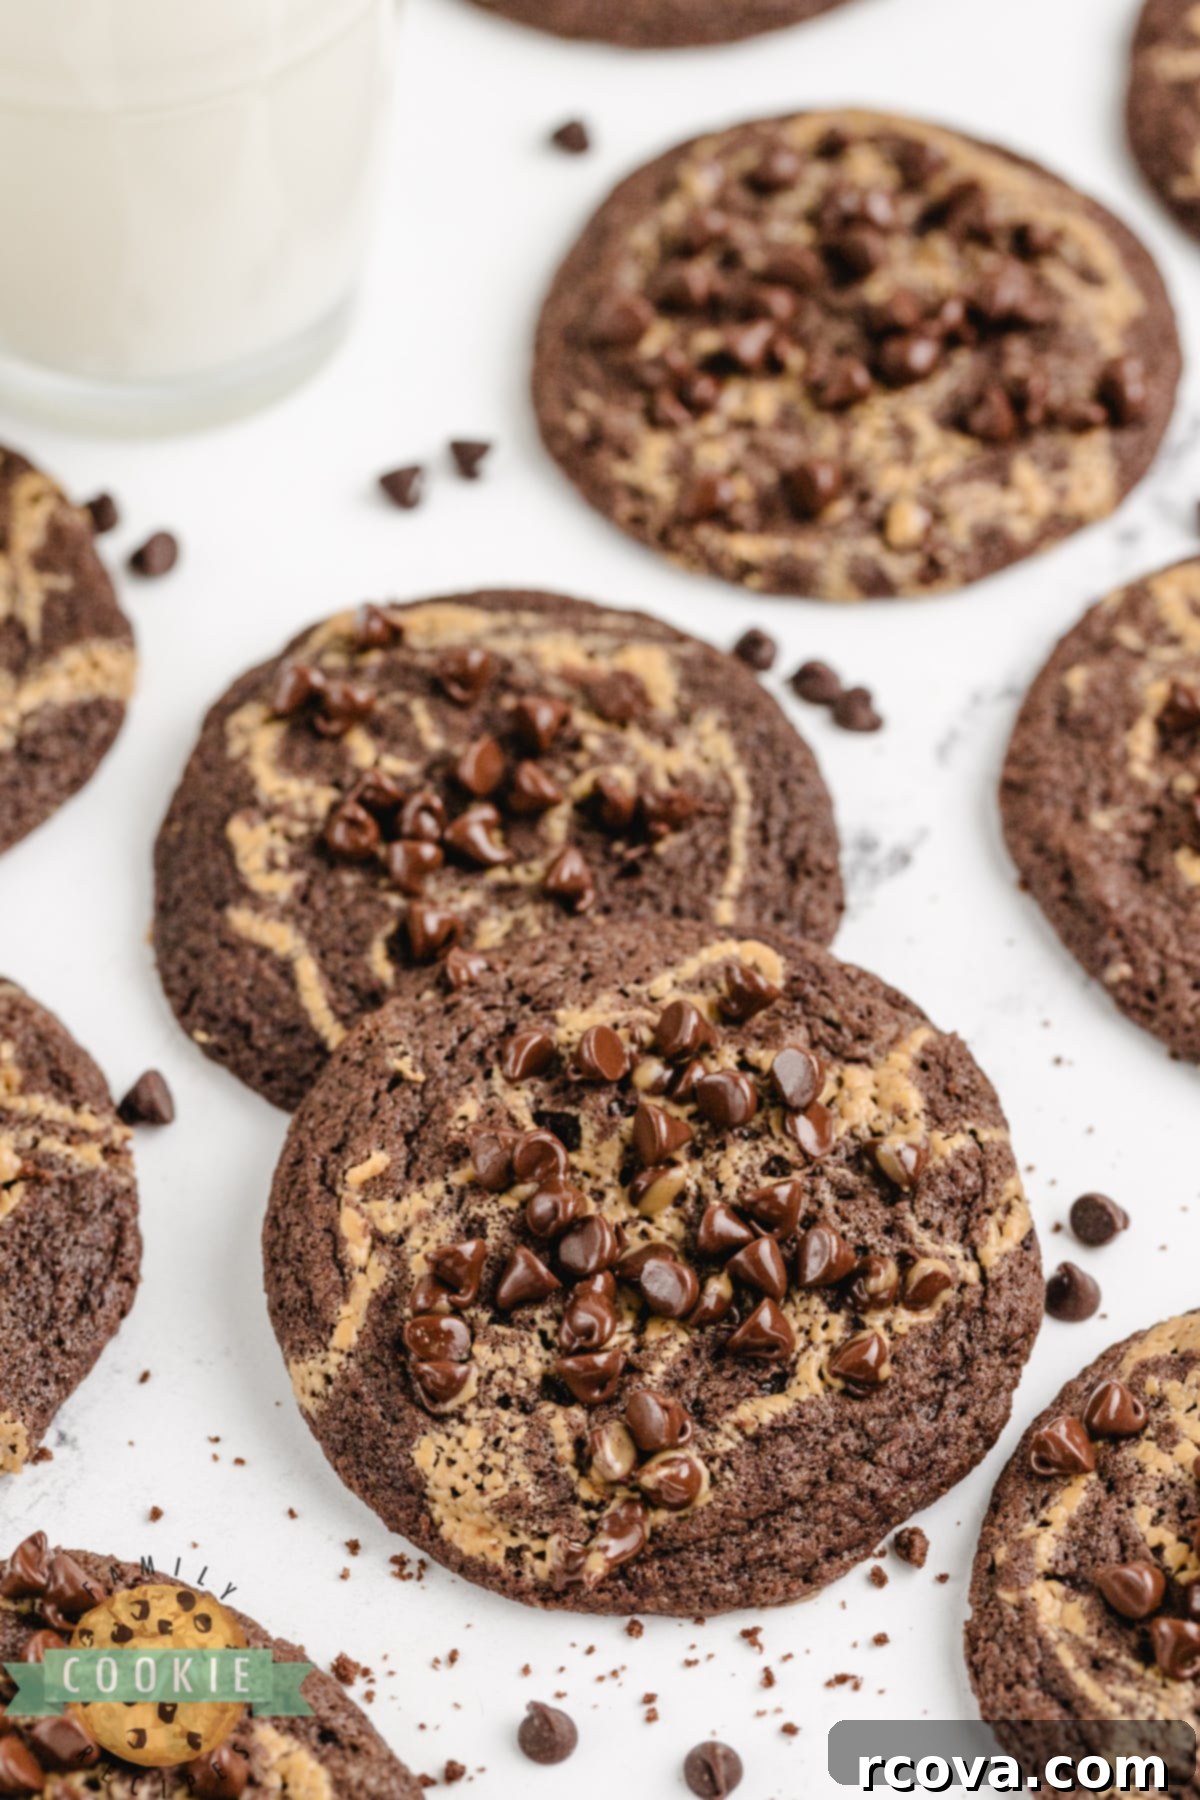
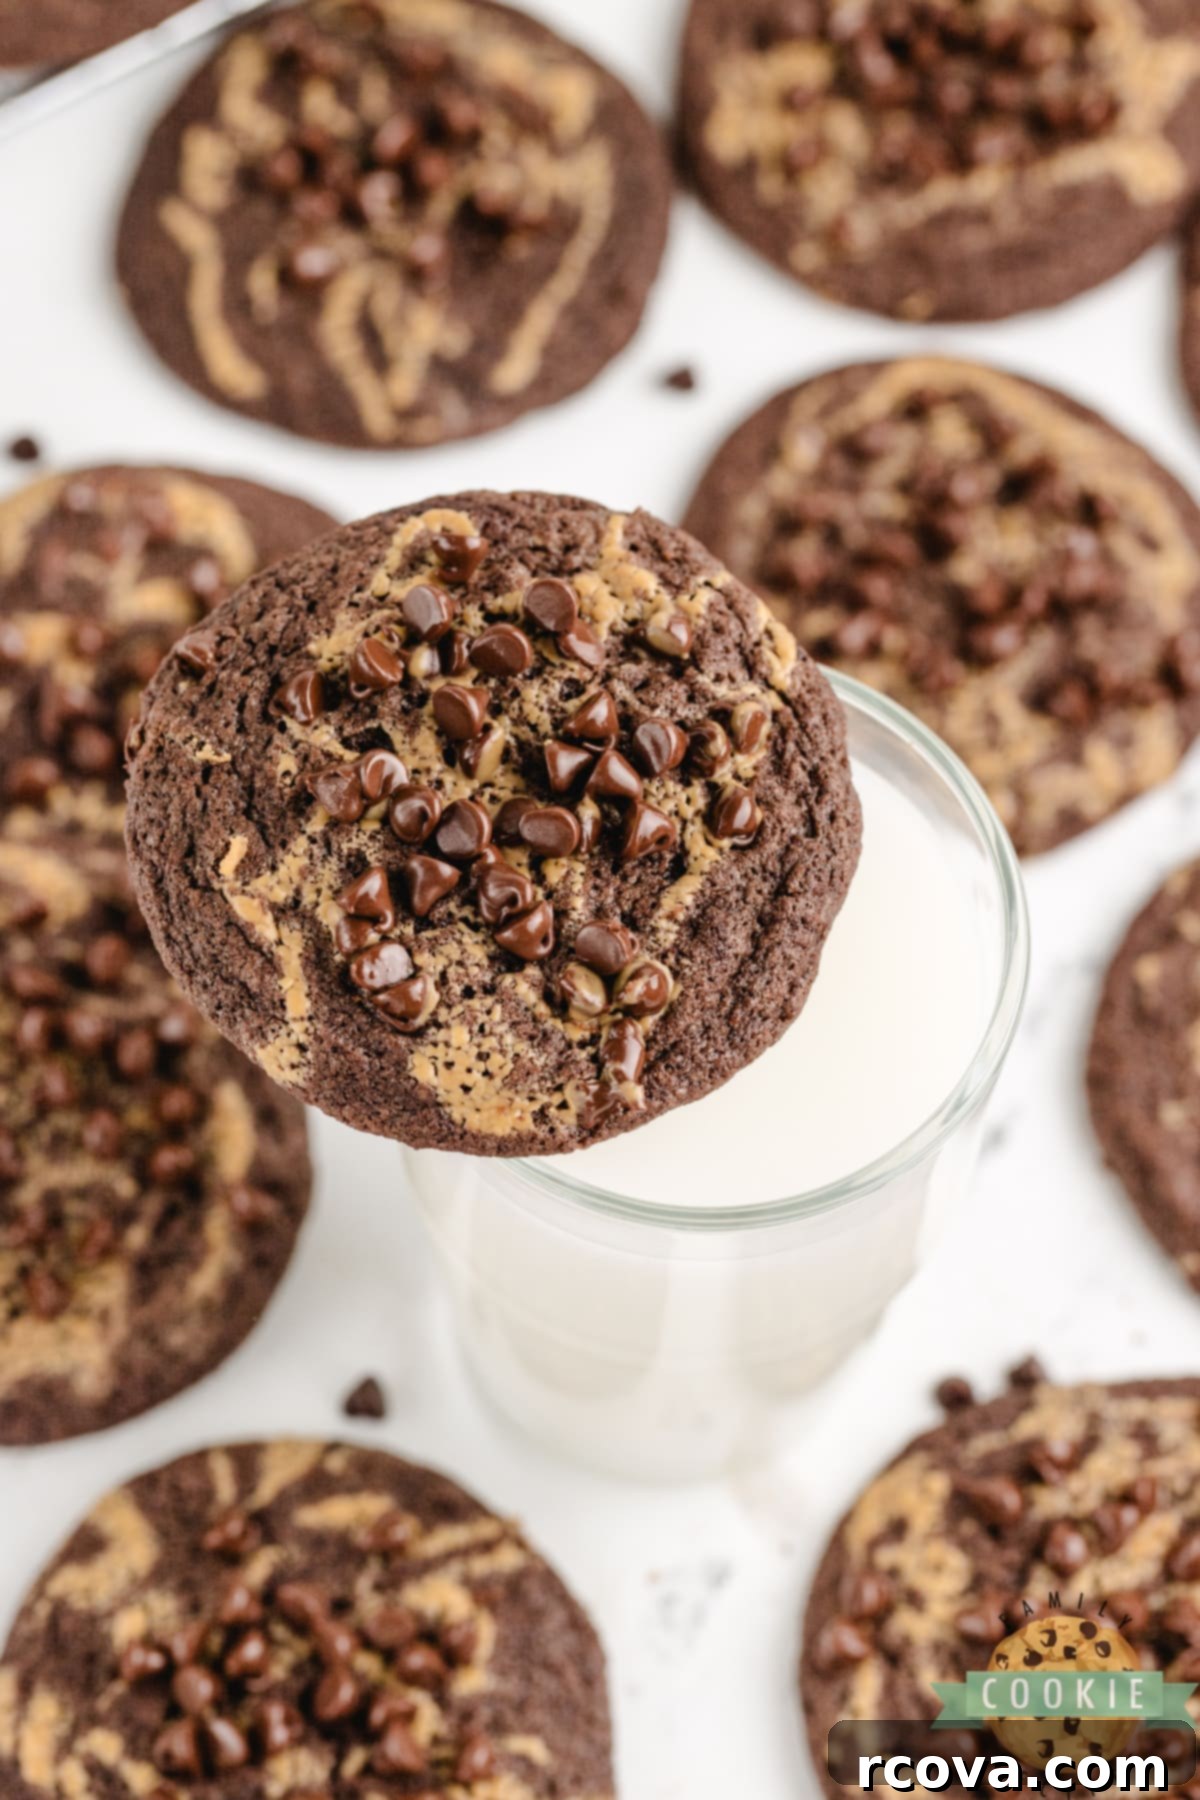
There’s a reason why the combination of chocolate and peanut butter is universally beloved – it’s a match made in dessert heaven! These Chocolate Peanut Butter Swirl Cookies take that classic pairing to new heights, delivering a truly unforgettable experience with every bite. Imagine a cookie that’s wonderfully soft and chewy, boasting a rich, deep chocolate flavor, elegantly swirled with creamy peanut butter, and finished with a delightful sprinkling of mini chocolate chips. They’re not just cookies; they’re a celebration of flavor and texture, perfect for any occasion.
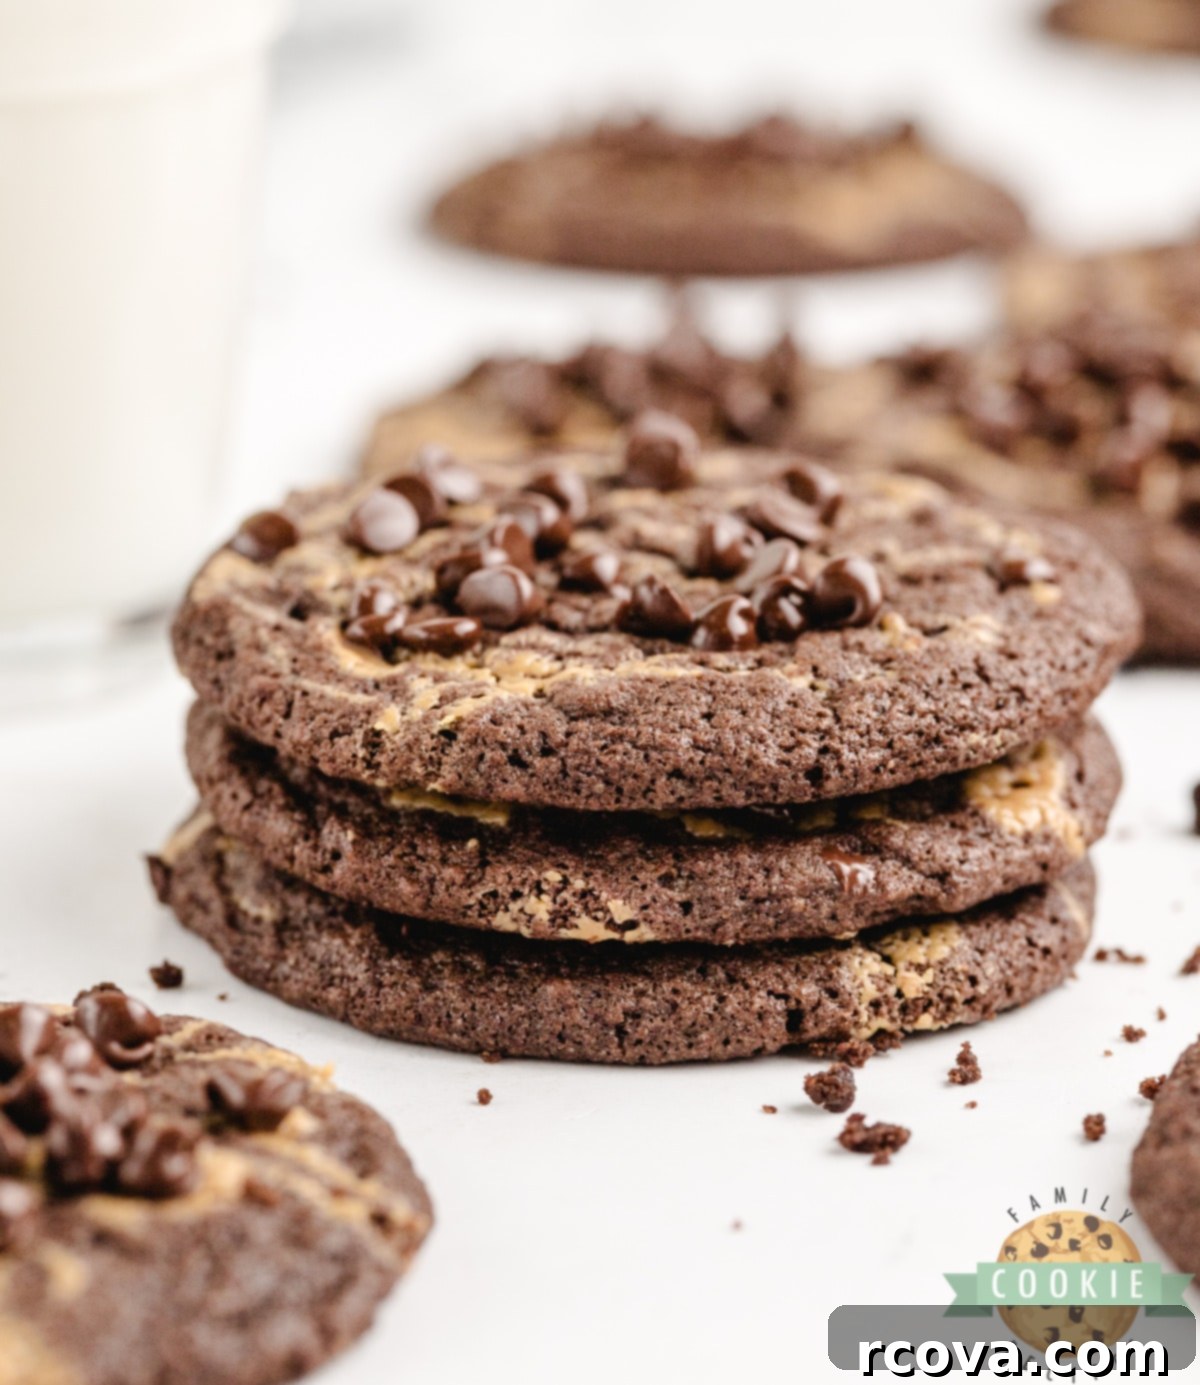
The magic of chocolate and peanut butter together is undeniable. From childhood treats to sophisticated desserts, this dynamic duo always delivers. And these particular cookies? They stand out as an absolute masterpiece, combining the best of both worlds in a homemade treat that will have everyone asking for the recipe.
Why You’ll Fall in Love with These Peanut Butter Chocolate Swirl Cookies
These cookies aren’t just delicious; they’re incredibly satisfying to make and share. Here’s why they’ll quickly become a favorite in your baking repertoire:
- Effortless Ingredients: You won’t need any exotic items for this recipe. All the ingredients are common pantry staples, meaning you can whip up a batch of these delectable cookies almost anytime without a special trip to the grocery store. It’s all about simple, wholesome components coming together to create something extraordinary.
- Versatile for Any Event: Whether you’re looking for a delightful after-school snack, a comforting dessert for a cozy evening, or an impressive contribution to a party or potluck, these cookies fit the bill. Their beautiful swirl design makes them visually appealing, while their incredible taste ensures they’re always a crowd-pleaser. They strike the perfect balance between casual and elegant.
- The Ultimate Flavor Combination: Chocolate and peanut butter! Is there anything more to say? This classic pairing offers a rich, sweet, and slightly salty symphony of flavors that is utterly irresistible. Each bite delivers a harmonious blend of intense cocoa and nutty creaminess, satisfying every craving.
- Perfect Texture: These cookies boast an ideal balance of soft and chewy, never dry or crumbly. The moist interior coupled with slightly crisp edges creates a textural experience that keeps you coming back for more.
- Easy to Make: Despite their impressive appearance, these swirl cookies are surprisingly simple to prepare. Even novice bakers can achieve stunning results by following the straightforward steps, making them a joyful baking project.
Key Ingredients for Chocolate Peanut Butter Swirl Cookies
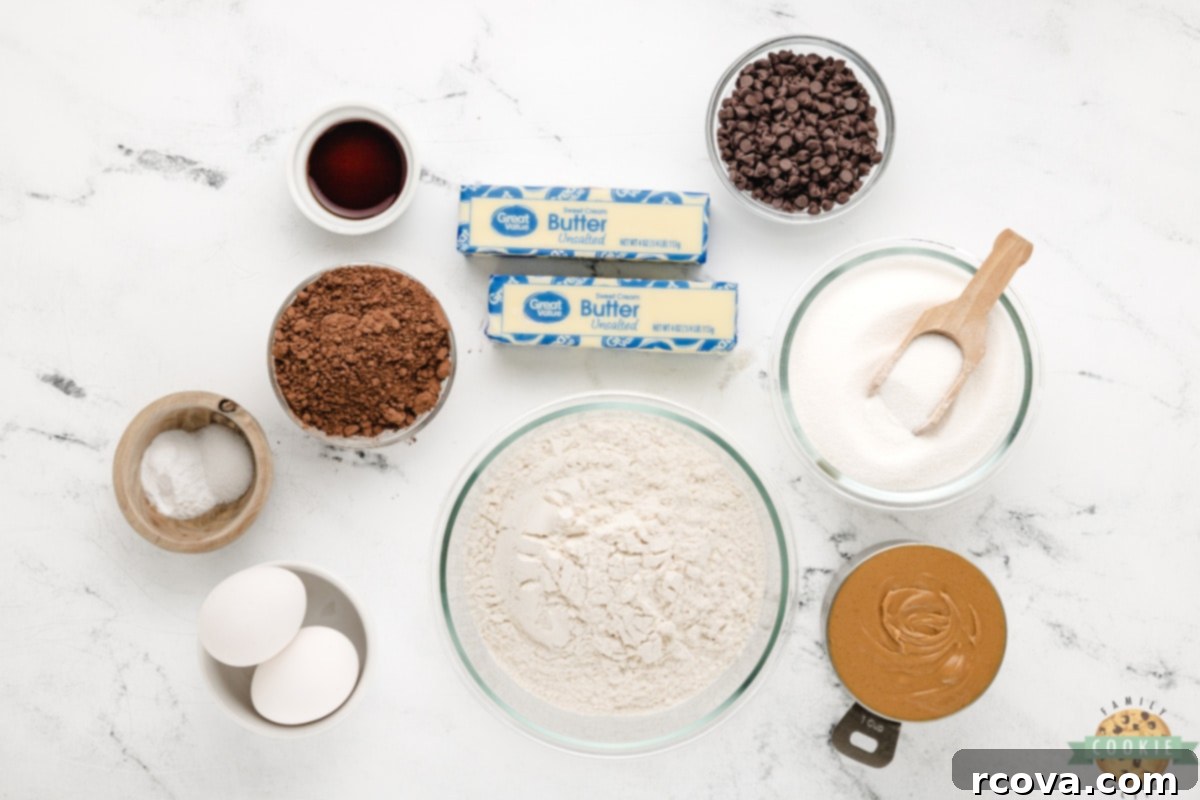
Crafting these amazing cookies starts with quality ingredients. Here’s a closer look at what you’ll need and why each component is essential:
- Butter: I typically use salted butter for an added depth of flavor that balances the sweetness. However, if you prefer unsalted butter, that works perfectly too – just be sure to increase the amount of salt slightly (about an extra ¼ teaspoon) to achieve that perfect flavor profile. Absolutely no margarine, please! For the best results, ensure your butter is softened to room temperature. This is crucial for proper creaming with the sugar, which creates air pockets for a light and tender cookie.
- Granulated Sugar: This recipe calls for regular granulated sugar. It not only provides sweetness but also contributes to the cookies’ structure and helps them spread beautifully during baking, giving them that signature soft chewiness.
- Large Eggs: Two large eggs act as a crucial binding agent, bringing all the ingredients together into a cohesive dough. They also add moisture and contribute to the rich texture and a slight lift in the cookies. Ensure they are at room temperature for better emulsification with the butter and sugar mixture.
- Vanilla Extract: Don’t skimp on the vanilla! The higher the quality of your vanilla extract, the more pronounced and delightful the overall flavor of your cookies will be. It enhances both the chocolate and peanut butter notes. Pure vanilla extract is always recommended over artificial alternatives.
- All-Purpose Flour: This is the backbone of our cookies, providing structure. All-purpose flour works wonderfully here, yielding a tender yet firm cookie. If you happen to have cake flour on hand, it can also be used for an even softer, more delicate crumb, though it might require a slight adjustment in quantity due to its lower protein content.
- Unsweetened Cocoa Powder: The luscious chocolate flavor in these cookies comes predominantly from unsweetened cocoa powder. Using unsweetened ensures a rich, deep chocolate taste without making the cookies overly sweet. Dutch-processed cocoa powder can be used for a darker color and milder chocolate flavor.
- Baking Soda: As the primary leavening agent, baking soda is essential for helping the cookies rise and achieve their desired soft and chewy texture. For optimal results, always check the expiration date on your baking soda – old or expired leavening agents won’t work effectively, leading to flat, dense cookies.
- Salt: A small but mighty ingredient! Just a half teaspoon of salt is enough to enhance all the other flavors, making the chocolate richer and the peanut butter nuttier. It prevents the cookies from tasting bland and balances the sweetness beautifully.
- Creamy Peanut Butter: The star of the swirl! Creamy peanut butter is specified for its smooth consistency, which makes it easy to melt and swirl. However, if you love a bit of texture, crunchy peanut butter can be used for an interesting textural contrast. Just ensure it’s a conventional, stir-free peanut butter, as natural peanut butters (the kind that separate) can sometimes alter the cookie’s texture due to their higher oil content.
- Mini Chocolate Chips: These tiny morsels are sprinkled on top, adding an extra layer of chocolatey goodness and a delicate textural crunch. They also make the cookies look even more inviting and professional. You can use regular chocolate chips if mini ones aren’t available, or even finely chopped chocolate.
Step-by-Step Guide: How to Make Chocolate Peanut Butter Swirl Cookies
Get ready to bake! Follow these detailed instructions to create your own batch of delightful chocolate peanut butter swirl cookies:
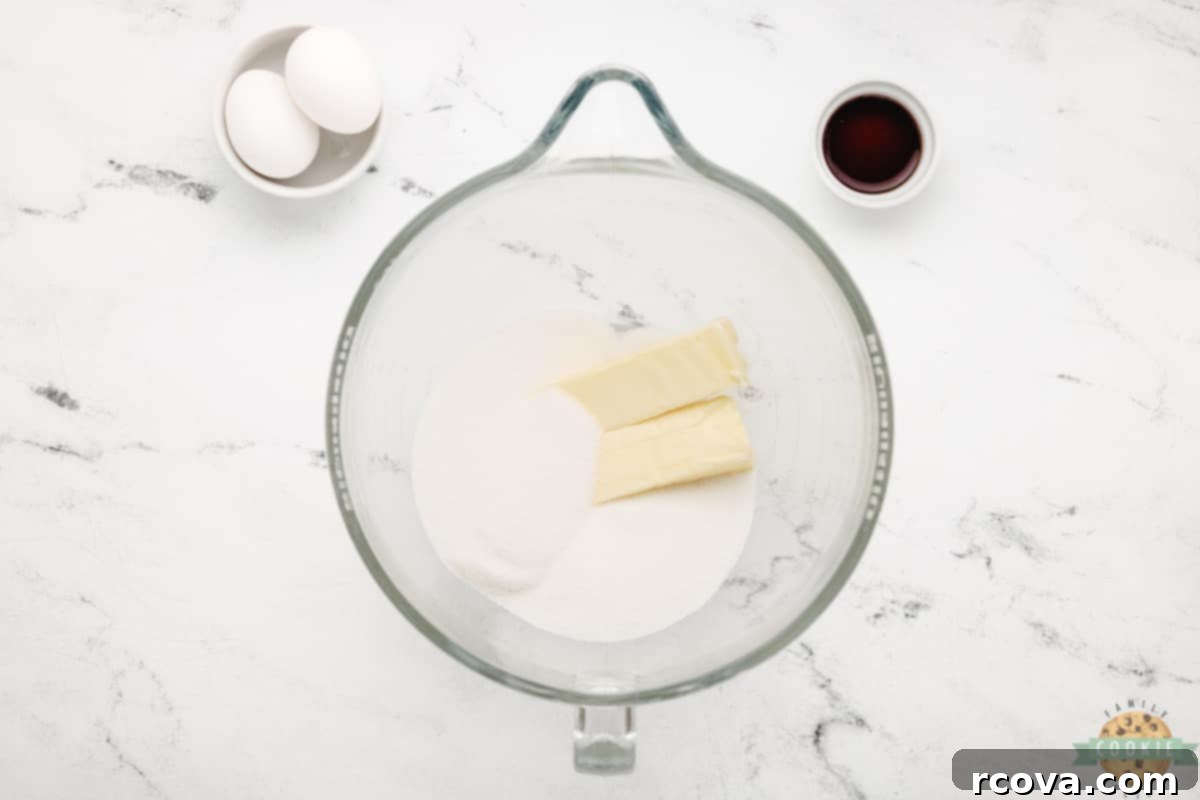
1. Cream Butter and Sugar: In a large mixing bowl, using an electric mixer, cream together the softened butter and granulated sugar. Beat on medium speed for about 3-4 minutes, or until the mixture is visibly light in color and fluffy in texture. This step is crucial for incorporating air, which contributes to the cookies’ ultimate texture.
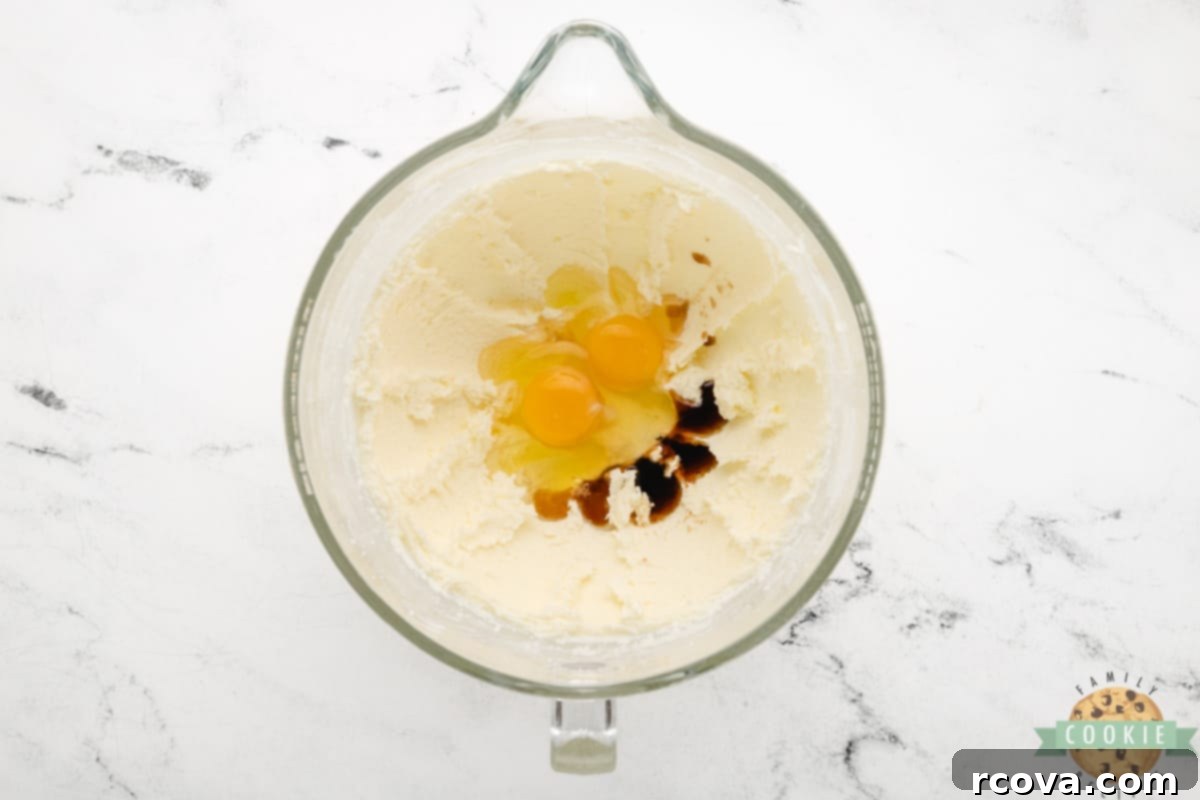
2. Incorporate Wet Ingredients: Add the large eggs one at a time, beating well after each addition until fully incorporated. Then, pour in the vanilla extract and beat for another 2-3 minutes. This ensures all the wet ingredients are thoroughly combined and emulsified.
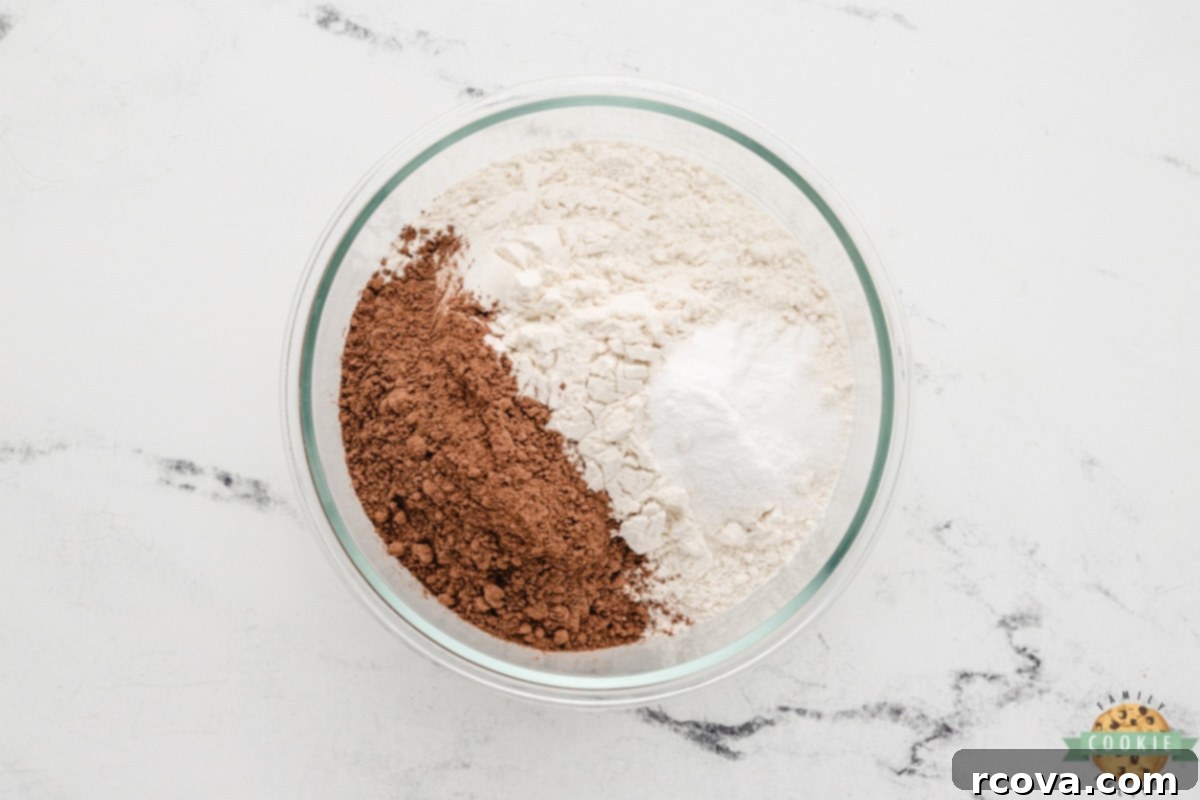
3. Prepare Dry Ingredients: In a separate medium-sized bowl, whisk together the all-purpose flour, unsweetened cocoa powder, baking soda, and salt. Whisking ensures these dry ingredients are evenly distributed, preventing pockets of leavening or salt in the final cookies.
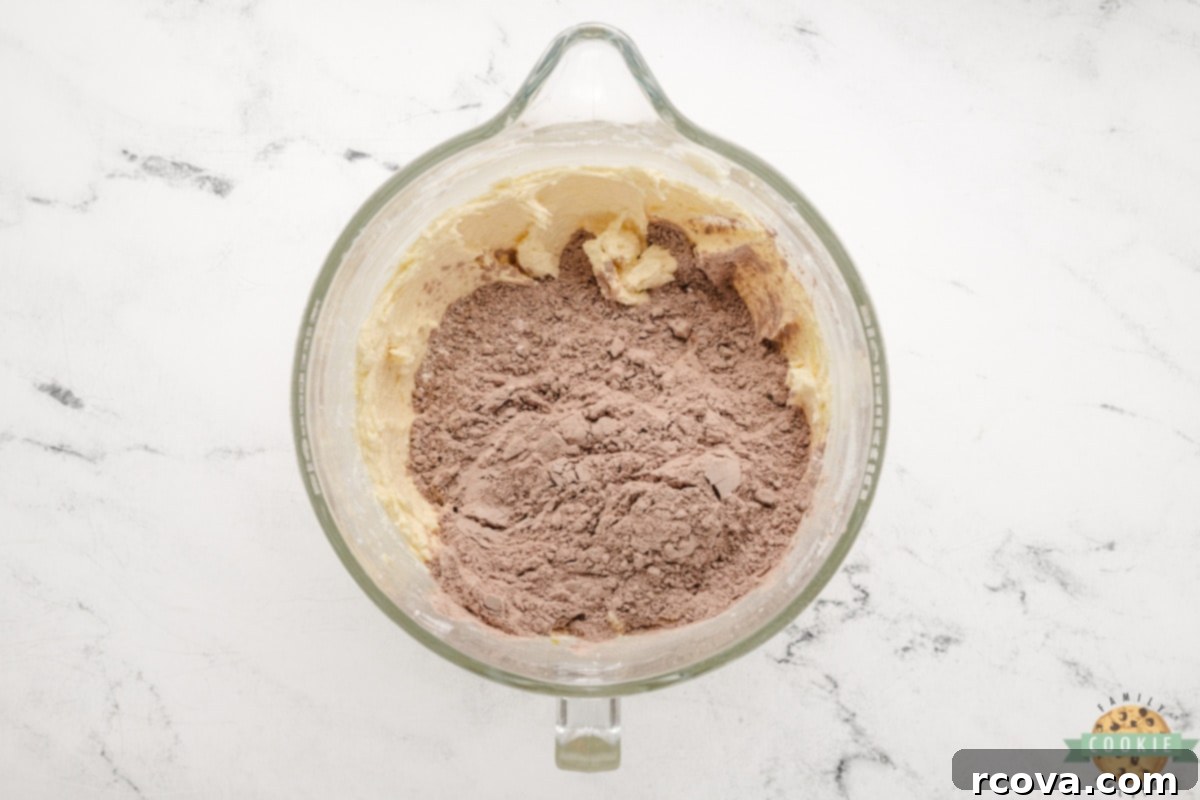
4. Combine Wet and Dry: Gradually add the whisked dry ingredients to the wet mixture in the large bowl. Mix on low speed or stir with a spatula just until everything is combined. Be careful not to overmix, as this can lead to tough cookies.
5. Prepare Peanut Butter Swirl: In a small, microwave-safe bowl, microwave the creamy peanut butter for about 20-30 seconds. You want it to be slightly runny and easy to drizzle, but not hot. Stir it well after microwaving to ensure a consistent, pourable texture.
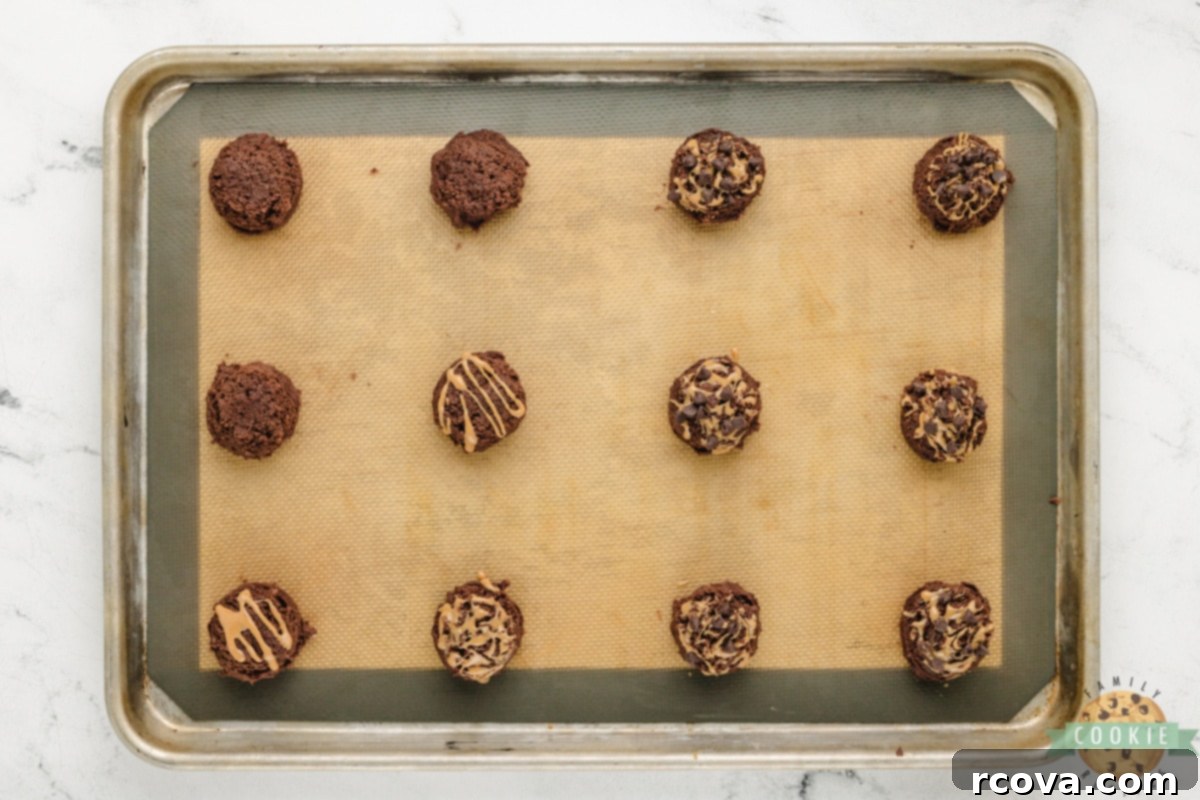
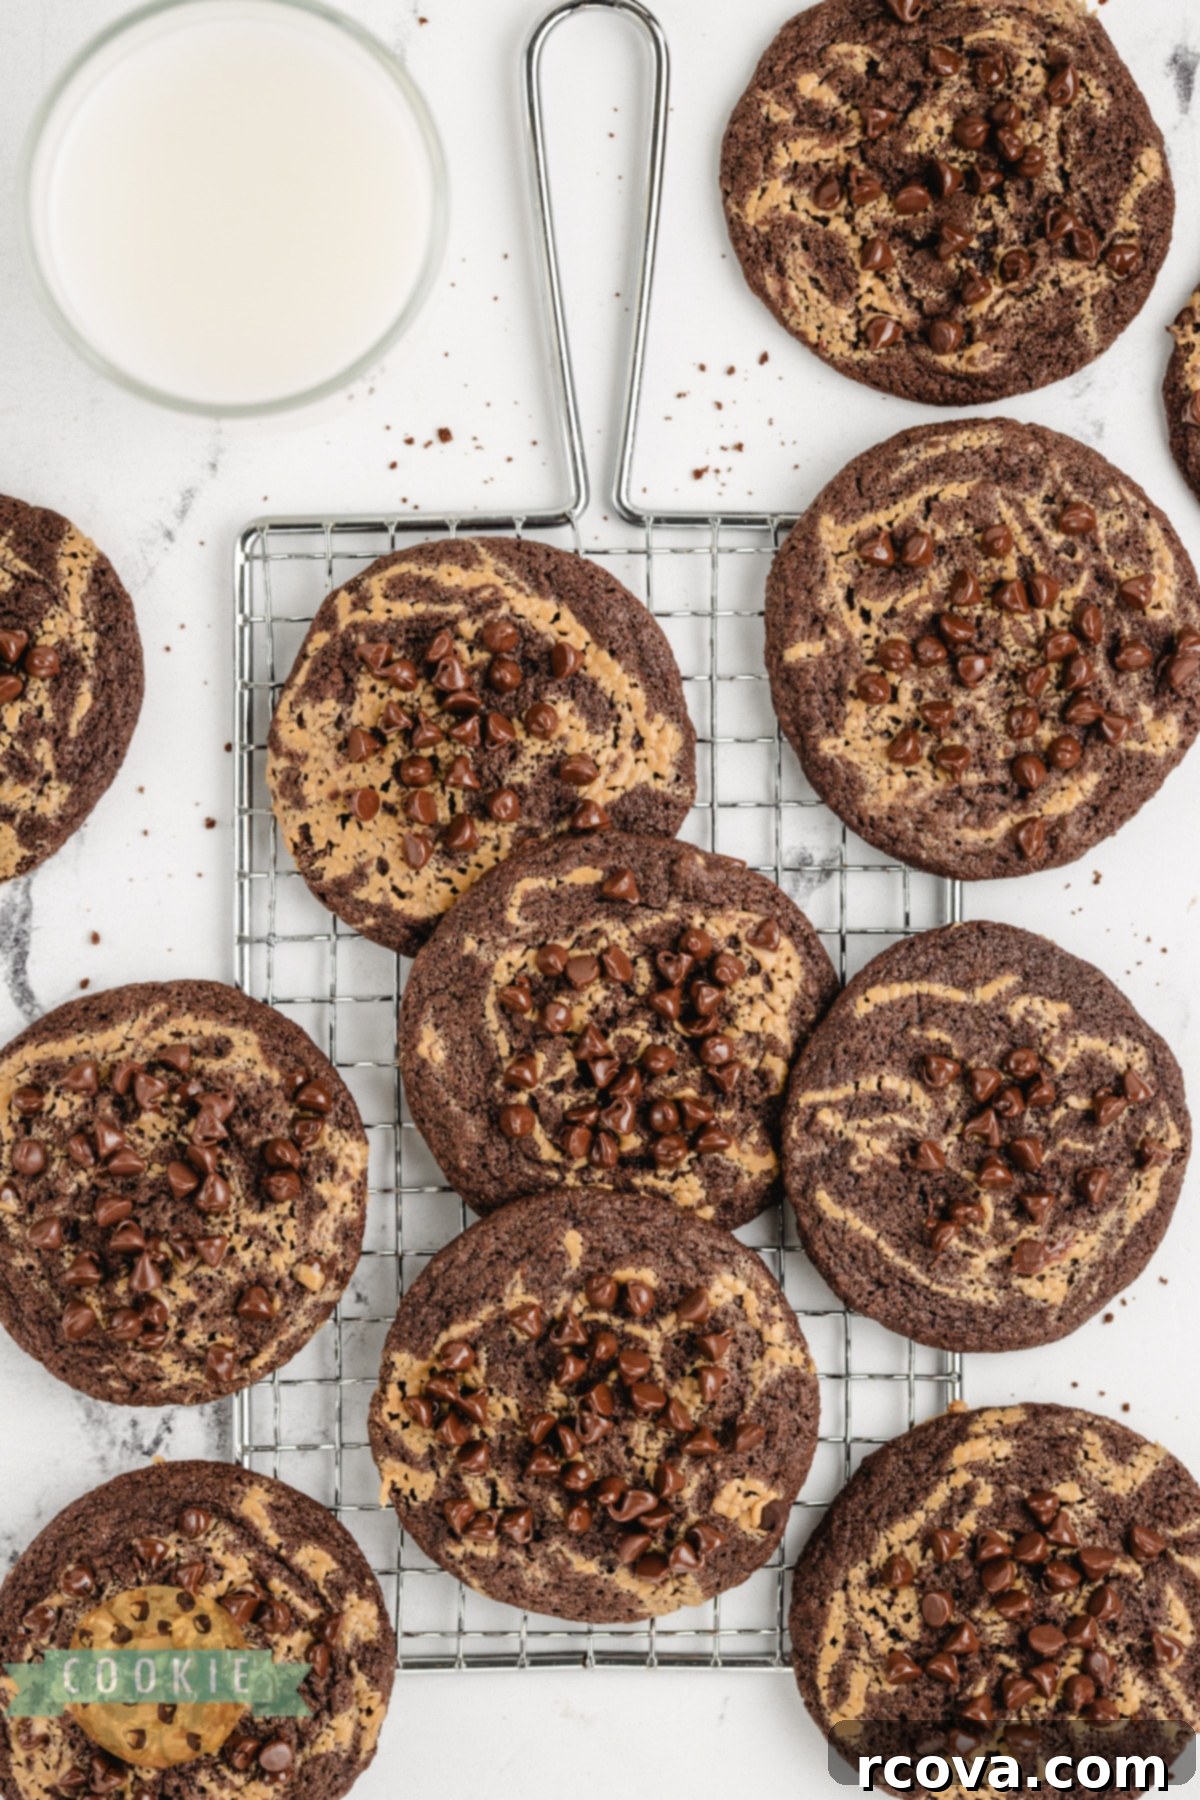
6. Scoop, Swirl, and Top: Preheat your oven to 350°F (175°C) and line a baking sheet with parchment paper or a silicone baking mat. Use a cookie scoop (about 1.5-2 tablespoons) to portion out balls of dough onto the prepared baking sheet, leaving ample space between them. Using a small spoon, add tiny amounts (about ¼ to ½ teaspoon) of the thinned peanut butter onto the top of each cookie dough ball. Then, with a toothpick or the tip of a small knife, gently swirl the peanut butter into the chocolate dough to create an artistic pattern. Finally, press a few mini chocolate chips into the top of each cookie dough ball for extra appeal and flavor.
7. Bake: Bake the cookies for 10-12 minutes. The edges should be set, but the centers should still look slightly soft and puffy. Avoid overbaking if you want super soft and chewy cookies. They will continue to set as they cool.
8. Cool: Let the cookies cool on the baking sheet for about 5 minutes. This allows them to firm up slightly before transferring. After 5 minutes, carefully transfer them to a wire rack to cool completely. Enjoy the perfect balance of chocolate and peanut butter!
Chocolate Peanut Butter Swirl Cookie Recipe
Print
Pin
Rate
Ingredients
- 1 cup salted butter softened to room temperature
- 1 ½ cups granulated sugar
- 2 large eggs at room temperature
- 1 tsp pure vanilla extract
- 2 cups all-purpose flour
- ½ cup unsweetened cocoa powder
- 1 tsp baking soda
- ½ tsp salt
- 1 cup creamy peanut butter conventional, not natural oil-separating type
- ½ cup mini chocolate chips for topping
Instructions
-
Preheat your oven to 350°F (175°C). Line two large baking sheets with parchment paper or silicone baking mats. This prevents sticking and ensures even baking.
-
In a large mixing bowl, using an electric mixer, cream together the softened butter and granulated sugar. Beat on medium speed for 3-4 minutes until the mixture is light, fluffy, and pale in color. Add the room temperature eggs one at a time, beating well after each. Stir in the vanilla extract and beat for another 2-3 minutes, scraping down the sides of the bowl as needed.
-
In a separate medium bowl, whisk together the all-purpose flour, unsweetened cocoa powder, baking soda, and salt. This ensures all the dry ingredients are uniformly distributed. Gradually add these dry ingredients to the wet mixture, mixing on low speed or stirring by hand just until the flour streaks disappear and the dough is combined. Avoid overmixing.
-
In a small, microwave-safe bowl, microwave the creamy peanut butter for approximately 20-30 seconds, or until it becomes slightly thinned and easily pourable. Stir it well.
-
Using a 1.5-2 tablespoon cookie scoop, place uniform balls of dough onto the prepared baking sheets, ensuring they are spaced about 2 inches apart. With a small spoon, drizzle or drop tiny amounts of the thinned peanut butter (about ¼ to ½ teaspoon per cookie) onto the top of each chocolate cookie dough ball. Gently use a toothpick or the tip of a small knife to swirl the peanut butter into the dough, creating beautiful patterns.
-
Press a few mini chocolate chips into the top of each swirled cookie dough ball for an extra touch of chocolate and visual appeal.
-
Bake for 10-12 minutes. The cookies should be set around the edges but still appear soft and slightly puffed in the center. Remember, cookies continue to cook slightly even after being removed from the oven. Let cookies cool on the baking sheet for about 5 minutes before carefully transferring them to a wire rack to cool completely.
Notes
Freezing Instructions: To enjoy these cookies later, place them in an airtight freezer-safe container or a heavy-duty freezer bag. They can be frozen for up to 3 months. When you’re ready to indulge, simply thaw them at room temperature before serving. For best results, you can also flash freeze the baked cookies on a baking sheet until solid, then transfer to a freezer bag to prevent them from sticking together.
Nutrition
Choosing the Right Peanut Butter for Your Swirl Cookies
The type of peanut butter you choose can significantly impact the texture and ease of creating that beautiful swirl. The recipe specifically calls for creamy peanut butter because its smooth consistency makes it ideal for melting slightly and achieving those elegant swirls without much effort. When melted, creamy peanut butter becomes liquid enough to drizzle and mix seamlessly into the chocolate dough.
However, if you’re a fan of a little extra texture and crunch in your cookies, you can certainly experiment with crunchy peanut butter. Just be aware that the “swirl” might not be as uniform or distinct, and the small peanut pieces will add a different textural element. Regardless of your choice, the key is to microwave the peanut butter for about 20-30 seconds to thin it out. This ensures it’s pliable enough to easily swirl into the cookie dough, rather than tearing or clumping. Always use a conventional, “stir-free” peanut butter for baking, as natural peanut butters (which tend to separate into oil and solids) can alter the moisture balance and texture of your cookies.
Essential Tools for Crafting Perfect Chocolate Peanut Butter Swirl Cookies
Having the right tools can make all the difference in achieving perfectly shaped, evenly baked, and easy-to-handle cookies. Here are a couple of recommended items that will elevate your baking experience:
- The Mighty Cookie Scoop: If you’re aiming for uniformity in size and shape – and who isn’t when it comes to cookies? – a cookie scoop is your best friend. Using a scoop ensures that each cookie ball is roughly the same size, which means they’ll bake more evenly and consistently. No more guessing or unevenly baked batches! Plus, it makes the process much faster and cleaner. Opt for a scoop that holds about 1.5 to 2 tablespoons of dough for perfectly sized cookies.
- Reliable Parchment Paper or a Silicone Baking Mat: These baking essentials are absolute game-changers. Laying down parchment paper or a silicone baking mat on your cookie sheets prevents your delicious cookies from sticking to the pan, eliminating the frustration of scraping and potentially damaging your beautifully baked treats. They also promote more even baking by providing a consistent surface and make cleanup a breeze – the cookies will just slide right off in perfect shape, leaving your baking sheet almost spotless.
Expert Tips: How to Soften Butter to Room Temperature Flawlessly
Softened butter is paramount for many cookie recipes, especially when creaming with sugar, as it creates a light and airy texture. But what exactly does “room temperature” mean, and how do you achieve it without melting the butter? Room temperature butter should be cool to the touch but yield slightly when gently pressed. It shouldn’t be greasy or shiny.
The ideal method for softening butter is simply to plan ahead: take it out of the refrigerator a few hours (typically 1-2 hours, depending on your kitchen’s temperature) before you start baking. However, life isn’t always that organized!
For those times you need softened butter quickly, here are a few tricks:
- The Microwave Method (with caution!): This is definitely the fastest way, but it requires careful attention to avoid melting the butter. Place the whole stick of butter (unwrapped from foil, if applicable) in the microwave. Microwave it on low power (or the defrost setting, if your microwave has one) for about 6-7 seconds. If it’s still very cold, give it another 5-7 seconds. Repeat in short bursts of 3-5 seconds until it’s softened. The key is to check frequently. The defrost setting can be particularly helpful, as it heats more gently, taking closer to 30 seconds but reducing the risk of accidental melting.
- The Water Bath Method: Fill a large bowl with warm (not hot!) water. Place the unwrapped stick of butter in a smaller, microwave-safe bowl. Float the smaller bowl in the warm water bath for about 10-15 minutes, turning the butter occasionally. This gentle warmth will soften it evenly.
- The Grating Method: If you’re really in a hurry, you can grate the cold butter using a box grater. The smaller pieces will come to room temperature much faster. Then, simply knead it with your hands for a minute or two until pliable.
- Cutting into Smaller Pieces: Cut the stick of butter into smaller cubes (about 1 tablespoon each). Spread them out on a plate. This increases the surface area, allowing them to soften more quickly at room temperature, usually within 15-30 minutes.
Remember, melted butter will result in flatter, greasier cookies with a different texture, so achieving perfectly softened butter is a small step that makes a big impact!
More Delicious Chocolate Peanut Butter Cookie Recipes to Explore
Can’t get enough of the chocolate and peanut butter combination? We totally understand! Here are some other fantastic cookie recipes featuring this beloved duo that you absolutely must try:
- This Peanut Butter Chocolate Chip Cookie Recipe is one of the most popular recipes on our site – and for very good reason! If you’ve been on a quest for the ultimate peanut butter cookie, look no further. I’ve personally tried countless recipes, and this one is, hands down, the BEST. It’s perfectly balanced, incredibly flavorful, and irresistibly chewy.
- For those who adore Reese’s candies, incorporating them into cookies is pure genius. Discover more ways to enjoy that classic taste with these delightful creations:
- Reese’s Chocolate Cookie Cups: Bite-sized cups of chocolate cookie goodness, each cradling a mini Reese’s cup.
- Reese’s Peanut Butter Pudding Cookies: These cookies are made extra soft and flavorful with the addition of instant pudding mix.
- Big Reese’s Peanut Butter Cookies: For when you need a seriously satisfying, generously sized cookie packed with Reese’s flavor.
- Short on time but craving that peanut butter fix? These no-bake options are quick, easy, and just as delicious:
- No-Bake Peanut Butter Blossoms: A speedy twist on the classic blossom cookie, without turning on the oven.
- Peanut Butter No-Bake Cookies: A simple, stovetop recipe that delivers rich, chewy cookies in minutes.

These Chocolate Peanut Butter Swirl Cookies are more than just a dessert; they’re a testament to the timeless appeal of two incredible flavors. With their soft, chewy texture, intense chocolate base, and captivating peanut butter swirl, topped with mini chocolate chips, they are truly a treat for both the eyes and the taste buds. Easy to make and universally loved, these cookies are destined to become a staple in your recipe collection. Gather your ingredients, get baking, and prepare to delight everyone with these irresistible homemade cookies!
